Want to make a woodworking project but don't know where to start? If you want or need to build something with wood, here's how to plan your project!
I've been doing woodworking now for over a decade and I started on my screened porch of my condo with a hand saw and a drill. I had no idea what I was doing except that my wife wanted some signs and decor made for our wedding.
Since then, I've gained quite a few tools, learned how to build furniture, and become pretty good at it. But one other thing that has gotten so much better over time is how I plan out a woodworking project.
Knowing you want to do a woodworking project is a great start, but there's so much to do to get ready before you even start. Sure, sometimes you can go to the garage and just build off the cuff, but usually you need a solid plan to get going.
How to start planning a woodworking project
Planning a woodworking project is like planning anything else you want to do- figure out what you want the end goal to be, then figuring out how to get there.
There are lots of ways to plan and execute a woodworking build and you inherently start to figure things out once you've been doing it for awhile, but getting started can be intimidating.
If you're a beginner that's trying to plan a woodworking project or learn how to get better at planning woodworking projects, here's my steps for figuring out your plan and getting it done!
Step one: Define your vision
The first thing to do when planning a woodworking project is to define your vision. By that, I mean figuring out exactly what you want to do and having clear visual plans of what you want to end up with.
For many people, that begins with searching for something on Pinterest our Google images. You can start by entering some general search terms which will give you a decent idea of the overall vision.
Then, refine that search by seeing which ones you really like and seeing what they have in common. Maybe they all have the words "midcentury modern" in the description. So then you can refine your search even further.
Then you need to see what you like about each piece. Maybe you like the body of one table, but the legs of another and the angles in a third. Once you've seen what you like, you can start developing and finalizing your idea in your head of your final product.

Step two: Measure your space
Next, measure your space. You saw a picture of a square dining table online, but that could look weird in a long room. You might need to take the elements to make them appropriately sized for your actual room.
If you're working on a coffee table that needs to run in front of your couch, measure the length of the couch and then reduce that to about 75% to see how long the coffee table should be.
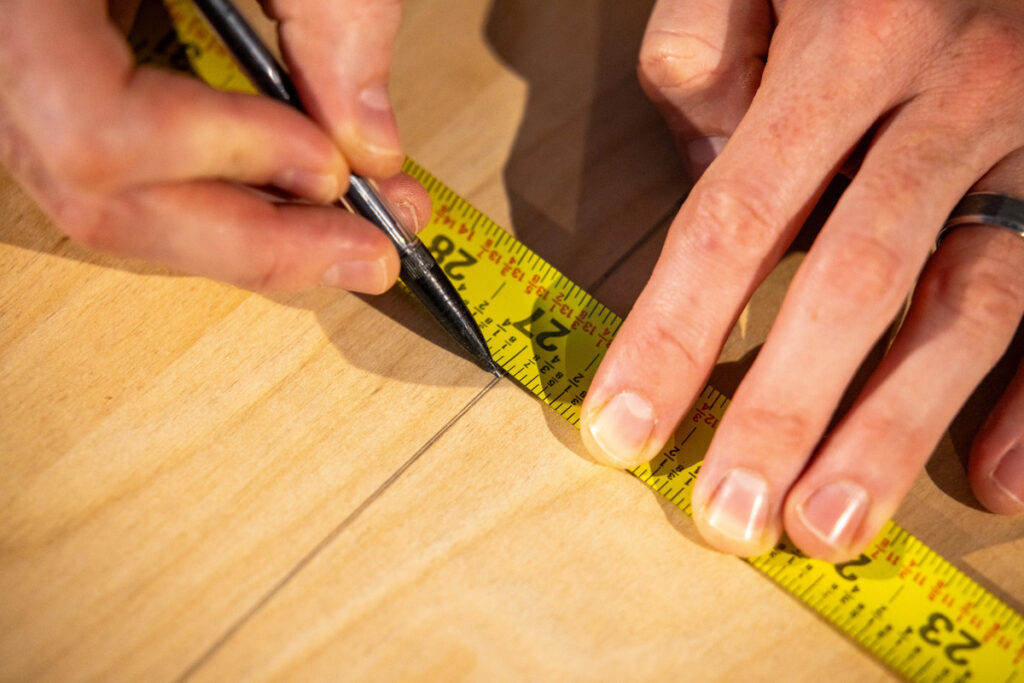
Having measurements written down can also eliminate certain things that might not work that you saw before or you might realize you can't do something at all. So take good measurements and then get started on design.
Step three: Design or buy a step-by-step plan
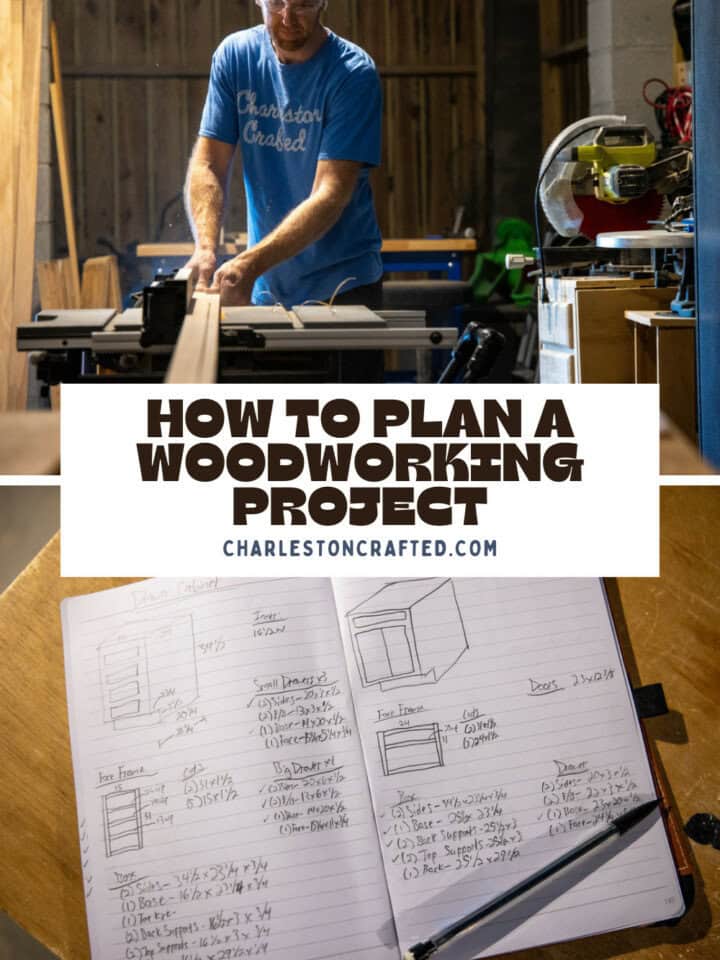
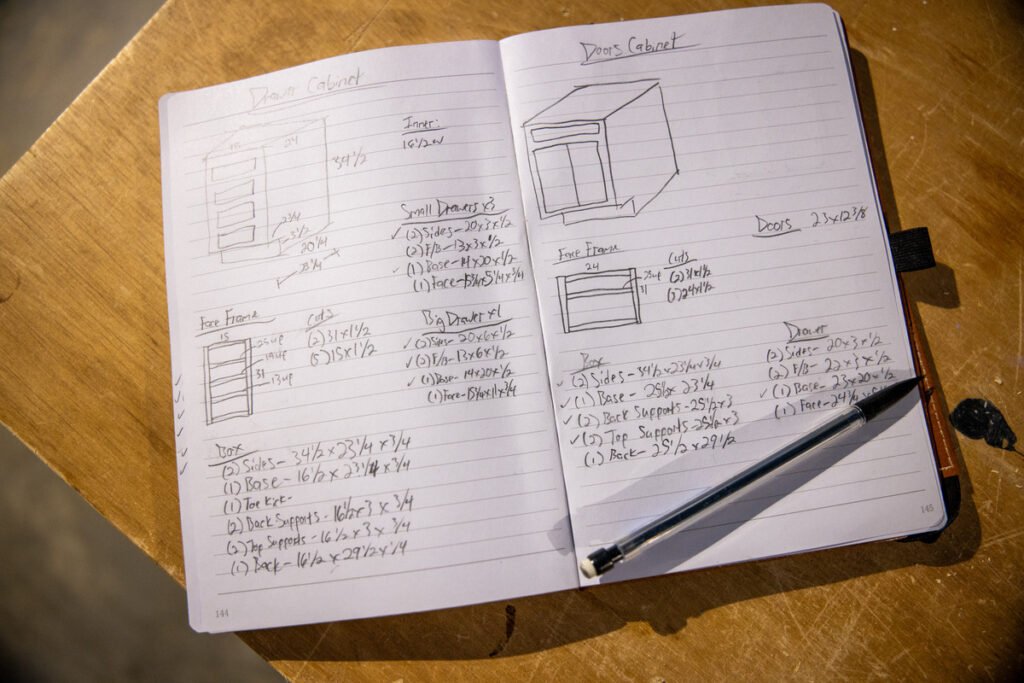
Now it's time to design your actual woodworking project and create a cut list. To do this, you have to choose whether or not you want to sketch out the design yourself or buy a step-by-step woodworking plan.
For a long time, I drew out projects by hand and created measurements that way. However, I'm a TERRIBLE sketch artist, so it was sometimes difficult for me to properly convey my ideas onto paper and create a correct mathematical cut list.
Remember the difference between common and actual dimensions!
So, I started using a free online design software called SketchUp. SketchUp allows you to create three dimensional models of your woodworking project, letting you see for sure that everything lines up and gives you a perfect measurement for each piece. Sure, it takes a little bit of a learning curve, but it's much easier for me.
The other choice you have is to purchase pre-made woodworking plans. The benefit of these is that the cut list, material list and step-by-step instructions are already done for you and you only have to pay a small fee. The downside of these plans is that they aren't necessarily going to be 100% what you want for your design.
If that's the case, you can try to modify the plans to your liking, but then you're getting into designing the project on your own again. Nothing is going to be exactly the perfect solution, but these are two great choices. I got so good at designing my own plans that I started selling them!
Make sure you shop all my woodworking plans for DIY furniture here!
Step four: Determine your materials and tools
Once you have your cut list, it's time to determine your materials and tools. Depending on the type of project you're doing, you may be able to use boards, but you might also need plywood for wider planks or certain features. If you are going to use plywood, make sure you know how to shop for plywood!
You might also want to determine what type of wood is best based on if you are painting your project or staining it. Sometimes it can be better to go with less-expensive wood for painted projects!
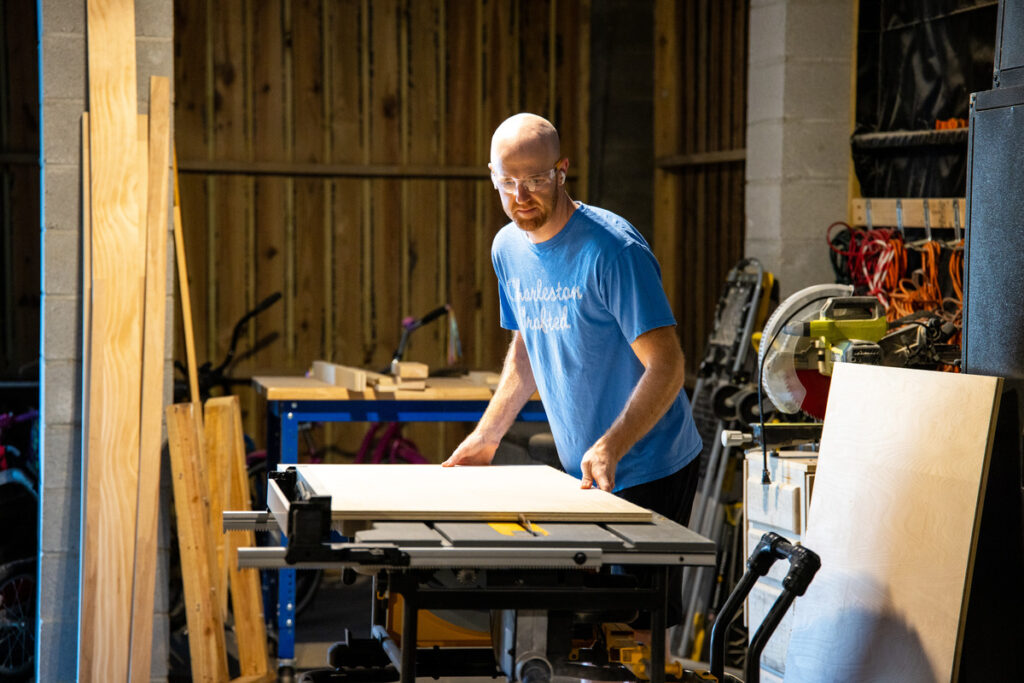
Also use this time to figure out what tools you are going to need for this project. Long cuts on plywood are going to need a table saw or circular saw with a guide, where shorter, angled cuts will probably need a miter saw. Take stock of everything your going to need.

Step five: Make a shopping list
Now that you have determined all the materials and tools you need to build your project, time to make a shopping list. Start by seeing what materials you have on hand and what you will need to buy for this project.
Same for tools. This is a great opportunity to upgrade a tool or buy something you don't have. But remember that if you don't think you'll use something again, try to borrow it from a friend.
Download our free printable shopping list here to make the best plan!
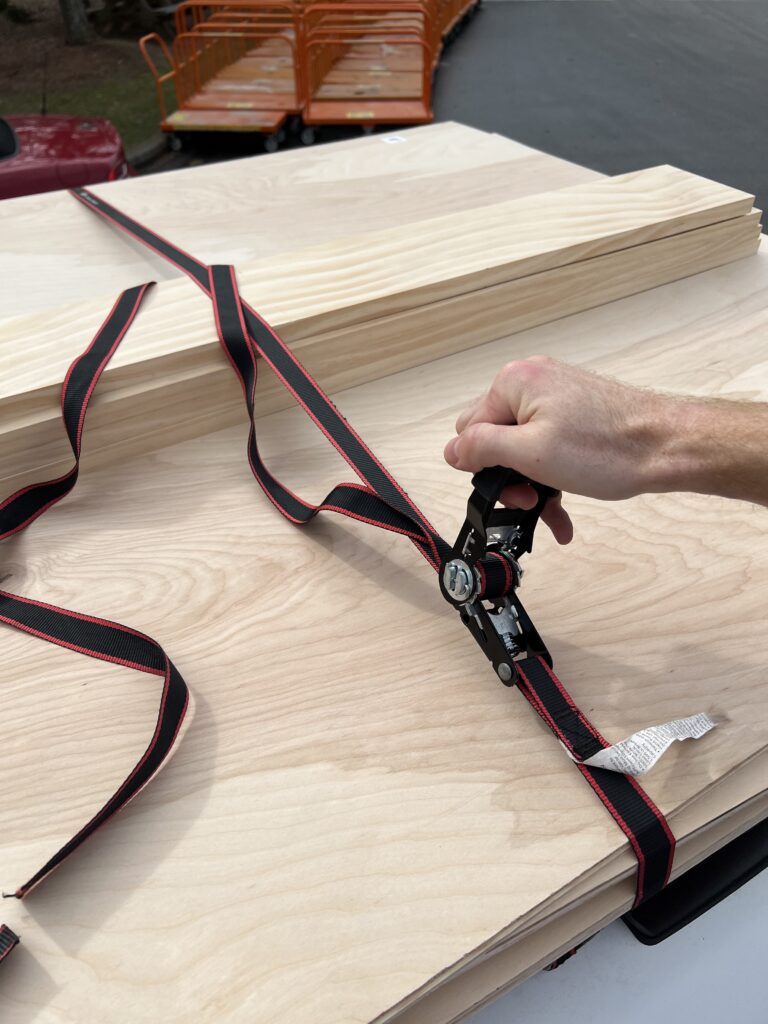
Remember too that if you're buying lumber, you need to plan for the right vehicle. This can be especially tricky if you need plywood and don't have a truck. Here's some great ways to get plywood home without a truck!
Step six: Get started!
Now you're ready to get started on your woodworking project! You've got the idea, the design, the plan and the materials, so it's time to get to work.
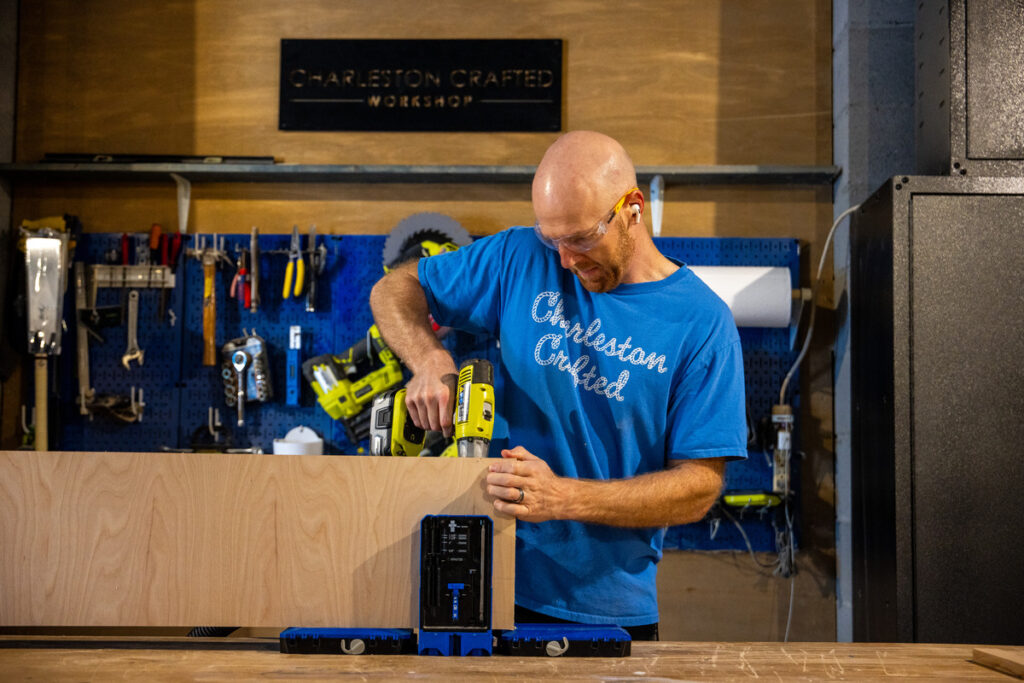
My personal workflow is to make all the cuts first, if possible. Sometimes, there's some things that need to wait until later, but I like to make all my cuts first, then drill any pocket holes that I can.
After things are cut and drilled, I spend a big batch of time sanding everything. I hate sanding, but it's easier to do it in one big burst.
After everything is sanded, it's time to get to work building! That's the fun part.
Getting started with woodworking projects
Getting started with woodworking doesn't mean you need to have a lot of experience or tools. It just means that you're motivated to make something for yourself.
I hope that this post helped you with planning your woodworking project and that you have a good idea of what to do to get started!

Looking for something?
We've been doing this since 2012 so we have a LOT of blog posts!
Search stuff like: Ceiling Projects | DIY Plant Stands | Thrift Flips

Hey there, I'm Sean, the woodworking enthusiast and builder behind CharlestonCrafted.com! Since 2012, I've been sharing the magic of turning raw materials into beautiful creations. I love teaching others the art and satisfaction of woodworking and DIY. I try to inspire fellow crafters to make something extraordinary out of nothing at all.