Looking for an easy and fun Halloween decoration idea? Check out my tutorial on how to make spiderweb jars for Halloween!
Decorating for Halloween is just so much fun. There's so many themes that you can do with this spooky holiday, but I really love spider Halloween decorations.
Today I want to share a super easy, and expensive Halloween decoration idea.
I've seen a few people make spider jars using cotton balls as the web. That's OK, and fine to do if you have a bunch of cotton balls on hand.
I actually went to Walmart and found that a small bag of spider webbing was cheaper than a large bag of cotton balls. Wow! So, depending on the time of year, this might be the case for you, too.
One of the great things about these jars is that they're easy to make a light up. That makes them extra spooky, especially at night.
This is a really fun and easy decoration idea to make this year. Here's how to do it!
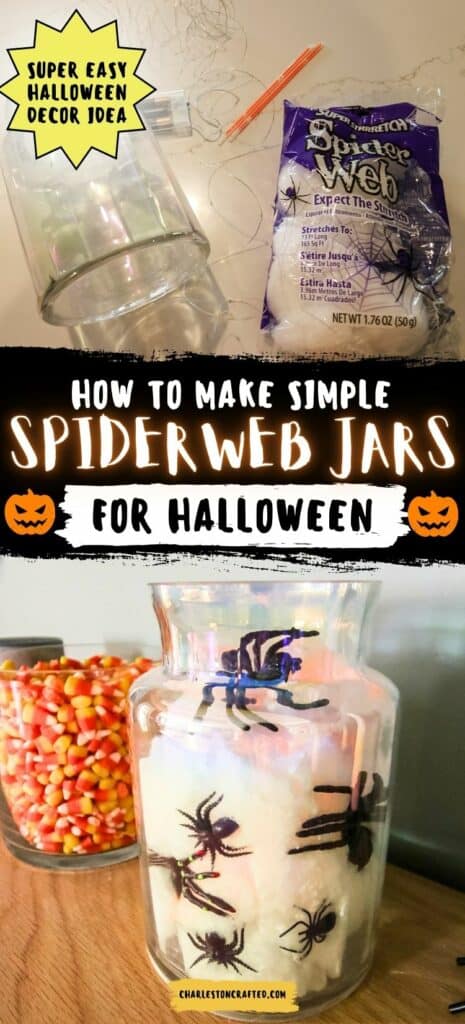
How to make spiderweb jars for Halloween
Here's how easy it is to make these spiderweb jars for Halloween decor!
Supplies needed:
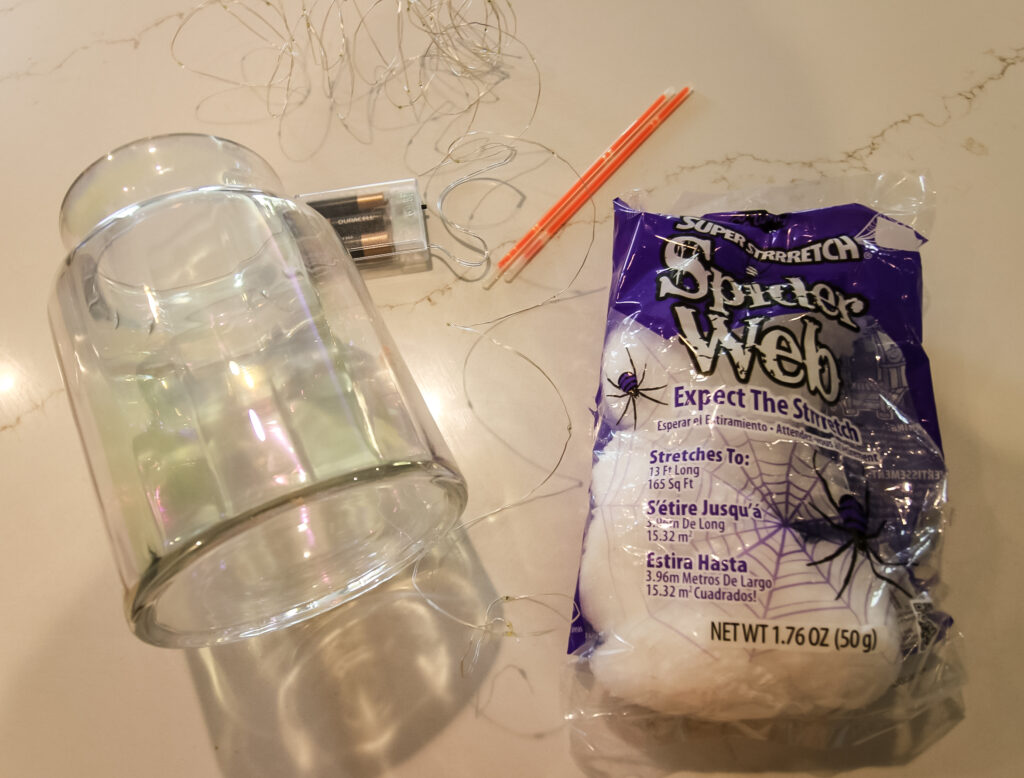
- Large jar of choice
- Pack of faux spiderweb - this is the BEST price!
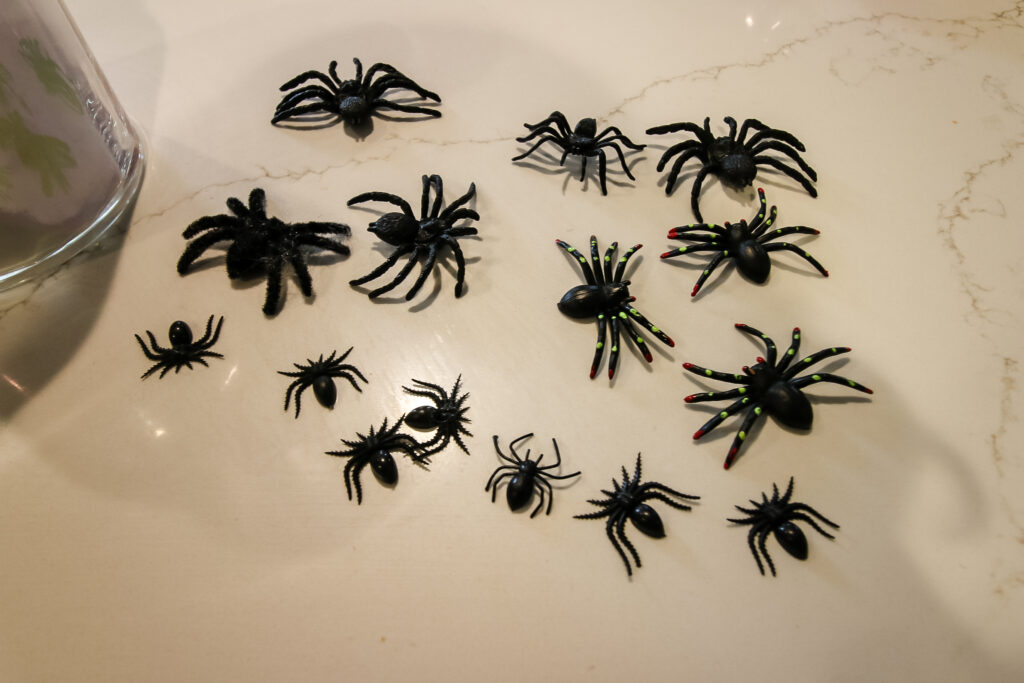
- Plastic bugs or spiders
- Battery powered lights OR glow sticks
Steps to make:
Here's how easy this is to make!
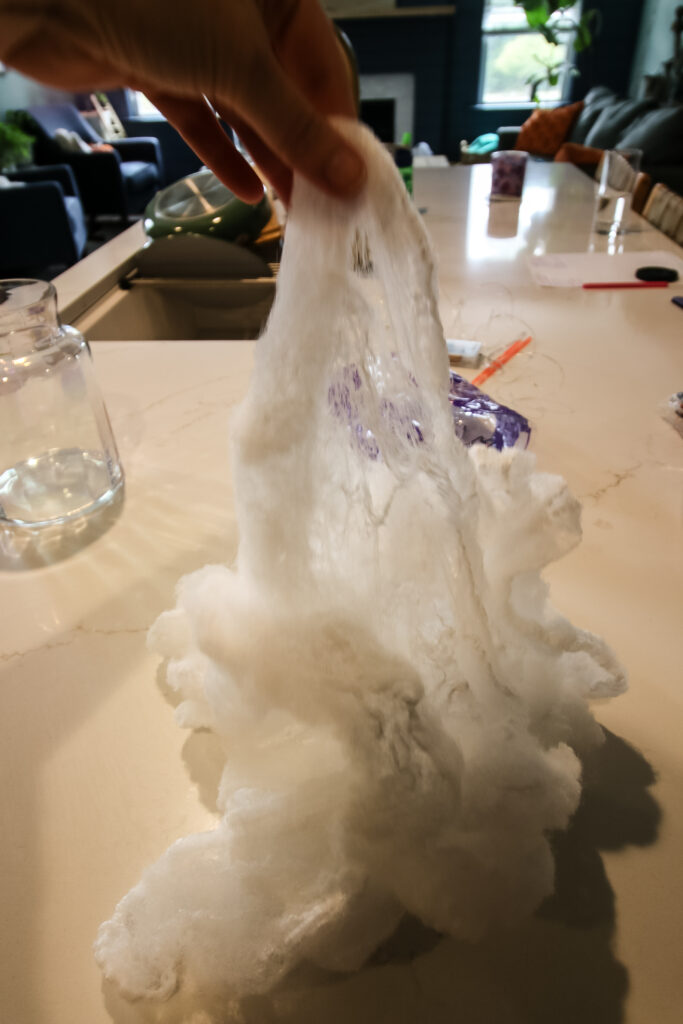
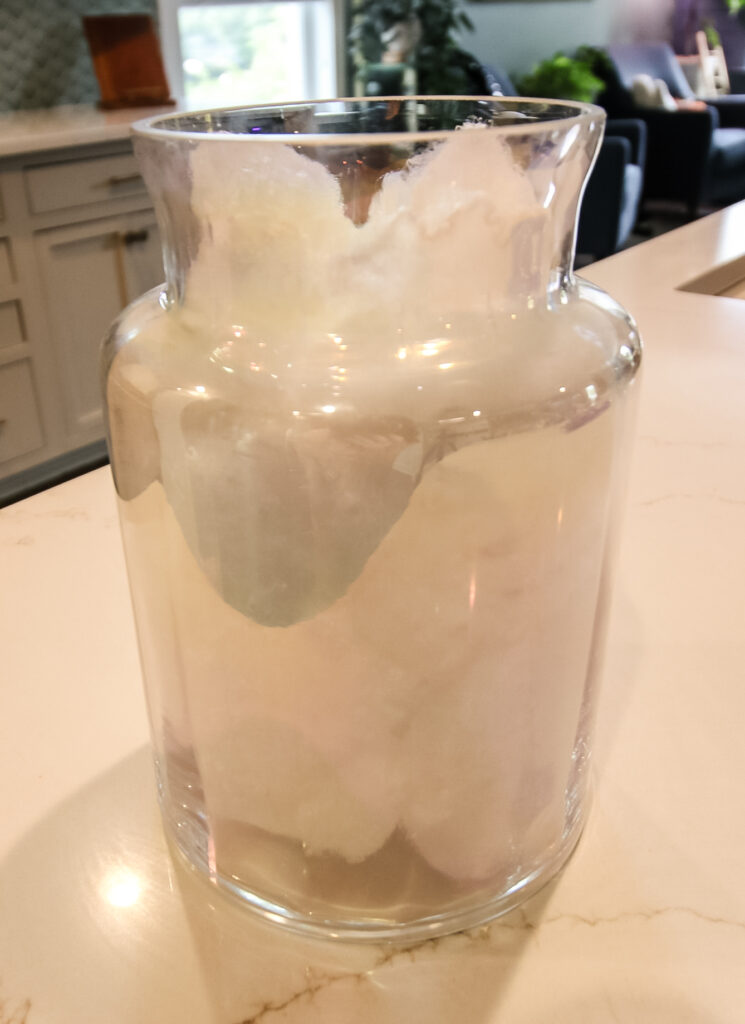
STEP 1: Stretch the web
One thing about this stretchy web is that it looks bad straight out of the bag. You have to take some time to stretch it out.
Fluffing the web will also make it larger, so you can easily take a small bag of webbing and fill even a large apothecary jar!
It might seem counter intuitive, since we are shoving it into a jar, but it will look much more natural if you stretch and fluff it for just 60 seconds first, trust me!
STEP 2: Add web to jar
Once it has been stretched, press it into your jar. Make sure it fills any bends or nooks so the jar looks really full.
STEP 3: Add lights*
If you are adding battery lights, add them now. Bury the battery pack into the web and wrap the lights around.
Ideally, your lights will have a remote cut on. If not, position the battery pack so you can reach it!
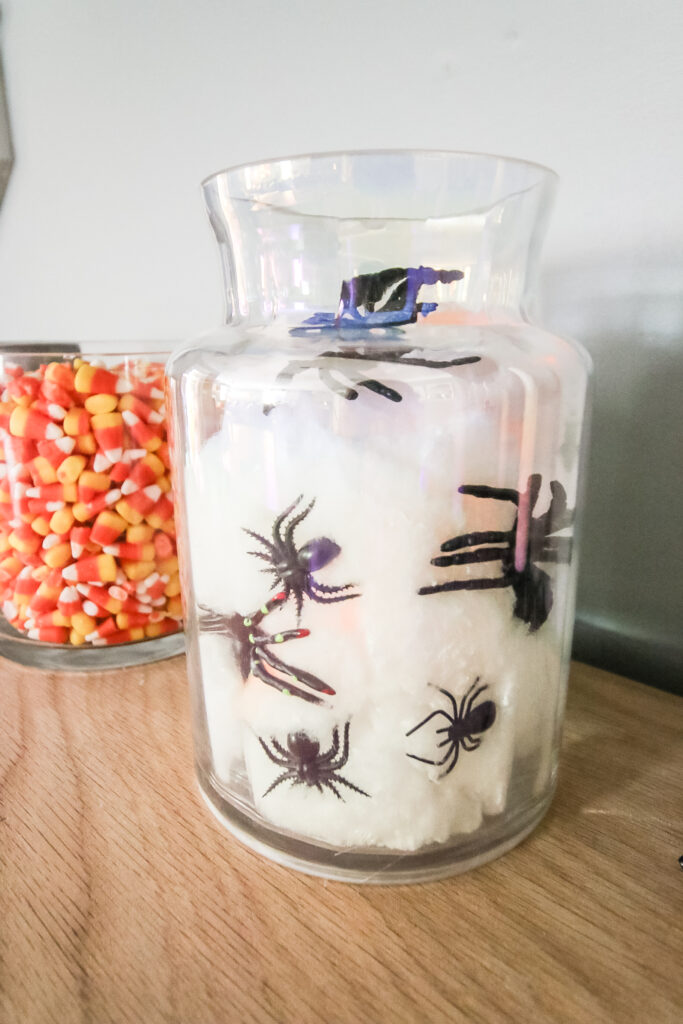
STEP 4: Add spiders
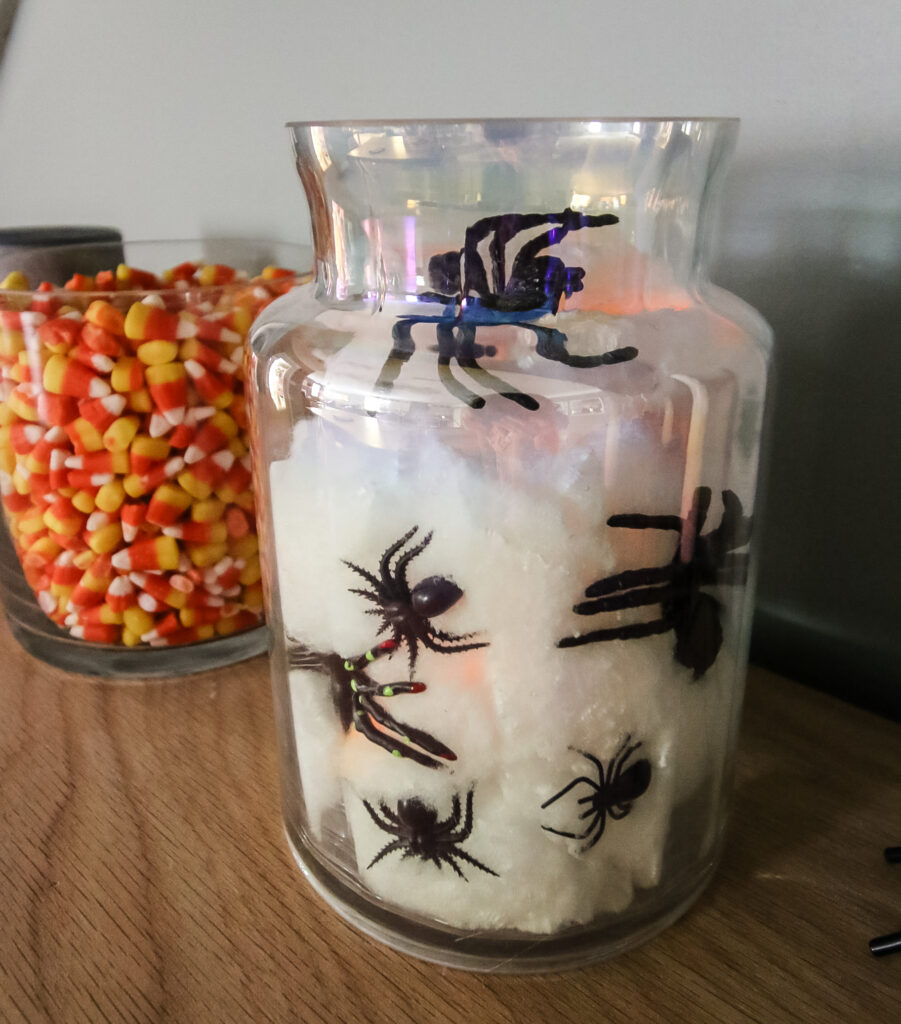
Now, add spiders! Most of them should be between the web and the glass. Position as you wish. It can be helpful to have. butter knife or a spoon to help push them down if there is a tight fit!
STEP 5: Add glow sticks*
I suggest adding either battery lights OR glow sticks to your jar. If adding glow sticks, add them at the last minute and add them right before your party or event - they don't last too long!
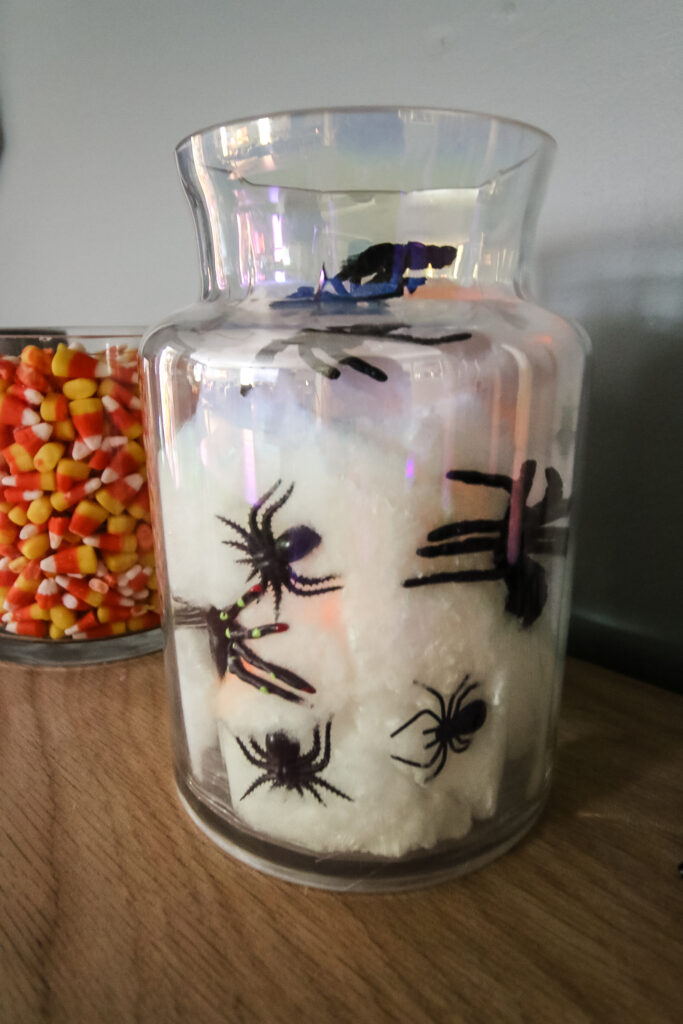
Enjoy your spooky jar. It looks great on a shelf, mantel, or as a part of a party set up!
Happy Halloween!
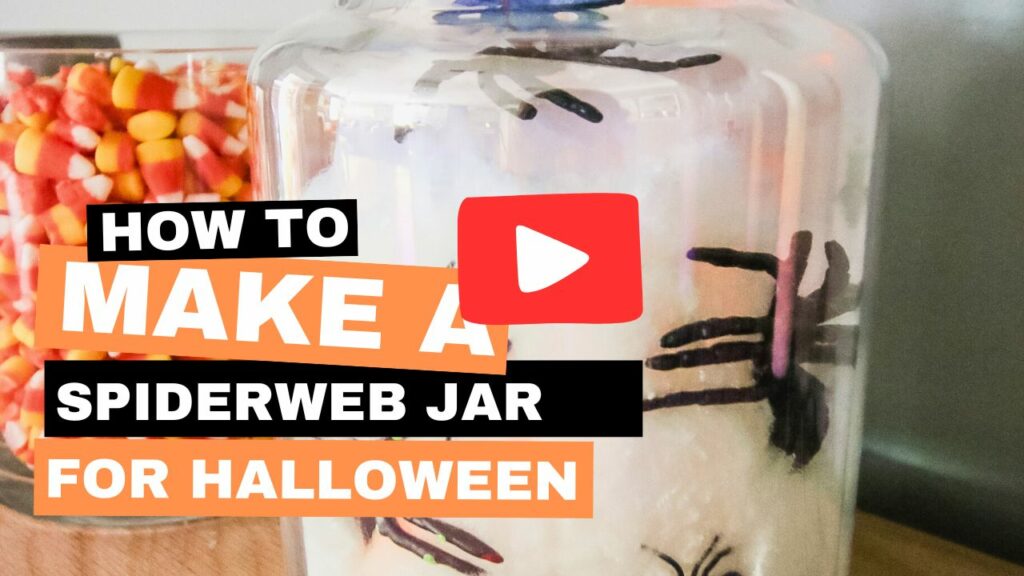
Video tutorial
Prefer to watch? Click here or the image below to watch my step by step video tutorial!
Planning a big Halloween?
Be sure to grab our FREE Halloween Decor Planner to get all of your plans organized!

Looking for something?
We've been doing this since 2012 so we have a LOT of blog posts!
Search stuff like: Ceiling Projects | DIY Plant Stands | Thrift Flips

Hello, I'm Morgan, half of the creative force behind CharlestonCrafted.com! With a passion for DIY that dates back to 2012, I've transformed three homes and now I'm dedicated to helping others craft their dream spaces. Let's turn your house into a home together!