Learn how to make disco ball spiders for Halloween with just a few simple materials for a fun and sparkly decoration. This easy DIY project will add a unique, eye-catching twist to your spooky season décor!
I love adding a new element to our Halloween decor each year.
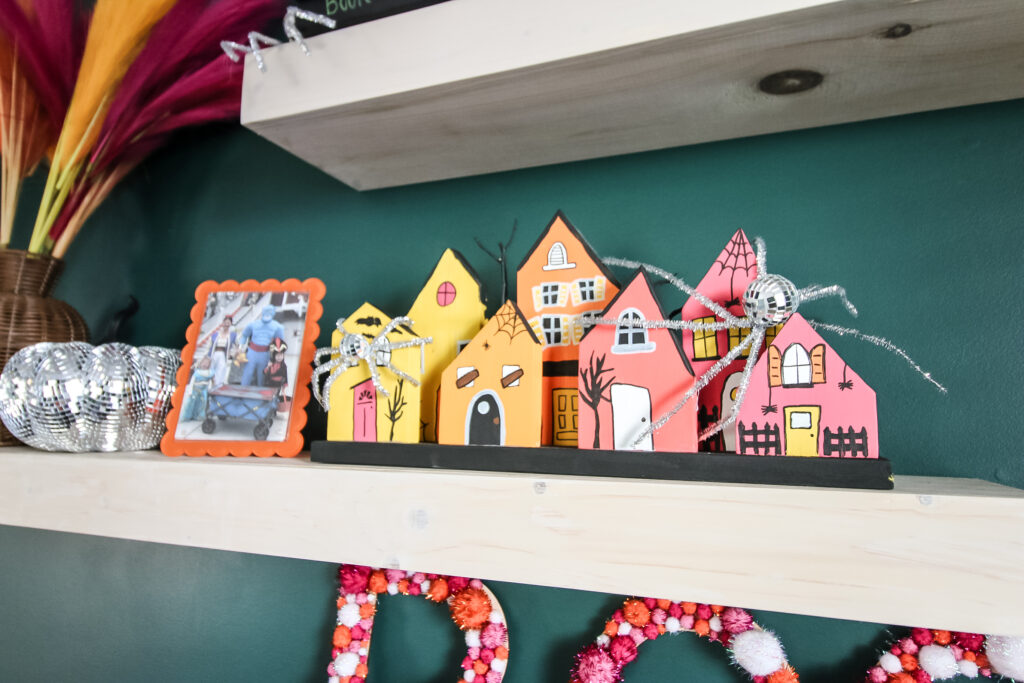
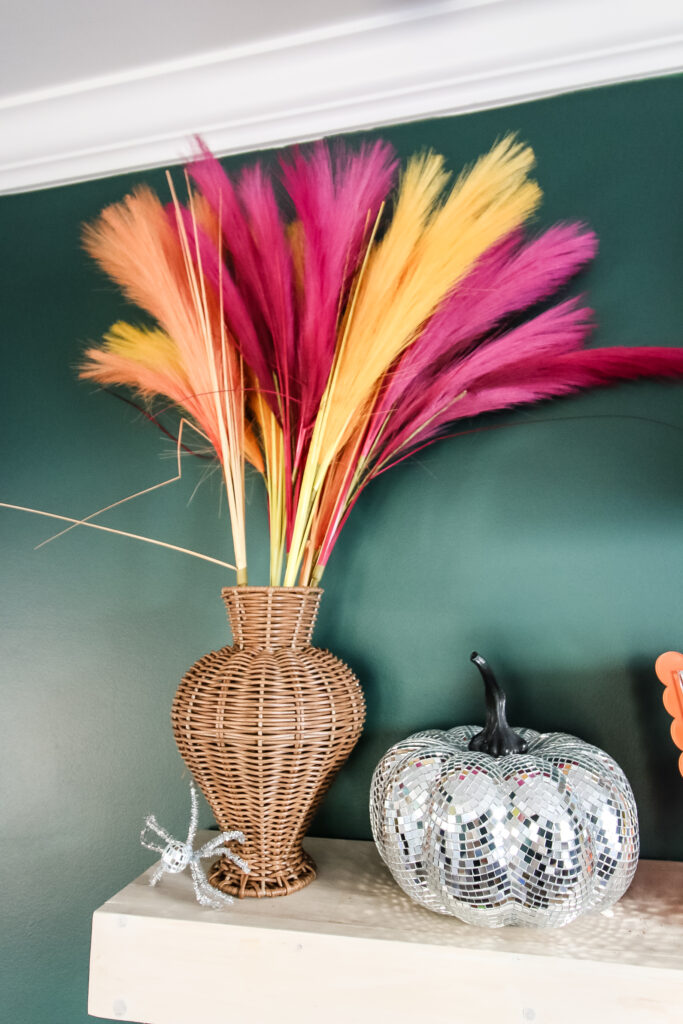
This year, I decided to style the shelves in our guest bedroom with a colorful and fun Halloween theme. I'm using a lot of silver and disco texture in addition to the bright pink, orange, and yellow colors.
If you're looking to bring some sparkle to your Halloween décor, these DIY Disco Ball Spiders are just what you need!
They combine the fun of disco with a spooky twist—perfect for a unique and eye-catching display.
Whether you’re dressing up your party or adding some glam to your haunted house, here’s how you can make your own Disco Ball Spiders in just a few simple steps.
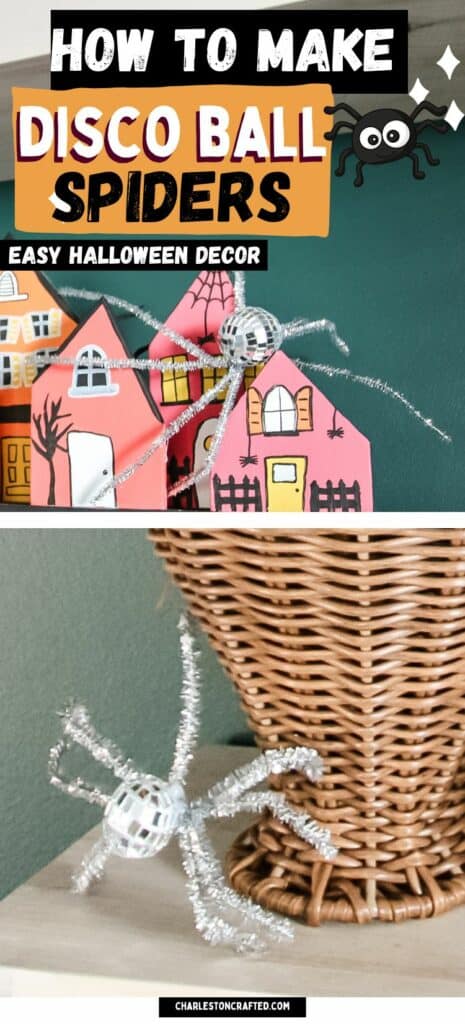
How to make disco ball spiders for Halloween
Here's how easy it is to make these disco ball spiders!
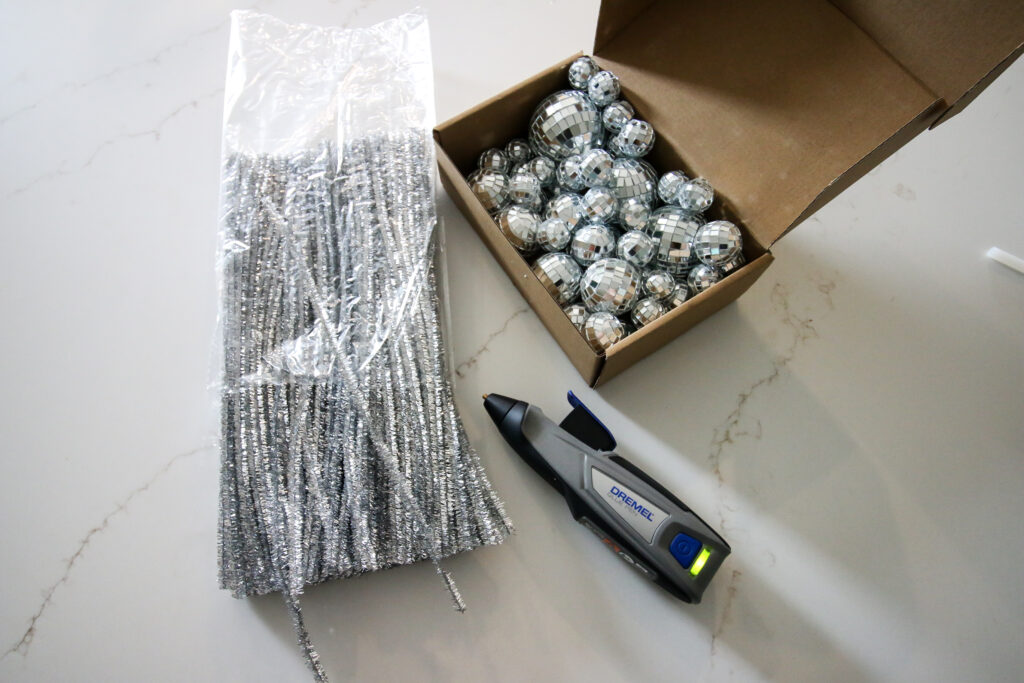
Supplies Needed:
- Small disco ball (mini or medium size)
- 4 metallic silver pipe cleaners
- Hot glue & glue sticks
- Scissors (optional, for trimming pipe cleaners)
Step-by-Step Process:
Step 1: Prepare the Pipe Cleaners
Gather 4 metallic silver pipe cleaners and align them together evenly. These will form the legs of your spider.
Note: for smaller spiders, cut the pipe cleaners in half before twisting together!
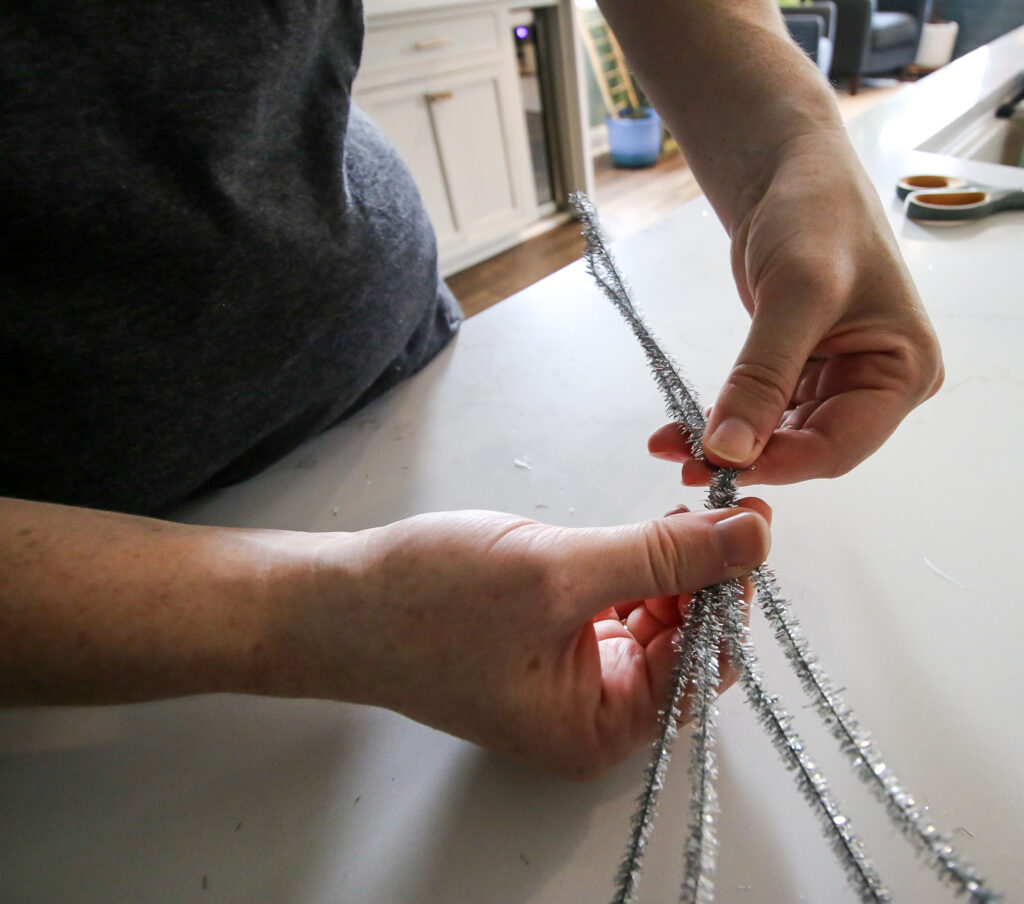
Step 2: Twist the Legs Together
Find the center of the pipe cleaners and twist them in the middle to connect.
This will keep all the legs together securely.
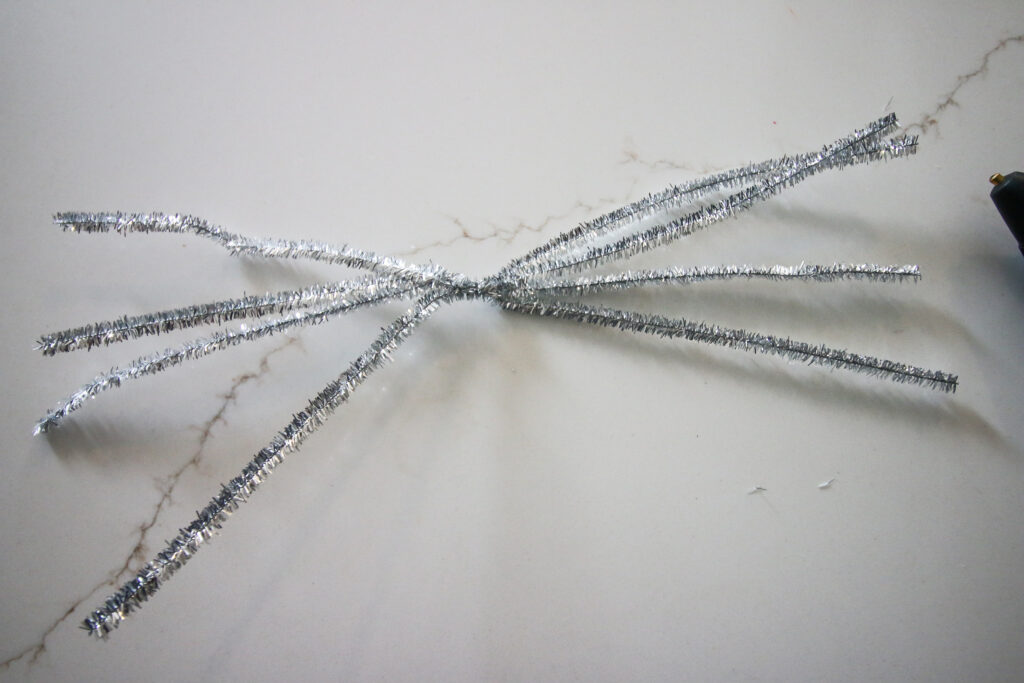
Step 3: Shape the Legs
Separate the eight legs by spreading them out.
Then, bend each pipe cleaner slightly to create a leg shape.
You can adjust the angles to make the legs look more realistic and creepy-crawly!
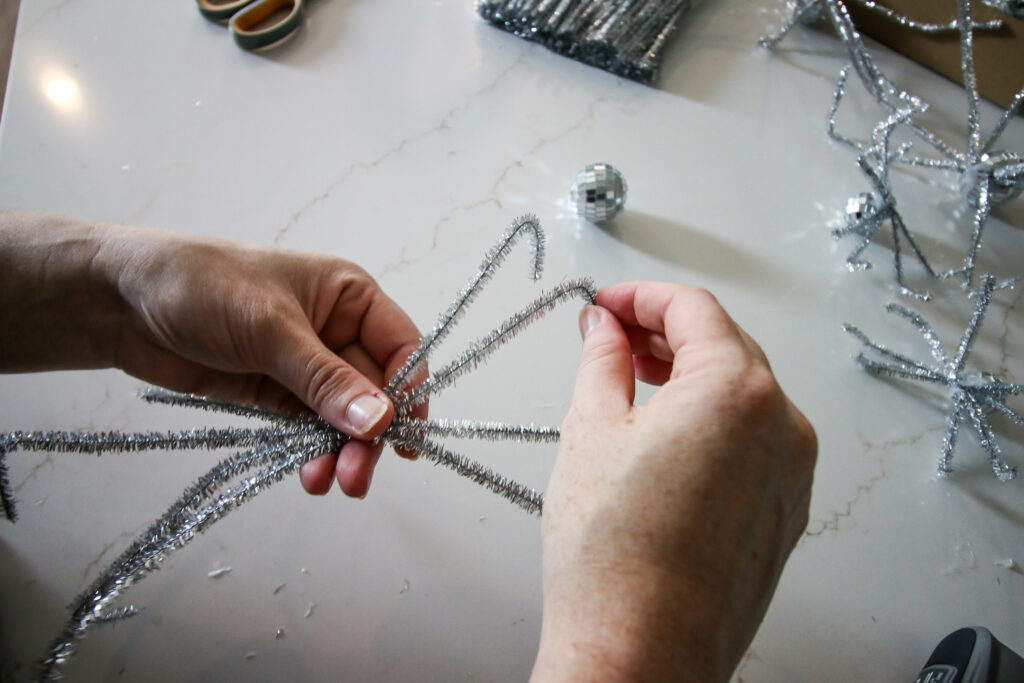
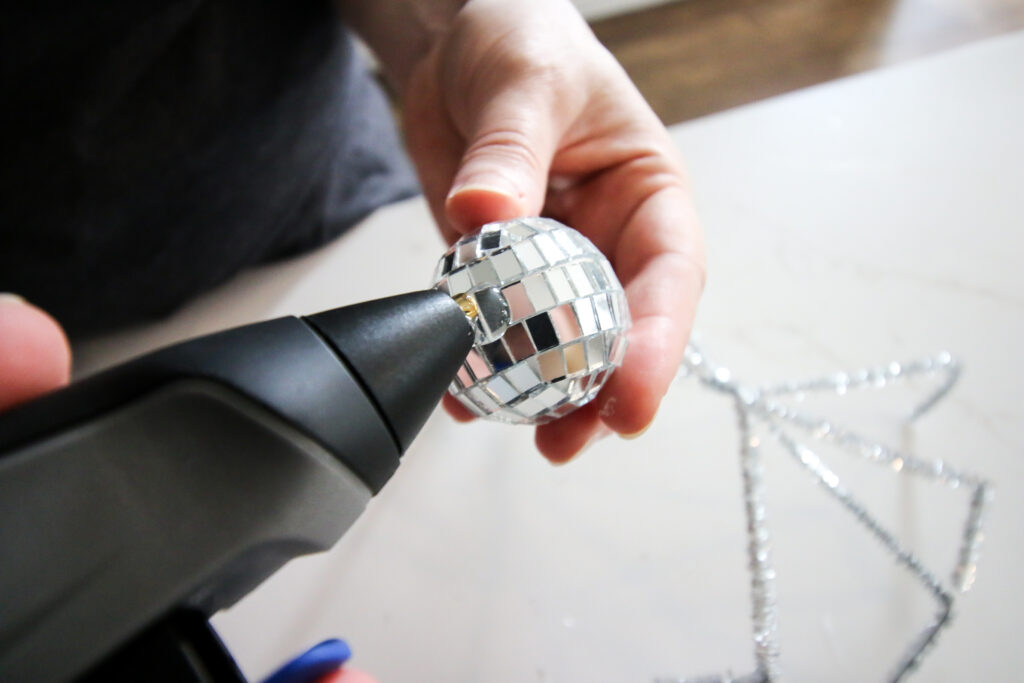
Step 4: Attach the Legs to the Disco Ball
Apply a small amount of hot glue to the bottom of the disco ball.
Carefully press the twisted center of the pipe cleaner legs onto the glue. Hold it in place until the glue sets.
Be very careful not to burn your fingers here!
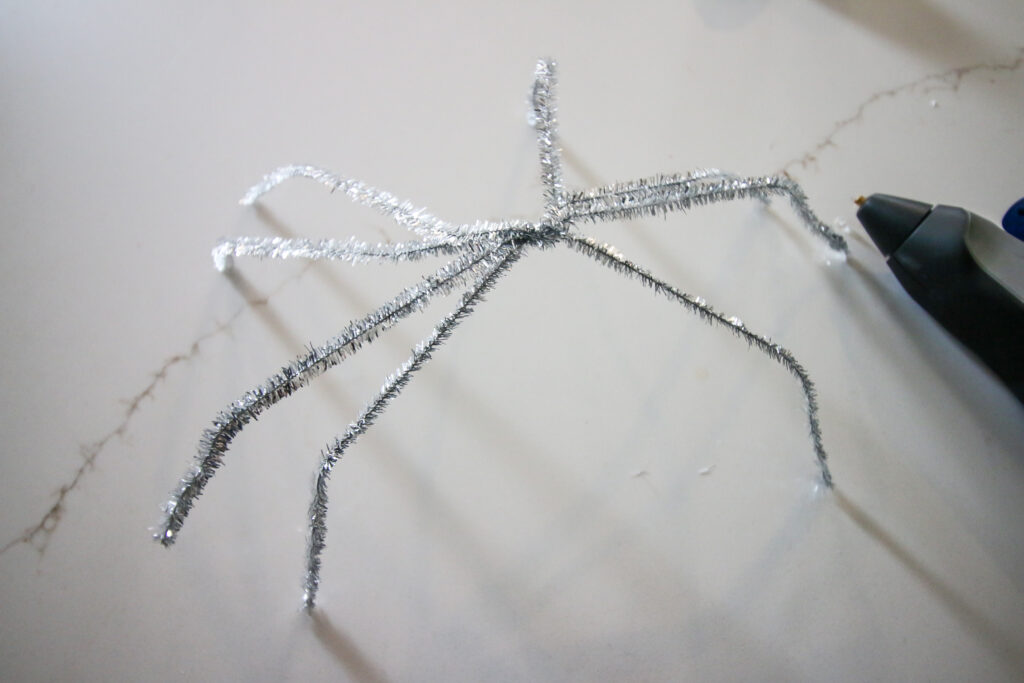
Step 5: Secure the Legs
Top the connection with a little more hot glue to ensure the legs are securely attached. Let it dry completely.
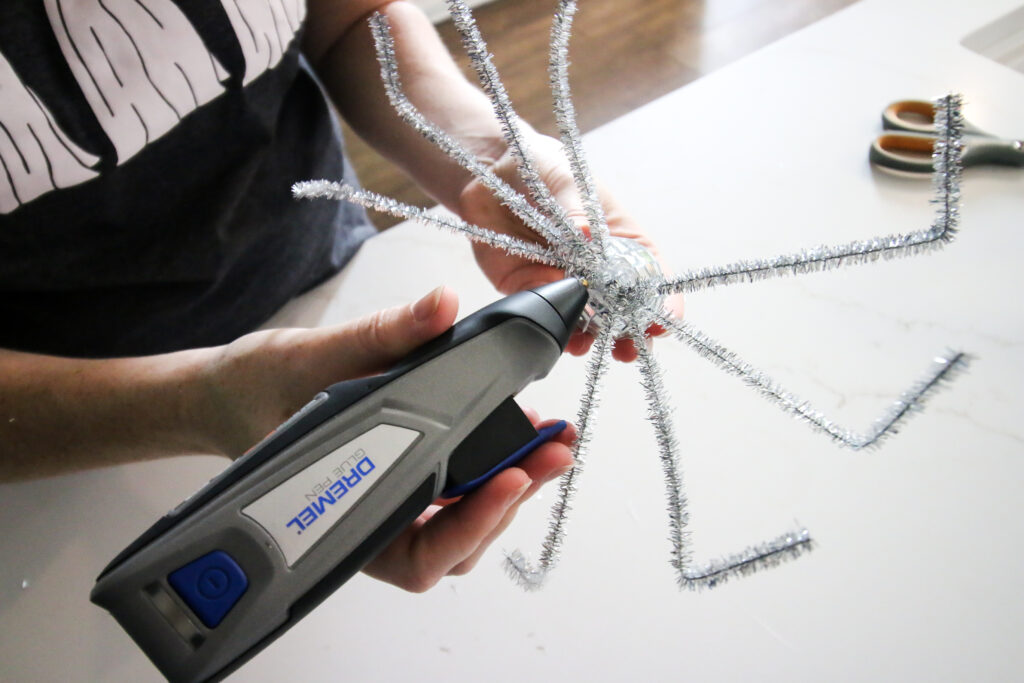
Step 6: Final Adjustments and Display
Repeat, repeat, repeat. This is definitely they kind of thing that it's no extra work to make a bunch at a time!
Once dry, reposition the legs as needed to get the perfect spider shape.
Now you're ready to display your awesome Disco Ball Spiders!
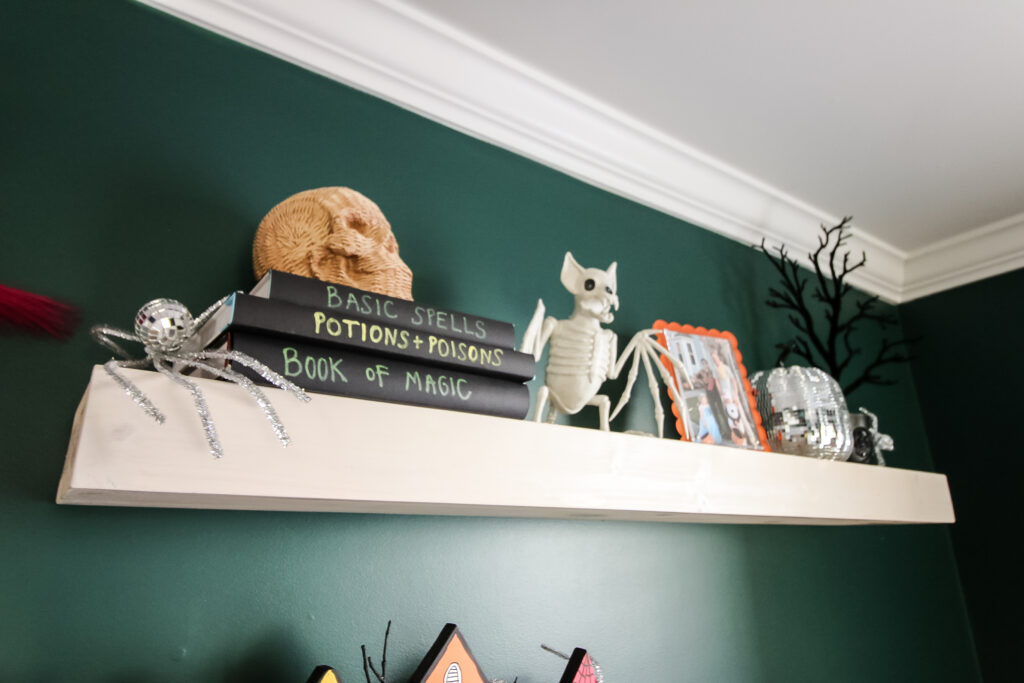
These DIY Disco Ball Spiders are a super fun and simple way to add some sparkle to your Halloween decorations.
Whether you hang them from the ceiling, use them as table décor, or add them to a spooky centerpiece, they’re sure to catch the light and your guests’ attention!
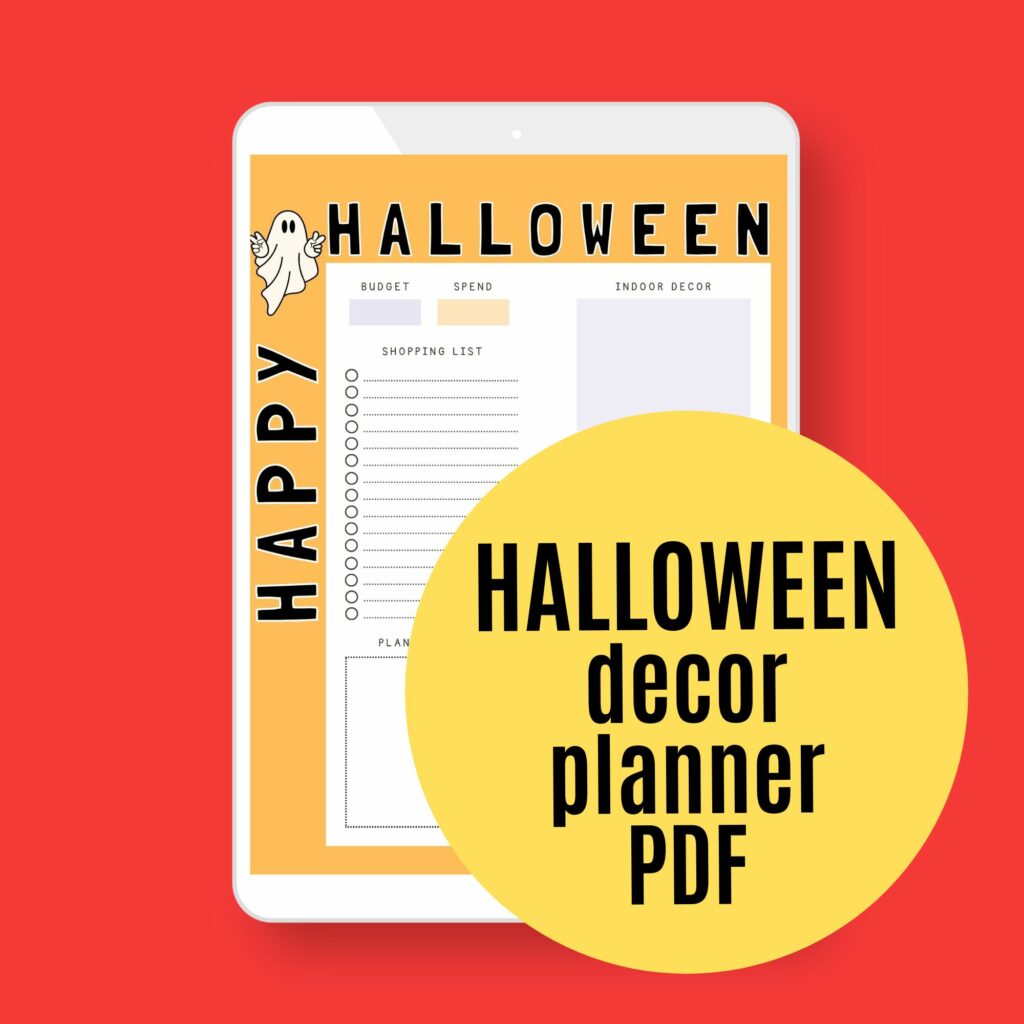
Planning a big Halloween?
Be sure to grab our FREE Halloween Decor Planner to get all of your plans organized!

Looking for something?
We've been doing this since 2012 so we have a LOT of blog posts!
Search stuff like: Ceiling Projects | DIY Plant Stands | Thrift Flips

Hello, I'm Morgan, half of the creative force behind CharlestonCrafted.com! With a passion for DIY that dates back to 2012, I've transformed three homes and now I'm dedicated to helping others craft their dream spaces. Let's turn your house into a home together!