Learn how to make a DIY pumpkin vase with a faux carvable pumpkin and seasonal florals for the perfect fall centerpiece. This easy project adds a cozy autumn touch to your home décor or makes a great gift!
I have been really in the crafty mood lately. As a part of that, I bought several bunches of autumn floral picks and have been coming up with ways to display and use them.
One of the most obvious things to do with florals is to put them in a vase. But, let's make it more autumnal!
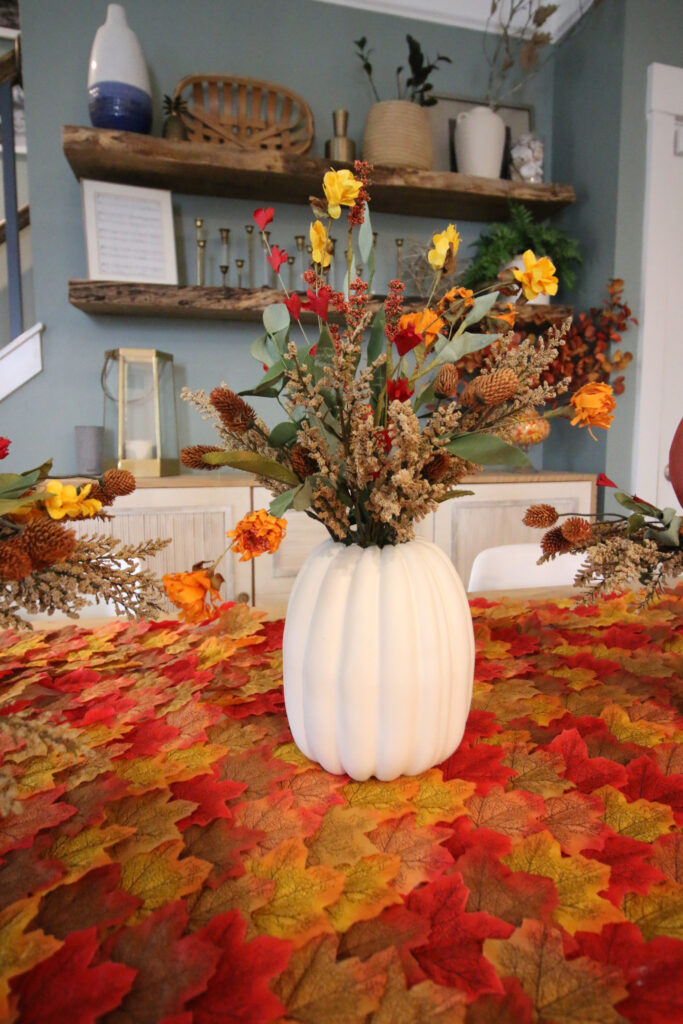
Looking for a fun and easy way to bring some fall color into your home? This DIY Pumpkin Vase is the perfect project!
I love this for Thanksgiving table centerpieces or for general fall decor.
Whether you use it as a centerpiece for your table, a porch decoration, or even a unique gift, it’s a quick craft that gives your space that perfect autumn touch.

How to make a DIY pumpkin vase
Here's how easy it is to make these pumpkin vases!
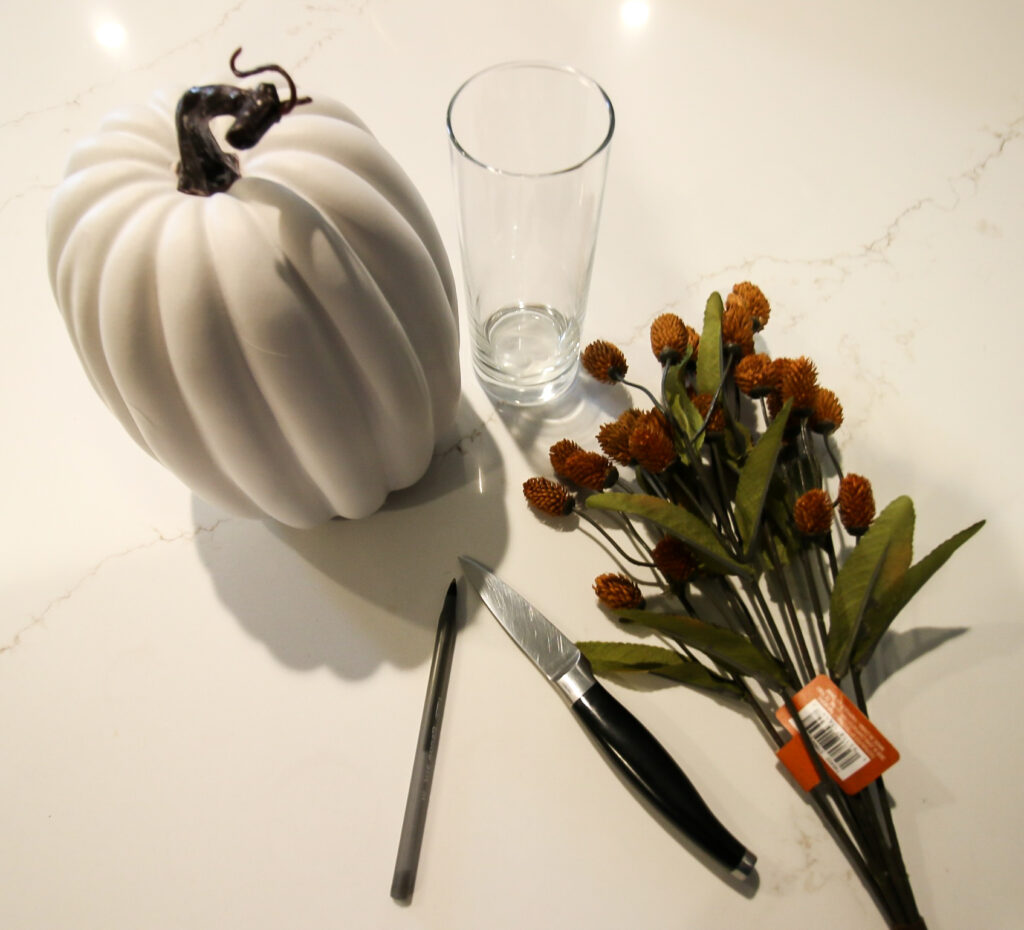
Supplies Needed:
- Faux carvable pumpkin
- Knife (to cut the top)
- Floral picks or faux florals - I used these: orange thistle, tan berry, wildflower and berry mix
- Plastic cup (optional, for holding flowers if pumpkin is hollow)
- Scissors or wire cutters (for trimming floral stems)
Step 1: Cut the Top of the Pumpkin
Start by using a knife to cut out the top of your faux pumpkin, just like you would with a real one.
Make sure the opening is wide enough for your flowers to fit inside.
Once the top is off, set it aside—you won’t need it for this project.
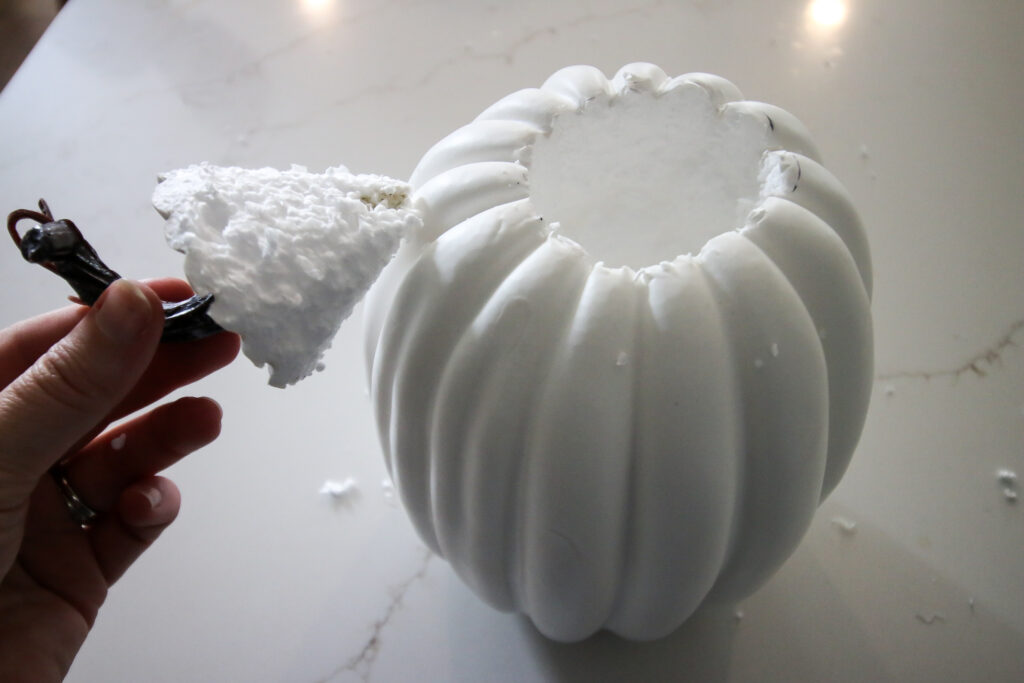
Step 2: Prep for Florals
Now, it’s time to add your flowers!
- If your pumpkin is hollow, place a small plastic cup inside to help hold your flowers in place. It acts as a vase within a vase and makes arranging much easier.
- If your pumpkin is solid foam, you can skip the cup and simply insert the floral picks directly into the foam. You might need to trim the stems a bit to make them fit just right.
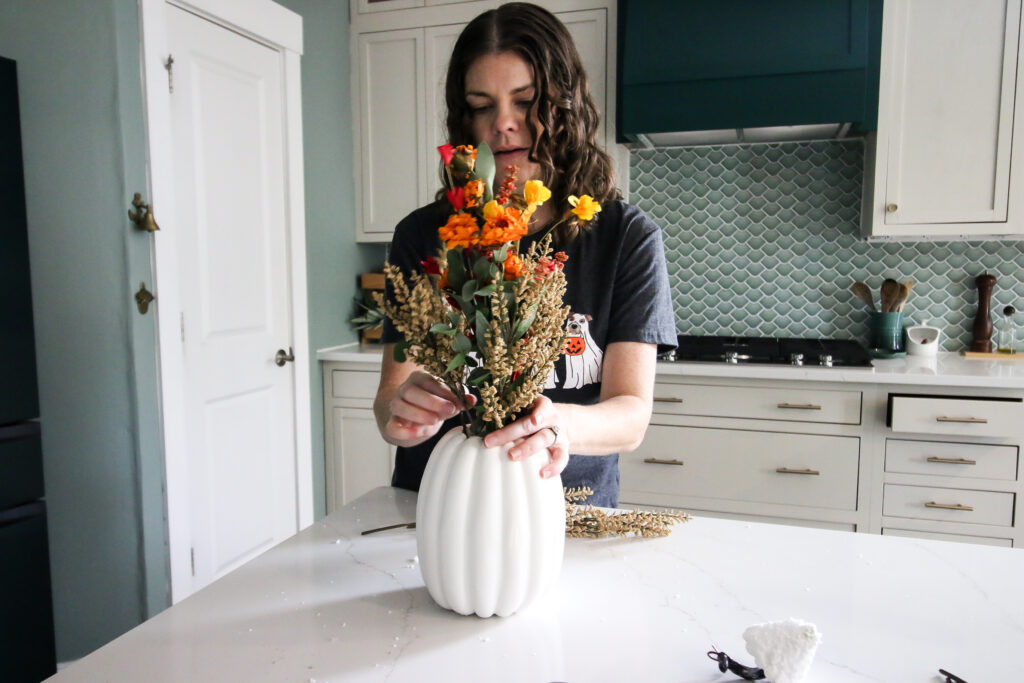
Step 3: Arrange the Flowers
Start adding your floral picks, bending and adjusting them to create a natural look.
Don’t be afraid to play around with the positioning until you’re happy with the shape—it’s all about balance!
The beauty of using picks is that they stay put and are easy to tweak. Remember - they are almost always wire, so you can bend and shape the branches!
Step 4: Enjoy Your Pumpkin Vase!
Once your flowers are arranged, you’re all set! This DIY Pumpkin Vase makes a perfect fall centerpiece for your dining table or a stunning addition to your front porch.
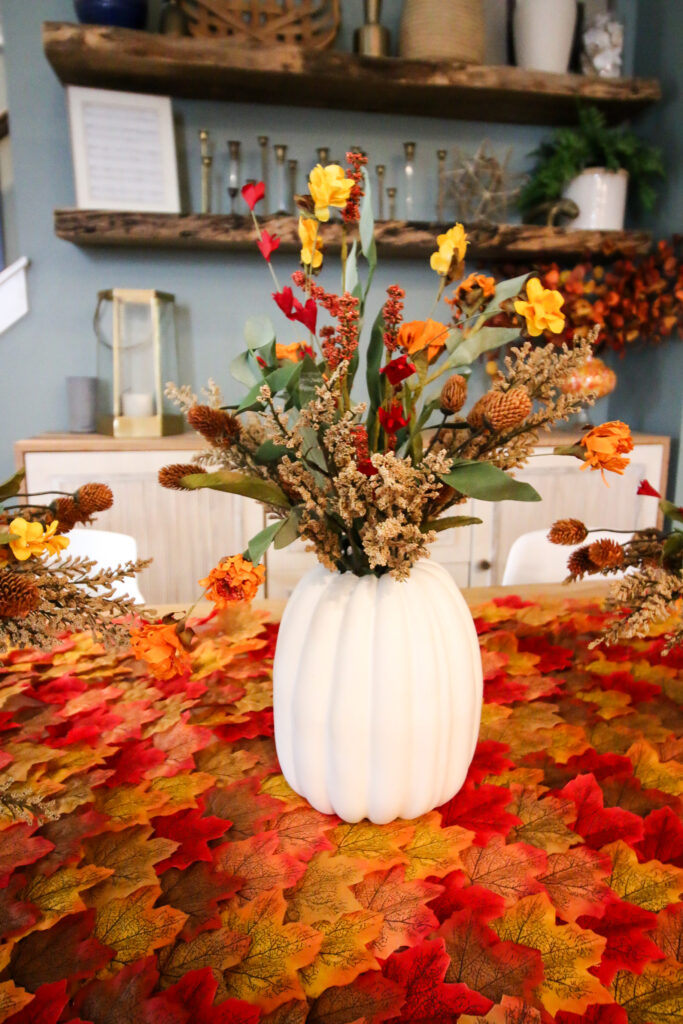
You can even gift it to someone special!
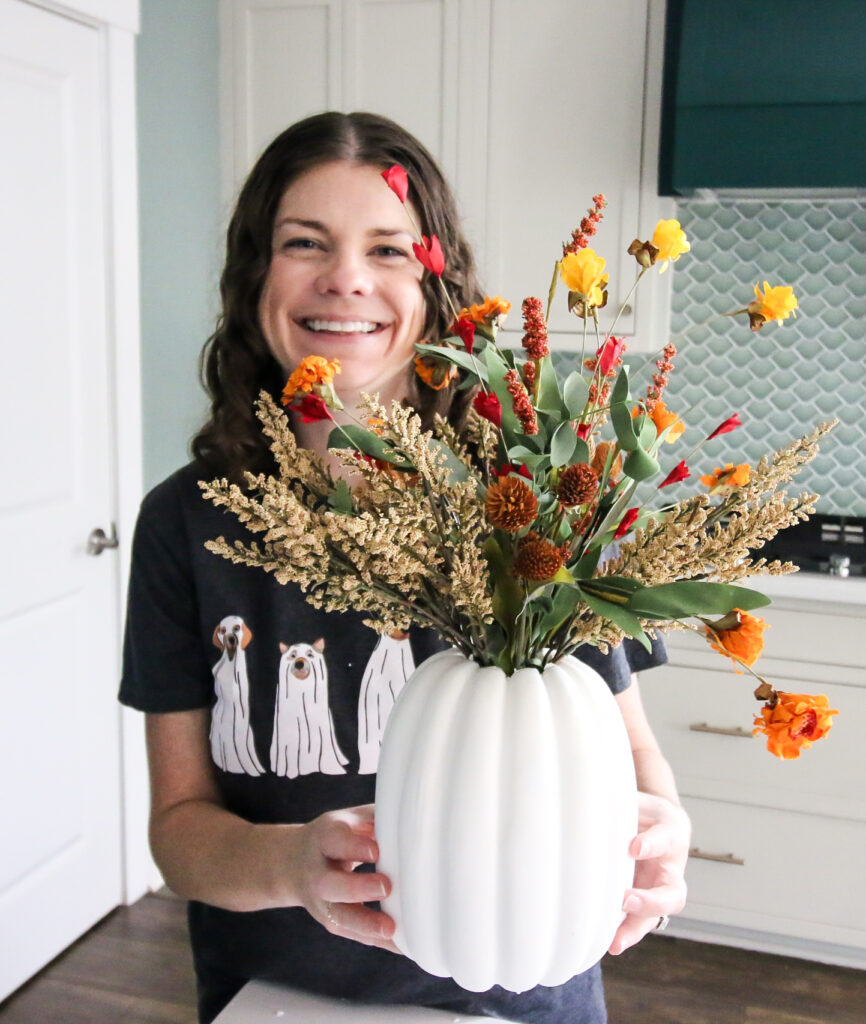
This pumpkin vase is such an easy, versatile project that adds a cozy fall vibe to any space. Pair it with our pumpkin candlesticks for a coordinated look or pop it in a tall planter on your porch for instant outdoor décor. Happy crafting and enjoy your new fall favorite!
Looking for something?
We've been doing this since 2012 so we have a LOT of blog posts!
Search stuff like: Ceiling Projects | DIY Plant Stands | Thrift Flips


Hello, I'm Morgan, half of the creative force behind CharlestonCrafted.com! With a passion for DIY that dates back to 2012, I've transformed three homes and now I'm dedicated to helping others craft their dream spaces. Let's turn your house into a home together!


