Want to add a sparkling and whimsical touch to your indoor Halloween decor? Here's how to make a DIY Disco Ball Light Up Cauldron for Halloween!
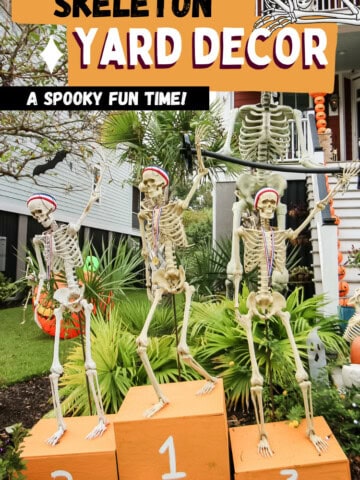
Halloween is such a fun holiday because, really, almost anything goes. It's such a fun excuse to be a little wild with your decorating and to really go all out!
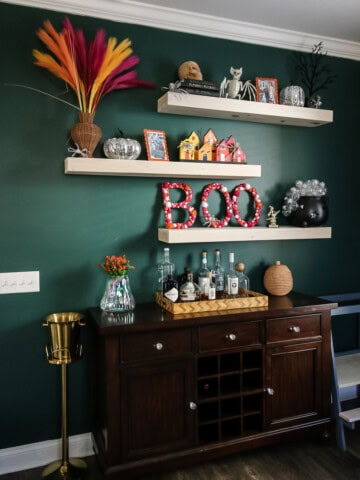
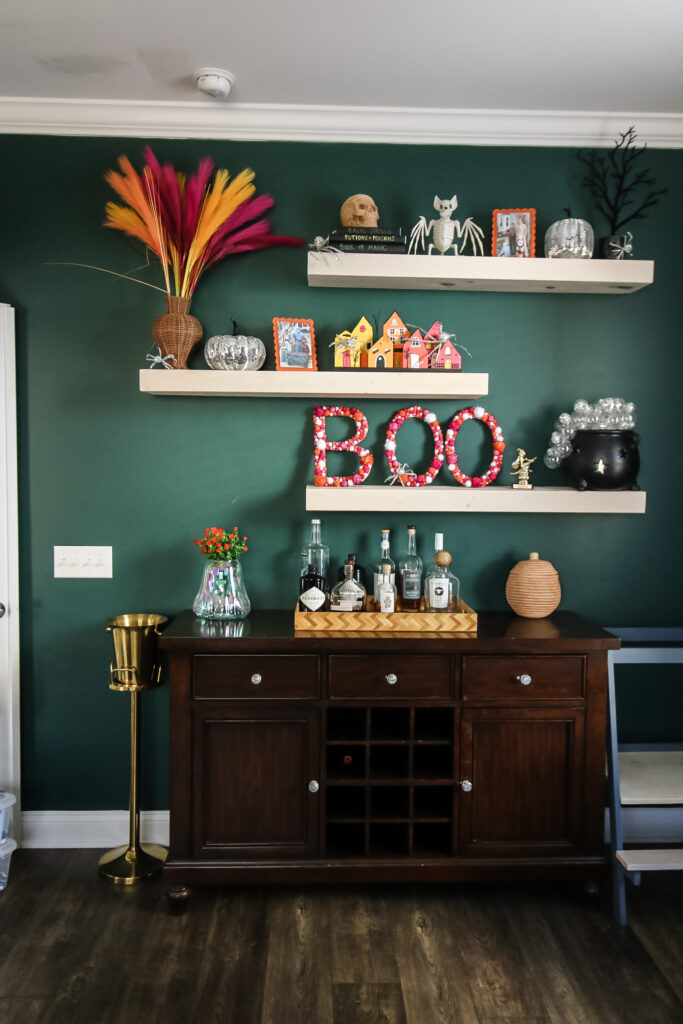
This year I decided to decorate the shelves in our guest bedroom with a colorful, sparkling theme.
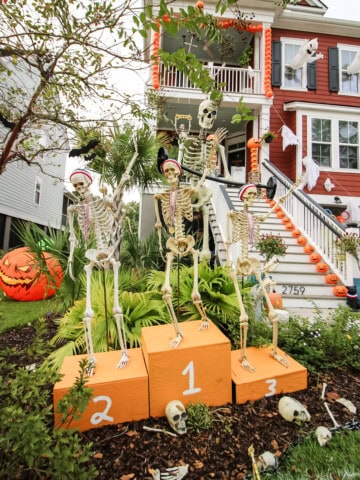
As a part of that, I decided to include my cauldron. But, it was looking a bit blah on it's own.
I experimented with adding flowers and bones, but decided to make it look like it was bubbling and glowing instead.
This was actually a super easy craft - here's how to do it yourself!
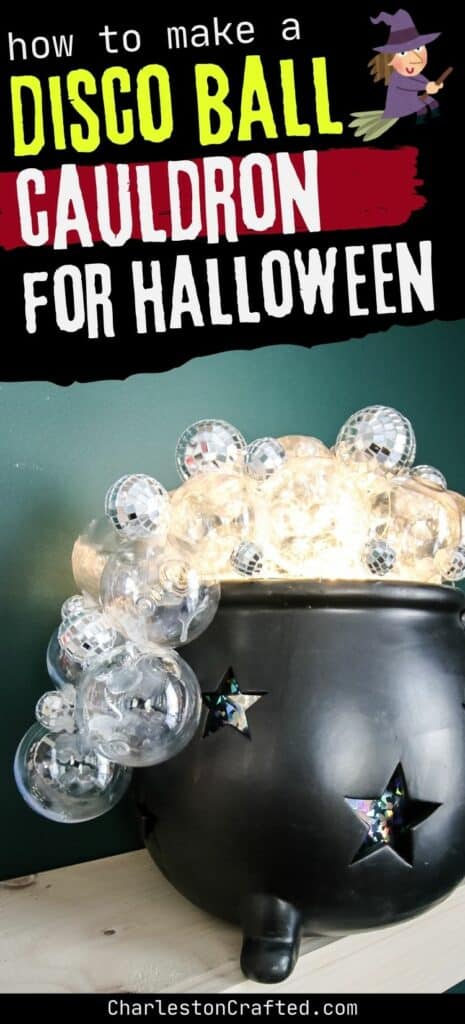
DIY Disco Ball Light Up Cauldron for Halloween
Here's how easy it is to make this disco ball cauldron!
Supplies needed:
- Cauldron
- Brown paper, cardboard, or newspaper
- Holographic paper (optional)
- Scissors
- Battery powered string lights
- Clear ball ornaments
- Small disco balls
- Hot glue
Steps to make:
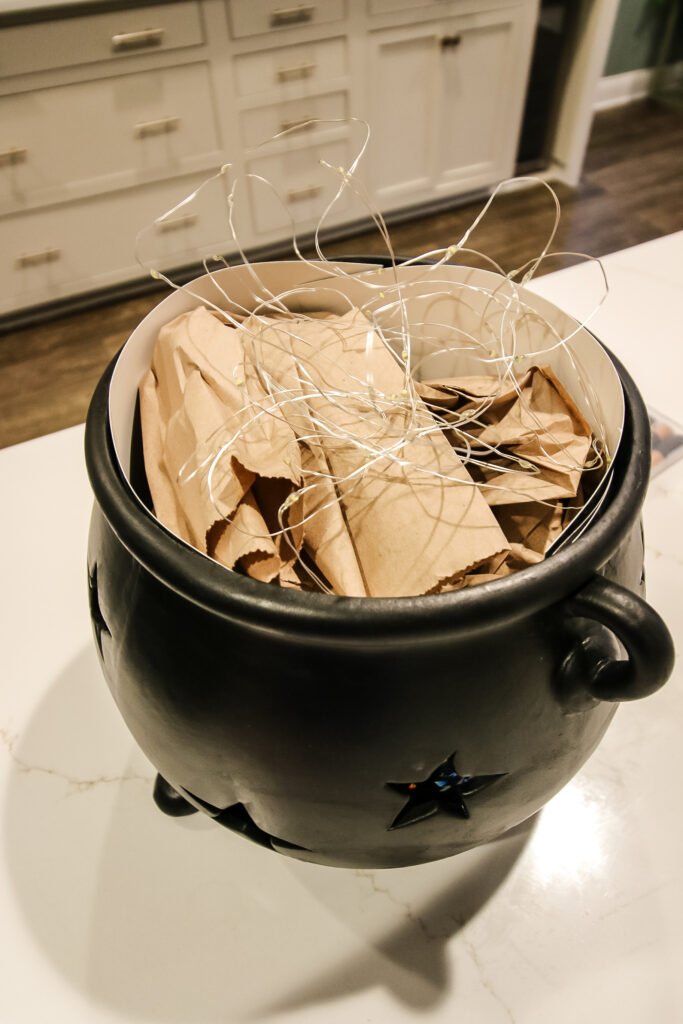
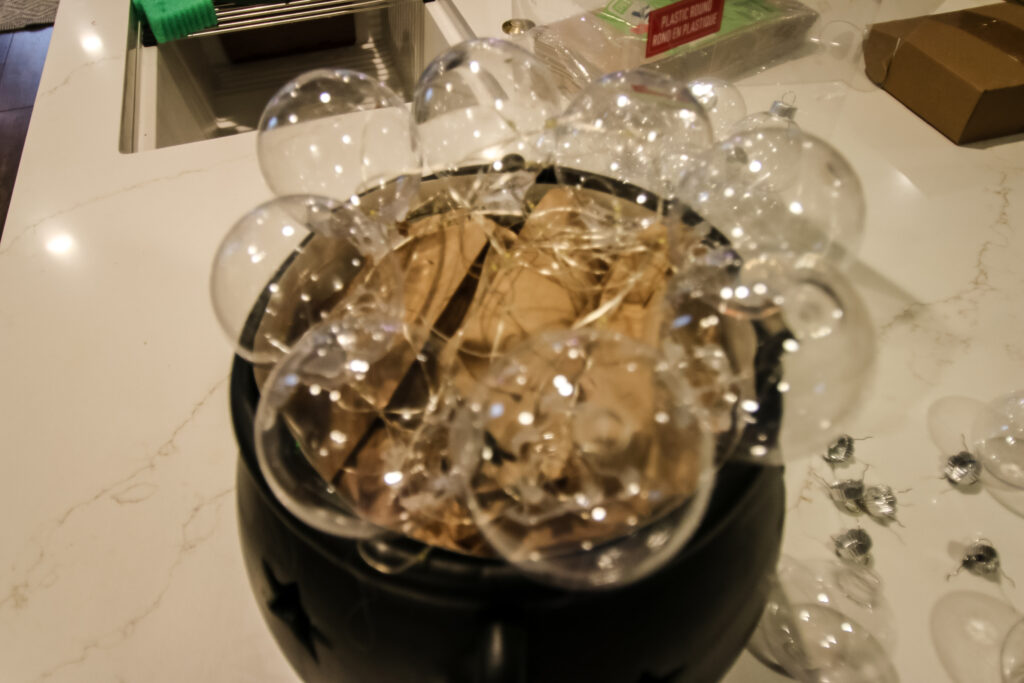
STEP 1: Fill Cauldron
You want your ornaments to look like they are spilling out of the cauldron without needing SO MANY ornaments as to actually fill it.
To do this, I filled my cauldron with balled up brown paper. This was packing paper from packages, but you could also use loosely balled up paper bags, or even plastic bags or bubble wrap.
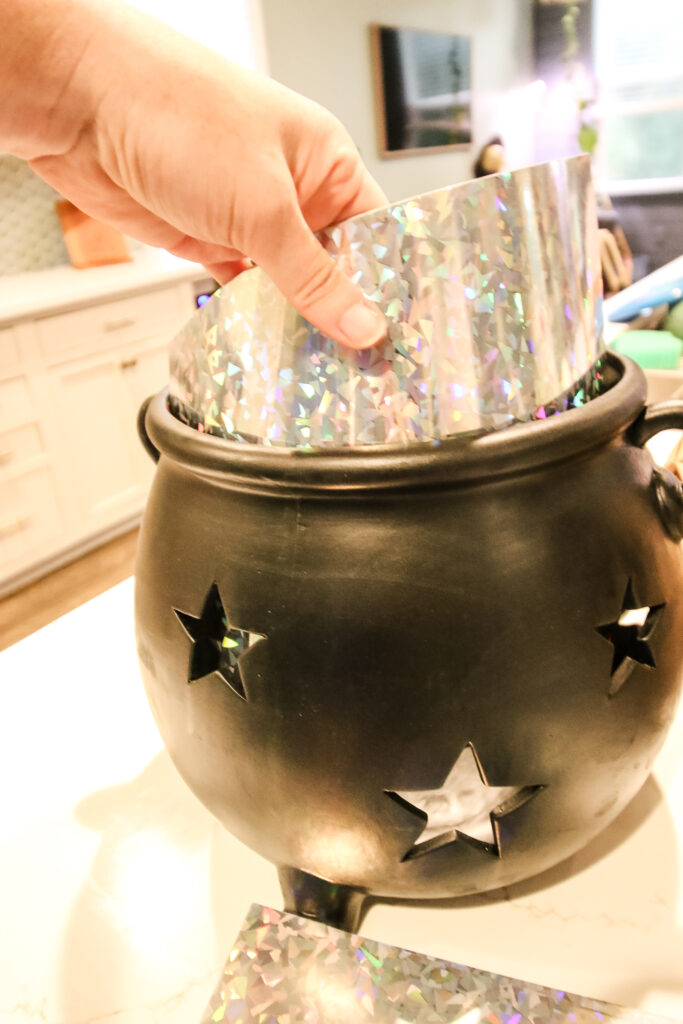
Since my cauldron has holes in the side, I added some holographic paper inside the cauldron to cover the brown paper through the holes.
I also adding a circle of holographic paper on top of the balled up paper and secured it with hot glue, to cover up the filler brown paper balls.
This step is optional, but I think it looks better. I actually did the whole project without it, didn't like seeing the brown paper, and went back and added the holographic paper!
STEP 2: Add lights
Add string lights on top of your paper. Make sure the battery pack is accessible so you can turn the lights on and off!
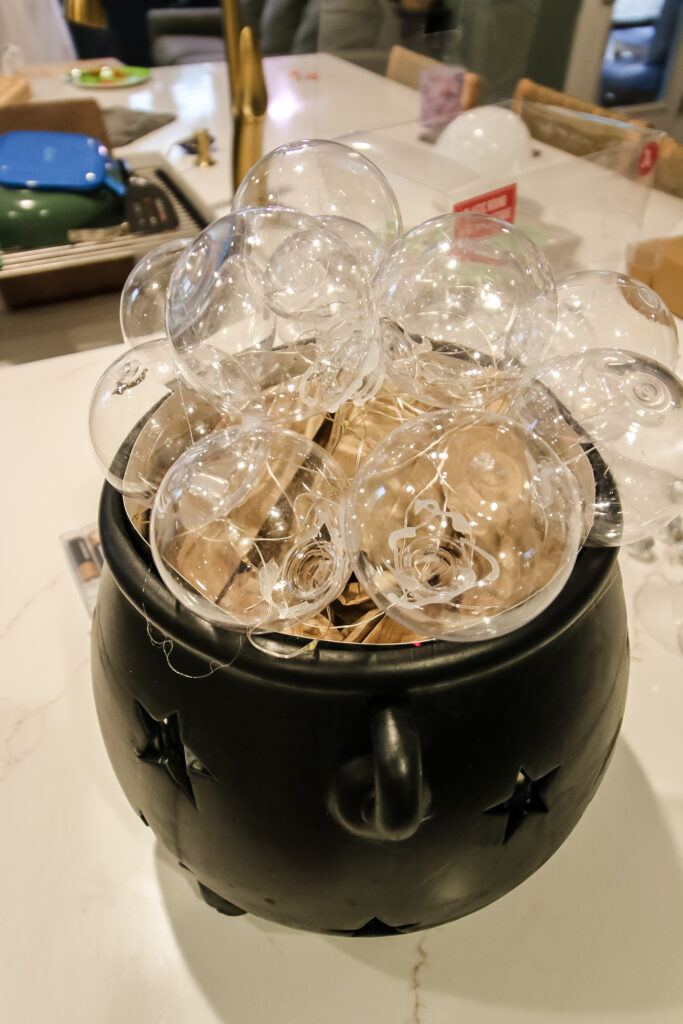
STEP 3: Add ornaments
Now for the fun. Take clear ball ornaments and remove the silver hook/topper. Use hot glue to attach to the top of the cauldron. I arranged in a circle around the rim and then moved inwards like making a pyramid.
Be sure to hot glue the ornaments to the cauldron but also to each other where they touch so they are very secure.

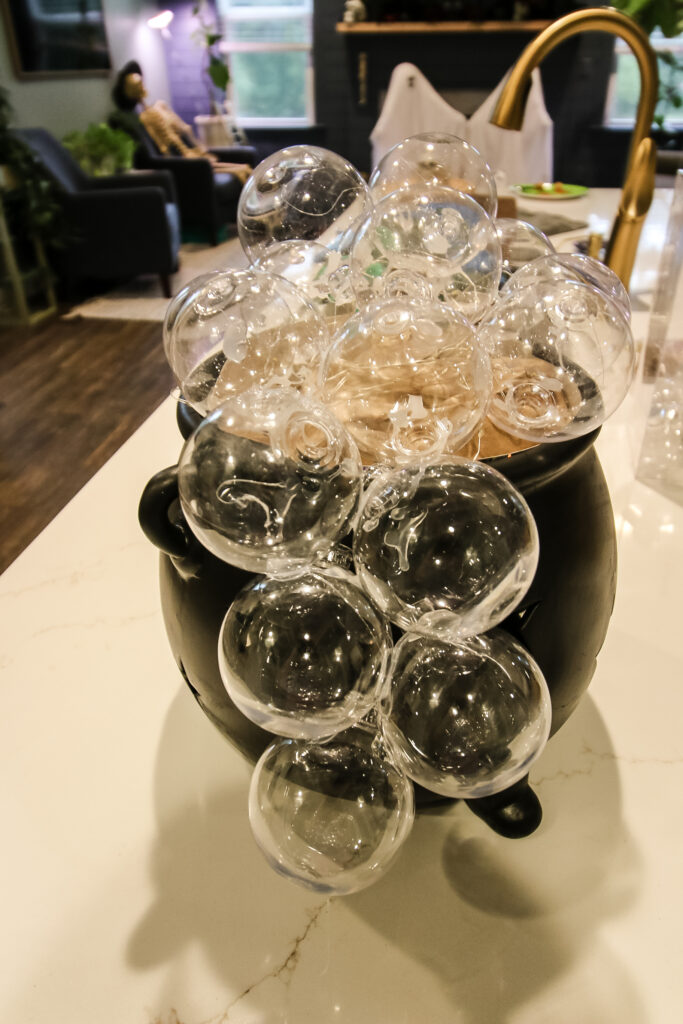
I also decided to add a few ornaments spilling out one side of the cauldron. These are just hot glued to each other and not the actual cauldron.
NOTE: I wish I had pulled some of the lights over and had them go under the ornaments spilling out of the cauldron! That would look so cool!
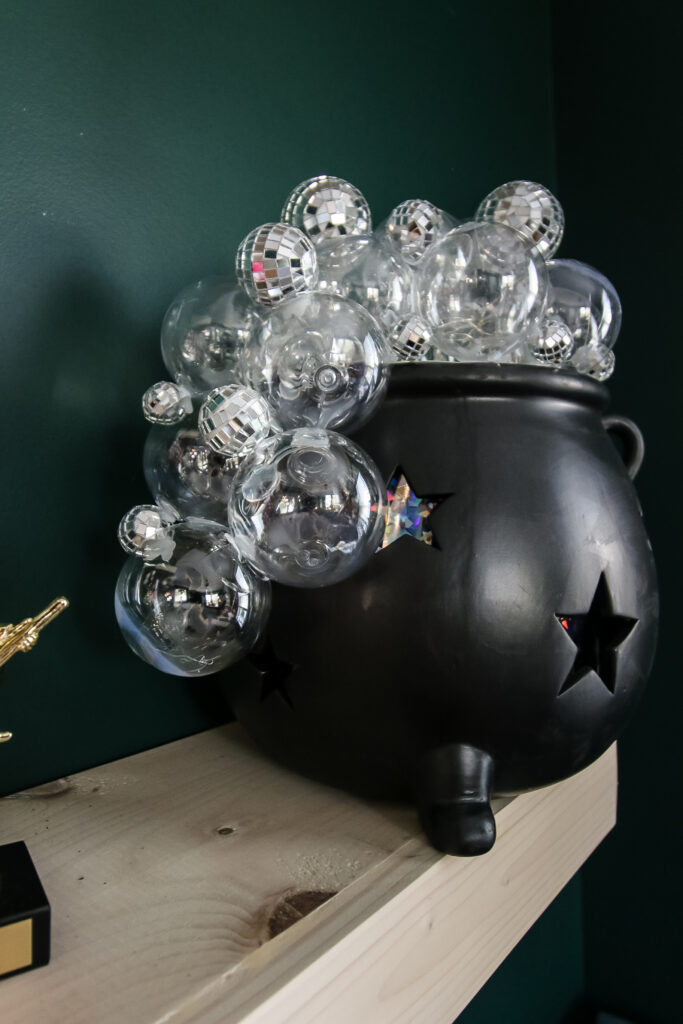
STEP 4: Add disco balls
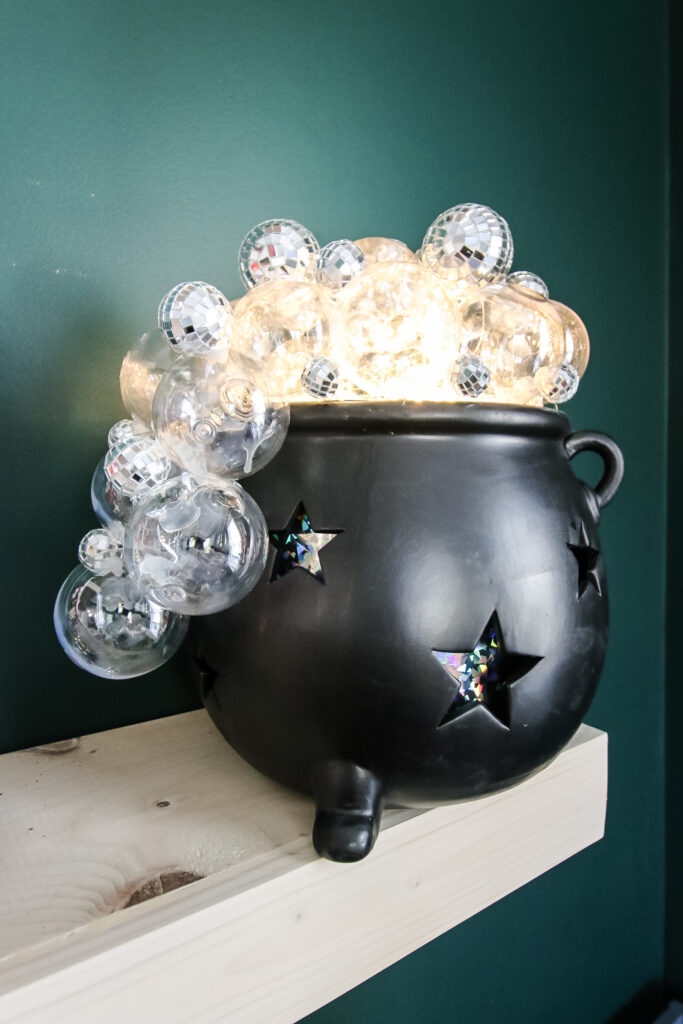
Use hot glue to attach disco balls on top of the ornaments. I used them to fill gaps and add a bit of sparkle. I love how the lights hit them and they reflect on the clear ball ornaments!

This is a fun and easy indoor Halloween decor idea. It can be customized with colored balls or lights to match your decor and would be such fun decoration for a Halloween party!
Planning a big Halloween?
Be sure to grab our FREE Halloween Decor Planner to get all of your plans organized!

Looking for something?
We've been doing this since 2012 so we have a LOT of blog posts!
Search stuff like: Ceiling Projects | DIY Plant Stands | Thrift Flips

Hello, I'm Morgan, half of the creative force behind CharlestonCrafted.com! With a passion for DIY that dates back to 2012, I've transformed three homes and now I'm dedicated to helping others craft their dream spaces. Let's turn your house into a home together!