Want to add a DIY touch to your Christmas porch or yard decor? Here's how to make a DIY Flower Pot Christmas Tree - an easy Christmas craft!
To say that we love Christmas trees around here might be a bit of an understatement. We have made a ton of Christmas tree crafts - from lights to PVC pipe to pallet wood to sticks and moss and sea glass.
I like to add a few crafts to our collection this year. So, I decided to make a pot tree to put in our front yard!
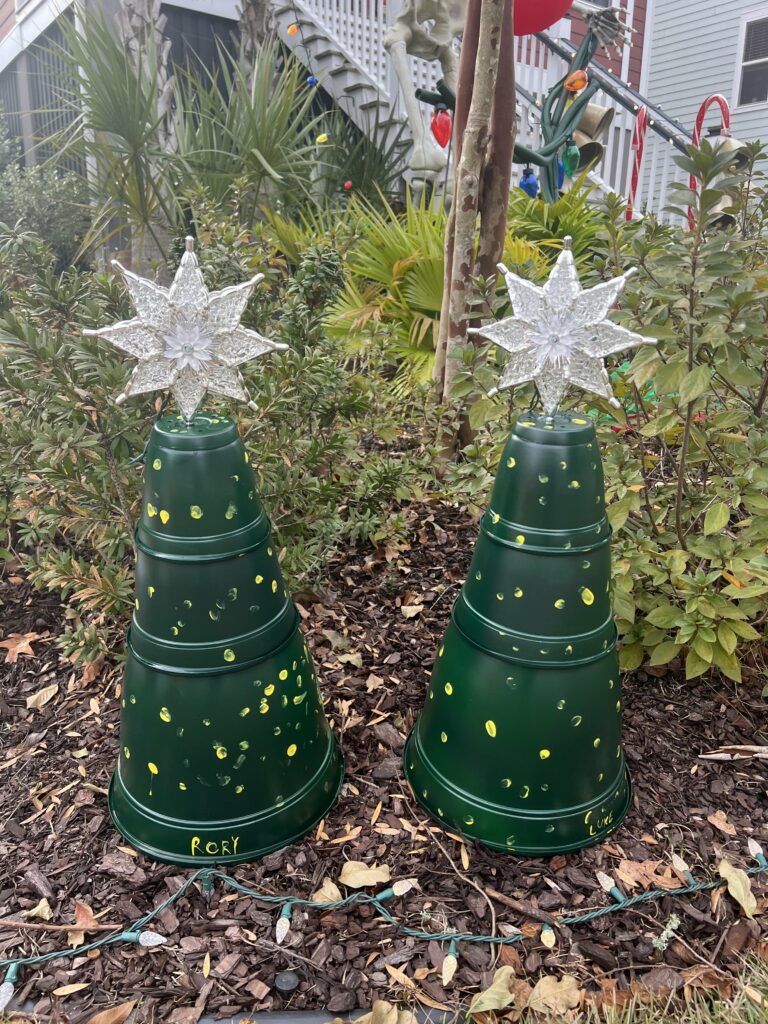
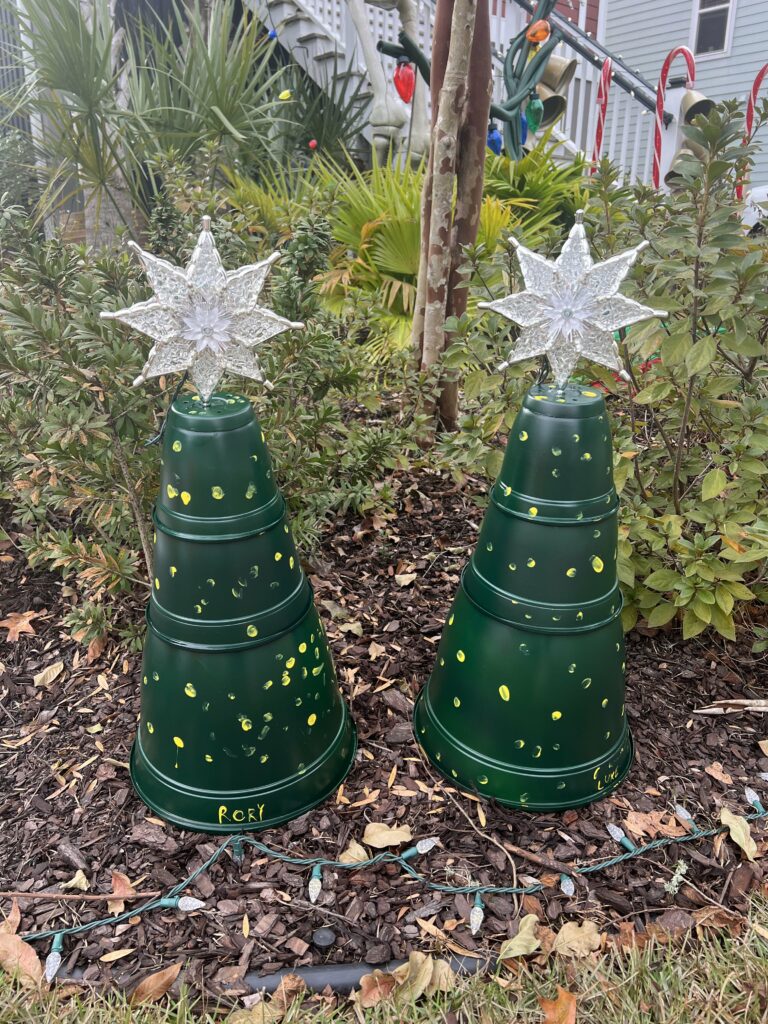
My kids got excited about this project and helping, so we decided to whip up two trees - one for each kid to paint.
It ended up being so quick and easy to make (ten second assembly, once the pots were painted!) and the kids really, really enjoyed painting them.
And that's what the holiday season is all about!
How to make a DIY Flower Pot Christmas Tree
Here's how easy it is to make these flower pot Christmas trees!
Supplies needed:
- Flower pots in 3 sizes (small, medium, large, sized so they stack when upside down)
- Dark green spray paint
- Hot glue OR a stronger glue like e6000 or gorilla glue
- Yellow or white craft paint
- If adding topper: tree topper and drill with drill bit to fit
A note on pots: if you want something very heavy weight, choose clay or terracotta pots. They will be the most sturdy, especially in high winds.
I wanted something lightweight, knowing it might blow over on windy days. I chose plastic pots.
Steps to make:
STEP 1: Design the layout
Head to the garden center or your stash of pots. Pull a large, medium, and small size preferably of matching pots.
Stack on the ground like a snowman - largest on the bottom. Make sure the pots are flipped upside down.
Test until you find the 3 posts that stack together neatly for a rather Christmas tree-like shape.
Those are your pots!
STEP 2: Paint the pots
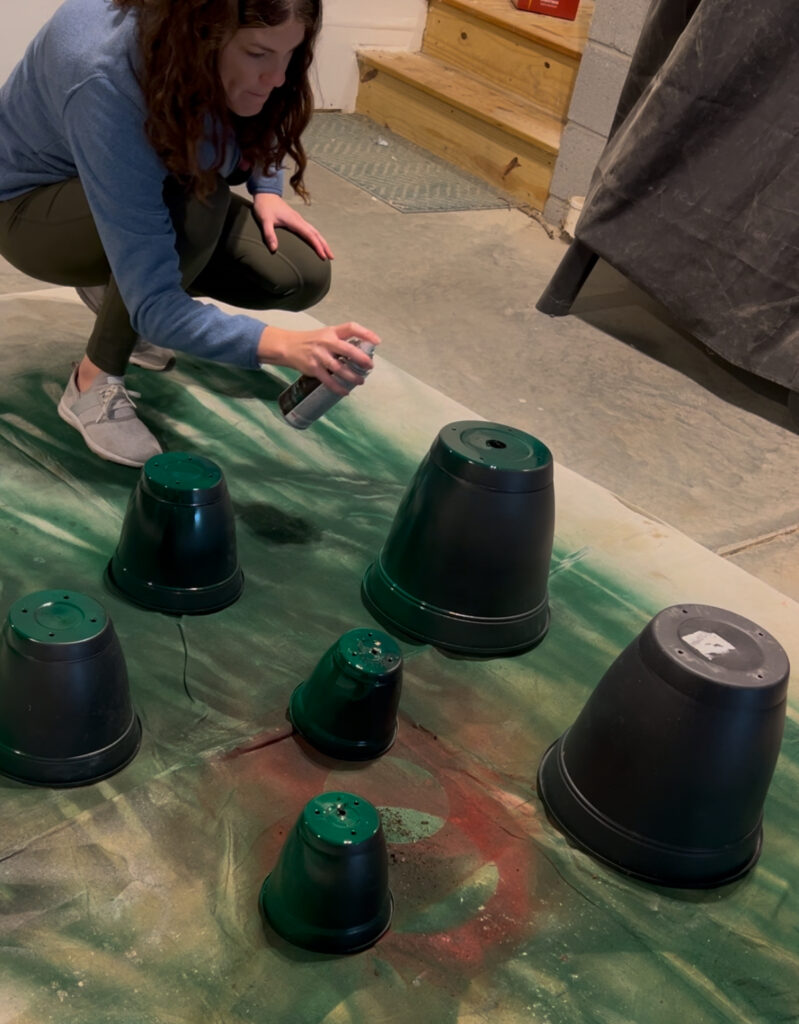
Separate the pots and spray with dark green spray paint. Do many thin coats to avoid drips.
STEP 3: Glue together
Once fully dry, stack your pots again. Apply glue where the pots touch to hold them together.
I opted for Hot Glue. I wanted to be able to pop them apart at the end of the season and store them nested inside each other.
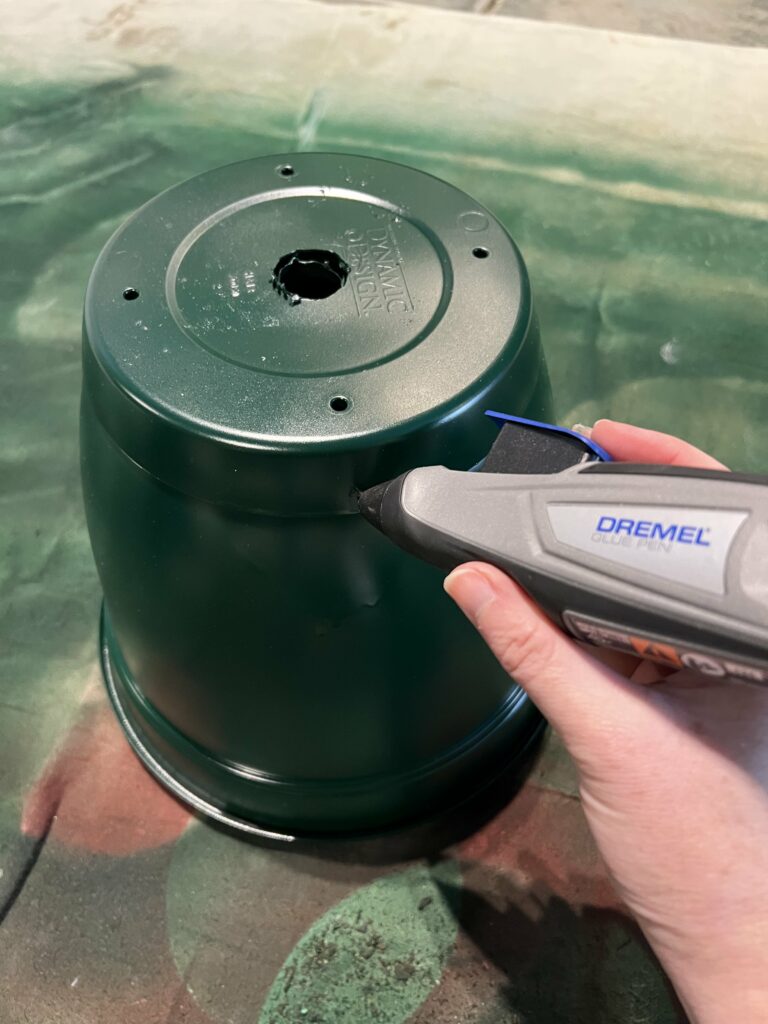
If you want a more permanent solution, use a more permanent glue like gorilla glue or e6000.
Let dry completely.
STEP 4: Add decorations
Now, you can decorate if you want. Paint on lights or ornaments.
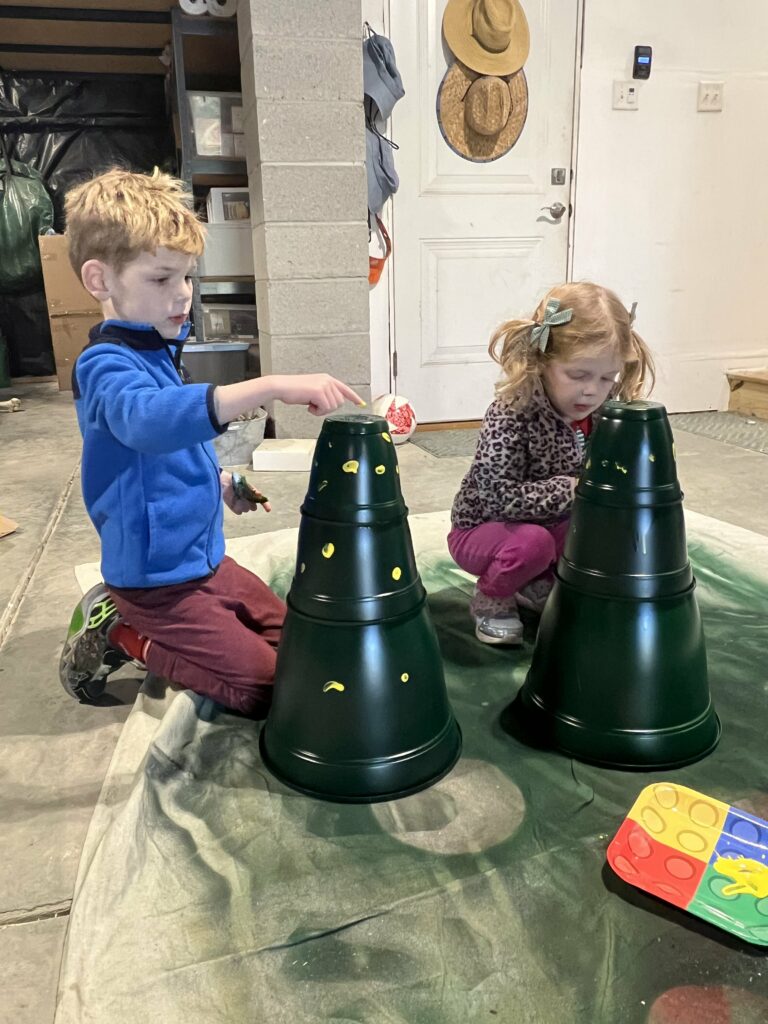
I wanted my kids to decorate these, so we did fingerprint lights.
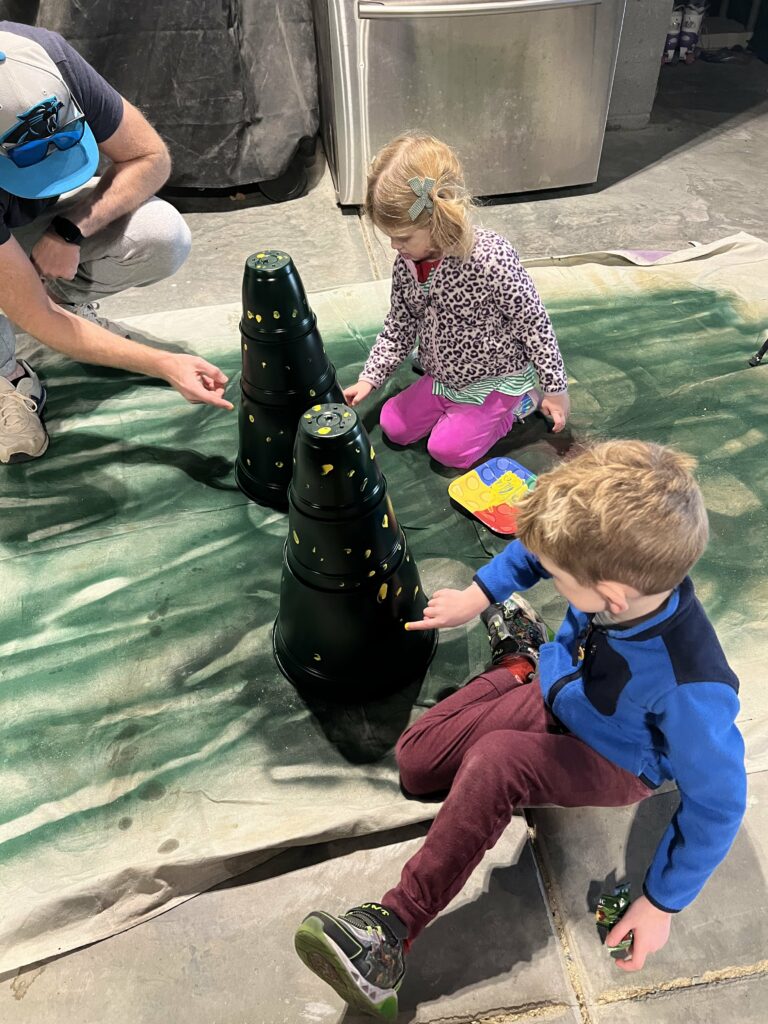
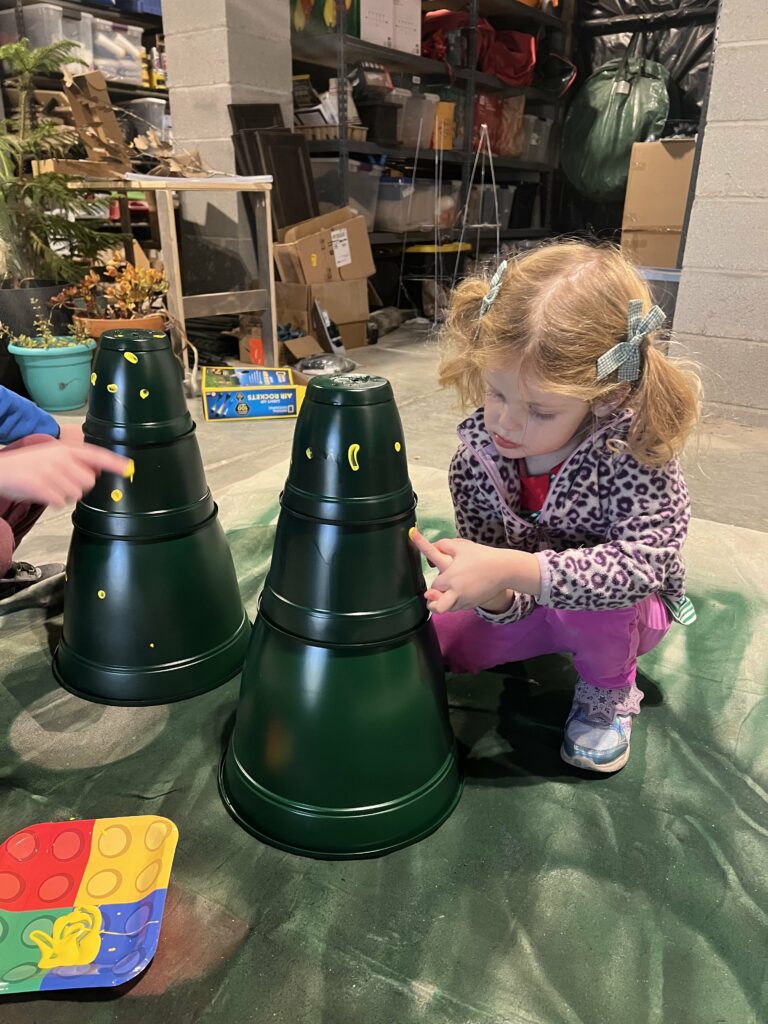
It's just yellow acrylic craft paint, dipped their finger in and did fingerprints all over.
It's not perfect, I gave them no restrictions. They love getting involved in our projects!
STEP 5: Optional: add a topper
This is optional, but you can add a tree topper. We had these extra plug in light up toppers, so I decided to add them.
I found a drill bit that matched the size of one tip of a star and drilled a hole. Then, I stuck the topper in that hole. It stands really nicely!
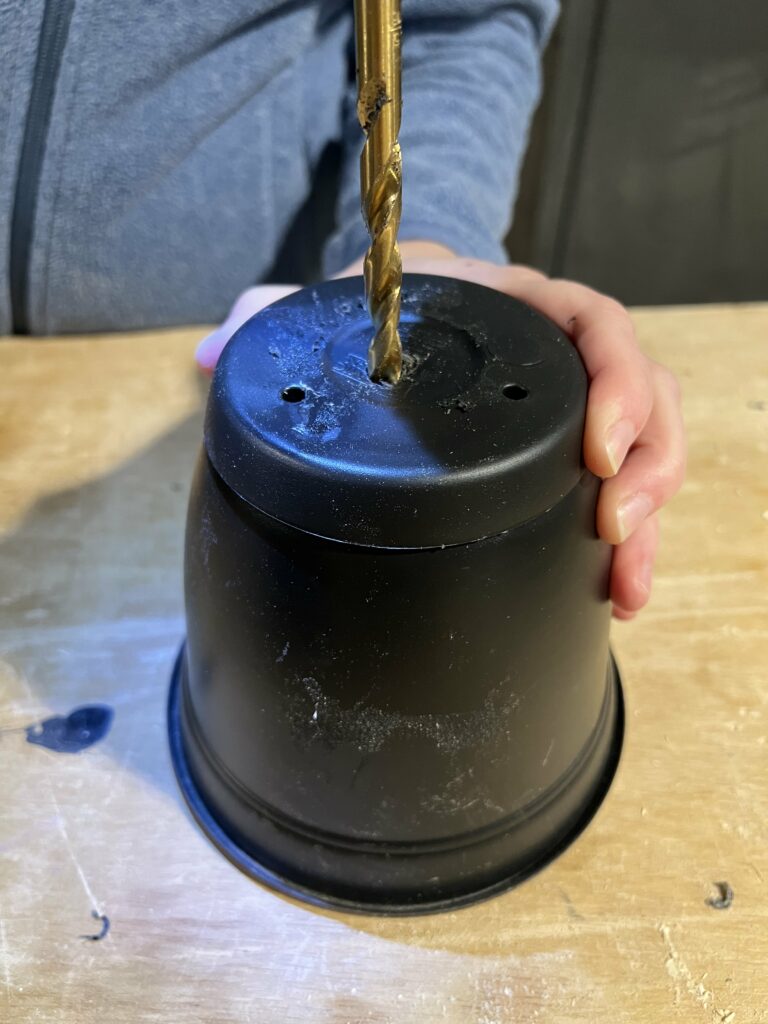
You could also glue a topper on top with e6000 or hot glue.
I did contemplate drilling a hole big enough to run the cord of the topper all the way through the pots. But, the cord plug was so big, I didn't have a drill bit large enough! Yikes!
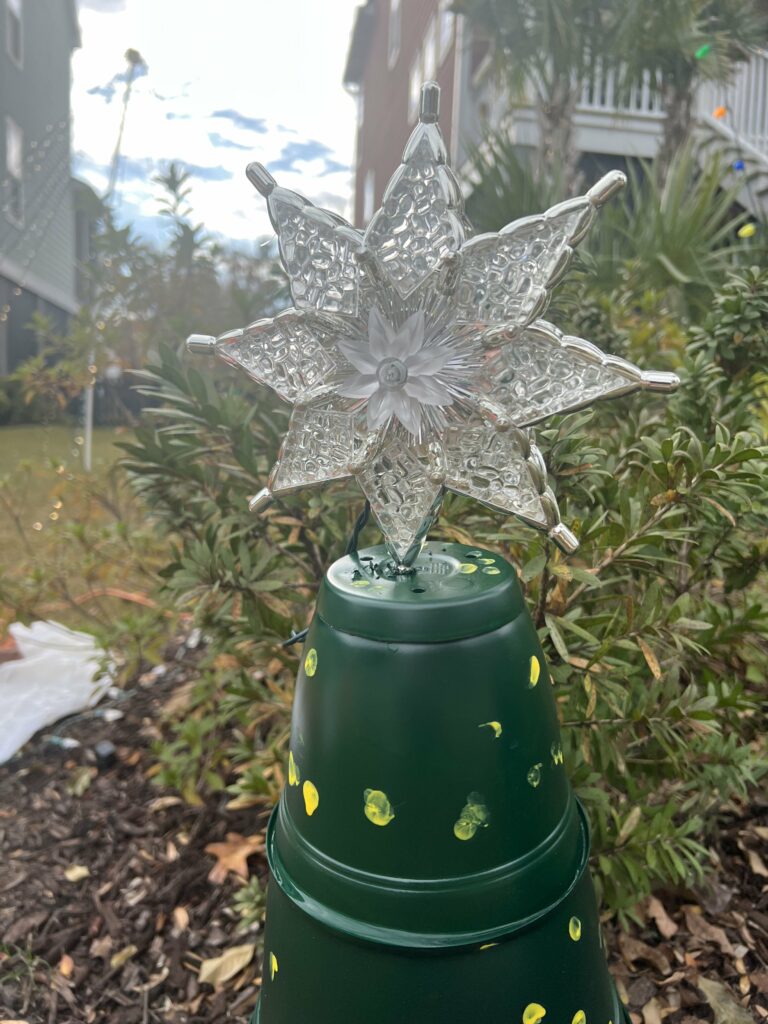
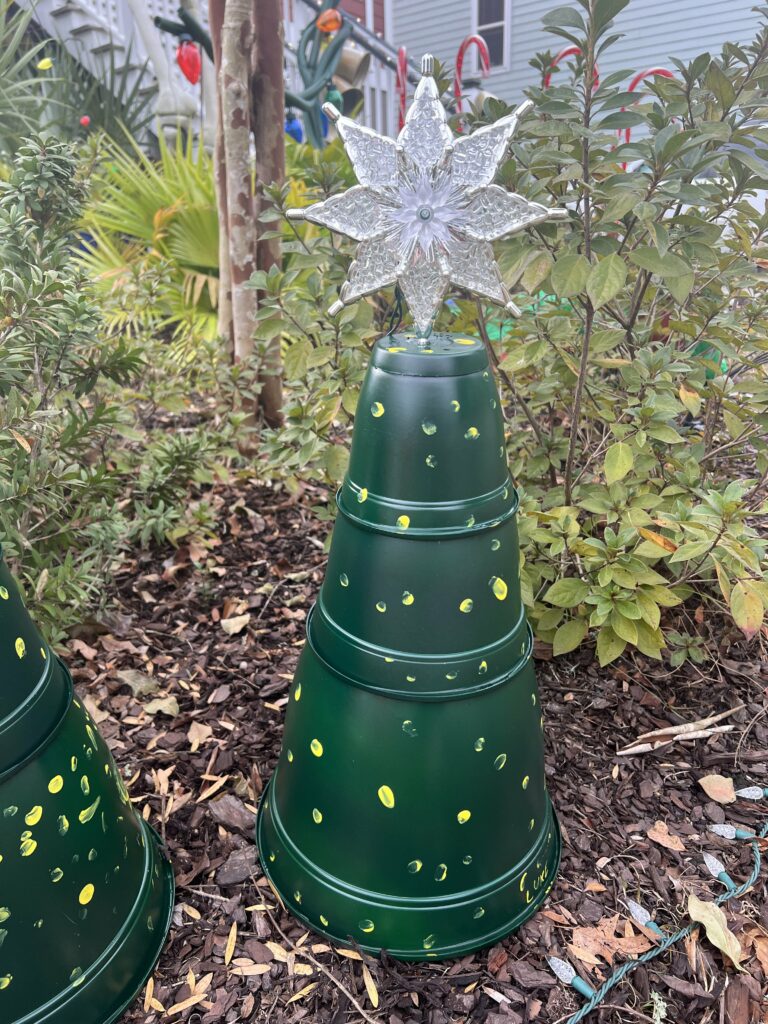
I love how these turned out - super simple, quick to make, and a sweet little outdoor Christmas decoration idea!
Other DIY Christmas tree shaped decor ideas
Don't miss some of our other tree-shaped DIY Christmas decor ideas to keep you busy this holiday season!
- DIY wooden tabletop Christmas trees
- DIY outdoor slatted Christmas tree
- DIY dowel Christmas tree
- Boho wall hanging Christmas tree
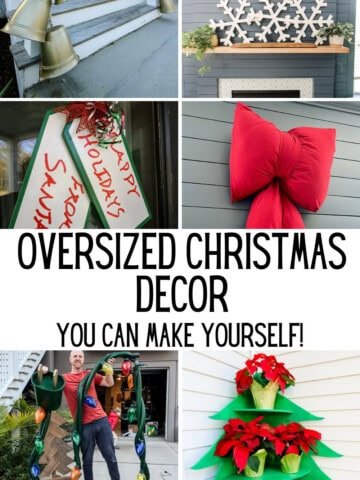
- DIY Christmas tree poinsettia stand
- DIY Christmas tree shaped card holder
Looking for something?
We've been doing this since 2012 so we have a LOT of blog posts!
Search stuff like: Ceiling Projects | DIY Plant Stands | Thrift Flips


Hello, I'm Morgan, half of the creative force behind CharlestonCrafted.com! With a passion for DIY that dates back to 2012, I've transformed three homes and now I'm dedicated to helping others craft their dream spaces. Let's turn your house into a home together!


