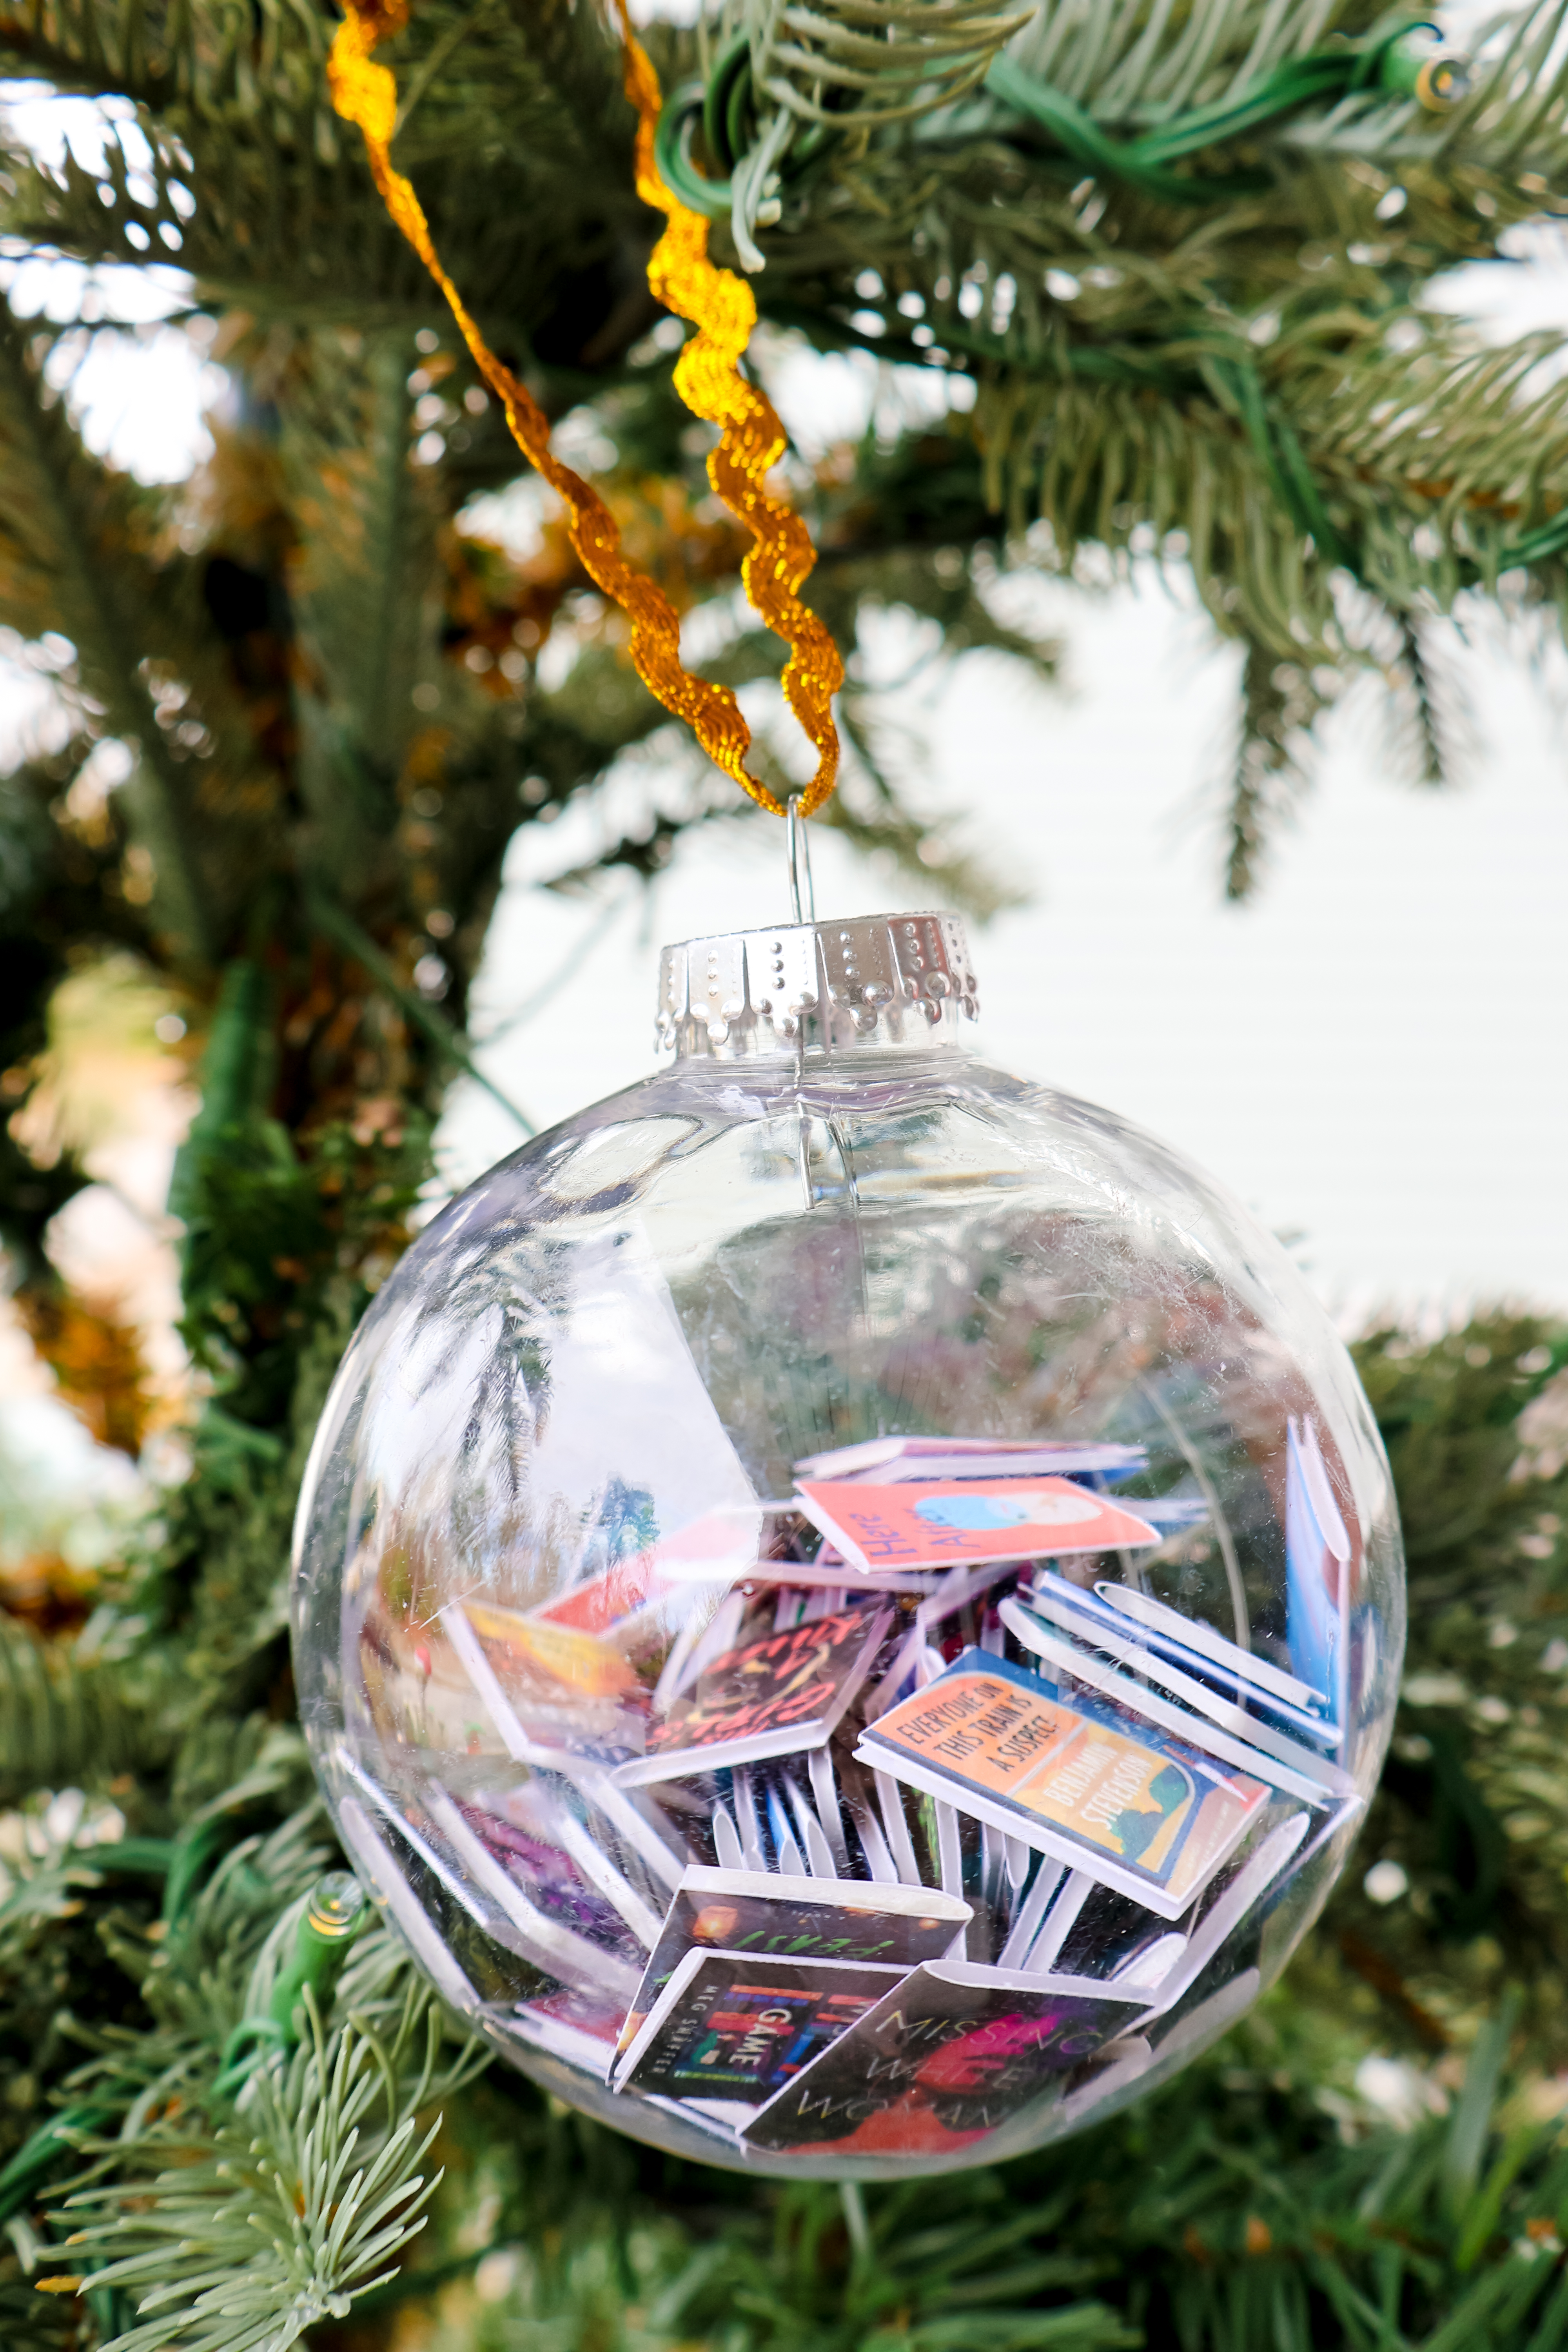
Love to read? Celebrate all of your reading by making a special keepsake ornament! Here's how to make a year of books Christmas ornament with a free canva template!!
Reading is a big hobby of mine, and because of that, I go through quite a few books every year. I was so excited to see TikTok videos of people making ornaments showing off all of the books that they read in a year.
Now, I read a lot – 79 books in 2024 –but you can make this ornament for any size reading collection.
If you're in a book club, it would be so fun to put the 12 books from the year into ornaments for all of your friends. There are just so many possibilities.
I think I'm gonna go get some more of these large ornaments and make them for past years reading, since goodreads makes it so easy to see all of my reading history.
Anyways, here is a my take on a simplified tutorial for how to make a year of books ornament.
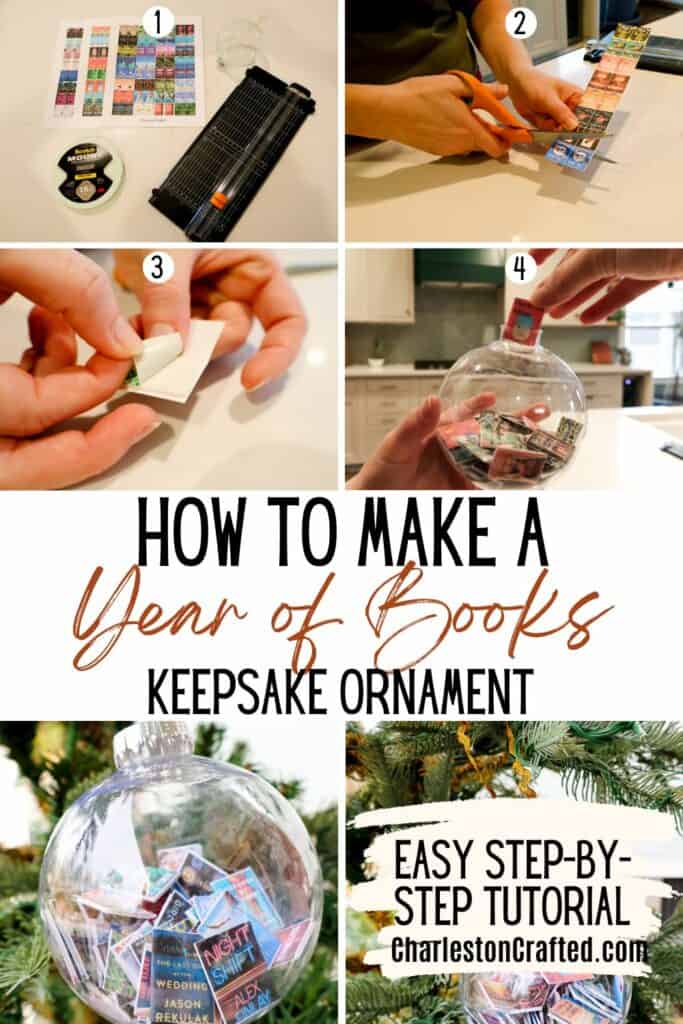
How to make a year of books Christmas ornament
Here's how easy it is to make this book lovers custom ornament!
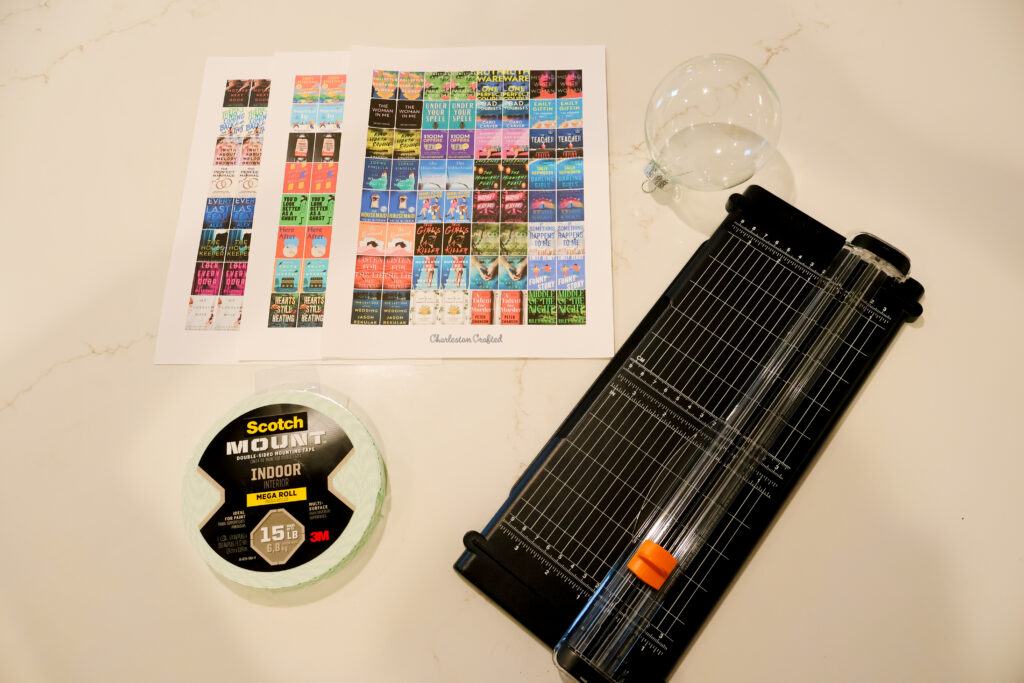
Supplies to make it:
- Canva template - get it here
- Printer + paper (preferably cardstock)
- Paper slicer or scissors
- Double sided mounting tape
- Fillable ornament - I used these 100mm sized balls
- Ribbon or hanger
Steps to make the ornament:
STEP 1: Create your Template
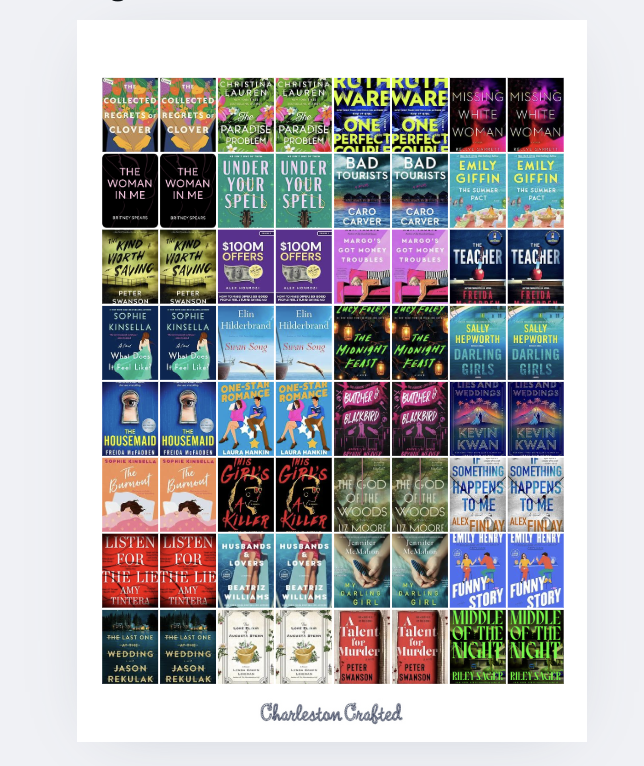
Use my canva template to add the images of all of your book covers. To do this, make a copy of the template.
If you use GoodReads or a similar app, open your year of books. Right click each image and save to a folder on your computer. Once you are done saving, drag them into canva.
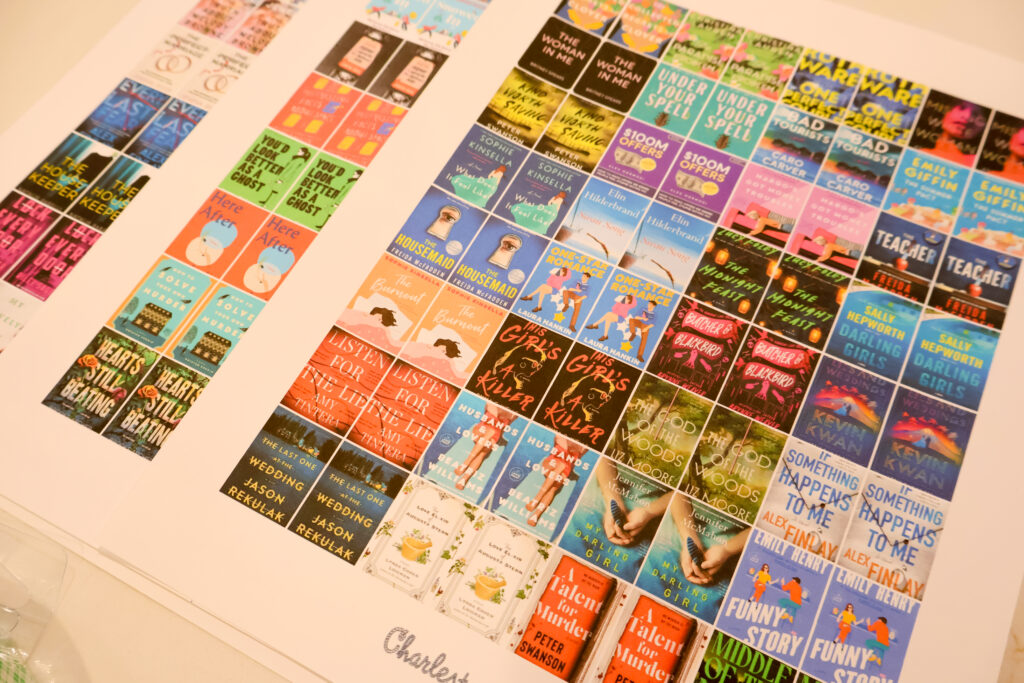
Add the images to the template. You should have 2 of each image, repeating next to each other in the template. This way, you can fold it and have the same image for both the front and back covers of your "book".

STEP 2: Print
Download your file as a PDF and print it - not double sided! I prefer printing on cardstock if you have it.
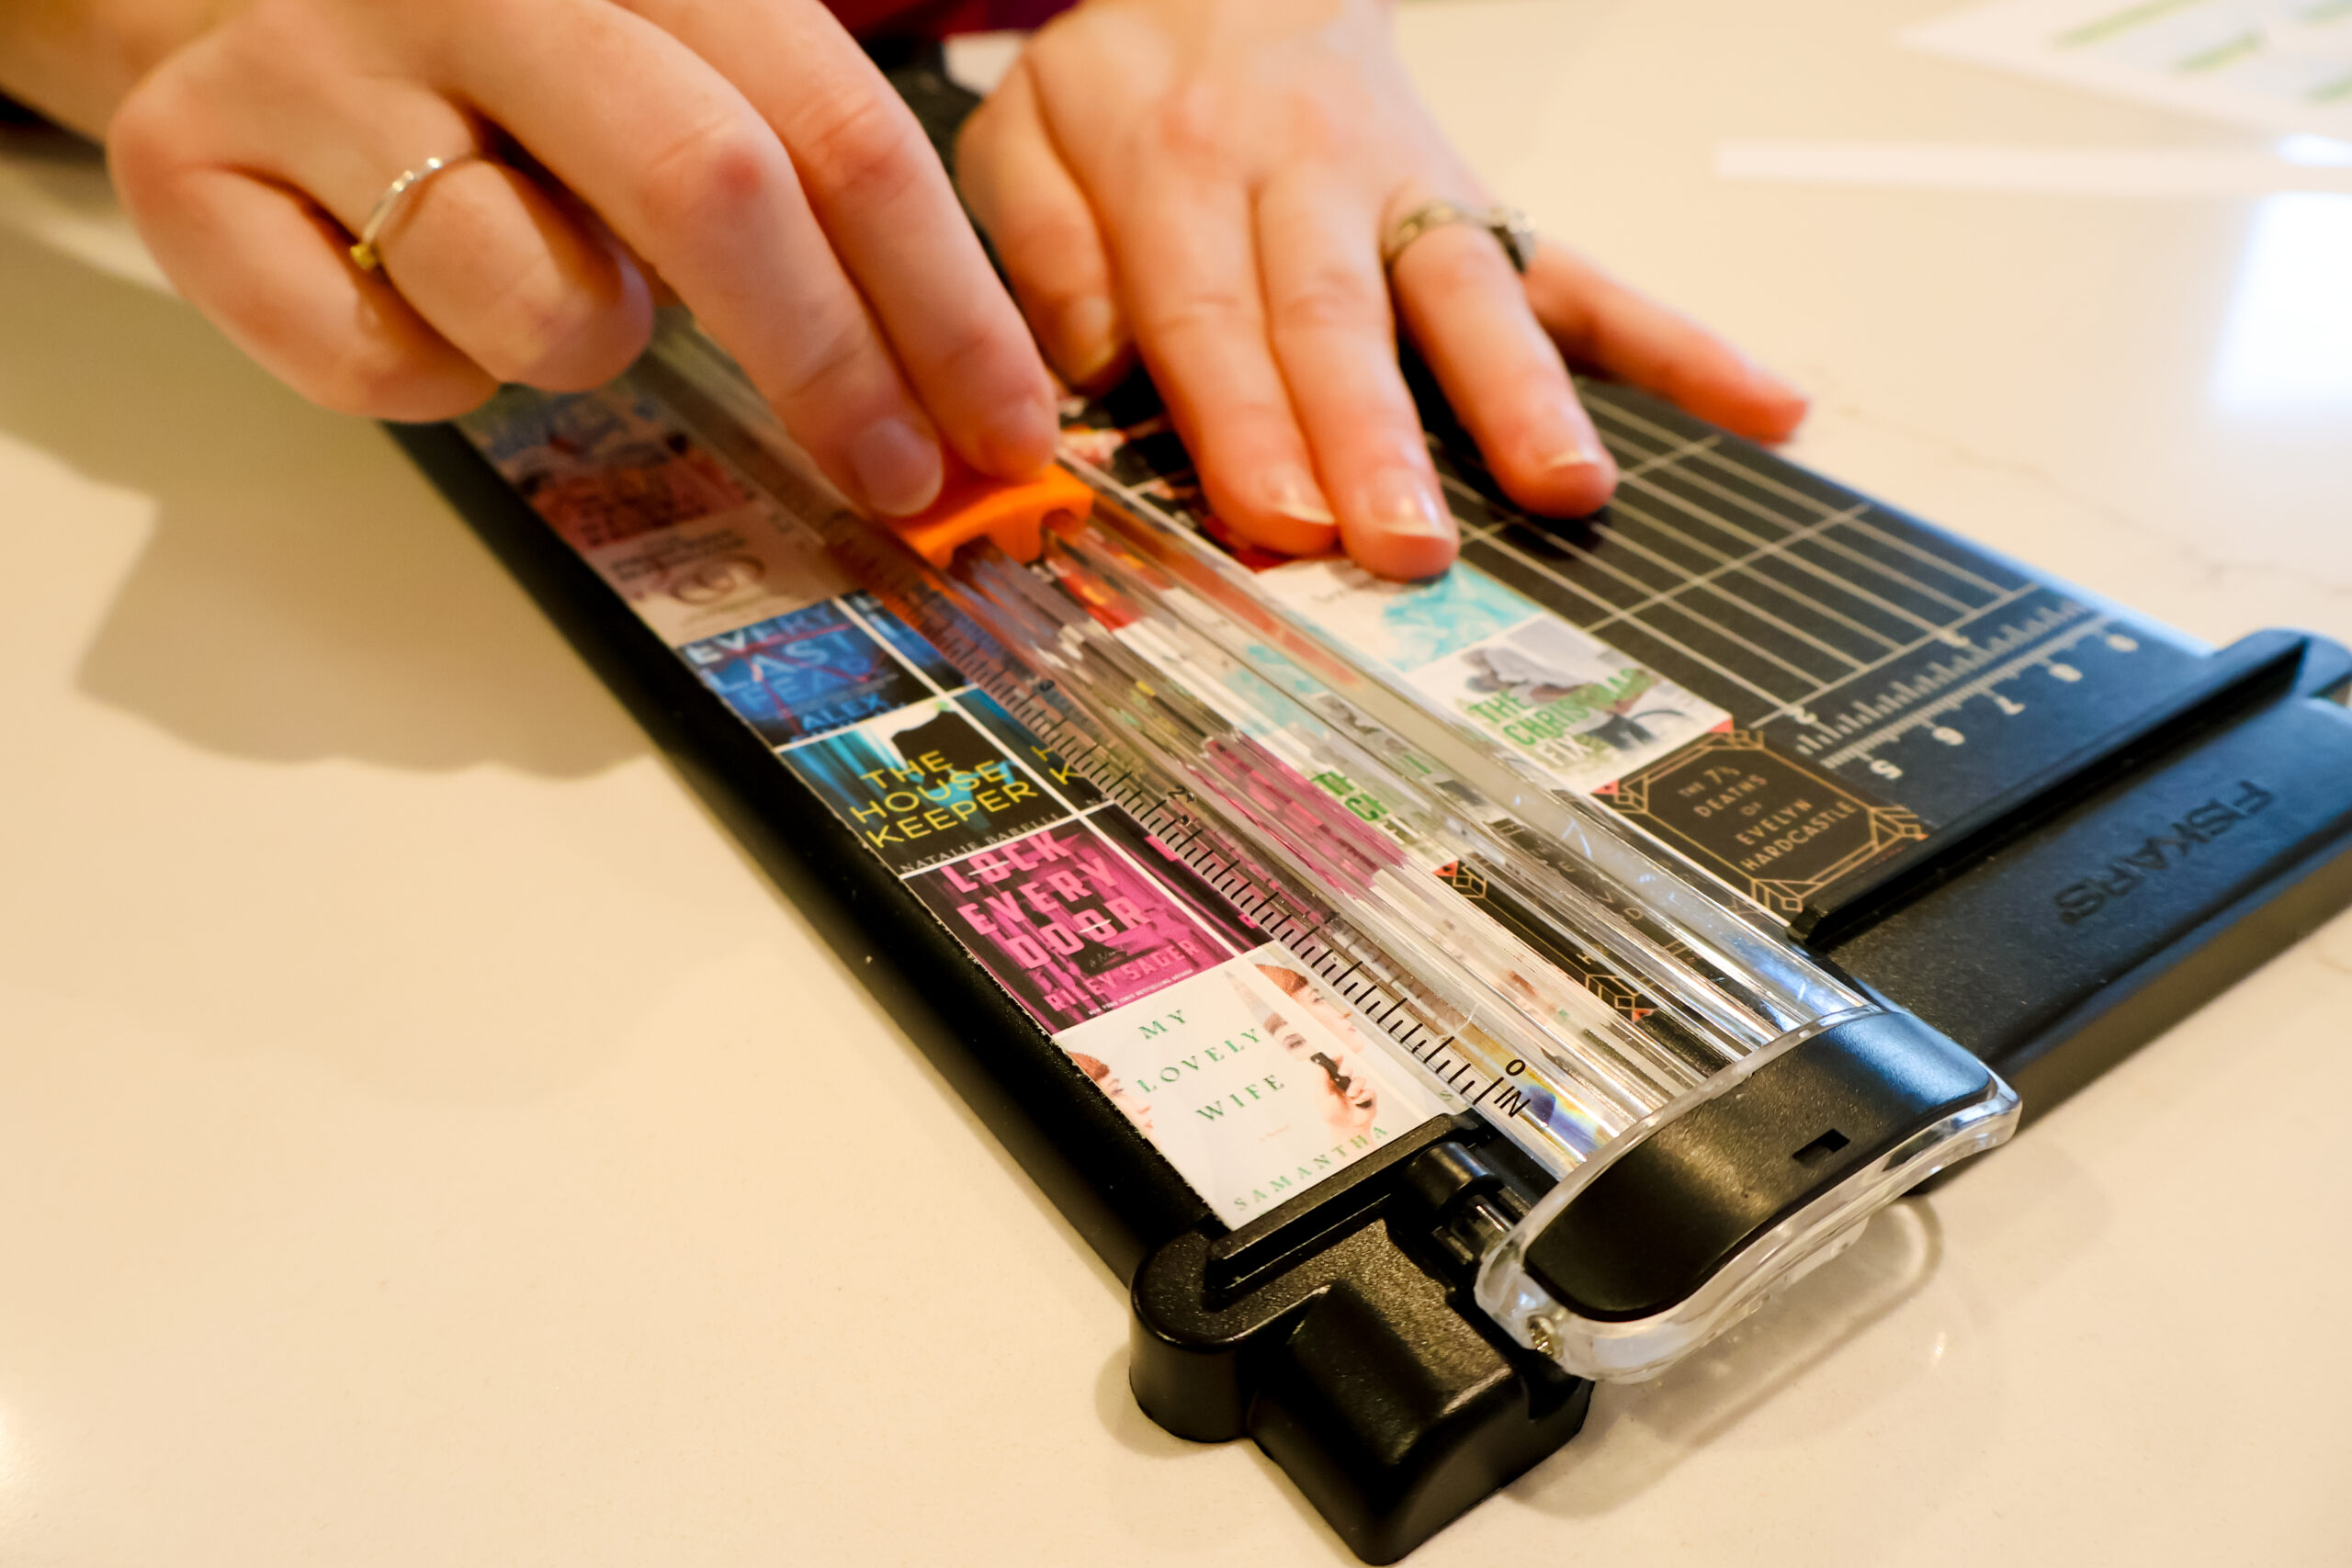
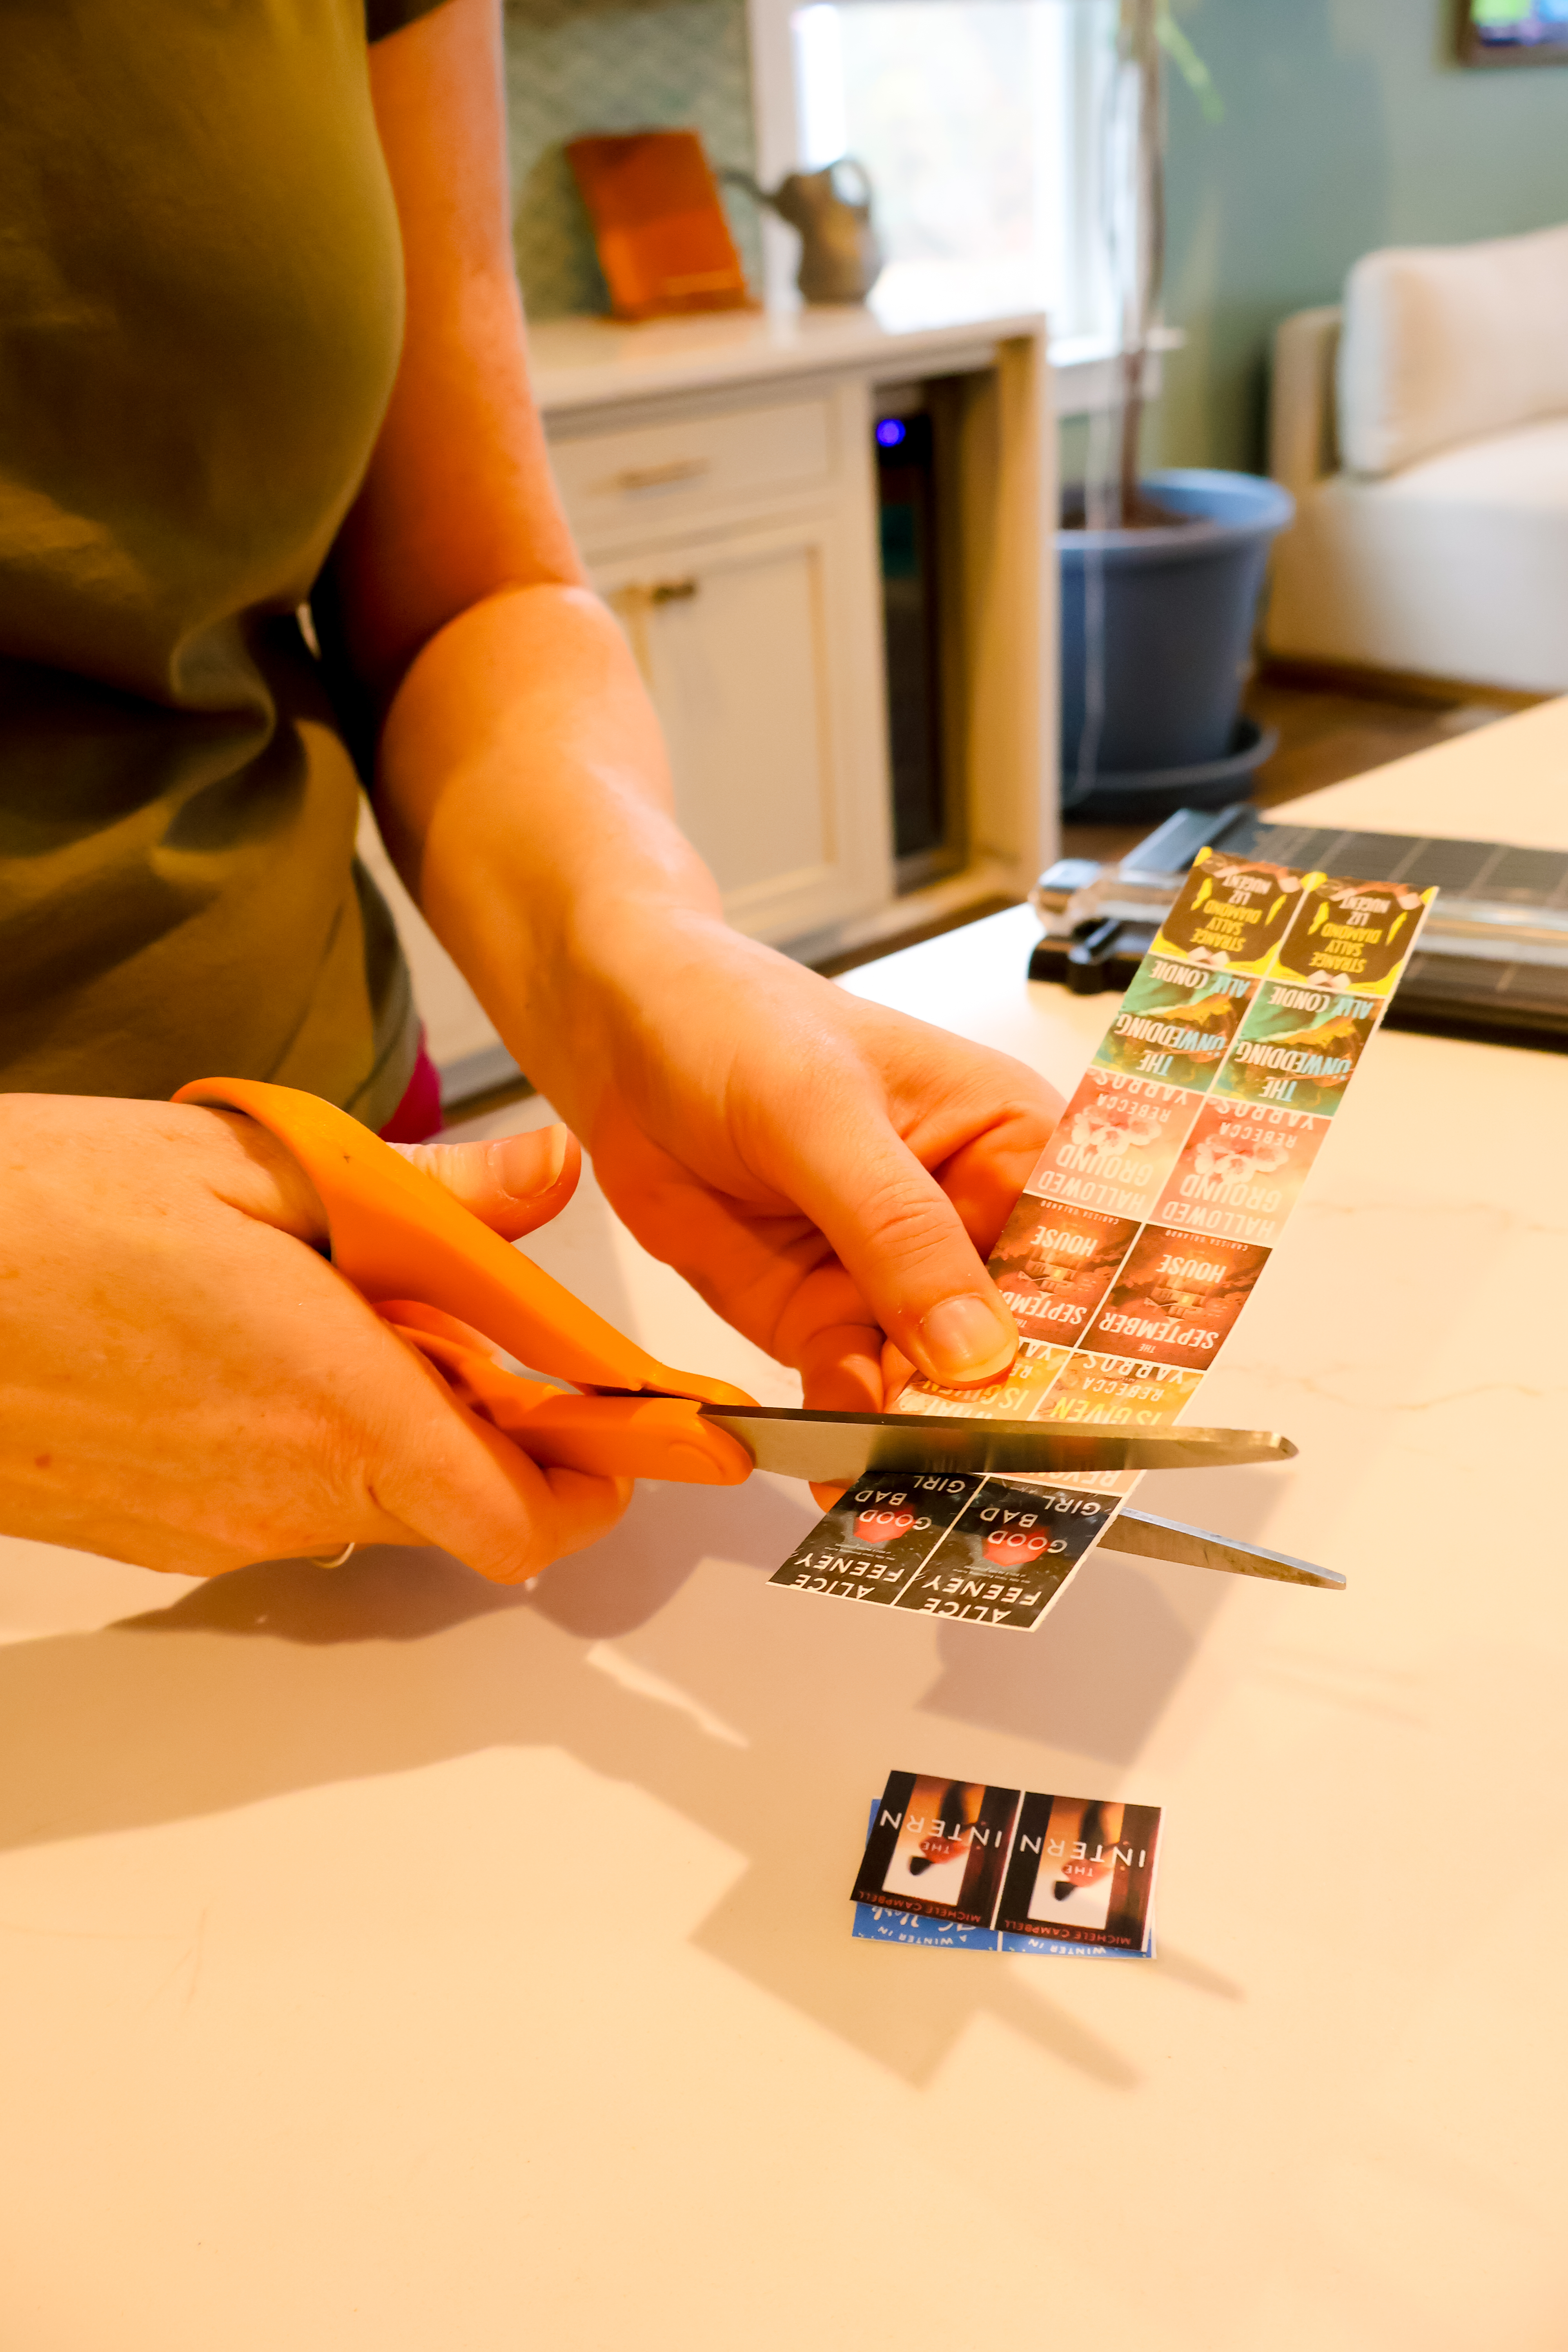
STEP 3: Slice
Now, cut your template into strips. First, cut to trim off any excess white margins.
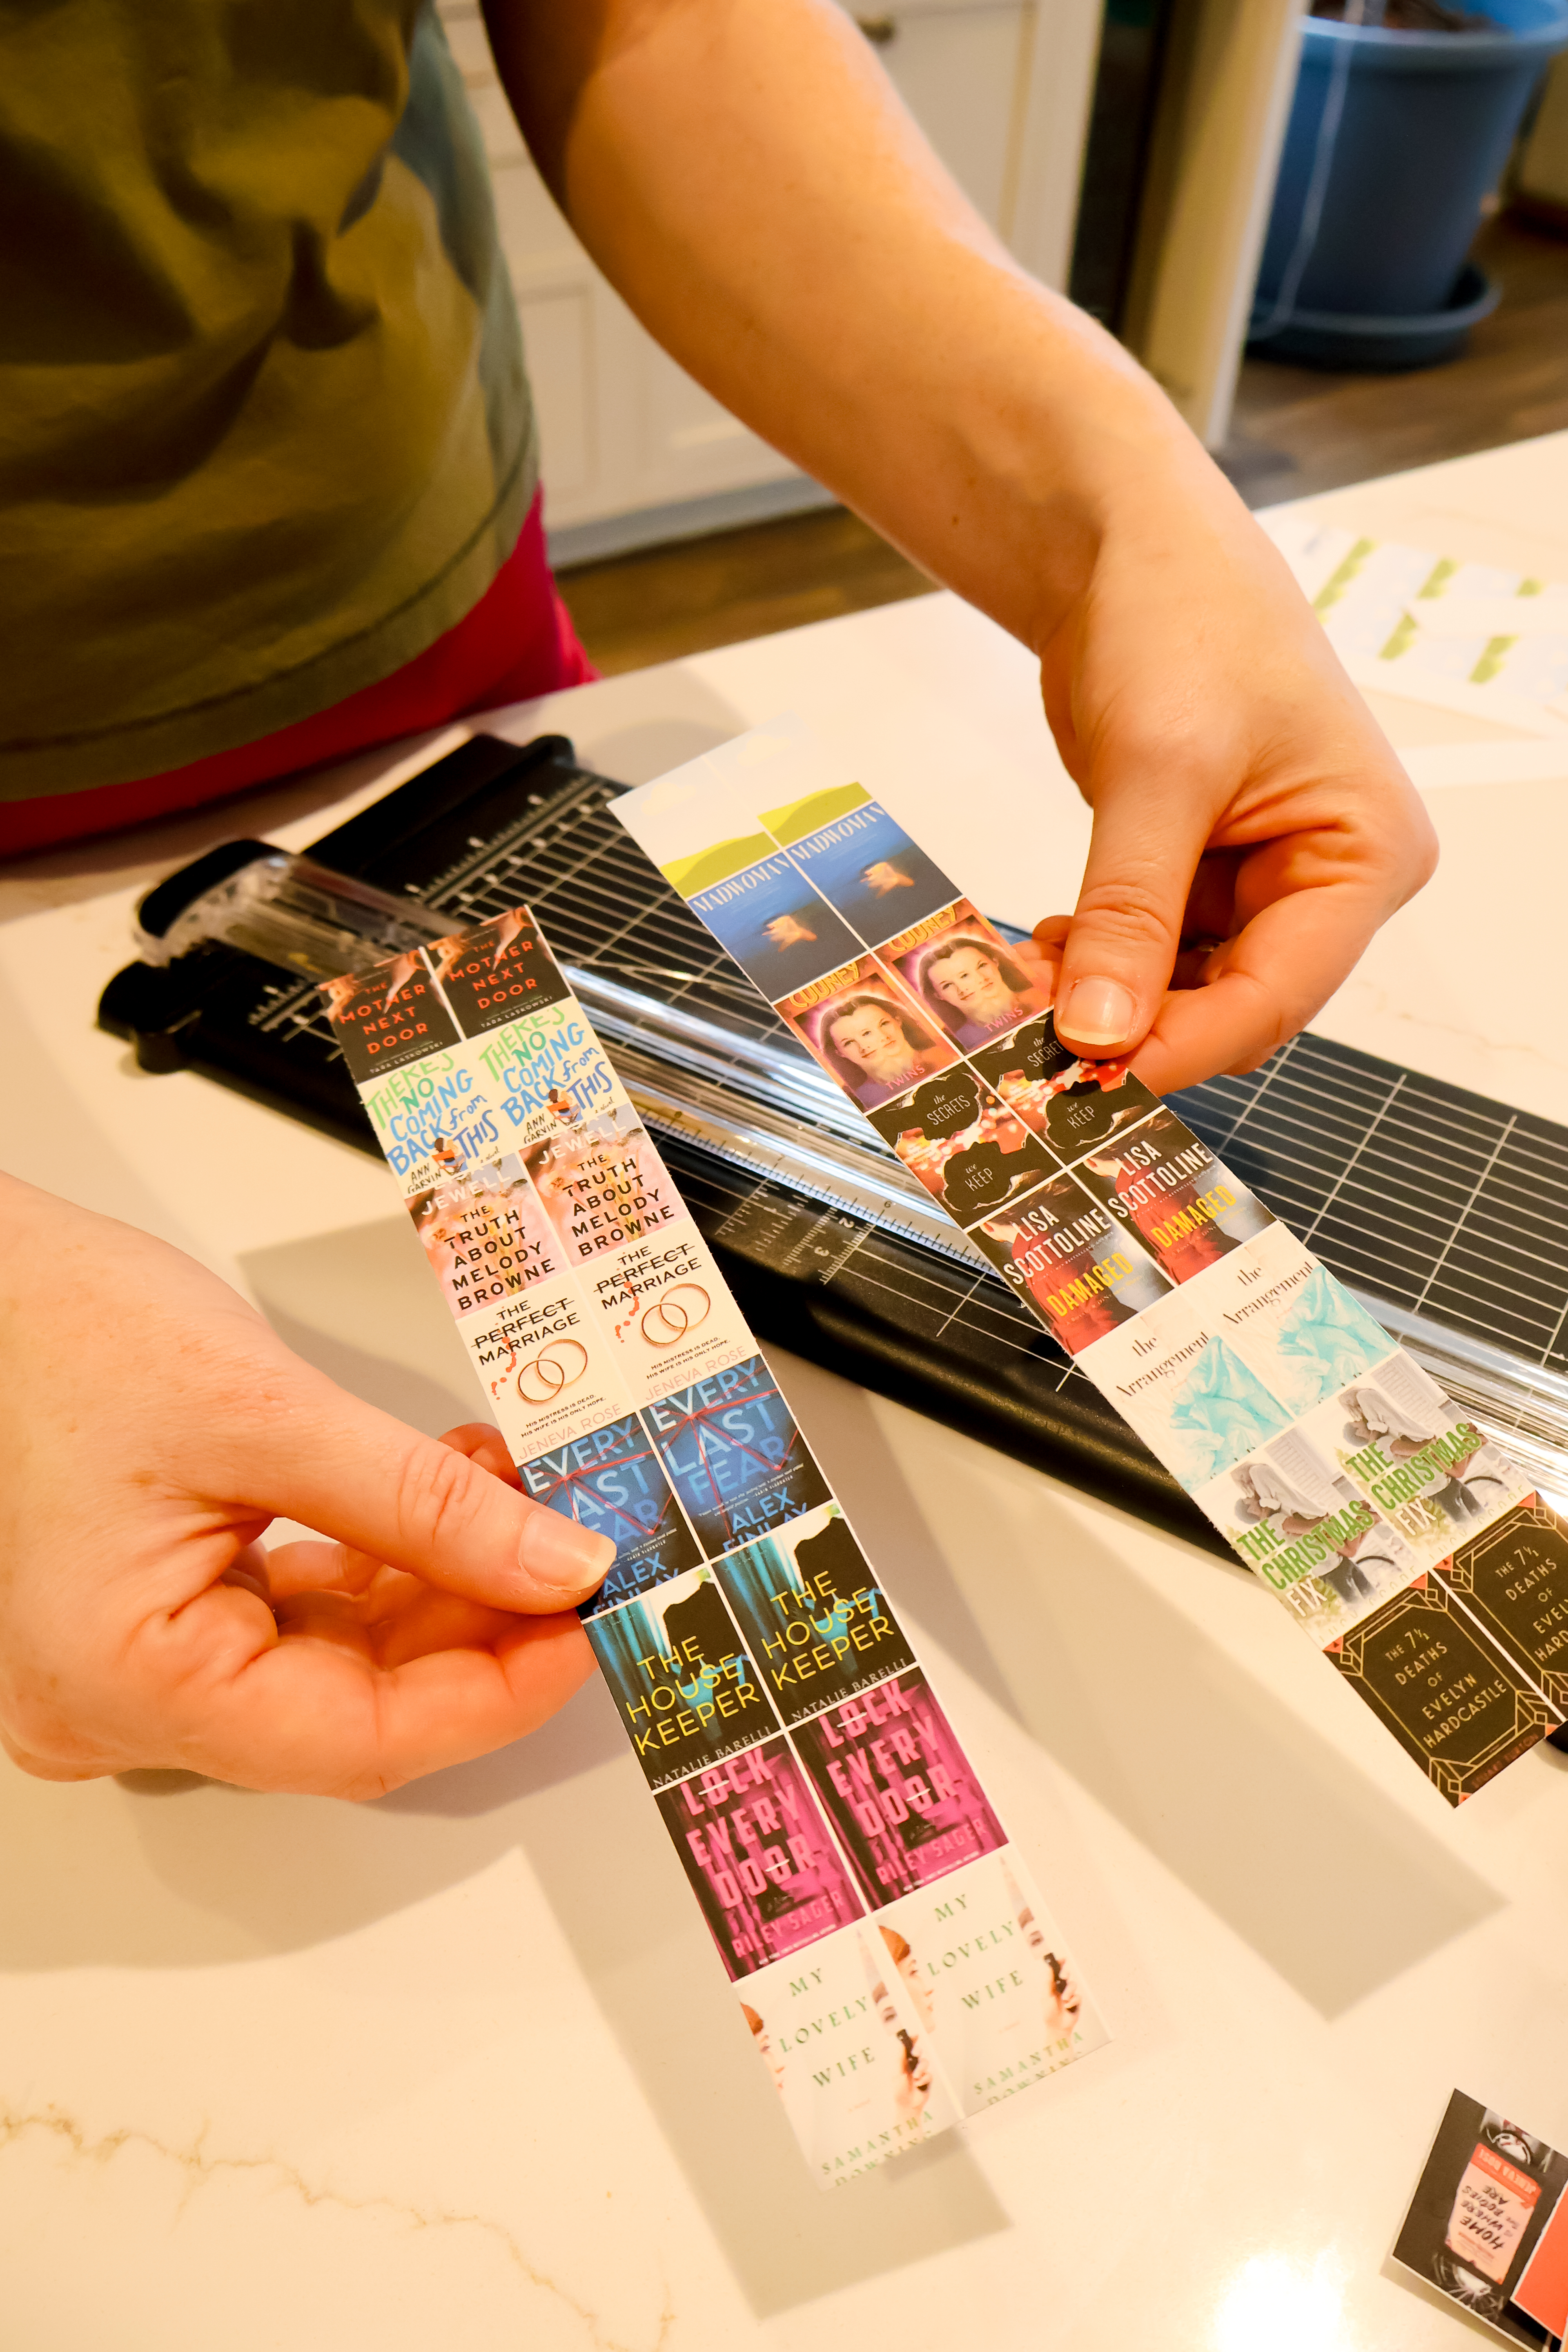
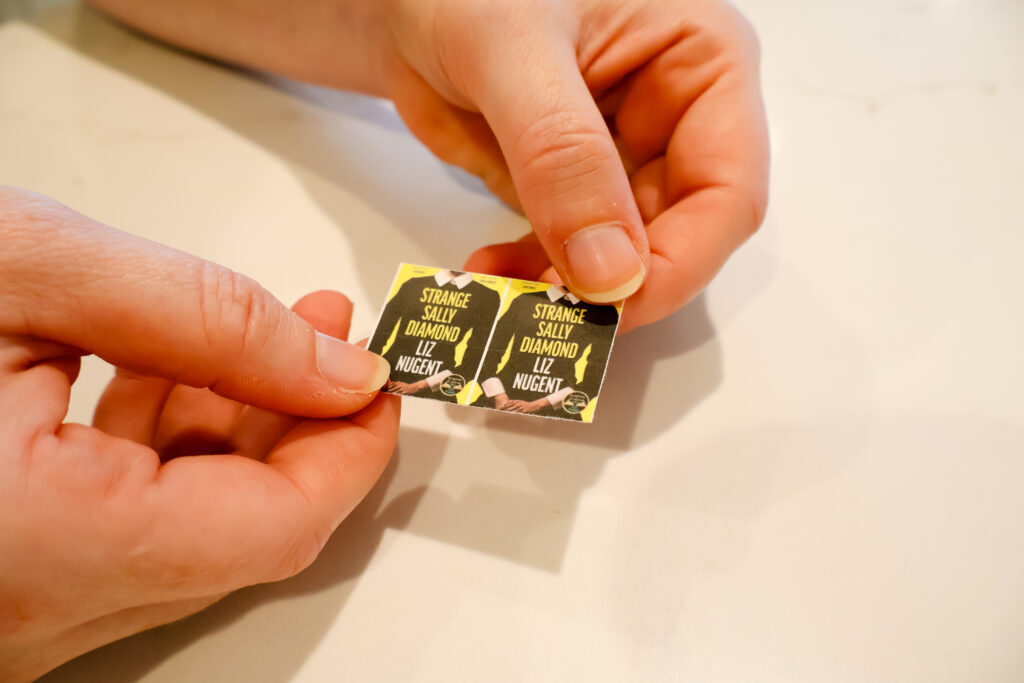
Then, cut the cover images into strips. Work vertically first, doing strips of TWO covers.
***It's so important that you keep the two matching book covers together in a strip! See my images below to know what I mean!**
Once cut into strips, use scissors to cut horizontally so you have a bunch of books made up of 2 identical covers, side by side.
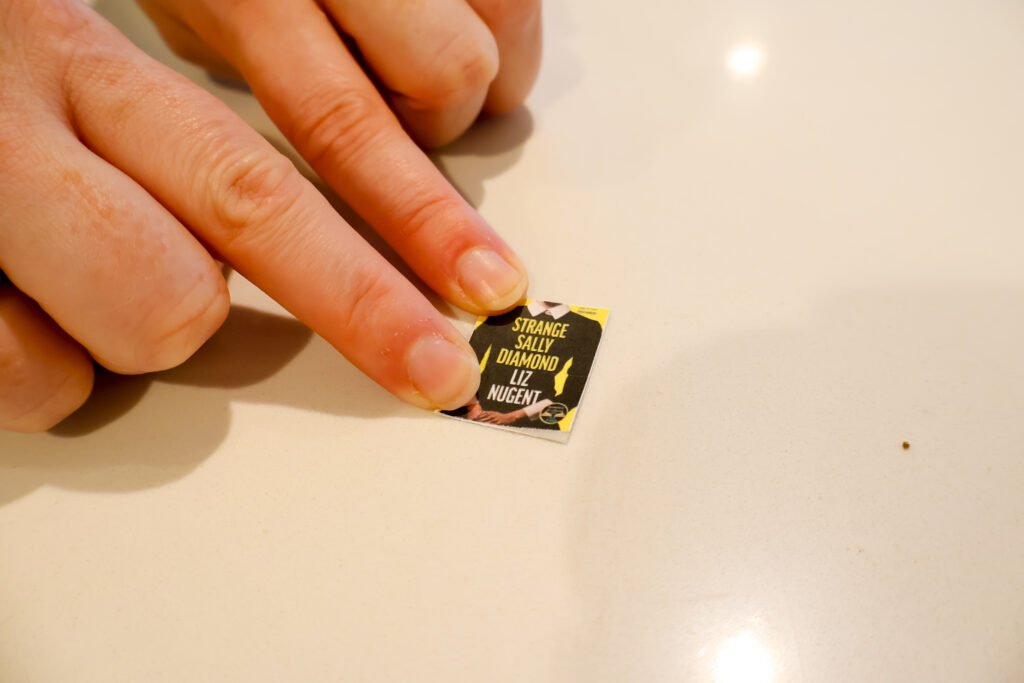
STEP 4: Fold
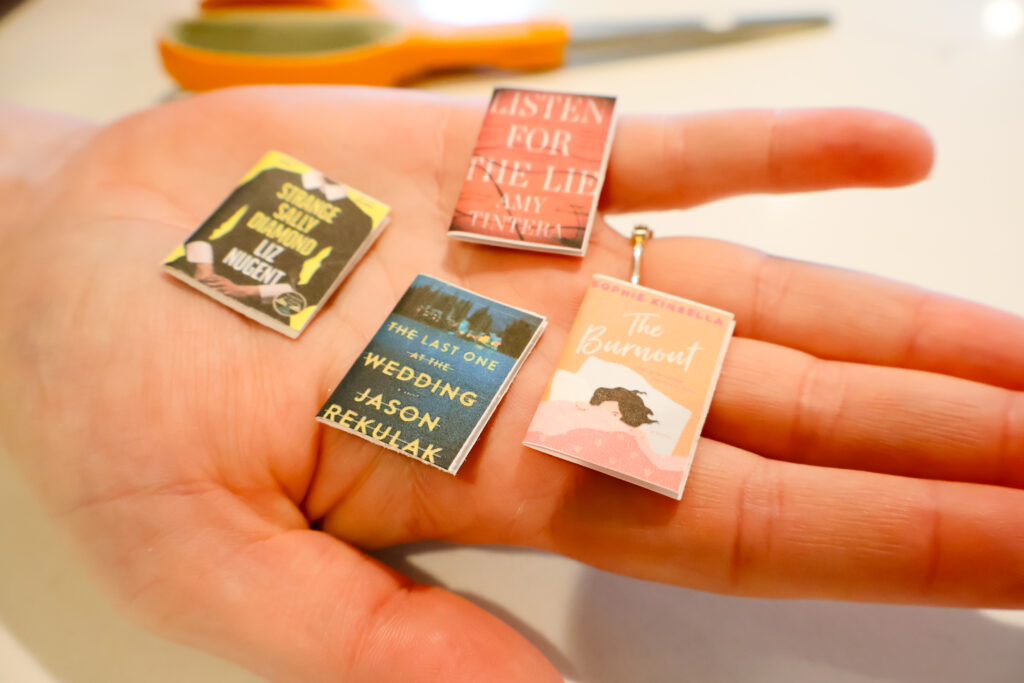
Fold each in half along the center line so you have a mini book.
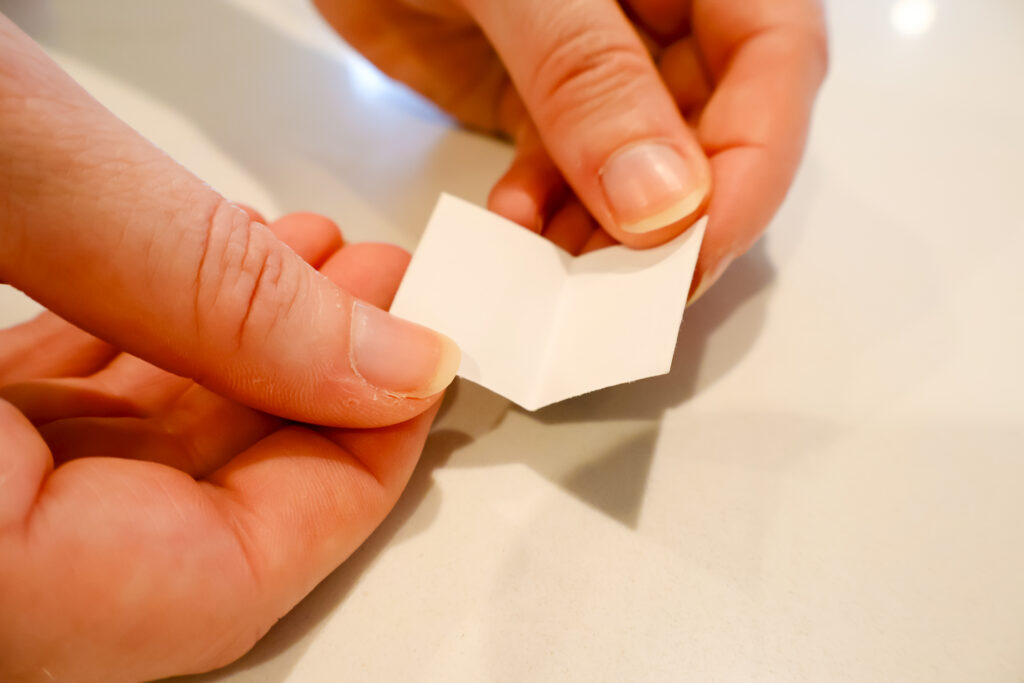
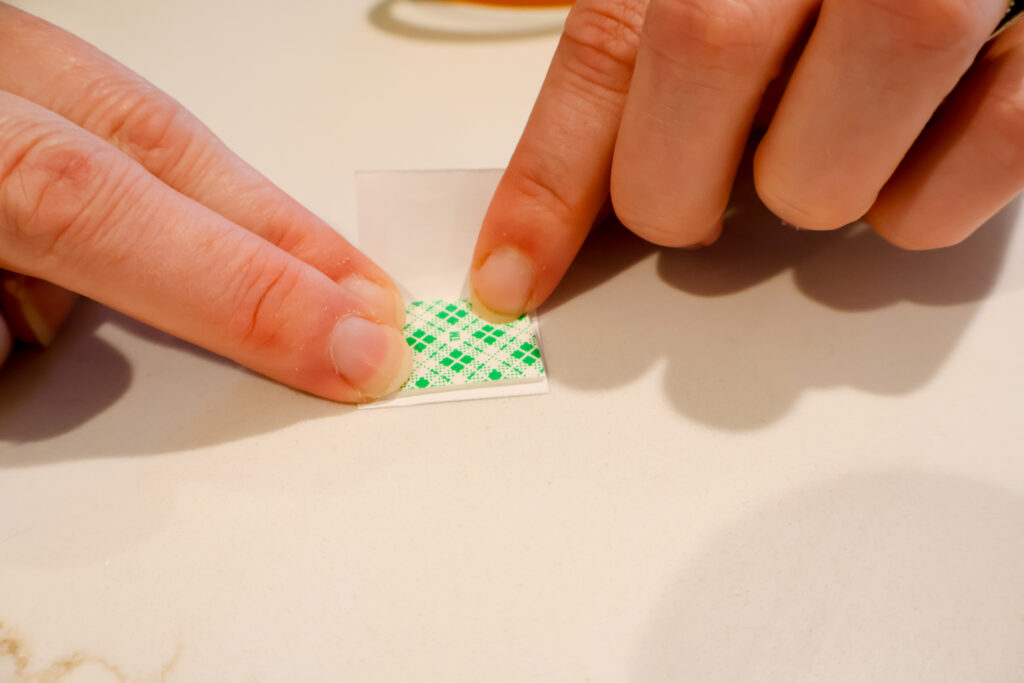
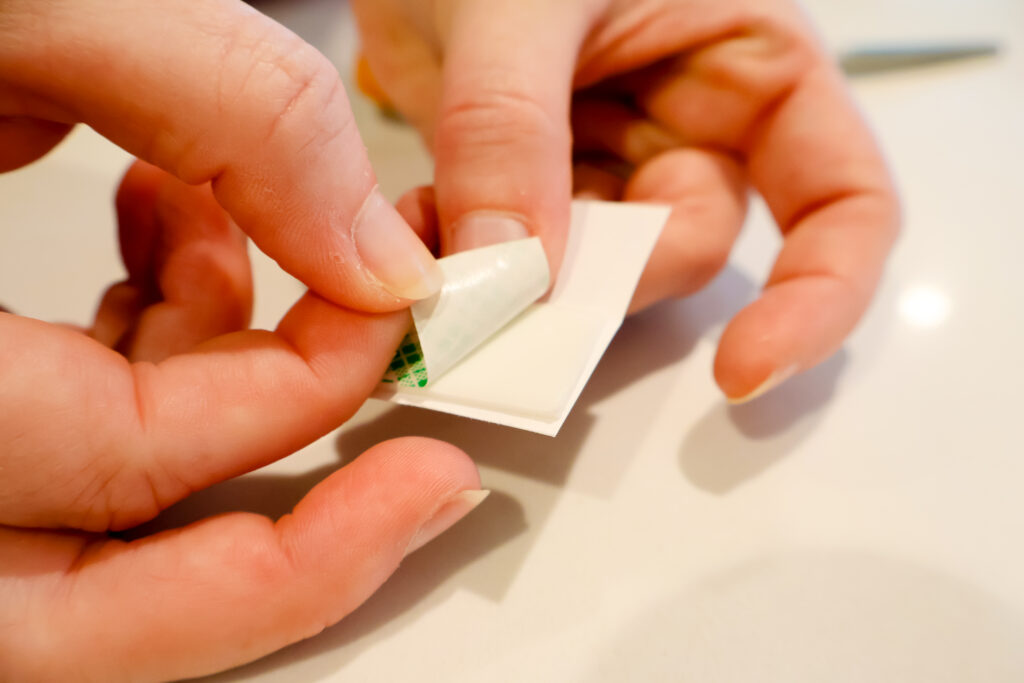
STEP 5: Tape
Cut a piece of double sided tape to fit inside the book. Apply inside, then peel the back off and press the book together and closed.
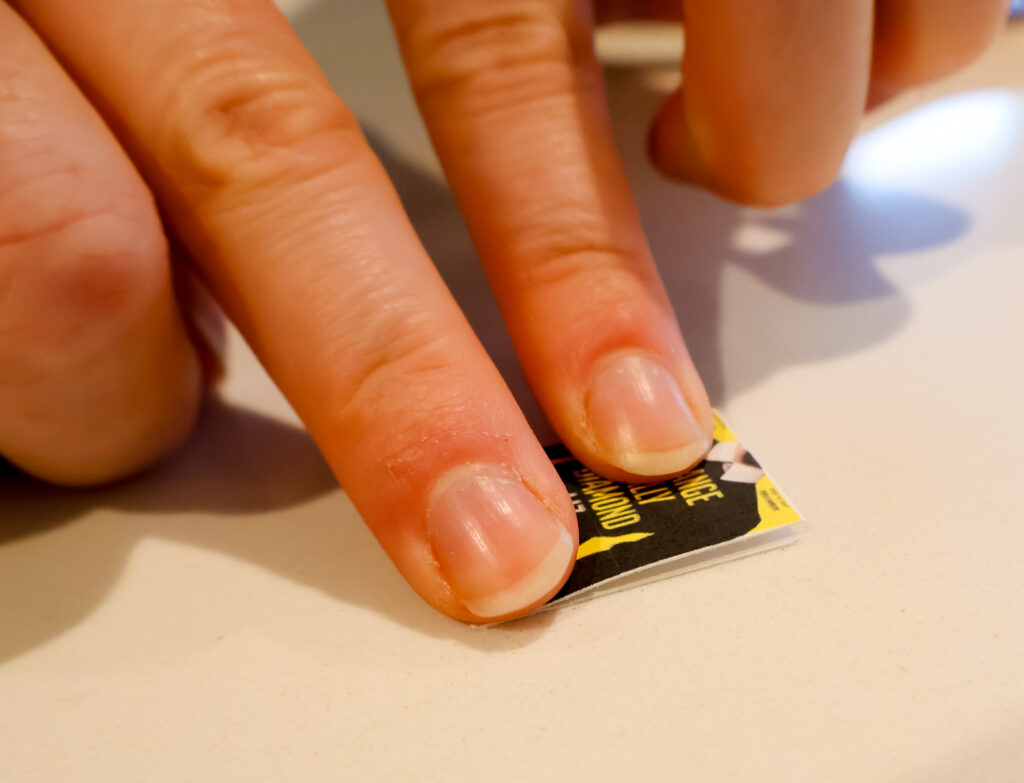
Repeat for all your books!
STEP 6: Add to ornament
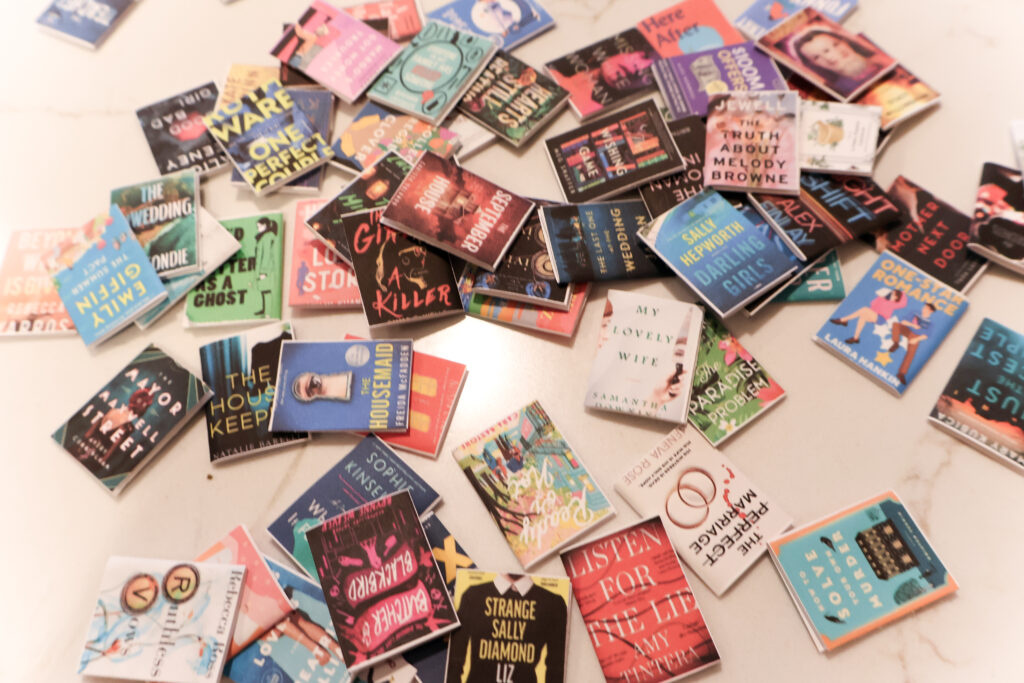
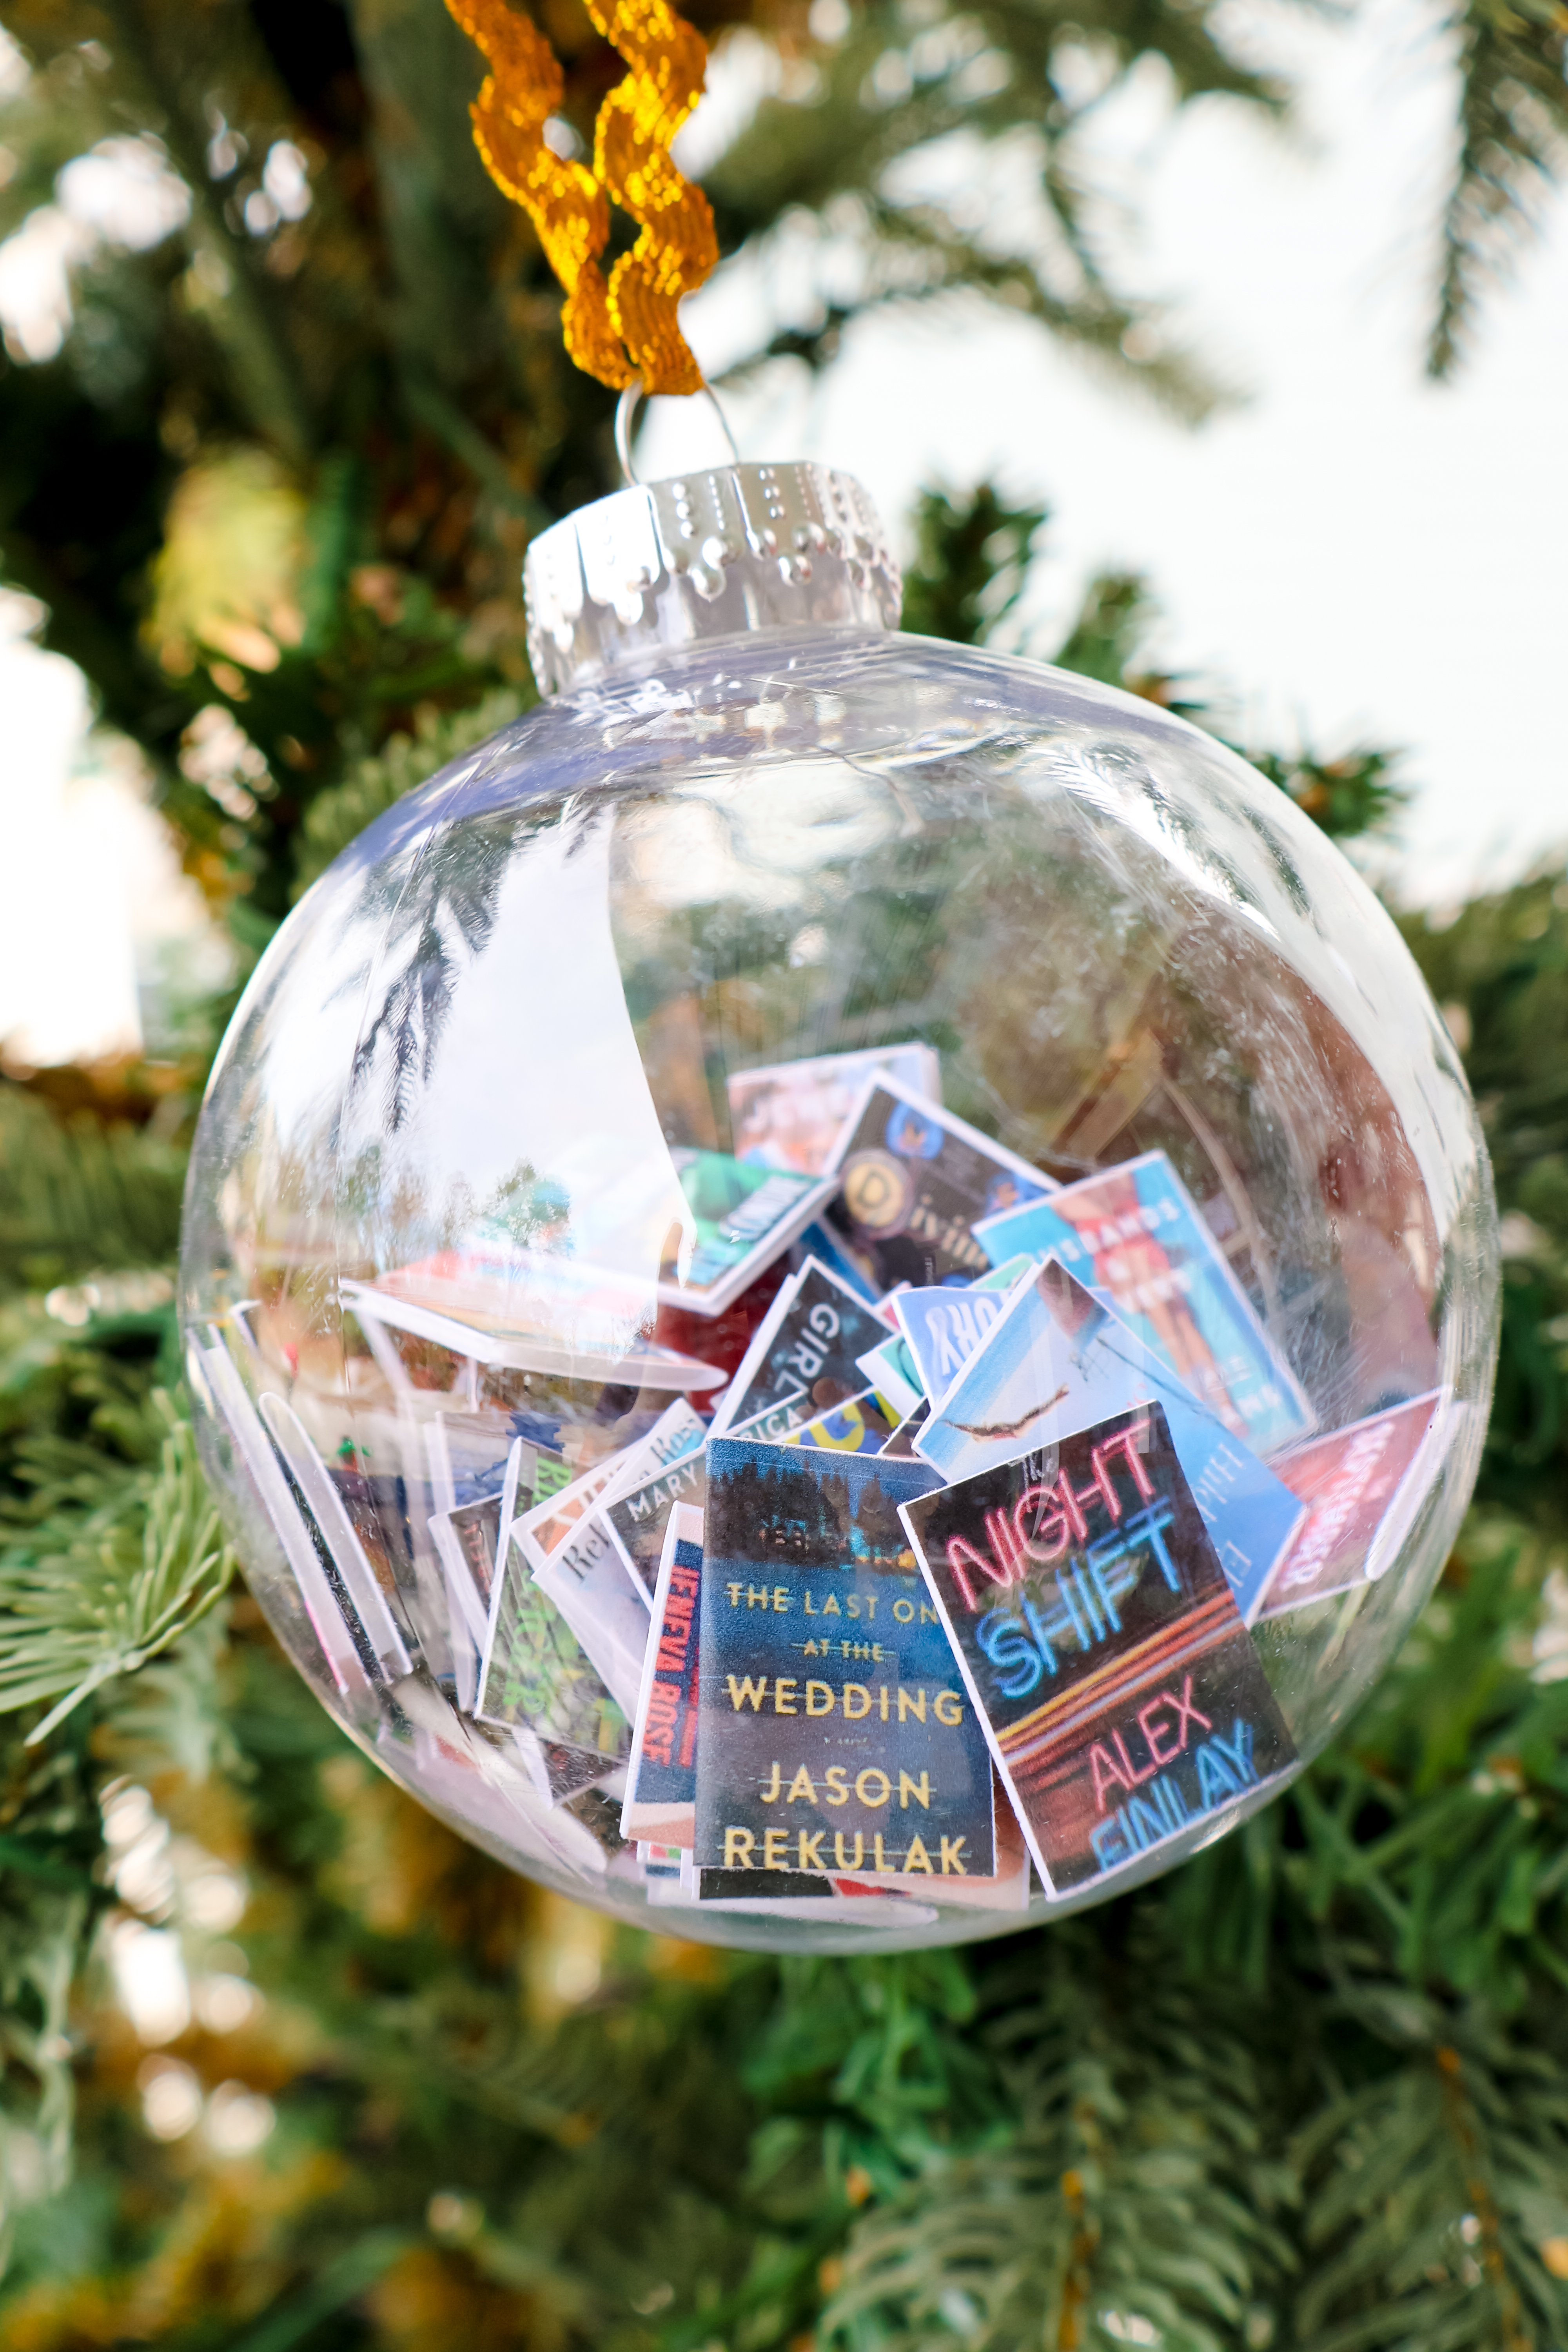
Carefully add the books to the ornament. They fit perfectly inside mine.
If you have a smaller ornament, the mouth of the hole might be smaller. You might want to slightly curl the books to get them in.

Once all of the books are inside your ornament, Re-add the topper and give it a good shake to fluff them up a bit!
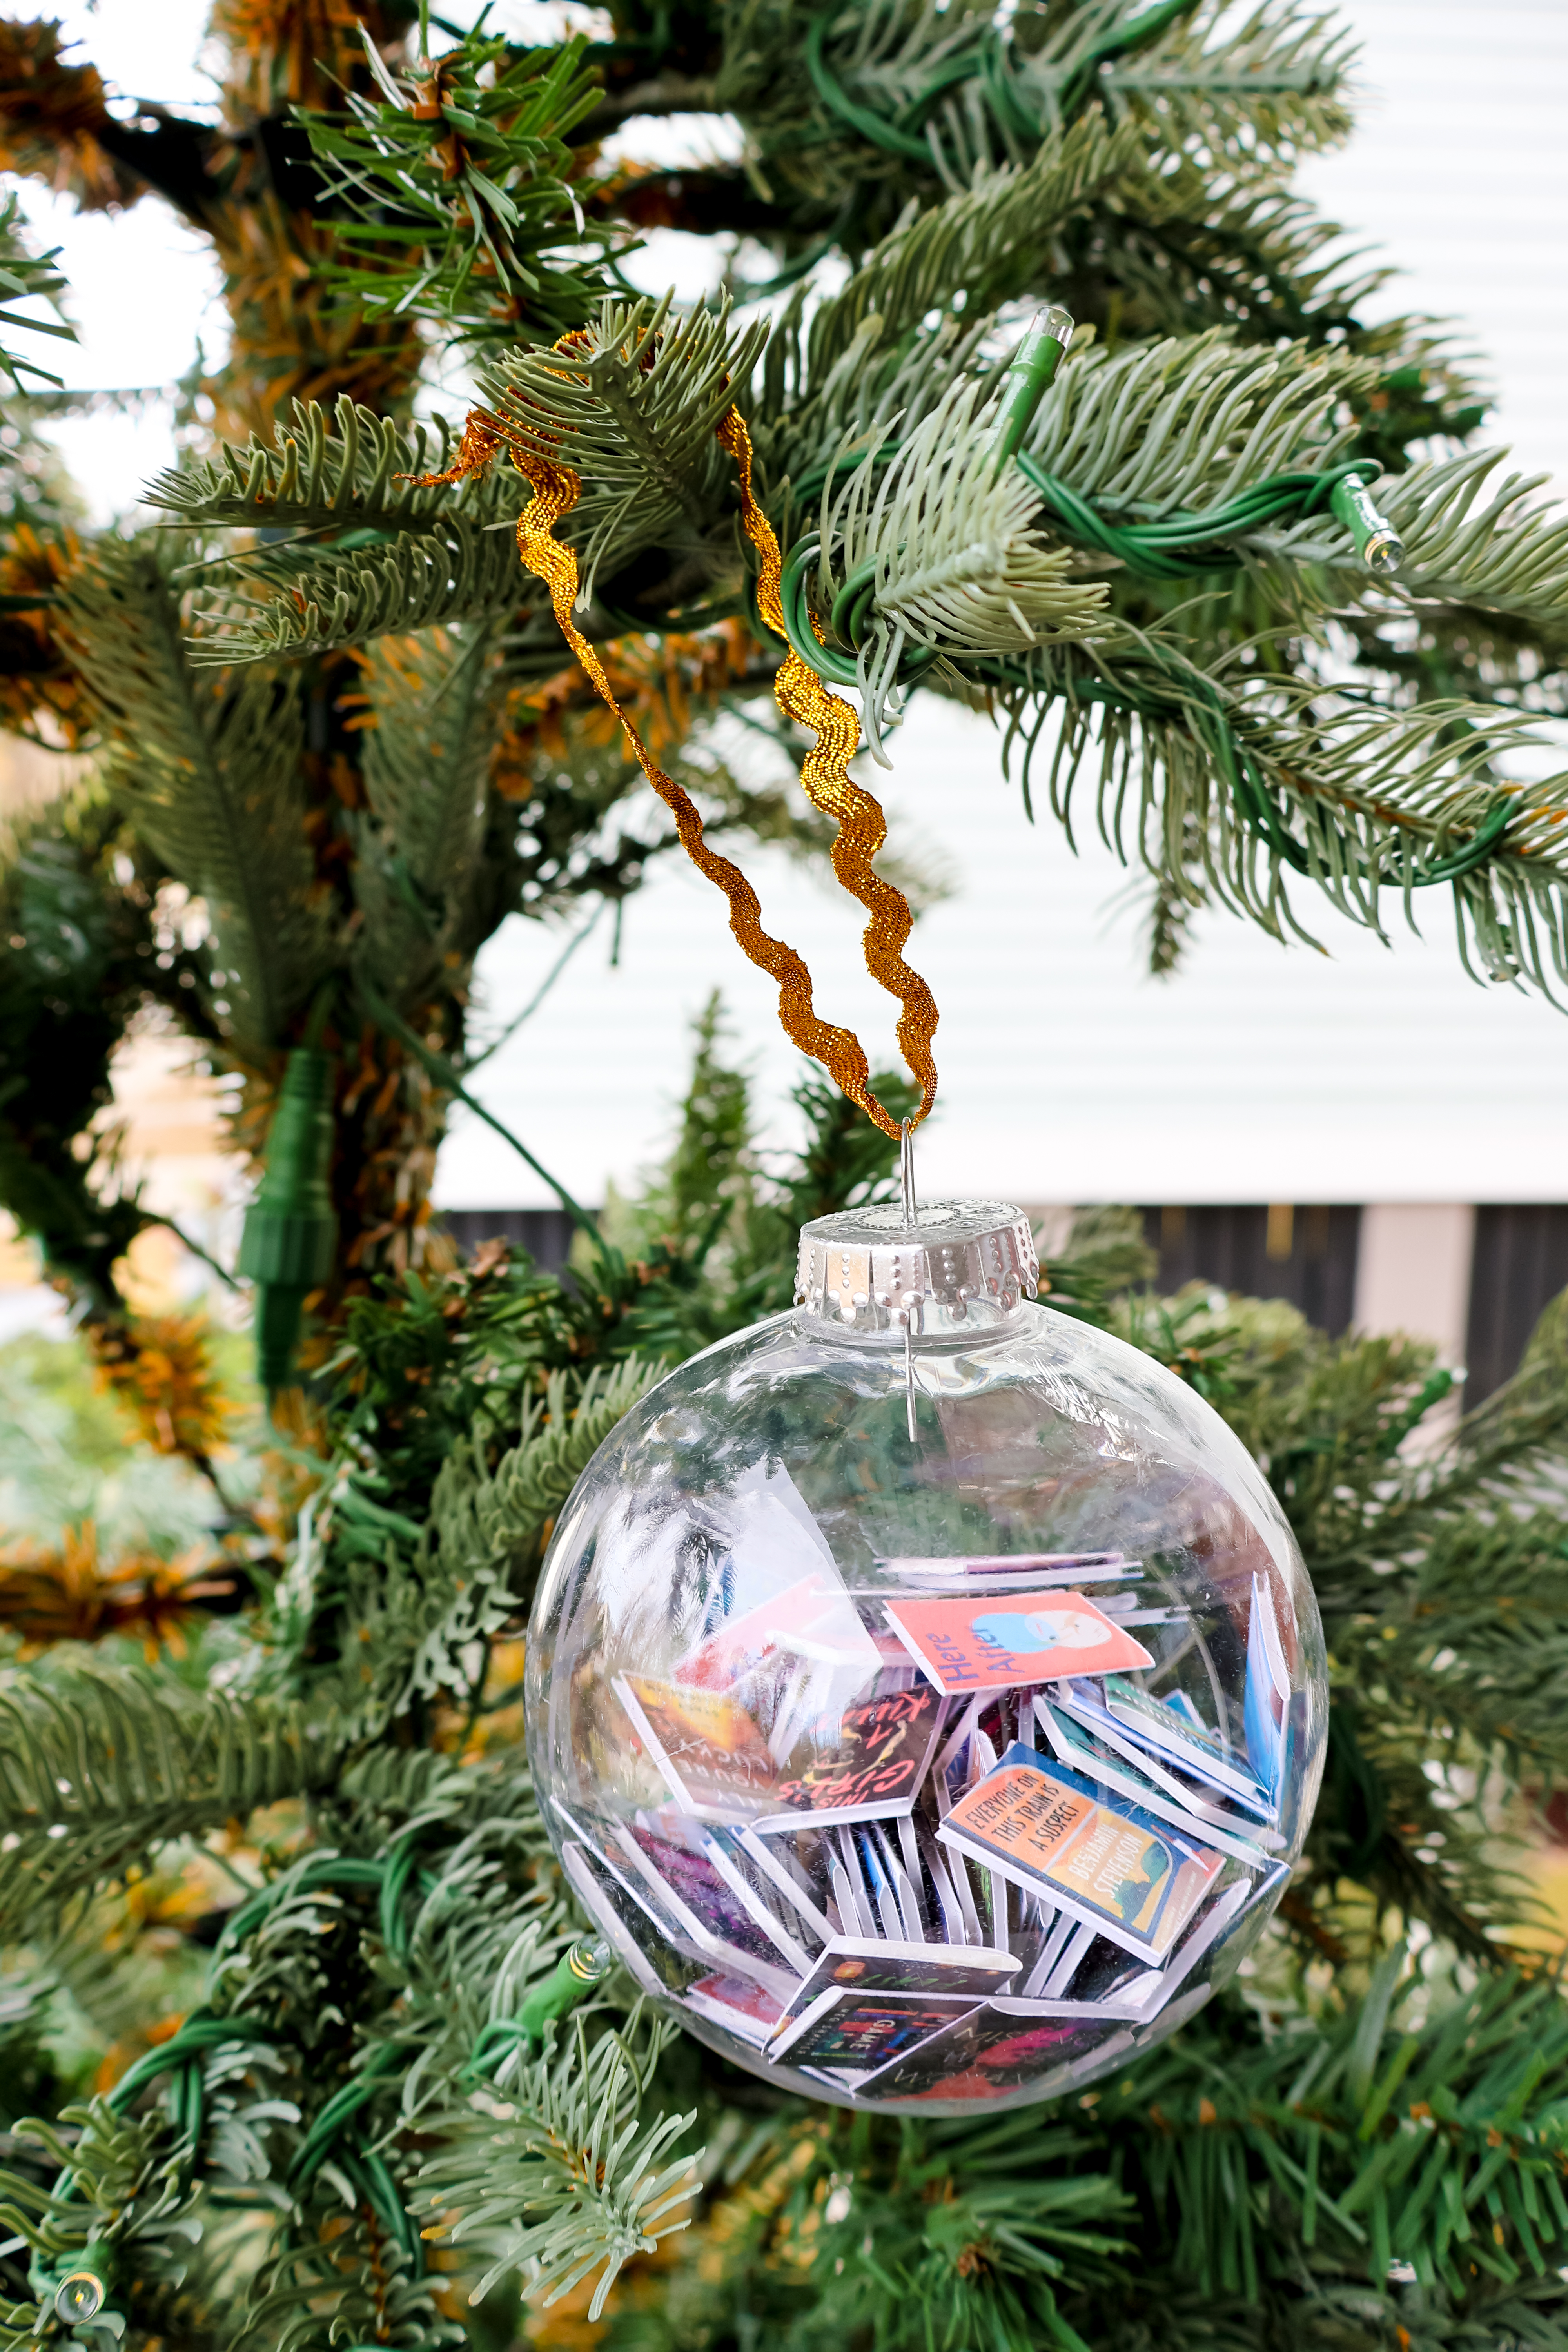
STEP 7: Add ribbon or hanger
Tie a loop or ribbon or twine to hang the ornament on the tree. Enjoy!
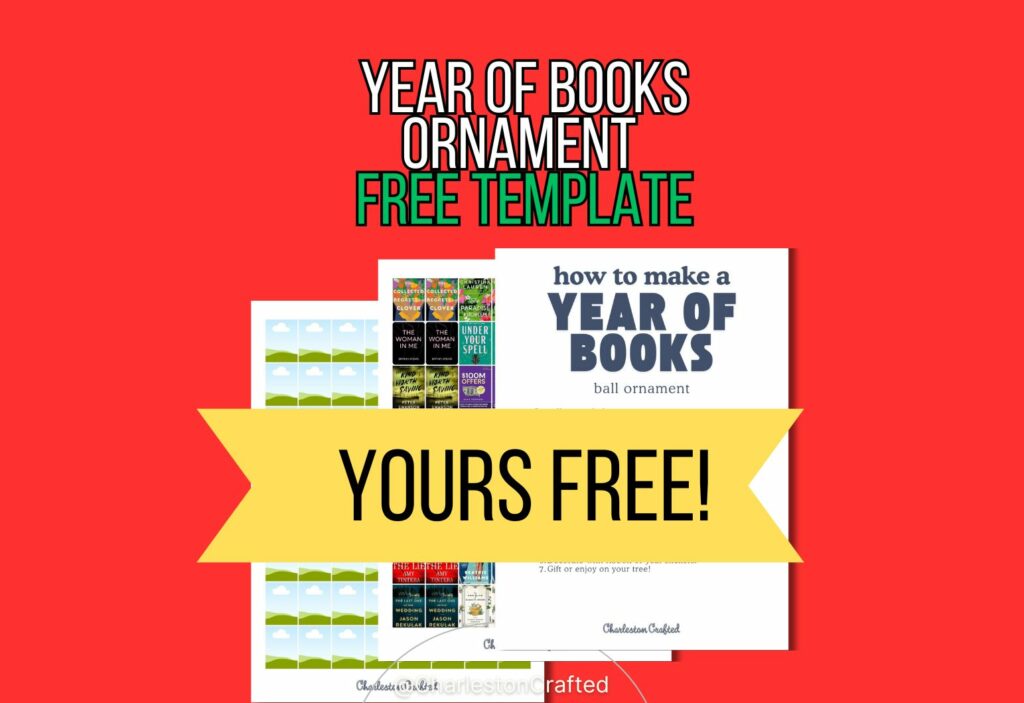
Get the FREE Template
Make your project 1000x easier by using my pre-made canva template! Click here or the image below to get access!
Video Tutorial
Prefer to watch? Click here or the image below to watch my full video tutorial!

That's it! It's a straight forward, if time consuming project but SO FUN and what a great gift idea! I'm obsessed!

Looking for something?
We've been doing this since 2012 so we have a LOT of blog posts!
Search stuff like: Ceiling Projects | DIY Plant Stands | Thrift Flips

Hello, I'm Morgan, half of the creative force behind CharlestonCrafted.com! With a passion for DIY that dates back to 2012, I've transformed three homes and now I'm dedicated to helping others craft their dream spaces. Let's turn your house into a home together!