This string art box sign heart makes a great DIY Valentine card for any loved one. Make the simple design and wow them with your creativity!
Here's a really cute wooden Valentine's Day idea you can make quick and easy and totally customize!
This is a really fun way to give someone you love a Valentine's Day card that doesn't cost $9 from Hallmark.
Years ago, we did several string art projects when we made a MASSIVE "&" symbol wall art on some scrap wood and then made a sign for our wedding with our event hashtag. I haven't done any since, but it's easy to remember what to do!
I made two different versions of these hearts, one for each of my kids, so you can see what some color combinations are. Let's dive into it.

Valentine string art heart
Overall, this project doesn't take very long, but you do need a day in between to let the stain (or paint) dry. Otherwise, the work should really only take about an hour.
Here's everything you need to do to make this fun Valentine's Day craft project!
Materials needed to make a Valentine's string art heart
Here's everything you need to make this project!
- Thin string (preferably white, pink or red)
- 1" nails
- Scrap 2x4 board cut to 6"
- Colored wood stain
- Marker or paint pen
- Hammer
Step one: stain board
After you've picked out or cut your scrap piece of wood, sand it off and thing stain it or paint it with a color of your choice. For me, I went with two different color blocks for my kids to accentuate the different string colors I was going to use.
I chose a purple wood stain color for my daughter because it's her favorite color and then a white stain for my son. You could also use one of these pink wood stains or paint it any color you like.
Let that dry for 24 hours before moving on to step two.
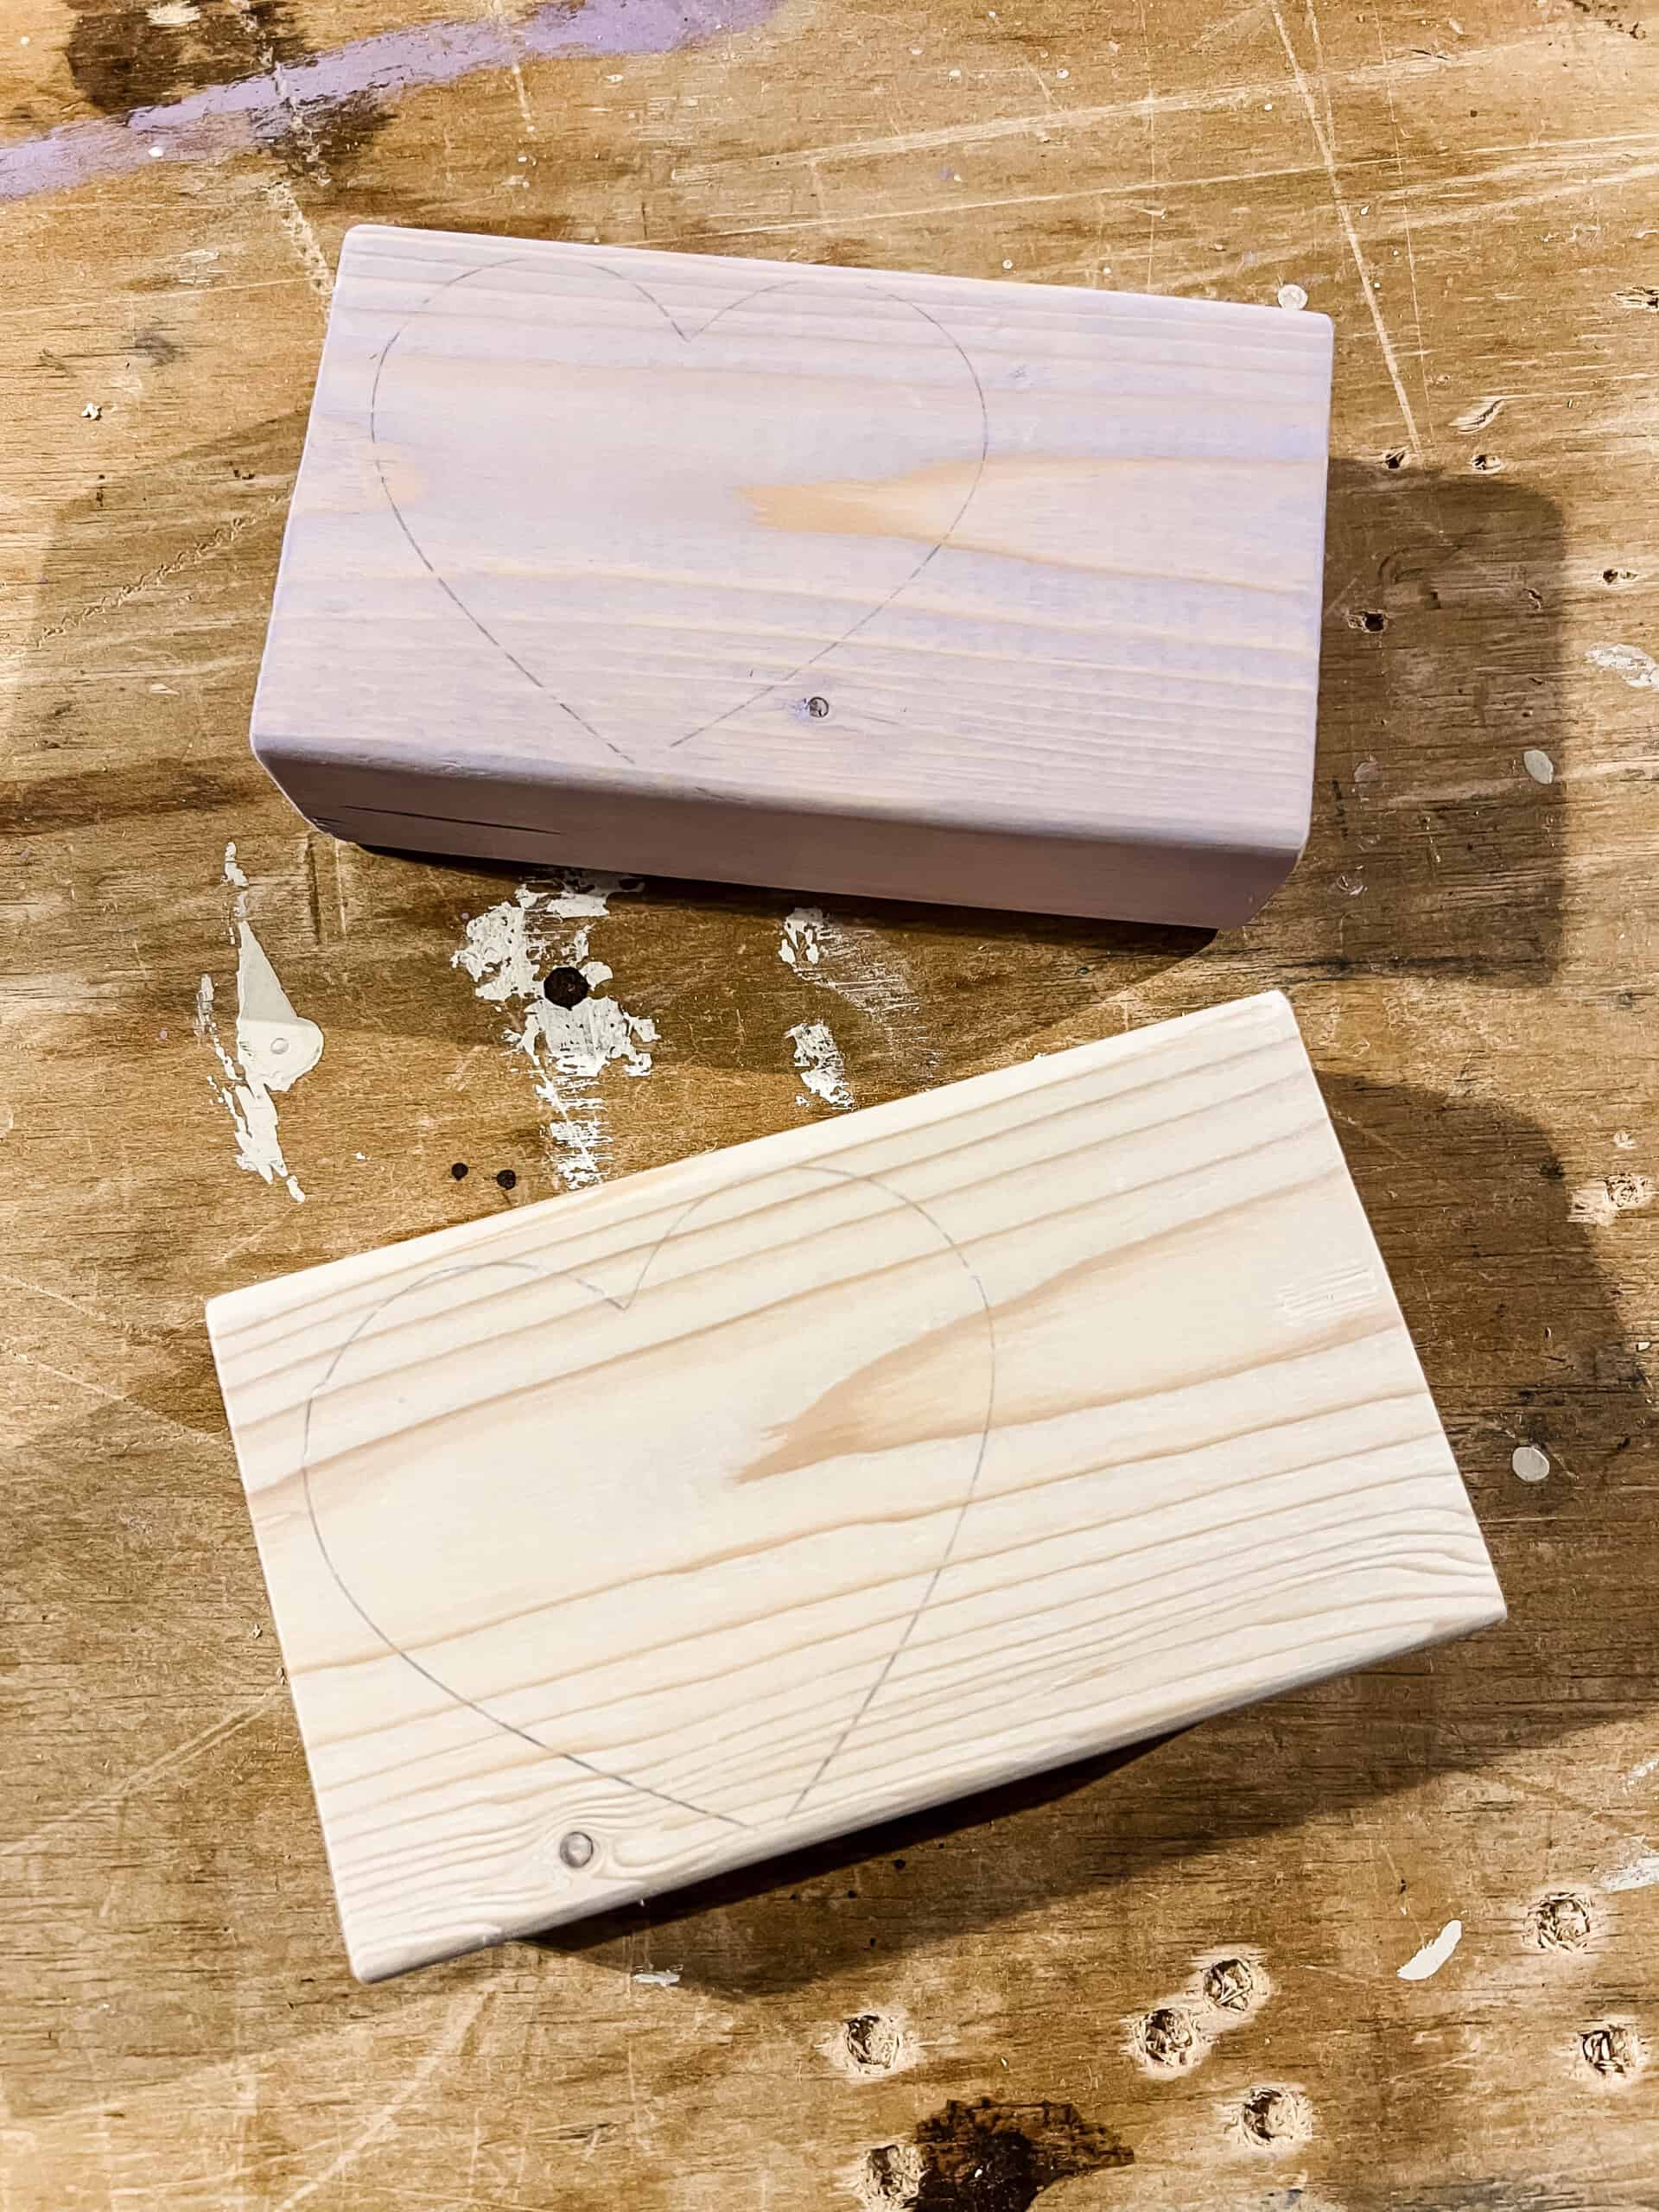
Step two: create heart shape
Once the blocks are dry, trace a heart shape to the left hand side of the board. I used a wooden heart cutout to trace, but you could trace anything or freehand it.
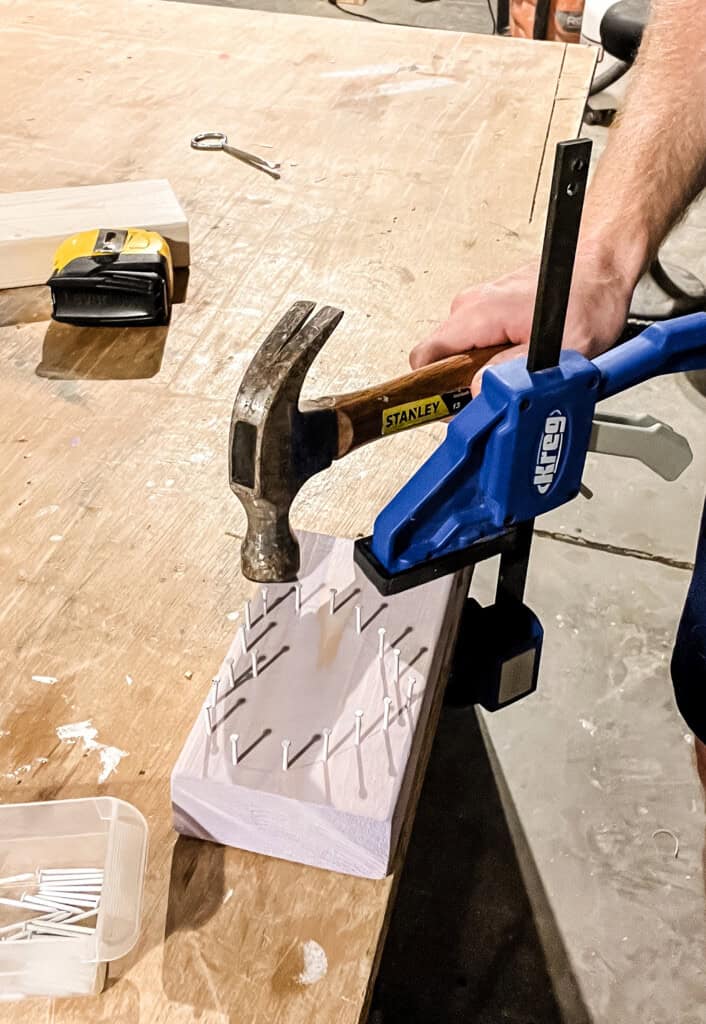
Then, start by hammering a nail into the bottom tip and the divot in the curve of the heart. Tap them in about halfway down the nail.
Then, continue to add nails every half inch or so all the way around the edge of the heart.
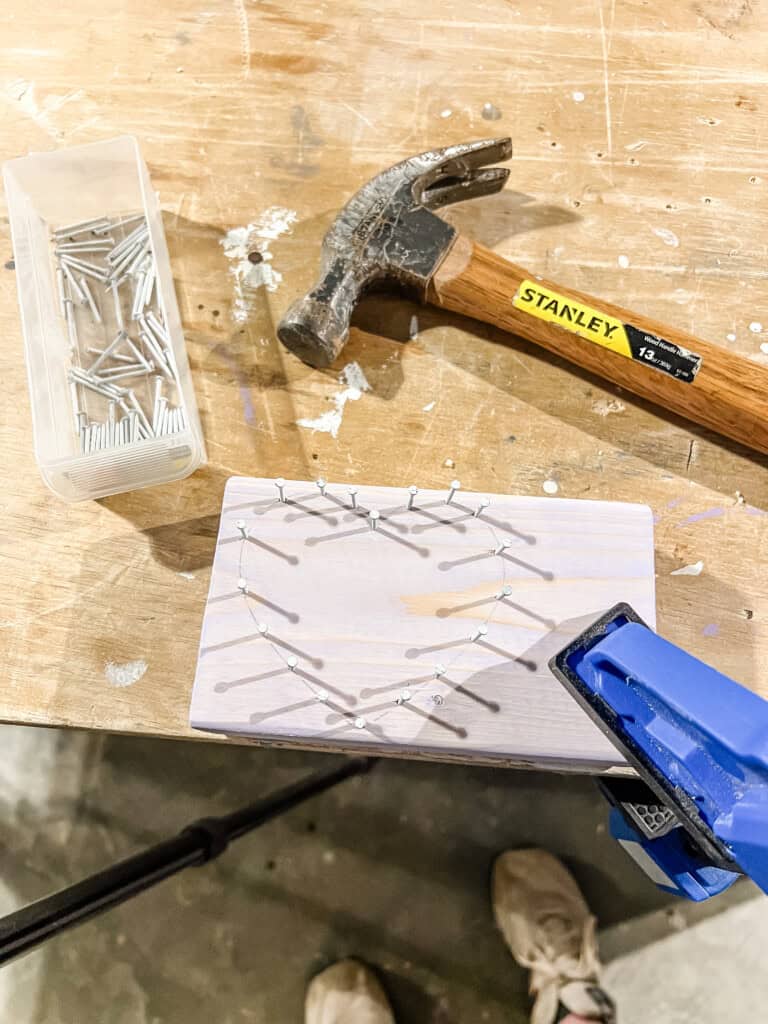
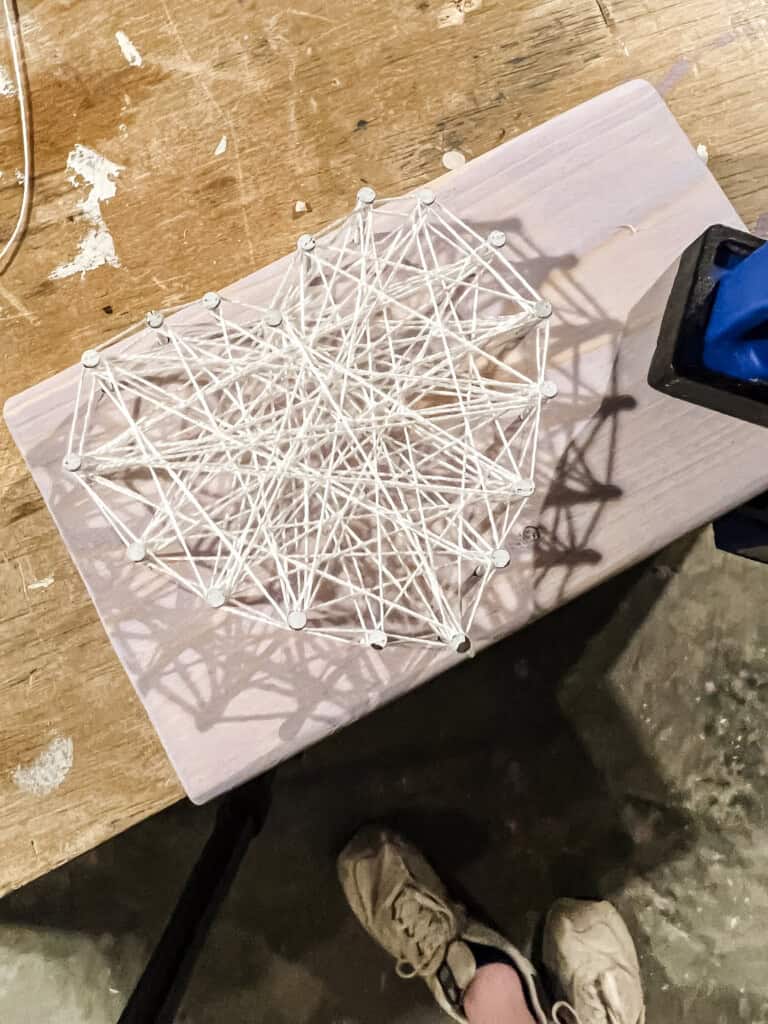
Step three: create string art
Now, grab the string of choice. I paired white string with my purple wood and pink string with my white wood.
Tie off a knot at the bottom point, then loop the string around the border of the heart until you get back to the starting point. Then, loop it over each nail and back to the starting point again each time.
Finally, go wild. Randomly loop the string between various nails, finishing by doing one more loop around the outer edge and tying the string off at a point.
Step four: write message
Use a paint pen or marker to write a message on the right side of the 2x4. I opted to use some common saying from candy hearts. And yes, I know my handwriting is atrocious, sorry.

DIY string art Valentine card
I absolutely love how these DIY string heart 2x4 Valentines Day cards turned out! I think they are an easy, but creative way to show people you love them.


Looking for something?
We've been doing this since 2012 so we have a LOT of blog posts!
Search stuff like: Ceiling Projects | DIY Plant Stands | Thrift Flips

Hey there, I'm Sean, the woodworking enthusiast and builder behind CharlestonCrafted.com! Since 2012, I've been sharing the magic of turning raw materials into beautiful creations. I love teaching others the art and satisfaction of woodworking and DIY. I try to inspire fellow crafters to make something extraordinary out of nothing at all.