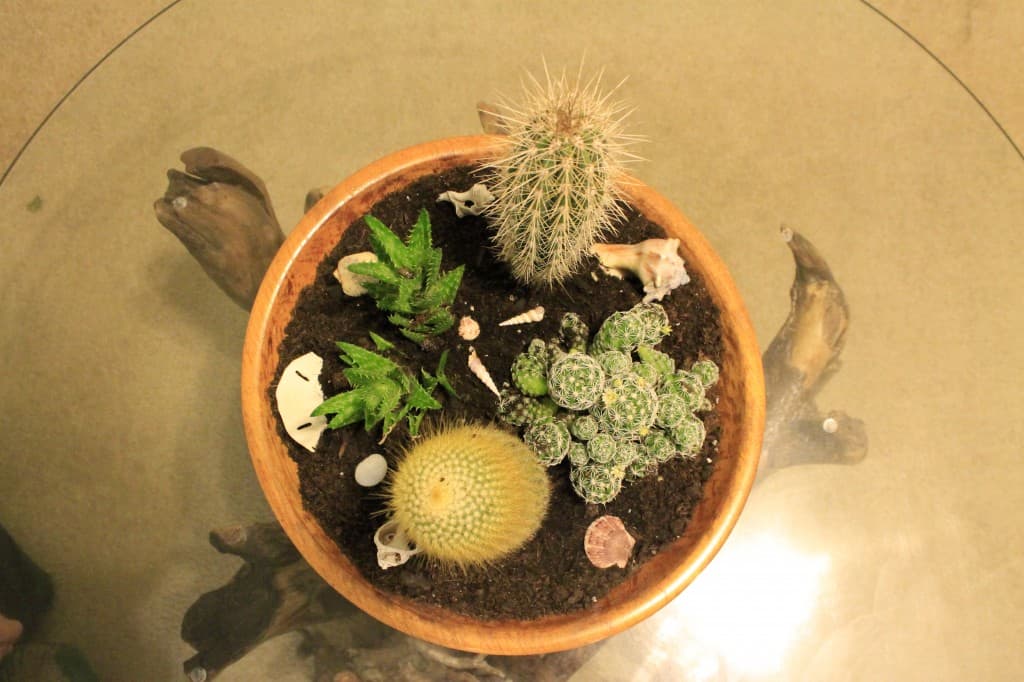
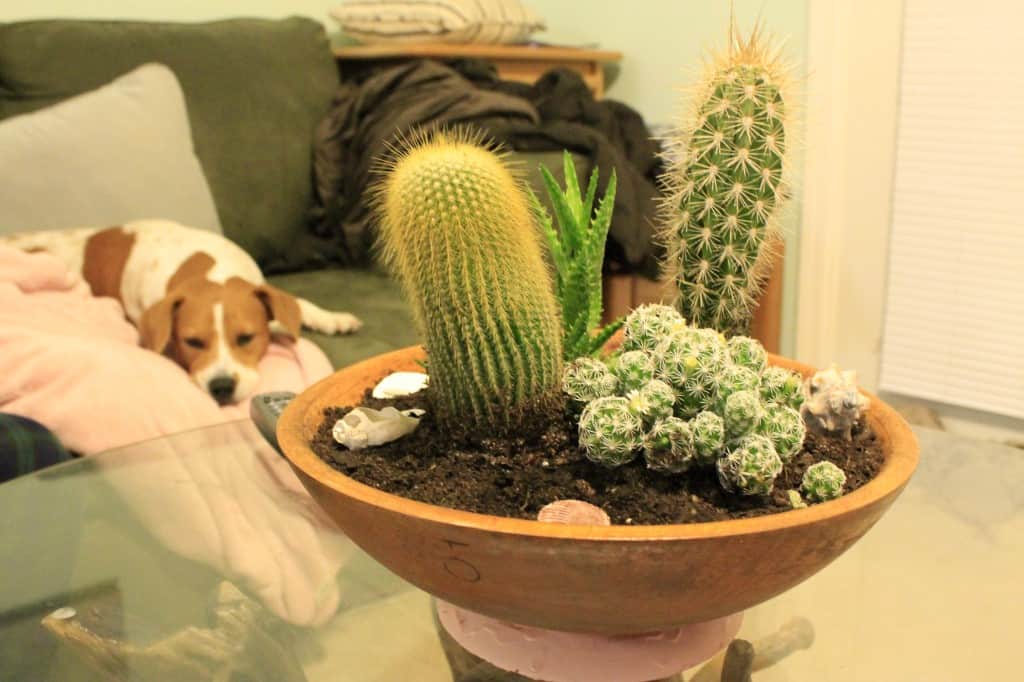
Sean picked up a lot of wooden bowls when he lucked into an all-you-can-fit-in-a-trash-bag-for-$5 sale at a Junior League Whale of a Sale. They've been hanging out in the top of one of our kitchen cabinets for the better part of this year. I finally decided to get out the largest bowl and put it to good use.
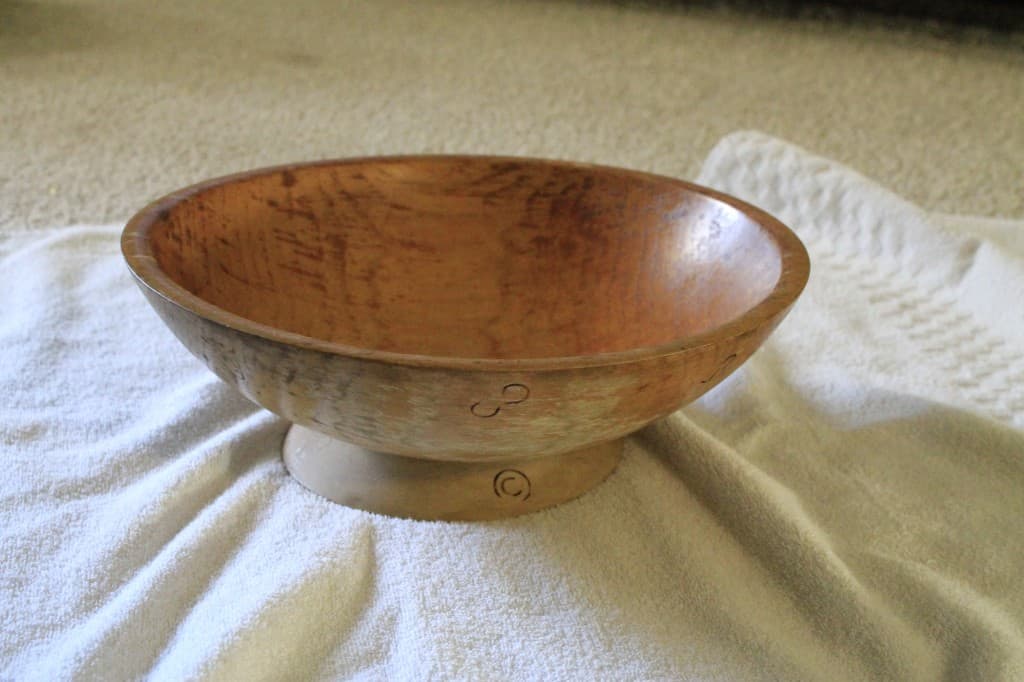
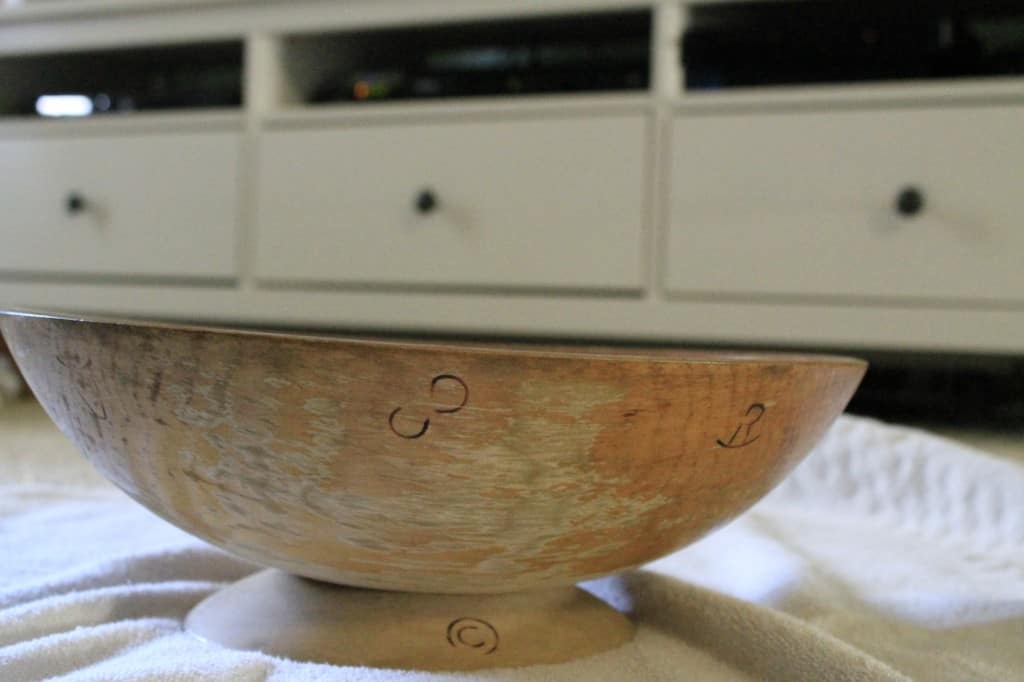
The bowl was, however, not in the best of shape. The outside of the bowl was a bit beat up. The inside, however, looked great.
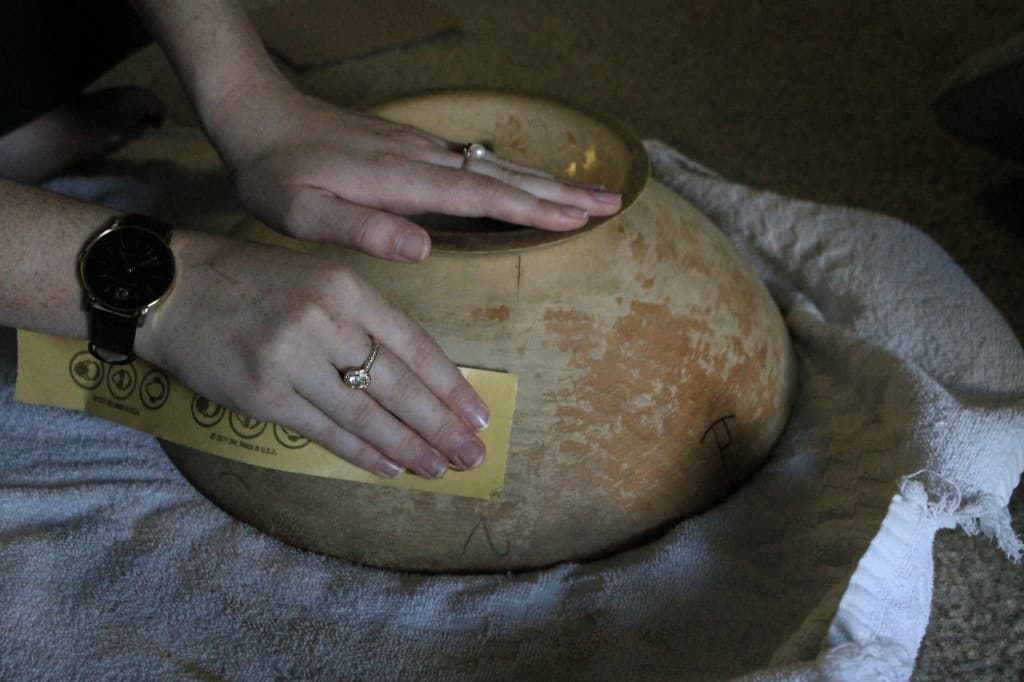
So, I decided to give it a makeover. First, I took sandpaper to it and gave it a good all over sand.
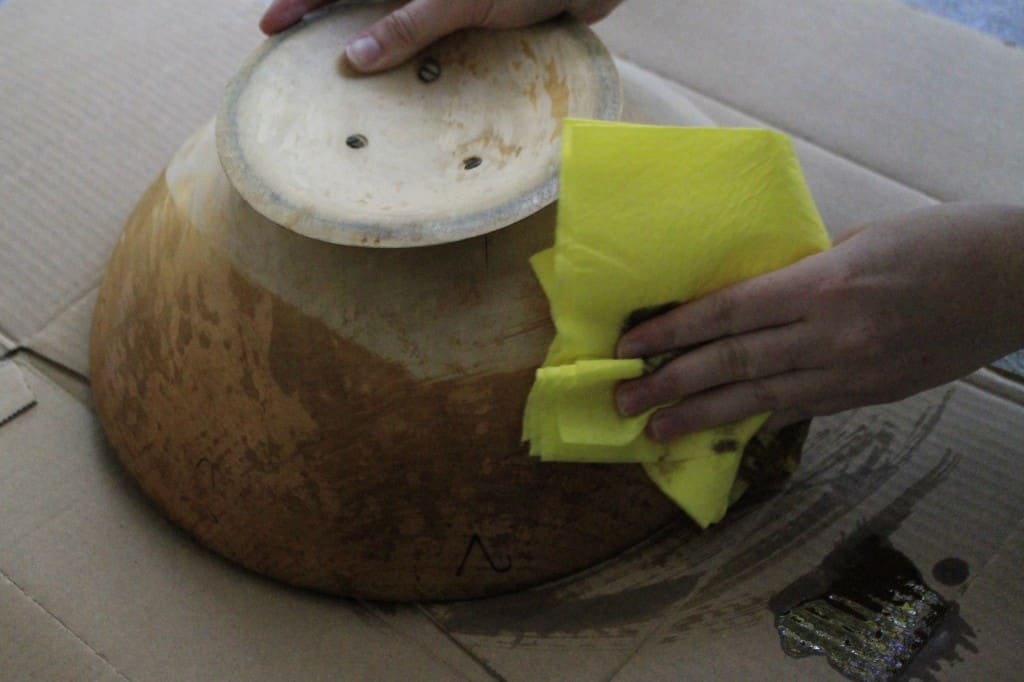
Then, I decided to try to refresh the finish using Restore a Finish, just like we did with my vintage vanity.
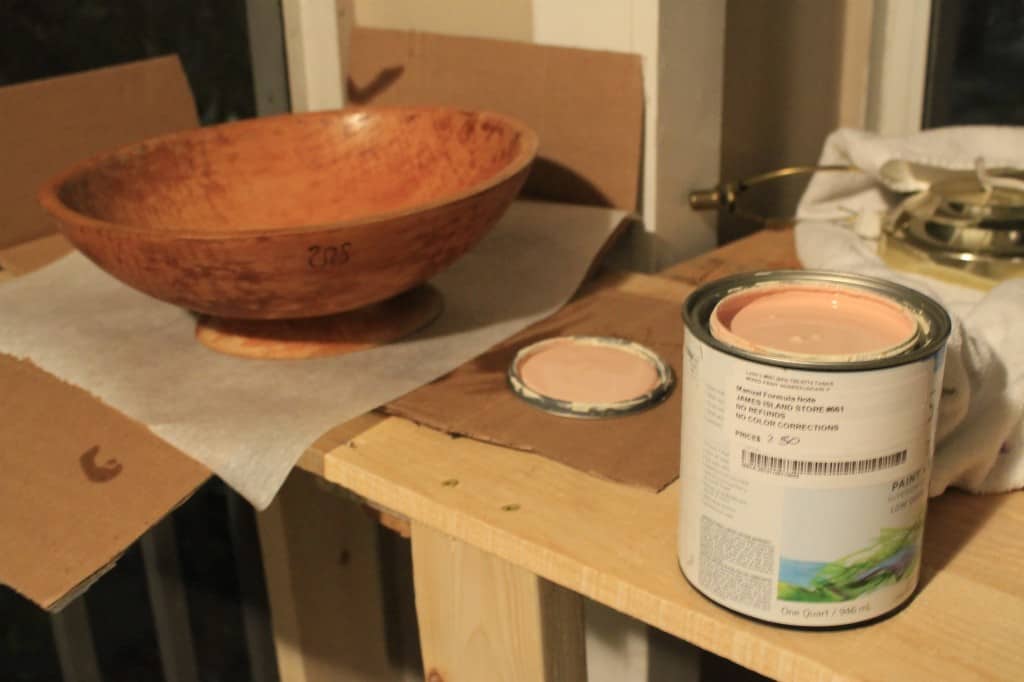
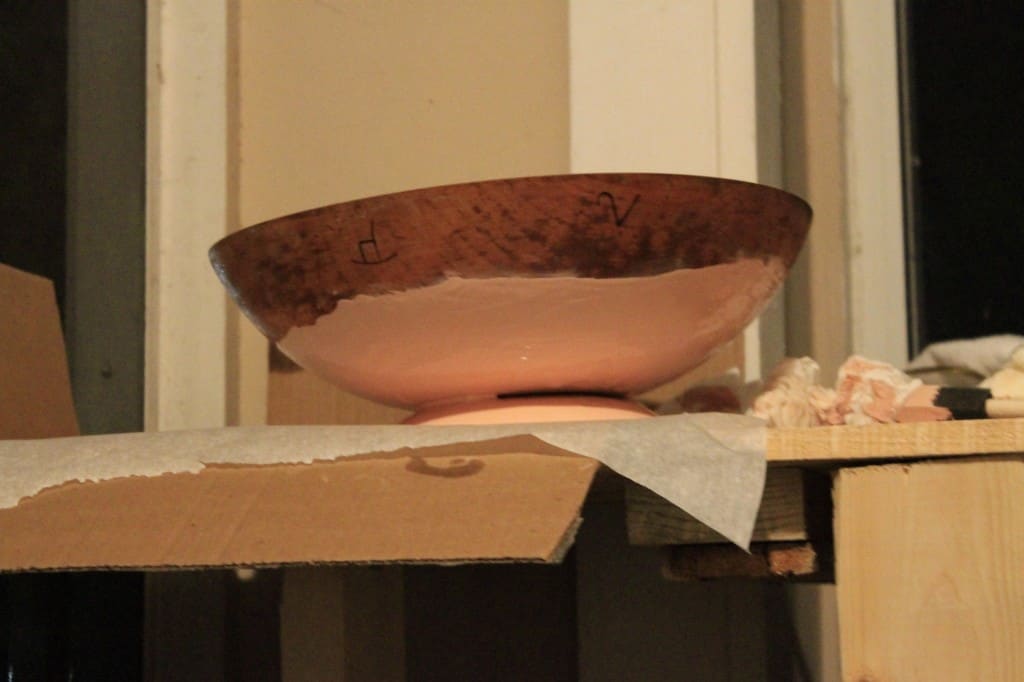
After allowing it to dry for 30 minutes, I decided to dip the bottom of the bowl in paint! I'm obsessed with anything paint dipped, and figured that this was the perfect time to try out the technique!
So, I grabbed a quart of paint off of the mis-tint rack at Lowes. It was a sassy light pink that I love.
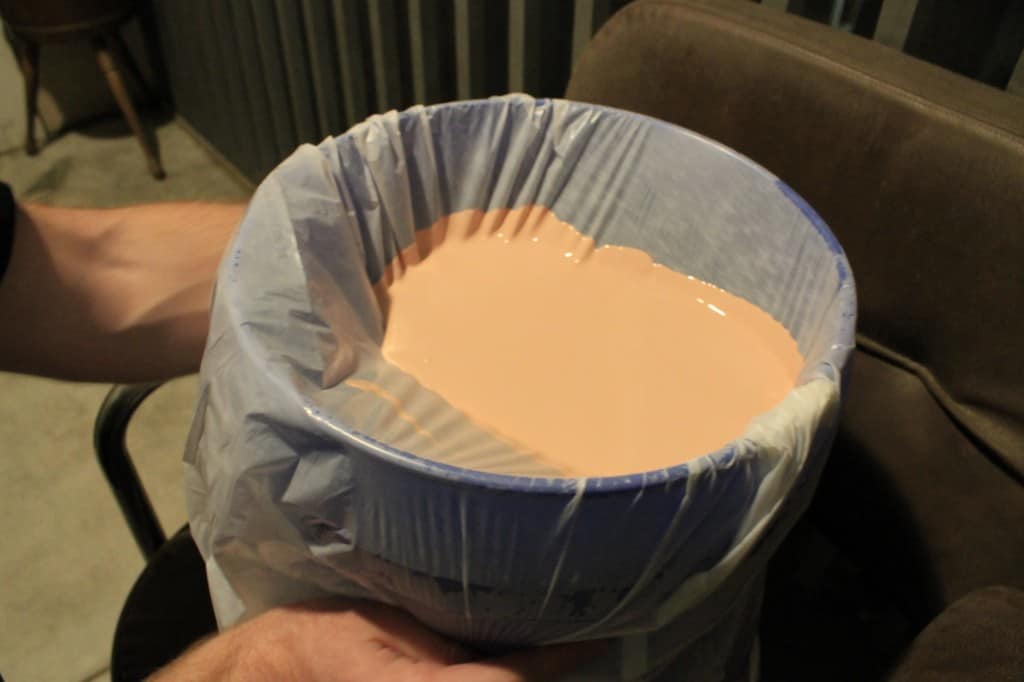
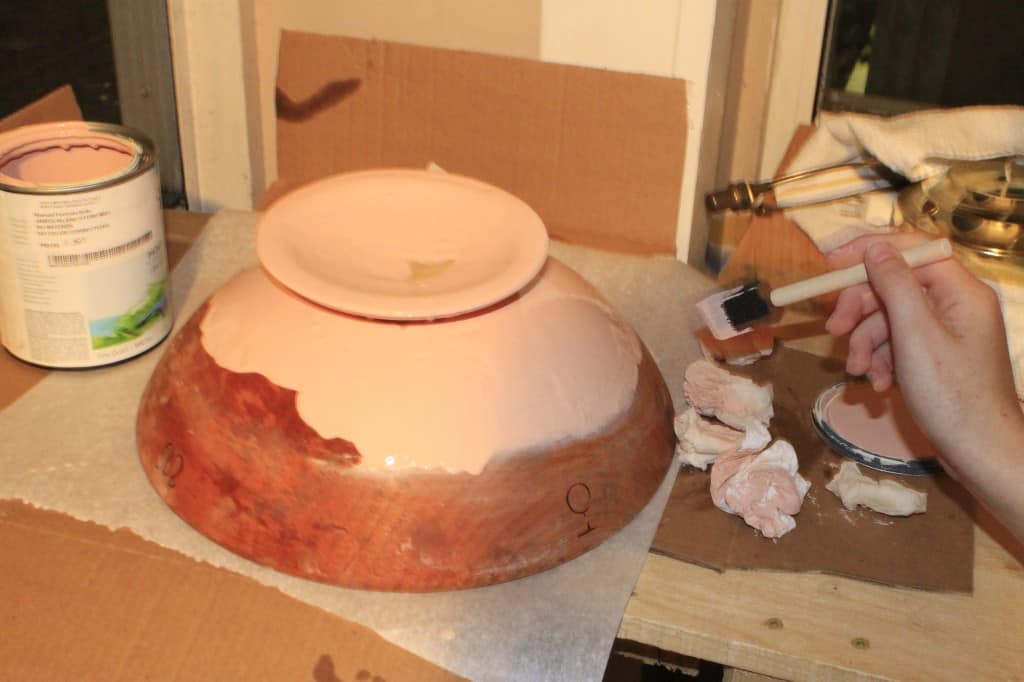
Then I opened a large garbage bag over a bucket and dumped the paint into the bag. We dipped the bowl into the paint and sort of turned it like a steering wheel to get coverage. It did not work especially well, because the bowl was too big for the bucket. If you had a smaller bowl or a bigger bucket, it would work a lot better.
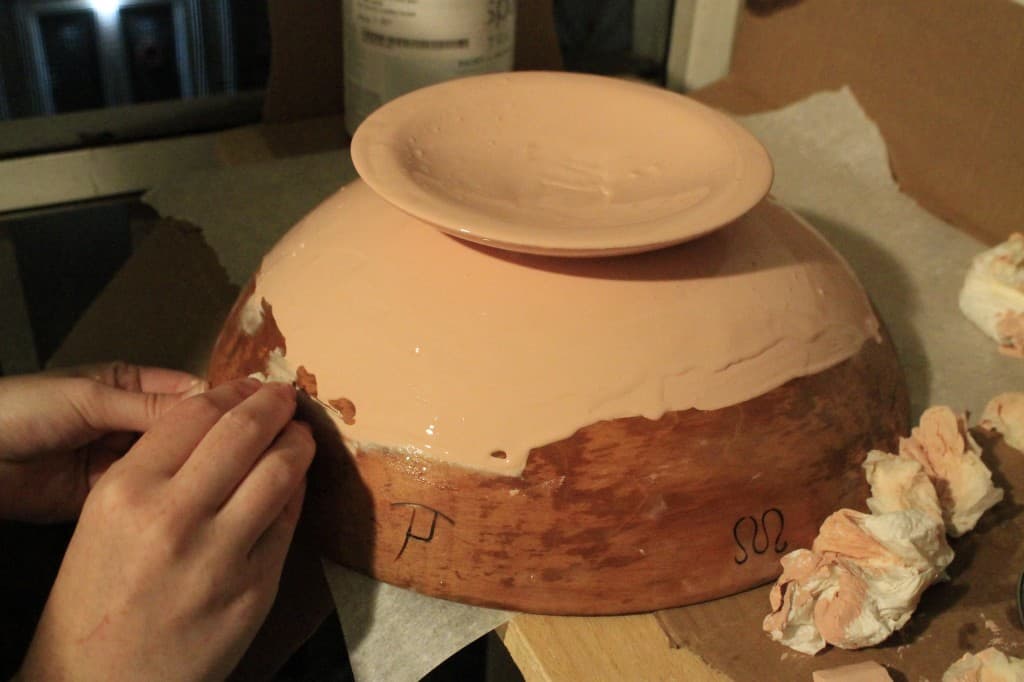
I was kind of bummed at the unevenness of the paint (once again - smaller bowl or bigger bucket would have fixed this) so I used a foam brush and a wet paper towel to clean up the edge.
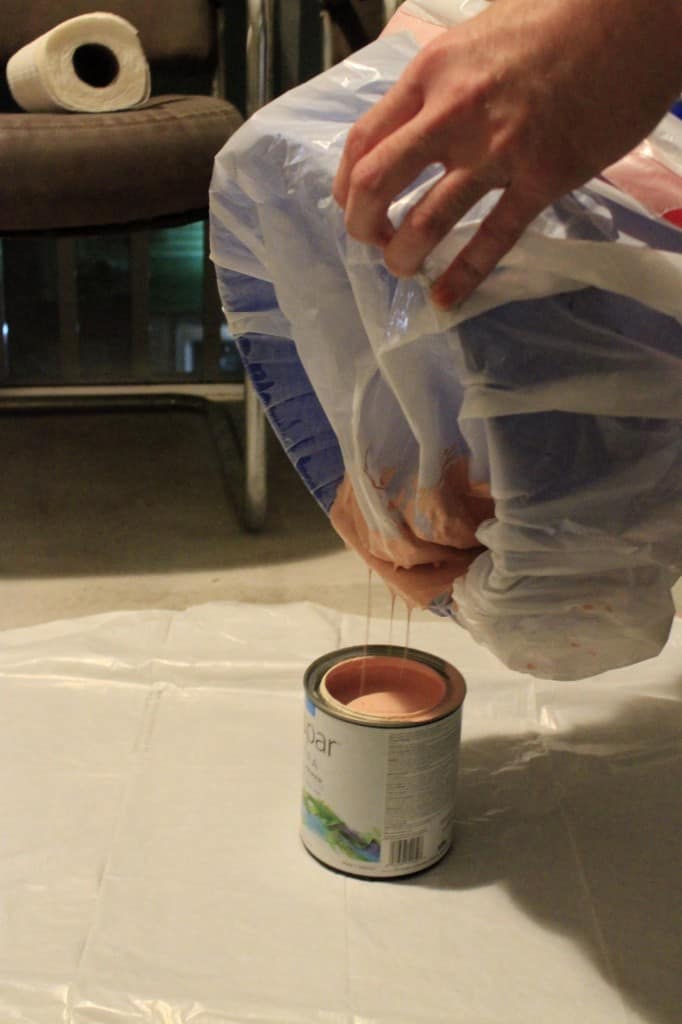
We then dumped the excess paint back into the can. We had almost a full can left! Turn the garbage back inside out and fill with more trash and throw out.
I left the finish a little uneven and totally dig it. I think it looks super dipped and handmade.
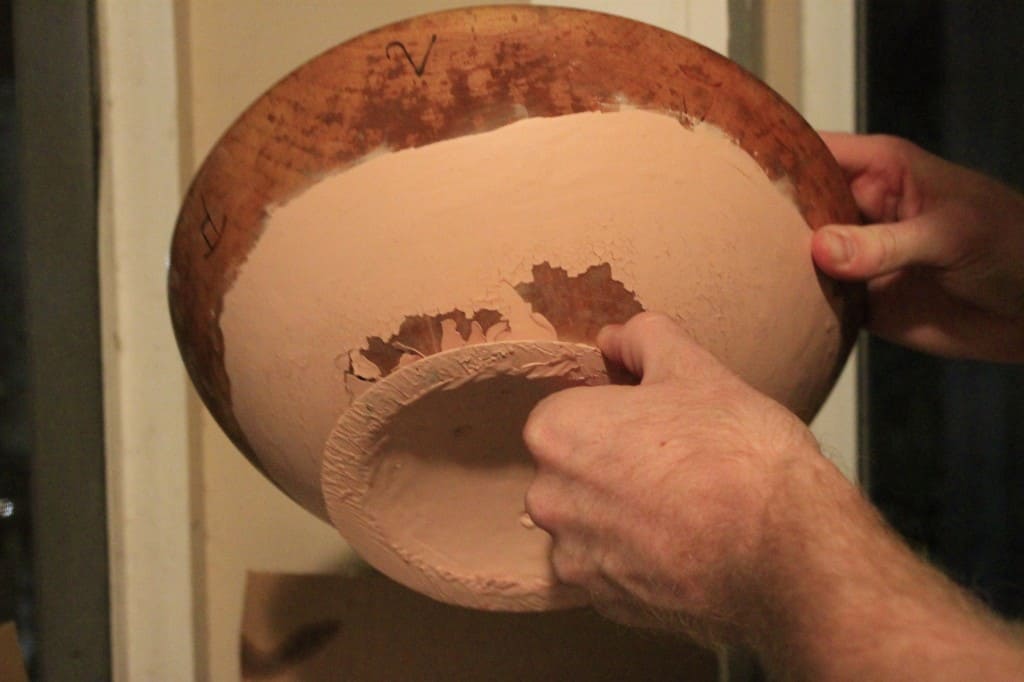
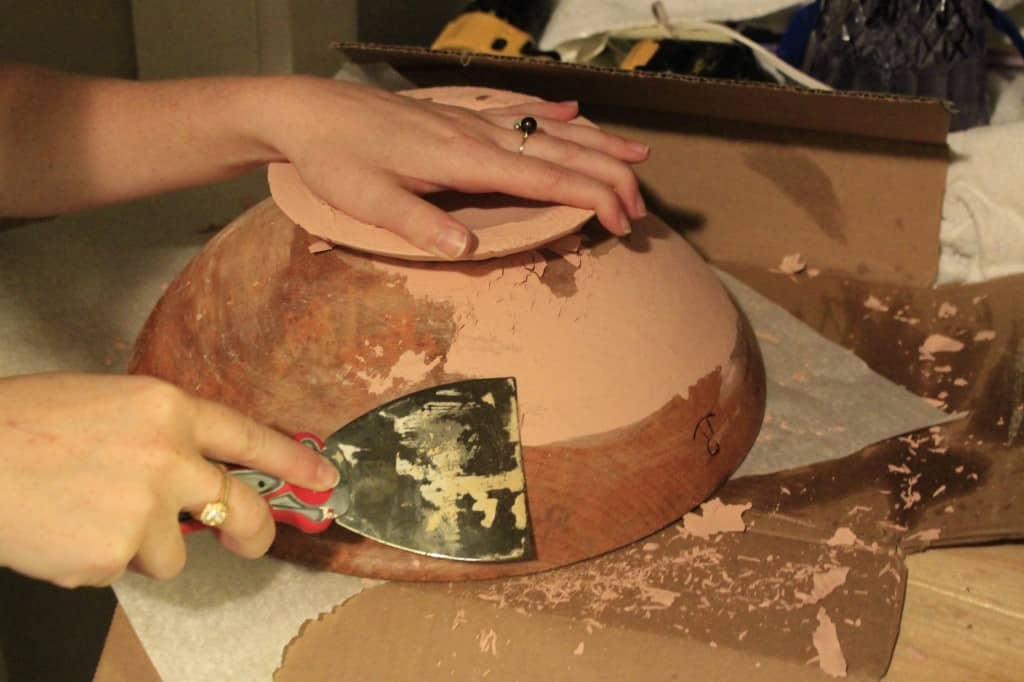
Until... it dried. Apparently, you can't paint over fresh Restore a Finish (read your directions, folks!) Everywhere that I had applied the oil basically rejected the paint. It peeled off and was crumbly.
I felt incredibly defeated but Sean convinced me that it was ok. We used a scraper and then sandpaper to (easily) remove all the paint from the bowl.
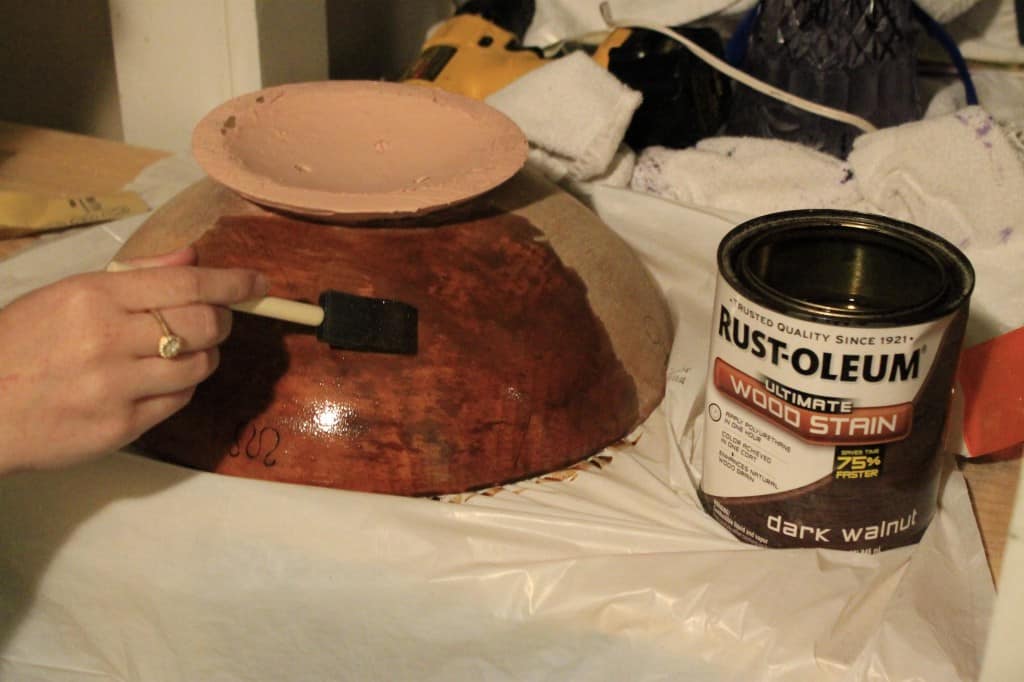
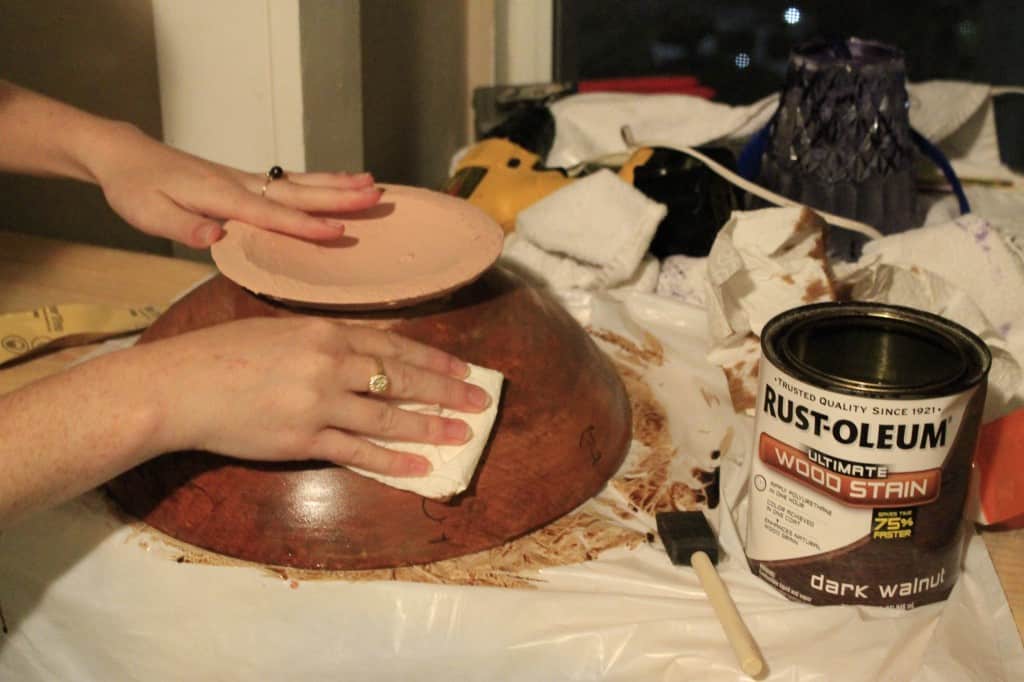
I decided to just stain the bowl instead. I used stain we already had and applied it to the bowl using a foam paintbrush. The longer you let it sit, the darker it gets. Since I wanted it to be fairly light, I used a paper towel to wipe it off, almost instantly.
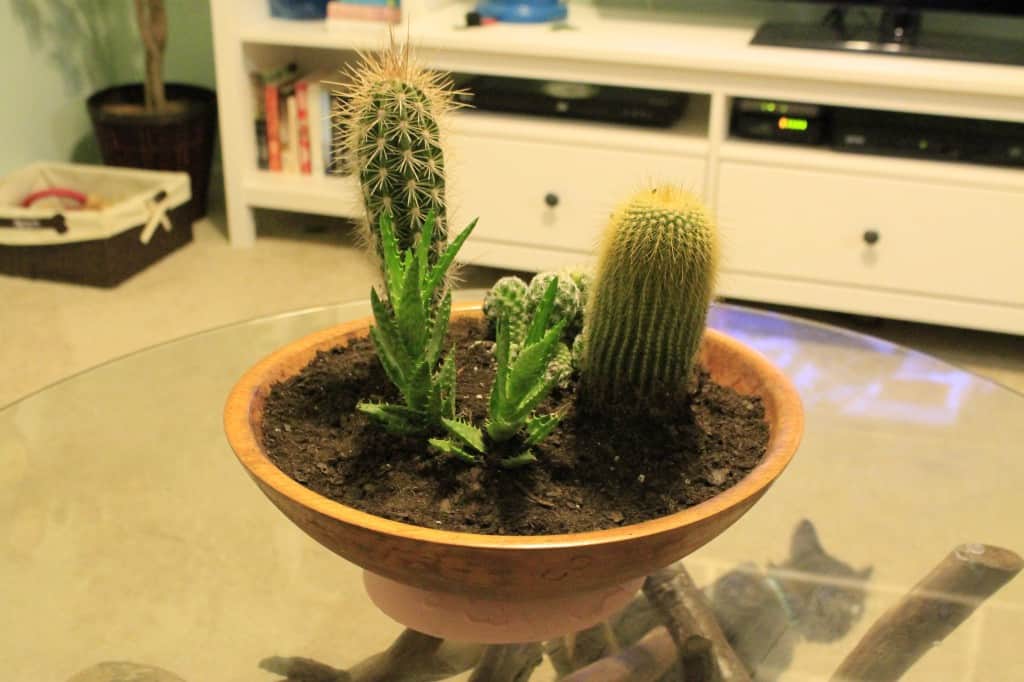
In case you didn't notice, I decided to leave the foot of the bowl pink. I didn't Restore a Finish that part, and the paint looked decent.
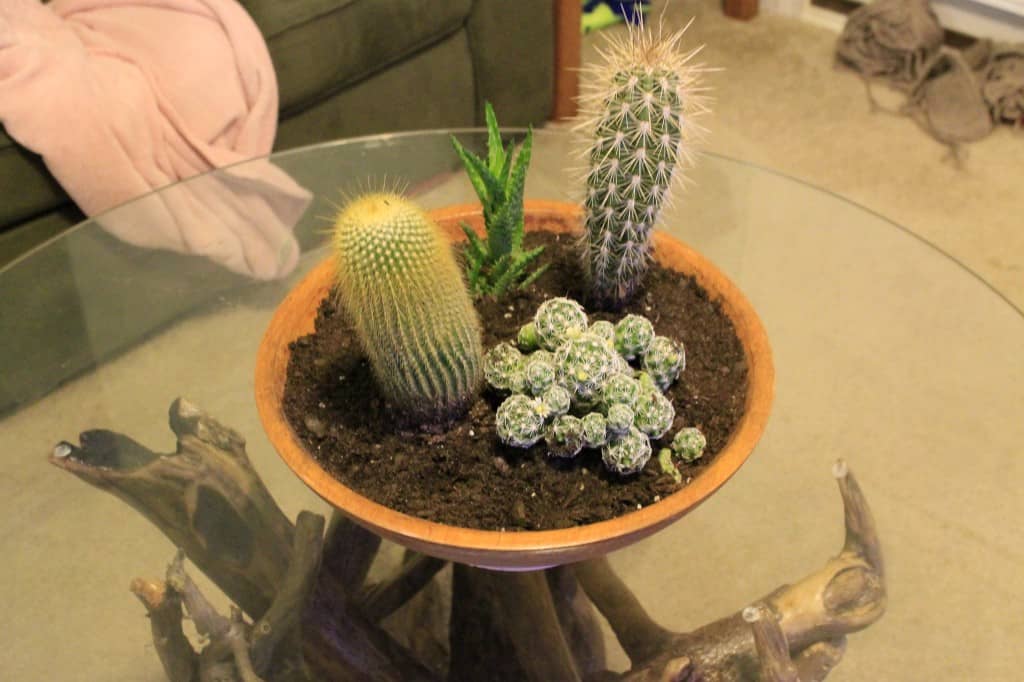
I decided to use the bowl as a cactus planter! They don't need water, so they don't need too much water. Water could make a wooden bowl nasty, so I figured cacti were the way to go.
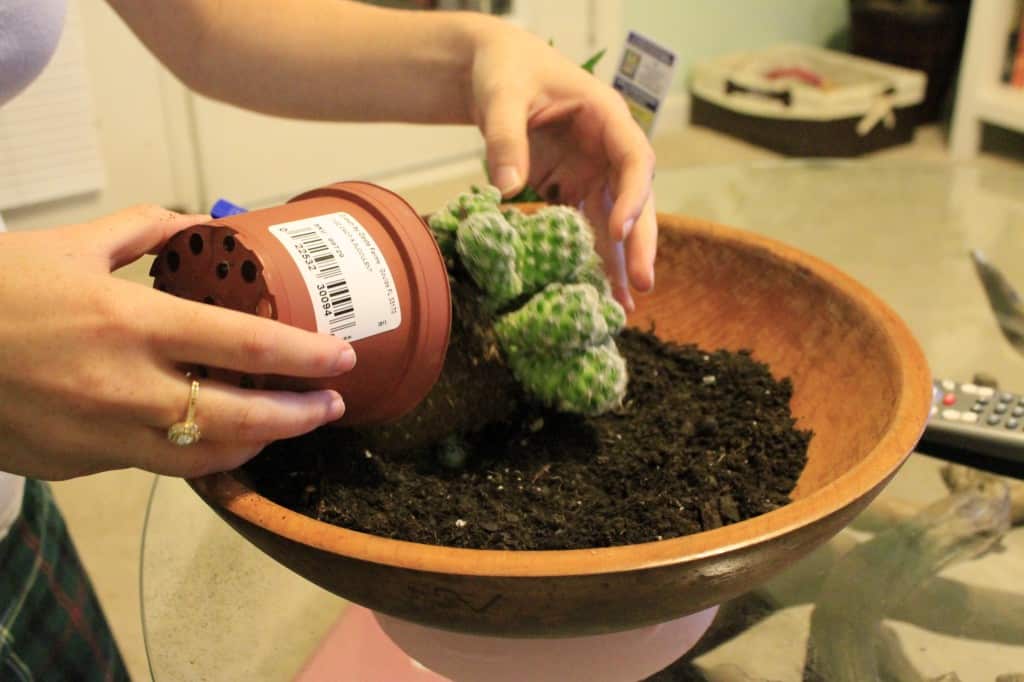
I grabbed 4 cacti and some cactus soil from Lowe's. It's really hard to plant cacti. They're pretty pokey.
I filled the container about half way, then added the plants, biggest to smallest. Finally, we added more dirt to fill it up and hold up the plants.
Sean had the idea to throw in a few little sea shells, just to make it even more fun.
Have you ever had a cactus garden? Paint dipped a bowl? Please share!
 |
|||
 |
 |
 |
 |

Hello, I'm Morgan, half of the creative force behind CharlestonCrafted.com! With a passion for DIY that dates back to 2012, I've transformed three homes and now I'm dedicated to helping others craft their dream spaces. Let's turn your house into a home together!

