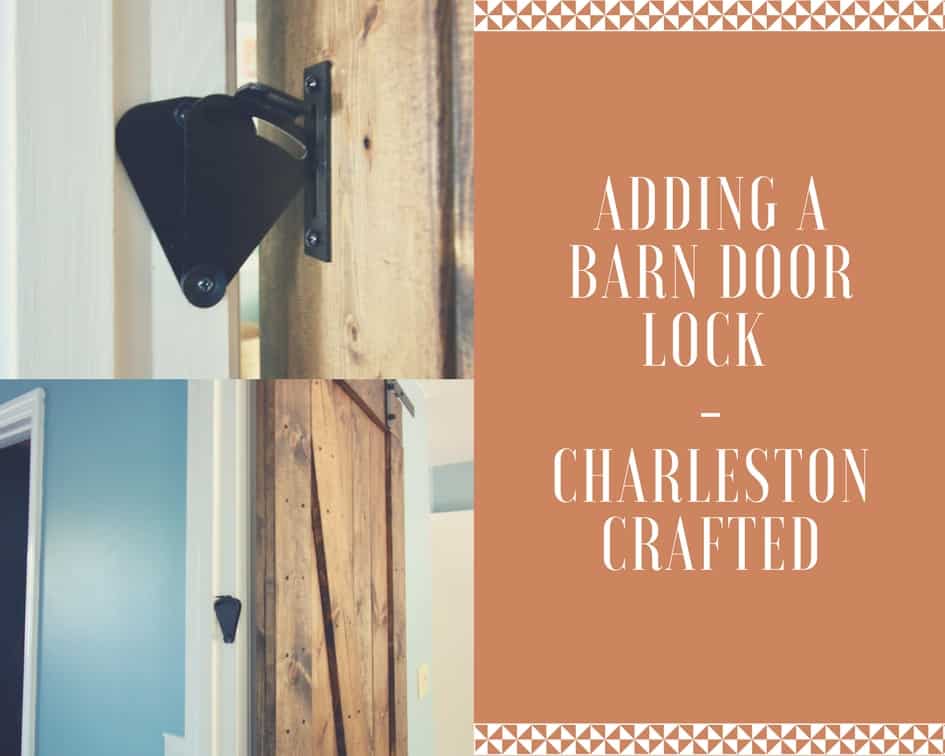
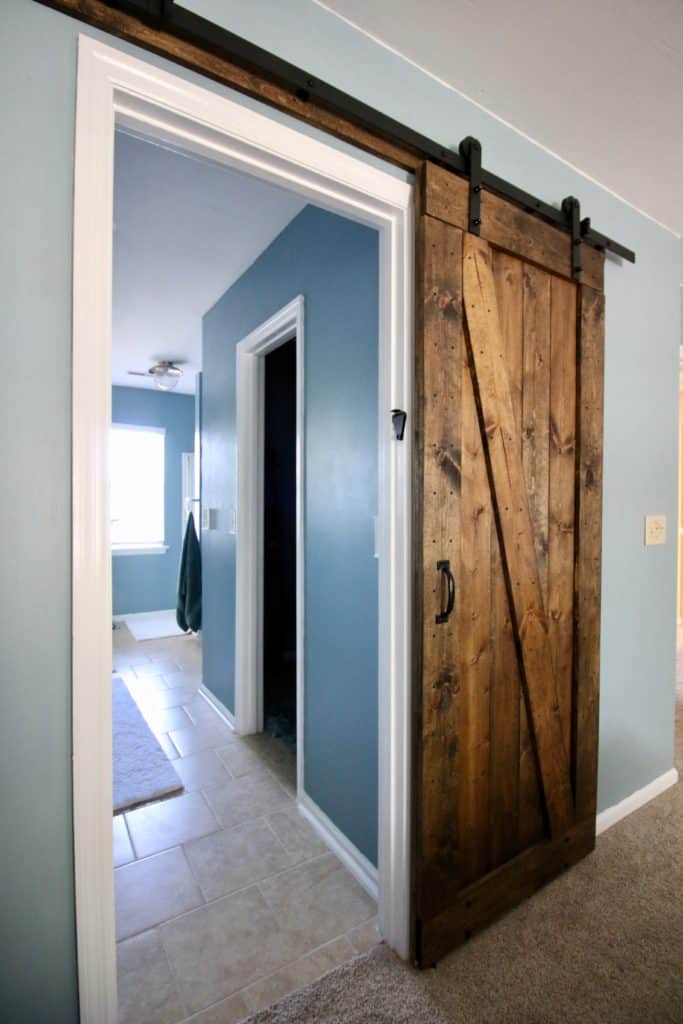
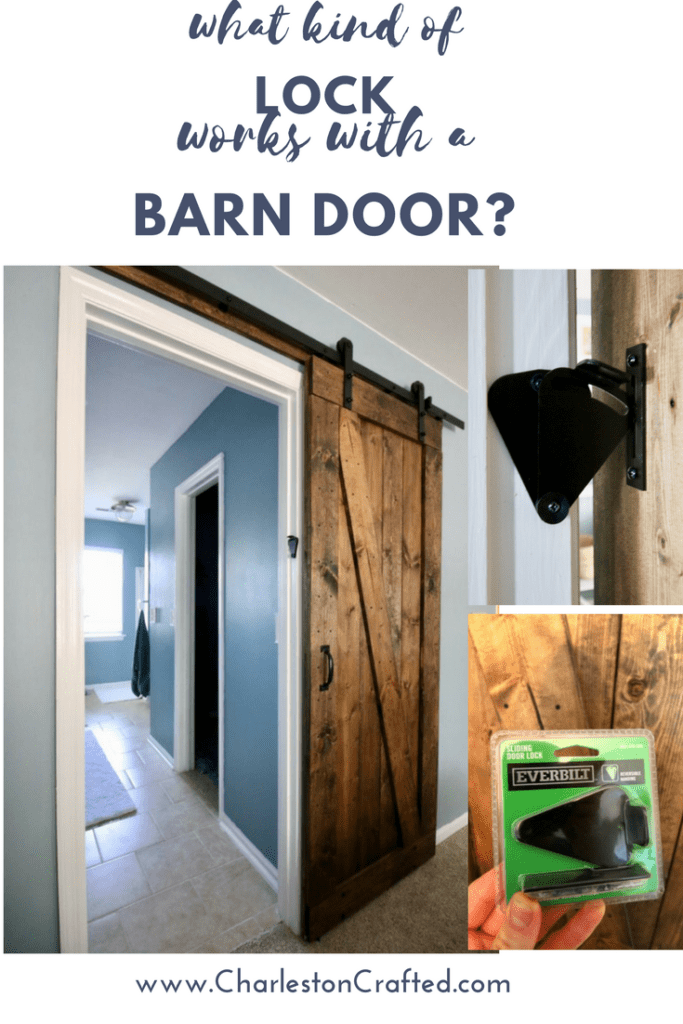
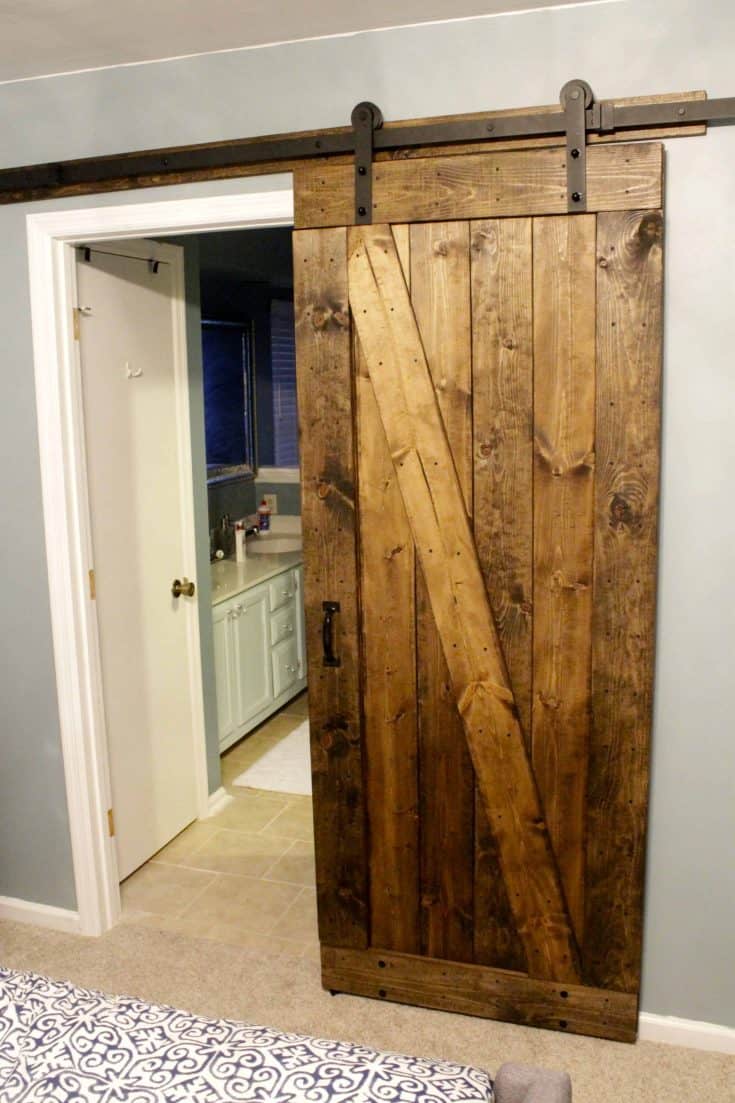
Barn doors are super trendy right now. We built one from scratch last year between our master bedroom and bathroom. It works perfectly, but one of the biggest questions we get is "how does it lock?" Well, it didn't... until now. If you're looking to add a barn door lock to your sliding barn door, it's quick and simple.
Buy this barn door lock now from the Home Depot
Adding a Barn Door Lock
We met people from Everbilt at the Haven Conference and talked too them about how one of our more popular posts of all time is about how to install one of their rival's sliding barn door hardware because the instructions were so confusing.
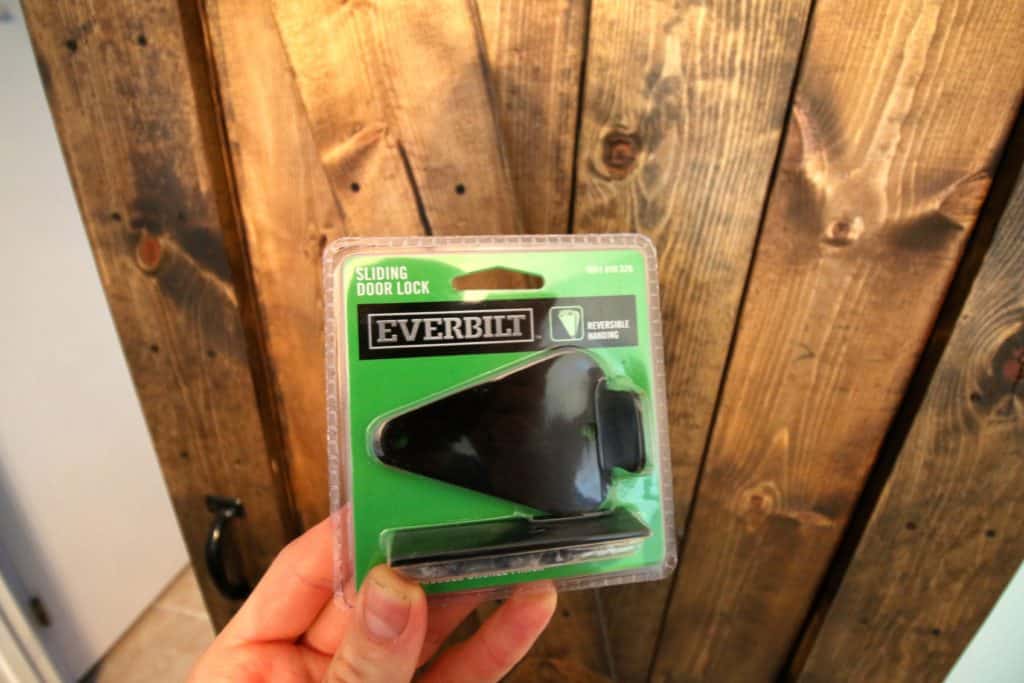
I wish we had know about Everbilt at the time because their directions are much more comprehensive than the ones that we had. When we told them that one of the top questions that we get is what kind of lock will work with a barn door, they were nice enough to send us a barn door lock from their collection. It's small, straightforward and will cost you $9.98.
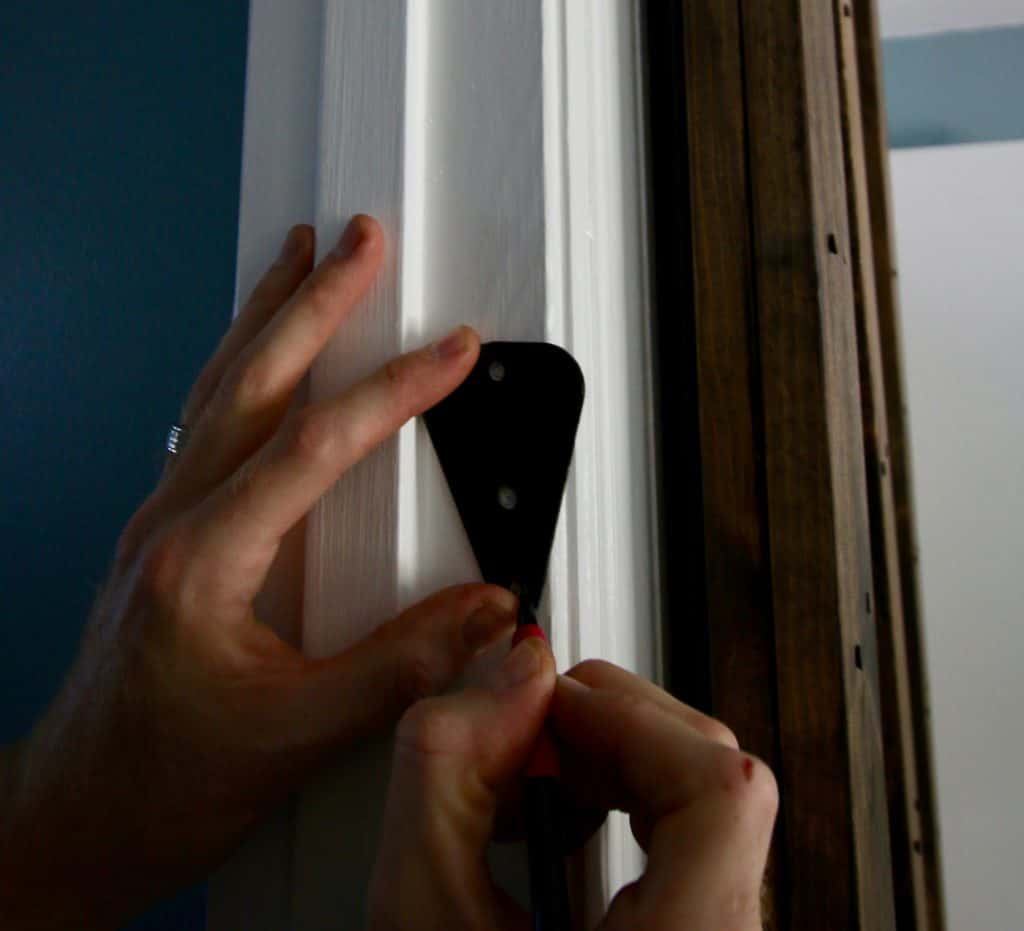
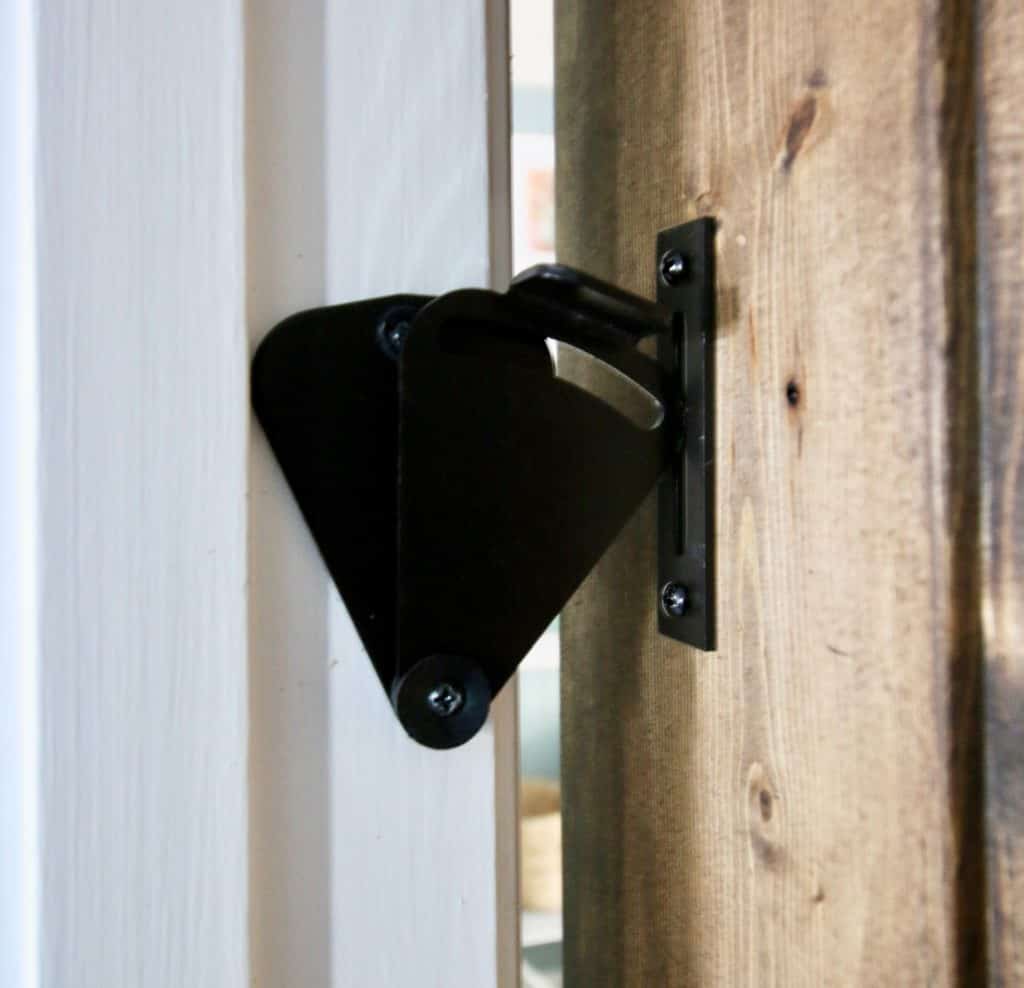
The lock is an easy sliding latch mechanism. The tear drop side affixes to the door jamb and the rectangular part to the door. This was the only part that wasn't clear up front, but once we figured it out, it was great.
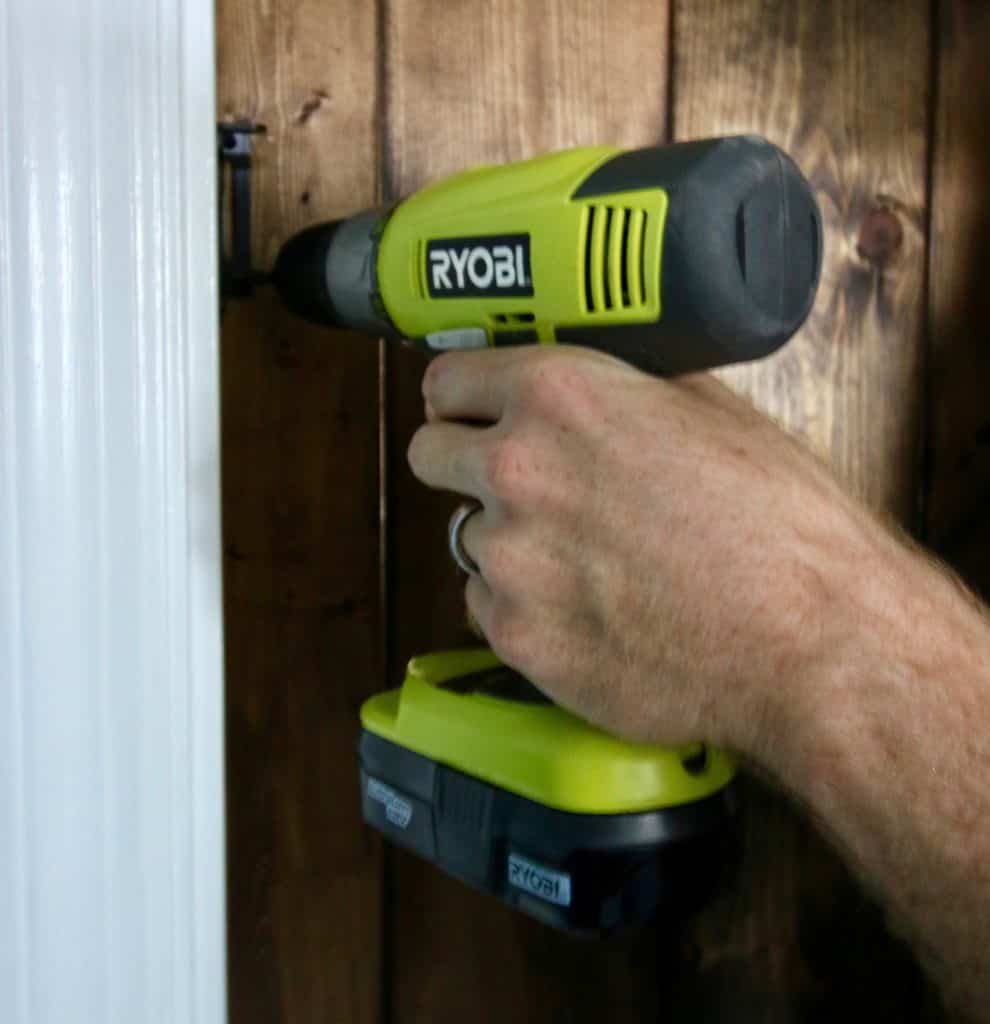
We started out by attaching the metal back plate of the tear drop to the door jamb by drilling the appropriate holes and screwing it in. Then we attached the front plate. We made a minor modification here that may be helpful to you depending on your door situation.
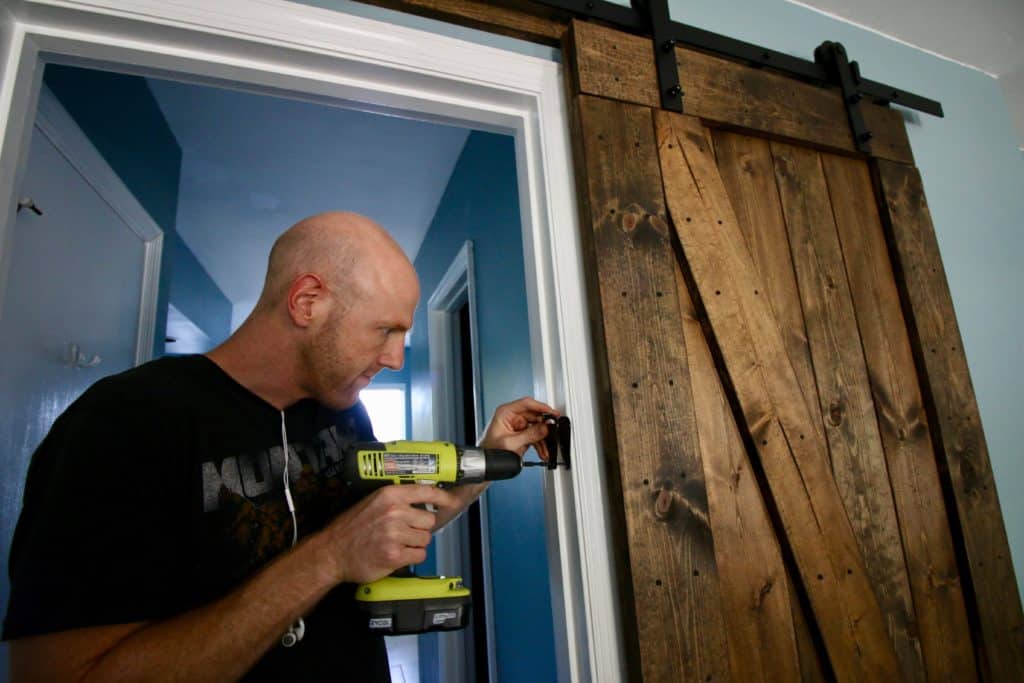
Since our door was outside of a door frame and was slightly too far for the lock to reach, we didn't attach the top screw through the front plate like you are supposed to. This way it would swing further out all the way to the door.
Then we attached the rectangular plate to the door with the two screws provided.
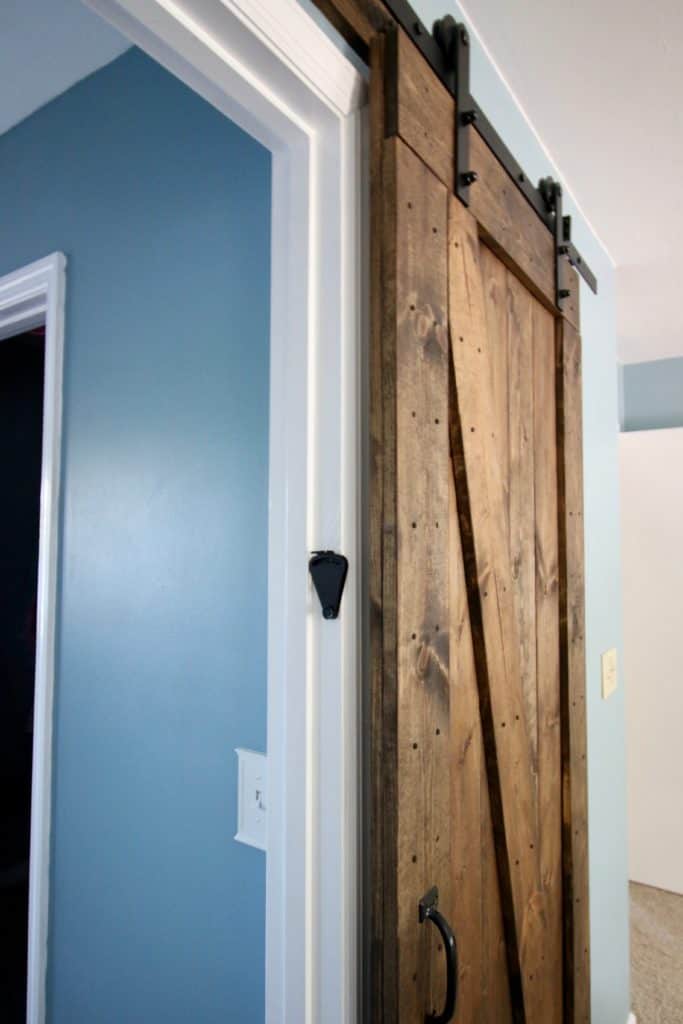
Now we can lock each other in and out of the bathroom.
Luckily, the system can be flipped in any emergency just by sticking a pen or credit card behind the door and flipping up the latch.
This is a great solution for your house if you need a bit more privacy than an unlocked door allows. I love how easy installation is and you can't beat the price!
Want more barn doors? Click here for all of our barn door content!
Want more barn door goodness? We wrote an eBook all about Barn Doors - and you can get it for free!
Thanks again to the people at Everbilt for sending us this lock. Hopefully now we've covered every possible basis of barn door construction for you!
 |
|||
 |
 |
 |
 |
How to Build and Mount a Barn Door
Barn doors are trendy and fashionable and can add a rustic flair to your space. Here's how to build a barn door and how to mount a barn door.
Materials
- Roughly nine 1x6 boards
- Screws
- Barn door hardware
Tools
- Miter saw
- Drill
Instructions
How to Build a Barn Door
- Measure the space you want to cover
- Design your door. Use two layers.
- For the back layer, use as many 1x6 boards as needed to cover the gap of your door.
- For the front layer, cut two 1x6 boards to span the width of your door space and attach at the top and bottom of the back layer. Then cut 1x6 boards to span the gap between those two boards vertically. Finally, cut a board to go diagonal from the top corner to the bottom corner.
- Use 1 ¼" screws to attach all the boards from the front layer to the back layer.
- Stain or paint your door to fit your decor.
- Add a pull for a door handle.
How to Mount a Barn Door
- Order barn door hardware. Different brands will differ slightly, but the idea is the same.
- Attach a 1x6 board to your wall in the studs if your doorway has a frame that you need to go past. If your doorway doesn't have a frame, you can mount your rail bar directly into the wall.
- Mount your rail bar.
- Add bumpers for the barn door rollers to hit where you want to door to stop on each end.
- Attach the rollers to the top of your door and hang the door on the rail bar.
- Add a bottom guide for your barn door so that it doesn't swing back and forth.
Recommended Products
As an Amazon Associate and member of other affiliate programs, I earn from qualifying purchases.

Hey there, I'm Sean, the woodworking enthusiast and builder behind CharlestonCrafted.com! Since 2012, I've been sharing the magic of turning raw materials into beautiful creations. I love teaching others the art and satisfaction of woodworking and DIY. I try to inspire fellow crafters to make something extraordinary out of nothing at all.

