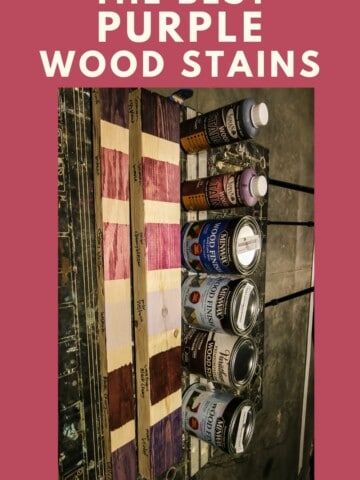
Discover the best woods for dark stain colors to achieve a luxurious finish on your DIY projects. This guide dives into the ideal wood species for deep brown and black stains, tips for a non-blotchy finish, and a simple step-by-step wood stain process, ensuring your furniture project turns out great.
A lot of people build or select a piece of furniture before deciding to stain it. But, if you know that you want your piece of furniture stained dark and you have yet to build it, you've come to the right place.
Today I'm excited to talk about the best wood for a dark stain.
Because, dark stains really behave unlike light stains and there are a lot of factors that you need to take into consideration when using them.
If you know that you want to use a dark stain, then you have the advantage of selecting a wood species that will look and behave best when stained dark.
The Best Wood Species for Dark Stains
Different wood species absorb stain differently, and have unique natural colors. Here are the best woods to choose when opting for a dark wood stain.
Oak (Red and White)
Oak is a top choice for dark stains due to its dense grain and natural ability to absorb stain evenly. Red oak, with its prominent grain patterns, and white oak, known for its smoother texture, both make excellent bases for deep stains.
Walnut
Although naturally dark, walnut can be stained even darker to achieve a luxurious, deep tone. Its uniform grain accepts stains well, ensuring a smooth finish.
Ash
The open grain of ash wood makes it ideal for absorbing dark stains. Its light natural color contrasts sharply with dark stains, highlighting the wood's natural beauty.
Mahogany
Known for its fine grain and natural richness, mahogany takes dark stains well, enhancing its inherent elegance.
Birch and Maple
These woods are harder to stain due to their tight grain. However, with proper preparation and the right staining techniques, they can achieve a beautiful, dark finish.
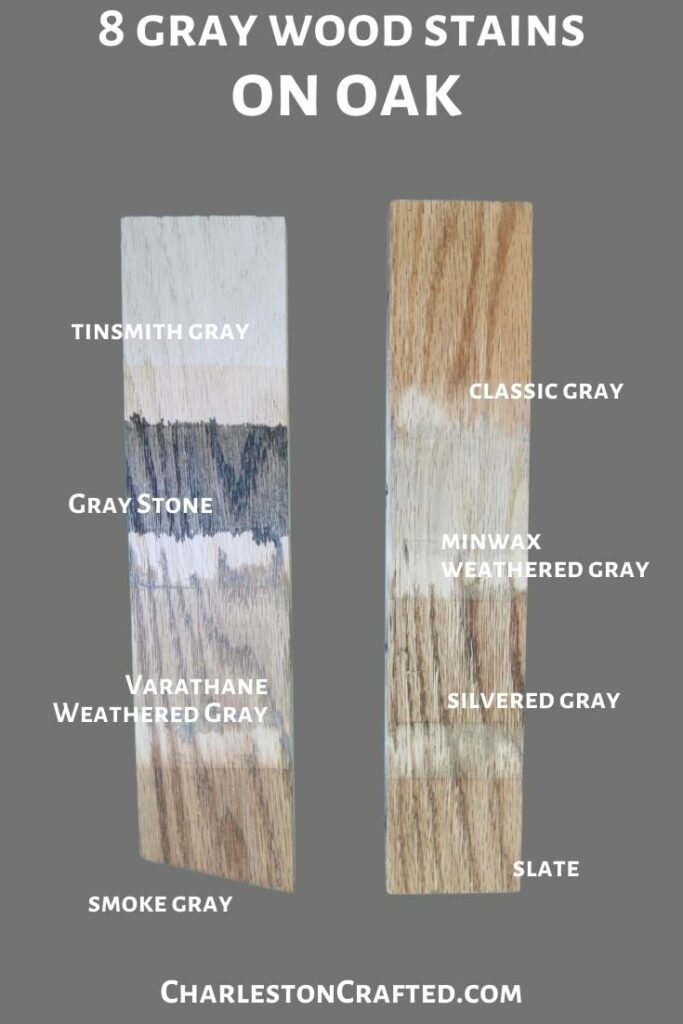
You can see above in this oak stain sampler how nothing really looks blotchy - oak and similar hardwoods take stain very well, making them a great choice for dark wood stains.
Woods that do not take dark stains well
There are certain woods that are going to be difficult to stain a dark color. You can do it, but allow time to test and practice techniques to get the best possible finish.
Pine
Pine is notorious for absorbing stain unevenly, often resulting in a blotchy finish. While it's possible to stain pine dark, it requires careful preparation.
Always, always use a wood conditioner when applying a dark wood stain to pine. This helps to level out the moisture levels of the wood surface and cuts down on uneven absorption.
Cherry
Cherry wood naturally darkens over time. While it can be stained darker, it may not absorb the stain evenly, so proceed with caution.
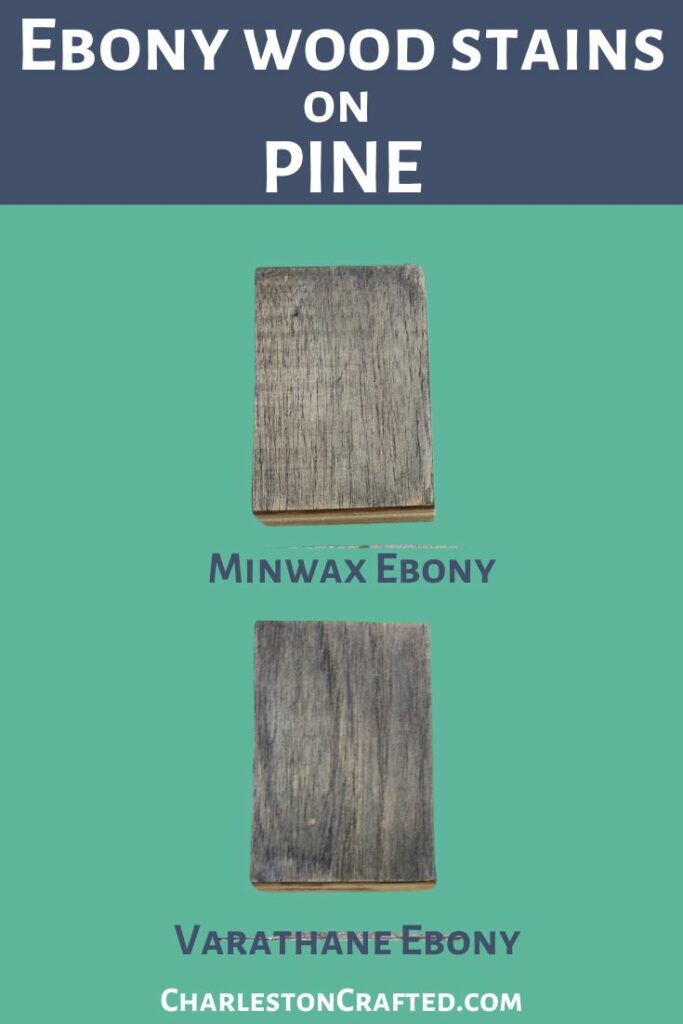
Above you can see how these Ebony wood stains appear quite blotchy on pine. Not great!
Choosing Dark Wood Stains
Just like with any other wood stain or painting project, it's super important to sample wood stains in your actual home or on your actual surface to make sure you like how the color looks in your space. But, here are some of our favorite dark wood stain colors.
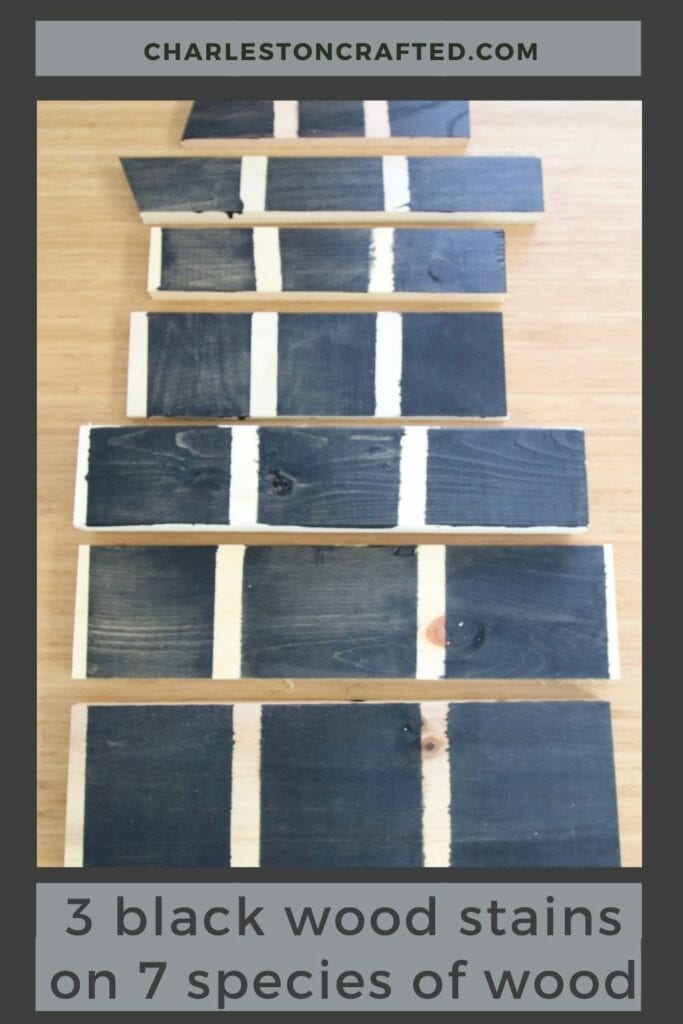
Black wood stain colors:
See all of my favorite black wood stain colors.
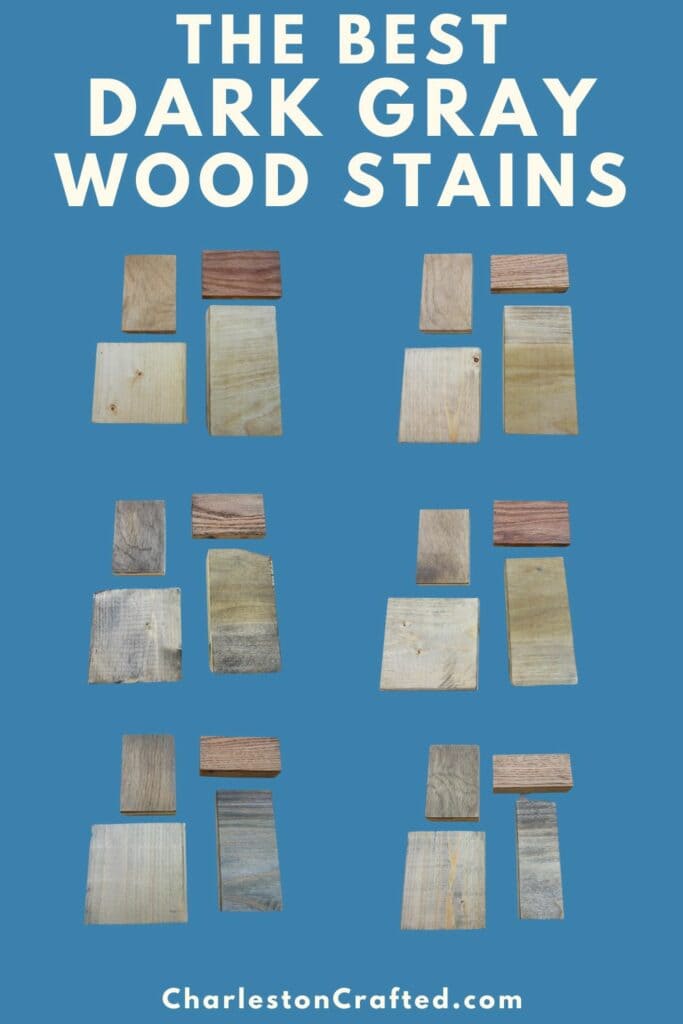
Dark grey wood stain colors:
See all of my favorite dark grey wood stain colors.
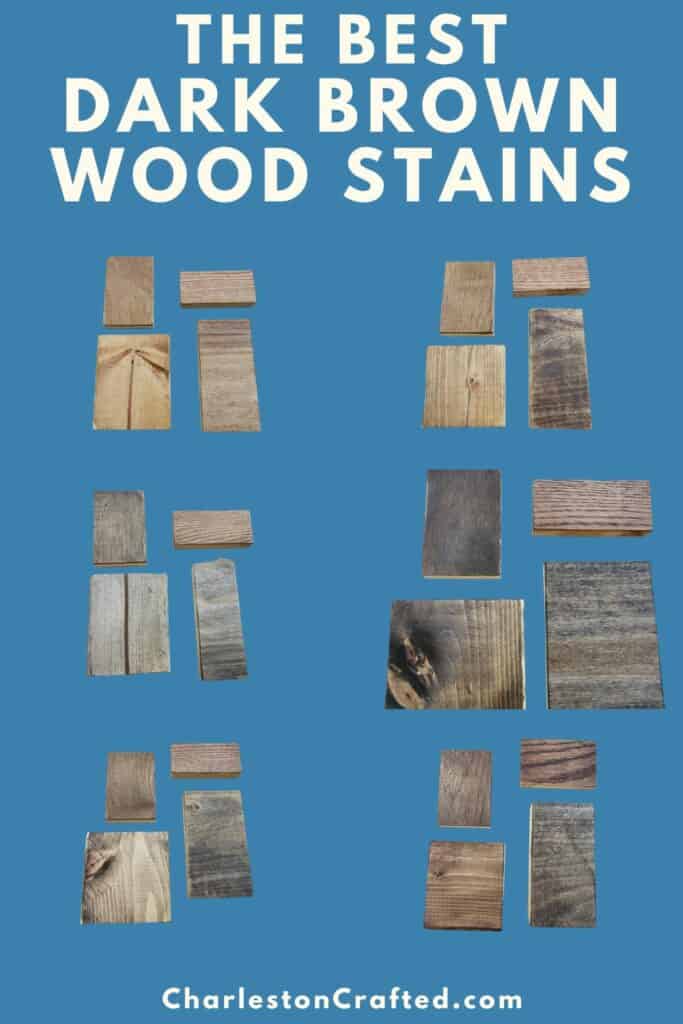
Dark brown wood stain colors:
See all of my favorite dark brown wood stain colors.
Achieving a Non-Blotchy Finish
A blotchy finish is a DIYers nightmare. This happens when a stain color absorbs unevenly into the wood surface.
The areas where the wood absorbs more stain will appear darker. The areas where less stain color is absorbed, will appear lighter.
This is usually because of variances in moisture level in the wood surface. Areas that are dry are going to be more porous and have more room to soak up more stain and therefore more color.
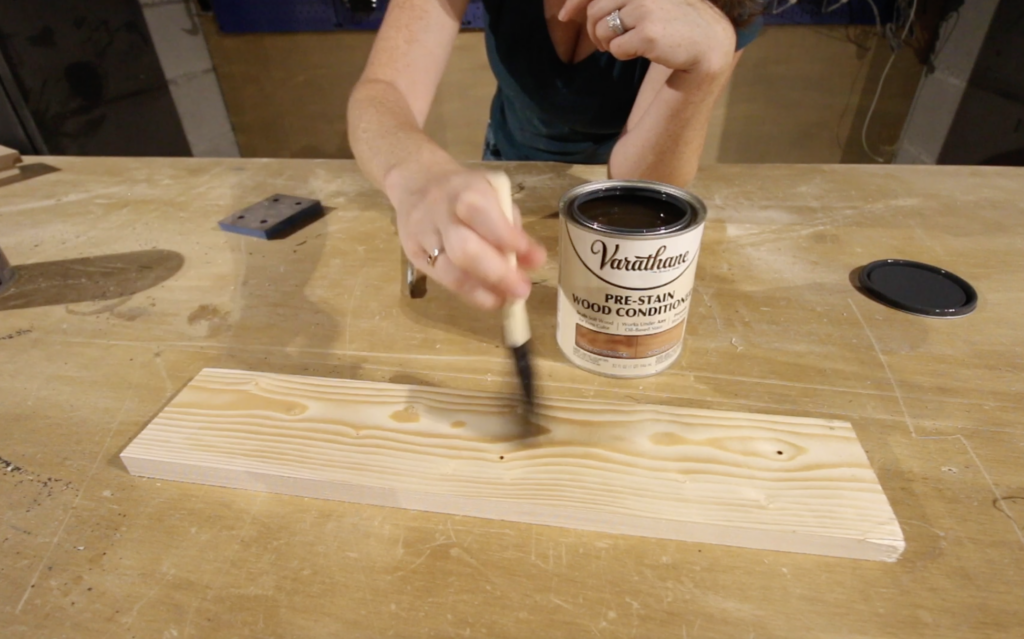
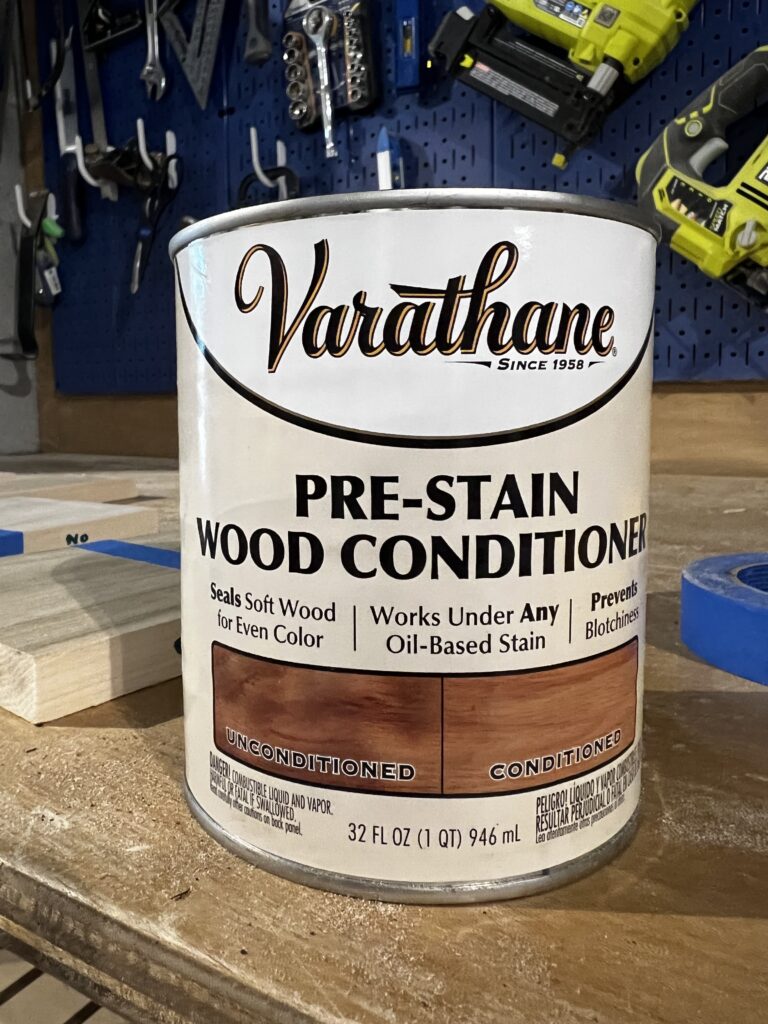
The key to a beautiful, dark stain lies in the preparation. Many dark wood stains require the use of a wood conditioner before application.
This step is crucial for woods like pine, birch, and maple, which are prone to absorbing stains unevenly.
Conditioning the wood helps to ensure an even, blotch-free finish by partially sealing the wood grain, allowing the stain to distribute more uniformly.
How to Stain Wood Dark: A Step-by-Step Guide
- Prepare the Surface: Begin by sanding the wood thoroughly with fine-grit sandpaper. Progress from coarser to finer grits to achieve a smooth surface. Clean off any dust with a tack cloth or damp rag.
- Apply Wood Conditioner: If working with a blotch-prone wood, apply a pre-stain wood conditioner according to the product's instructions. Allow it to dry completely.
- Test the Stain: Before applying the stain to your project, test it on a scrap piece of the same wood. This helps ensure the color and absorption meet your expectations.
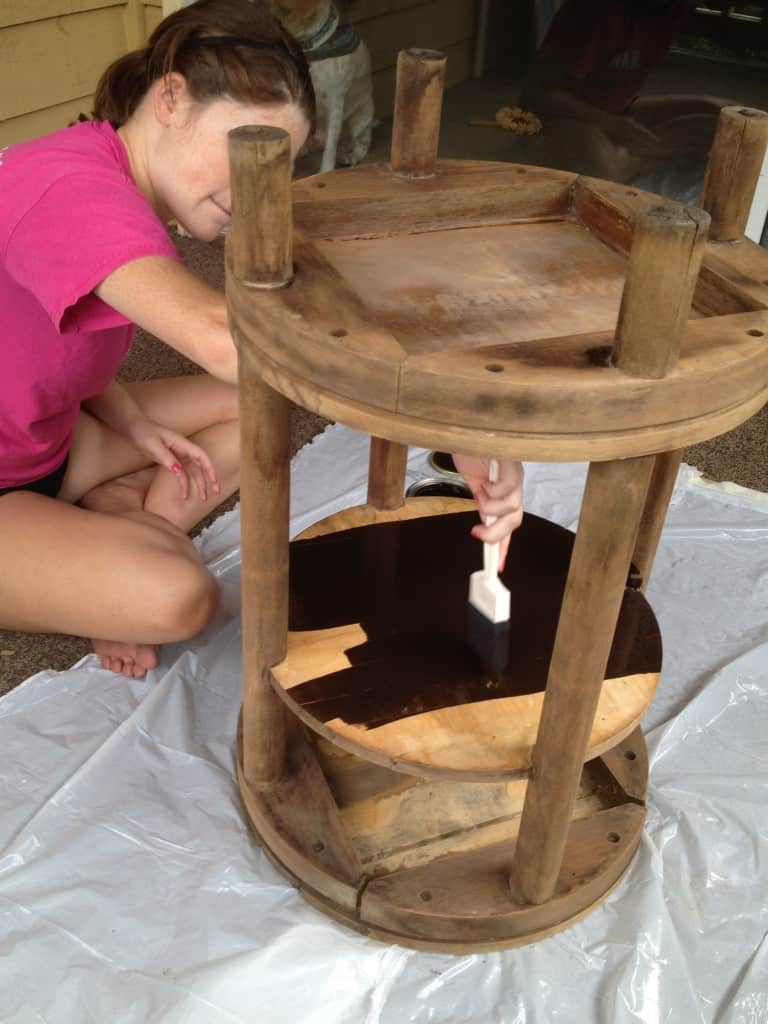
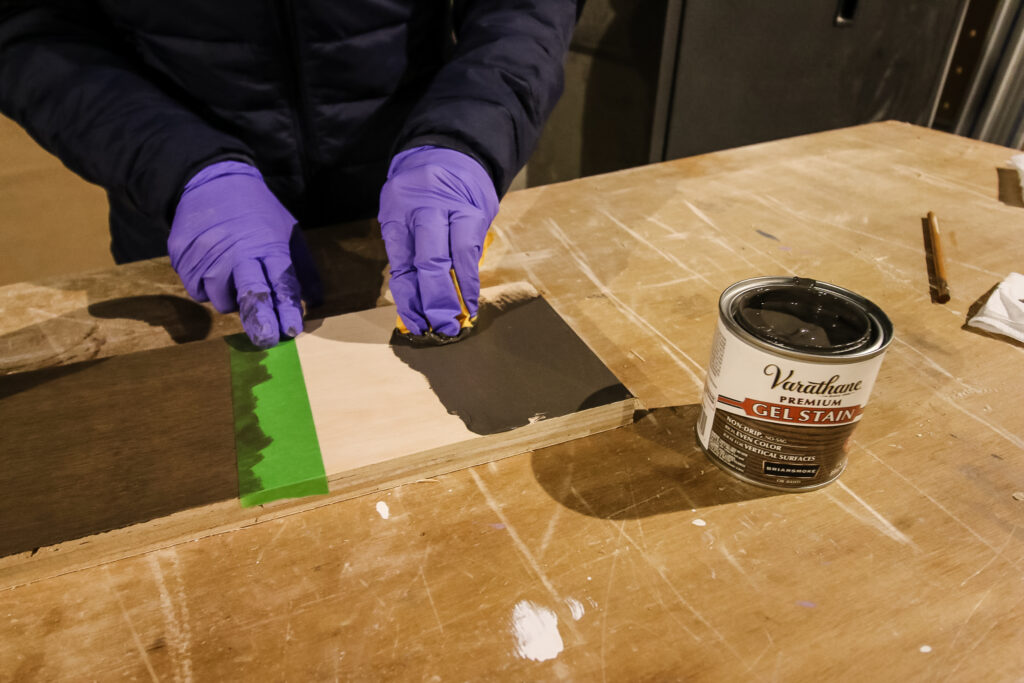
- Apply the Stain: Using a clean cloth or brush, apply the stain in the direction of the grain. Work in manageable sections, so you can go back and wipe off excess before it dries. Be sure to check out our complete guide to staining wood!
- Wipe Off Excess: After allowing the stain to penetrate for the manufacturer-recommended time, wipe off any excess with a clean cloth. The longer the stain is left on, the darker the finish.
- Apply Additional Coats: For a darker finish, wait for the first coat to dry completely, then lightly sand with fine-grit sandpaper before applying a second coat. Repeat as necessary.
- Finish with a Sealant: Once the final coat of stain has dried completely, apply a clear topcoat to protect the finish. Choose a matte, satin, or glossy finish based on your preference.
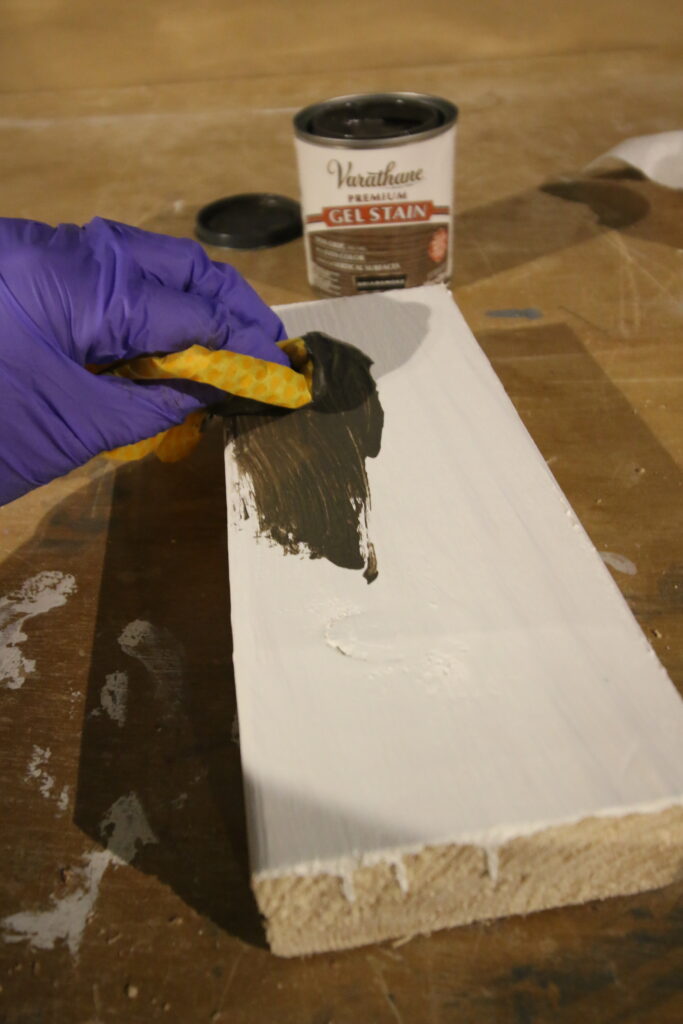
By selecting the right wood species and following these steps, you can achieve a luxurious dark stain on your next DIY home decor project.
Want help getting the perfect wood stain finish?
Be sure to grab our FREE wood stain troubleshooting cheat sheet, with the top staining problems + easy solutions for each!
Looking for something?
We've been doing this since 2012 so we have a LOT of blog posts!
Search stuff like: Ceiling Projects | DIY Plant Stands | Thrift Flips


Hello, I'm Morgan, half of the creative force behind CharlestonCrafted.com! With a passion for DIY that dates back to 2012, I've transformed three homes and now I'm dedicated to helping others craft their dream spaces. Let's turn your house into a home together!


