Sometimes, the Craigslist odds are really in your favor. I have been looking for campaign furniture non-seriously for years. How can you not crush on the sleek lines and shiny hardware? I have never really had a place for it. But, now we do.
In the condo, I used the side of my vanity as a bedside table. With our new layout, the vanity is on the opposite side of the room. Since I actually use an alarm clock (so 1994 I am well aware) Sean offered me his side table and he has been rocking with his stuff on the floor. Additionally, I was using the built in closet drawers in the condo and didn't have a dresser! So I was searching for a side table that also had spacious drawers.
Campaign Dresser Makeover
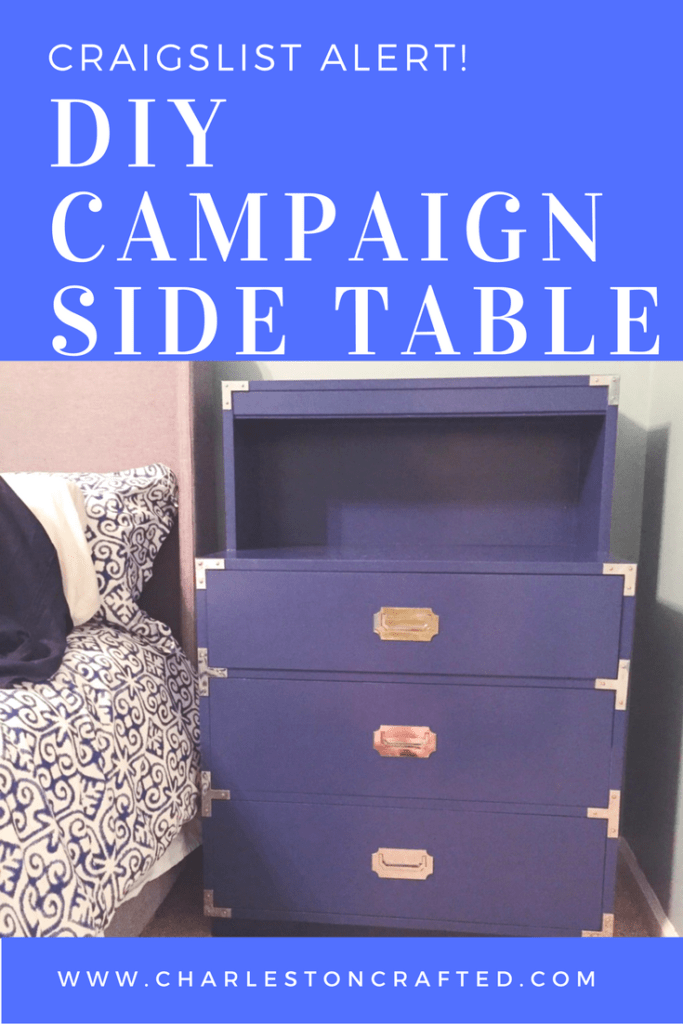
I ended up finding a beautiful campaign style dresser listed for $60 OBO on our local Craigslist. It was listed for about a week so I was trying to get the guy down to $40 via text, but he wouldn't budge. Pet peeve - when something is listed OBO ("or best offer") but they won't actually take an offer!
Well, the guy was located near Sean's work so I had him text him to set up a pick up time. Somehow the guy didn't realize that we were together and started trying to play us against each other! He texted Sean that he had another buyer (me, haha!) and that if he could come get it in the next hour, he would include the smaller side table version for the $60! SOLD.
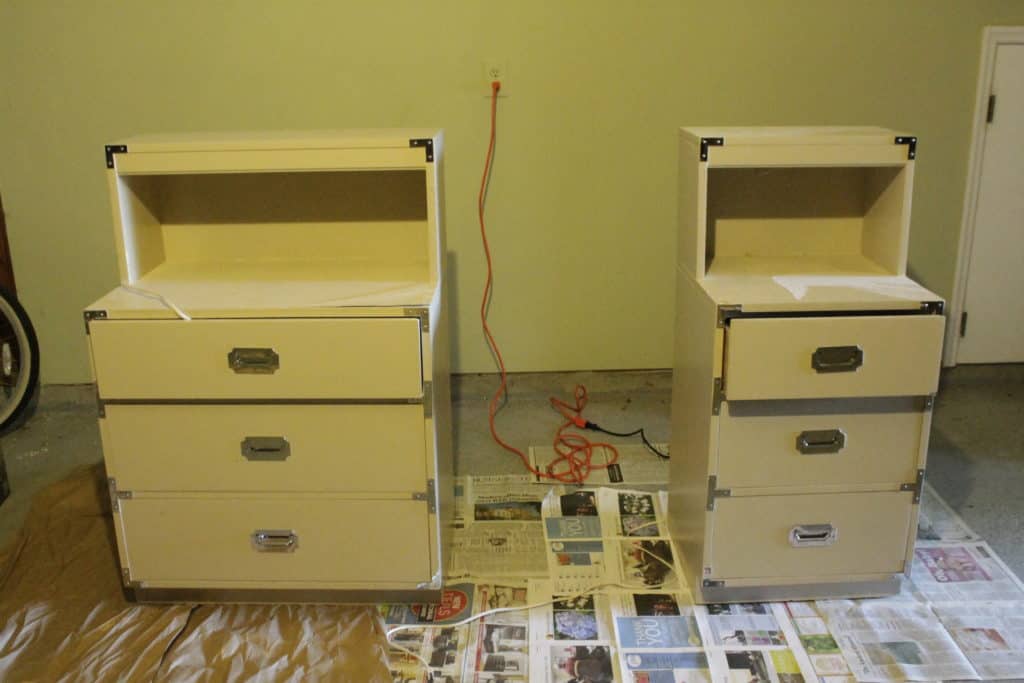
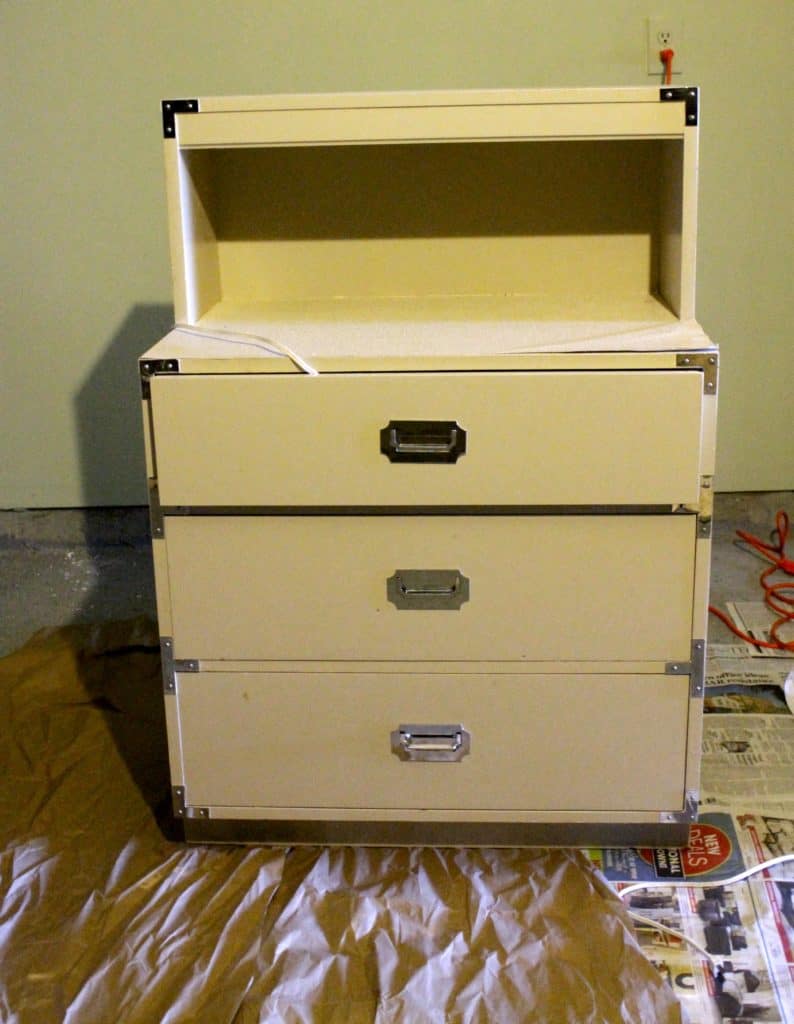
Here's how they looked when we got them. They were painted a cream color but solid wood and in 95% great shape. Bomb for 2 for $60.
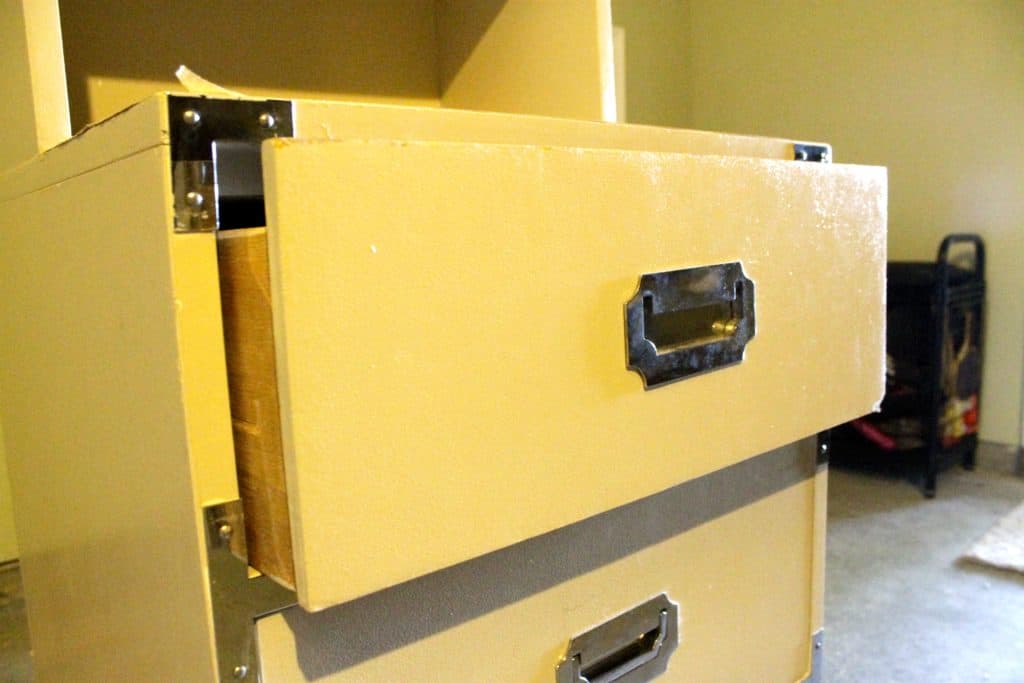
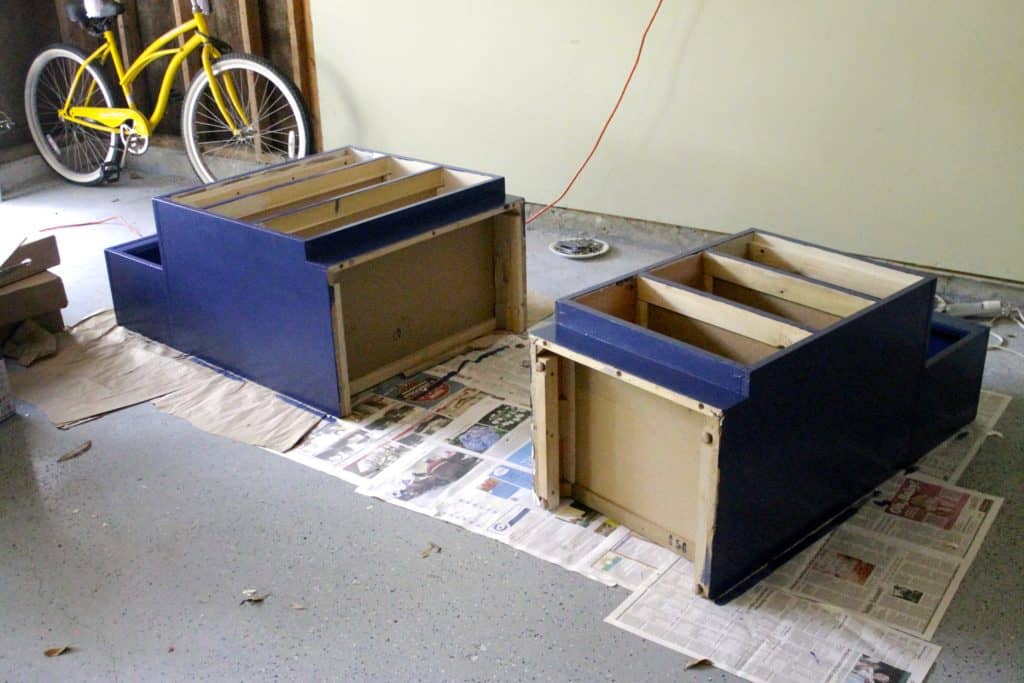
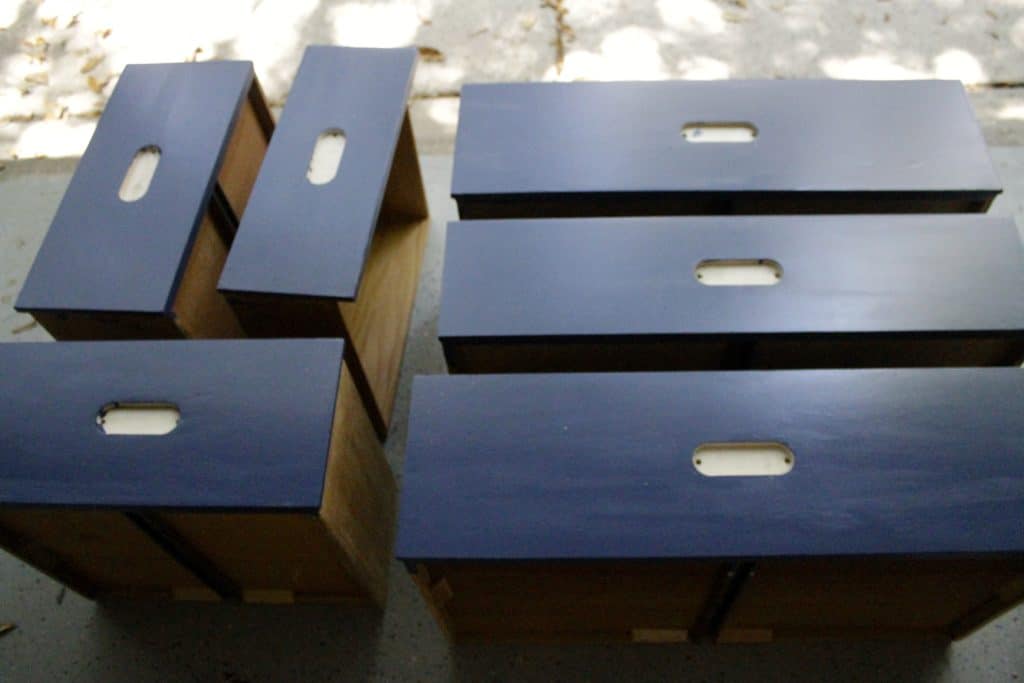
I went back and forth between painting them teal to match our dresser, white, grey, or navy. We ended up settling on a very blue navy. I sanded them and coated with 6(!) coats of Valspar Cabinet Enamel (1 quart) with a high density foam roller. Next, I coated that with 4 coats of Polycrylic with a foam brush.
Be sure to check out my favorite blue gray paint colors!
We let it cure for 3 days after it was done in the garage to ensure there were no smears. We reattached the hardware and marveled at our good luck!
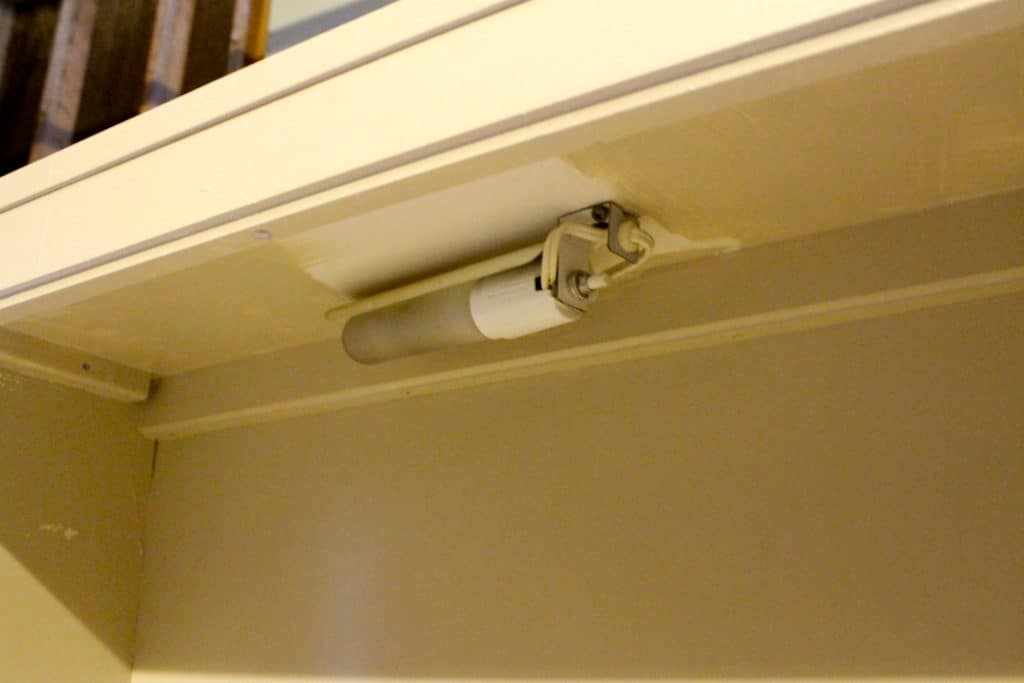
They originally (not originally original but original to when we got them) had light kits in the top. They were a bit sketchy (really old fashioned plugs and got super hot after being on for just a few minutes) so we replaced them with some new lights. More on them soon!
I put one on each side of our bed. The drawers are filled with things that I previously had in bins in the linen closet - underwear, socks, t-shirts, PJs. I even gave Sean a drawer. #sogenerous #wifeoftheyear
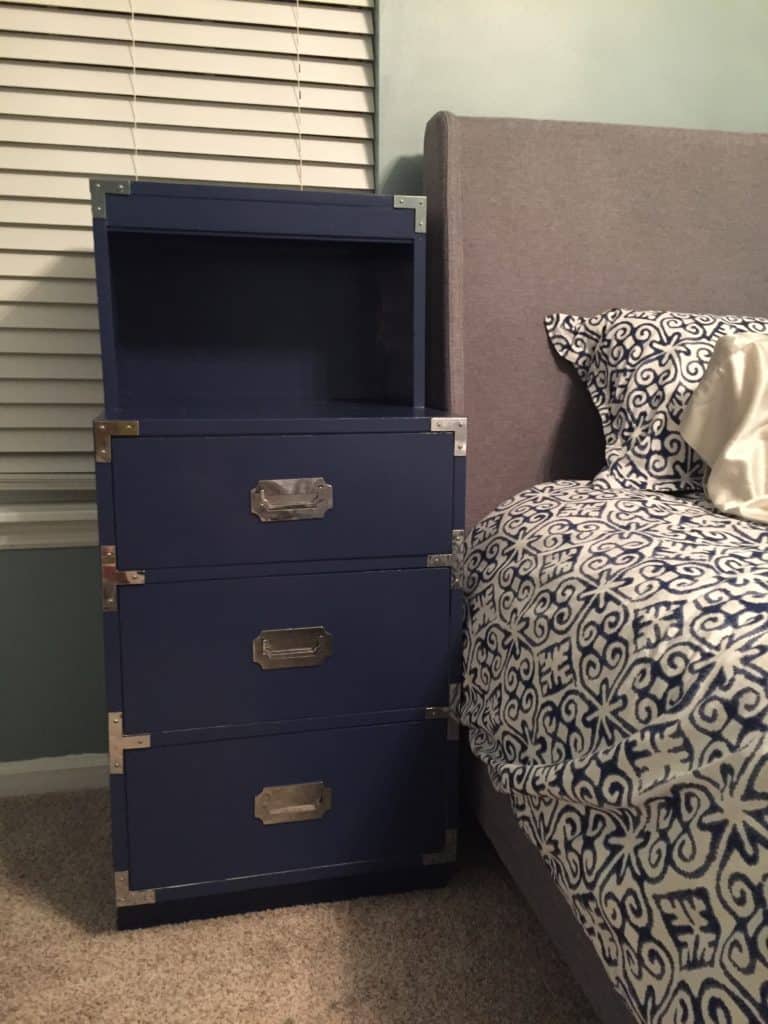
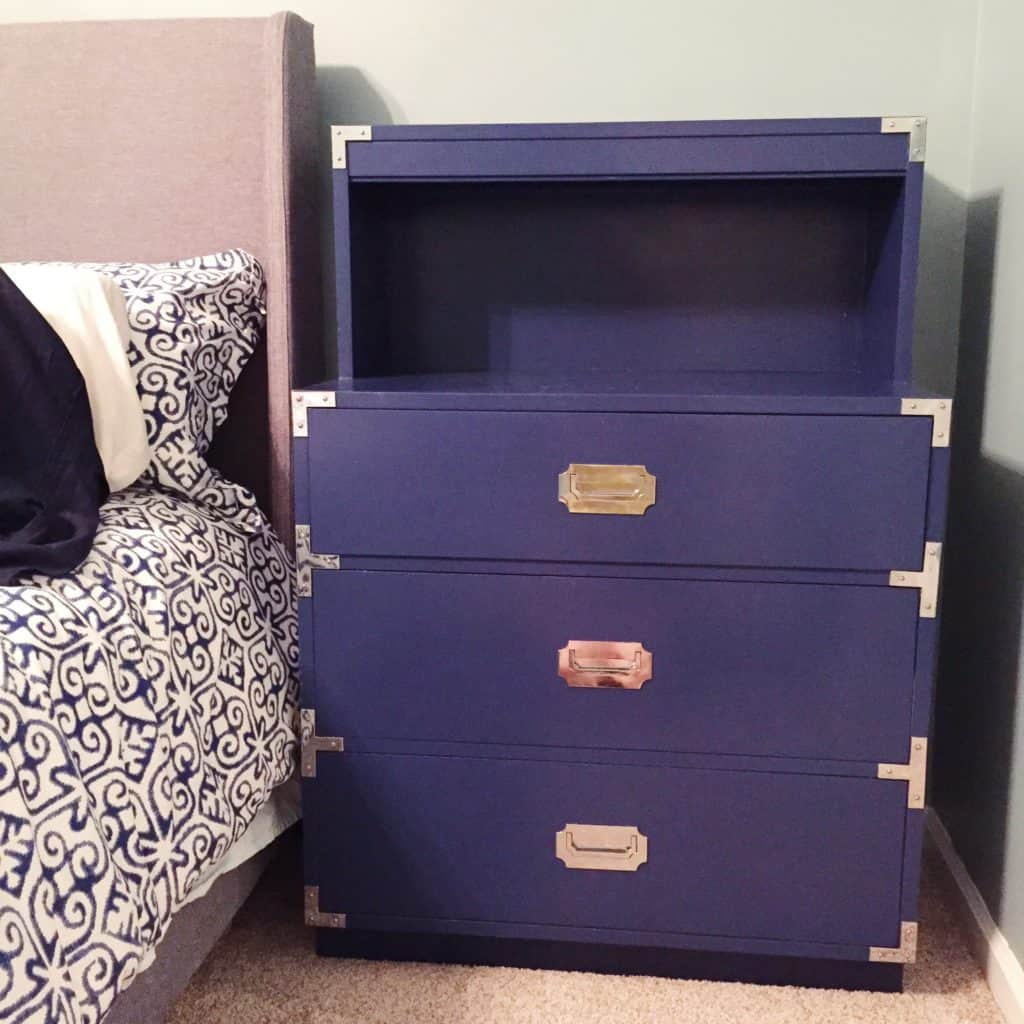
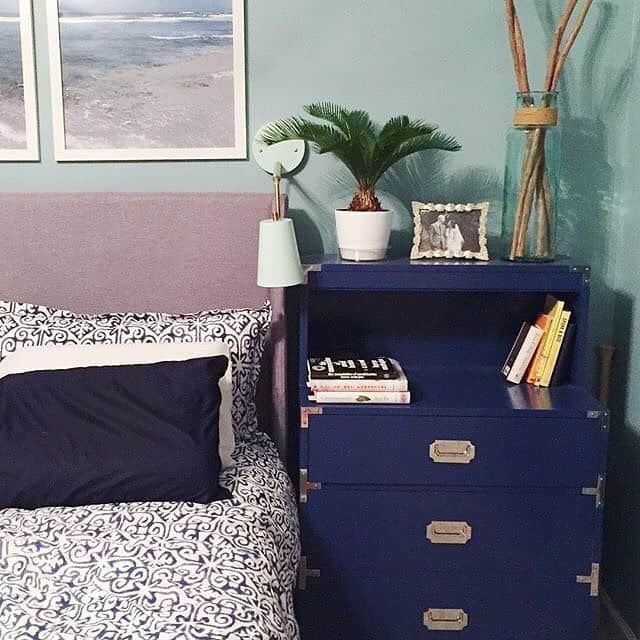
So, what do you think? Totally fabulous? Fantastic deal for under $100 including supplies? I am quite pleased with myself honestly! Now, if only I could find the exact living room side tables that I am looking for!
A few years after making over these dressers, one corner got knocked off of a drawer. Here's how we repaired the furniture with epoxy putty.
These look great on either side of our modern platform bed!
Want to learn to flip furniture for a profit? We have a whole resource library of files to help you get started! Sign up for free:
Love side tables? Here are all of our DIY side table projects!
- DIY side table with arches - woodworking plans
- Upcycled chair into a modern side table
- DIY concrete terrazzo side table
- Media side table with hidden storage and tile top
- DIY Mid Century Modern Side Table - woodworking plans
- Campaign side table makeover
- Side table from counter top scraps
- Our first side table makeover
- DIY River table with epoxy
- Spray paint side table makeover
- Waterfall style slim side table
Looking for something?
We've been doing this since 2012 so we have a LOT of blog posts!
Search stuff like: Ceiling Projects | DIY Plant Stands | Thrift Flips


Hello, I'm Morgan, half of the creative force behind CharlestonCrafted.com! With a passion for DIY that dates back to 2012, I've transformed three homes and now I'm dedicated to helping others craft their dream spaces. Let's turn your house into a home together!




Sue says
Gorgeous makeover. The colour is lush and I LOVE that you got two for the price of one from the greedy seller. Good for you! Sue via Before & After Wednesday