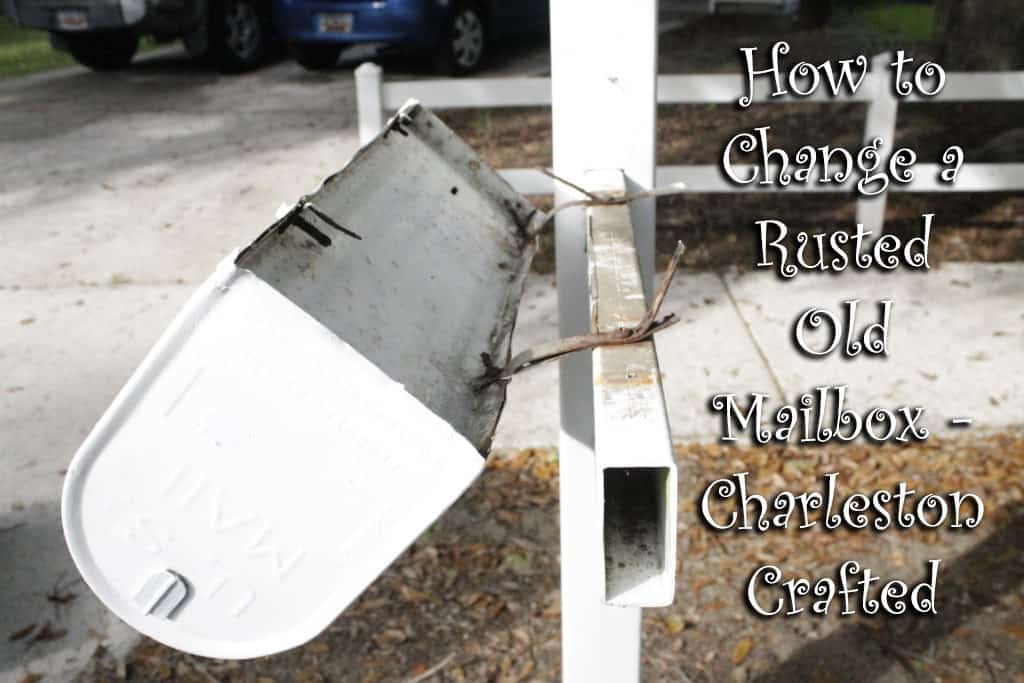
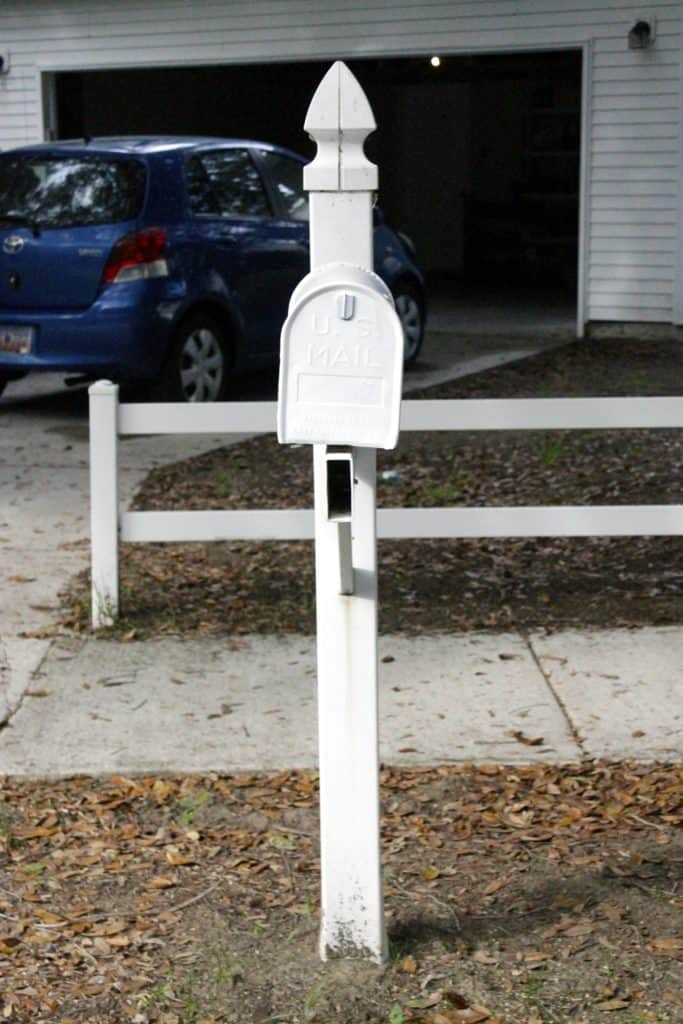
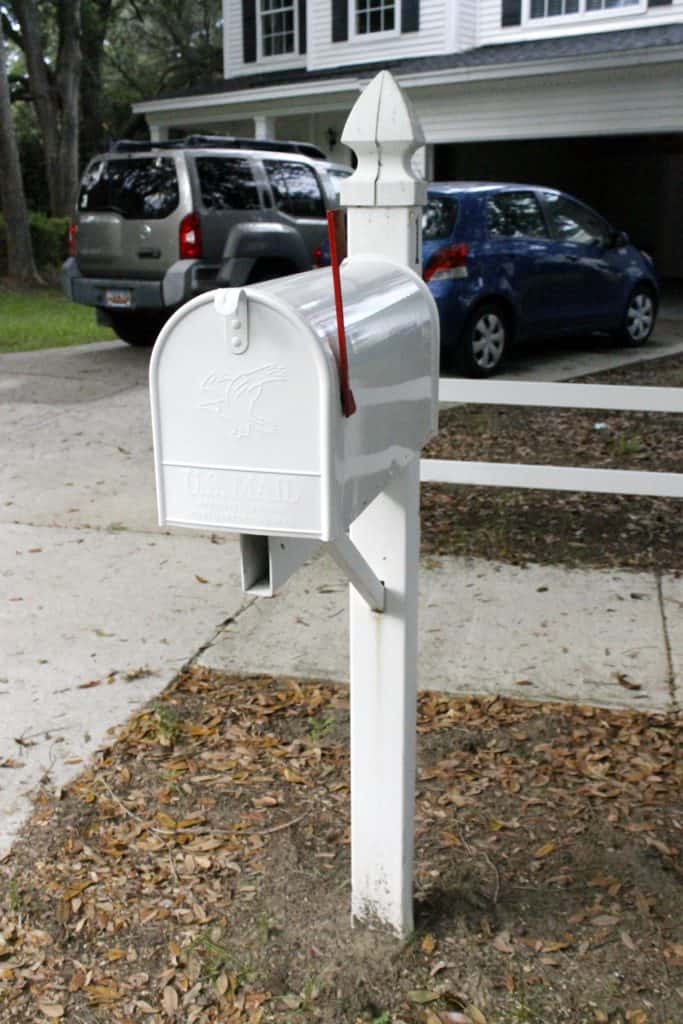
When we moved into our new house, there were a lot of little things we realized we hadn't noticed during our walk throughs. Like how there weren't any blinds or curtains in the whole place. Also, how the mailbox had no pull tab and no flag. WTF. It seems stupid, but it's one of those things we never even thought to look for. So here's how to change a rusted old mailbox.
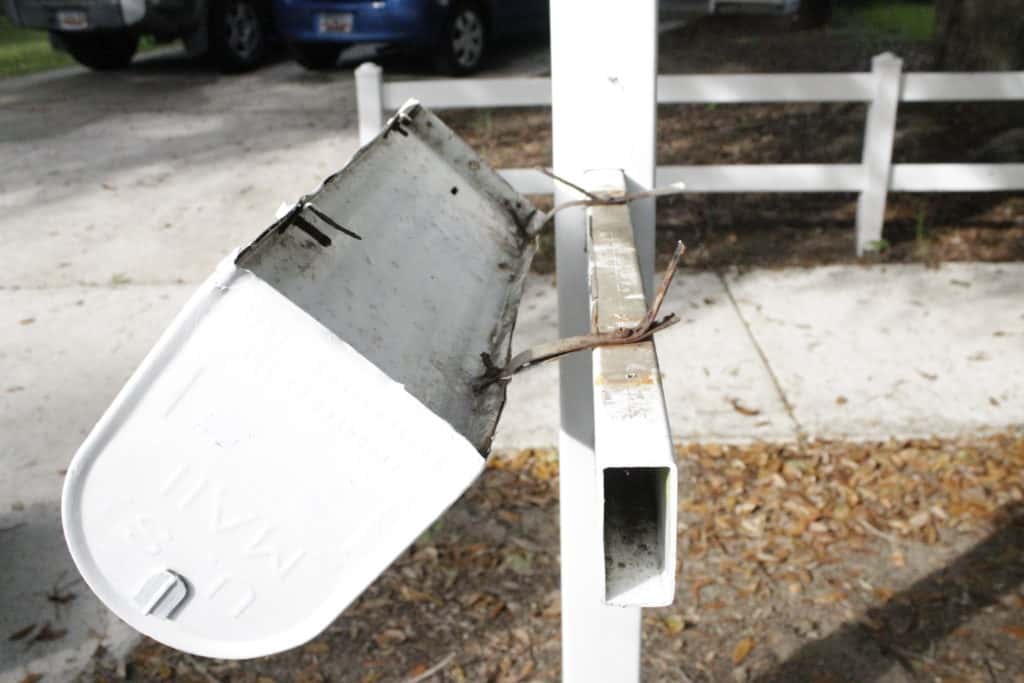
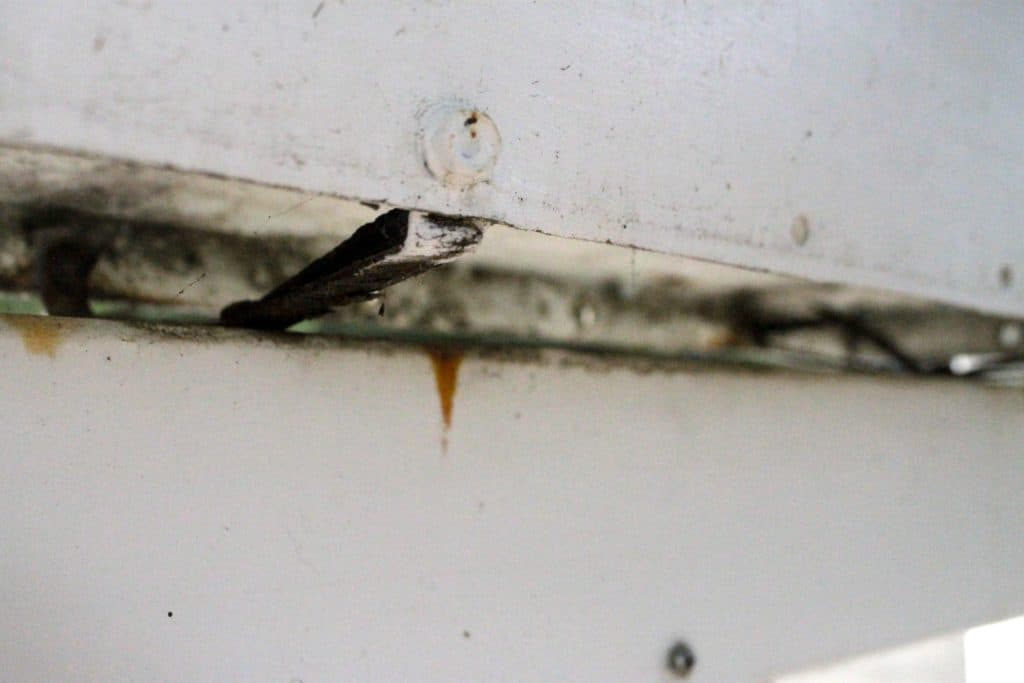
We ordered a new mailbox online, but when I went to install it, I noticed that the brackets holding it to the post were entirely rusted over and shot. I couldn't get the screws and bolts undone, so here's how I got it off.
You're going to want a hacksaw for this. A hacksaw is a fine toothed saw that works great on metal and plastic. The teeth of the saw don't get caught up so it moves through the tougher materials easy. I had to go underneath the mailbox and saw the two brackets on one side so I could access the rest.
Once I had those two brackets sawed, I was able to use a screwdriver to pull out the old bolts in the middle and tossed the entire thing in the trash.
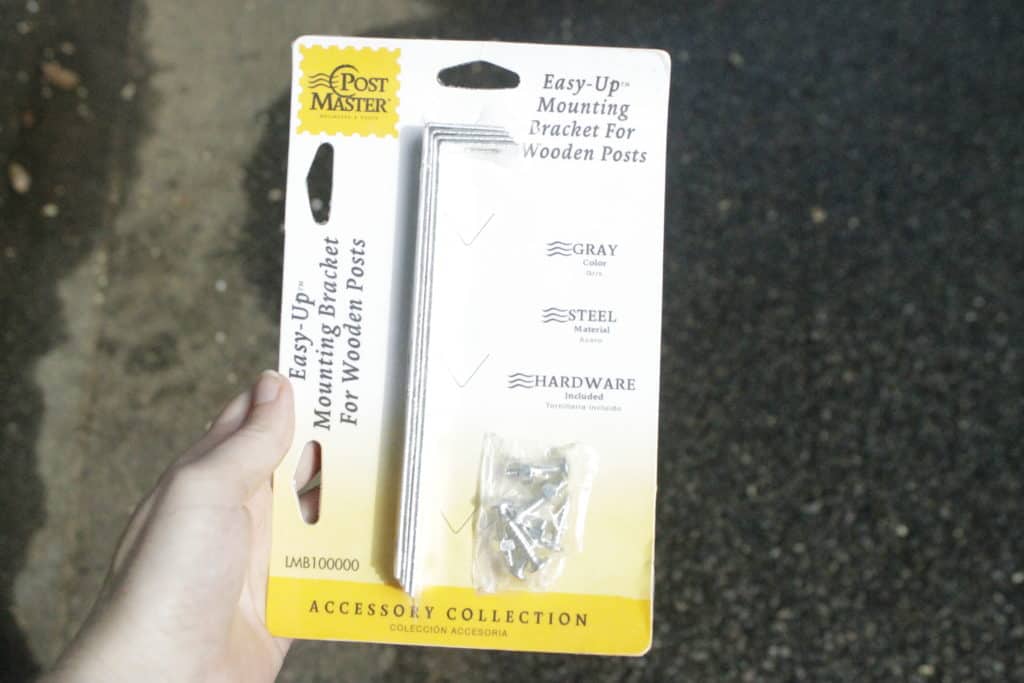
Now, mailbox brackets are really simple. Extend them on the underside of your mailbox all the way to the edges so that you can see which holes you need to line up. Then, stick the screw through that hole. Attach the two brackets to the front and back of the mailbox post.
Finally, place your mailbox on top and screw it in to the brackets on the sides.
It should take about 10 minutes to do the entire thing. Mailbox brackets cost about $5, so it's a simple fix and better than trying to work with old rusted ones.
Hope you have a nice mailbox, but if you don't, that's how you change it out!
 |
|||
 |
 |
 |
 |

Hey there, I'm Sean, the woodworking enthusiast and builder behind CharlestonCrafted.com! Since 2012, I've been sharing the magic of turning raw materials into beautiful creations. I love teaching others the art and satisfaction of woodworking and DIY. I try to inspire fellow crafters to make something extraordinary out of nothing at all.

