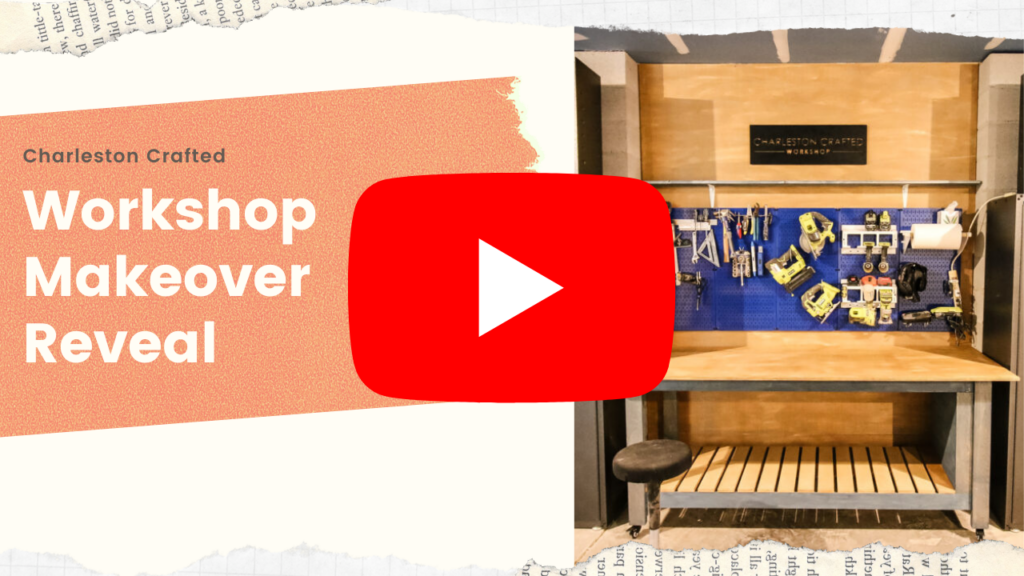
We've spent the last few weeks working on our workshop makeover and organizing our garage and are so excited to share it with you today!
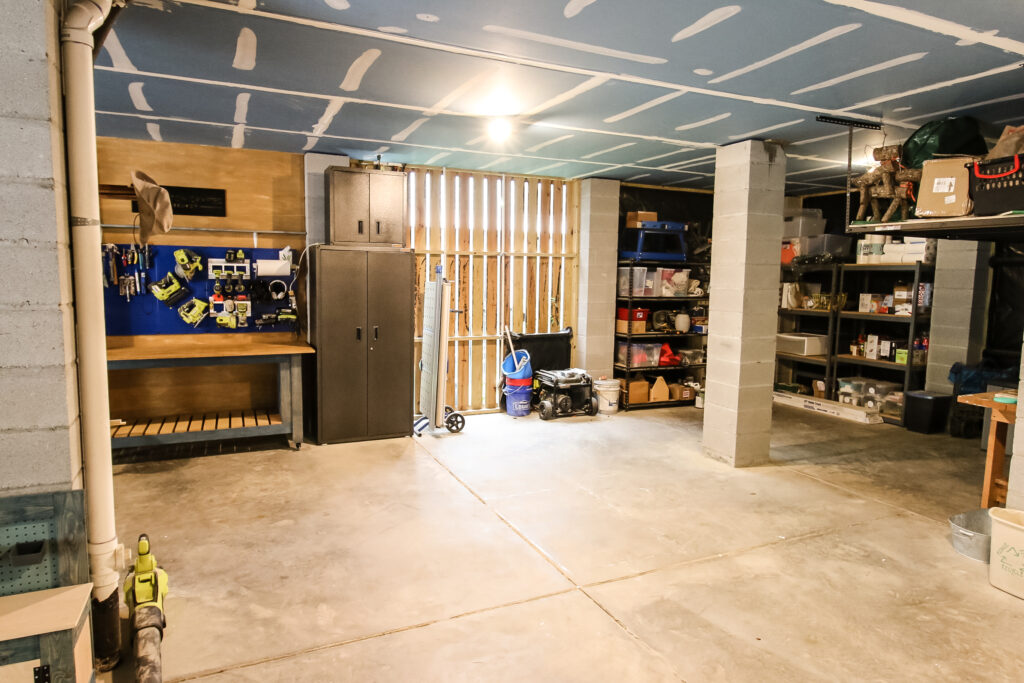
In case you missed it, here was the plan we had for the workshop and garage. We have a huge space, but it's broken up by columns and can be hard to to figure out being so open.
We're so excited to finally have a dedicated space to work on projects, have nice backdrops for building, filming and photographing, while also having good storage.
So without further ado, here's everything that went into our workshop build and garage organization!
Workshop Makeover
We started by taking everything off the wall and getting rid of the old workbench. This meant clearing off lots of scrap wood, junk and cleaning up.
We started by ordering large Gladiator storage cabinets to hold all of our stuff. Previously, our workshop materials were spread across the garage on various shelving units and we wanted it all to be easily accessible and in the designated workshop space.
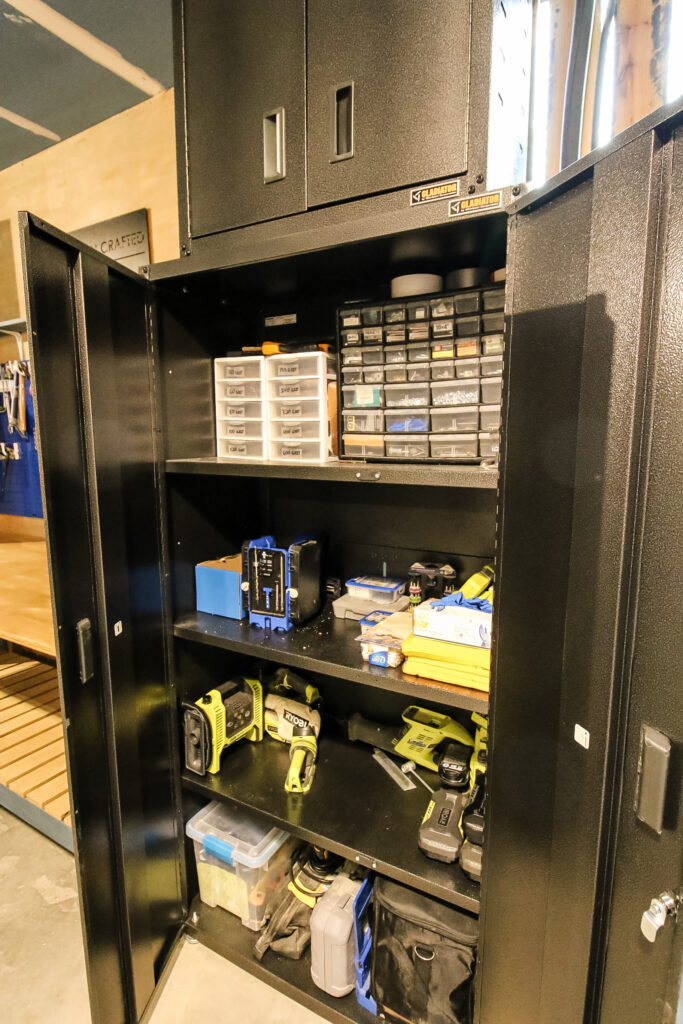
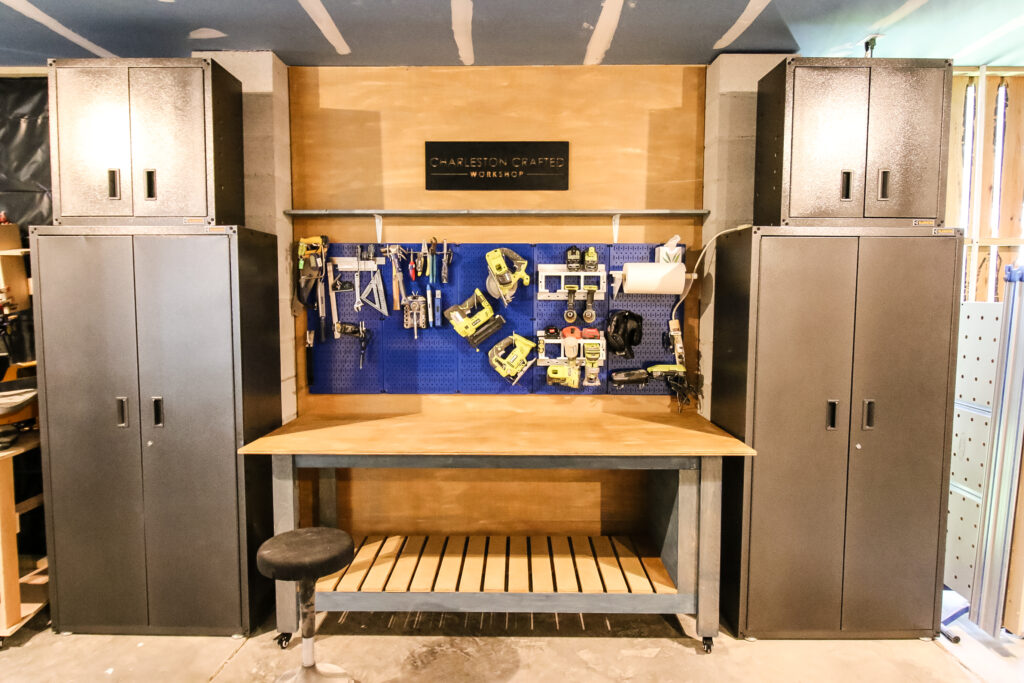
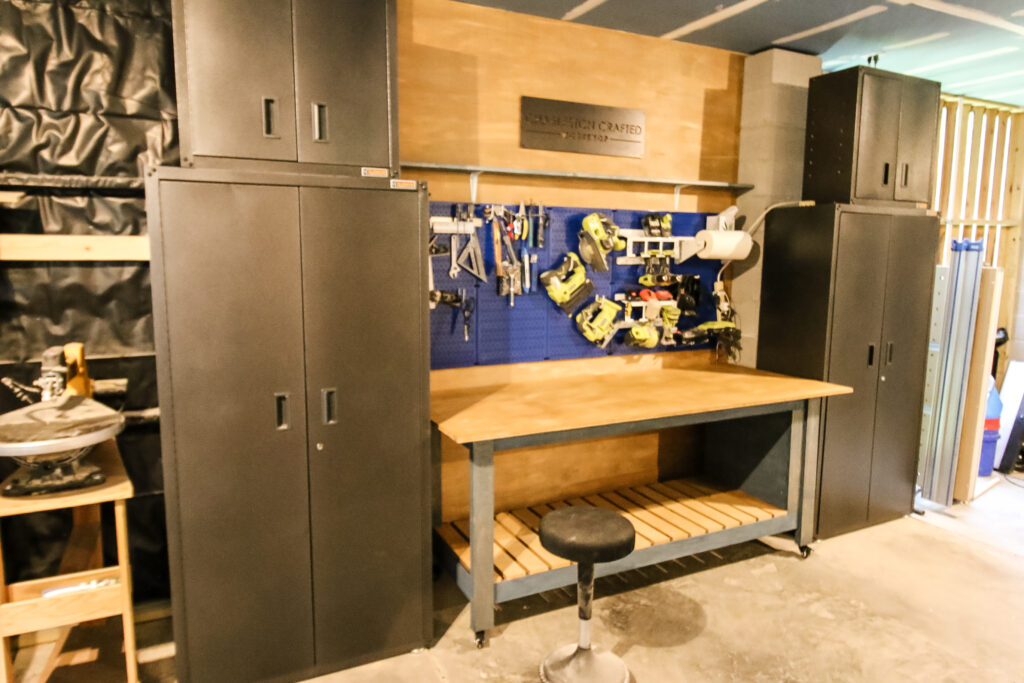
We purchased two large Gladiator storage cabinets and two smaller cabinets and stacked them on top of each other on either side of two cinderblock pillars.
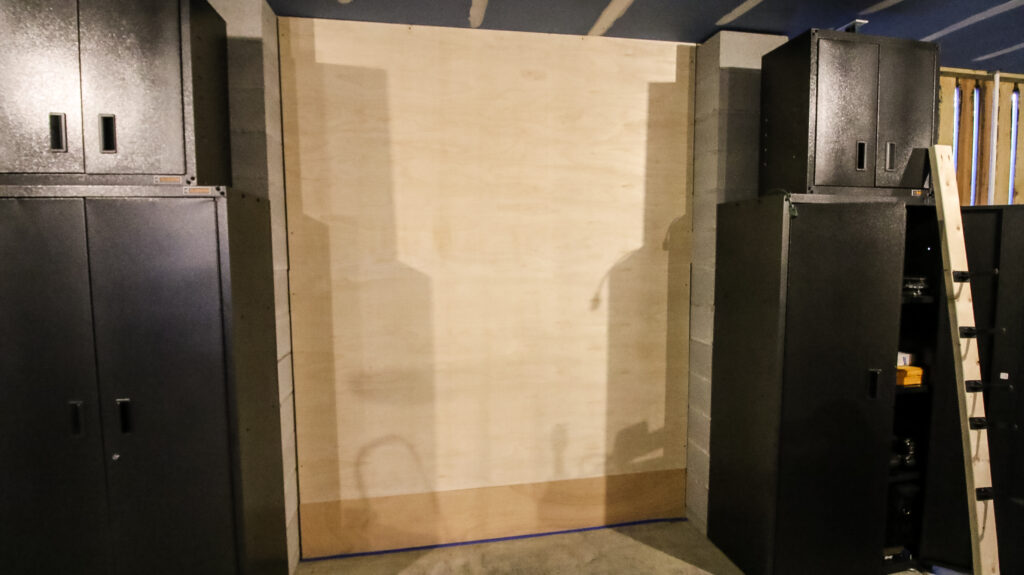
Then we got sheets of plywood and attached them to the studs along the outer wall to make a backdrop for the workshop. These we stained Golden Oak so we'd have a light and airy feel, but still look a little rustic.
With the plywood in place, it was time to move to tool display and organization. We've always had power tools and hand tools sitting on shelves, but not anymore.
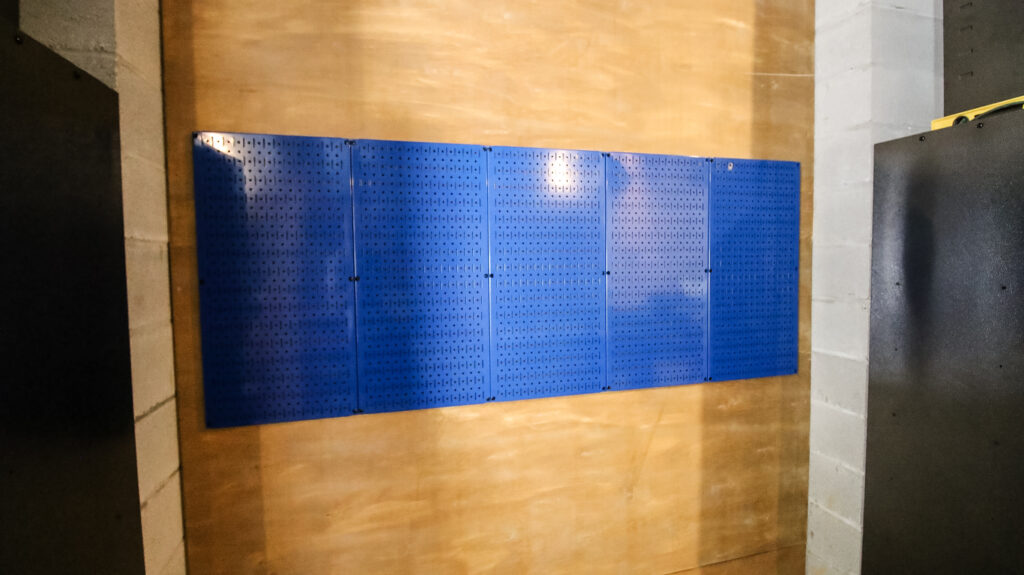
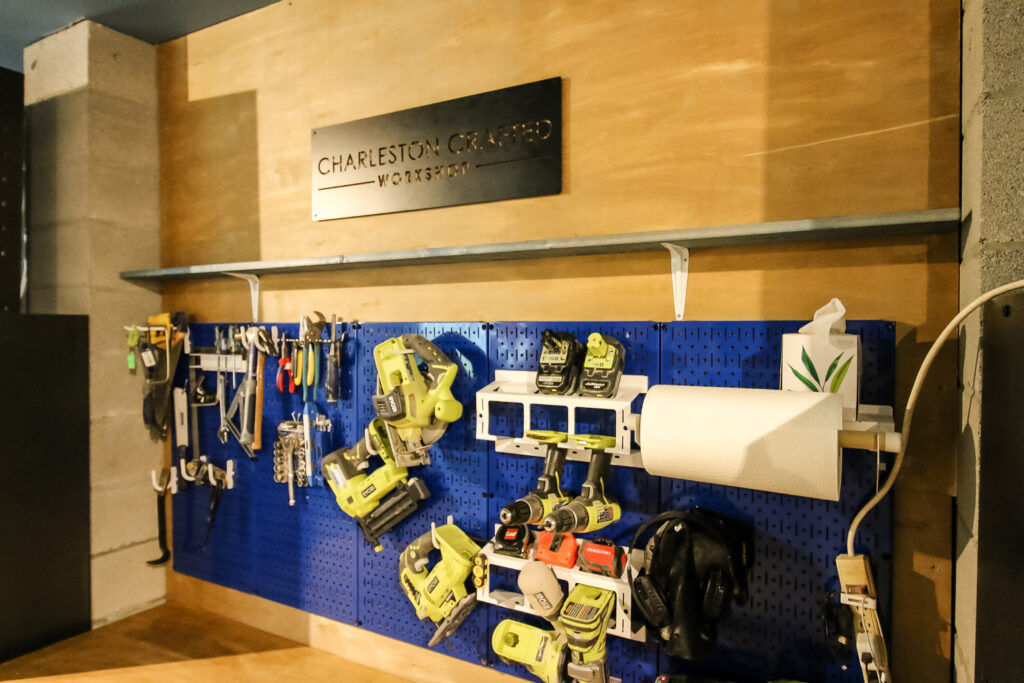
We're now proud owners of Wall Control panels and organization accessories! We absolutely love our new Wall Control pegboard that holds all of our tools!
Wall Control panels are very easy to hang up and hold tons of weight. They also have lots of different accessories that slide into their slotted pegs that can be used for hanging different kinds of tools.
Wall Control also comes in a variety of colors and styles, which made it easy for us to pick blue panels with white hanging accessories to mimic the main colors of our brand.
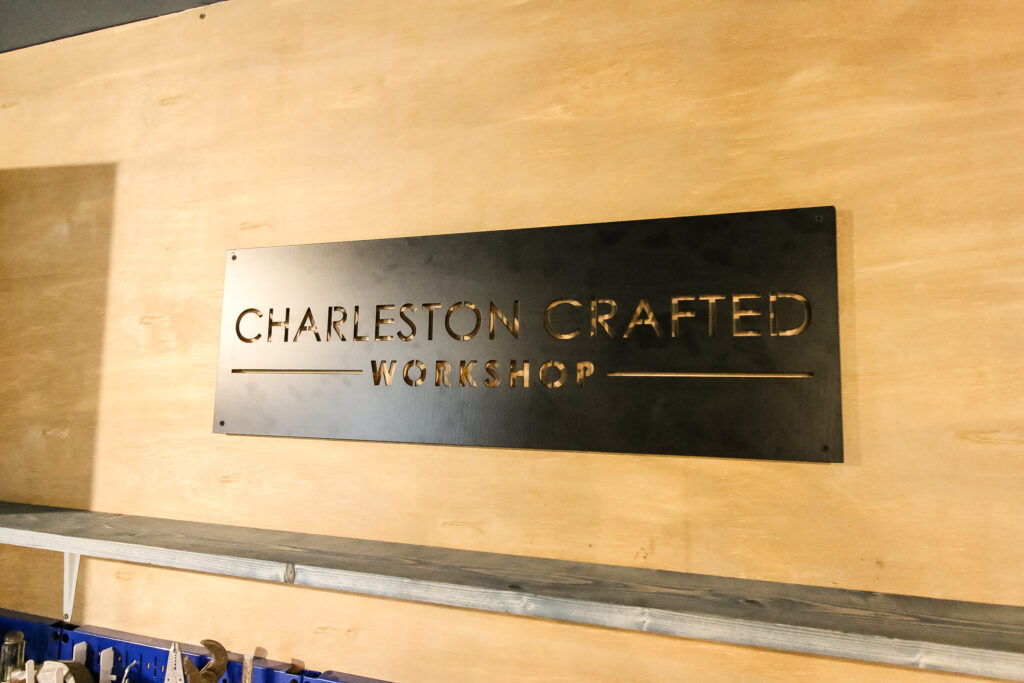
Above the Wall Control panels, we attached a shallow shelf and a metal sign that Morgan gifted me for our sixth anniversary a couple of months ago. The sign is perfect and I'm so proud for us to show it off!
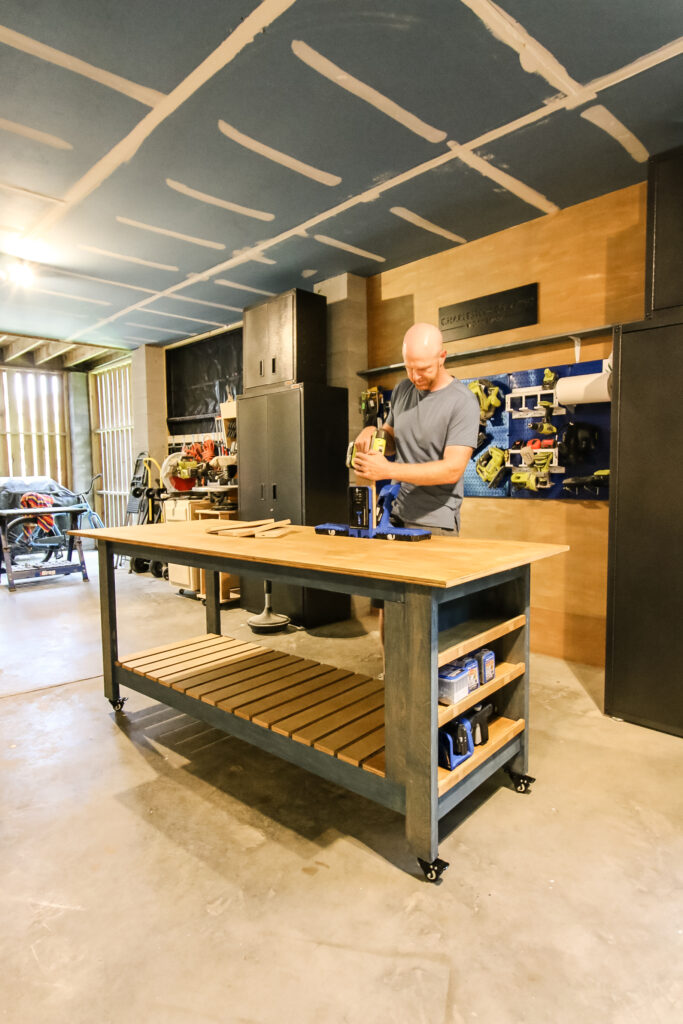
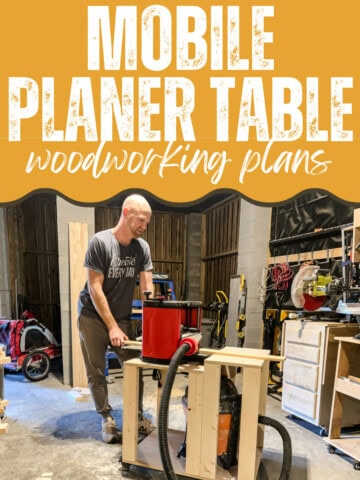
The big feature of the space now was we built a mobile workbench entirely out of plywood. This is a huge workbench that slides into the space between the two storage cabinets.
Click here to get the free plans for the mobile plywood workbench!
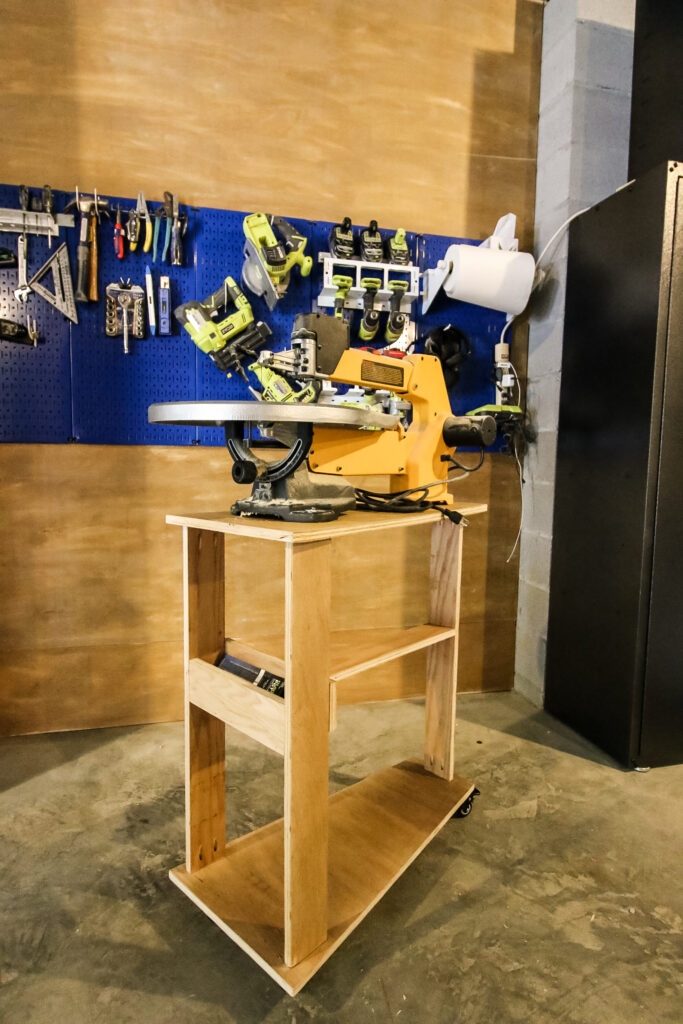
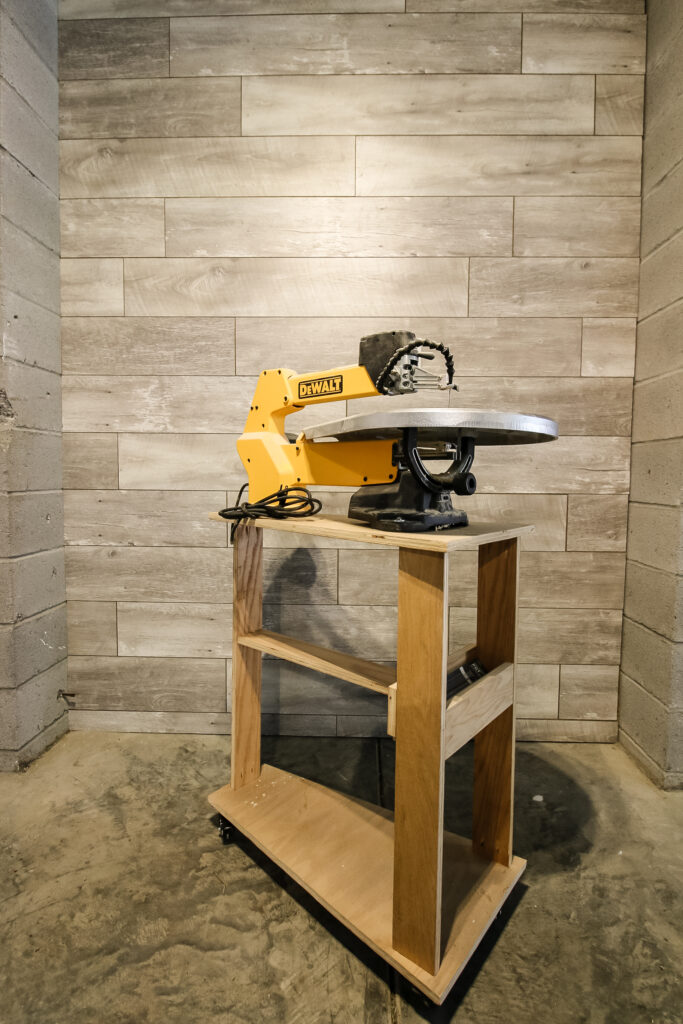
We also had to get the scroll saw a new home since it was previously living on our old workbench.
Click here to get the free plans for the mobile scroll saw stand!
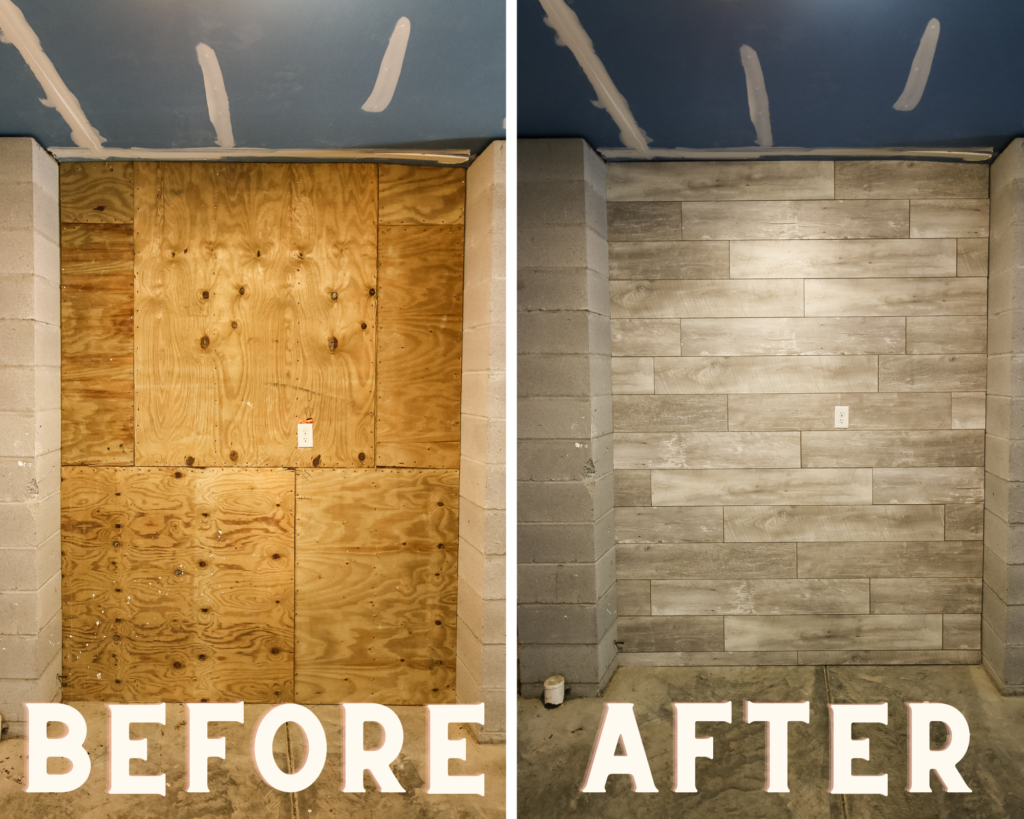
Across the garage from the workshop space itself is another beautiful backdrop. We used laminate flooring to create an accent wall covering up an ugly scrap plywood wall and have turned this into a photo wall for taking pictures of finished builds!
Expect to see a lot more of this wall in the future!
With all the new features, the last thing we did for the workshop was install new, bright lighting so everything would be better illuminated.
We bought three of these twist-in garage lights. They are so easy to install! Just unscrew the old lightbulb and screw one of these in place. The garage is so much brighter now!
It was also important that we got WARM lights and not LED lights. Most of what is available is LED, but that puts off such a harsh, weird lighting that we didn't like and actually returned.
We are so in love with our new workshop! It is gorgeous and so much more functional! Can't wait for this to be the backdrop of all our build projects in the future!
We still have more work to do in the future as time and opportunity allow (think a new miter saw station to replace this one, and a better option for our wood storage), but we'll cross that bridge when we come to it!
Garage organization reveal
Surrounding the workshop itself is our actual garage. We don't do any parking in here, except for the golf cart, so it's all about storage.
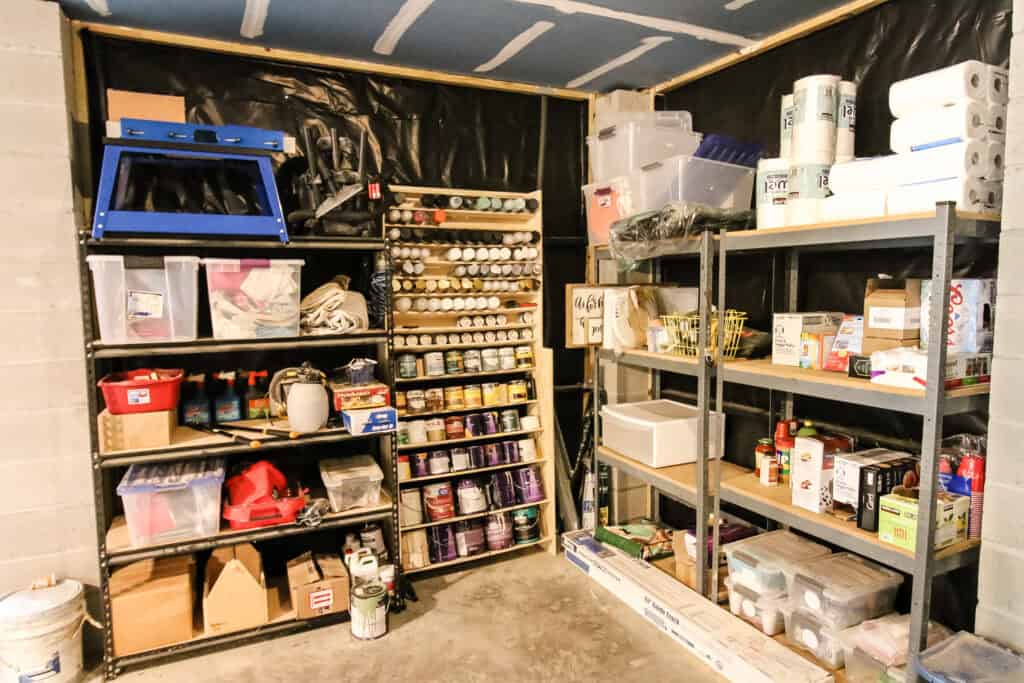
By clearing the three existing metal shelves of tools and spray paint (free plans for our new spray paint rack here!) and condensing them to one set of shelves and the storage cabinets, we freed up two huge metal shelves for personal storage.
Now we can keep bulk food and dry goods and other household items on these shelves.
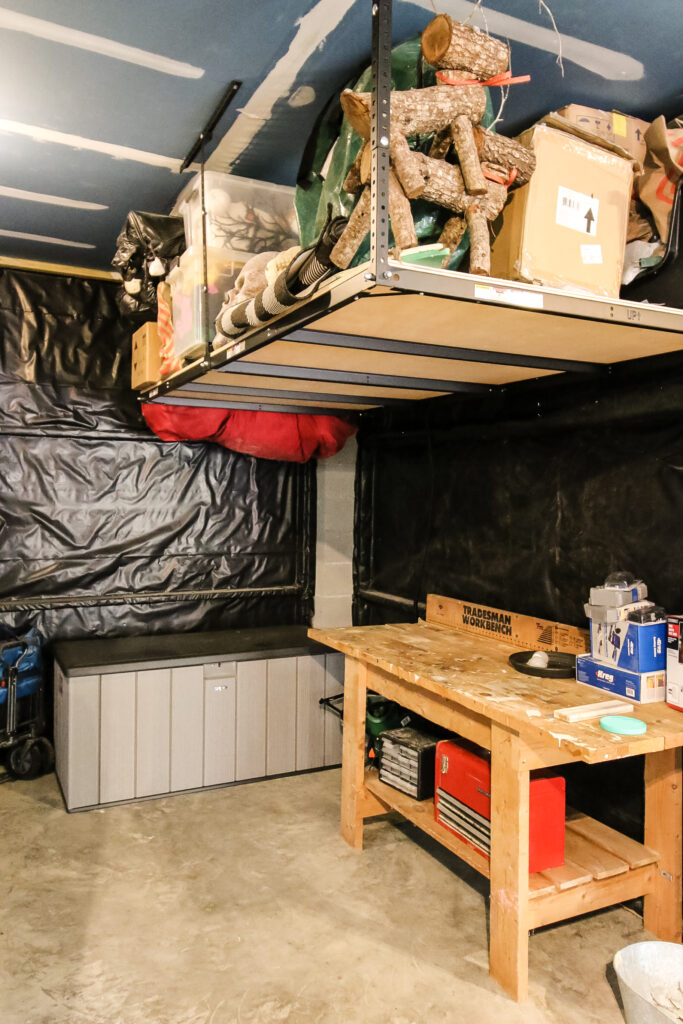
We also added two large plastic deck boxes. One was from Costco and we put in the garage to hold larger items. The other went outside for all of our plastic kids yard toys!
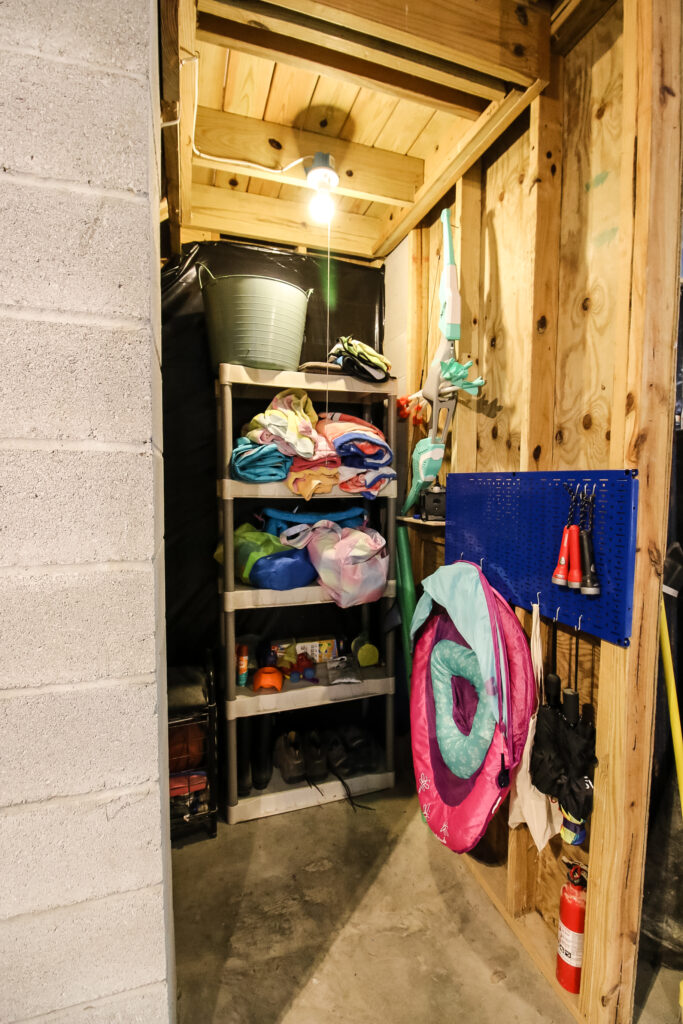
The big project was under the stairs. This was a previously dangerous, scary area that was disorganized and worthless.

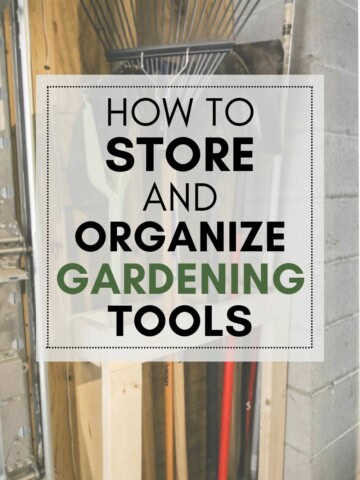
We covered the creepy exterior nails with plastic sheeting on the studs and moved in a shelf and an extra Wall Control panel to the room to organize all of our pool, beach and recreational items.
Now we don't feel so worried about our son walking in from the backyard to get a toy or a snack all the shelf!
Video Tutorial
We also filmed a video tutorial of how we put everything together and designed the space, so make sure you click the video below to watch it come together!
We are so happy to finally have our workshop built out and our garage organized. It's amazing what some organizational changes can do.
Can't wait to start filming all of our projects for you in front of our new workshop space!

Looking for something?
We've been doing this since 2012 so we have a LOT of blog posts!
Search stuff like: Ceiling Projects | DIY Plant Stands | Thrift Flips

Hello, I'm Morgan, half of the creative force behind CharlestonCrafted.com! With a passion for DIY that dates back to 2012, I've transformed three homes and now I'm dedicated to helping others craft their dream spaces. Let's turn your house into a home together!