Looking for an easy and inexpensive, clutter-free Christmas decoration idea? Here's how to make a Christmas Movie Gallery Wall using frames you already have!
Decorating for the holidays is fun - but I can honestly get stressed out from all of the clutter.
I wish that we had an extra closet where I could dump all of our normal nick-nacks and decor and just replace them with Christmas stuff, but we don't, so everything gets crowded together.
So, whenever I have the chance to decorate for Christmas in a way that doesn't feel clutter-y, I am all over it.
Today I want to share a super fun way to decorate by just swapping out the art in the frames that you already have.
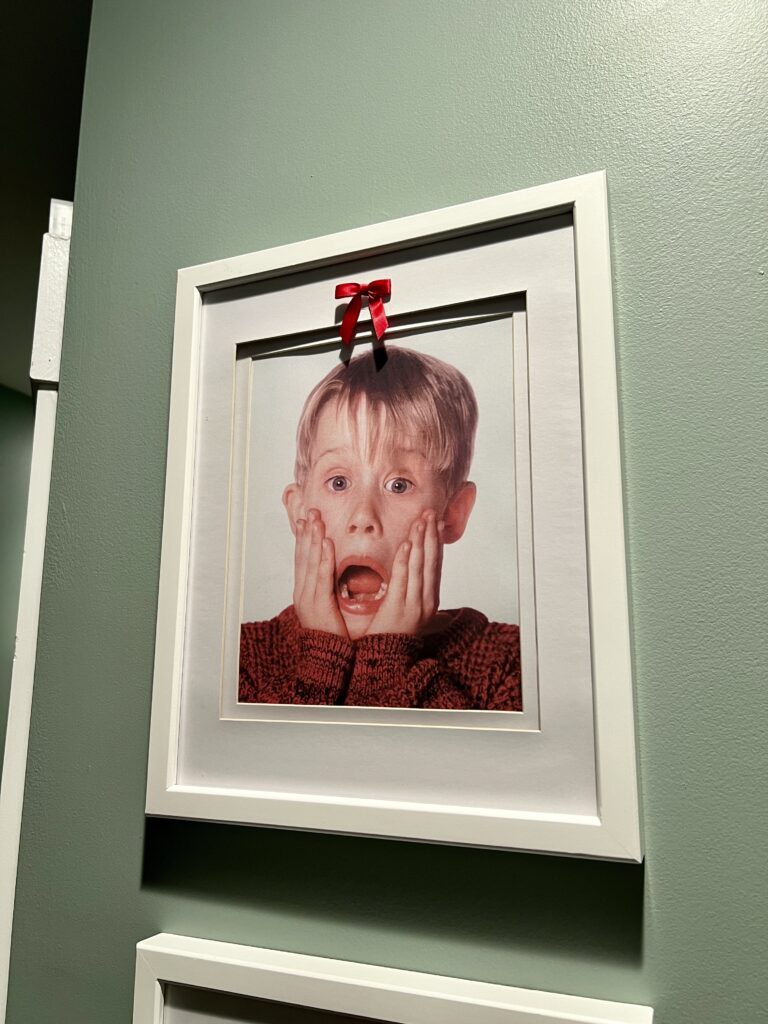
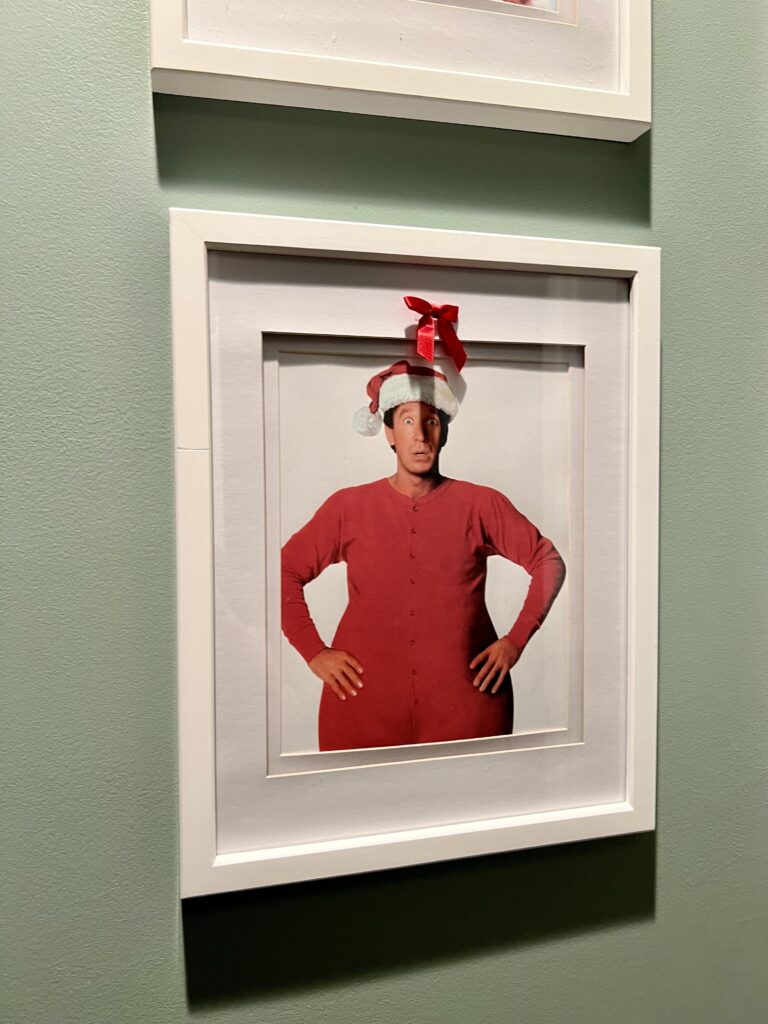
You could use Christmas cards, wrapping paper, or my personal choice - movie posters from your favorite Christmas movies!
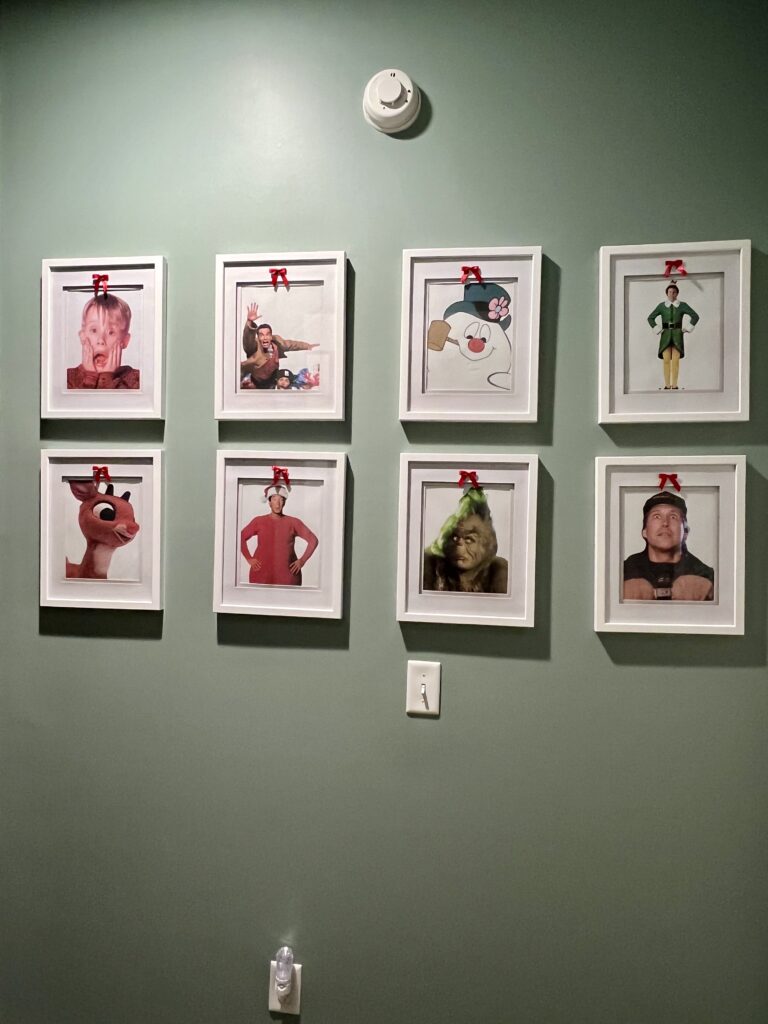
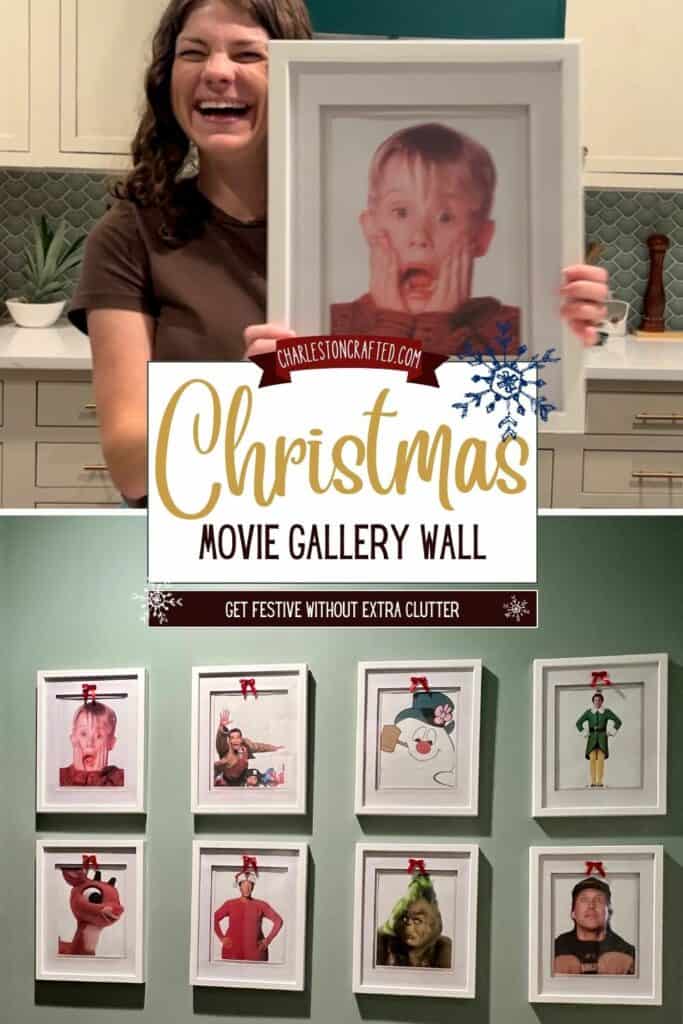
I personally think that it would be hilarious to swap out grandma's picture of her favorite grandchild with a screaming Kevin McAllister.
But, this time I decided to swap the art in the gallery wall outside my kids rooms with Christmas pictures.
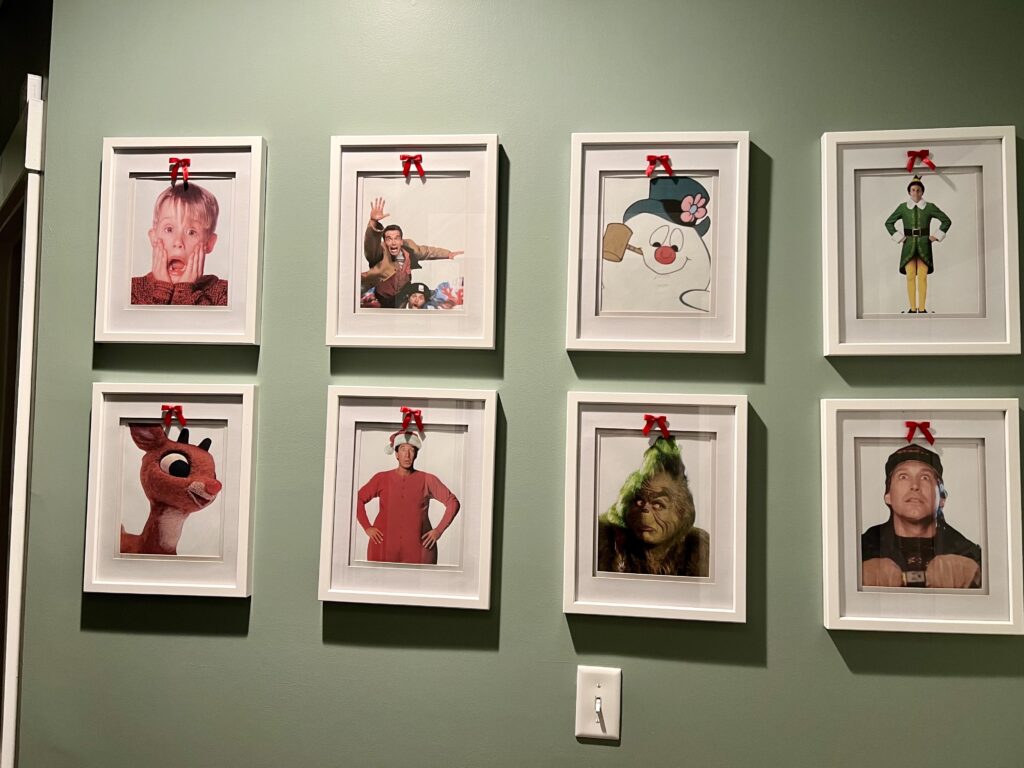
This is a grid-style gallery wall with 8 frames, making it a great size to decorate.
Honestly, I've been thinking of changing these anyways. They are still the baby animal pictures from Luke's nursery, and while I love them, my kiddos are getting older! They might get changed for school pictures after the new year.
Anyways, here's the tutorial for how I set up the art and the gallery wall!
How to set up a Christmas Movie Gallery Wall
Here's how easy it is to transform your gallery wall into a Christmas movie celebration!
Supplies needed:
- Computer to pull pictures + software (such as Canva) to edit
- Printer + paper/cardstock
- Frames
- Nails/hardware to hang frames if not already hung
- Optional: hot glue and small bows
Steps to make:
Here's the simple steps to make this gallery wall for your home!
Step 1: Find your favorite movie posters
To start, think of your favorite iconic Christmas movies! We chose:
- Home Alone
- Jingle All the Way
- Frosty
- Elf
- Rudolf
- The Santa Clause
- The Grinch
- Christmas Vacation
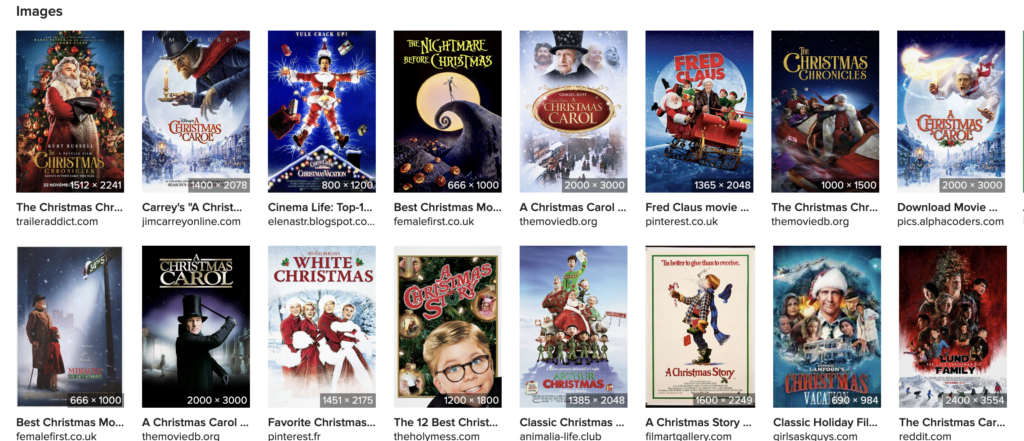
Use your favorite search engine to image search for the movie poster or an image of a scene in the move. Right click - save the pictures into a folder on your computer.
Obviously these photos are owned by the production companies, so you can't sell these, but you can print them off in your own home!
Step 2: Upload to Canva
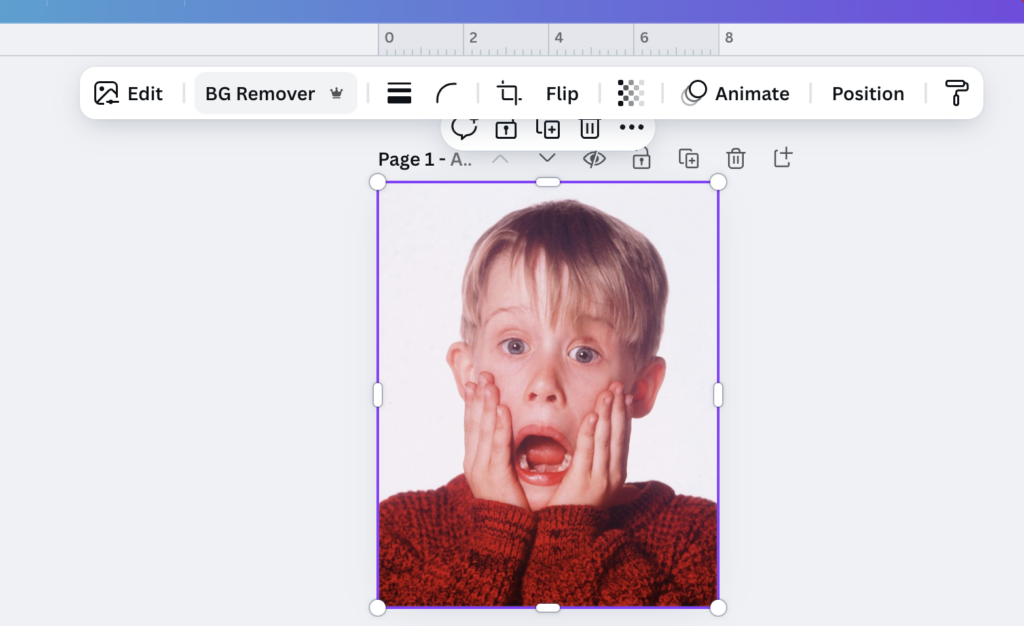
Use Canva or your favorite image editing software to create a new image file sized for your frame (ours were 8"x10").
Drag in your Christmas image and then use the background remover tool to remove the background (optional, but this is what we did).
Step 3: Print
Download as PDFs and print. I prefer to print on cardstock for a slightly sturdier image. You can also use photo paper if you prefer.
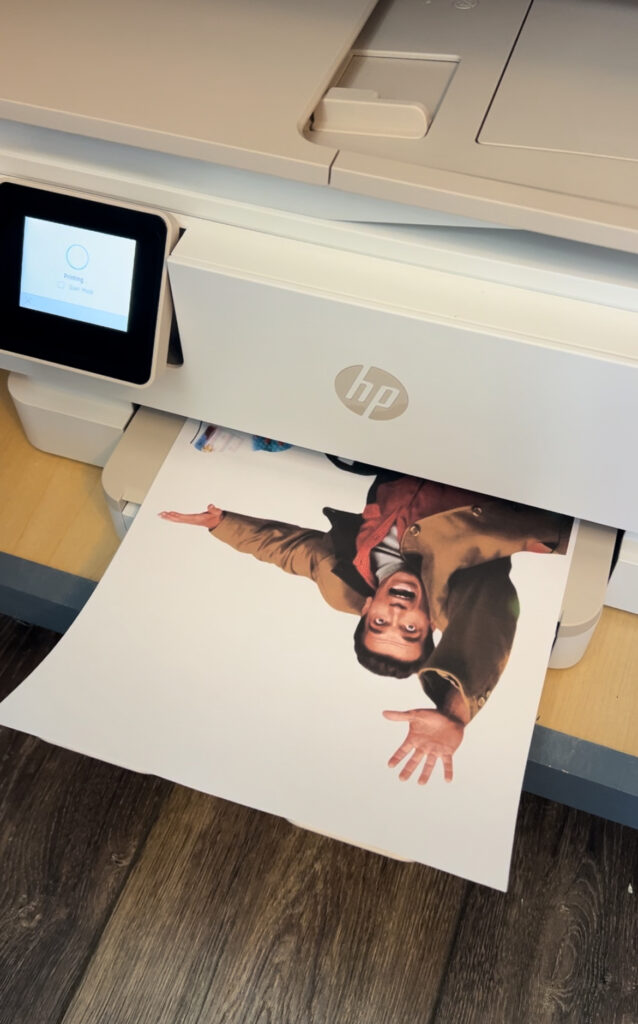
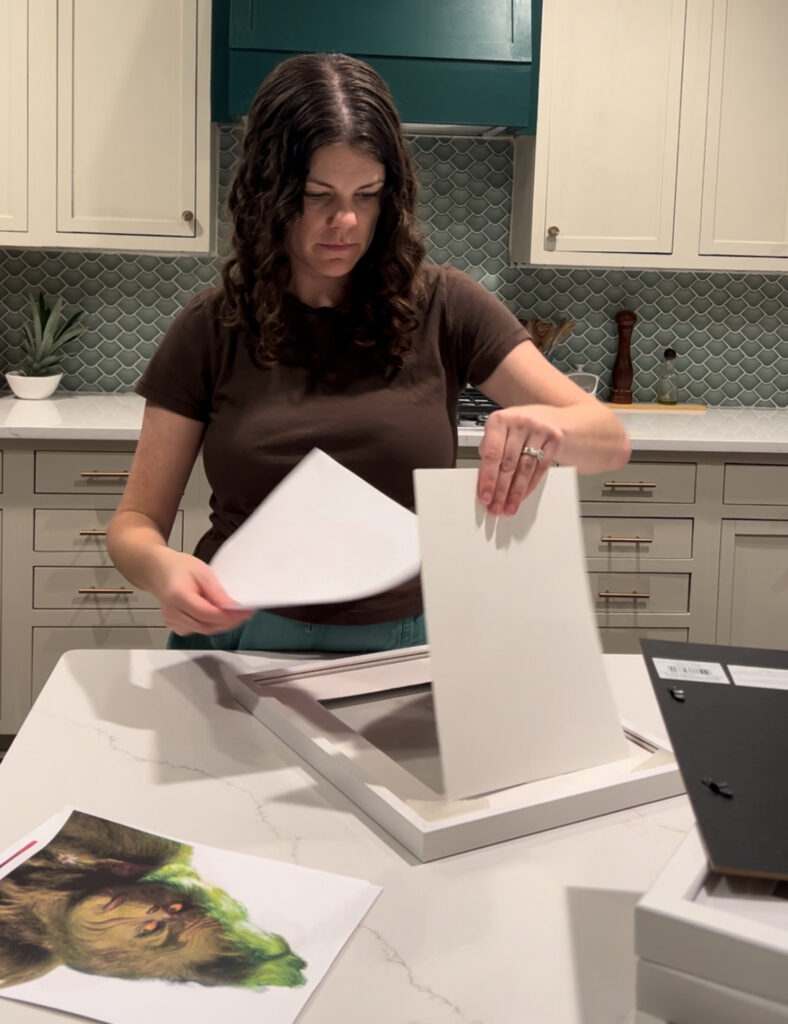
Step 4: Add to Frames
Open up your frames and add the printed photos.
We have these frames up year-round, so I just slid the Christmas picture in front of the normal picture, so it can be pulled out after Christmas!
Check that everything is straight and close back up the frame.

Step 5: Add bows (optional)
This step is totally optional, but I added a small red bow to the top of each frame, just to make it more festive.
First, I did this with double sided tape, right on the glass of the frame. It did not hold.
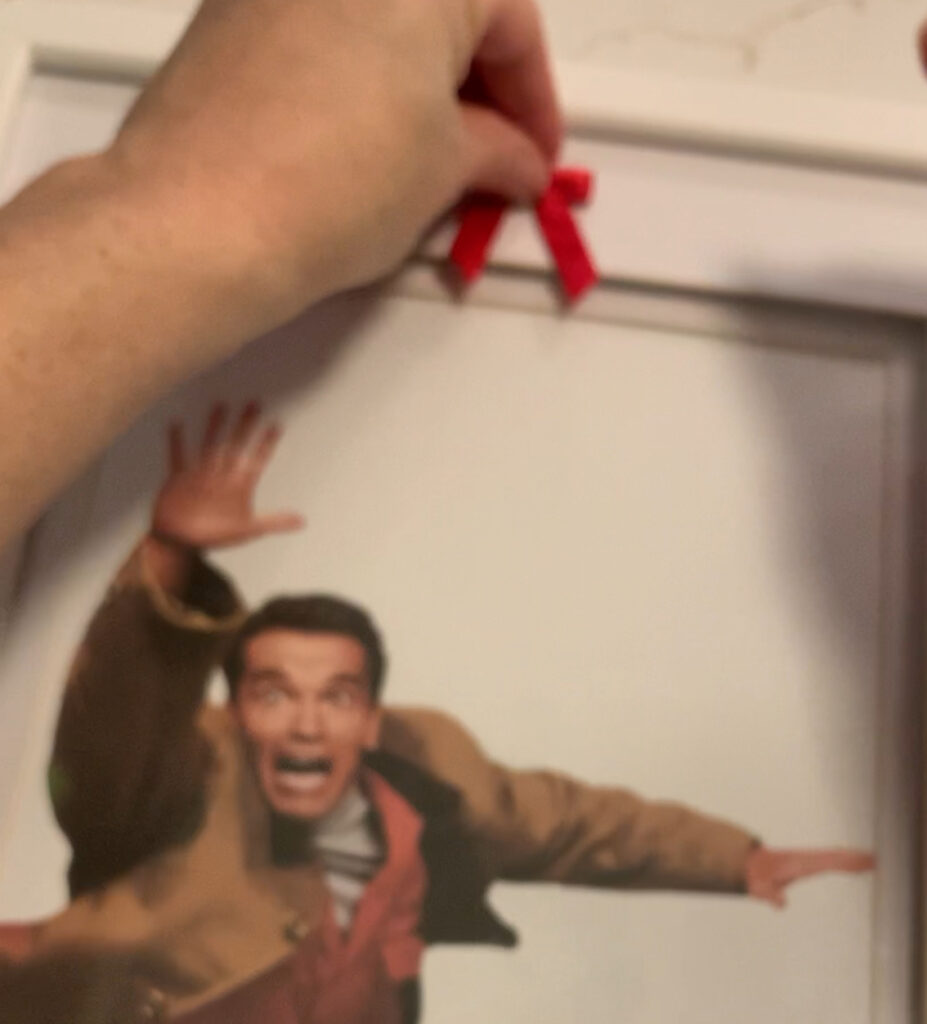
So, I switched to a small dot of hot glue. Since it's on the glass, I am optimistic that it will peel off without issue. I personally would not put hot glue on the wood frame part if you were very concerned about damaging the frame - it might come off fine, it might not.
Step 6: Hang and enjoy!
If your gallery wall already exists, then just hang the frames back up on the existing nails. If you are hanging for the first time, be sure to check out our top tips for how to hang a gallery wall easily!
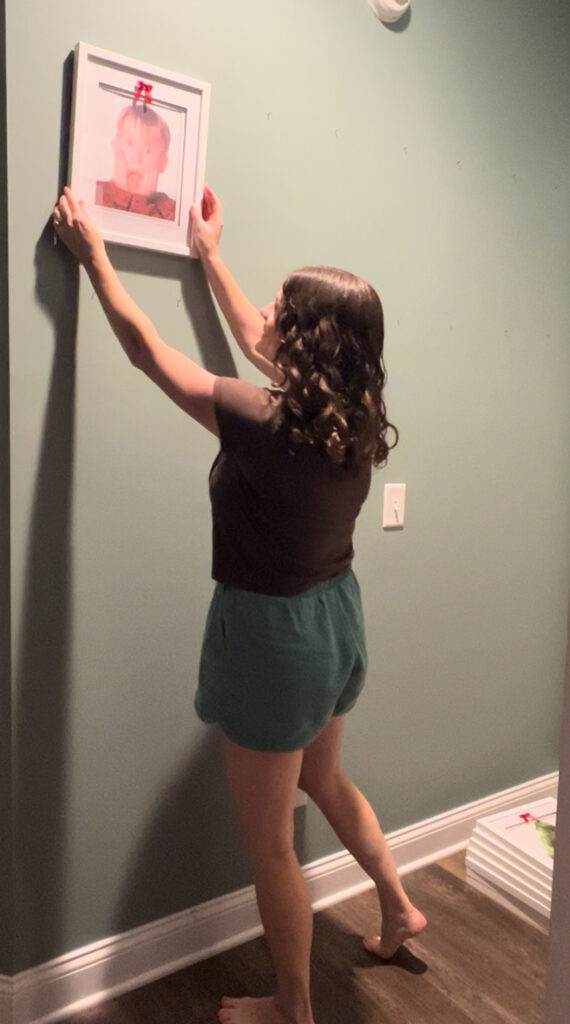
These pictures are SO FUN and a great addition to our Christmas decor. What a fun way to make the kiddos smile and get into the holiday spirit!
Video Tutorial
Prefer to watch? Click here to watch the video of me setting up this gallery wall!
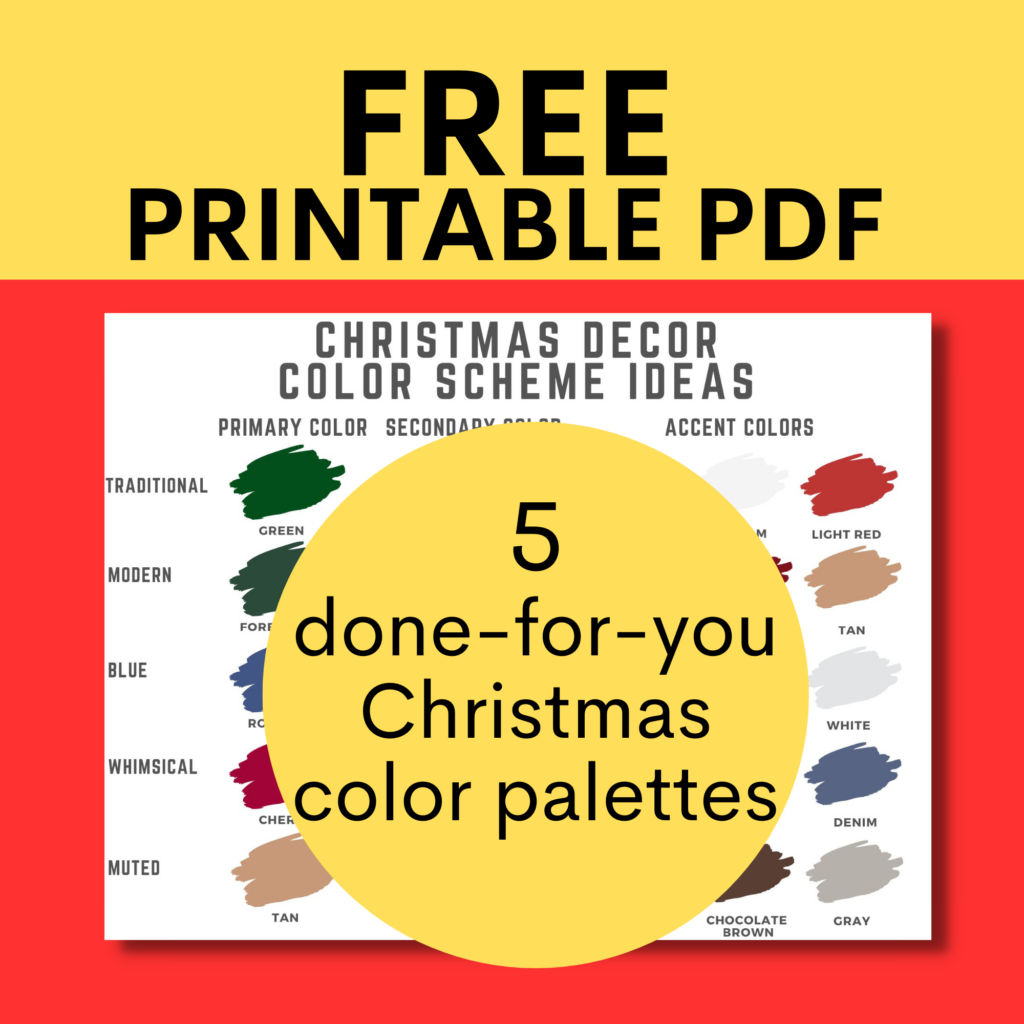
Get my Christmas Color Scheme Cheat Sheet!
With our free printable cheat sheet, you can easily bring your vision to life and create a festive atmosphere that will be remembered for years to come.
Looking for something?
We've been doing this since 2012 so we have a LOT of blog posts!
Search stuff like: Ceiling Projects | DIY Plant Stands | Thrift Flips


Hello, I'm Morgan, half of the creative force behind CharlestonCrafted.com! With a passion for DIY that dates back to 2012, I've transformed three homes and now I'm dedicated to helping others craft their dream spaces. Let's turn your house into a home together!


