This is a sponsored conversation written by me on behalf of Cricut. The opinions and text are all mine.
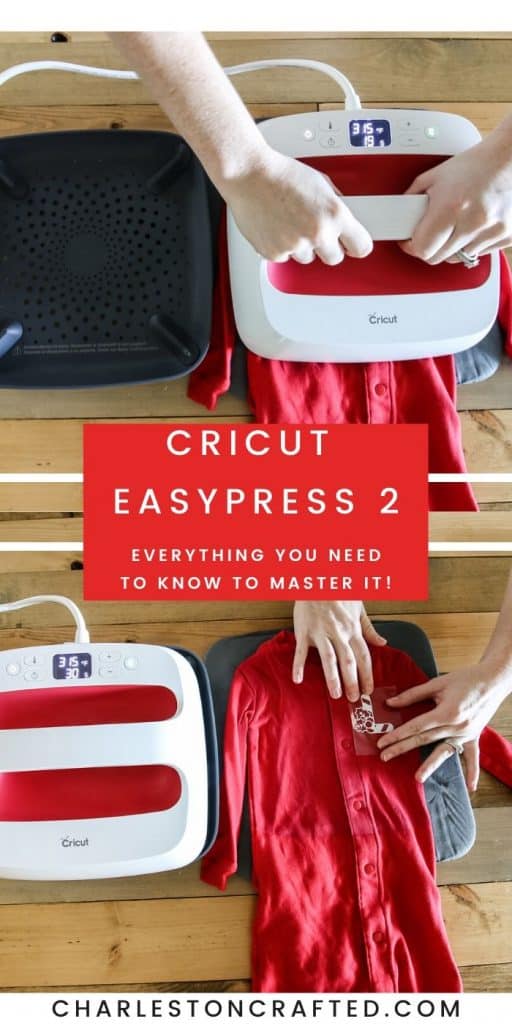
Considering purchasing a Cricut EasyPress 2? Here is everything you need to know about the machines!
A Cricut cutting machine opens your crafting world up to a ton of possibilities. However, they can be intimidating to try out!
I love the idea of working with iron on vinyl, but worrying about getting the right temperature and pressure with my iron was stressful.
Luckily, Cricut sells the EasyPress 2 - and I am so excited to show you how to use it today!
What is a Cricut EasyPress 2?
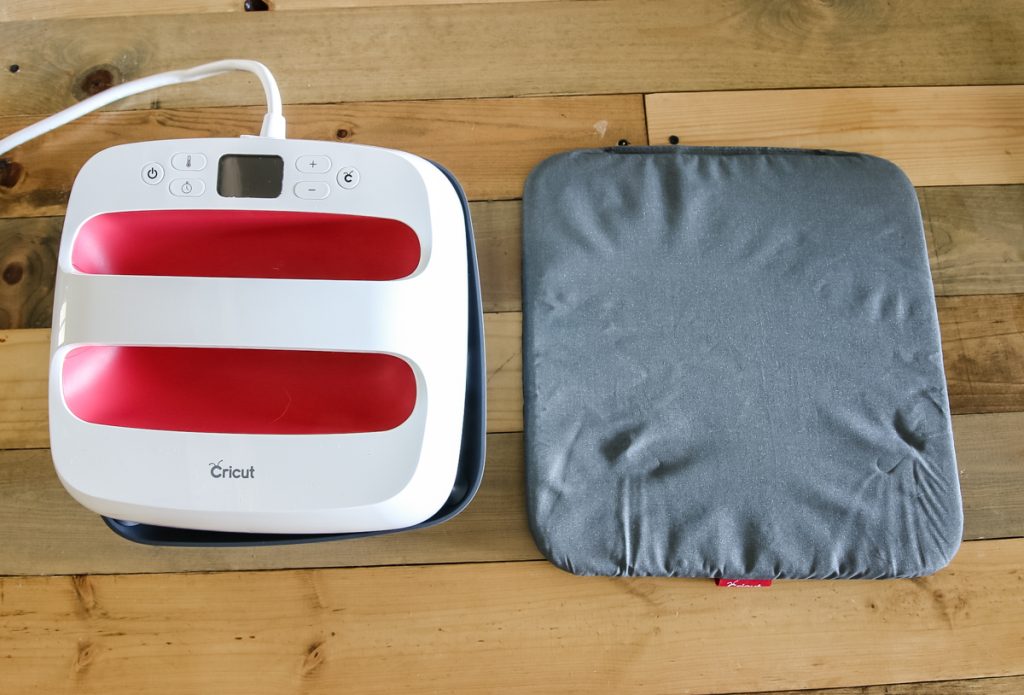
The EasyPress 2 is a heat press that allows you to easily apply iron on materials. It gives professional heat-transfer results without the guesswork!
I love that the EasyPress 2 has the quality of a heat press with the convenience of an iron.
Features of the Cricut EasyPress 2
- Easy to use, quick to learn!
- Adjustable temperature up to 400 degrees F
- Heat resistant base
- Auto shut off feature
- Lightweight and super portable
- Easy to store in tote bags or craft carts
- Compatible with most major brands of heat-transfer vinyl
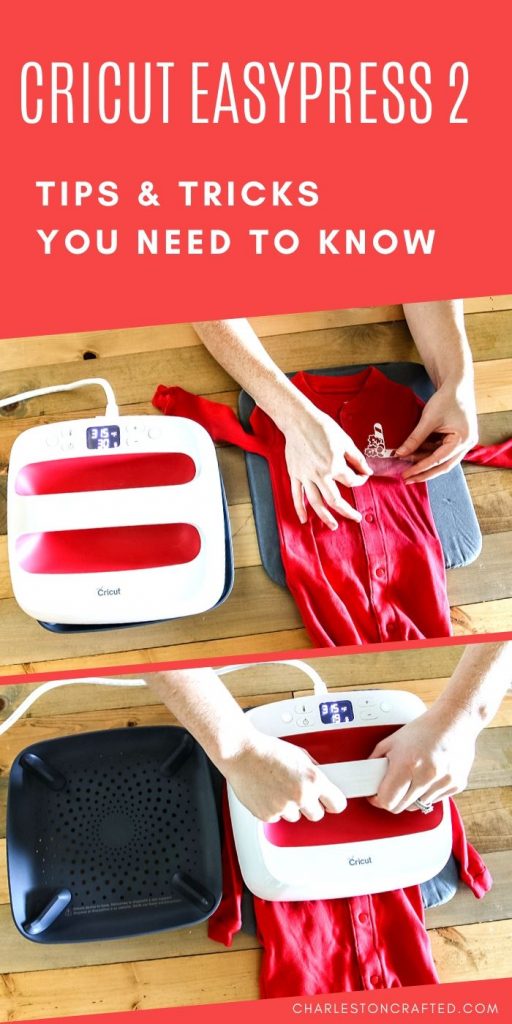
Cricut EasyPress 2 Settings
The EasyPress 2 has a couple of settings that you can adjust based on your project.
The first setting is the heat setting. You can easily adjust the temperature of your EasyPress 2 using this button.
The second setting is the timer. This determines how long you should leave the heat press pressing, also based on the material you are adhering to.
Use the Cricut Heat Guide by entering your heat press, the material you are using, and the mat you are using, and it will tell you what settings to input into your machine.
What are "Warm Peel" and "Cold Peel"?
The Heat Guide will instruct you to use either a Warm Peel or a Cold Peel, depending on the material that you are ironing on.
Cold peel: remove the clear liner only once the material has completely cooled down after being pressed. Pulling it off while it is still warm could stretch or warp the material.
Warm peel: remove the clear liner while it is still warm to the touch. Let it cool for just a few seconds and it will come off more easily than if you let it cool completely.
How do you use a Cricut EasyPress machine?
The EasyPress 2 is SUPER simple to use.
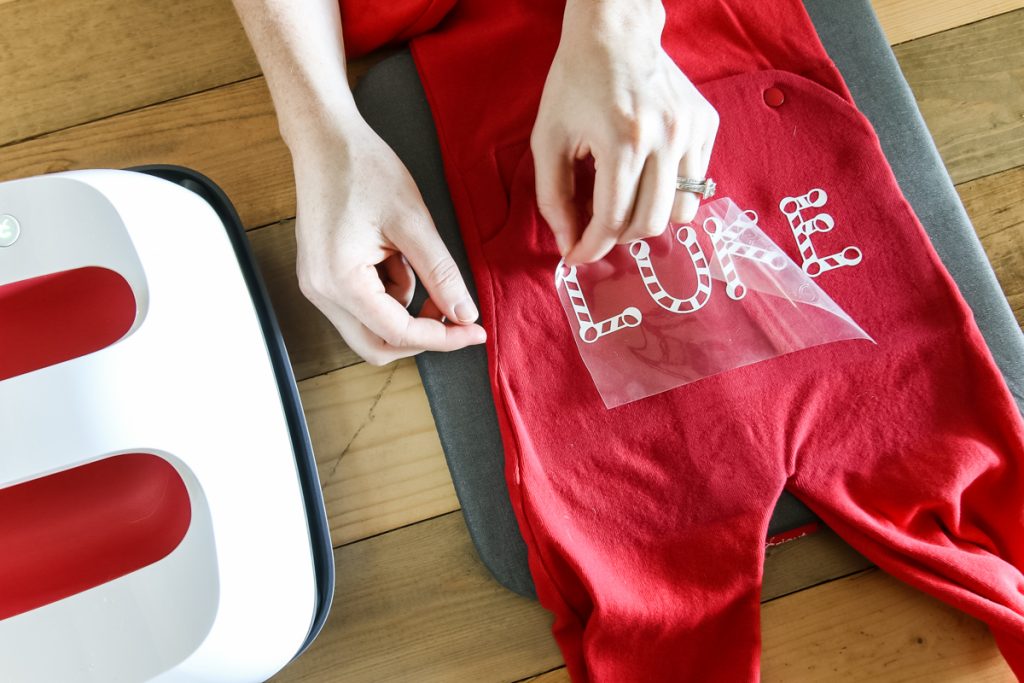
To demonstrate how to use a Cricut EasyPress 2, I am going to show you how easy it was for me to customize a pair of Christmas pajamas for Luke!
Click here to read Cricut's official guide to using the EasyPress 2.
What you need to use your EasyPress 2:
- EasyPress 2 machine
- EasyPress mat (or alternative, see below)
- Iron on vinyl cut into the design of your choice and weeded
- Something to iron your project onto (such as a t-shirt, pillow, wood, etc)
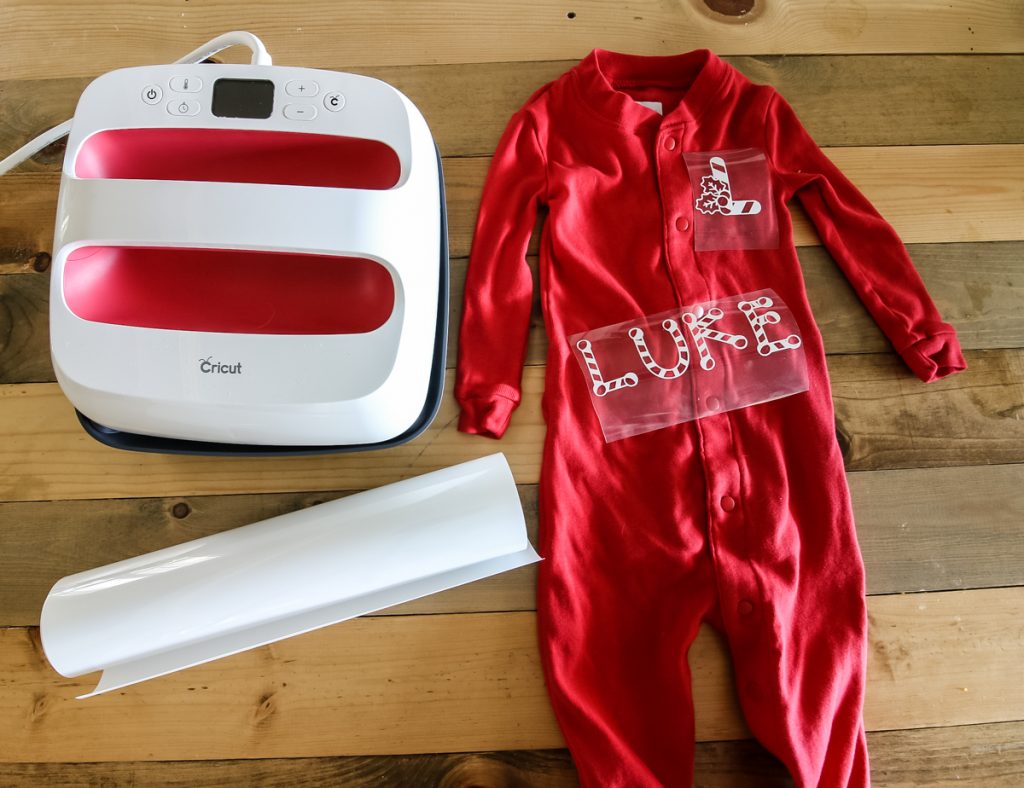
How to use the EasyPress 2:
- Plug in the EasyPress 2
- Set time and temperature using the +/- buttons
- Orange light means it is heating up. Green light means it is ready. It will beep when it is ready.
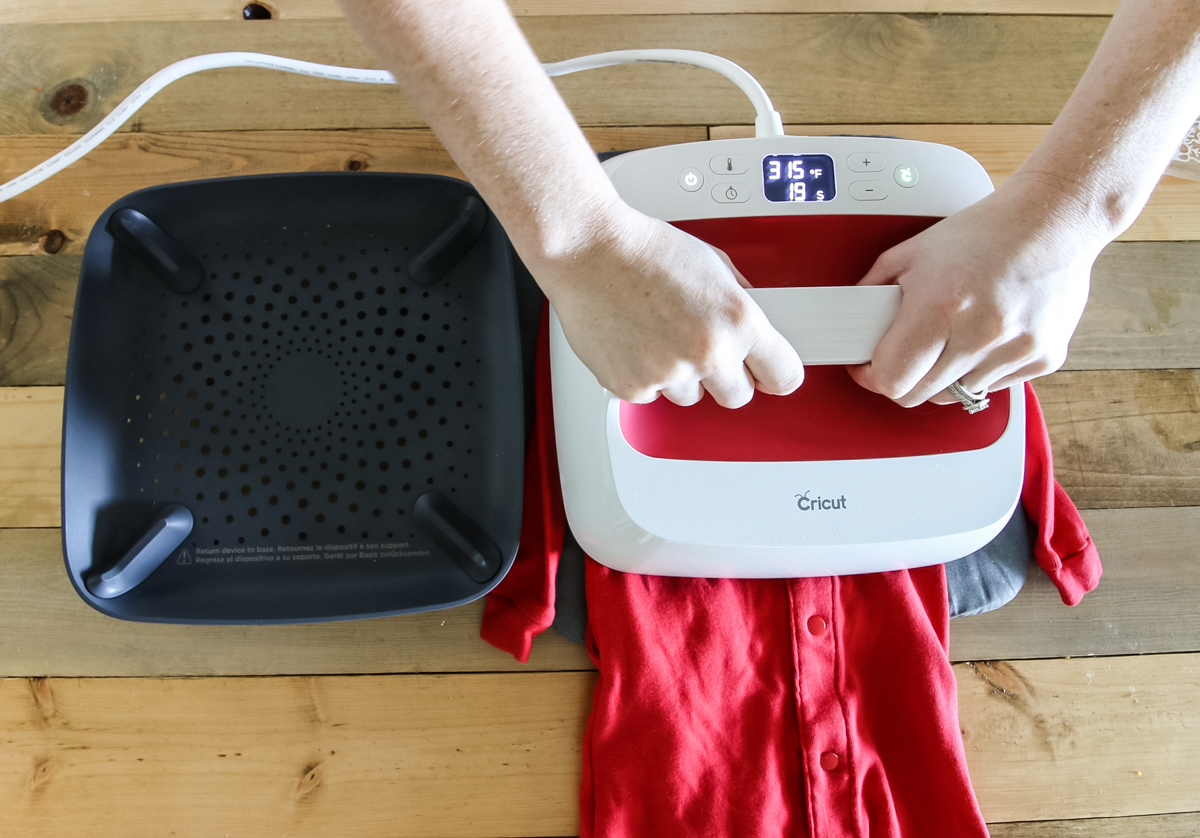
- Preheat the base material (your t-shirt, pillow, etc) by placing the EasyPress 2 on for the recommended time.
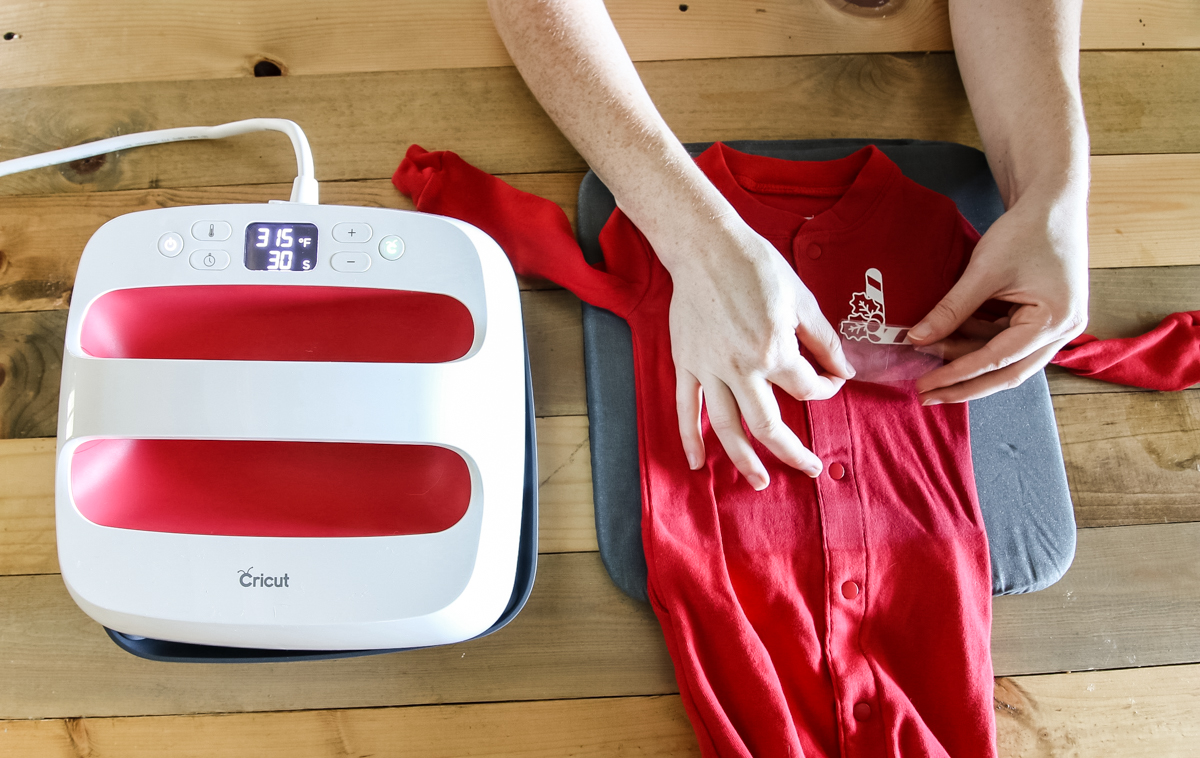
- Place your design on the heated material, shiny side up.
- Place the EasyPress 2 on the design and press the Cricut button.
- Remove the machine once the timer goes off.
- Flip your item and heat from the opposite side, following the same steps.
- Carefully peel the clear liner. If it comes off easily, peel the liner completely. If it does not, then heat it for a second time.
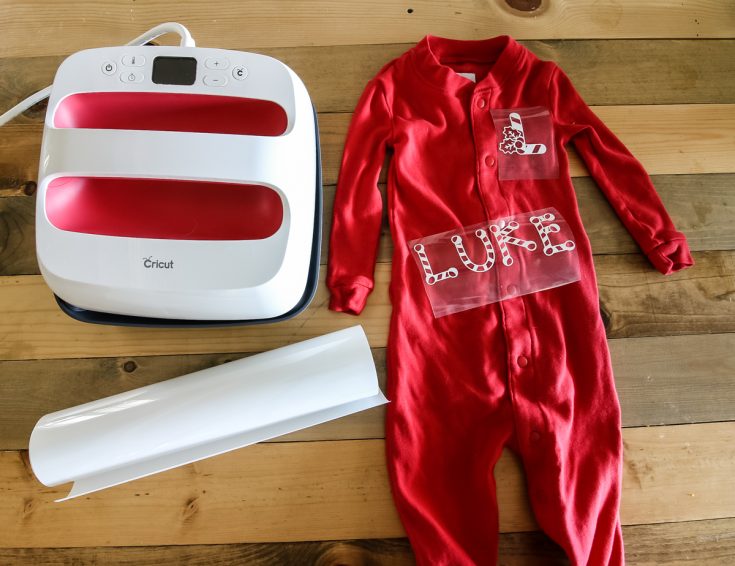
How to use a Cricut EasyPress 2
Wonderin how to use a Cricut EasyPress 2 machine? Here are the step by step instructions that you are looking for!
Materials
- Iron on vinyl of choice
- T-shirt, pillow, wood, or anything to iron your material onto
Tools
- Cricut EasyPress 2
- Cricut cutting machine
- EasyPress Mat
Instructions
- Plug the EasyPress 2 into the wall
- Use the +/- buttons to set the time and temperature according to your materials
- Pre-heat your base material by placing the EasyPress 2 on and pressing the Cricut buttons for the recommended time.
- Place your design on the heated material, shiny side up. Smooth it in place with your hand.
- Center your EasyPress 2 over the design and press the Cricut button.
- Remove the machine once the timer goes off.
- Flip your item and heat from the opposite side, following the same steps.
- Carefully peel the clear liner. If it comes off easily, peel the liner completely. If it does not, then heat it for a second time.
Recommended Products
As an Amazon Associate and member of other affiliate programs, I earn from qualifying purchases.
What is the difference between the Cricut EasyPress and Easypress 2?
- The EasyPress 2 comes in three sizes:
- The EasyPress 2 remembers your settings when you cut it off and cut it back on again, which is convenient, especially if you usually work with the same materials over and over again.
- The EasyPress 2 heats up faster than the EasyPress
- The EasyPress 2 has a maximum temperature of 400 degrees, compared to the original's 350 degrees
- The EasyPress 2 has a more advanced, thicker plate that heats more evenly than the original EasyPress
- the EasyPress 2 comes in raspberry or mint instead of blue
How hot does Cricut EasyPress get?
The EasyPress 2 heats up to 400 degrees, while the original EasyPress heats up to 350 degrees.
What size is the EasyPress 2?
The EasyPress 2 comes in 3 sizes:
- 6 x 7 inches - good for baby onesies and smaller items
- 9 x 9 inches - good for t-shirts
- 12 x 10 inches - perfect for larger items, large t-shirt designs, pillows, etc.
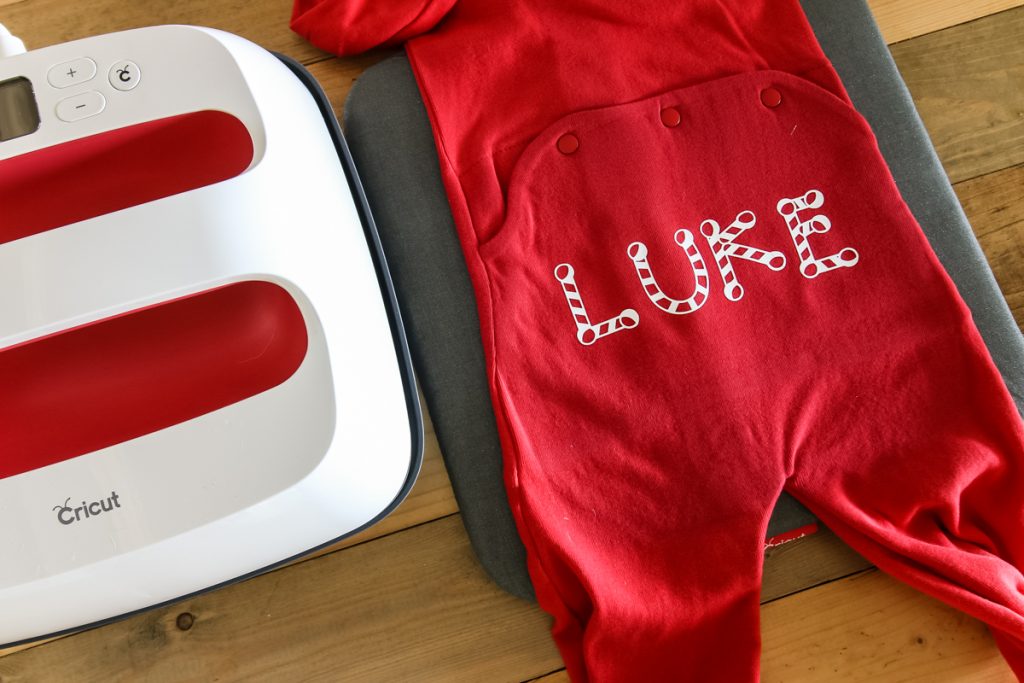
Do I need the Cricut EasyPress mat?
You do not HAVE to use an EasyPress mat, but I got one and love it. It was specifically designed for optimal heat pressing conditions.
The mat was designed with layers that eliminate moisture and direct heat to your iron-on design. It also protects your work surface from the heat of the EasyPress.
The layers of the EasyPress mat are:
- Heat resistant cover
- Felt moisture wicking layer
- Foil reflective heat layer
- Silicon insulation layer
- Protective barrier layer
EasyPress mat sizes:
- 8 x 10 inches
- 12 x 12 inches
- 14 x 14 inches
- 20 x 16 inches
EasyPress mat alternatives:
- Silicone pad
- Folded towel
- Ironing mat
Does the Cricut EasyPress 2 come with a mat?
No, the EasyPress 2 does not come with a mat. They are however very inexpensive and easy to add on to your purchase! I keep my mat in the bag with my EasyPress 2 and think that it is essential!
What do I need to do iron on with Cricut?
Which way does iron on vinyl go on Cricut mat?
Iron on vinyl goes shiny side DOWN on your mat.
Remember this because you do NOT want the shiny clear liner to be cut. It needs to stay intact like the backing on a sticker.
Which side of Cricut iron on vinyl goes down?
When you press iron on vinyl onto your project, you want it to be shiny side UP!
Remember this because you are going to peel the shiny liner off and if it's on the bottom it will get glued on by your design.
How do you mirror Iron On?
Mirroring is the process of flipping a Cricut design backwards horizontally. This makes it so it prints in a way that when you place it upside down on your item (shiny side up), the design is facing the correct way.
There is a toggle in Design Space once you go to Make This to toggle mirroring on!
Is the EasyPress 2 compatible with infusible ink?
Yes, the EasyPress 2 works with infusible ink as well as most brands of iron on. It also works on a ton of materials - they just need to be able to fit under your size of EasyPress.
What is the best Cricut machine?
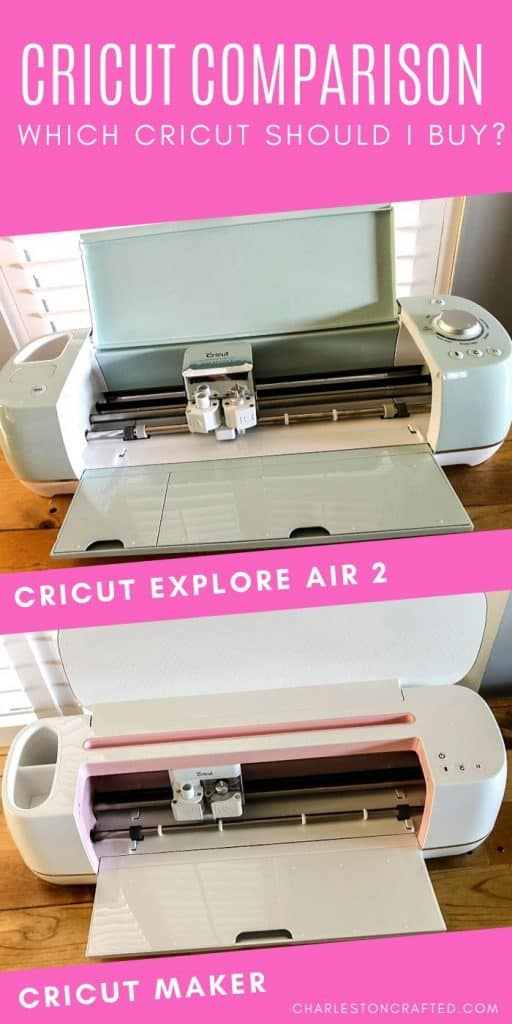
Trying to decide which Cricut to buy? I have a blog post where I compare the two most popular models - the Cricut Maker and the Cricut Explore Air 2!
The EasyPress 2 is really the perfect complement to the Cricut smart cutting machines. I really recommend it for any serious crafter who wants to get professional iron on results!
What other questions can I answer for you about the Cricut EasyPress 2?
Looking for something?
We've been doing this since 2012 so we have a LOT of blog posts!
Search stuff like: Ceiling Projects | DIY Plant Stands | Thrift Flips


Hello, I'm Morgan, half of the creative force behind CharlestonCrafted.com! With a passion for DIY that dates back to 2012, I've transformed three homes and now I'm dedicated to helping others craft their dream spaces. Let's turn your house into a home together!

