Considering a Cricut Maker machine? Here are my first impressions and review after having it for 30 days.
As an avid crafter, I have always admired the Cricut. However, I could honestly never justify the cost. For my 30th birthday, I decided I wanted to treat myself to something substantial. With a 6 month old baby, we can't really take any big trips. I didn't want jewelry. I decided to indulge my crafter's fantasy and buy a Cricut.
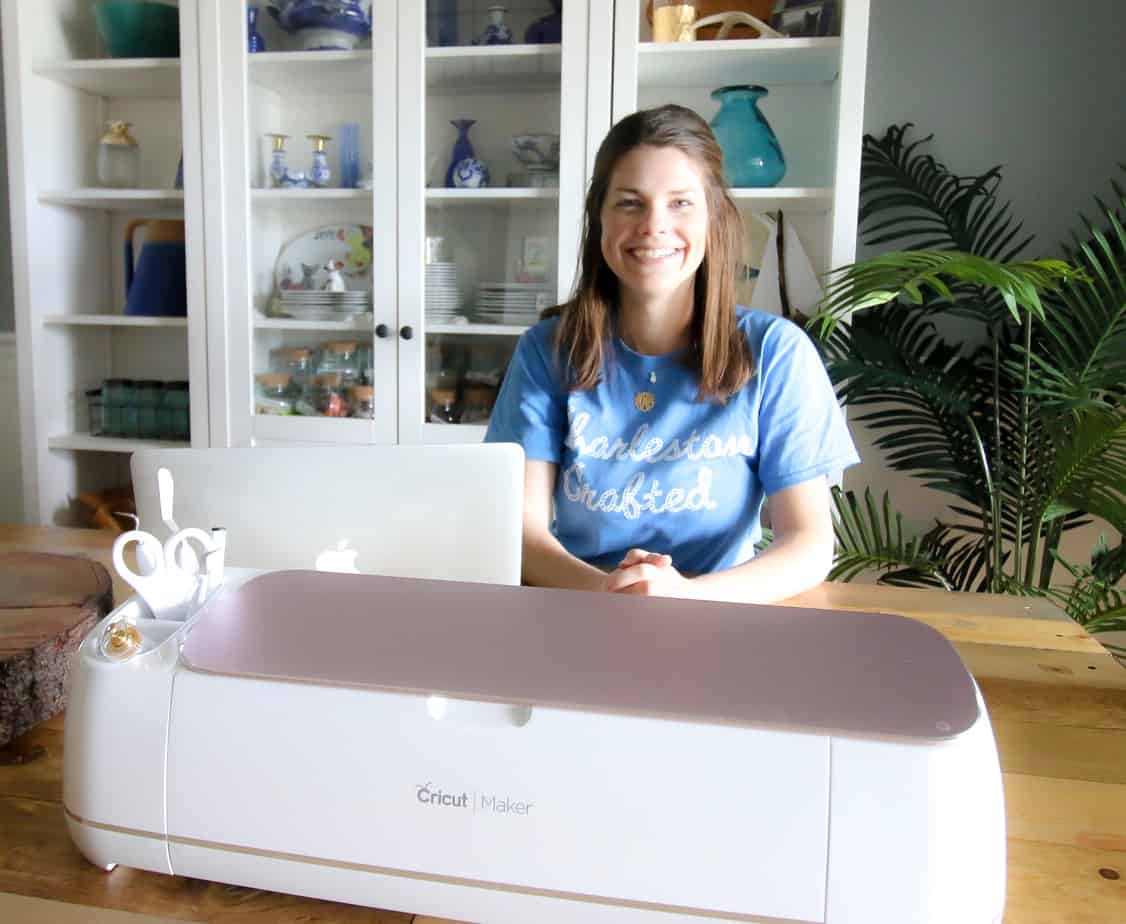
Cricut Maker Review: My Experience 30 Days In
Picking which Cricut machine to buy
I did a bit of research in deciding between the Cricut Explore and the Maker machines. As best as I can tell, the major difference is that the Maker can cut thicker materials - thin wood, metal, thick leather, and fabric without a backing.
Currently, the Explore 2 retails for $299 and the Maker retails for $399.
I determined that if I was gonna do this thing, it was worth the extra $100 for me to have full capabilities. You have to make that call for yourself.
Looking for a deal? Don't forget to check facebook marketplace.
What accessories do I need to start out with my Cricut?
- Mats - You need mats to work your cricut maker. It come with a pink and blue mat. They are 12"x12" sticky pads with grids on them. You attach your material (paper, fabric, etc) to the top left corner of the mat and that is how the machine sucks it in.
The mats are sticky and hold your material in place. With use, they will get less sticky and need to be replaced. I am not sure the life of a mat but I can definitely see how they get worn and lose their stick.- Pink - Fabric mat
- Blue - Light Grip mat - for paper and light materials
- Green - Standard grip mat (comes in 12"x12" or 12"x24"
- Purple - Strong grip mat - for thick materials like wood, metal, thick leather
- Tools - You definitely want a basic tool kit to get started. The tweezers are essential for pulling up tiny pieces without ripping them and the scraper makes cleaning tiny bits off your mat so much easier.
- Blades - The Cricut Maker comes with the fine point blade + the rotary blade. However, many projects or materials need another blade. It's kind of frustrating to scroll through potential projects and not have the blade you need to try it. Here are the options:
-
- Fine point blade - (comes with Maker) cuts vinyl, card stock, paper - light weight materials.
- Rotary blade (comes with Maker) - cuts fabric.
- Bonded fabric blade - cuts fabric with a backing. From what I read, you shouldn't need this with a Maker.
- Deep point blade- cut materials up to 1.5mm thickness like thick felt, leather, or cardboard.
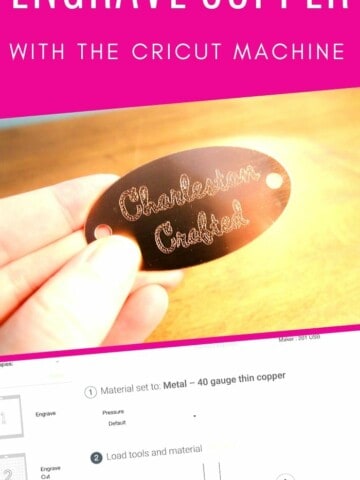
- Knife blade - cuts dense materials like wood or metal up to 3/32" thickness.
- Scoring wheel - scores material like paper for crisp fold lines.
-
- Materials - The materials that you get will depend on the projects that you want to do . I suggest having some on hand as soon as you get started, though!
- Cricut Design Studio Access - Your new Cricut comes with a 30 day free trial of the Design Studio Access package. This gives you access to a bunch of designs and fonts. Definitely try it out! I have heard that many people download fonts and images for free online, so you will have to decide if it is worth $10 a month to you.
I want to warn you against buying one of the Cricut bundles. Read the reviews first. I found that many of the bundles didn't save you any money - it was actually cheaper to buy the supplies separately than in the bundles, which often contained things like 4 sheets of vinyl, when for a similar "value" you could get a pack of 50.
First impressions of the Cricut Maker
Honestly, my first thought is that this could easily escalate into a really expensive hobby.
The materials can be cheap (paper) but you quickly start to want nicer, more custom or high end materials. Plus, things like vinyl I didn't have on hand before, so that is a cost even just to try it out.
Cut files and fonts mostly cost. You can pay the $10 monthly membership, but even that isn't that many projects. Most projects I found on Pinterest sell patterns for a few dollars. Which is fine, and I totally see the value in someone making a pattern. It just could add up quickly.
On a positive note, I really enjoy the Cricut. It does a really nice job cutting and will open me up to some new potential projects. The big hurdle for me is that the obvious projects are: making cards, cutting sewing patterns, and cutting words or designs out of vinyl to attach to things. Those are not really hobbies I want to do.
I want to figure out ways to make interesting home decor with my Cricut. And not wooden signs with letters on them.
I have struggled some when trying out new projects. I have gotten really frustrated with it, honestly. I feel like a lot of the settings are not correct and definitely need more pressure to cut through the materials.
However, once you get something figured out and set up, it does move quickly.
Now that I am invested in my Cricut, I am definitely going to put in the time to figure out a project. I can't wait to share my journey!
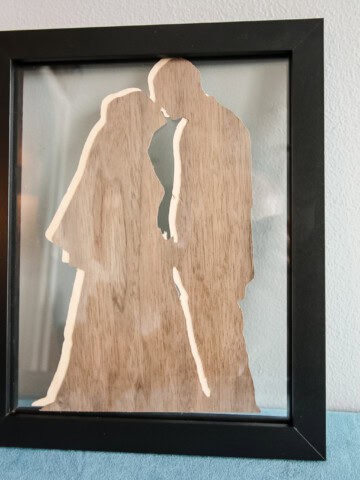
You can see my first self-designed project, a paper flower framed mirror!
What materials have I tried so far?
Paper - Paper is super easy to cut using the fine point blade. I also like that I already had scrapbooking paper on hand and that it's cheap so I don't feel like I am wasting money if I mess something up. You will probably want a scoring blade when cutting paper, since so many projects seem to need it.
Felt - I had a hard time cutting felt on my Cricut Maker using the felt setting. It just tore up the felt and didn't cut all the way through. I however played around with the settings and figured out how to cut felt on the Cricut. Use a rotary blade. I tried it on a heavy duty setting (denim) and it worked but sliced up my mat. So, I suggest using the regular felt pressure but with a rotary blade to cut felt.
Thin wood - I cut a 3D elephant out of Cricut brand wood and was really impressed with how cleanly the knife blade cut. The wood is just almost too thin to be useful for anything other than an accent.
My recommendation
I suggest that you join a Cricut facebook group. I joined this one after ordering the Cricut, before it even arrived. Following threads gave me some instant project ideas and tips for use.
If you are on a tight budget, I am going to suggest that you not buy a Cricut. Unless you can get one used in a bundle with a lot of supplies, it is just going to make you go in debt or feel sad that you can't afford more patterns or supplies. Budget at least what you pay for the machine for accessories and supplies to start out.
Where do I go from here?
My big goal is to get comfortable with the studio so that I can make my own designs. This will make the process cheaper and suits me since I want to make things that are a little different from what I see out there.
If I can build cool things, I definitely want to share the cut files with you. I will have to figure out the balance of giving away freebies vs. having an etsy shop (or similar) where I sell projects. We will just have to see what makes it worth my work!
I am excited to put my Cricut Maker to work. Have questions? Ask me below or send me an email!
Here are some great home decor projects that I have made with my Cricut Maker! Cricut Maker Home Decor Projects
| |
|||
| |
|
|
|


Hello, I'm Morgan, half of the creative force behind CharlestonCrafted.com! With a passion for DIY that dates back to 2012, I've transformed three homes and now I'm dedicated to helping others craft their dream spaces. Let's turn your house into a home together!
[…] You can read my complete review of the Cricut Maker here! […]