Here's how to cut door hinge notches if you are working with a new door or need to change the direction of your existing door!
Earlier this week, you read about the new pantry door we put up in our kitchen. It was a world of problems, but one of the easiest parts of the project was one of the ones I thought would be the hardest, which is how to cut door hinge notches.
The door didn't have the hinge notches needed for the door hinge to fit flush with the outside of the door, so the door didn't close properly. I had to cut out the door hinge notches myself, but it was super easy. Here's how to cut door hinge notches.

How to cut hinge notches on your door
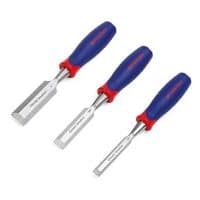
This is a pretty simple project and all you need is a chisel, hammer and knife. Well, and your door and hinges, but hopefully you have those if you're reading this!
Step one: align hinges
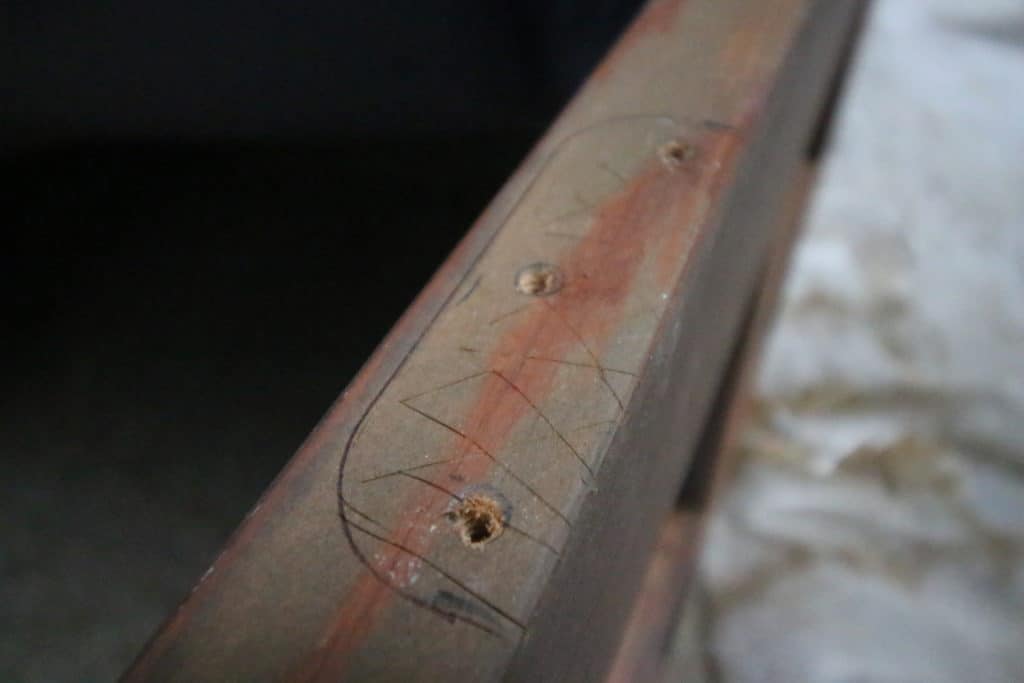
First, attach the door hinges to the door in the appropriate places and then trace the outside of the hinge on the door. Then, remove the hinges.
Step two: notch area to cut
Second, score the door within the traced area. You can do this a number of ways, but I chose to use an Xacto knife to score the traced edge of the hinge and then randomly within the trace.
This will help make it easier for your chisel to work. You can also use your chisel to tap in straight notches within your traced area.
Step three: chisel out notch
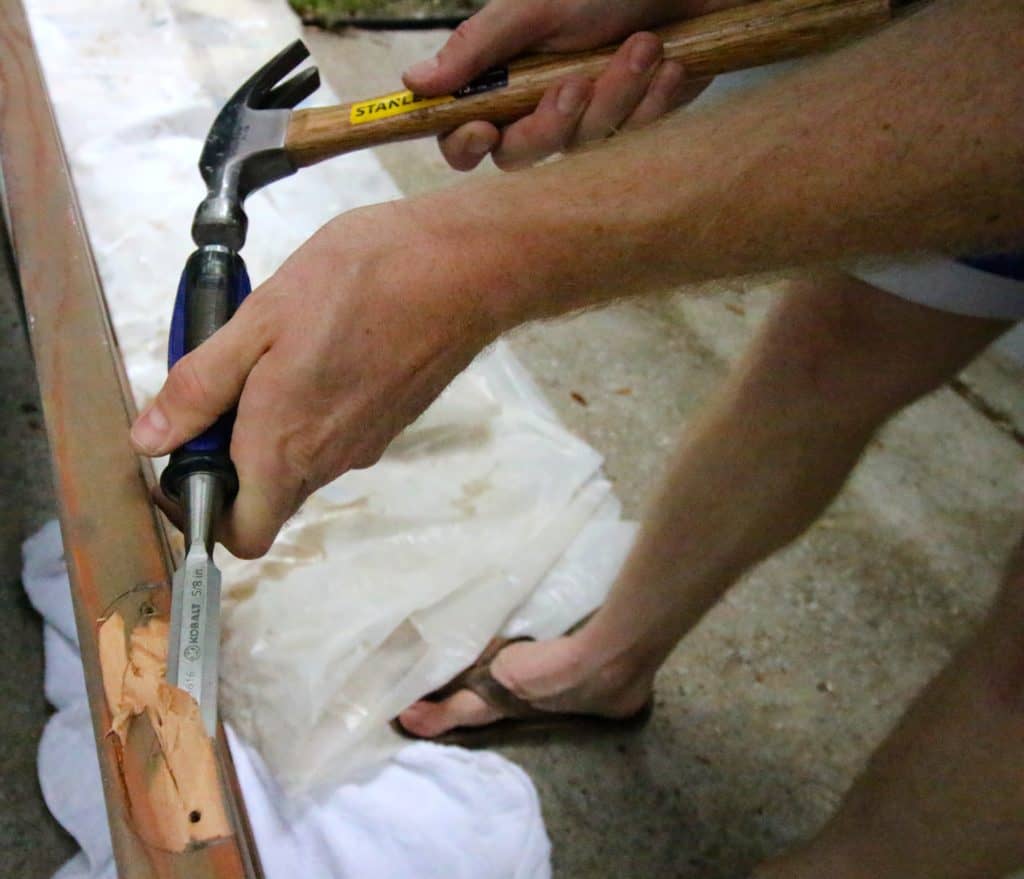
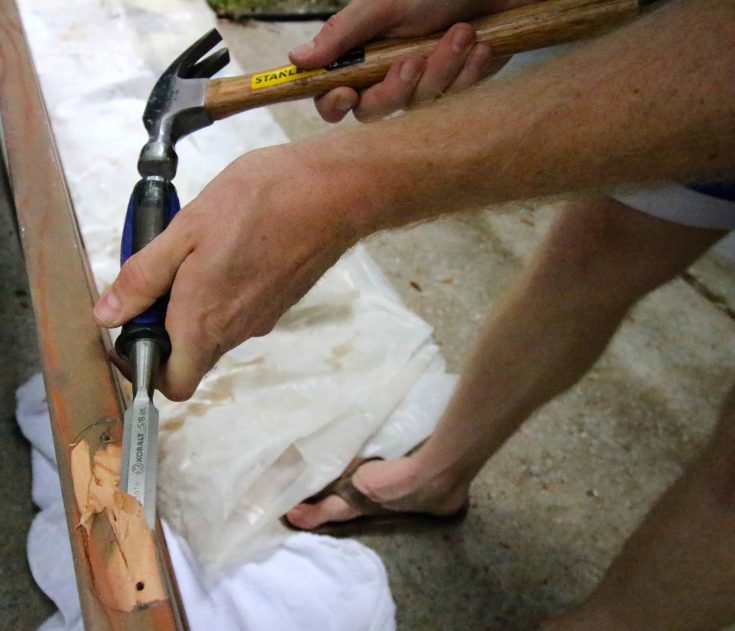
Next, use a chisel to... um, chisel out the wood in the hinge area. I used a ⅝ inch wide chisel because I knew it was a small area.
Keep the chisel as flat and level with the door as possible to avoid digging too deep into the door and taking out too much wood. For the first few layers and the bigger areas within your hinge trace, use a hammer to tap the butt of the chisel to get it going.
Continuously work and chisel out the area as best you can.
Step four: check hinge alignment
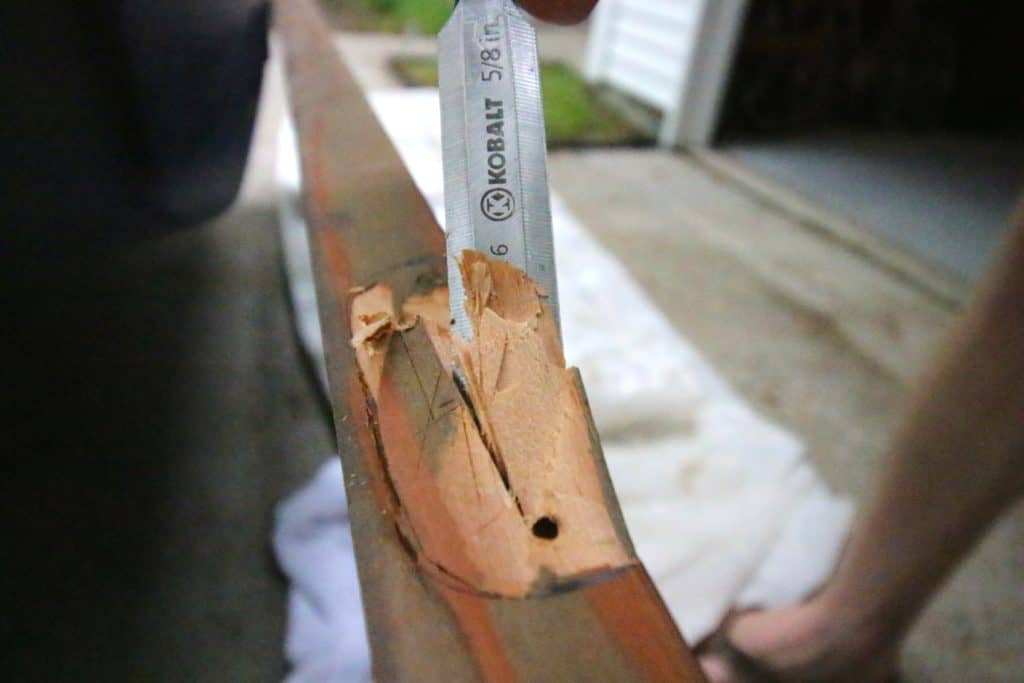
After you think you're done, you probably aren't. Grab the hinge itself and put it into your chiseled out area to test it.
Likely, you will need to chisel out more around the curved edges like I did. Fine tune your chiseled area until the hinge lies flat and flush with the door in the area you traced out.
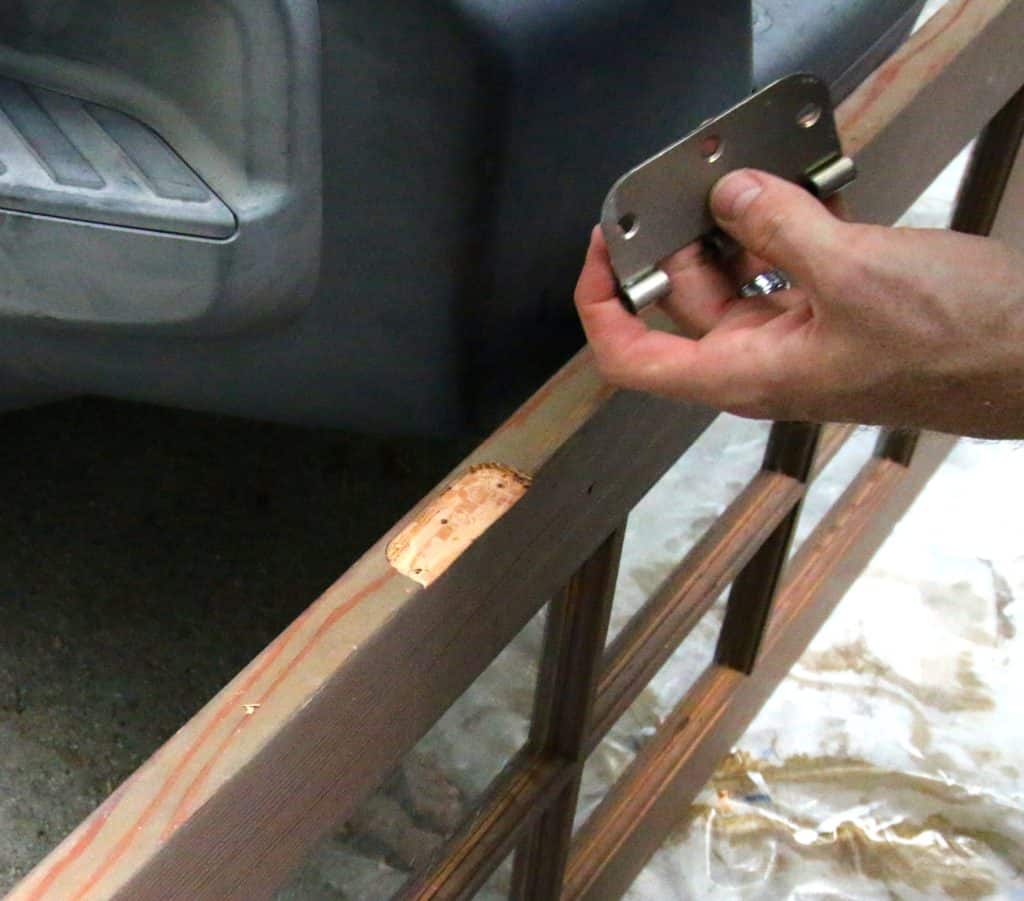
Step five: repeat and attach hinges
Do that for your next two hinge notches and then screw in the hinges. Now your door should be ready to hang.
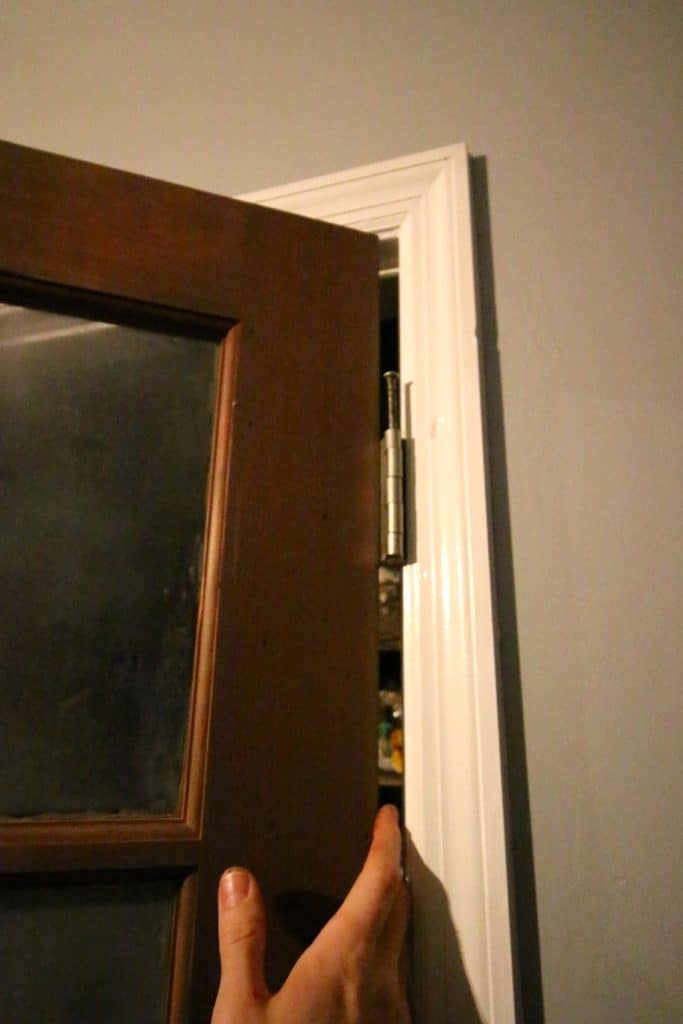
This was a super easy project and took me about 20 minutes to do all three hinge notches. This was the final step in our pantry door and the final step of our kitchen renovation.
If you're looking for how to cut door hinge notches, look no further because YOU CAN DO IT. It's not hard and you'll love your new door!
Hinge notch video tutorial
If all that didn't get you, here's a little video to hopefully answer any last questions.
How to cut door hinge notches
If you want to add hinges to a door, here is the easiest way to add door hinge notches yourself.
Materials
- Door hinges
- New door
Tools
- Pencil
- Exacto knife
- Chisel
- Hammer
Instructions
- Trace your hinges in the spot that you want them onto your door.
- Trace that line with an exacto knife and then score within that area (to be cut out) with the knife.
- Use your chisel and hammer to chisel out the scored area.
- Place the hinge in the cut out spot to check fit.
- Chisel more until the hinge fits.
- Repeat for all hinges on the door.
Recommended Products
As an Amazon Associate and member of other affiliate programs, I earn from qualifying purchases.
Looking for something?
We've been doing this since 2012 so we have a LOT of blog posts!
Search stuff like: Ceiling Projects | DIY Plant Stands | Thrift Flips


Hey there, I'm Sean, the woodworking enthusiast and builder behind CharlestonCrafted.com! Since 2012, I've been sharing the magic of turning raw materials into beautiful creations. I love teaching others the art and satisfaction of woodworking and DIY. I try to inspire fellow crafters to make something extraordinary out of nothing at all.

