Check out how we built a DIY angled base dining table that is perfect for any modern home! This table is easy to replicate for your home with our free plans!
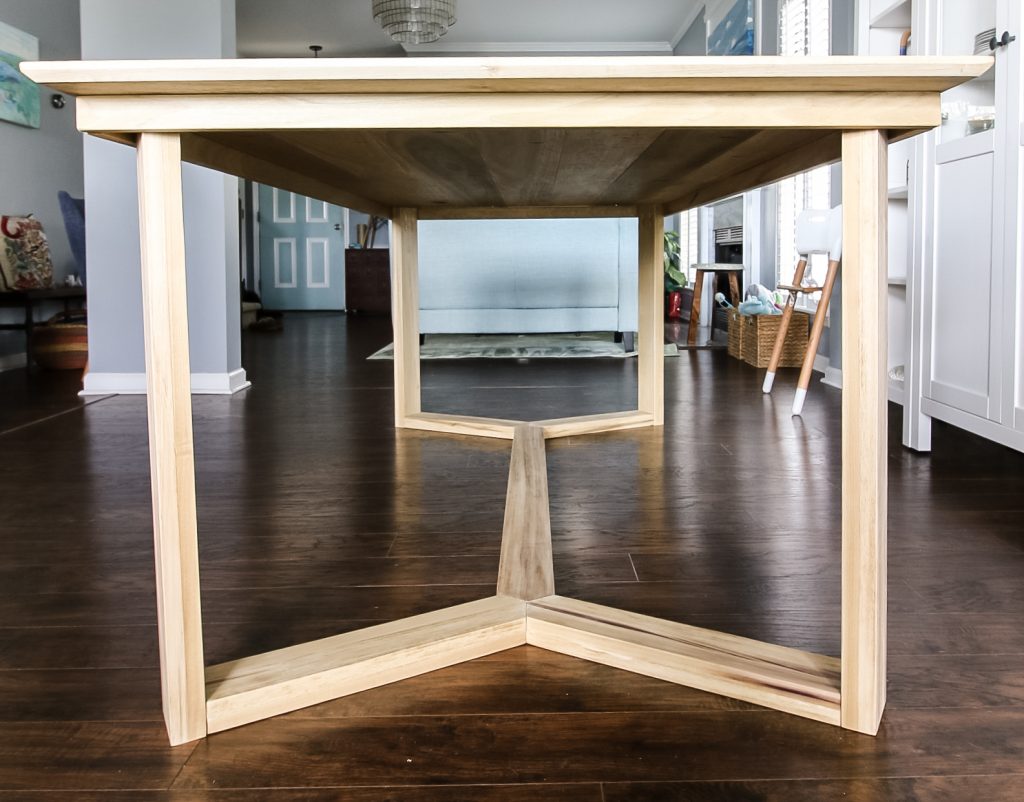
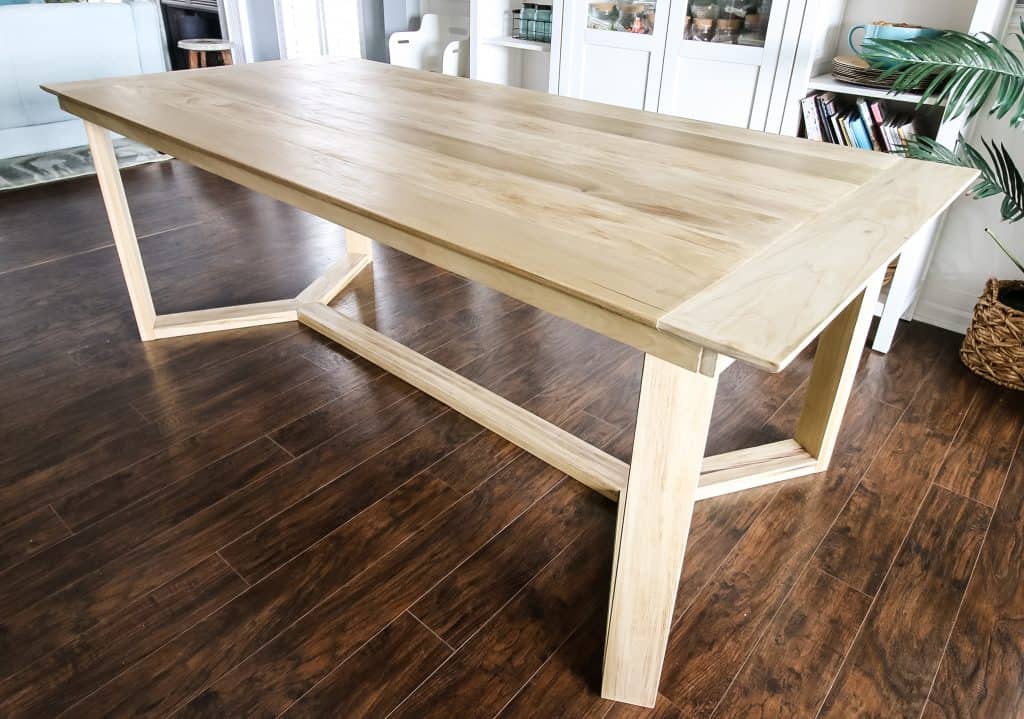
Y'all, we are bringing to you what might be our new favorite build of all time! This DIY angled base dining table is sleek, modern and open and perfect for an open concept home. Today we're bringing you the plans and how we built this table with our Kreg Jig!
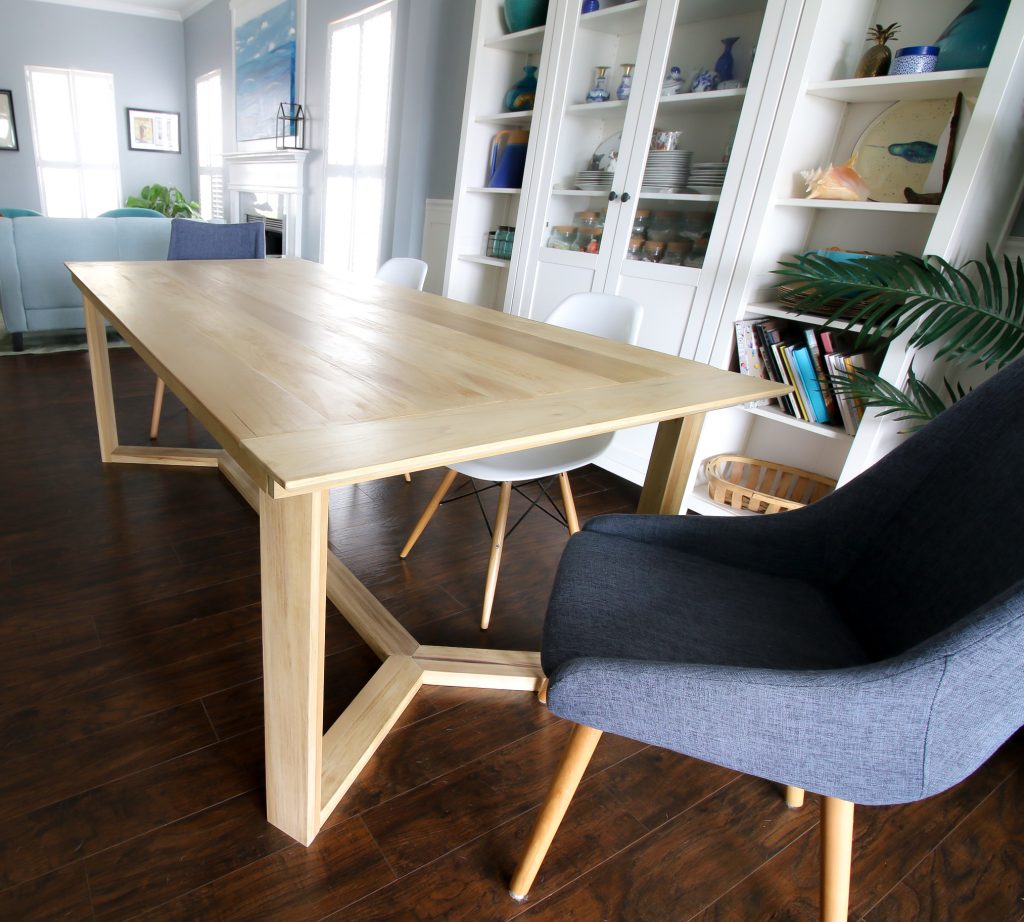
DIY Dining Table
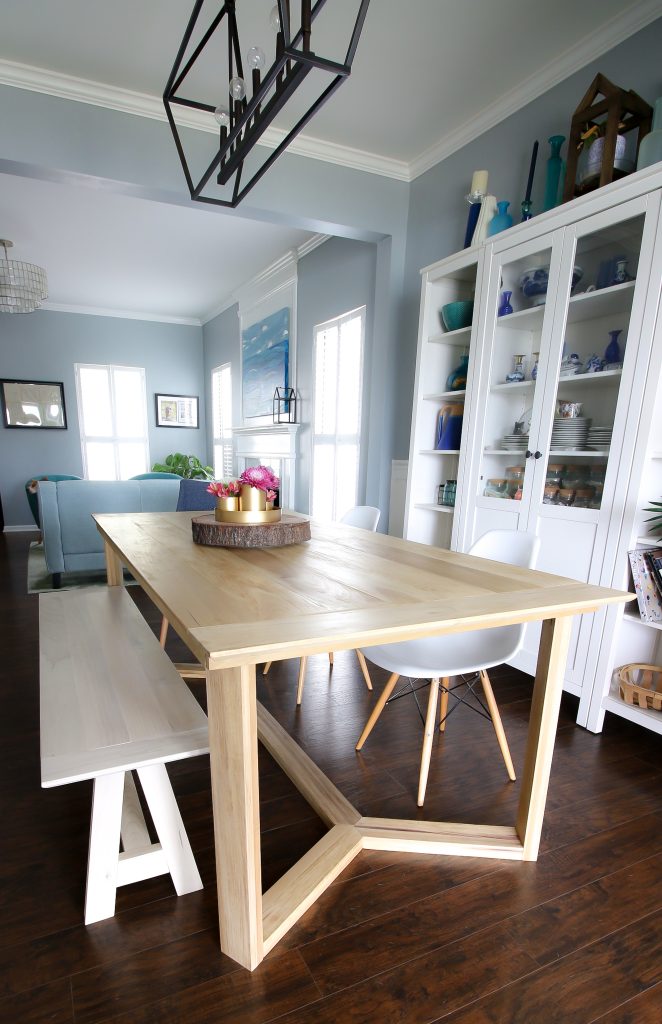
I love the simplicity of the design of this table, but how unique it looks with the angled base. The angles mimic our geometric coffee table in the other room, bringing three pointed pieces of wood together to form each side of the base.
This table is huge. It fits eight people comfortably, using chairs or benches.
We loved our old DIY West Elm knock-off dining room table, but it was one of our first woodworking projects and it was time for an upgrade after four years of learning some new skillz.
Step one: assemble top
This build is really easy and we made the entire thing out of dimensional lumber available at the hardware store. That makes it easy to pick out the pieces you need and put them together.
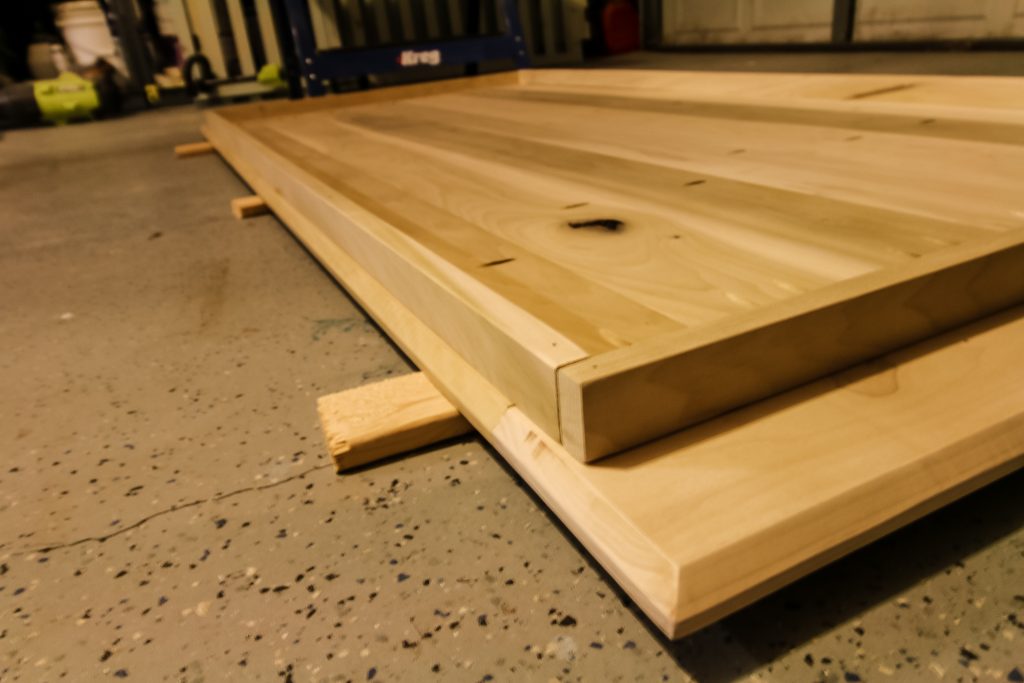
The top was simple, using our Kreg Jig to make pocket holes to join seven 1x6s together, with two more on each end. This is a sturdy top, so we had to make sure to have the appropriate number of holes to keep each board joined together.
Step two: assemble base
Since the top is pretty heavy and long, it needs a solid base. We had the angled base design, but it needed to be sturdy.
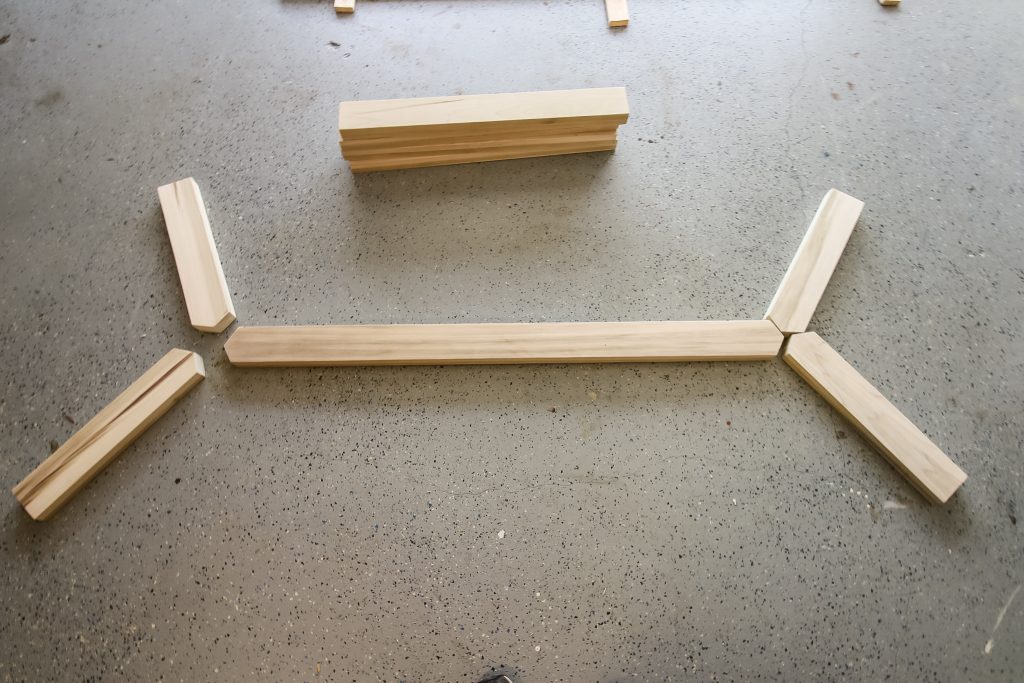
We didn't want this table to look rustic, so using rough 2x4s wasn't an option. Instead, we doubled up poplar 1x4s using wood glue to make all the pieces of the base.
Each of the legs are straight cuts, but the spreader and connecting pieces each have 30 degree angles coming off a point in the center, allowing them to all fit in together.
We like to make all our cuts first, then use the Kreg Jig to bring them all together.
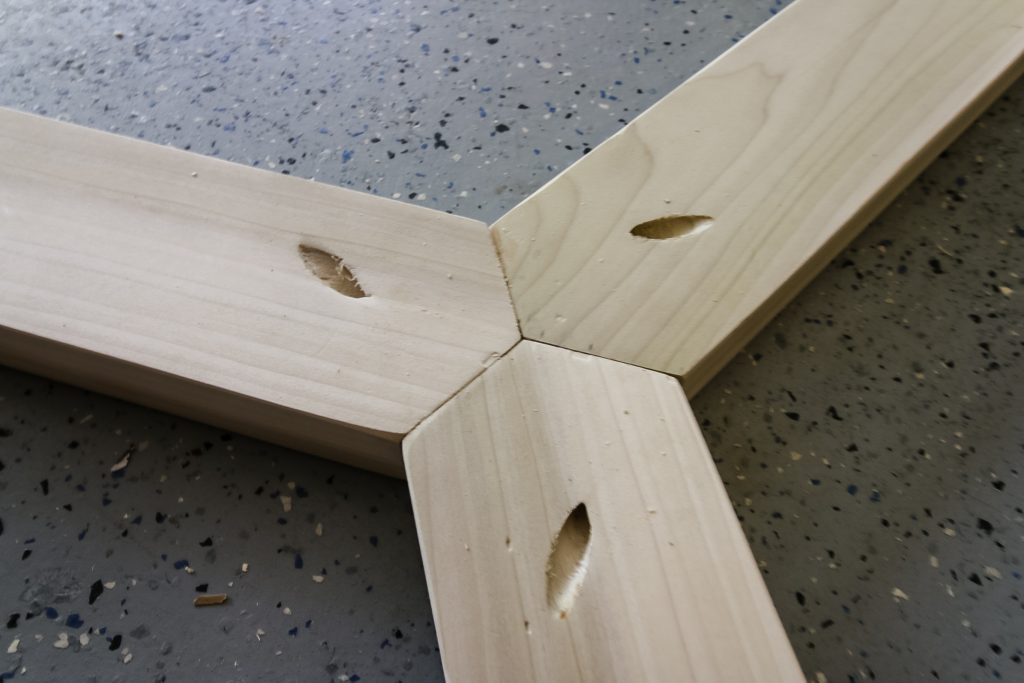
Step three: attach base to legs
We did have to be careful to make sure to use the right Kreg screws. When connecting the base together, we used 2 ½" screws because we were connecting 1 ½" thick pieces.
But, when connecting the legs to the table top, we had to only drill holes for and use 1 ¼" screws because we were screwing into a ¾" thick table top. Don't want to use screws that are too long and blow right through the top!
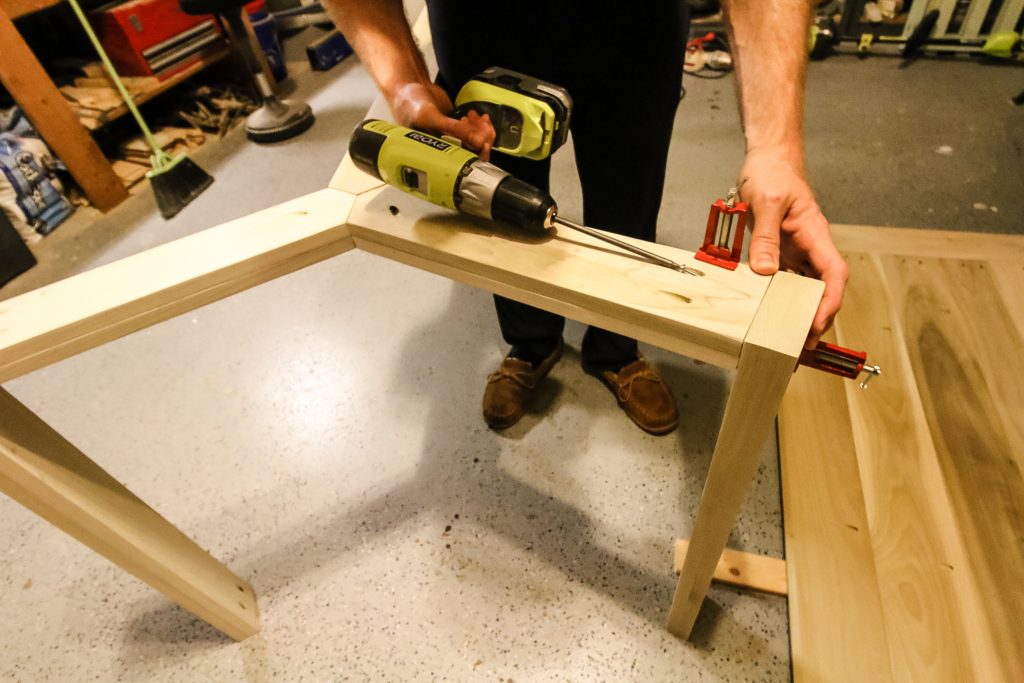
Step four: attach legs to top
Finally, we set the base and legs down, then set the table top on top of that. The legs fit angled into the corners of the table so that the spreaders are equally spaced out. We used the Kreg screws here, but didn't do wood glue so that we can take the top off when we need to move it.
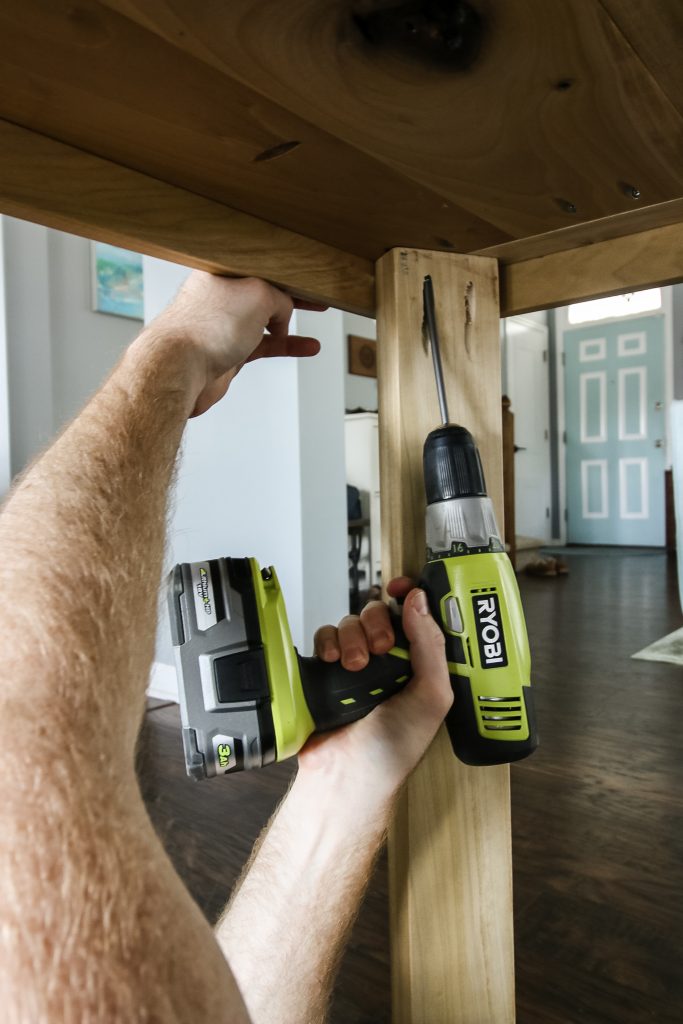
Angled base dining table woodworking plans
If you hadn't picked up on it yet, we partnered with our friends at Kreg to bring you this gorgeous DIY angled base dining table. We've put the entire set of plans up on BuildSomething.com where you can get the full measurements, cut list and step-by-step plans.
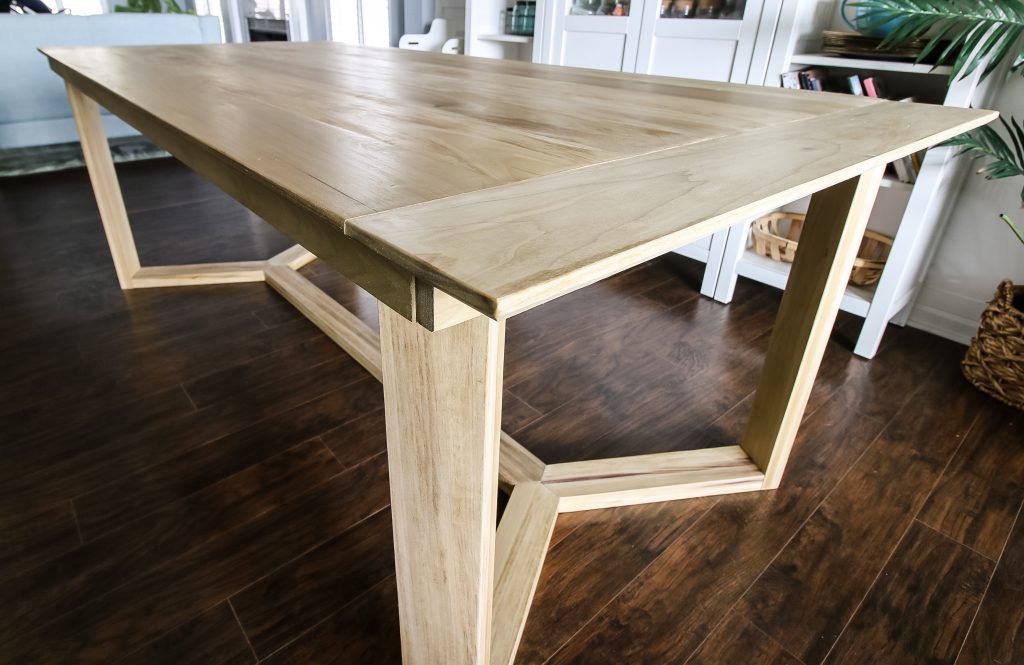
The angled base of this dining table might seem difficult to do, but it's really not, as long as you follow our plans. Kreg Jig pocket hole joinery makes the whole thing sturdy and seamless.
So head over to Kreg Tool to get the full set of plans for our DIY angled base dining table. While you're there, make sure you check out some of our other plans, like the geometric base coffee table, a modern platform bed that can be build for $50, or a simple nightstand.
Their website is full of lots of great plans from lots of great makers.
Want to make a matching bench? We have FREE printable plans for you:
This post is sponsored by Kreg Tool. All opinions are our own and our opinion is that we love Kreg Tool. Thank you for supporting the brands that make Charleston Crafted possible!
Interested in the Kreg Jig? Click here to read our full Kreg Jig review and to see all of our Kreg Jig projects.
New to the Kreg Jig? Here is a step by step guide on how to use a Kreg Jig!
OR grab our FREE Kreg Jig Cheat Sheet here! Download the cheat sheet!
Basic woodworking information for every project
Here are some of our most popular woodworking articles!
Shopping for wood:
Woodworking project ideas
- 100+ of the best woodworking project ideas!
- 62 easy beginning woodworking projects
- Woodworking project ideas to make and sell
See all our printable PDF woodworking plans!
Our favorite tools + supplies
- See all our favorite tool reviews
- How to use a Kreg jig
- The ultimate wood stain guide
- The best wood fillers for your project
Remember to also always use safety equipment while woodworking and using tools. Make sure you have proper eye protection, ear protection and a good mask to keep yourself safe.
Looking for something?
We've been doing this since 2012 so we have a LOT of blog posts!
Search stuff like: Ceiling Projects | DIY Plant Stands | Thrift Flips


Hey there, I'm Sean, the woodworking enthusiast and builder behind CharlestonCrafted.com! Since 2012, I've been sharing the magic of turning raw materials into beautiful creations. I love teaching others the art and satisfaction of woodworking and DIY. I try to inspire fellow crafters to make something extraordinary out of nothing at all.


Ashley says
Love this! Can you please tell me what the finished dimensions of this table are?
Sean says
It is 83 inches long and 38.5 inches wide.
Giorgi says
@Sean, what about z axis?
Sean says
Do you mean the height? It is 30" from ground to tabletop.
Ryan says
Are the lips nailed to the legs or the top? Or both? Did you just nail from the bottom?
Morgan says
They are attached to the top. That way, the top and the base can come apart to be moved (like when we just moved last month).
Aubrey says
This is beautiful and can’t wait to make one. Did you build the whole thing out of poplar or pine? And what exact product did you use to top coat/seal it?
Thanks!
Sean says
I'm glad you like it! The whole thing is built with poplar. We used a regular polyurethane sealant and let cure for several days.
Lane Boeh says
I really like this design. We would not need one so big so thinking we could scale back. Also would we be able to put the base off the floor, higher up?
Morgan says
Do you mean put the angled base like halfway up the legs and just have the legs on the ground? Theoretically, but I obviously haven't tried that.