This DIY buffet table with fluted doors is an intermediate level woodworking project that will bring style, elegance and storage to your dining area. Learn how to build it and get the FREE plans below!
This post was sponsored by Kreg Tool, which offers easy woodworking joinery and cutting solutions. All opinions are our own and our opinion is that we love Kreg products. Thank you for supporting the brands that make Charleston Crafted possible!
We're overhauling our entire downstairs right now and that includes getting rid of some old furniture pieces that used to work in our old house but don't fit right in our new house.
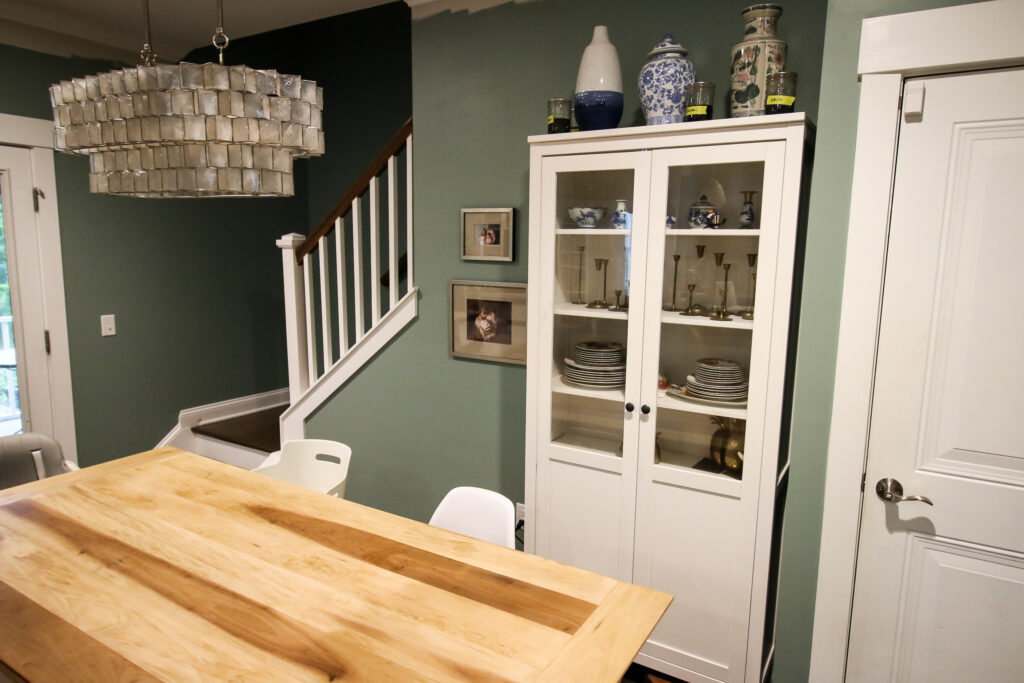
One of those things is our old IKEA china cabinet that we haphazardly stuck behind our dining table.
It didn't fit the wall right, wasn't connected to the other pieces it used to come with and we needed an upgrade.
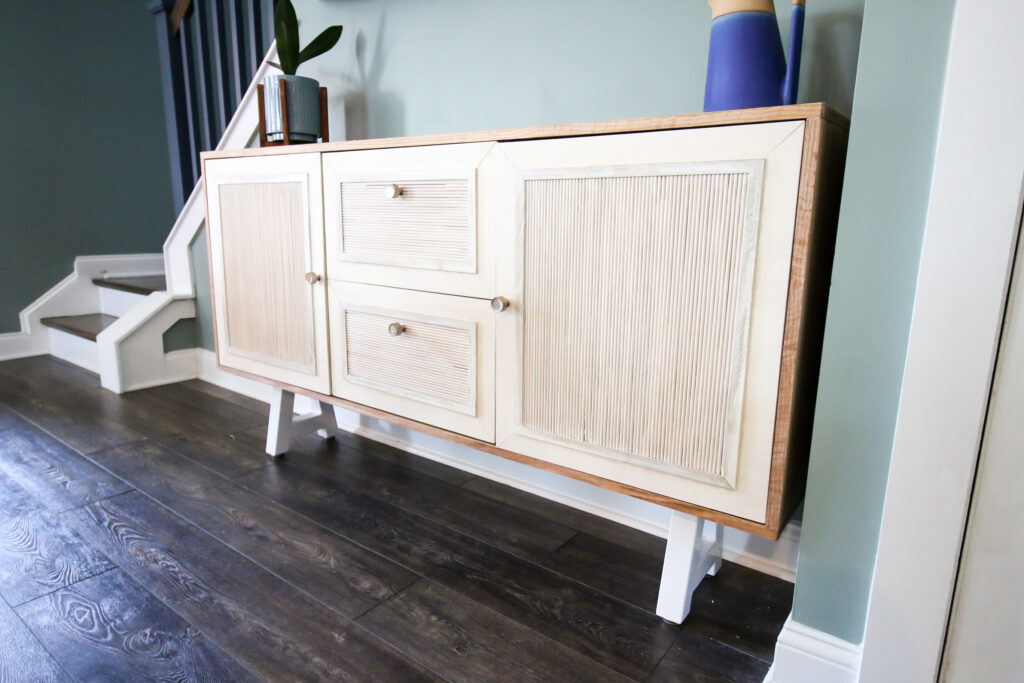
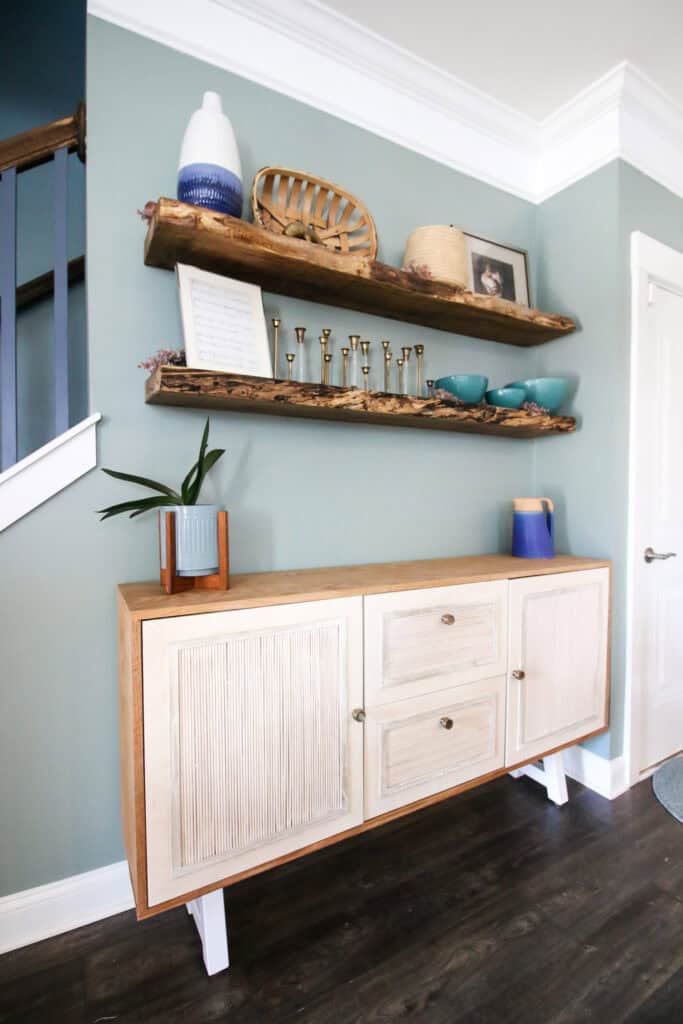
We decided to build a custom DIY buffet table that would hold our china, napkins, special silverware and all that good stuff and then hang floating live edge shelves above it.
This is a major change to our space and helps have a visual impact in our dining are that isn't the plain white of an IKEA cabinet.
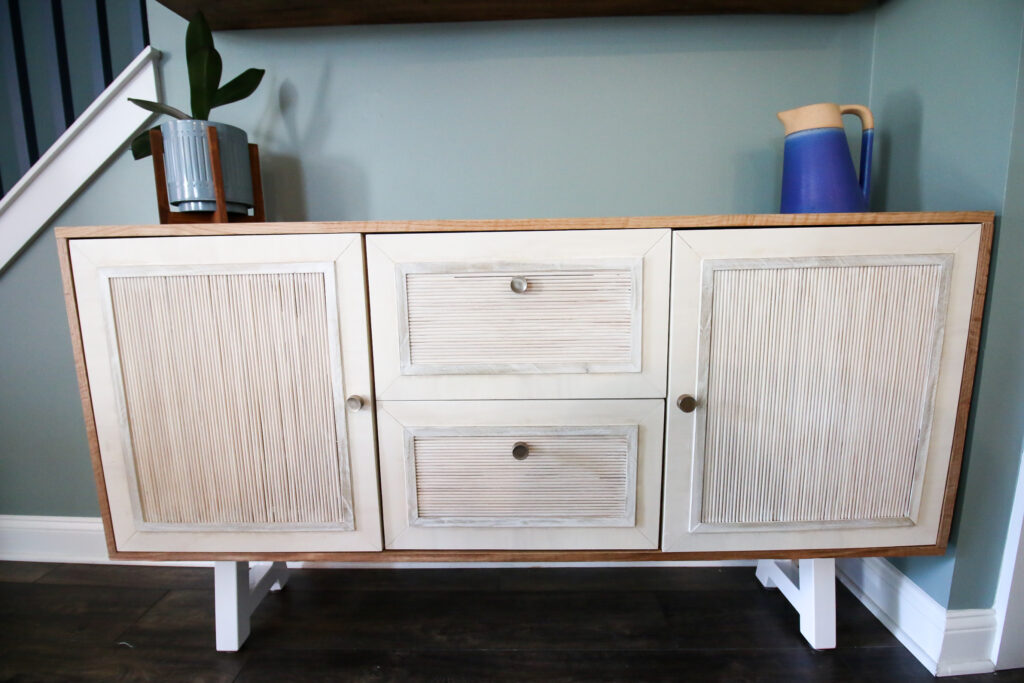
DIY buffet table with fluted doors
This DIY buffet table could be made a lot easier, but we wanted to have a super interesting look since it's in the open of our open concept gathering space.
We decided to add fluted doors for the drawers and cabinet doors that would add visual interest and make it unique.
This buffet table has lots of storage and is customizable if you want to build your own (get the plans below!) by changing up the stain.
What is a buffet table?
A buffet table, sometimes called a "sideboard," is a long table that is in a dining room that generally has lots of room for storage and serving.
Buffet tables are mostly used to store and display decor, having ample space inside them for items and space on top for traditional decor.
Most buffet tables are used to store dining and entertaining items that aren't used regularly and are saved for special occasions. This will generally include "the good plates," or "the good silverware," or "the good napkins."
Historically, they are also used to serve food, hence the name "buffet" table.
Due to their long, low nature, they can be used to place food during a holiday or party occasion to let people graze on and serve themselves.
What does "fluted" mean?
Fluted refers to anything that has cylindrical ridges and grooves.
Fluted is a decor style that breaks up hard, straight lines with curved, rounded elements.
Oftentimes, fluted decor comes from using wood dowels, which is the case in this piece.
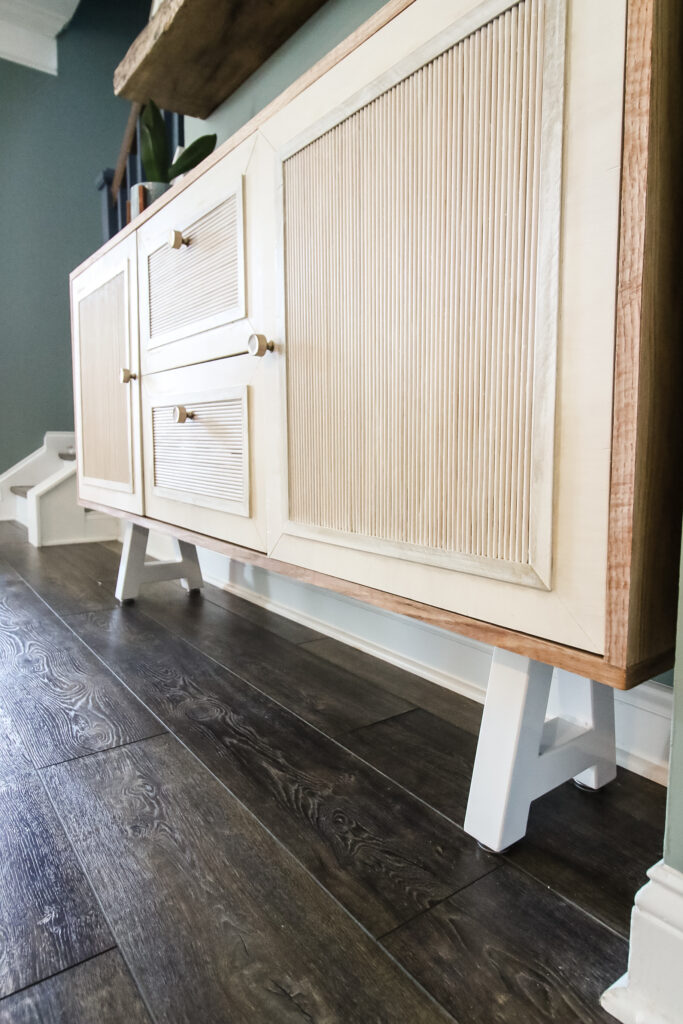
Laying wood dowels next to each other or wrapping them around a piece of furniture changes the look of furniture by adding the ups and downs of curved ridges.
Fluted furniture is also often mechanically made, so you'll see those rolling lines around the edges of coffee tables, ottomans or other furniture.
How to build a fluted door table
This post will give you the general overview for how to build a DIY buffet table with fluted doors and show you the main steps to get it done.
You can get the full step-by-step instructions, including material and cut lists, by downloading the free plans below!
Tools needed to build this buffet table:
- Circular saw
- Miter saw
- Kreg Straight Edge Guide
- Kreg Pocket Hole Jig 720 Pro
- Kreg Concealed Hinge Jig
- Kreg Drawer Slide Jig
- Cordless drill
Step One: Build frame
The first thing to do is to build the frame. The frame consists of a top, bottom, two sides and a back.
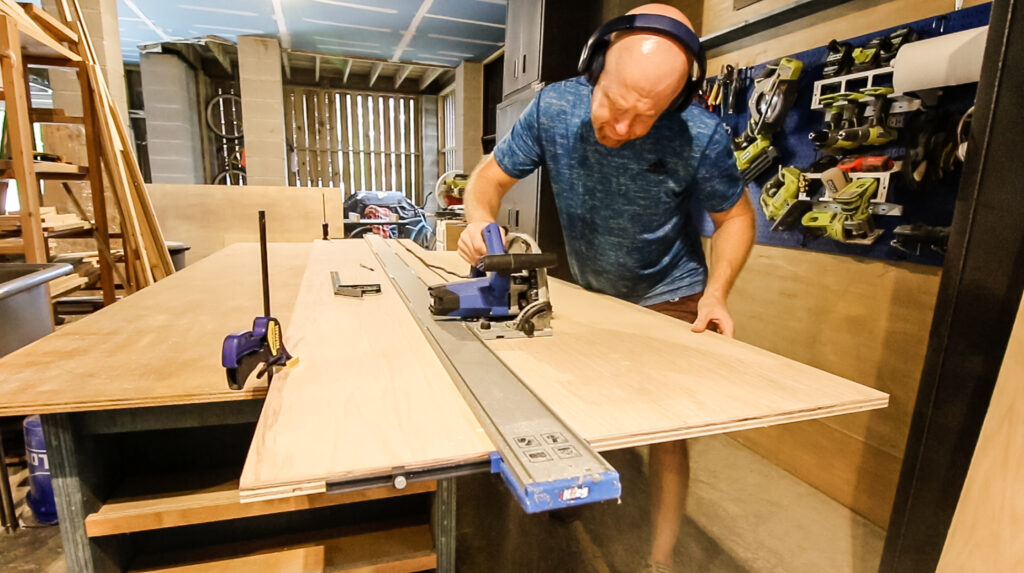
For this, we used a Kreg Straight Edge Guide and plunge saw to make long rip cuts of a piece of ¾" oak plywood.
The Straight Edge Guide was a huge help for giving us a perfect straight cut since it's really hard to push a piece of heavy plywood through a table saw.
Click here to see our full review of the Kreg Straight Edge Guide!
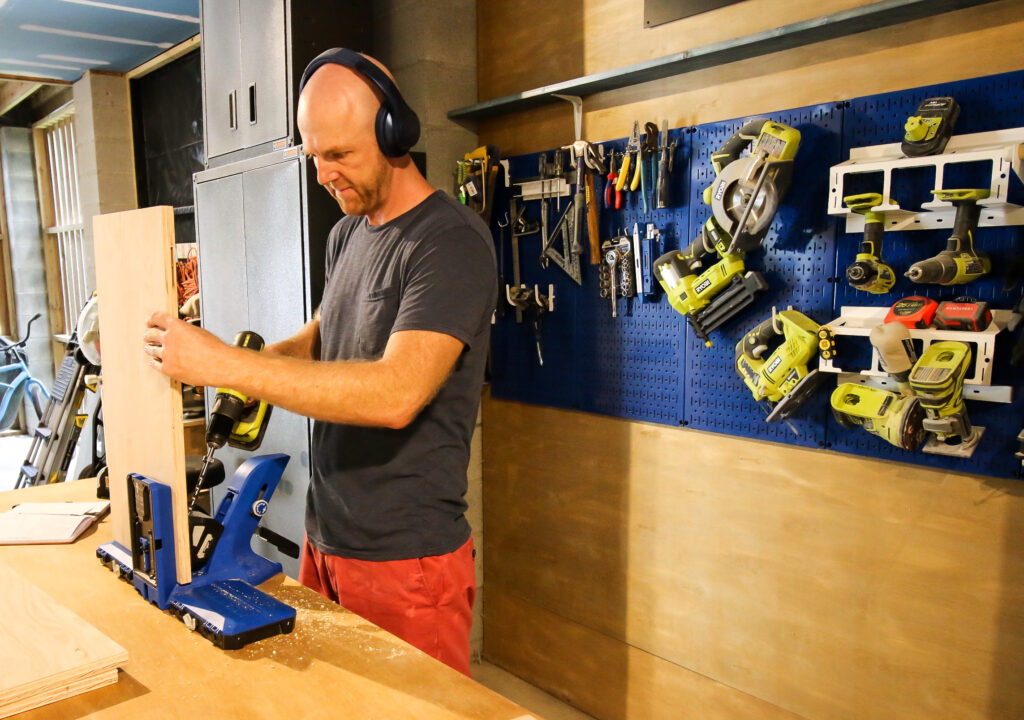
After the pieces were cut, we drilled pocket holes in the sides and back using the Kreg 720 Pro pocket hole jig.
Click here to see our full review of the Kreg 720 Pro Pocket Hole Jig!
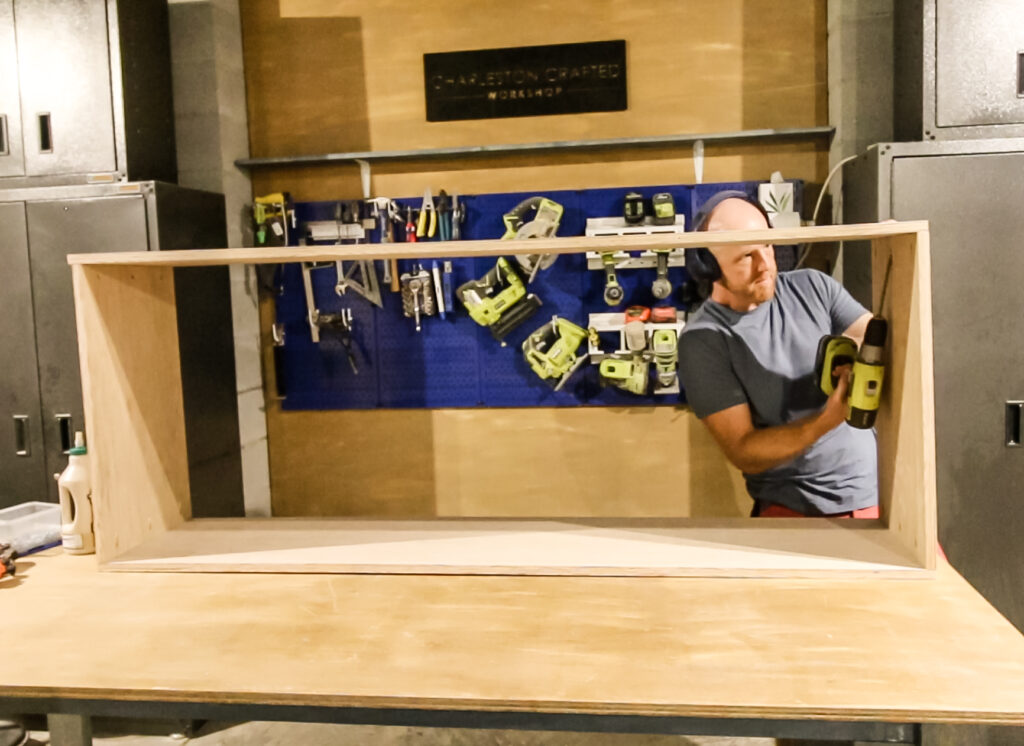
Then it was just simple assembly, using wood glue and pocket hole screws.
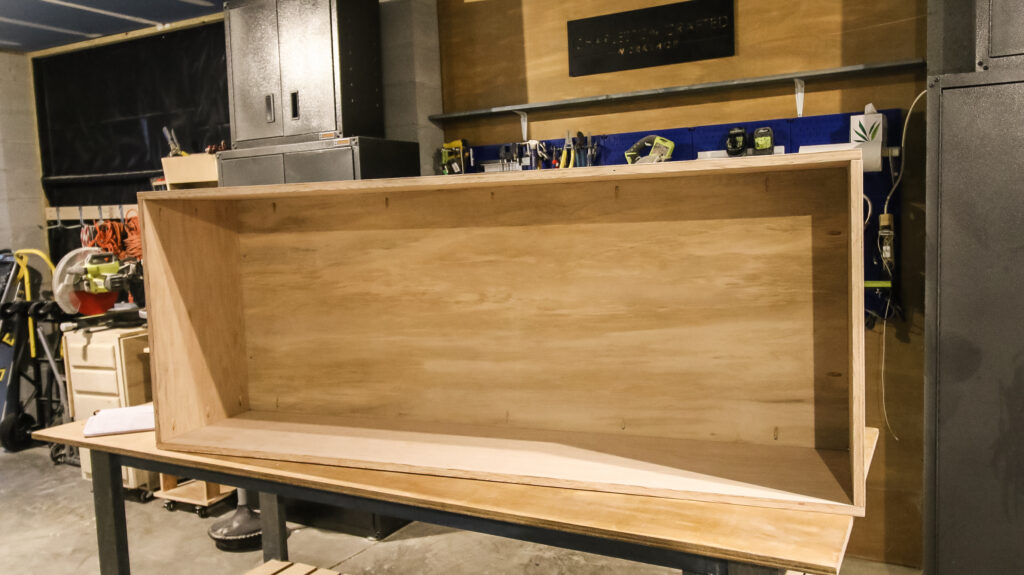
The frame is the backbone of this buffet table, so it's important for it to be super sturdy and solid.
Step Two: Add dividers and shelves
After the frame was assembled, we cut down boards to serve as dividers and shelves.
These pieces break up the inside of the buffet table into three sections: one for drawers and two for cabinets.
The shelves also allow for better storage inside the cabinets.
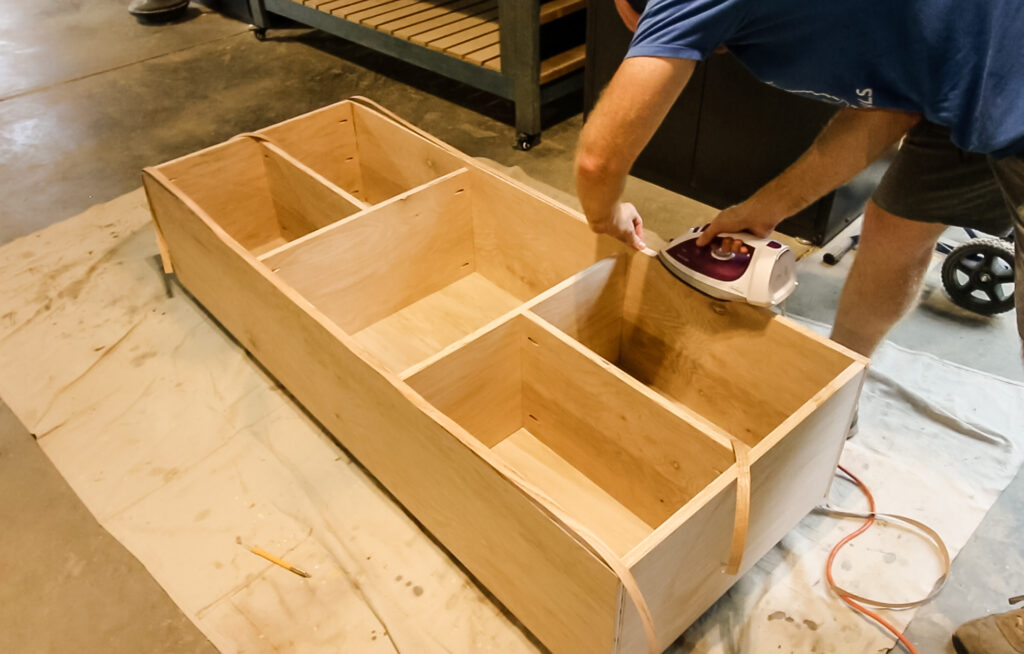
Dividers and shelves were cut, pocket holed and attached the same way as the frame, using wood glue and screws.
After that was all in place, we also used iron-on edge banding to cover the plywood edge on all these pieces.
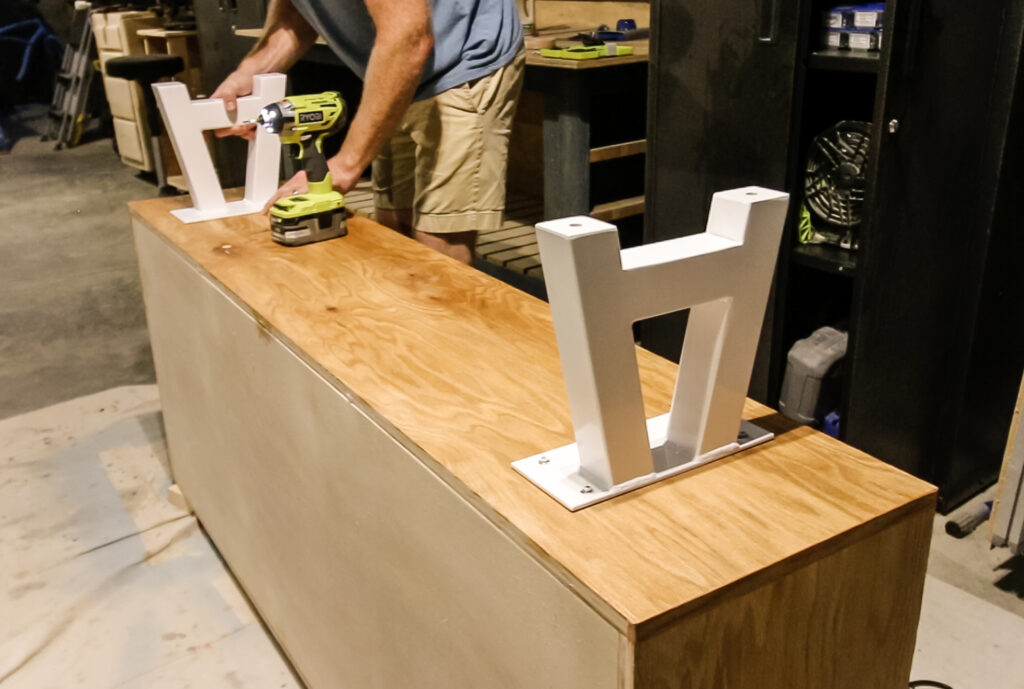
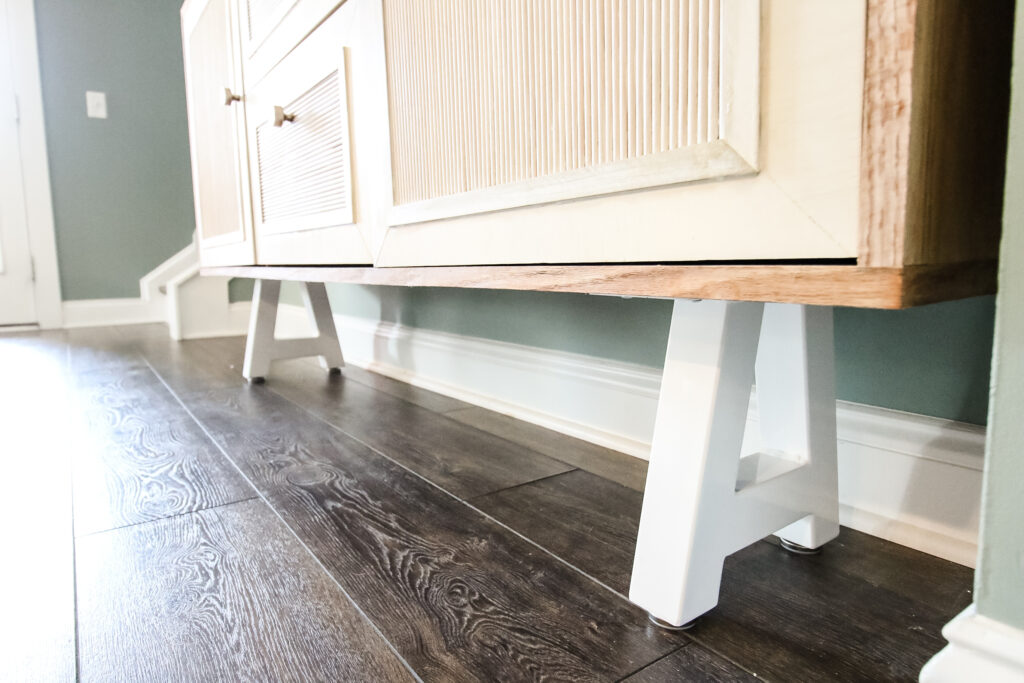
Finally, we flipped it over and added metal legs that we got from Semi-Exact. These are super sturdy, which is what we needed for this very heavy buffet table.
Step Three- Build drawers and doors
The drawers for this buffet table are a simple box, with four sides and a bottom. We used the Kreg 720 to drill all the holes needed and assembled two drawer boxes.
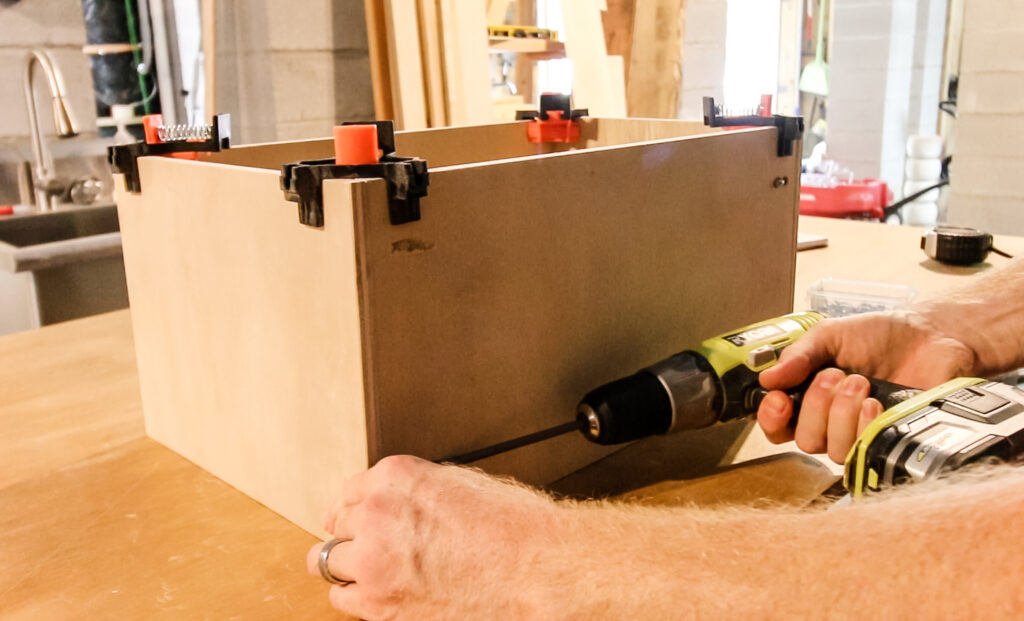
Each drawer also gets a face that is a ½" piece of plywood cut to the size of the drawer openings.
The cabinet doors themselves are just pieces of ½" plywood cut to the size of our opening.
Step Four: How to make fluted doors
To make the fluted doors for our buffet table, we used A LOT of ¼" dowels.
We started by taking the ½" plywood faces for the doors and drawers that we cut in the last step and trimming them out with ¼" plywood edges.
Each of those edges had 45 degree miter cuts on both ends and all were glued down onto the faces.
Then, we cut literally hundreds of dowels to put into place.
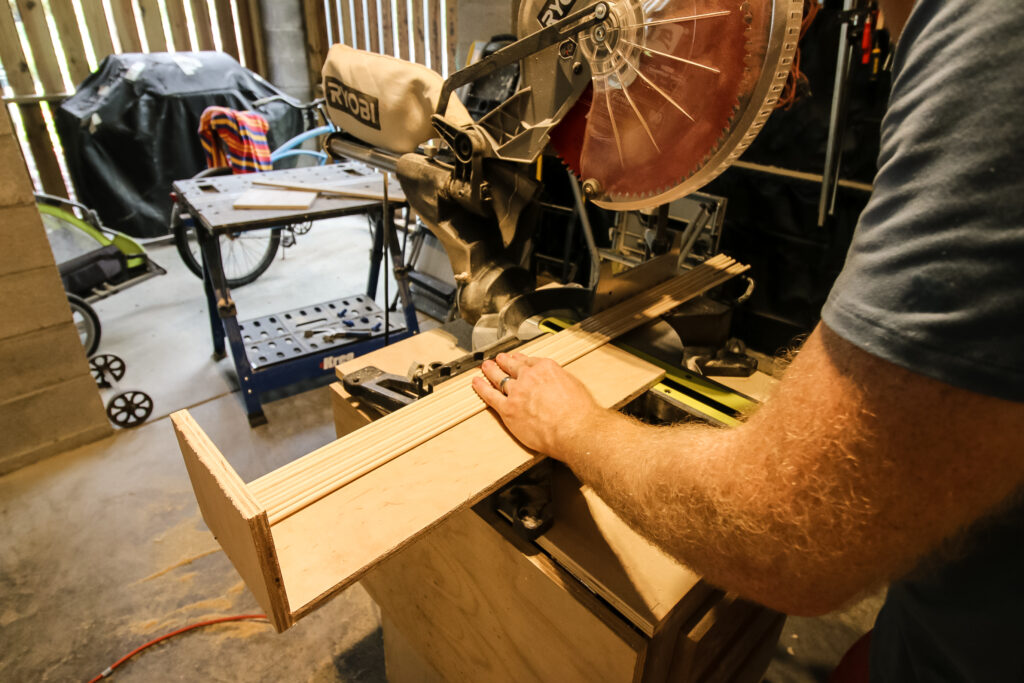
The best way to do something like this, especially with non-square pieces like round dowels, was to build a simple jig.
To do this, we cut a scrap piece of plywood to the length of the space inside the doors, then attached a backer board to that and it was ready for the miter saw.
We placed stacks of dowels on the jig and cut them down with the saw over and over.
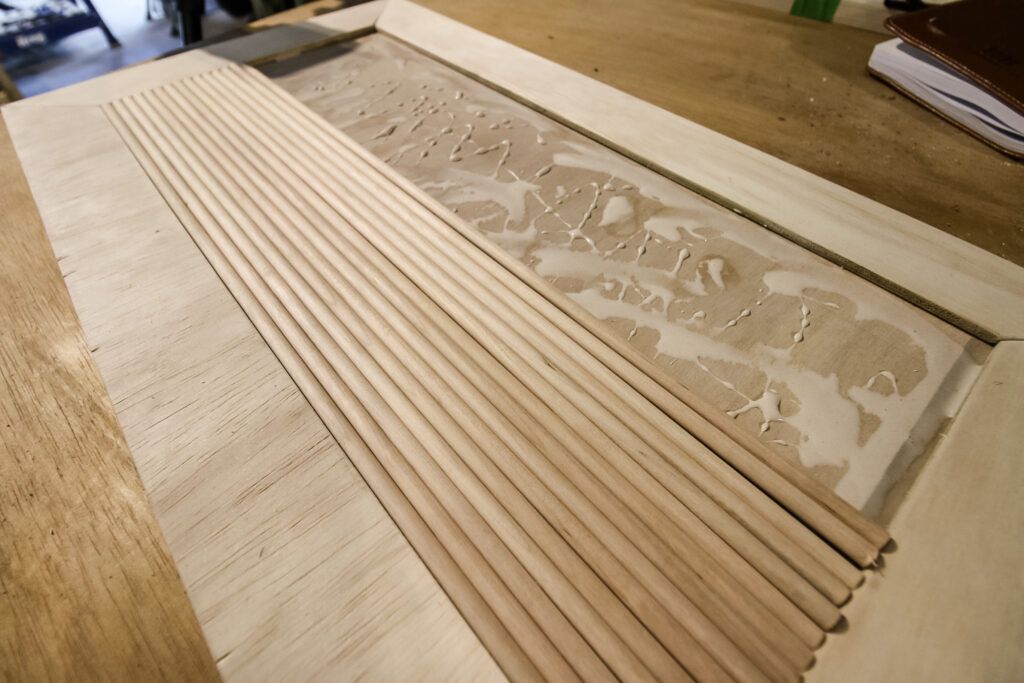
When they were all cut, we spread a lot of wood glue in the space between the door trim and then laid down all the dowels.
This took a lot of dowels to fit snugly in the space, then we clamped down some wood to keep all the dowels flush down and in place.
Step Five: Finish with hardware
The drawers are connected in the center section using drawer slides and the doors are attached to the side sections using hinges.
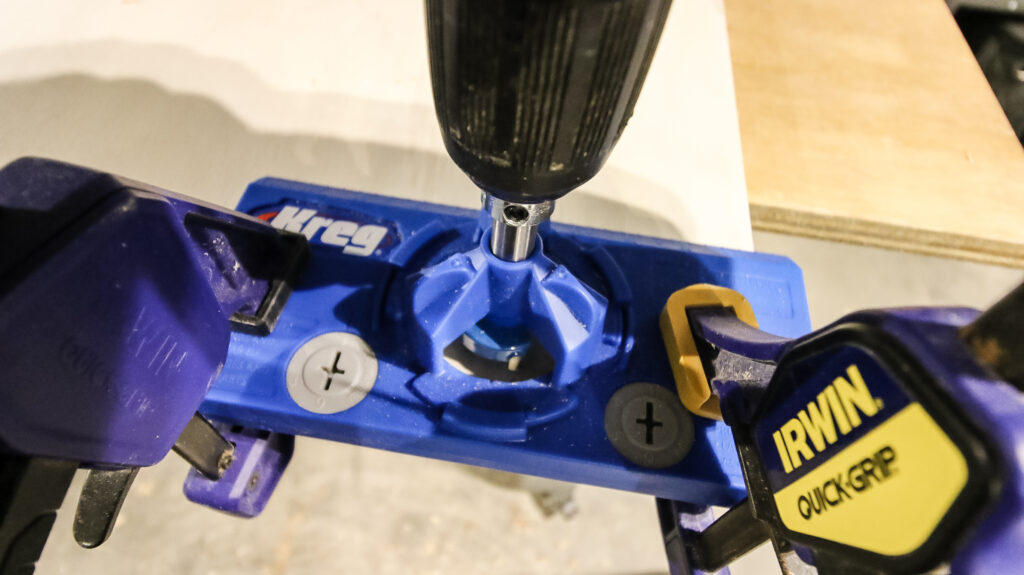
These steps were easy to do using the Kreg Drawer Slide Jig and the Kreg Concealed Hinge Jig.
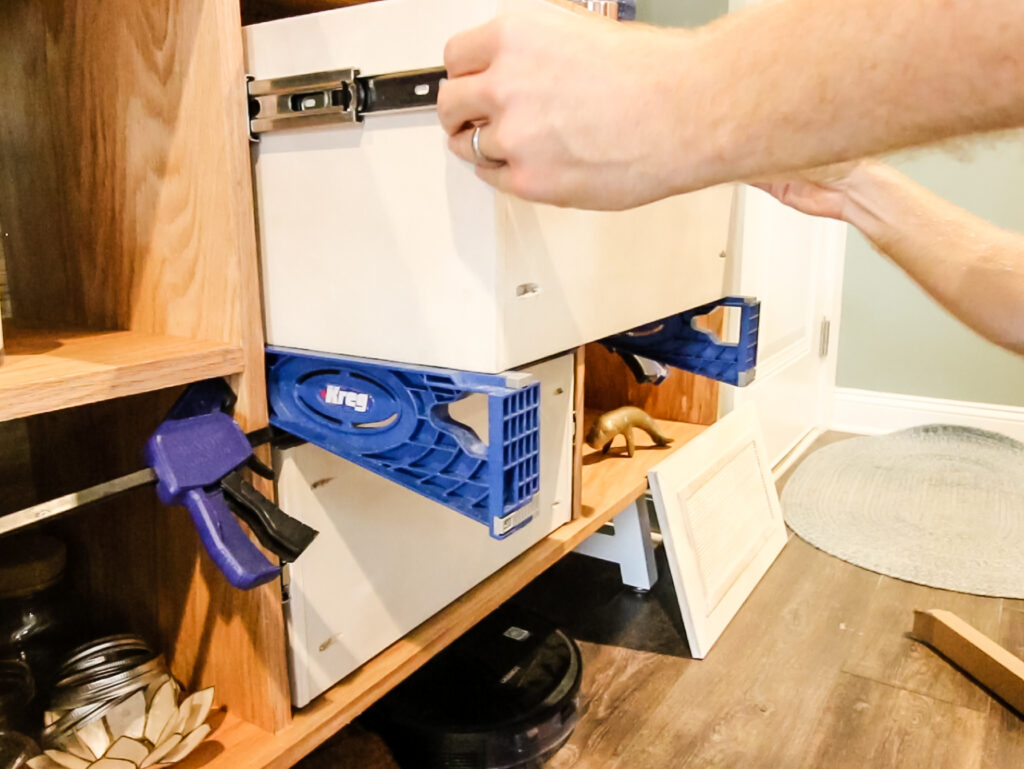
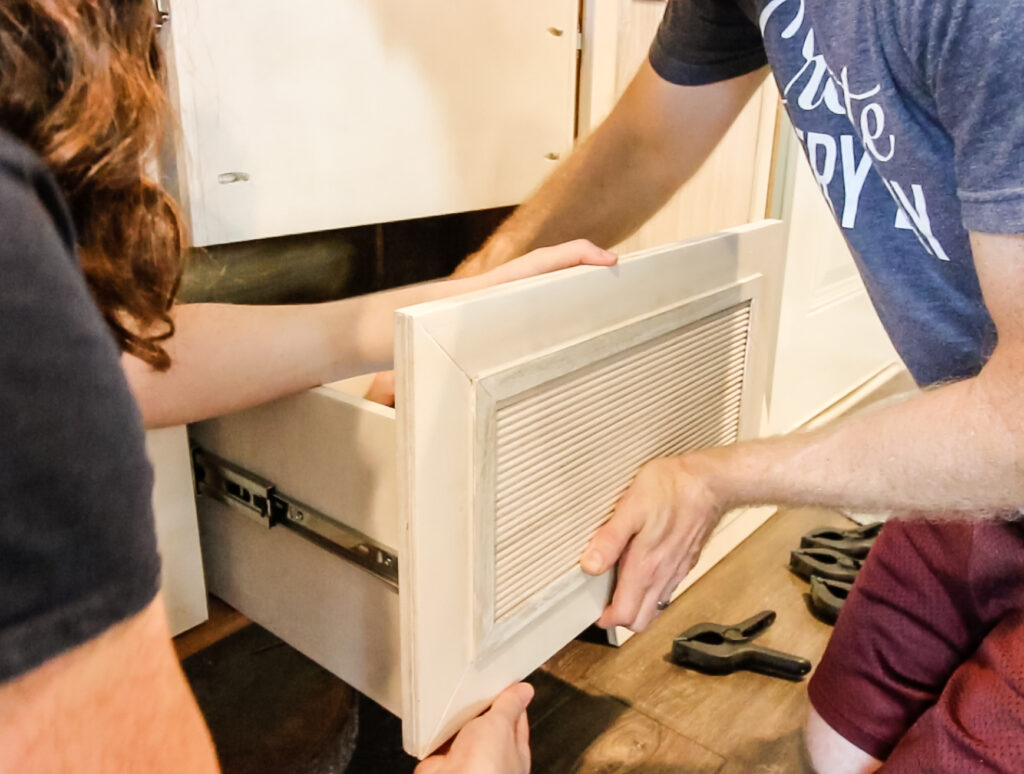
Once the doors and drawers were in place, we drilled a small hole in each to attach a drum knob to open them.
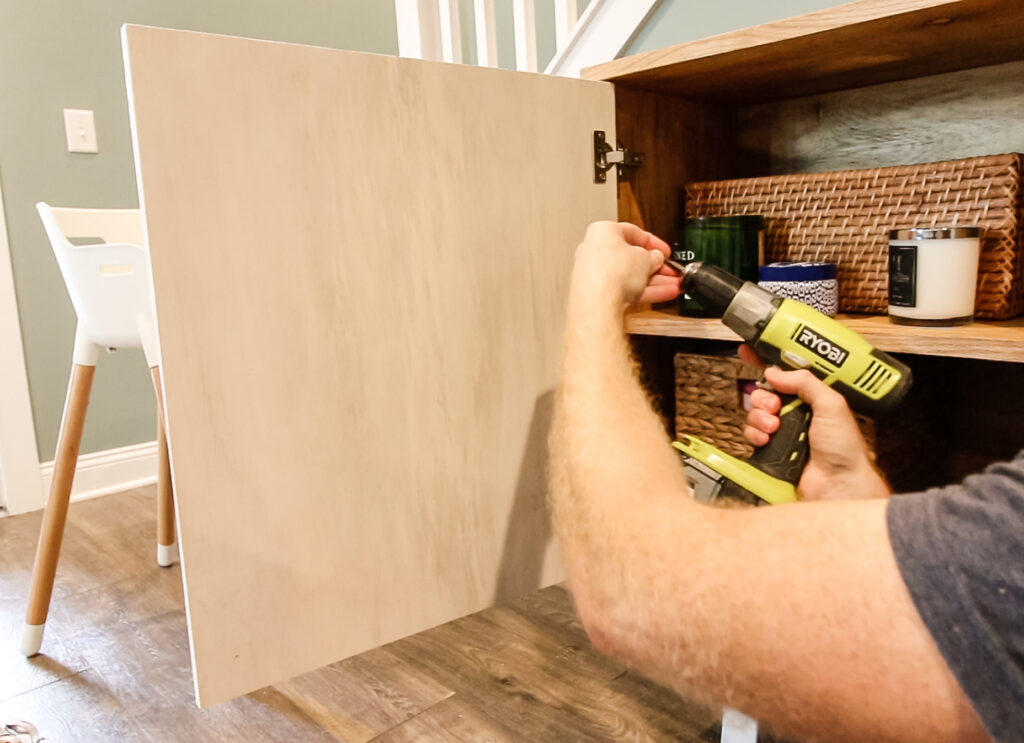
These were the same knobs we used to replace all the knobs in our kitchen and the same ones we put on our pedestal vanity.
Buffet table woodworking plans
Lucky for you, you can have the woodworking plans to build one of these buffet tables with fluted doors FOR FREE!
We partnered with our friends at Kreg Tool for this project to bring you these plans for free.
On the Kreg Tool site, they now have hundreds of woodworking plans available for free on their site. Here, you can get our plan for this project, as well as free plans for any project you're looking to do in your home.
Check out their new site, then grab our plans and download the PDF and get started!
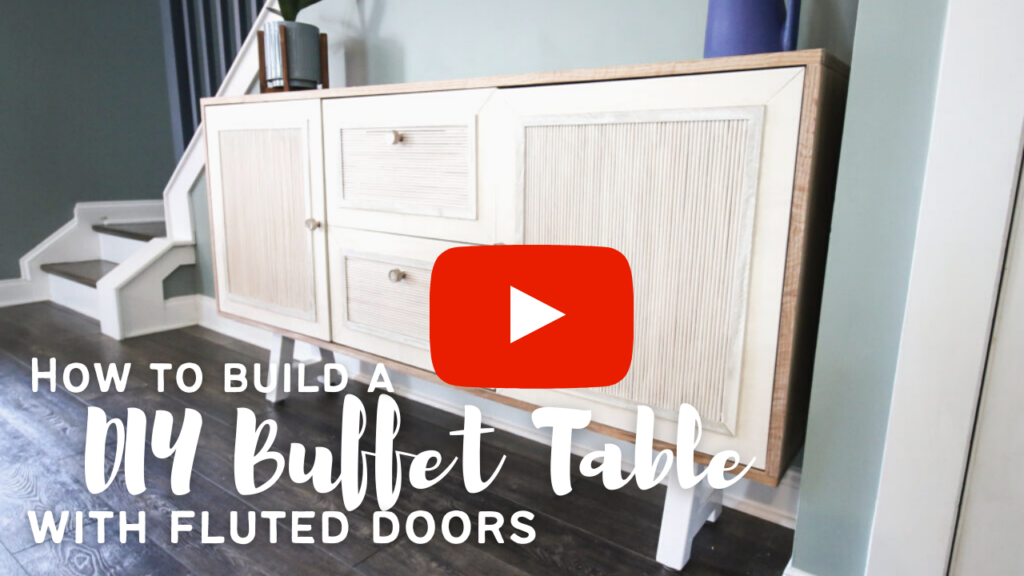
Buffet table plans video tutorial
If you want to dive into a deeper look on how we made this buffet table with fluted doors, check out our YouTube tutorial. Here you can see all the steps in a video that might help answer any remaining questions you have!
Click the video link below to take you to the action!
Basic woodworking information for every project
Here are some of our most popular woodworking articles!
Shopping for wood:
Woodworking project ideas
- 100+ of the best woodworking project ideas!
- 62 easy beginning woodworking projects
- Woodworking project ideas to make and sell
See all our printable PDF woodworking plans!
Our favorite tools + supplies
- See all our favorite tool reviews
- How to use a Kreg jig
- The ultimate wood stain guide
- The best wood fillers for your project
Remember to also always use safety equipment while woodworking and using tools. Make sure you have proper eye protection, ear protection and a good mask to keep yourself safe.
Looking for something?
We've been doing this since 2012 so we have a LOT of blog posts!
Search stuff like: Ceiling Projects | DIY Plant Stands | Thrift Flips


Hey there, I'm Sean, the woodworking enthusiast and builder behind CharlestonCrafted.com! Since 2012, I've been sharing the magic of turning raw materials into beautiful creations. I love teaching others the art and satisfaction of woodworking and DIY. I try to inspire fellow crafters to make something extraordinary out of nothing at all.


