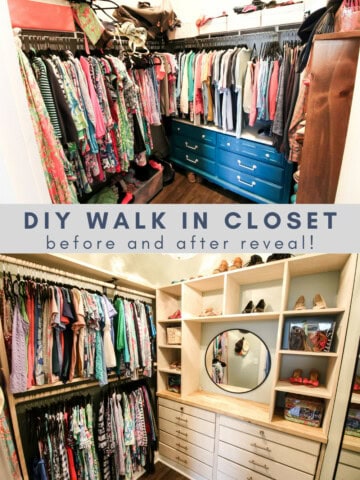
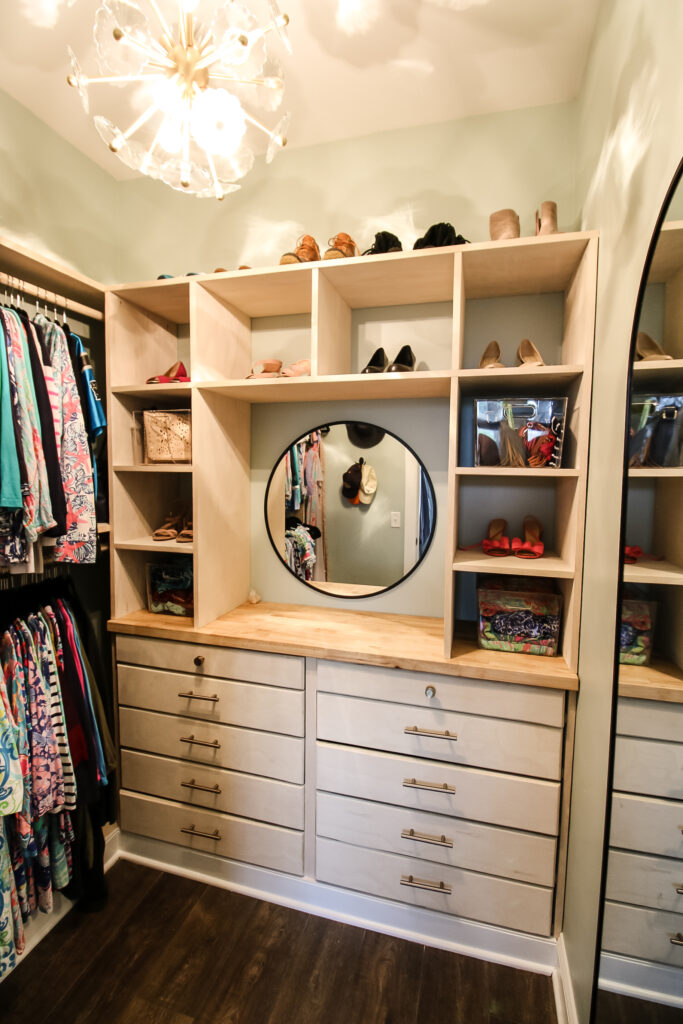
Check out how we made a built-in dresser with drawers and cubbies to perfectly fit a wall in our ensuite bathroom closet. This build would be perfect for any walk-in closet that needs more storage!
A few weeks ago, we shared with you how we did a long weekend makeover in our owner's suite bathroom. It was a fantastic project, but we left out one critical part- the walk-in closet.
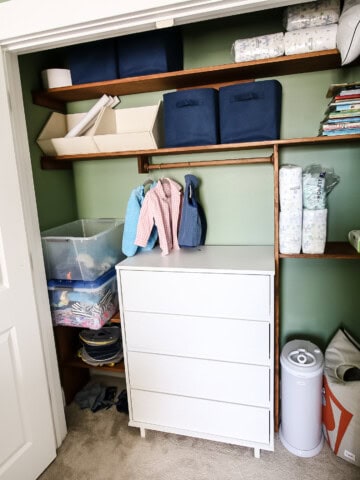
Our bathroom came with a small-ish walk in closet and an oversized linen closet. Since we had a linen closet in the hallway right outside our bedroom, we turned the bathroom linen closet into Sean's closet so that the walk-in closet could be all Morgan's.
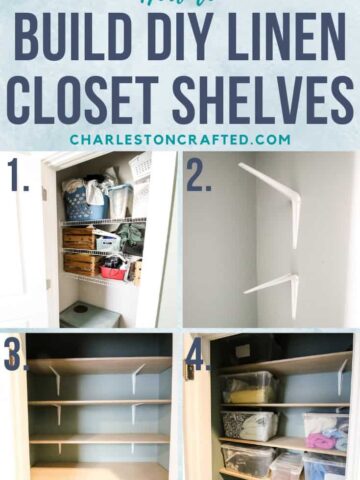
Check out the easiest way to replace wire shelving with wood shelving in a linen closet!
The walk-in closet was really going to be a project that took longer than the entire bathroom makeover because we wanted to make sure we built it to fit all of Morgan's clothes from the closet and the dressers in the bedroom that we aren't going to keep.
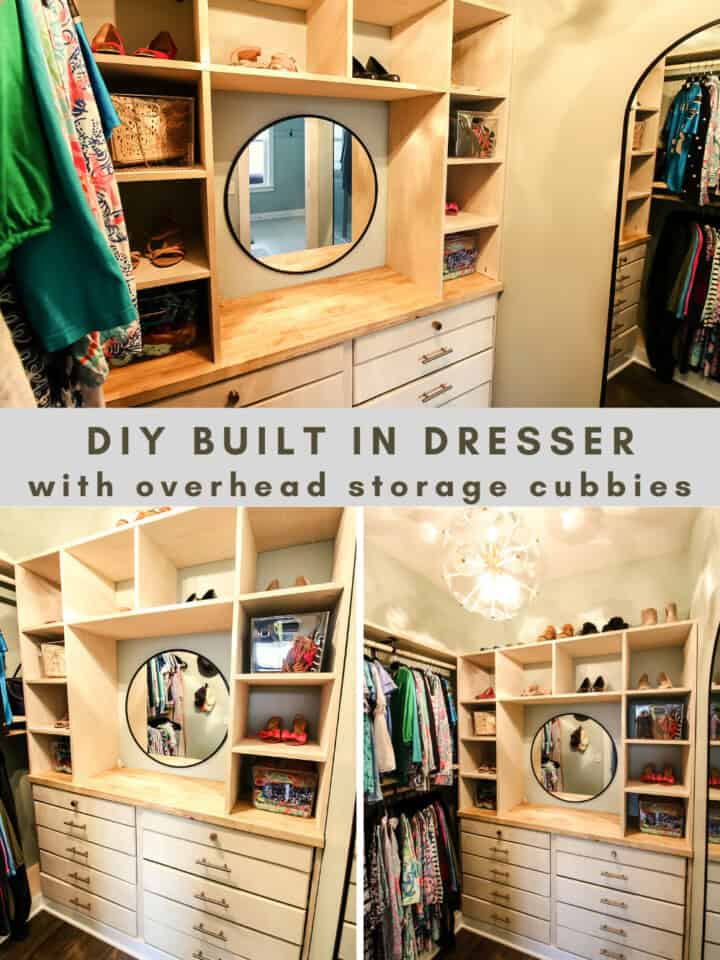
Plus, as this is a full woodworking project on how to build a closet system, it was going to take more time.
Let's dive into how we did the entire project and how you can get the FREE woodworking plans to build the main part of the built in!
How do you make a built-in closet dresser
In our opinion, one of the best ways you can get the most value out of your home is to build custom closets.
We've done custom closets everywhere we lived, all the way from using IKEA materials in our condo to our old master closet custom shelves to kids closets everywhere.
Maximizing closet and storage space gives you more places to store your things and make your home feel more open and free.
This project is more involved than some of our other closet systems because we will show you a different closet design that is custom built for our needs. And just because it's for our needs doesn't mean you can't do it too!
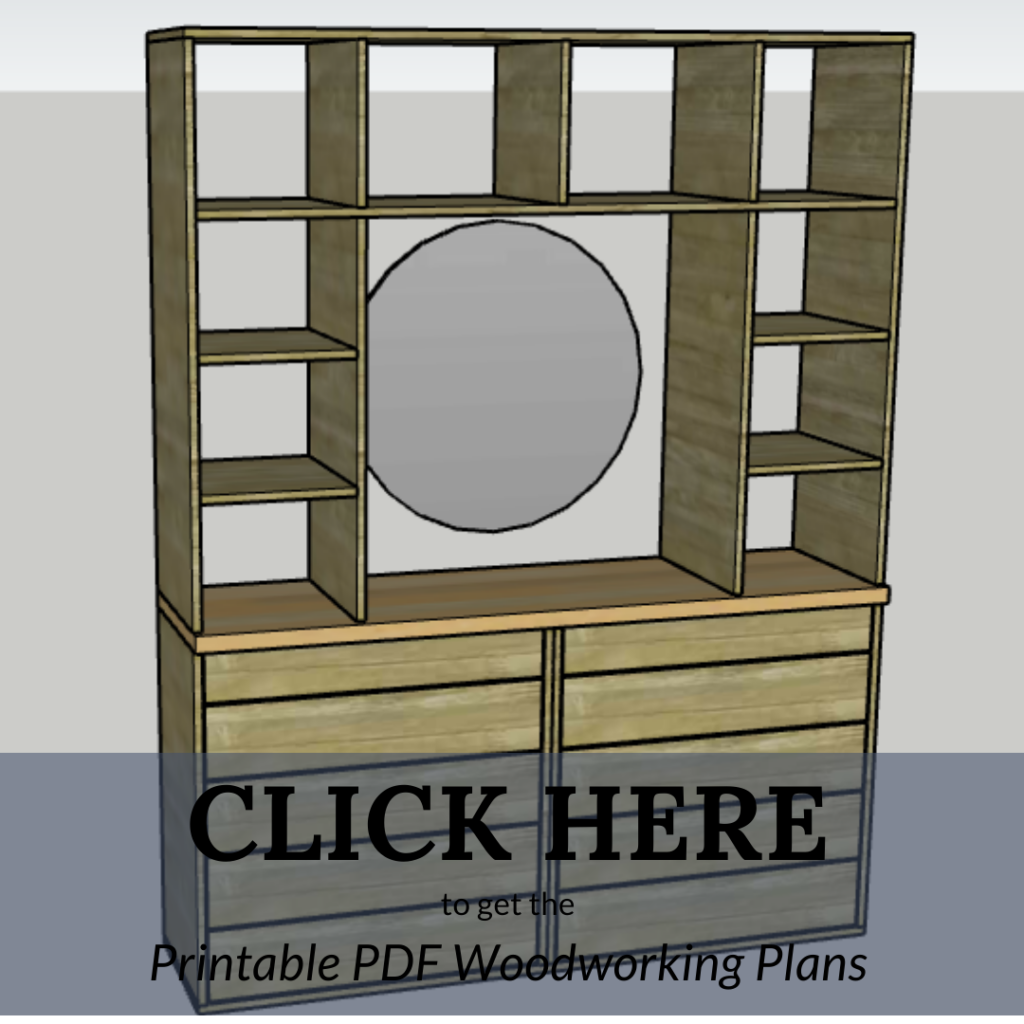
At the end of this post, you'll find out how you can get FREE downloadable PDF woodworking plans to build the built-in dresser with storage cubbies that will change your world.
Let's dive into how to build a dresser for a walk-in closet and the storage system around it!
DIY custom walk-in closet built in
Here's what you need to build this DIY custom walk-in closet built-in dresser with storage.
Materials needed to build a walk in closet built in dresser:
- ¾" plywood
- ¼" plywood
- Closet rods
- 2x4 boards
- 14" drawer slides
- Drawer pulls
- Wood stain
- 1 ¼" pocket hole screws
Tools needed to build a walk in closet built in dresser:
- Table saw
- Miter saw
- Cordless drill
- Kreg 720 Pro pocket hole jig
- Orbital sander
Steps to build a walk in closet built in dresser with cubbies
Here are the overall steps to build a walk-in closet dresser with cubbies and a custom closet system. To get the full plans for the built-in dresser with cubbies, scroll down and get them for free!
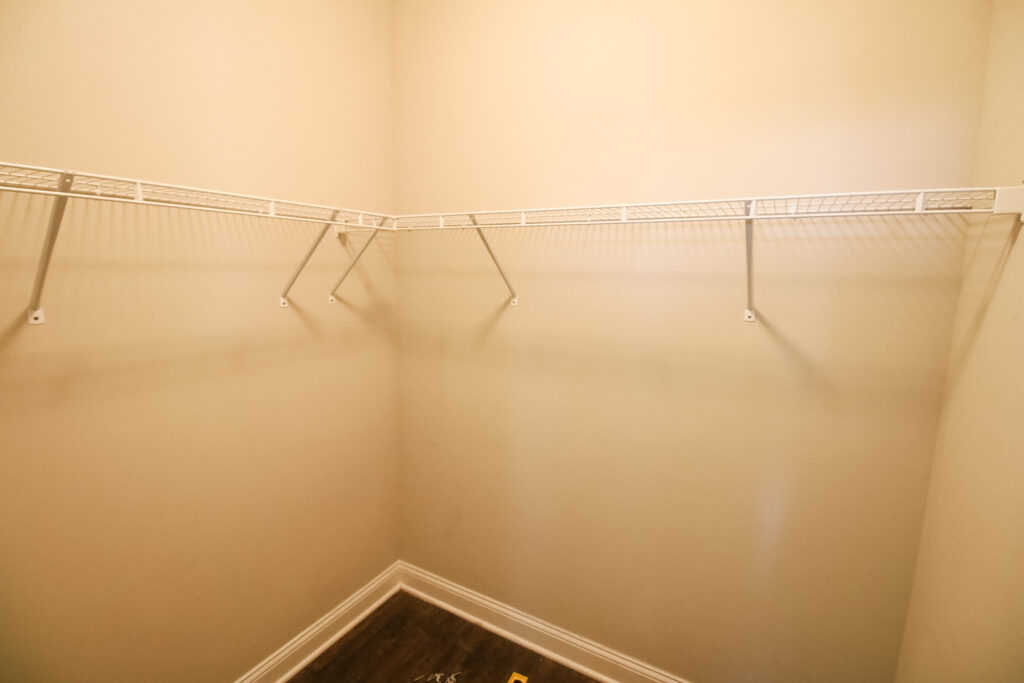
Step one: Build hanging clothes storage
Before we even got to the built-in dresser and cubbies, we started by building custom hanging clothes storage on one wall.
Our closet was a square, but we decided to just utilize two of the walls in an L-shape.
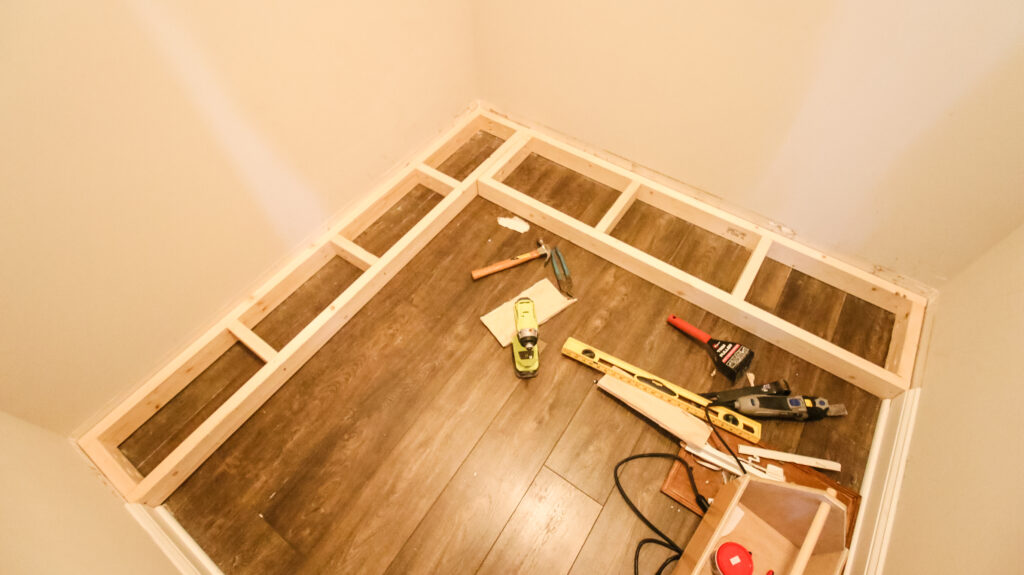
We started by removing the baseboards and putting together a 2x4 base that would elevate the closet system and make it look like more of a full on custom closet.
Then, we built the hanging clothes storage by ripping down ¾" plywood and creating a box frame with one section for long dresses and two closet rods spanning the rest.
That's the major difference between a custom closet and a single builder-grade wire shelf in a closet. With wire closet shelves, you can hang clothes on one wire and you wastes space above and below.
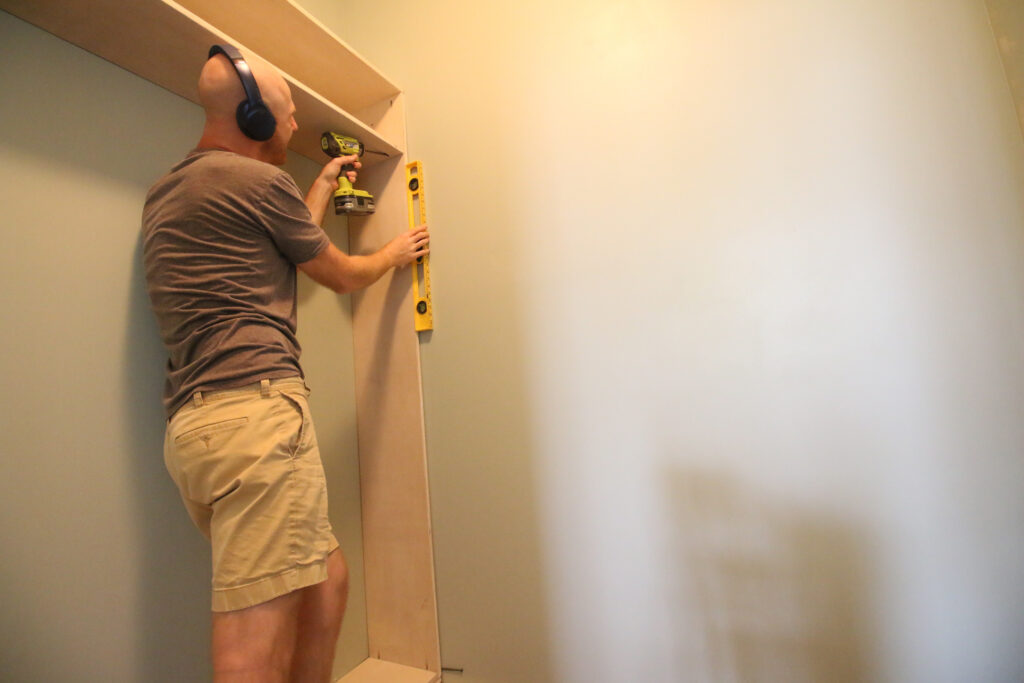
With a custom closet system, you can easily create two levels with a hanging rod for clothes, immediately doubling your storage space.
Step two: Assemble dresser body
The foundation of this build is a good solid base with lots of drawer storage. For that, we built a strong base with a butcher block top and Kreg pocket hole joinery.
We love to use Kreg pocket hole joinery for our projects because we try to make them as easy for you to do yourself and pocket holes are very beginner friendly. You can learn all about our favorite pocket hole tool, the Kreg 720 Pro pocket hole jig, here.
The base is made up of ¾" plywood with a bottom, two sides and a double thick center divider.
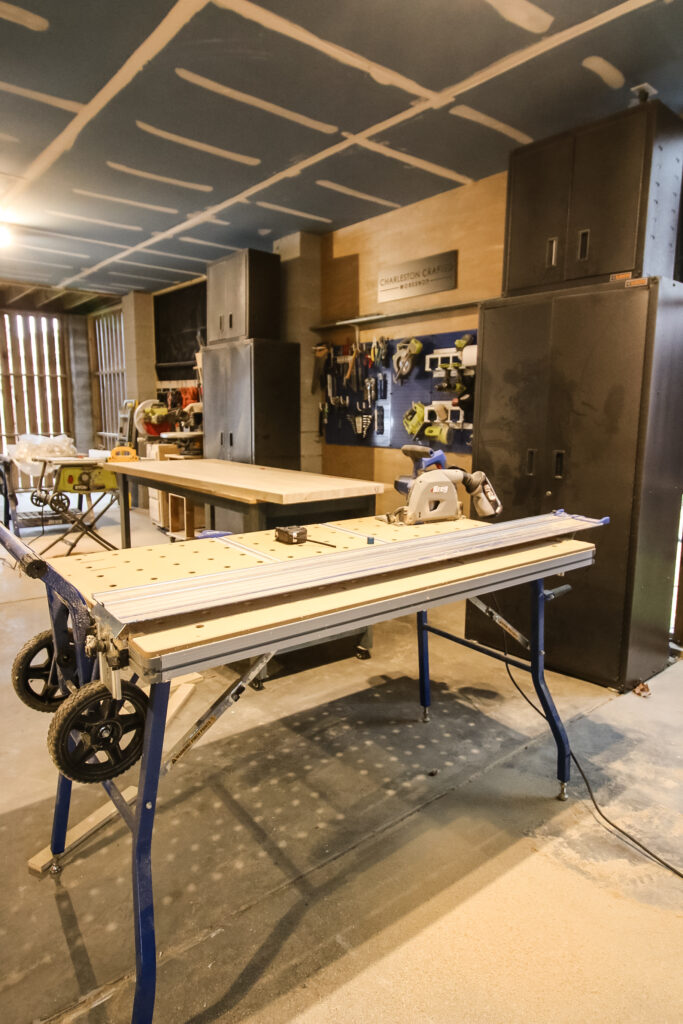
Then, we cut a piece of butcher block leftover from our DIY mudroom lockers to be an inch deeper than the base to create a little overhang.
After oiling that up, we attached the pieces and had our base ready to install on the 2x4 frame.
Step three: Assemble drawers
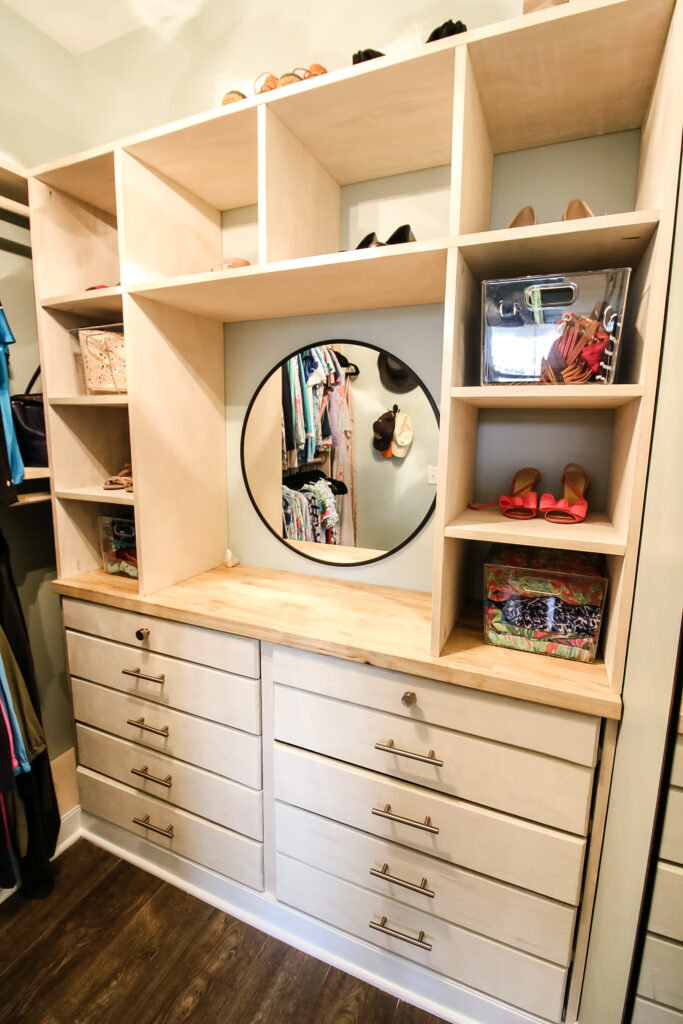
Next, we assembled the drawers to go into the base. We decided on five drawers high in two columns with a skinnier drawer on the top of each stack and four thicker drawers below.
Building drawers is something I always get a little nervous about. Well, not the building of drawers per se, more when it's time to install the drawers. More on that later.
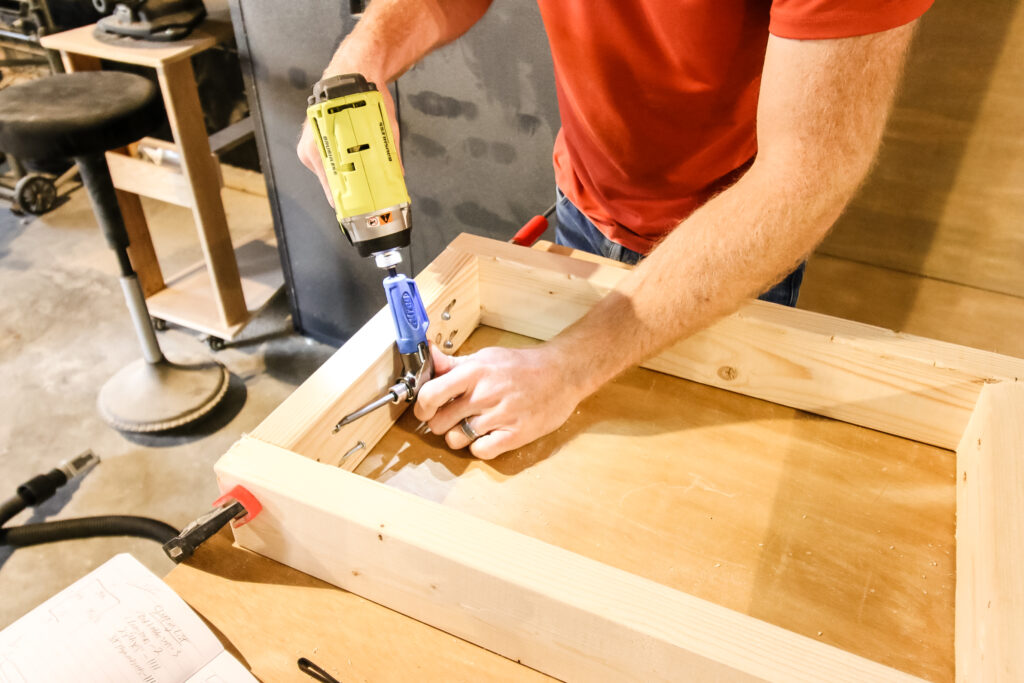
This was my first time using the brand new Kreg 90 degree Pocket Hole Driver. Check out my review of this and all their new products here!
Building drawers is as simple as connecting a front and back piece to two side pieces, using either pocket hole screws or nails and glue.
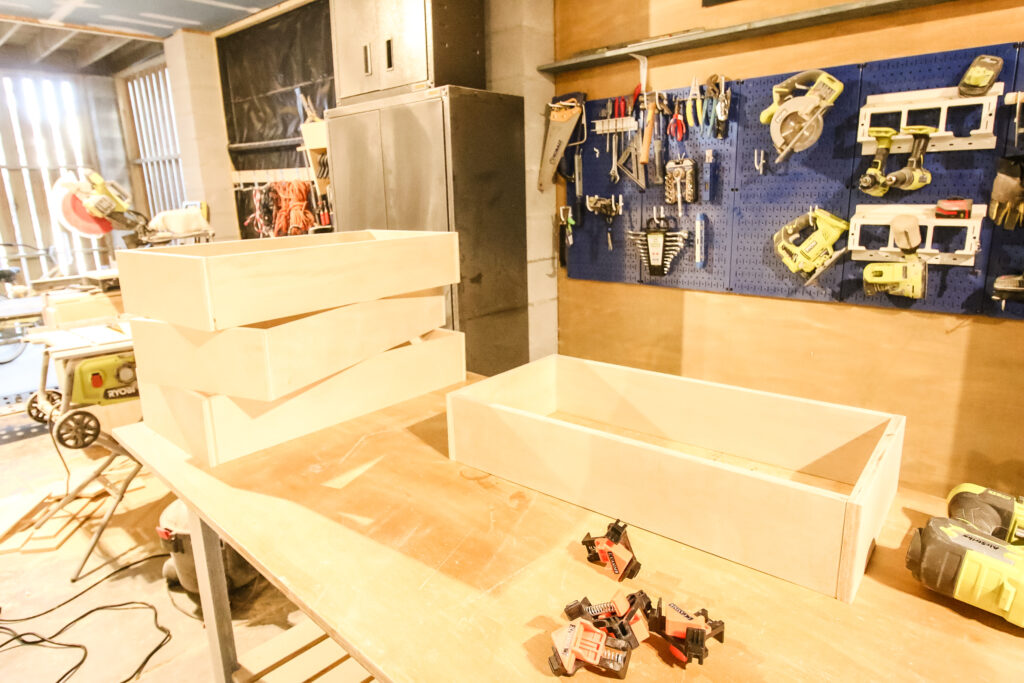
When the square frame is done, you nail on a piece of ¼" plywood cut to size on the bottom, then round off that edge until it is almost invisible from the side.
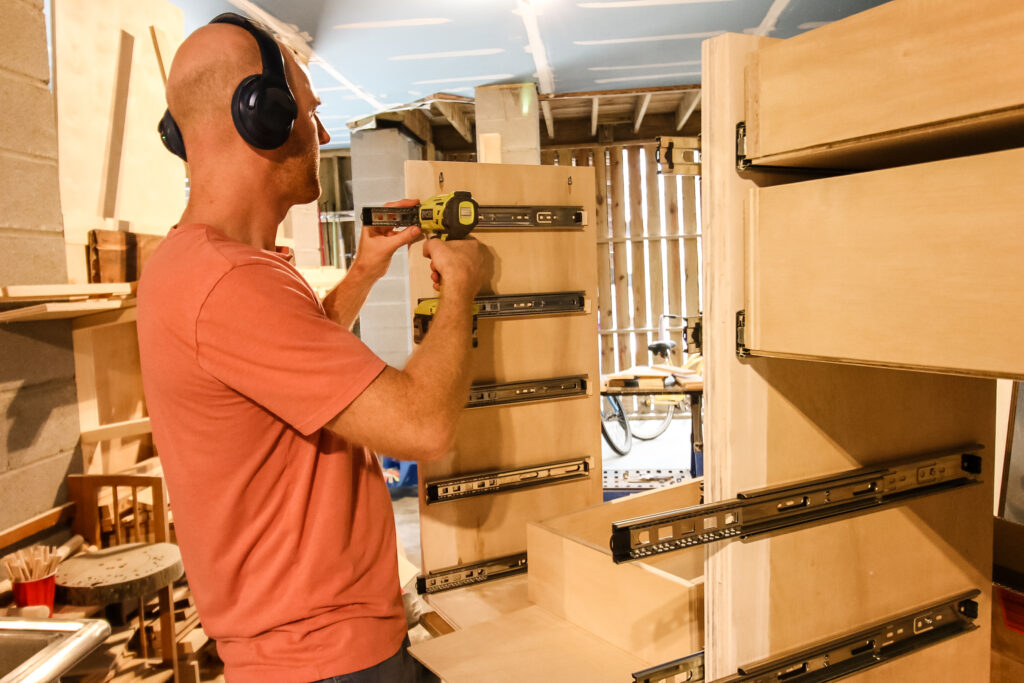
When the drawers were all done, we aligned the drawer slides in the dresser base, allowing for ¼" between each drawer and the top and bottom of the stack.
Step four: Assemble cubby storage
Next came time to do the cubby storage that would fit up and around on top of the butcher block top.
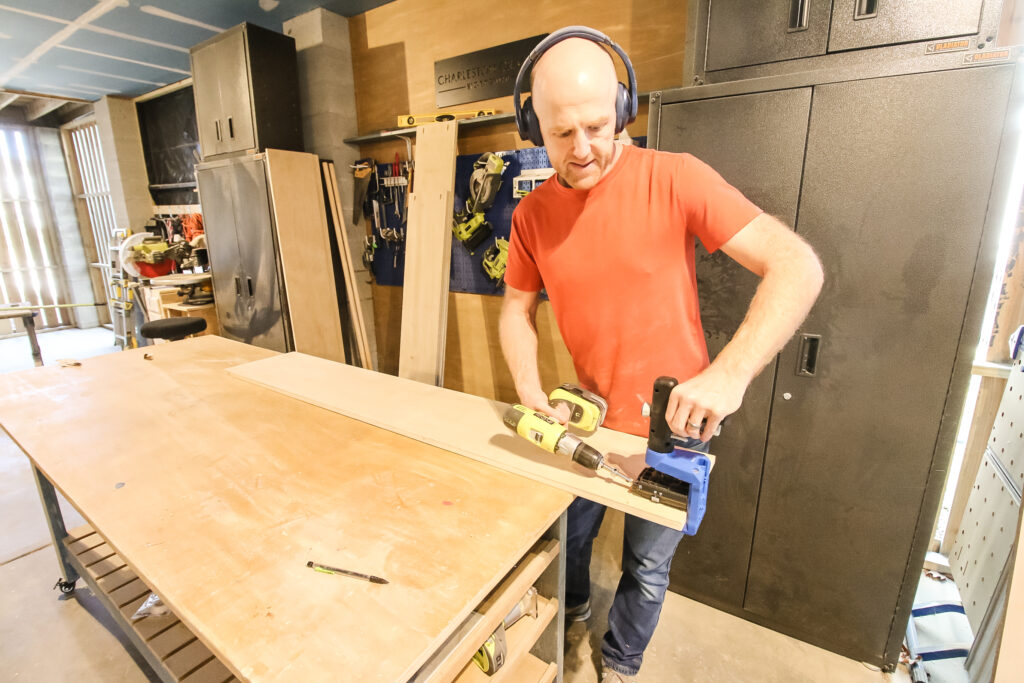
We cut down all the plywood on our Kreg Adaptive Cutting System and then added pocket holes to all the pieces as needed (full pocket hole placement can be found in the plans!).
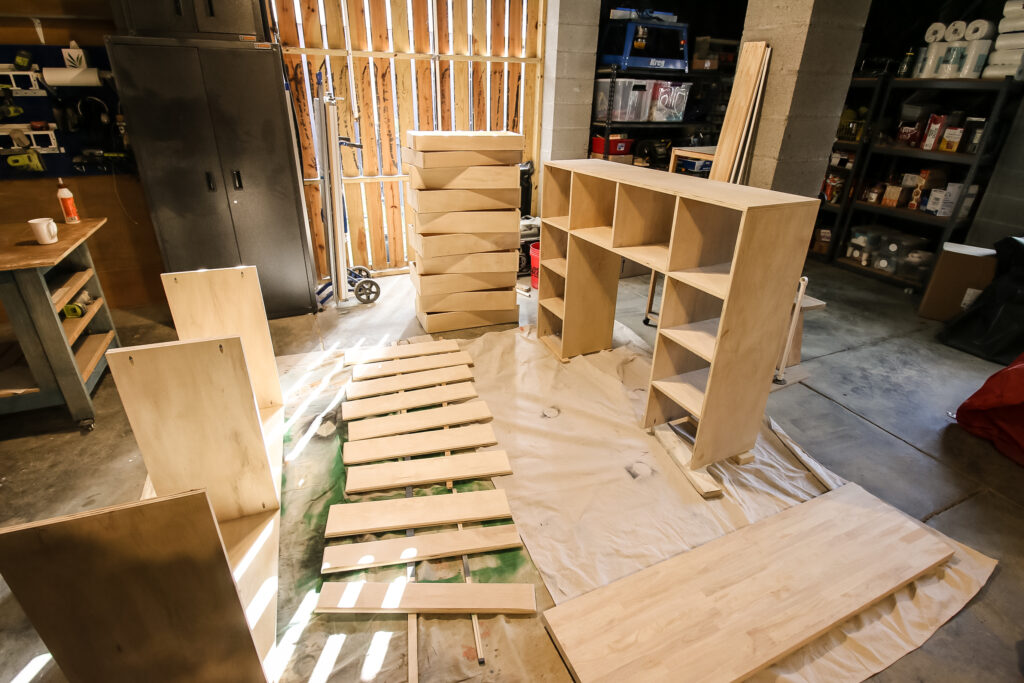
The cubby storage is perfect for this closet makeover, allowing for shoe and bag storage to keep them off the ground and free up floor space.
Check out the shoe tower we built for the closet in our old house!
The cubby cubes provide a good amount of space for storing items and are all easy 90 degree cuts and joints to build!
Step five: Attach cubbies to dresser
Now that the cubby unit was complete, we set it on top of the dresser top and attached it with pocket hole screws.
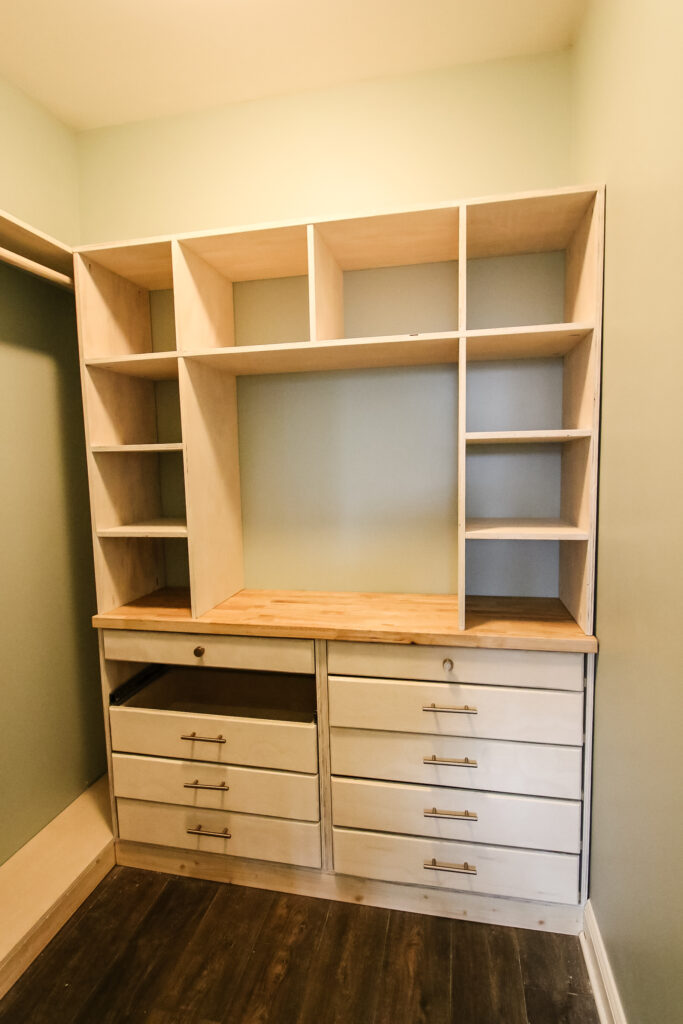
We also made sure to secure it to the wall to keep it from toppling over. It's less likely that an adult will tip over furniture, but it's better to be safe than sorry.
Check out our post about how to secure furniture to the wall!
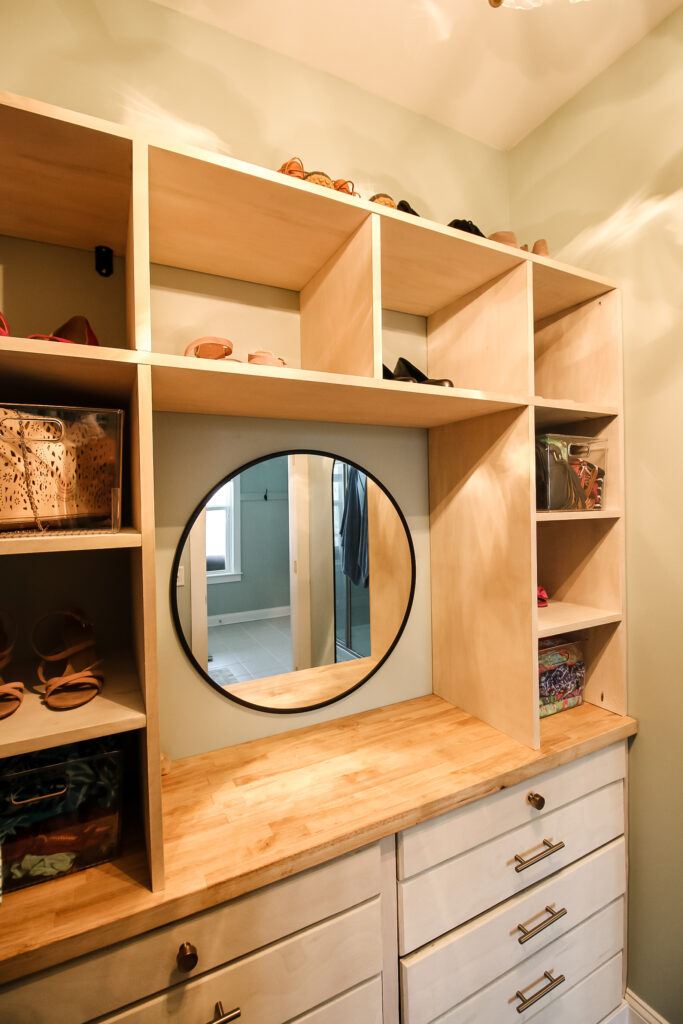
The cubbies look great on top of the butcher block top, with the two toned look popping off of the paint.
Step six: Insert drawers
With the unit in place, it was time for the moment of truth- installing the drawers.
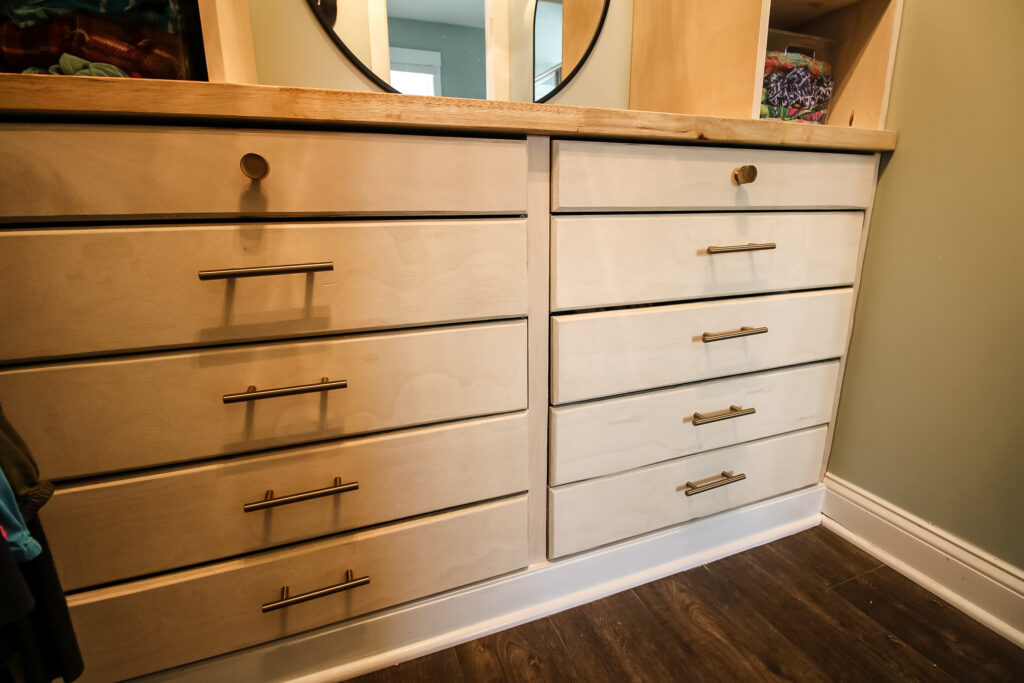
See, in theory, I measured it all out and bought the right drawer slides and it shouldn't be a problem. I just always get so nervous about moving parts. In reality, if the slides are in the right place, they shouldn't be a problem.
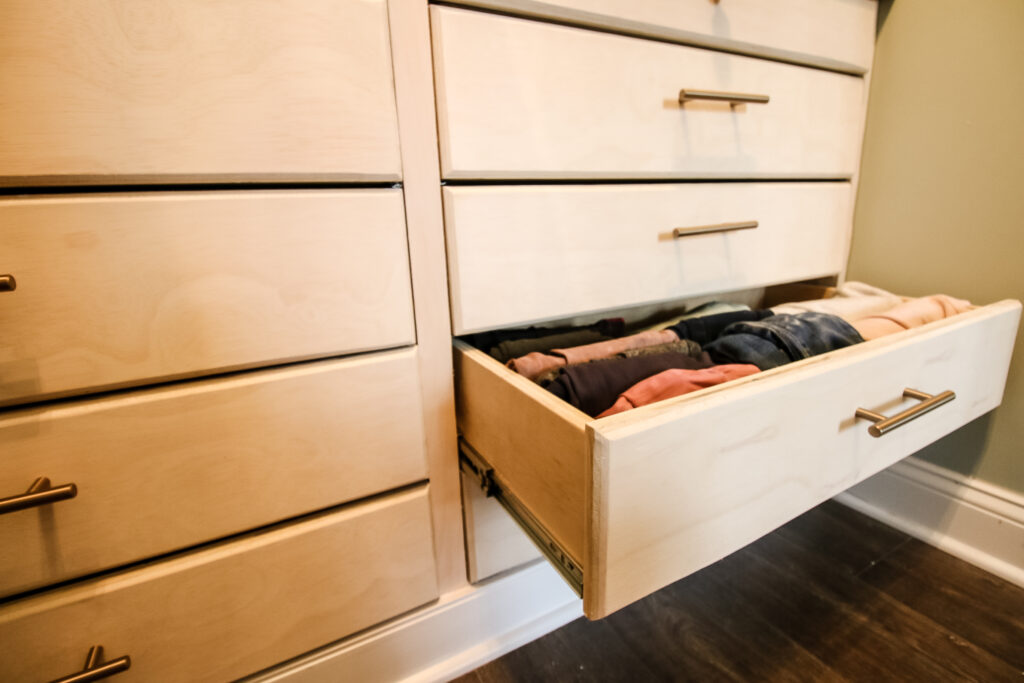
We slid each drawer into place and voila, I worried for nothing.
Step seven: Finish work
With everything in place, we added drawer pulls and knobs to each drawer and loaded it all up.
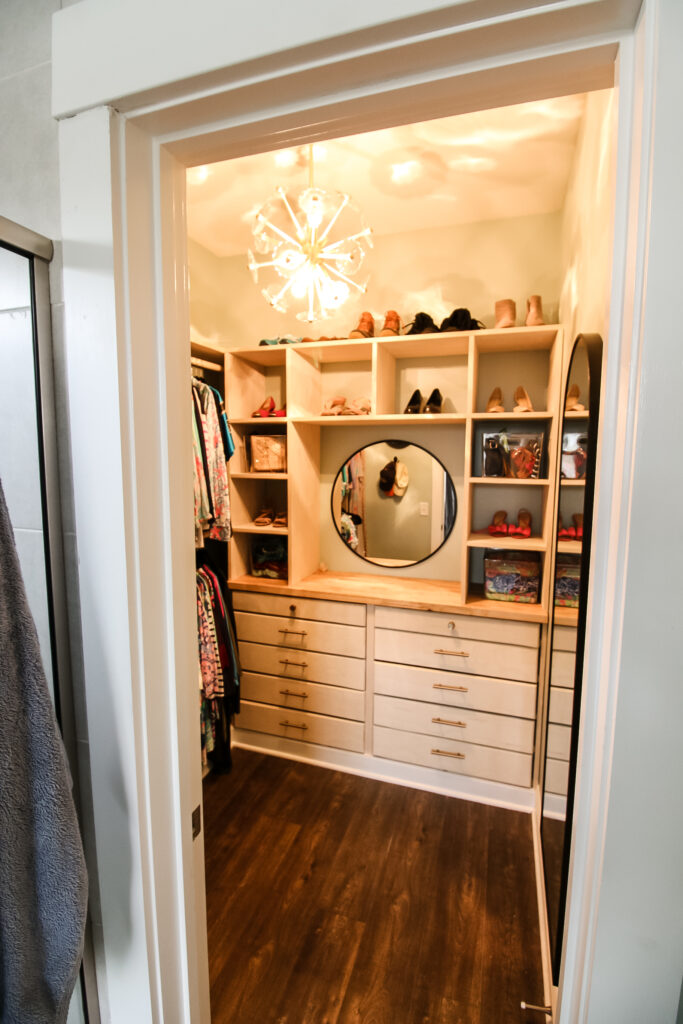
We also hung a round mirror in place in the center to serve as a dressing room of sorts.
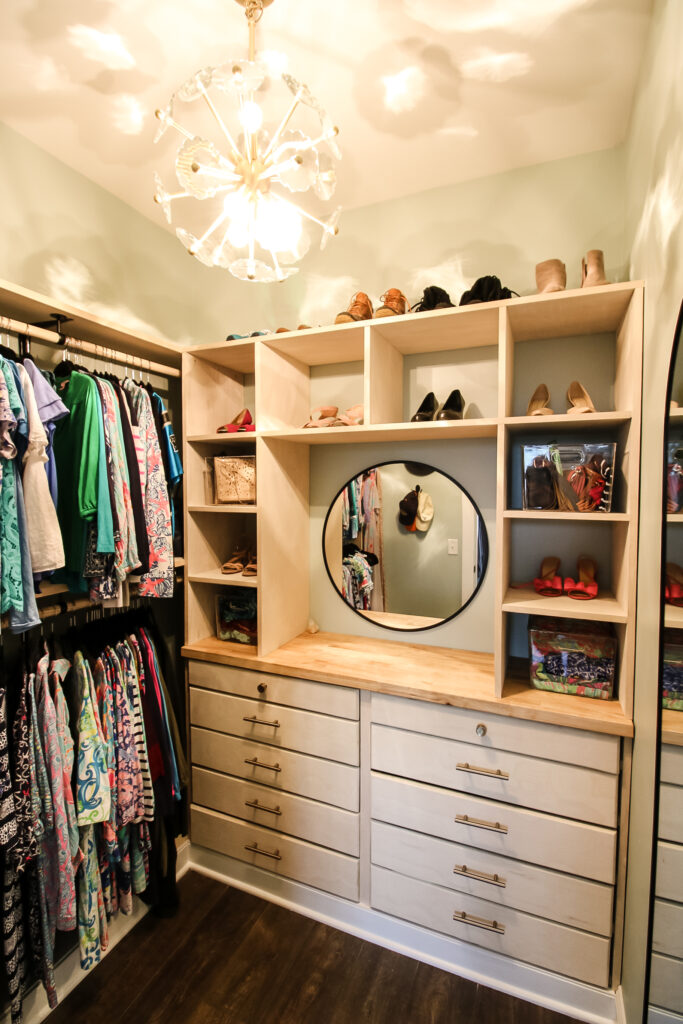
Now there is plenty of room for storing clothes with extra closet space, even with the same footprint!
Check out all of the details + budget break down of this closet makeover.
Free woodworking plans for a DIY built in dresser with cubbies
Did you love this project so much that you want to build one for yourself? Well you're in luck.
Thanks to our friends at Kreg Tool, you can get the woodworking plans for the DIY built-in closet dresser with cubbies FOR FREE!!!
All you have to do is click over to the Kreg Tool Projects and Plans website with this direct link to our plans and download them! You'll get the full material list, cut list and step-by-step instructions with computer imagery.
On the Kreg Projects and Plans site, you'll find tons of other free woodworking plans for all sorts of spaces and needs, along with a bunch of our other free plans.
Video tutorial on how to build a built-in dresser in a walk-in closet
If video tutorials are your jam, make sure you click over to our YouTube channel and check out our full video tutorial on how you can turn a closet into a built in dresser and custom shelving!

Basic woodworking information for every project
Here are some of our most popular woodworking articles!
Shopping for wood:
Woodworking project ideas
- 100+ of the best woodworking project ideas!
- 62 easy beginning woodworking projects
- Woodworking project ideas to make and sell
See all our printable PDF woodworking plans!
Our favorite tools + supplies
- See all our favorite tool reviews
- How to use a Kreg jig
- The ultimate wood stain guide
- The best wood fillers for your project
Remember to also always use safety equipment while woodworking and using tools. Make sure you have proper eye protection, ear protection and a good mask to keep yourself safe.
Looking for something?
We've been doing this since 2012 so we have a LOT of blog posts!
Search stuff like: Ceiling Projects | DIY Plant Stands | Thrift Flips


Hey there, I'm Sean, the woodworking enthusiast and builder behind CharlestonCrafted.com! Since 2012, I've been sharing the magic of turning raw materials into beautiful creations. I love teaching others the art and satisfaction of woodworking and DIY. I try to inspire fellow crafters to make something extraordinary out of nothing at all.

