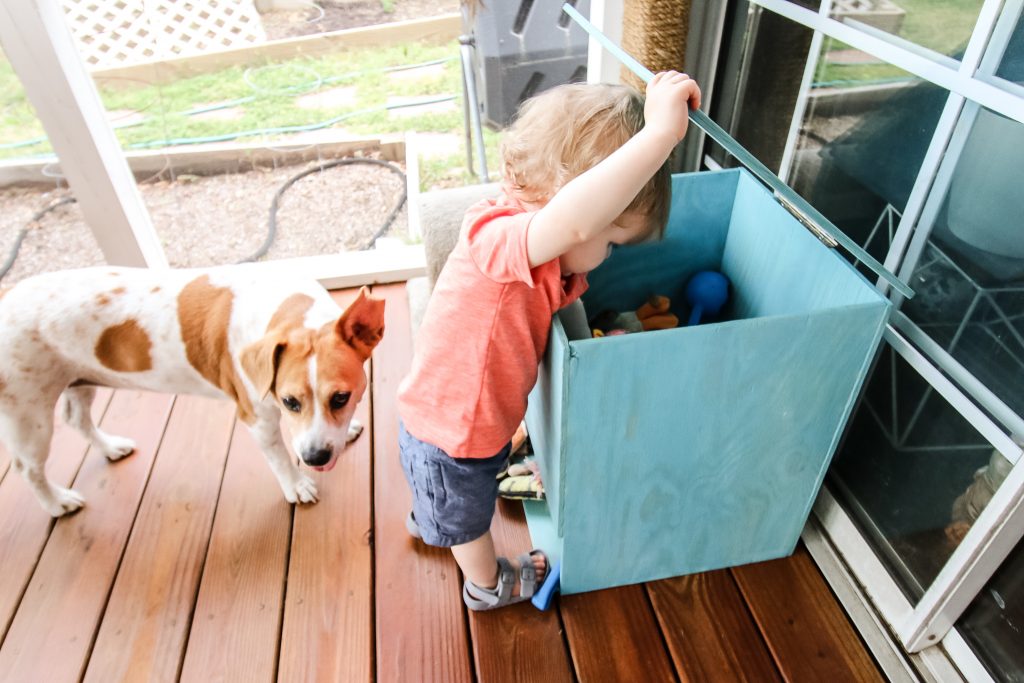
This DIY dog toy storage bin with hinged lid is perfect for keeping dog toys under control. Toys flow out from the bottom and go in from the top!
Our dog has more toys than our kid. She takes them outside all the time and we bring them back in. Once toys were too dirty to bring inside, we stored them in a little basket on the porch, but that overflowed.
This DIY dog toy storage bin is perfect for storing tons of dog toys. The hinged top allows you to drop the toys in, then the open area at the bottom allows your dog to pull them out. The toys will naturally filter through.
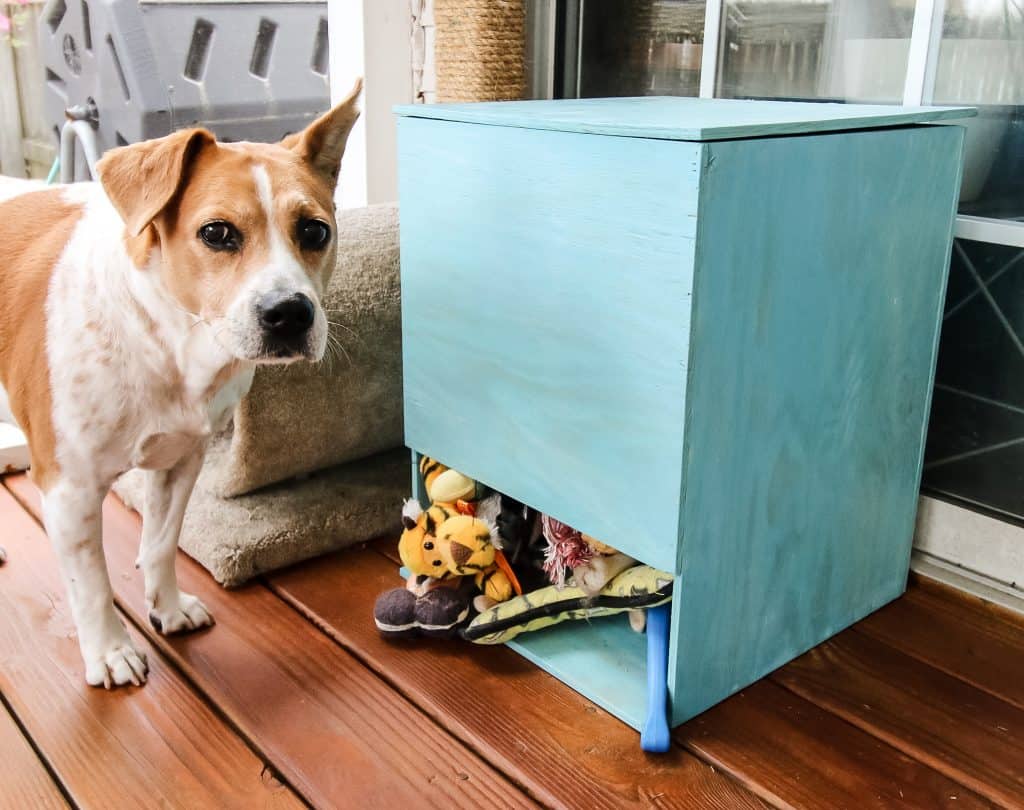
Dog Toy Storage
We are in the middle of redoing our screened porch and a part of the reason it is a massive mess is because of all the dog toys. She has so many toys and they are everywhere.
Every time our dog goes outside, she takes a toy with her. This eventually leads us to picking up about 15 toys a day from the yard and bringing them back. The dirtier ones stay on the porch.
The basket we had became overwhelmed with toys and we needed a bigger, better solution for a doggie toy box, so we developed this DIY dog toy storage bin with a hinged lid.
Don't forget to build your dog a comfy place to sleep!
How to build a dog toy box
This dog toy box is simple to build. It's a simple box with a hinged lid and an opening at the bottom front.
For this project, we used wood glue and a brad nailer with 1" nails to construct the whole thing. The project is made from ½" thick plywood cut down with a table saw.
Step one: connect the sides
We started by connecting the back to the bottom, then connecting the sides, so we had most of a frame.
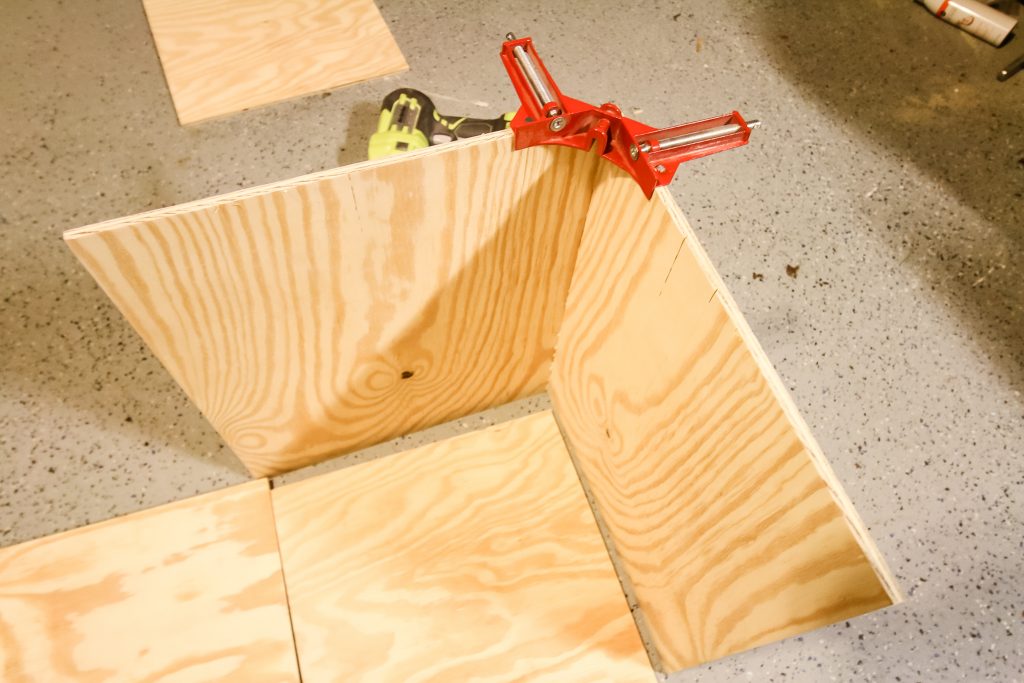
Step two: attach the front
The front piece is smaller than the other sides and connects at the top, leaving a 6" gap at the bottom for the dog to pull her toys out of.
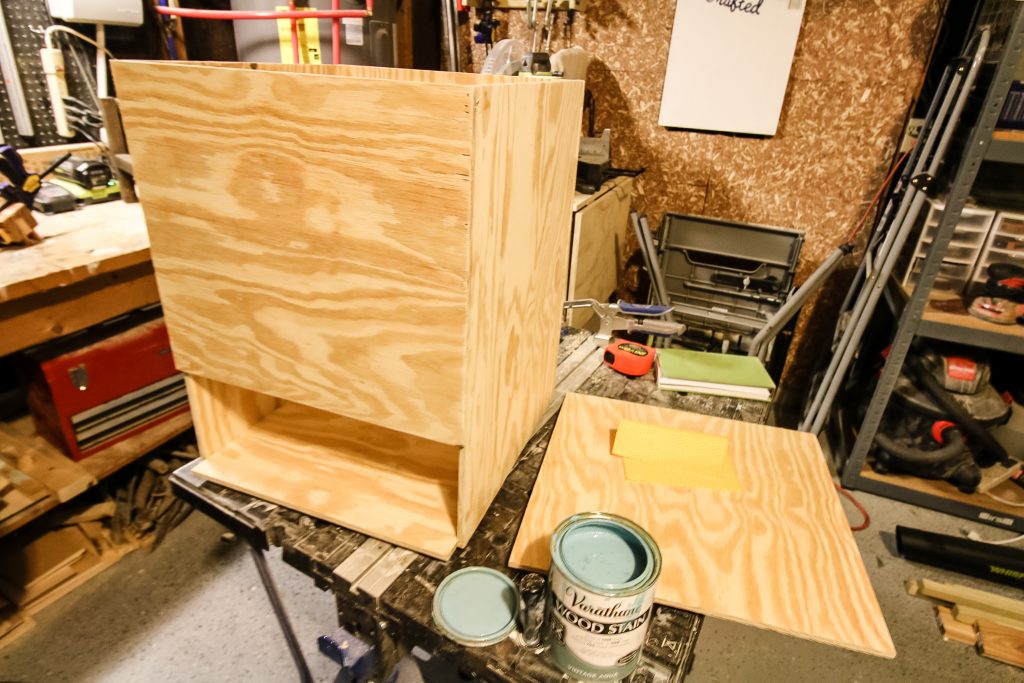
Step three: add a hinged top
The hinged top is great for us to be able to put toys back into or pull something specific out.
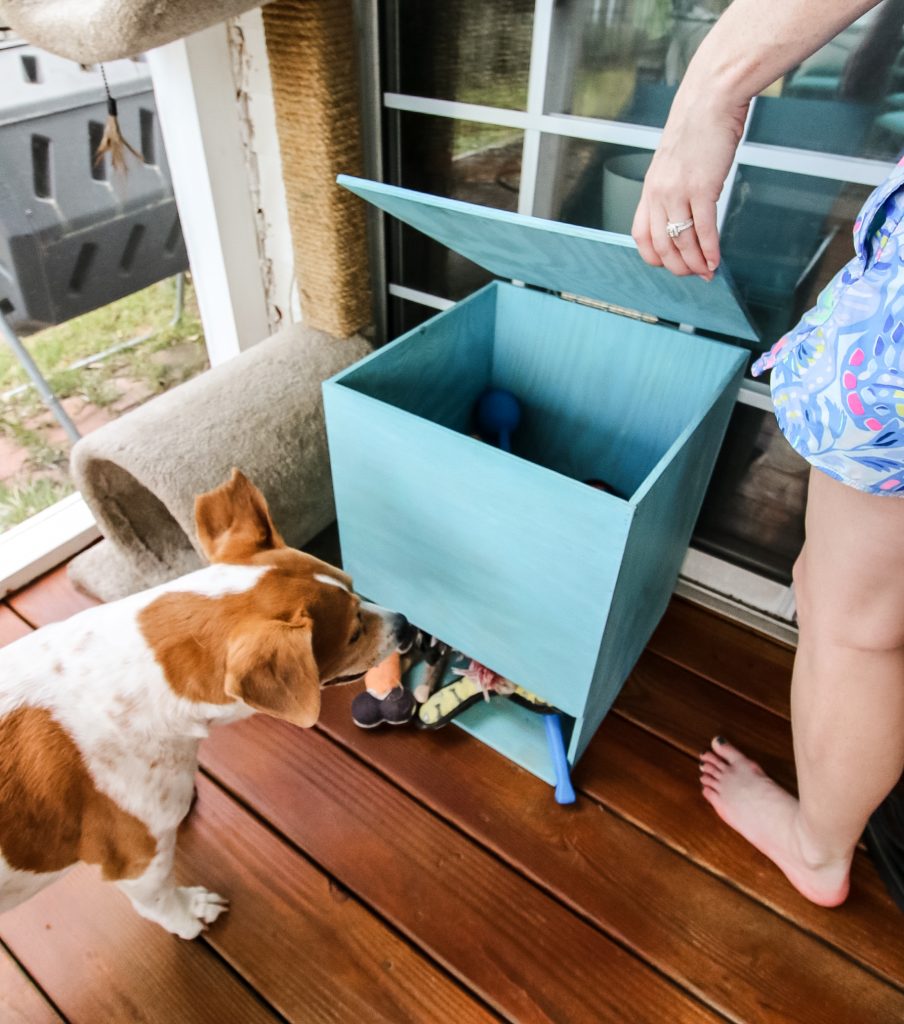
The great part about this DIY dog toy storage bin with a hinged lid is the natural flow of the toys. We put them in the top, the dog pulls them out the bottom, and the cycle continues.
FREE PDF PLANS
If you have a dog with too many toys and are looking for a solution for toy storage, this is a great one. Plus, you can download the PDF plans for this DIY dog toy storage bin FOR FREE right now.
These plans will give you the materials you need, the exact cut list and the step-by-step instructions with computer images so you can replicate it for yourself!
Looking for something?
We've been doing this since 2012 so we have a LOT of blog posts!
Search stuff like: Ceiling Projects | DIY Plant Stands | Thrift Flips


Hey there, I'm Sean, the woodworking enthusiast and builder behind CharlestonCrafted.com! Since 2012, I've been sharing the magic of turning raw materials into beautiful creations. I love teaching others the art and satisfaction of woodworking and DIY. I try to inspire fellow crafters to make something extraordinary out of nothing at all.


Megan says
I love how simple this storage bin is. Thank you for sharing this tutorial!
Christine says
What an awesome and original storage bin!! I really like it! I don't have a dog, but this would be perfect for my sister! I will show it to her.
Pamela Smith says
So cute! Our dog goes 'shopping'for the toy she wants in her box!
Sean says
Yep, that's what this does too! Just can only shop from the bottom haha.
Pili says
She is so cute you can't get angry at her for scattering her toys, so your idea of the storage bin is great. I wish our doggie was still with us to build him one
Sean says
Thanks for stopping by! Yeah, we can't get mad too much.