Want to build a DIY table out of driftwood? Here's a tutorial on how we built a driftwood and glass topped coffee table!
One of our first truly DIY building projects way back when we first started blogging was an amazing DIY driftwood coffee table that we built from scratch using driftwood from Dreher Island right down the road. It's been a few years, but this thing is still looking amazing!
Love driftwood crafts? Check out all of our driftwood projects here!
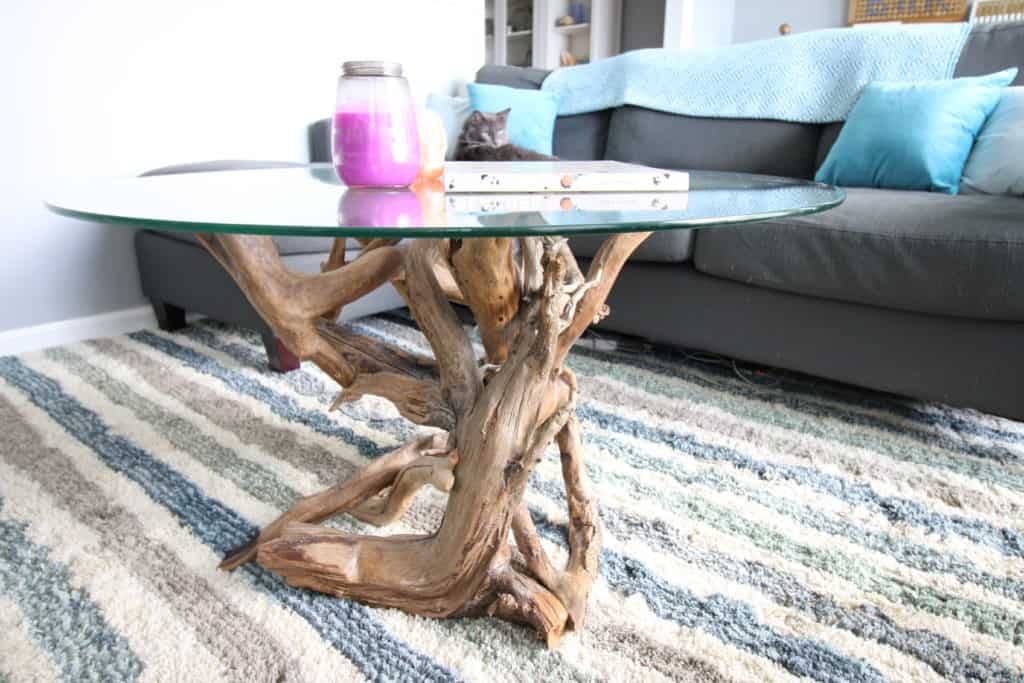
DIY Driftwood Coffee Table
We built this DIY driftwood coffee table four years ago when the only tools I had were a drill (which was a knockoff brand that had little to no power behind it) and a hacksaw.
Let this be a lesson that tools do not handicap your ability to do cool projects!
A wide variety of good quality tools definitely helps and expands your possibilities, but you can do things without a garage filled with power tools. I had no idea what I was doing when I got into this project.
You can look back at some of the old photos and see that I was using rope to try to hold these pieces of wood together while I figured out the jigsaw puzzle of how to make a driftwood base.
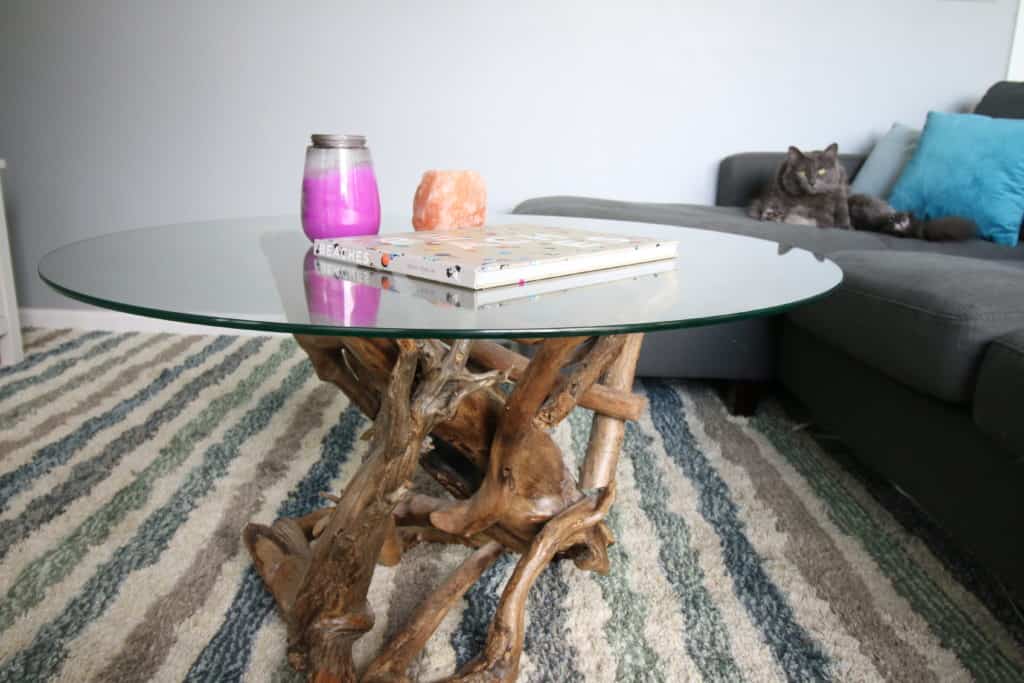
This project really wasn't difficult.
If you have access to driftwood via a beach or lake, you can do this. My suggestions are to look for a couple of pieces that are bigger with forks that you can use as your base.
Then, just work your way around adding different branches and creating enough level contact points at the top so your glass or wood top can sit on it.
Looking back on the project, I would have changed two things.
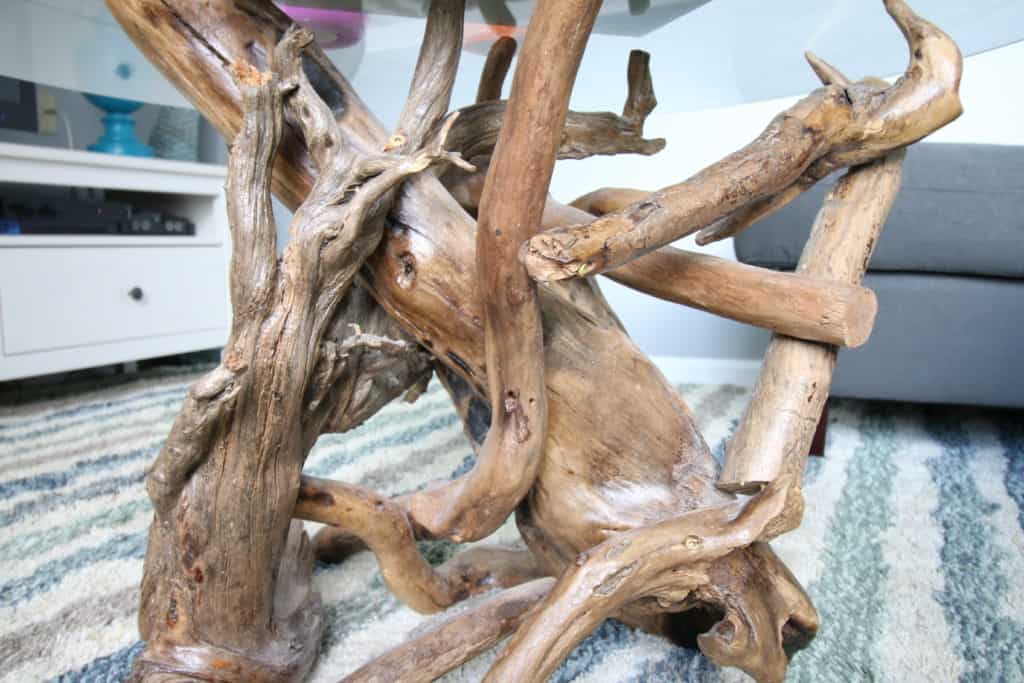
First, I would have used small-headed trim screws.
I used decking screw because I literally didn't know what I was doing.
I went to the store and found something that was closest in color to the wood. Not something that would hide best.
You don't really see many of the screw heads because I screwed most in from the underside of the branch.
But, you can still see them and trim screws would be much more clean.
Secondly, I would recommend not having pieces that stick out from the base that don't serve a purpose.
I designed this so that a few pieces kind of stuck out from other pieces, but weren't integral to the structure.
They were decorative and looked nice, but served no purpose.
Well, since they stuck out, three of them have snapped off when CiCi came blowing by like a tornado.
She clipped them and the part that was sticking out broke off right at the screw. Oh well, lesson learned.
We still love this DIY driftwood coffee table and moved it with us to our new house.
We still use it as our main coffee table in our sunroom. It's awesome and I've learned to work with driftwood a little better on other projects since then, like this starburst mirror, wedding cupcake stand, candle holder and picture frame.
Driftwood is easy to work with and I can't wait to do more!
Anyways, on to the tutorial.
How to make a driftwood coffee table
Tools needed:
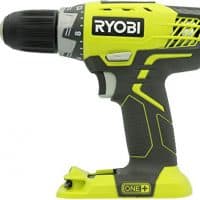
- Drill
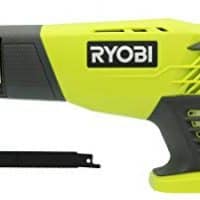
- Handsaw or reciprocating saw
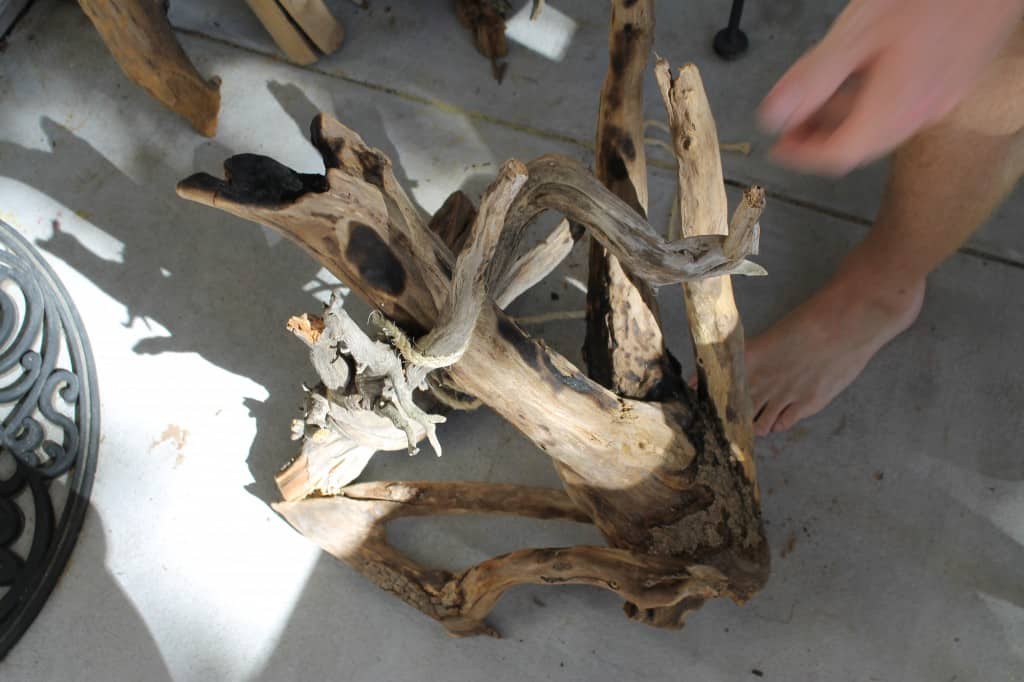
When I got started, there were two good pieces of driftwood that we found that had several prongs that I knew would work well as a base.
I figured out a way to wedge them together and then used several 3 ½" screws to secure them together.
The big pieces worked well as a solid base, but I used some angled pieces to ensure that it was stable from all angles.
The next step is what I knew would be the most difficult: the top.
We bought a big round piece of glass for the top of the table for $5 off craigslist, but it needed a solid base below it.
My first thought was to try to lay some of the longer, straight pieces of driftwood across as a flat top for the glass, but after a few attempts of assembling a jigsaw puzzle, I determined that wouldn't work.
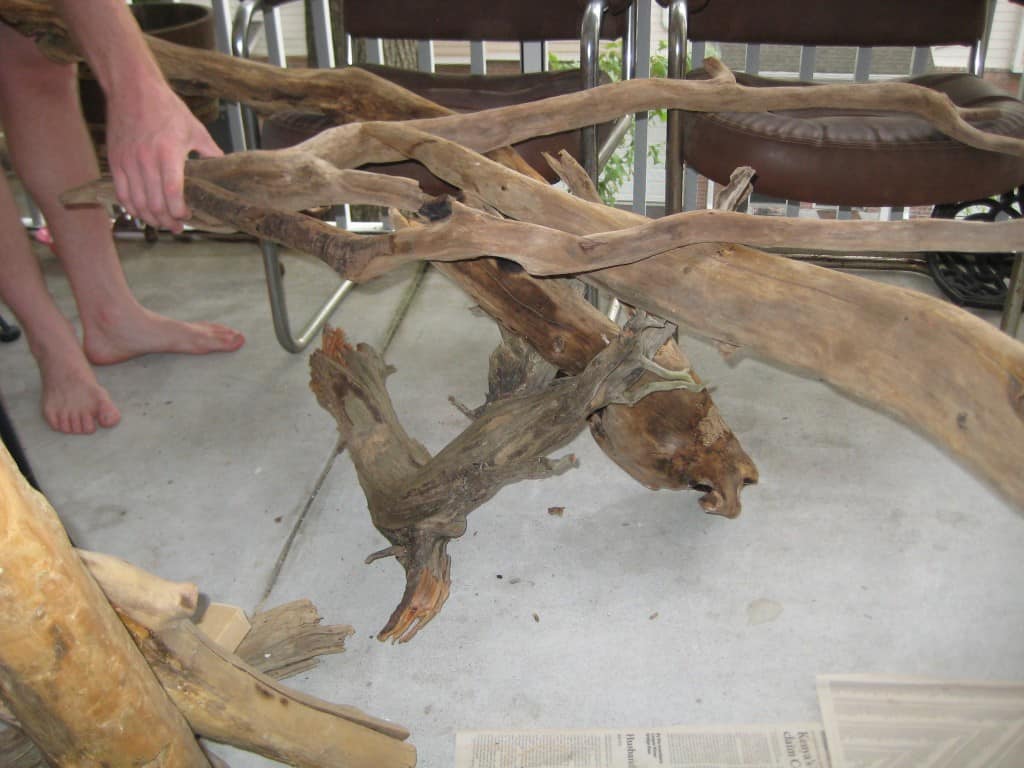
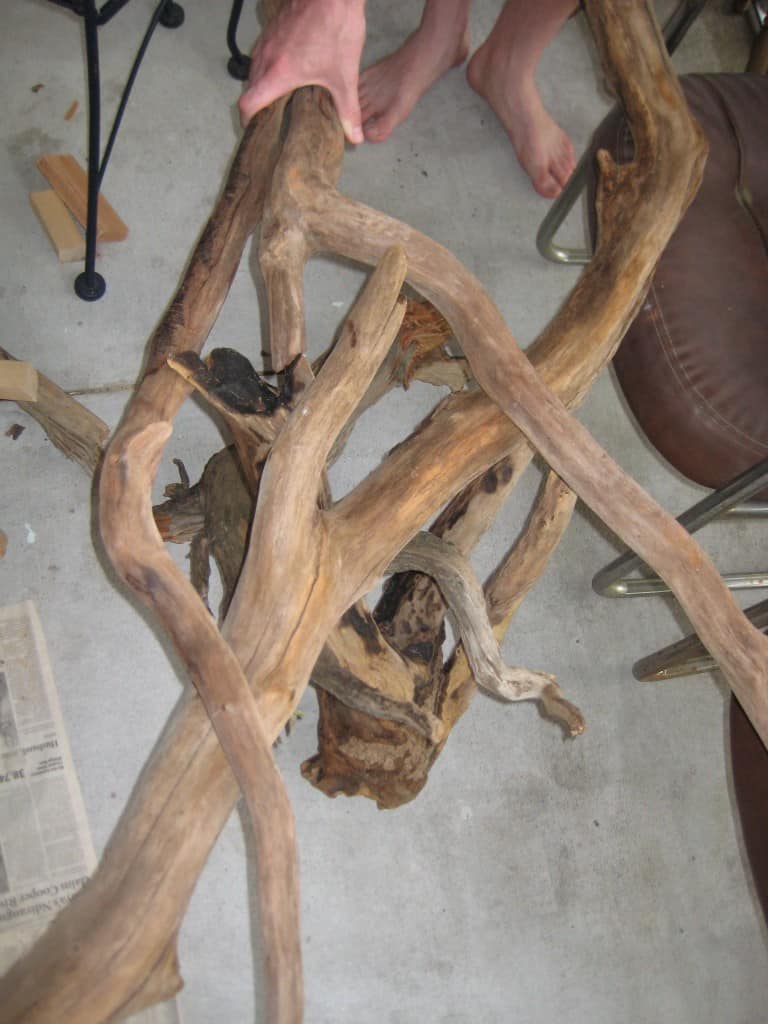
So the best plan was going to be to connect some of the curving pieces to the base that I had already built that would allow me to stabilize the glass top.
I can't tell you how many times I tried laying the glass top on the different pieces of wood and trying to secure them and make the glass level.
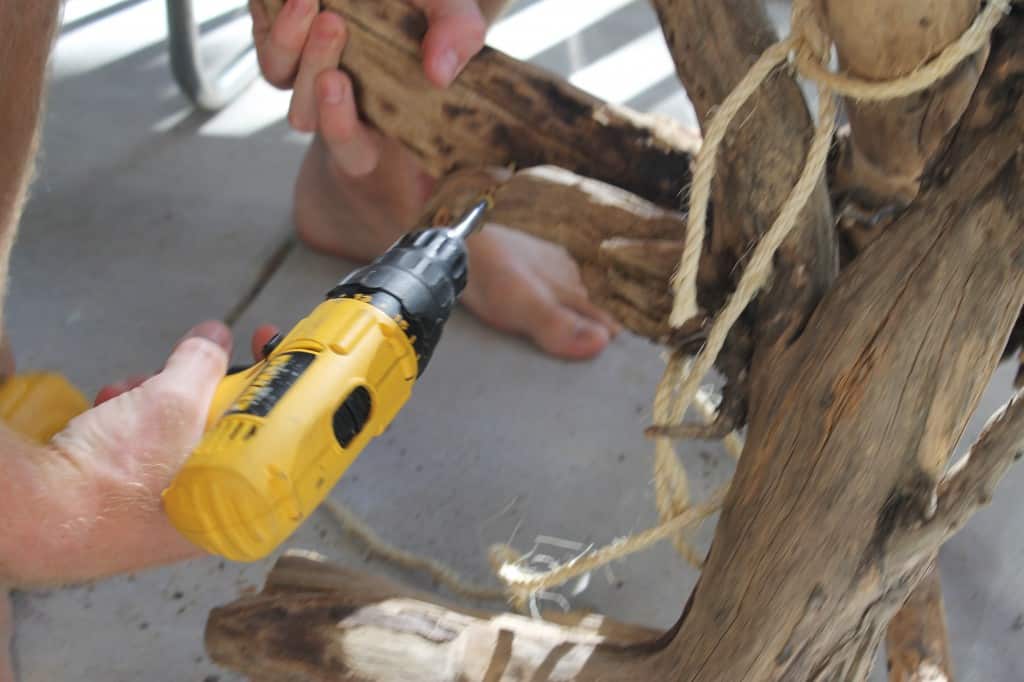
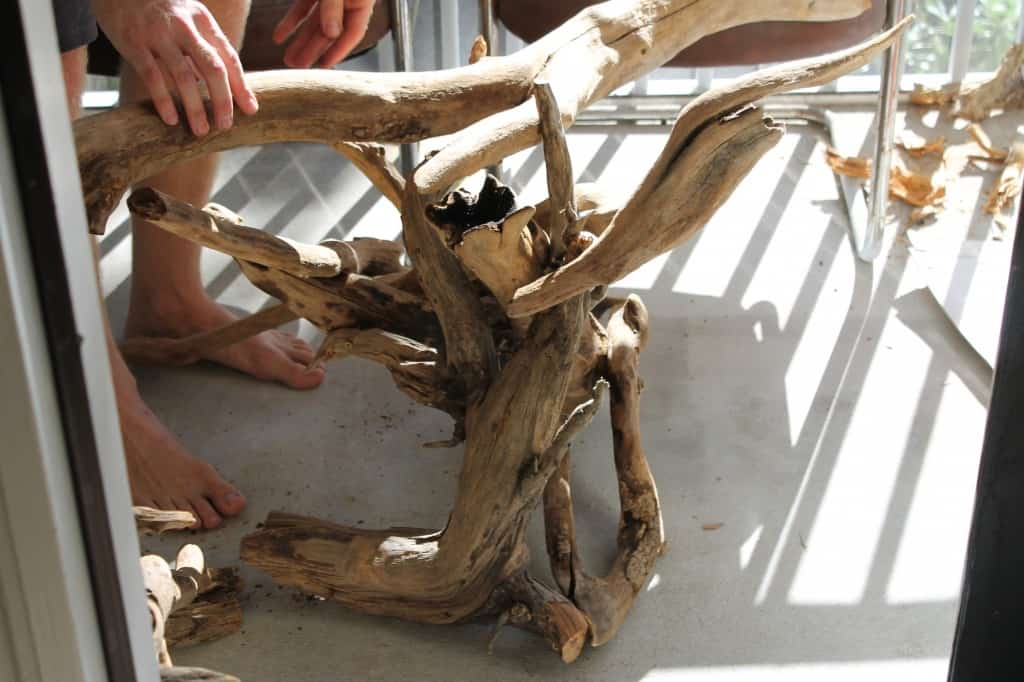
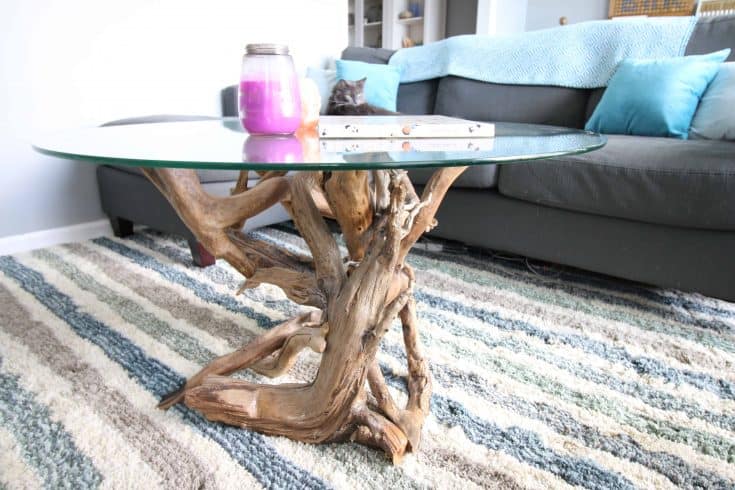
Finally, I was super pleased that I was able to figure out the jigsaw puzzle that was this table and made something that was stable and had enough enough pieces touching where the glass would be that it wouldn't fall no matter where you pressed on the glass.
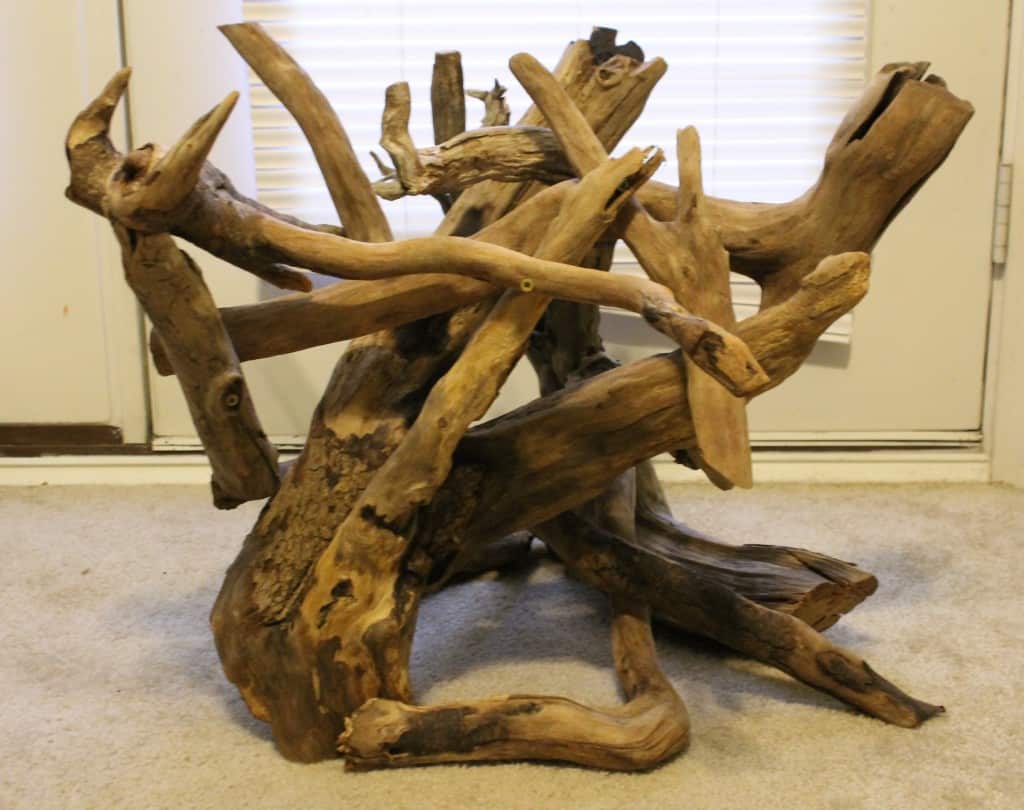
Next, we decided to seal the whole thing like we did when we refinished this side table. We let the seal dry and then brought it inside.
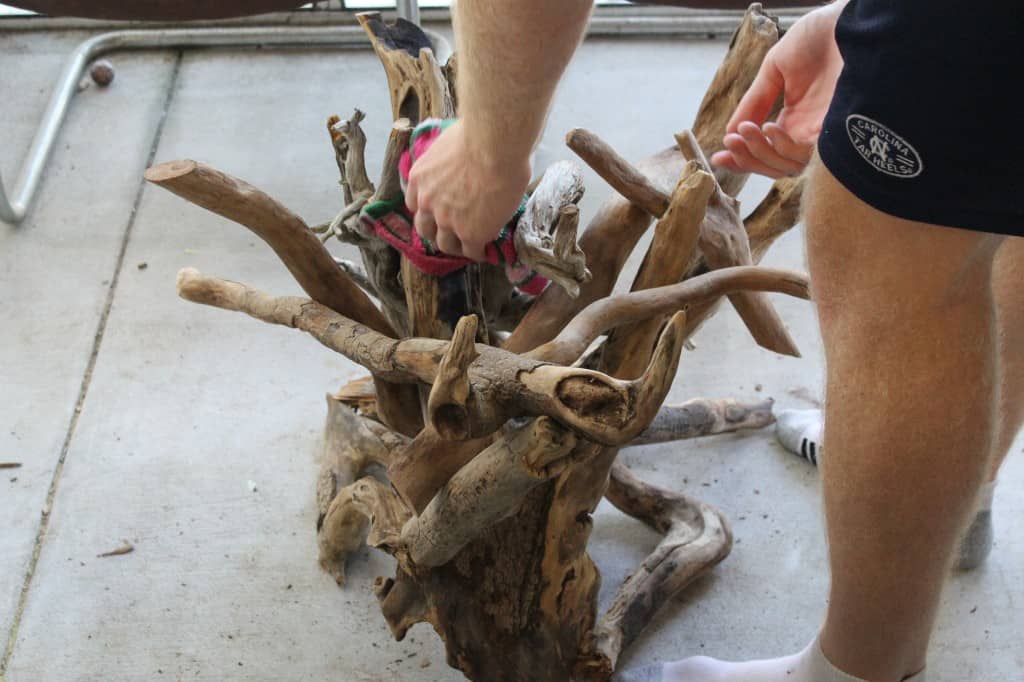
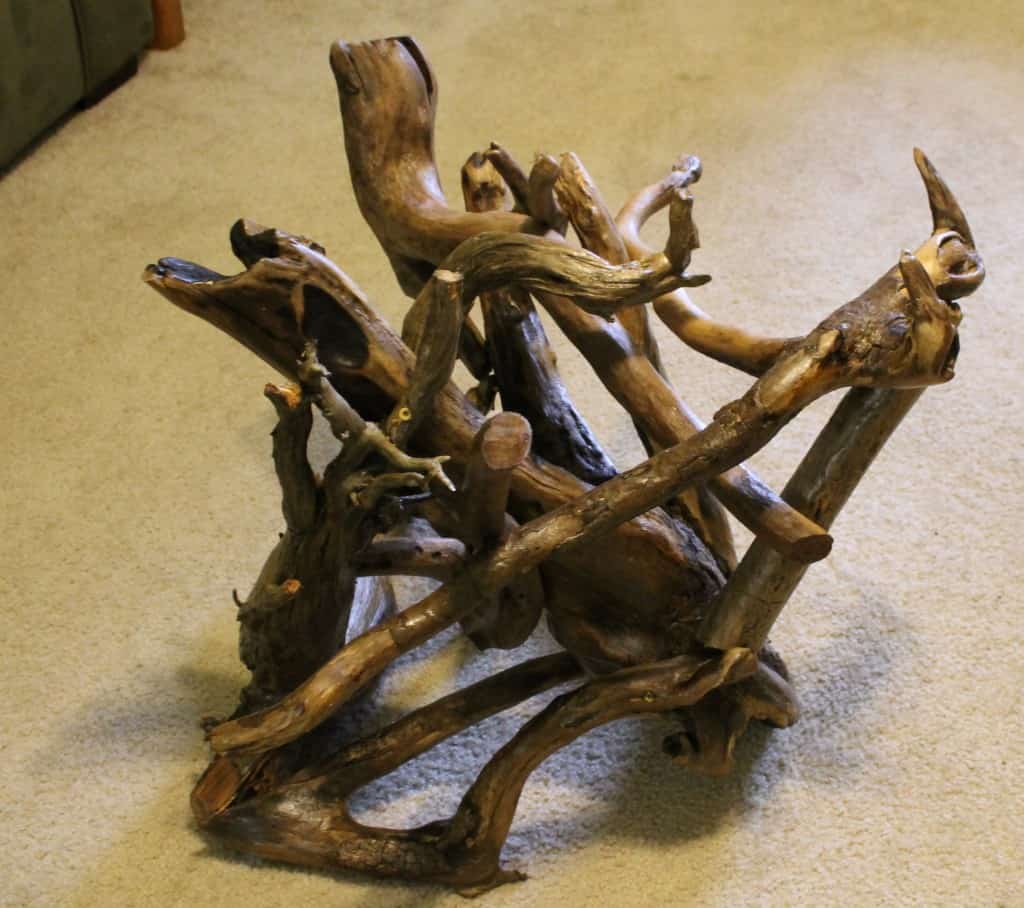
After cleaning the glass top and placing it on top, I was in awe that I had built a coffee table out of random driftwood.
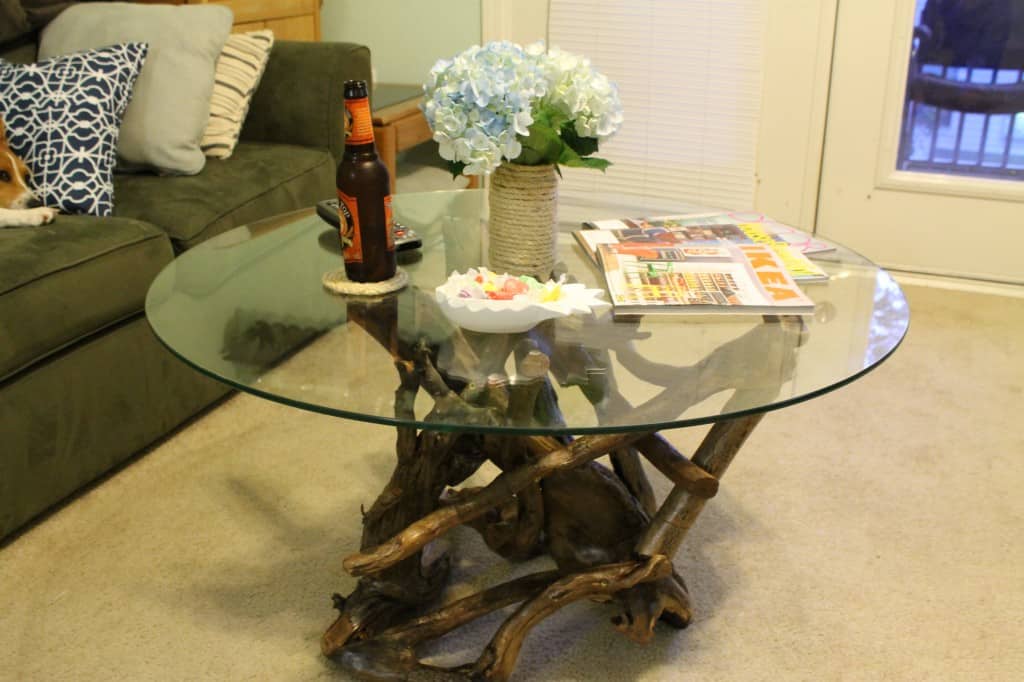
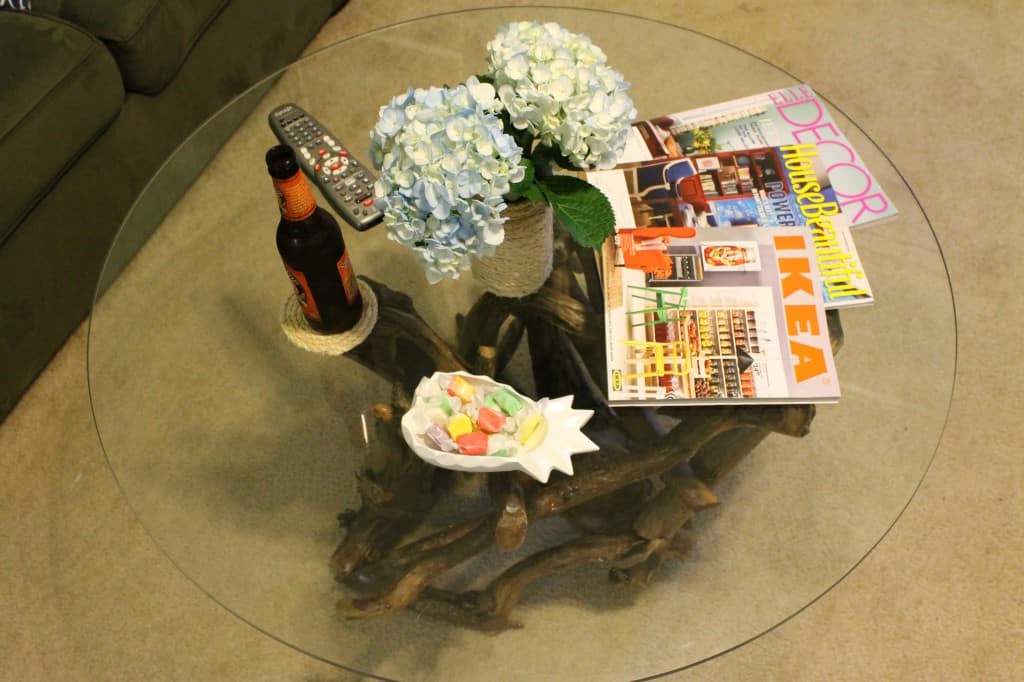
I am so thrilled with how this table turned out and it's nice to have somewhere to put a glass or a book when on the couch besides the side tables.
how to make a driftwood coffee table
Here is how to build a DIY dirftwood coffee table. It is a great way to bring a natural, nautical feeling into your room!
Materials
- Driftwood
- Polycrylic
- 3.5" Screws
- Glass table top
Tools
- Drill
- Saw of choice
- Paint brush
Instructions
- Make sure that all wood is dry and clean.
- Assess your driftwood. Look for pieces that naturally might make a solid or sturdy base. Arrange the pieces freehand until you start to get a look that you are going for.
- Begin screwing your design together. Keep playing with it until you are satisfied. Use a level to be sure you have a flat surface.
- Seal the base with polycrylic.
- Add a glass top for a finished look.
Recommended Products
As an Amazon Associate and member of other affiliate programs, I earn from qualifying purchases.
Looking for something?
We've been doing this since 2012 so we have a LOT of blog posts!
Search stuff like: Ceiling Projects | DIY Plant Stands | Thrift Flips


Hey there, I'm Sean, the woodworking enthusiast and builder behind CharlestonCrafted.com! Since 2012, I've been sharing the magic of turning raw materials into beautiful creations. I love teaching others the art and satisfaction of woodworking and DIY. I try to inspire fellow crafters to make something extraordinary out of nothing at all.





Sam says
Amazing how a simple drift wood can add a rustic feeling to the whole project. Great job, guys!
Emily says
Did you attach the glass to the driftwood in any way or is it just sitting on top?
Sean says
Hi Emily - Nope, it's just sitting on top. We did add some of those stick-backed rubber stoppers like you'd put on the bottom of chairs to keep them from sliding to help grip the glass into place. I hope that helps!
Emily says
Thank you! With two little ones running around I want to be sure I'm not setting us up for an accident!
Sean says
Thanks for featuring us!