Create a cozy autumn vibe with this easy DIY fall leaf table runner. Learn how to make your own stunning fall decor that's perfect for dressing up your dining table this season!
Fall is all about bringing the warm, cozy vibes into your home, and nothing says autumn like a beautiful, handcrafted table runner.
This DIY fall leaf table runner is a simple yet stunning way to add a seasonal touch to your dining table.
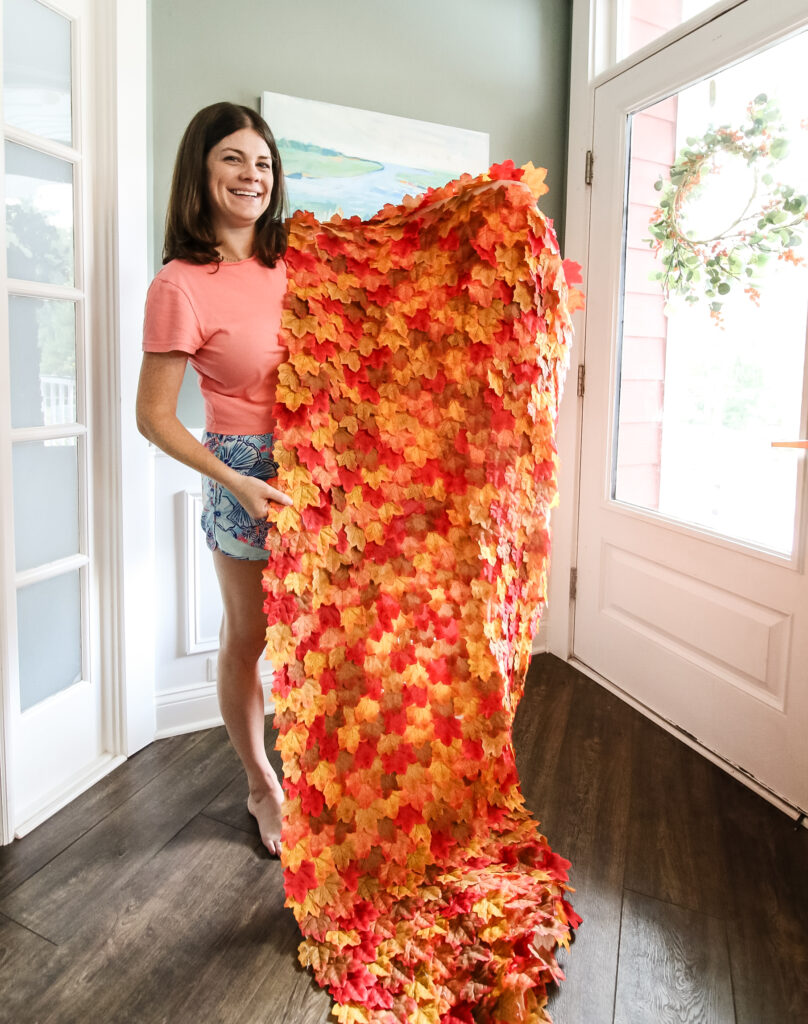
The best part? You can customize it with your favorite colors and leaves to perfectly match your fall decor!
Whether you're hosting a Thanksgiving dinner or just want to spruce up your table for the season, this table runner is sure to impress.
Plus, it's a fun and relaxing project you can do while catching up on your favorite shows. Let’s take a look at how to make your own DIY fall leaf table runner!
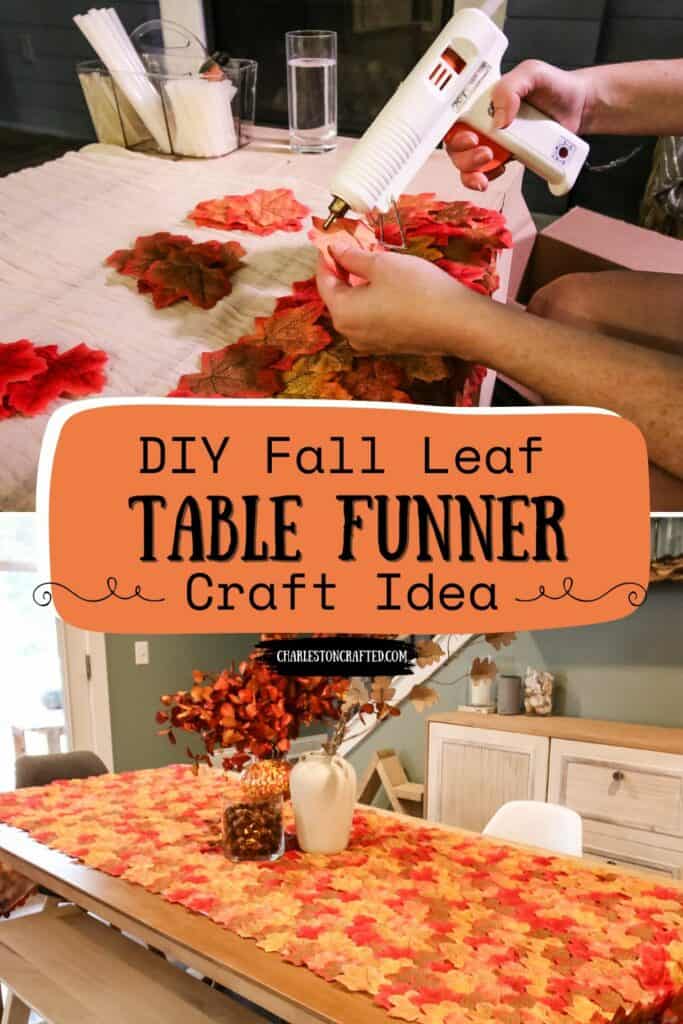
DIY Fall Leaf Table Runner
Here's how to make this runner for yourself!
Supplies Needed:
- Premade table runner (sized to fit your table - consider upcycling an old one!)
- Faux leaves (in various colors)
- Hot glue gun and glue sticks
Steps to Make a DIY Fall Leaf Table Runner:
Step 1: Prepare the Table Runner and Leaves
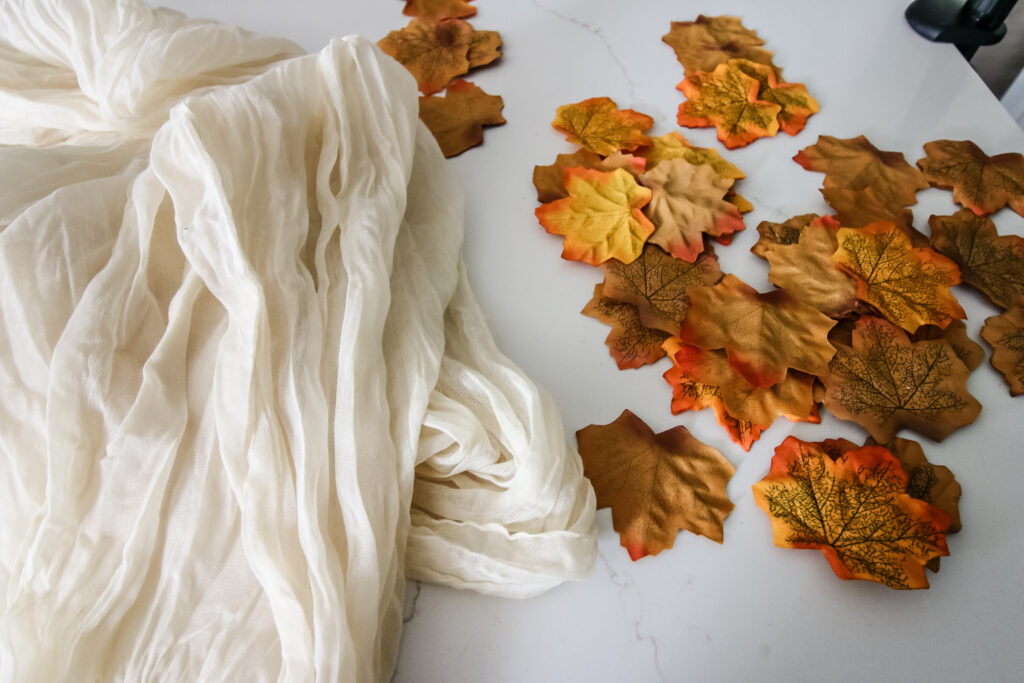
Start with a premade table runner that fits your table perfectly. Choose a neutral color so that the fall leaves will really pop.
Next, grab your faux leaves—most of them come stuck together, so take some time to separate them. You’ll want a variety of colors and sizes for a more natural, random look.
Step 2: Begin Gluing the Leaves
Using your hot glue gun, apply hot glue to the back of each leaf. Start placing the leaves onto the glue, ensuring they overlap and extend beyond the edge of the runner.
This creates a full, layered effect that covers the edge beautifully.
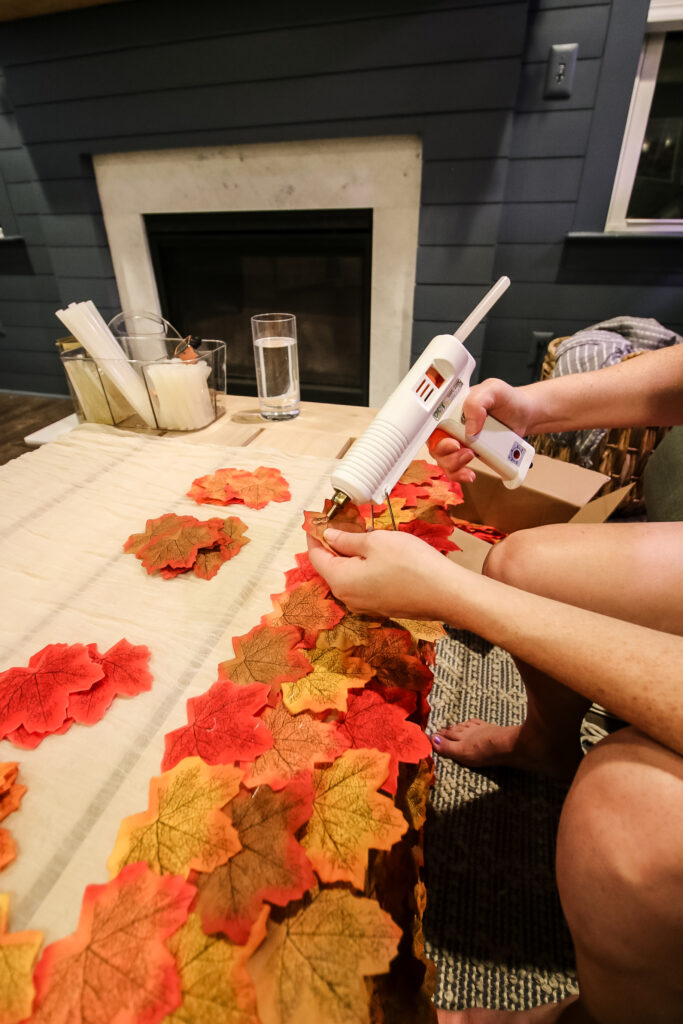
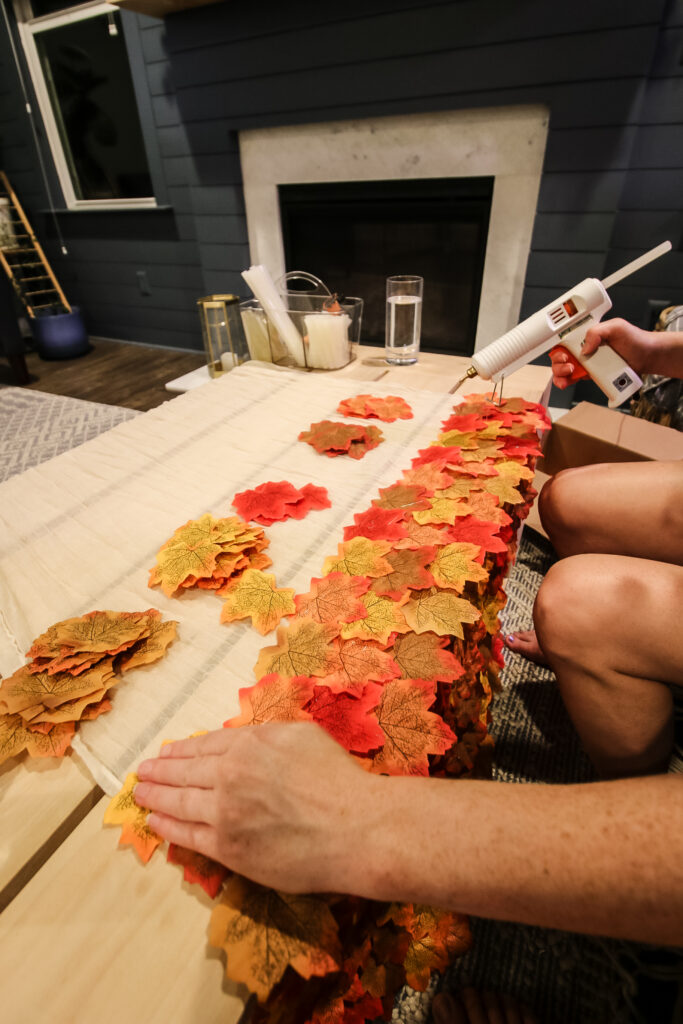
Step 3: Continue Layering the Leaves
Move to the next row and repeat the process, making sure each new row of leaves overlaps the previous one by about ⅓.
Mix up the colors and sizes of the leaves for a random, natural look.
There’s no need for a strict pattern—just have fun with it! Be sure to pull away any excess hot glue strings as you go to keep things neat.
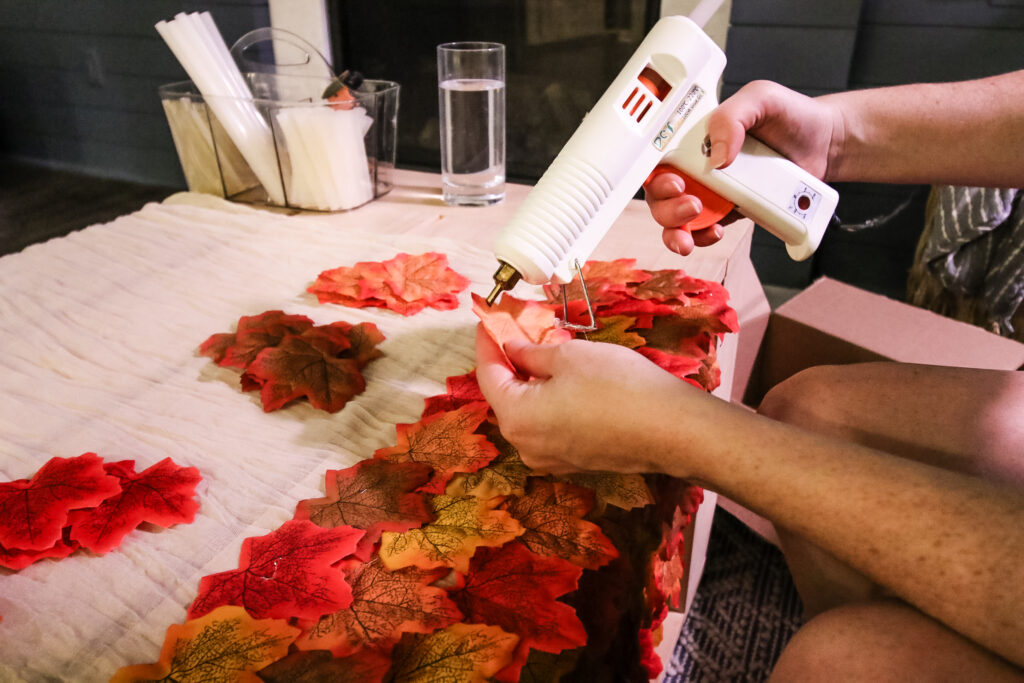

Step 4: Finish and Style
This project is definitely a labor of love—it took me about 6 hours to complete while watching TV. It’s brainless work, but it does take some time!
Once you’ve covered the entire runner with leaves, let it cool and set completely.
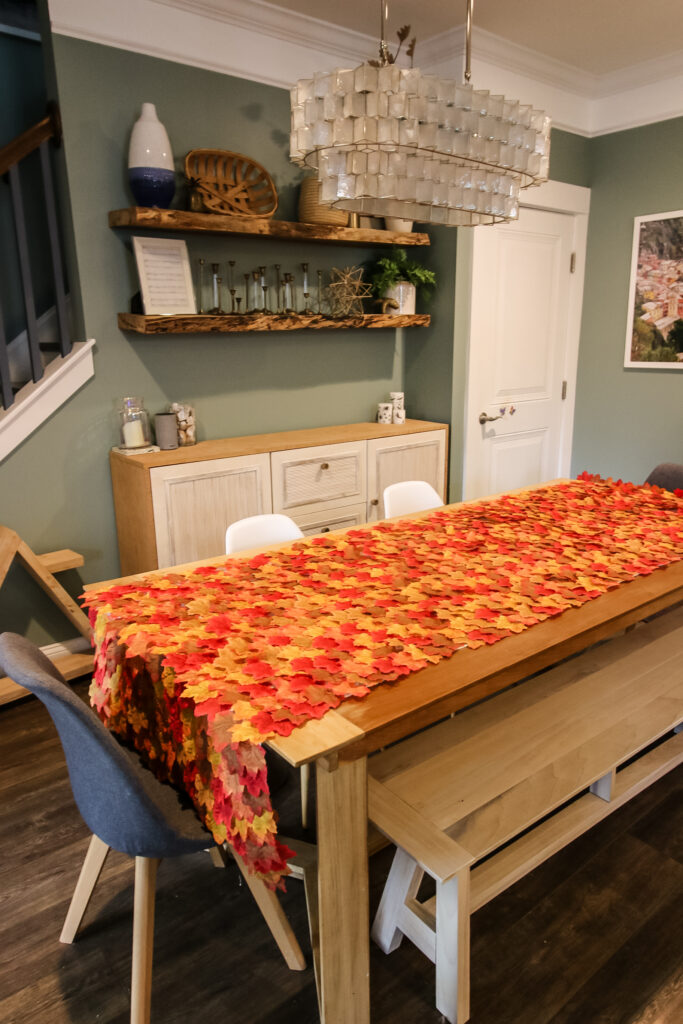
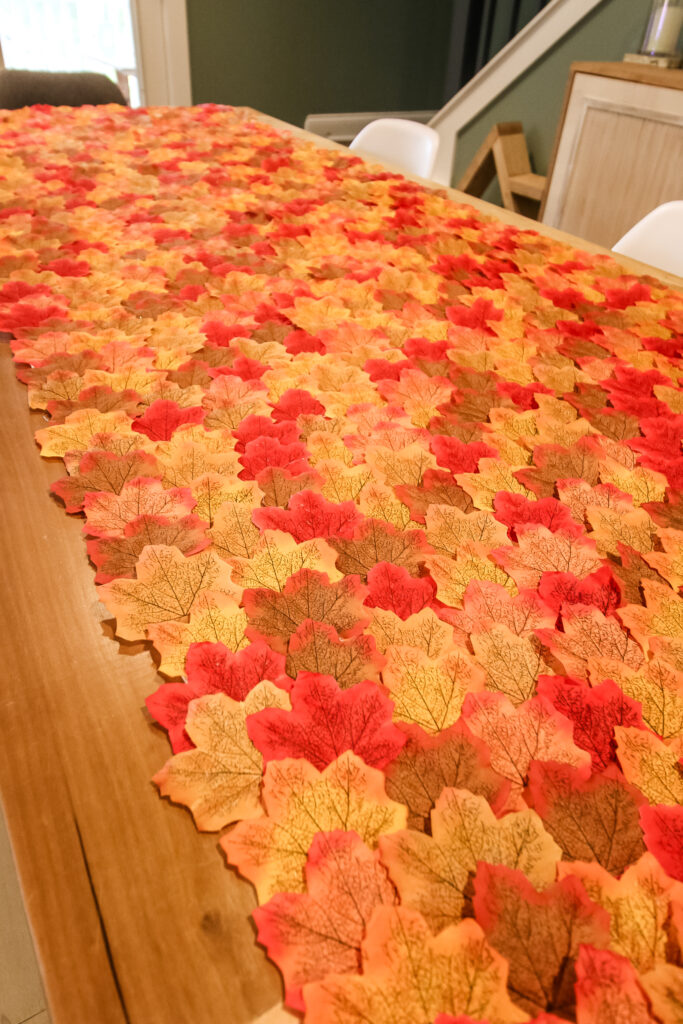
Then, style your table with your favorite fall centerpiece.
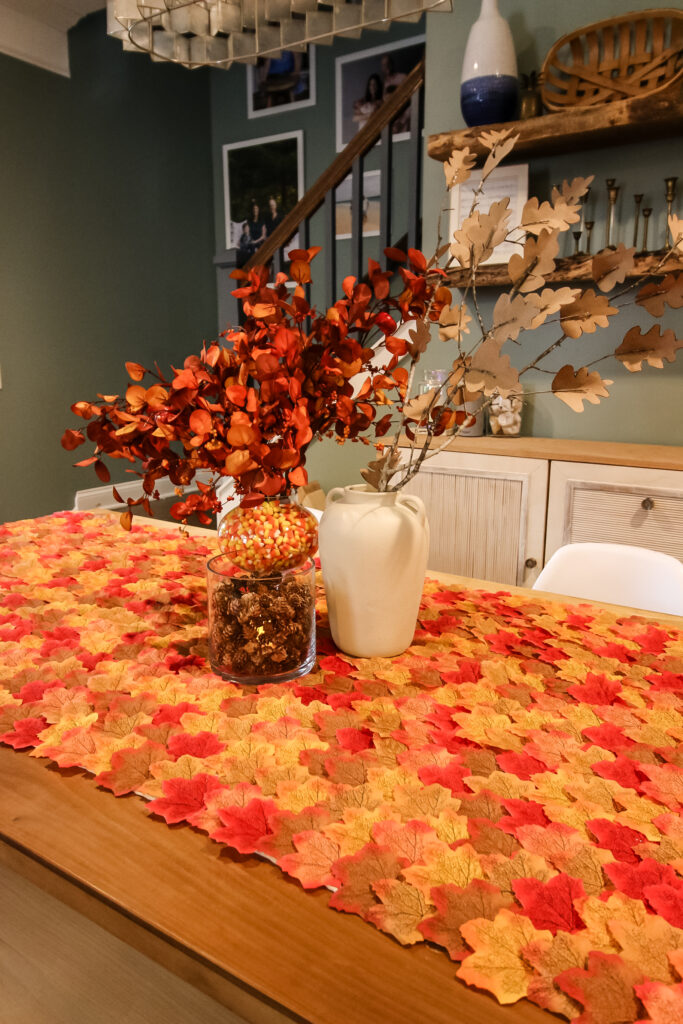
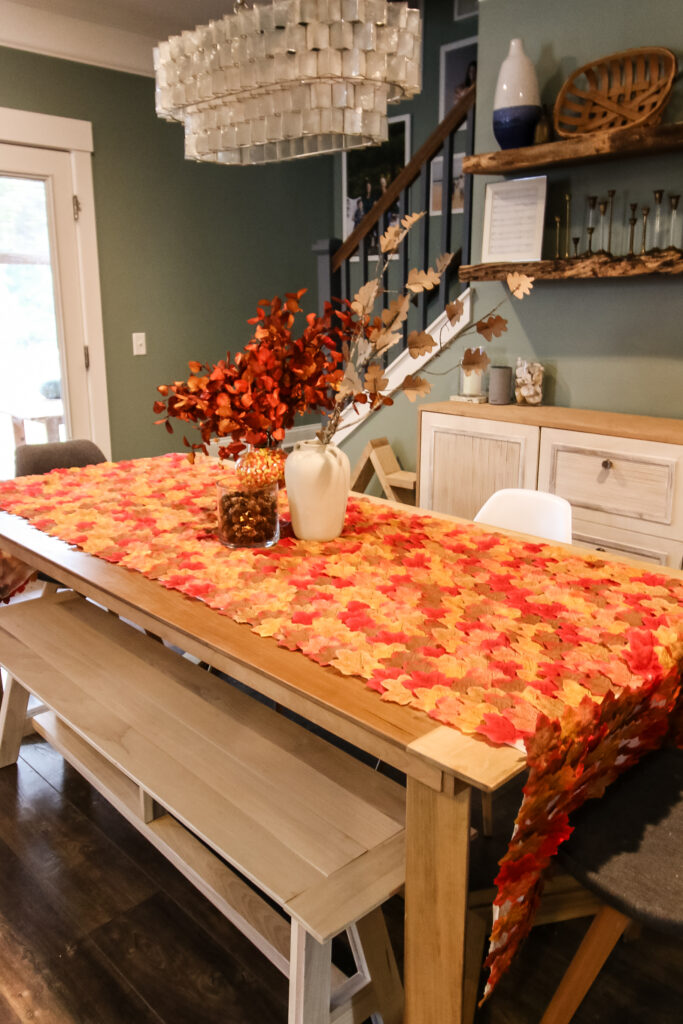
I paired mine with a pine cone candle vase, paper bag faux leaves, and a candy corn vase centerpiece for the ultimate autumn aesthetic.
Video tutorial
Prefer to watch? Click here or the image below to watch my video tutorial!
Happy fall decorating!
Looking for something?
We've been doing this since 2012 so we have a LOT of blog posts!
Search stuff like: Ceiling Projects | DIY Plant Stands | Thrift Flips


Hello, I'm Morgan, half of the creative force behind CharlestonCrafted.com! With a passion for DIY that dates back to 2012, I've transformed three homes and now I'm dedicated to helping others craft their dream spaces. Let's turn your house into a home together!


