Create your own DIY faux tropical window box with this simple tutorial! Get a lush, low-maintenance look that adds instant curb appeal—no watering required.
We have a window box style planter hanging from our front porch. Sean built it!
Here is the tutorial on how to make this window box style planter!
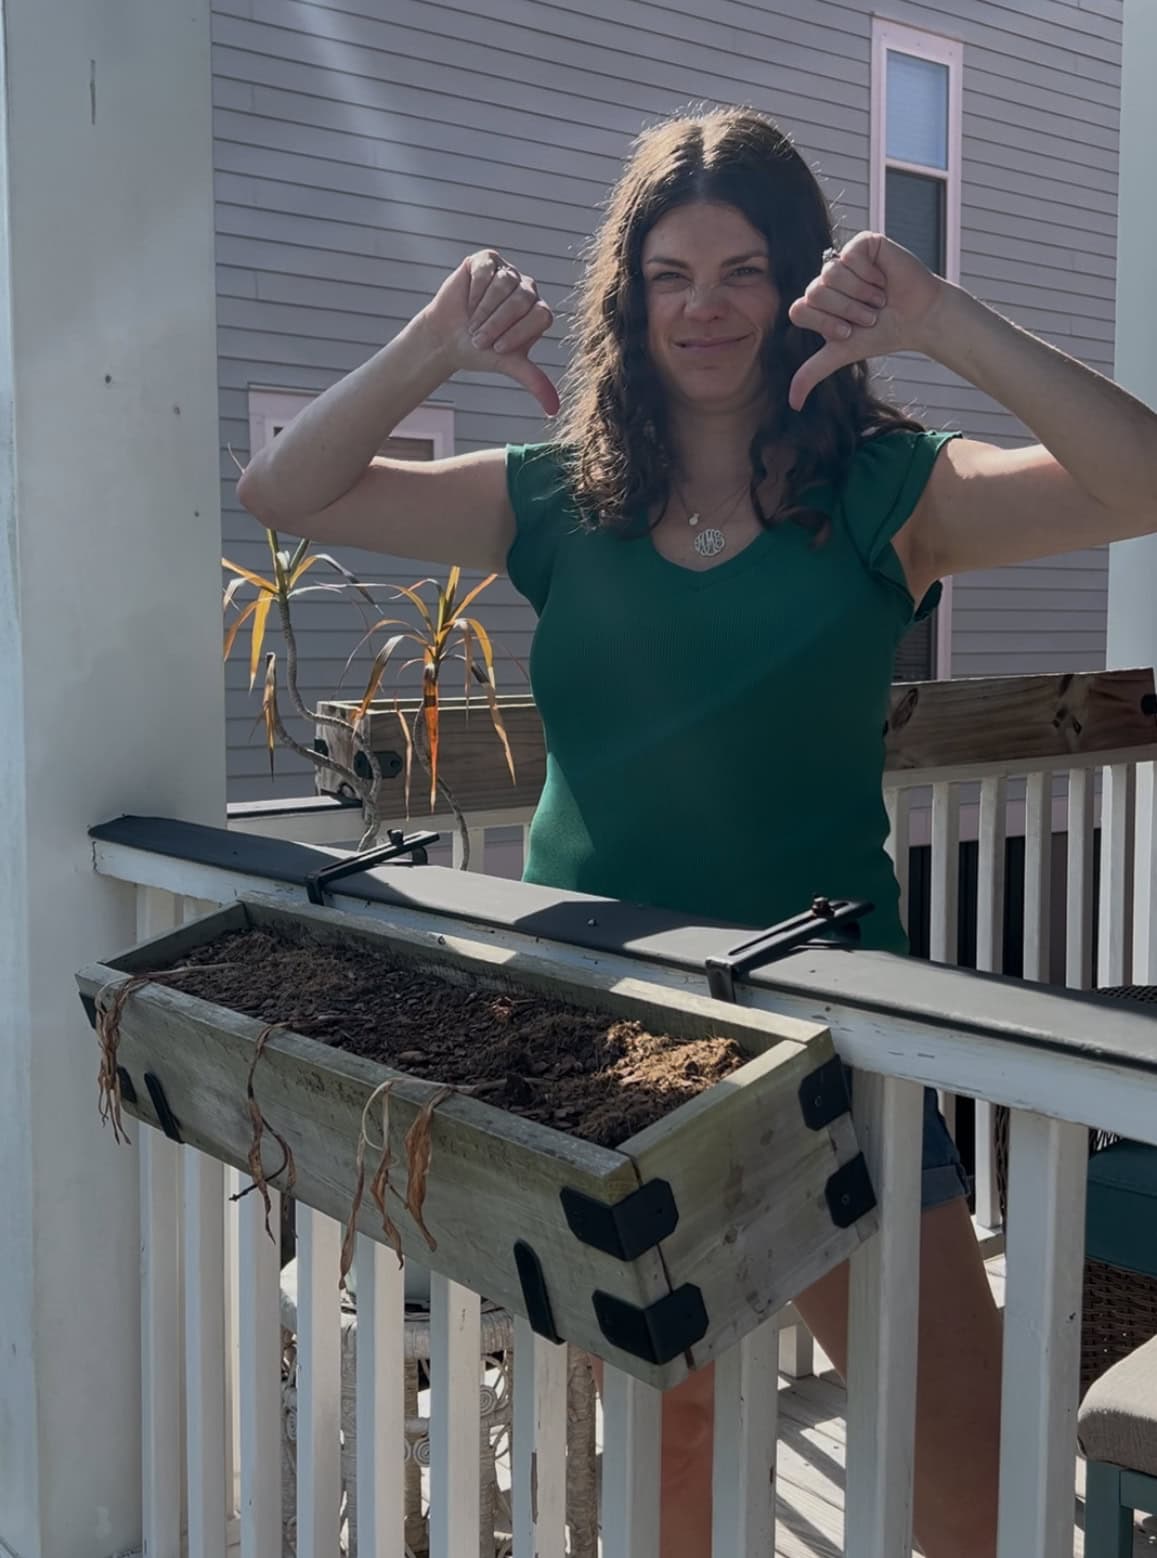
However, this spot gets cooked with full sun. I have had the hardest time over the last 5 years keeping plants here.
Seriously, they don't last a month, even with careful watering!
So, I decided to try faux plants for this summer season.
I was so excited to find a kit of greenery picks designed to fill a window box with a super lush tropical look.
And, it cost less than I usually spend on 3-4 plants for this planter. Win-win!
Here's what I did and my top tips for a realistic look.

How to make a DIY Faux Tropical Window Box
To make this window box, you will need 3 things:
- a window box planter
- soil to fill OR floral foam to fill
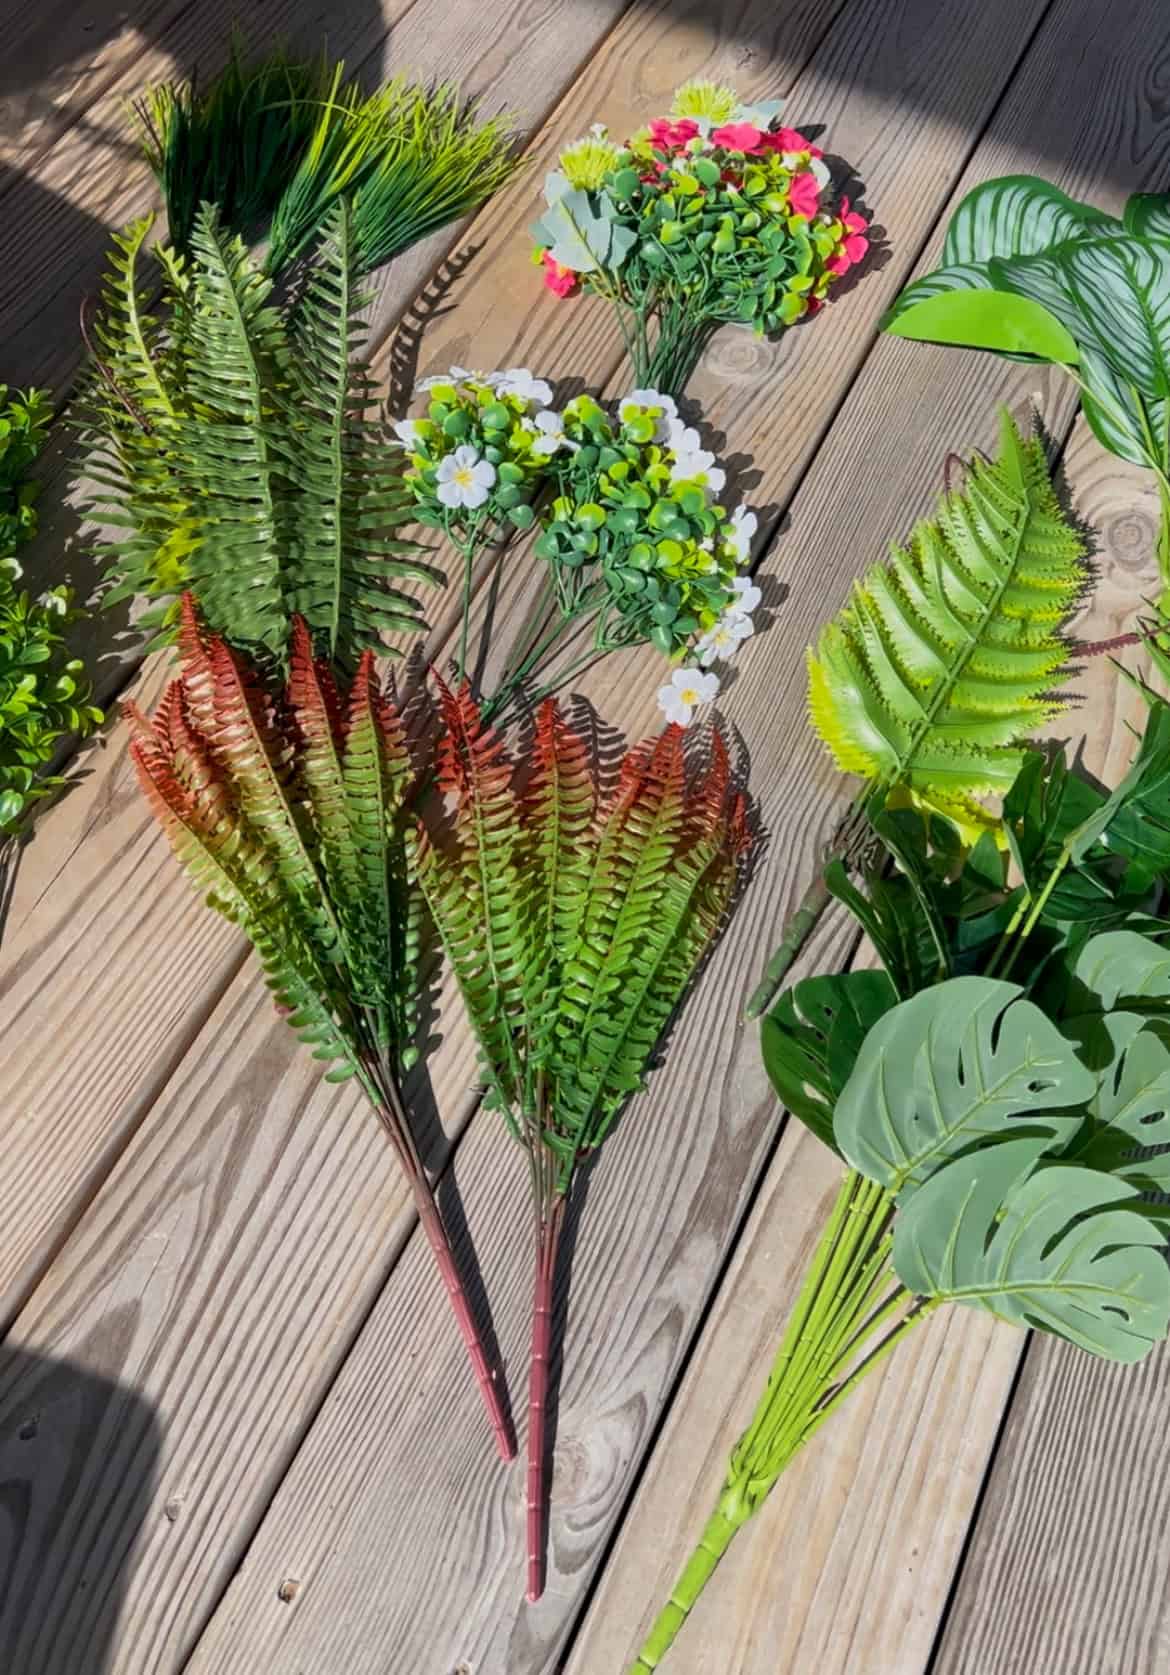
- this tropical plant pick set
This set is enough to fill an approximately 2 foot wide planter and have it look very lush. If your planter is slightly larger, 1 box will be fine. If it's much larger, you might want to order 2 packs of plants!
How to set up your planter to look it's best!
You can just stick the plant picks in the soil, but there are a few tips to make it look as good as possible!
First, take some time to fluff your branches. Separate them and gently bend the wire in the branches so they are spread and look more natural.
Then - plan your layout strategically. I have shared my tips for styling a planter before, but you really want to set up your planter with:
- Growers in the back - tall plants to create a backdrop
- Overflow-ers in the front - plants to hang down and add texture and interest
- Show-ers in the middle - these are your flowers or most eye catching greenery, the focal point.
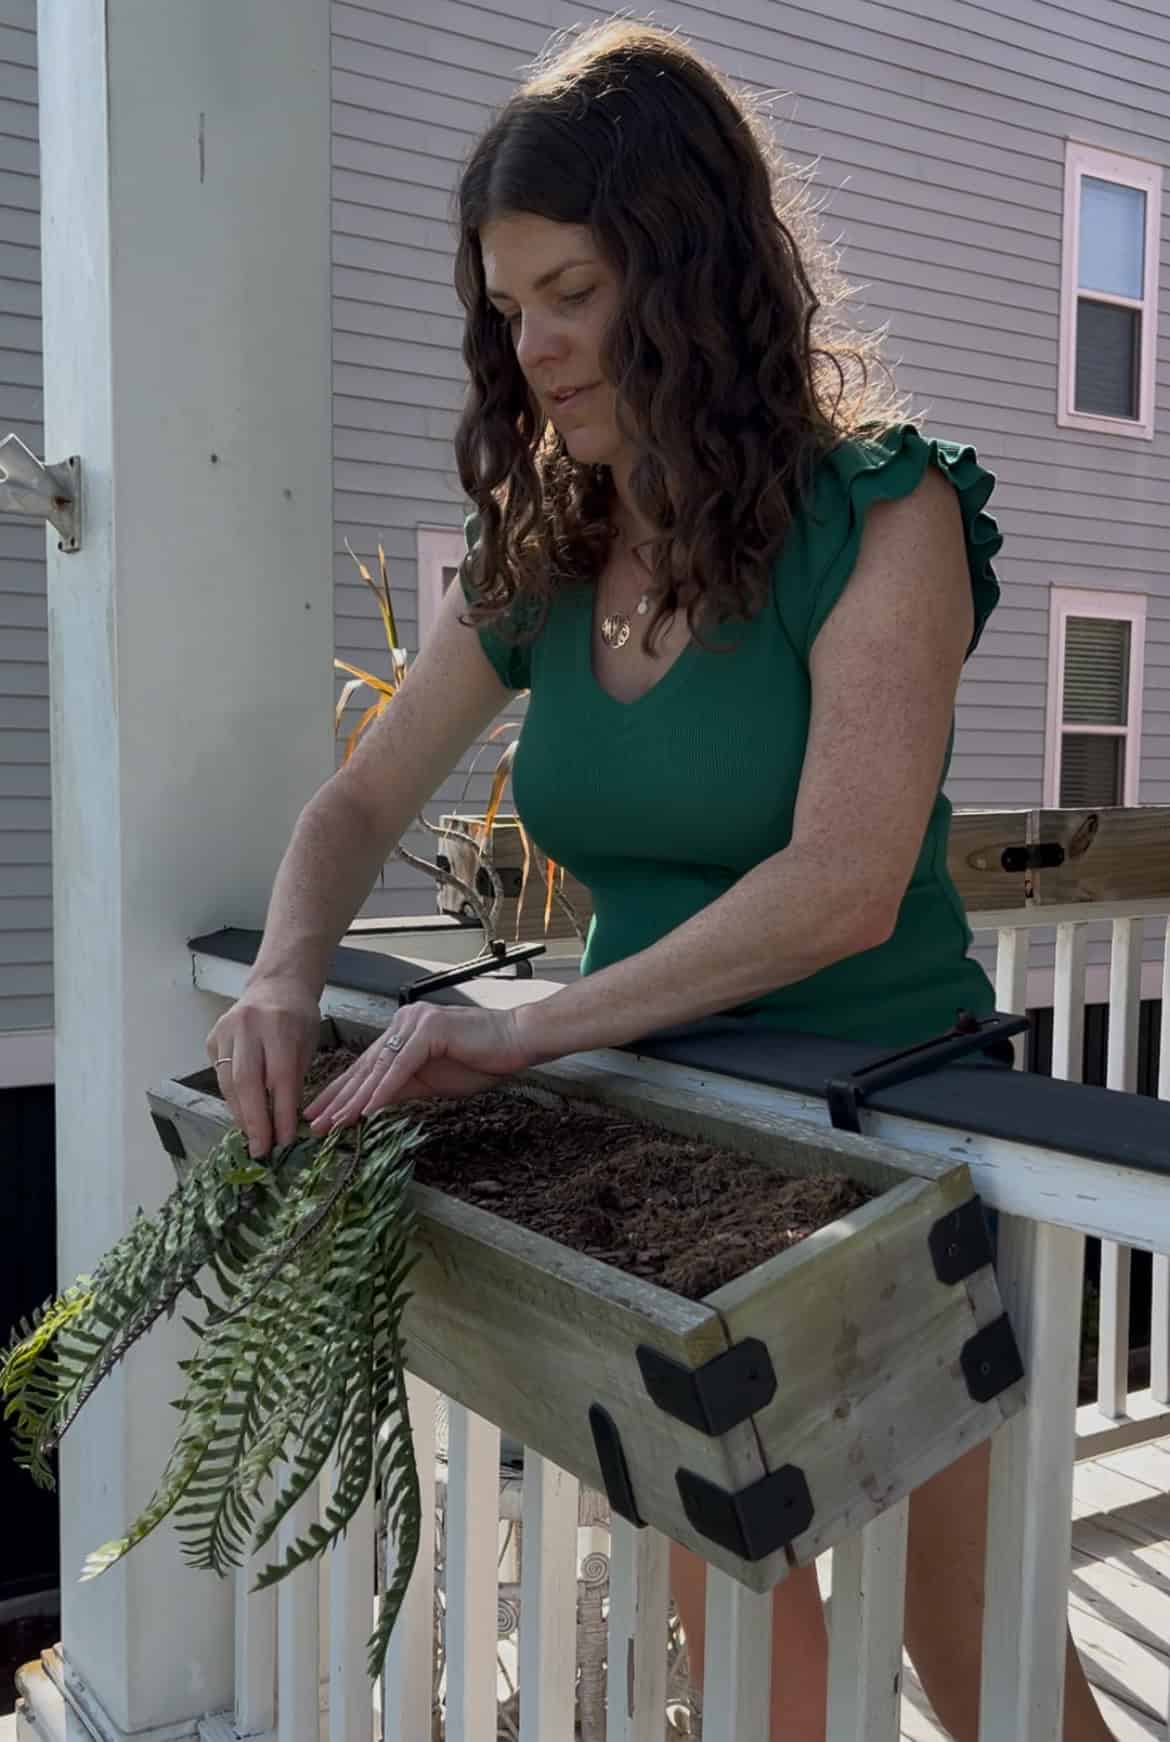
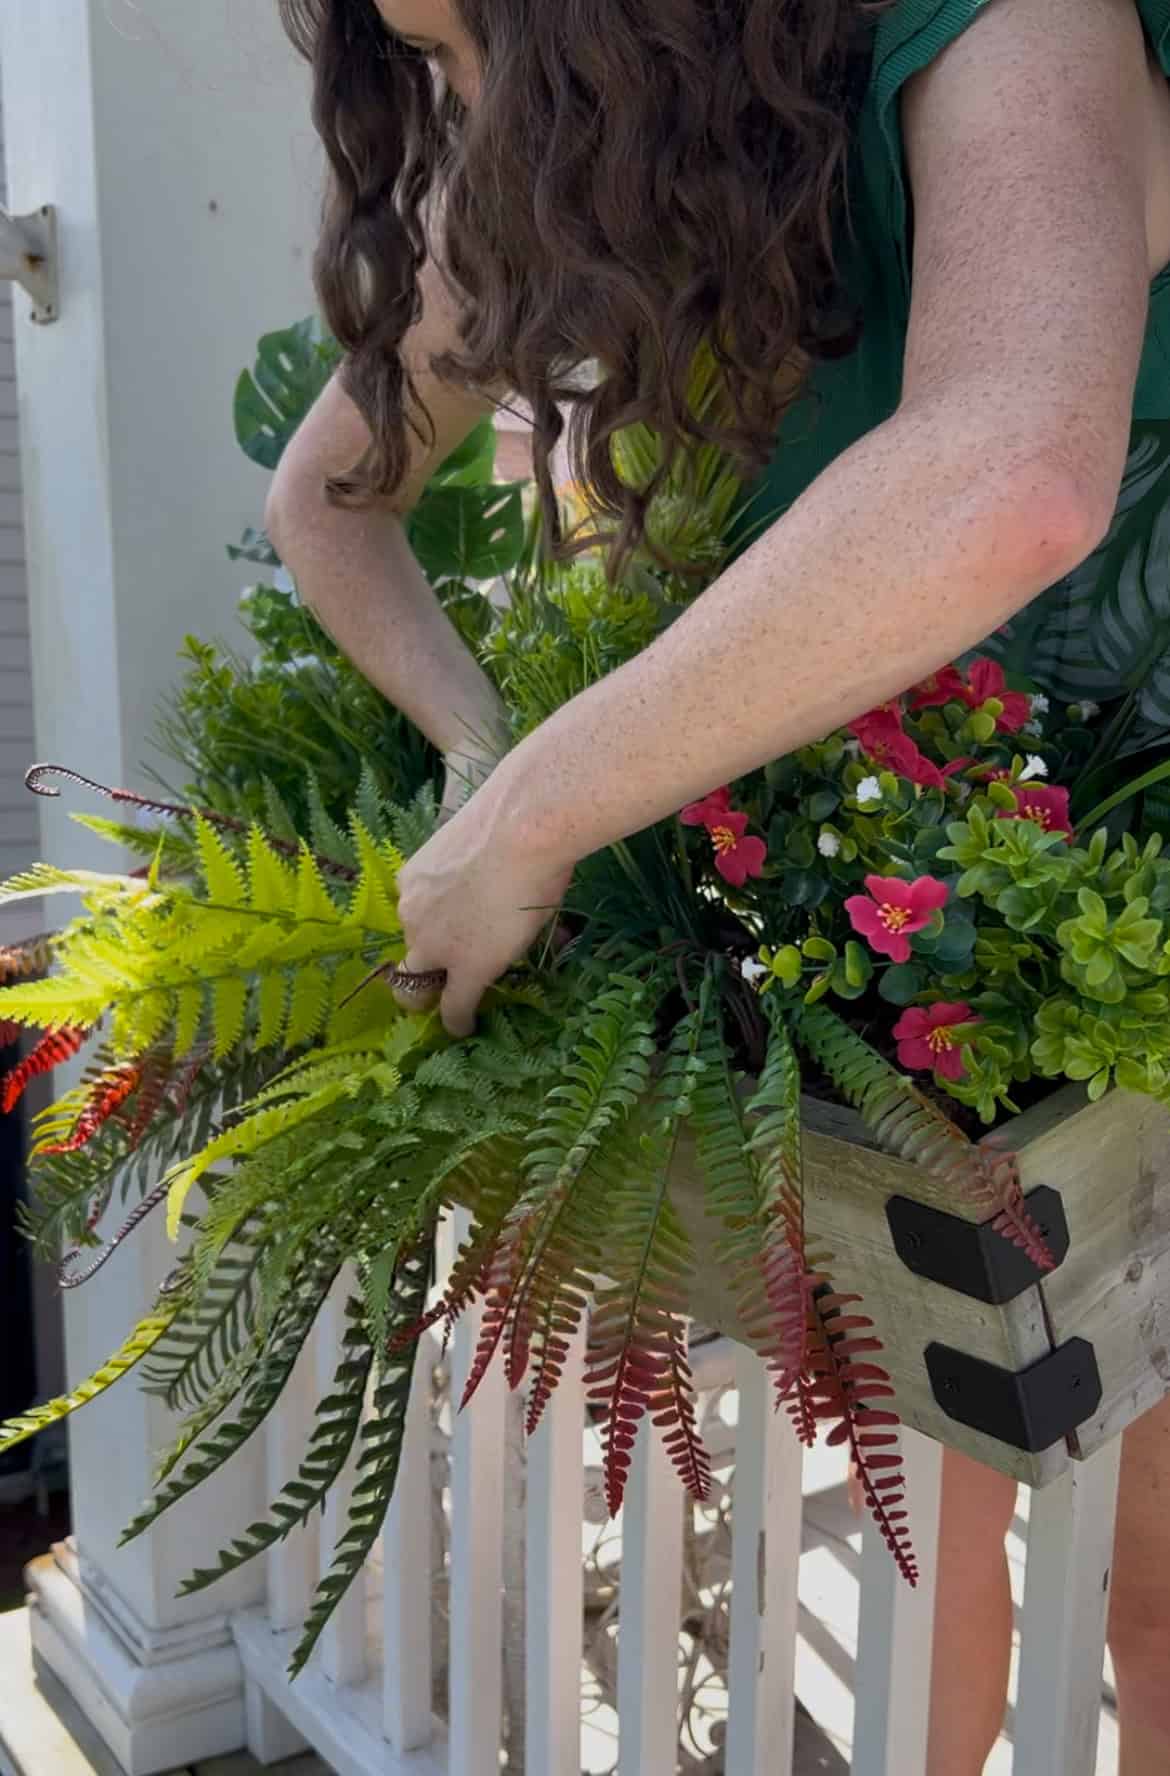
I started by adding the fern pieces to overflow out the front. But notice - I didn't just stick the picks in. I had to bend the wire branches so they would hang downward and look like real ferns.
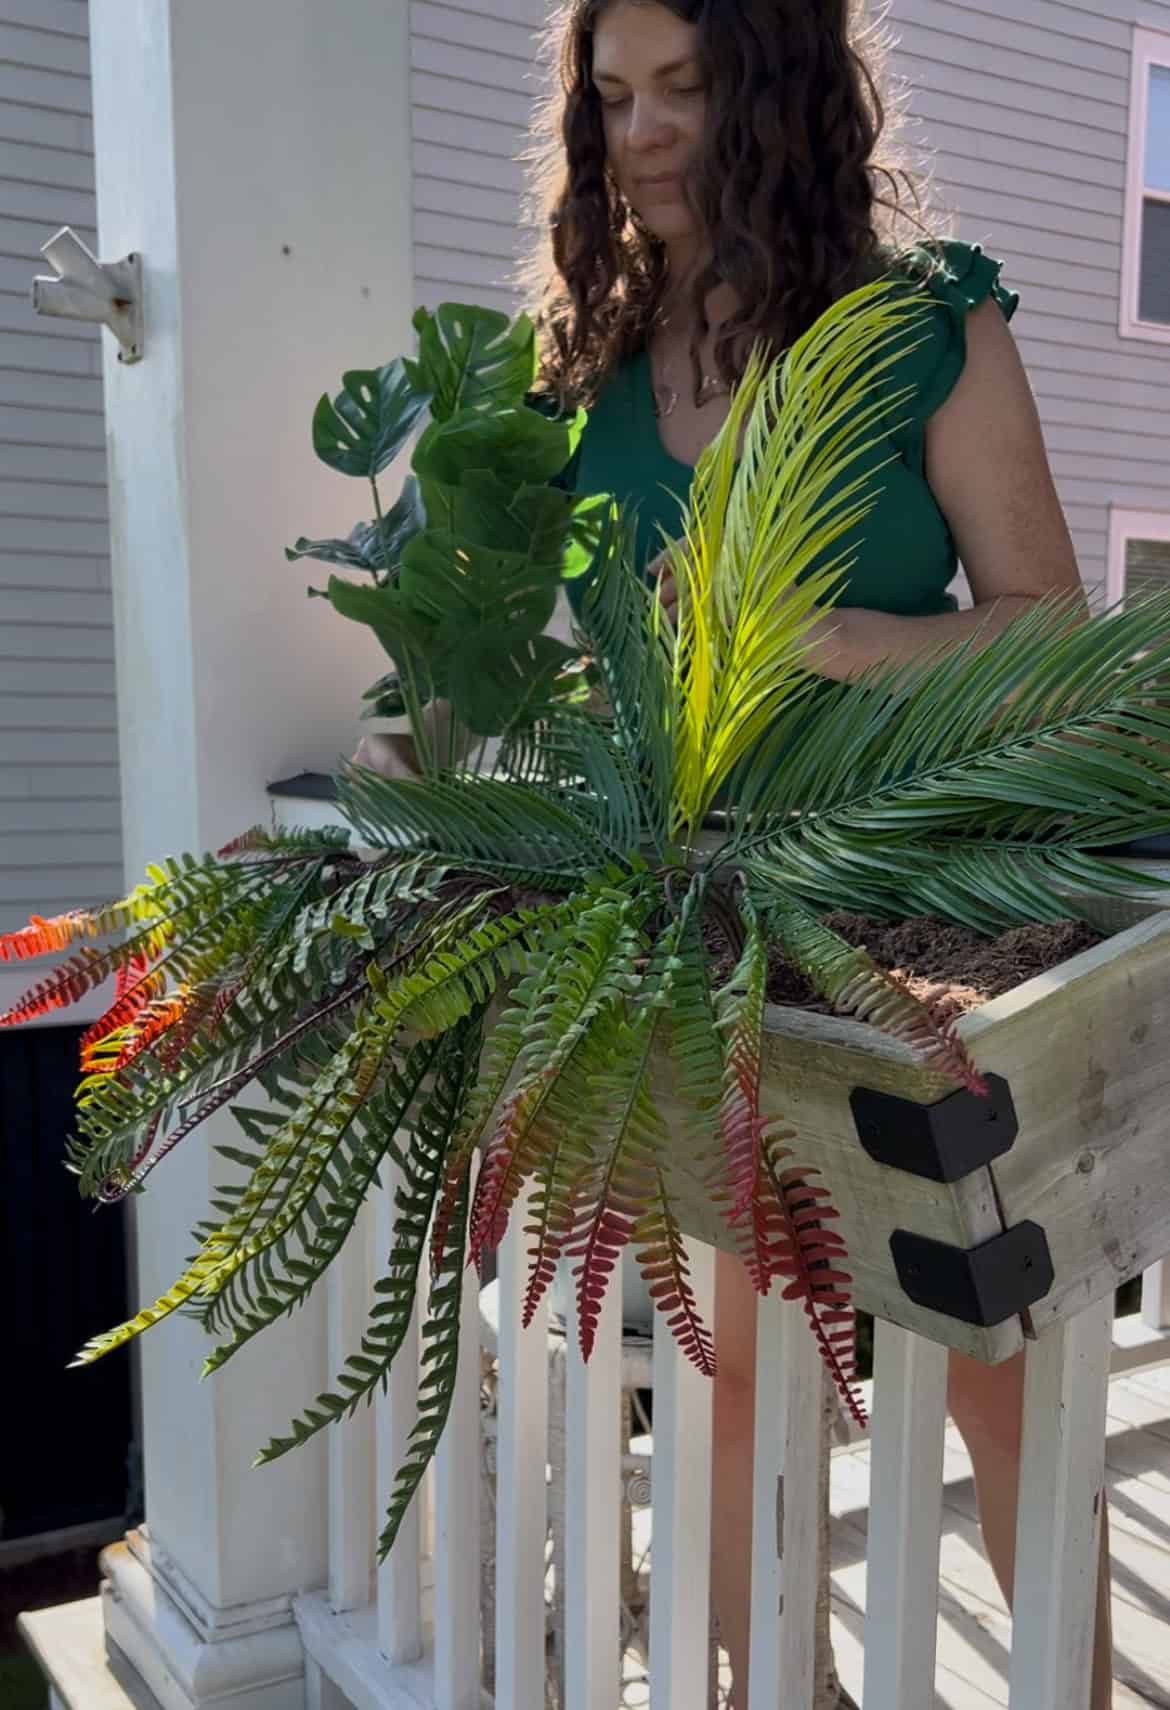
This set included several palm type pieces that were perfect for the back. I spread them like fans for maximum coverage and drama.
Then I added the florals and mid-sized plants to the middle of the planter.
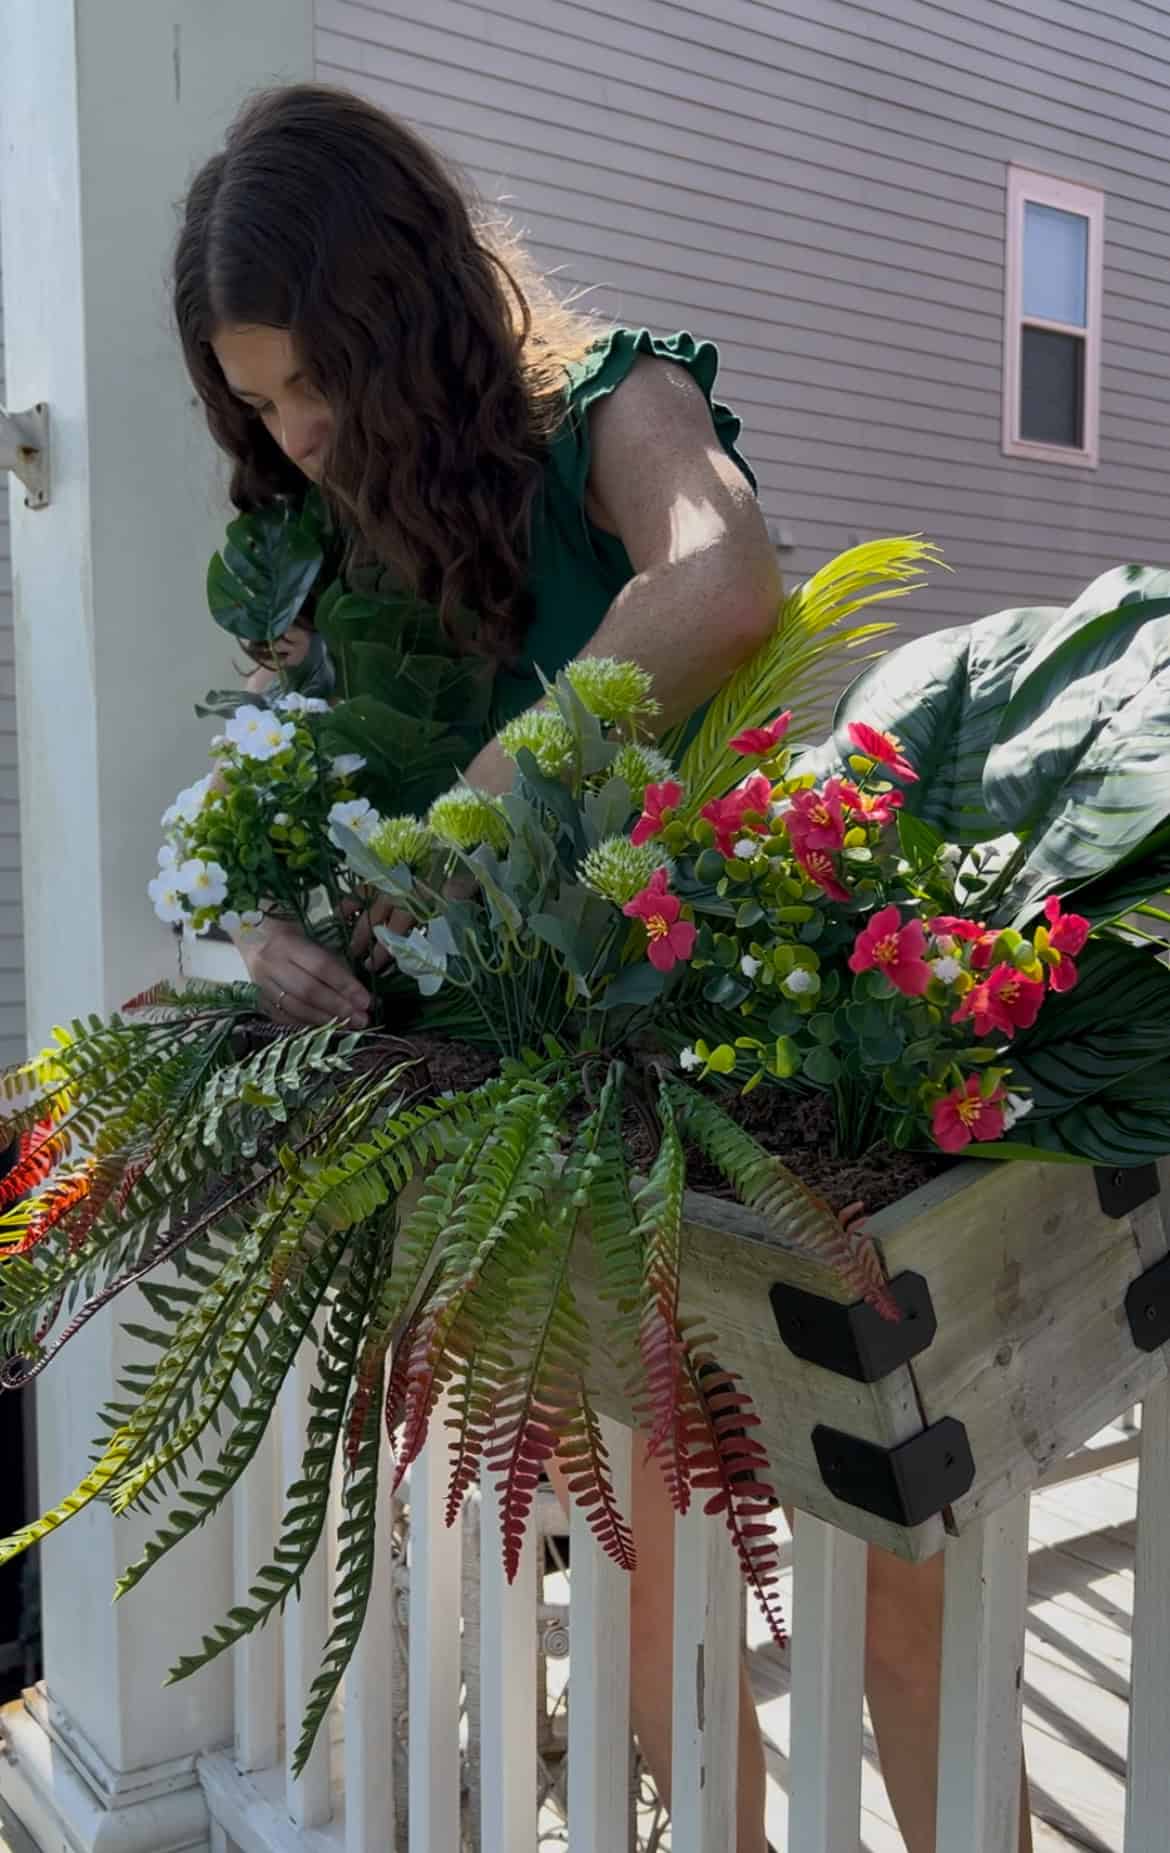
Finally, I filled in with some of the smaller greenery like grass and boxwood, just to fill in the empty areas.
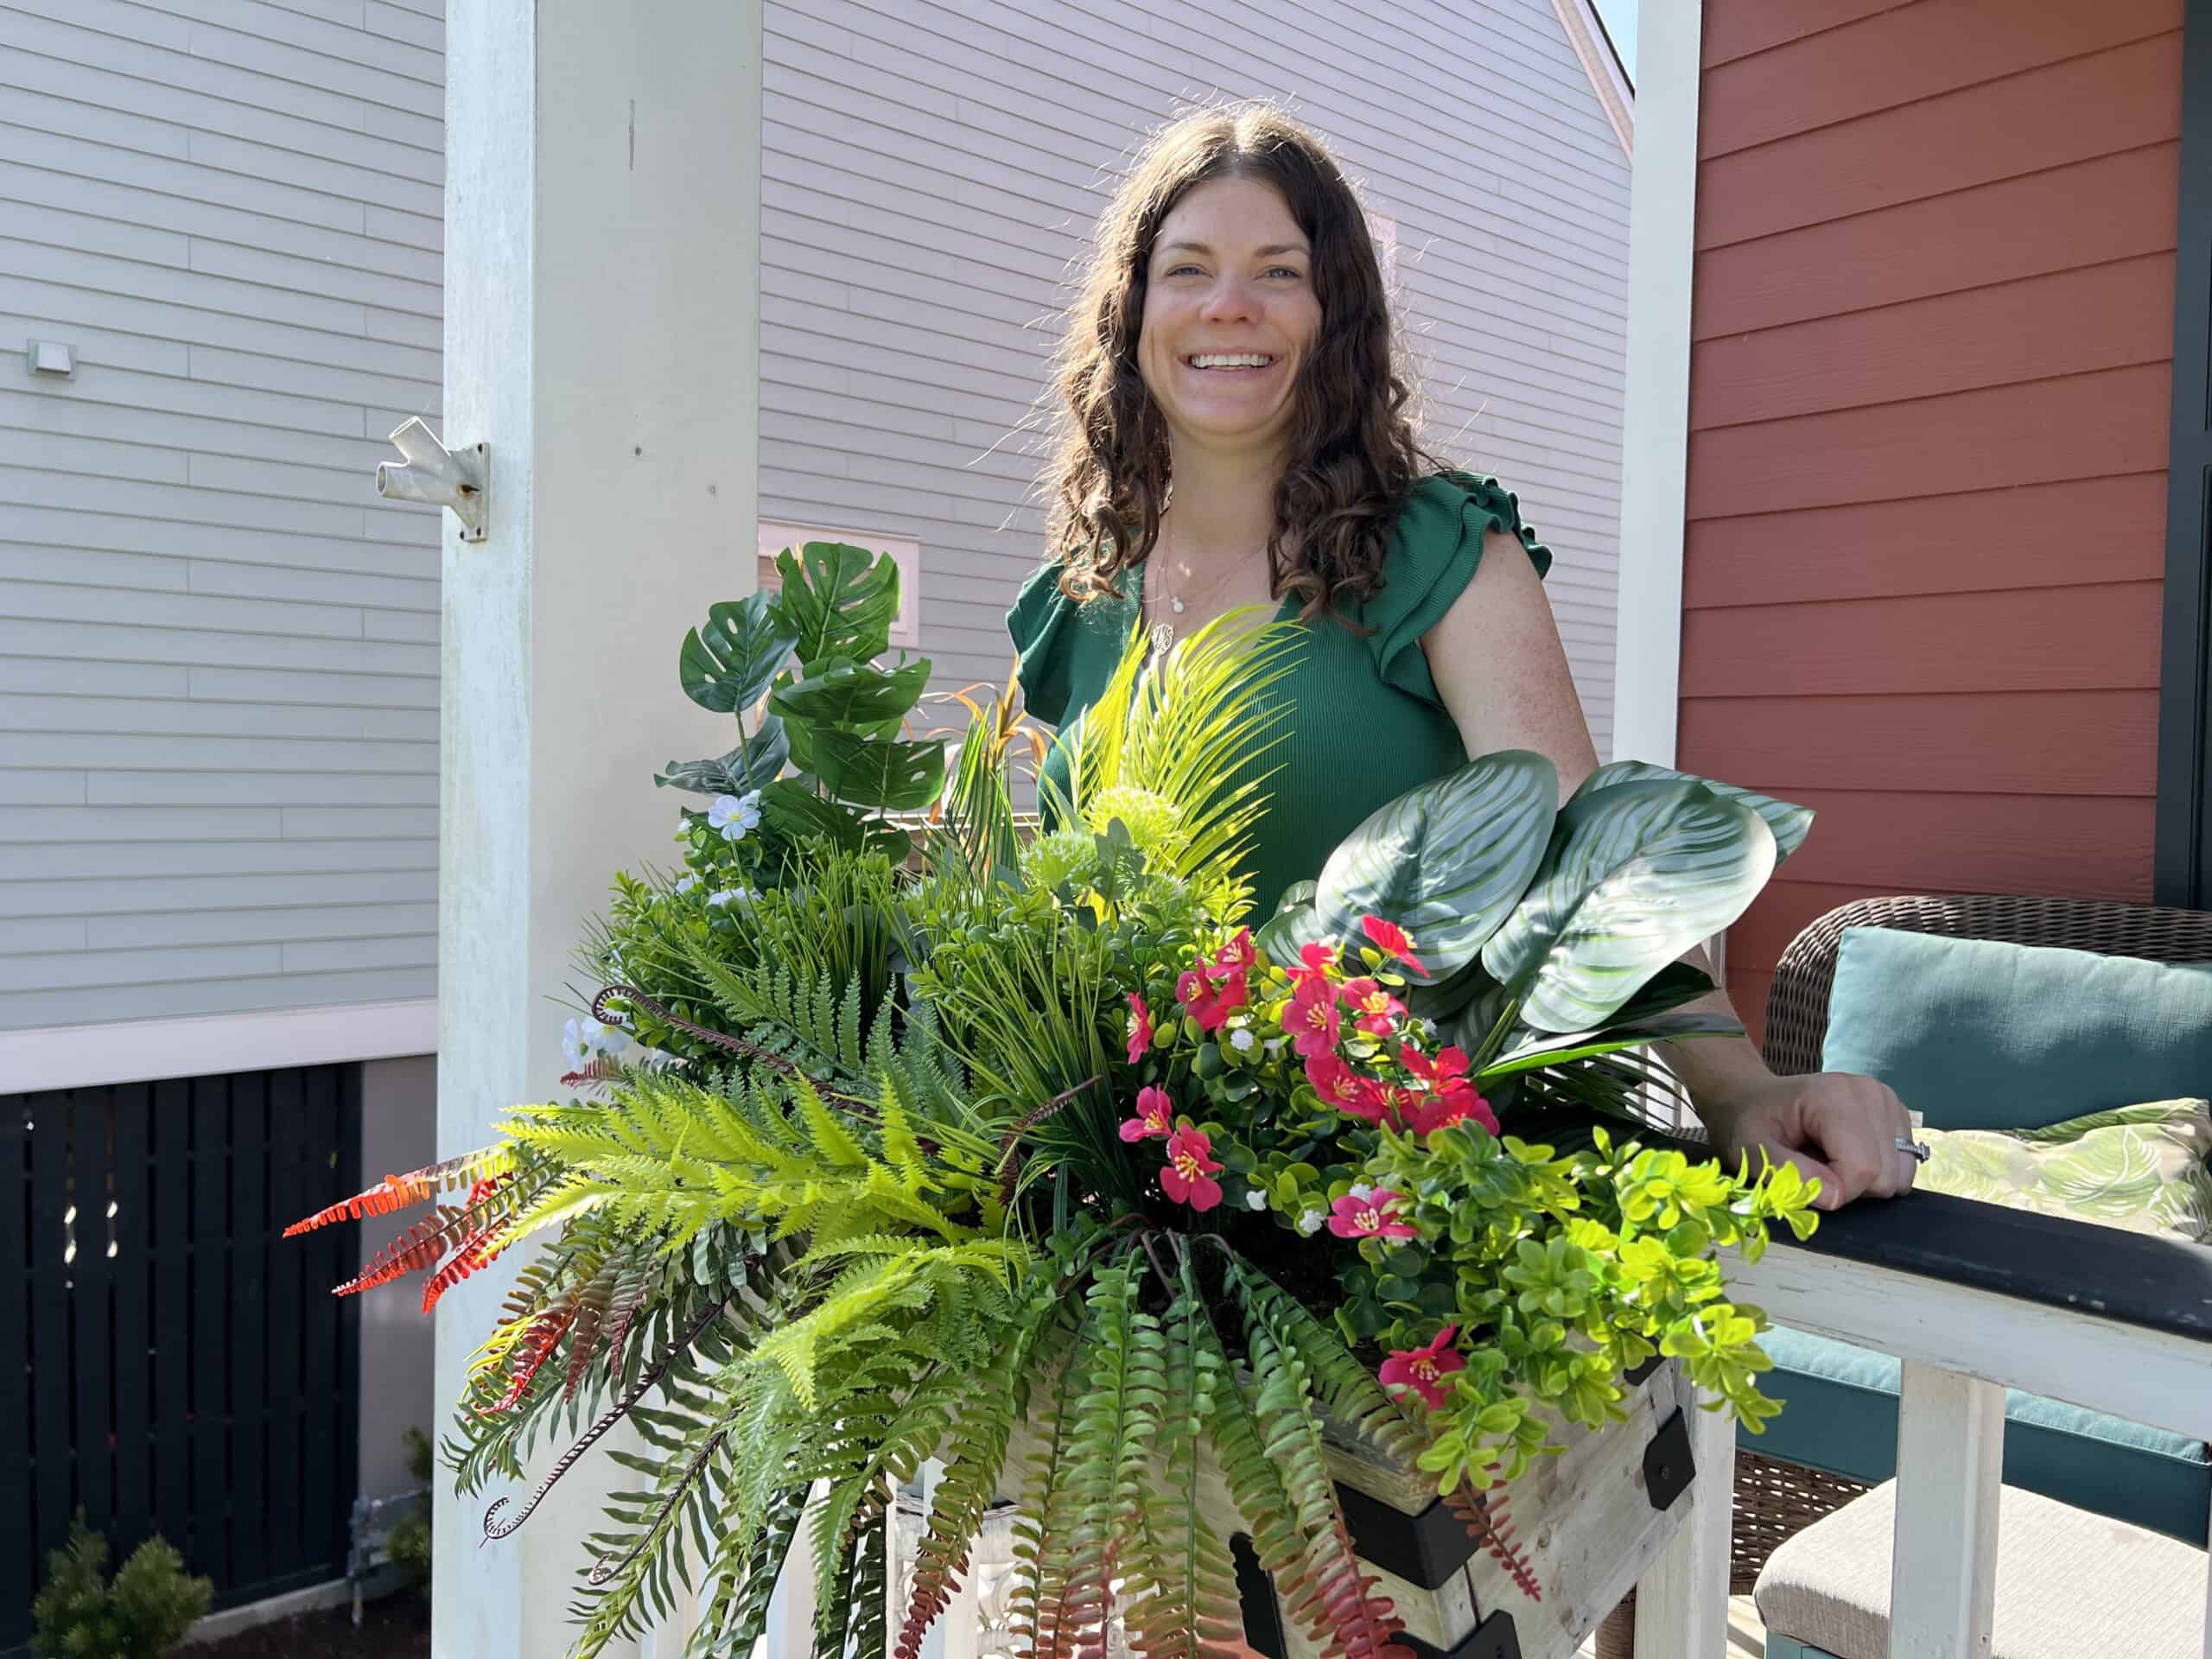
The result is a super lush, tropical looking planter. It cost me less than $30, I don't have to water it, and it took less than 5 minutes to assemble.
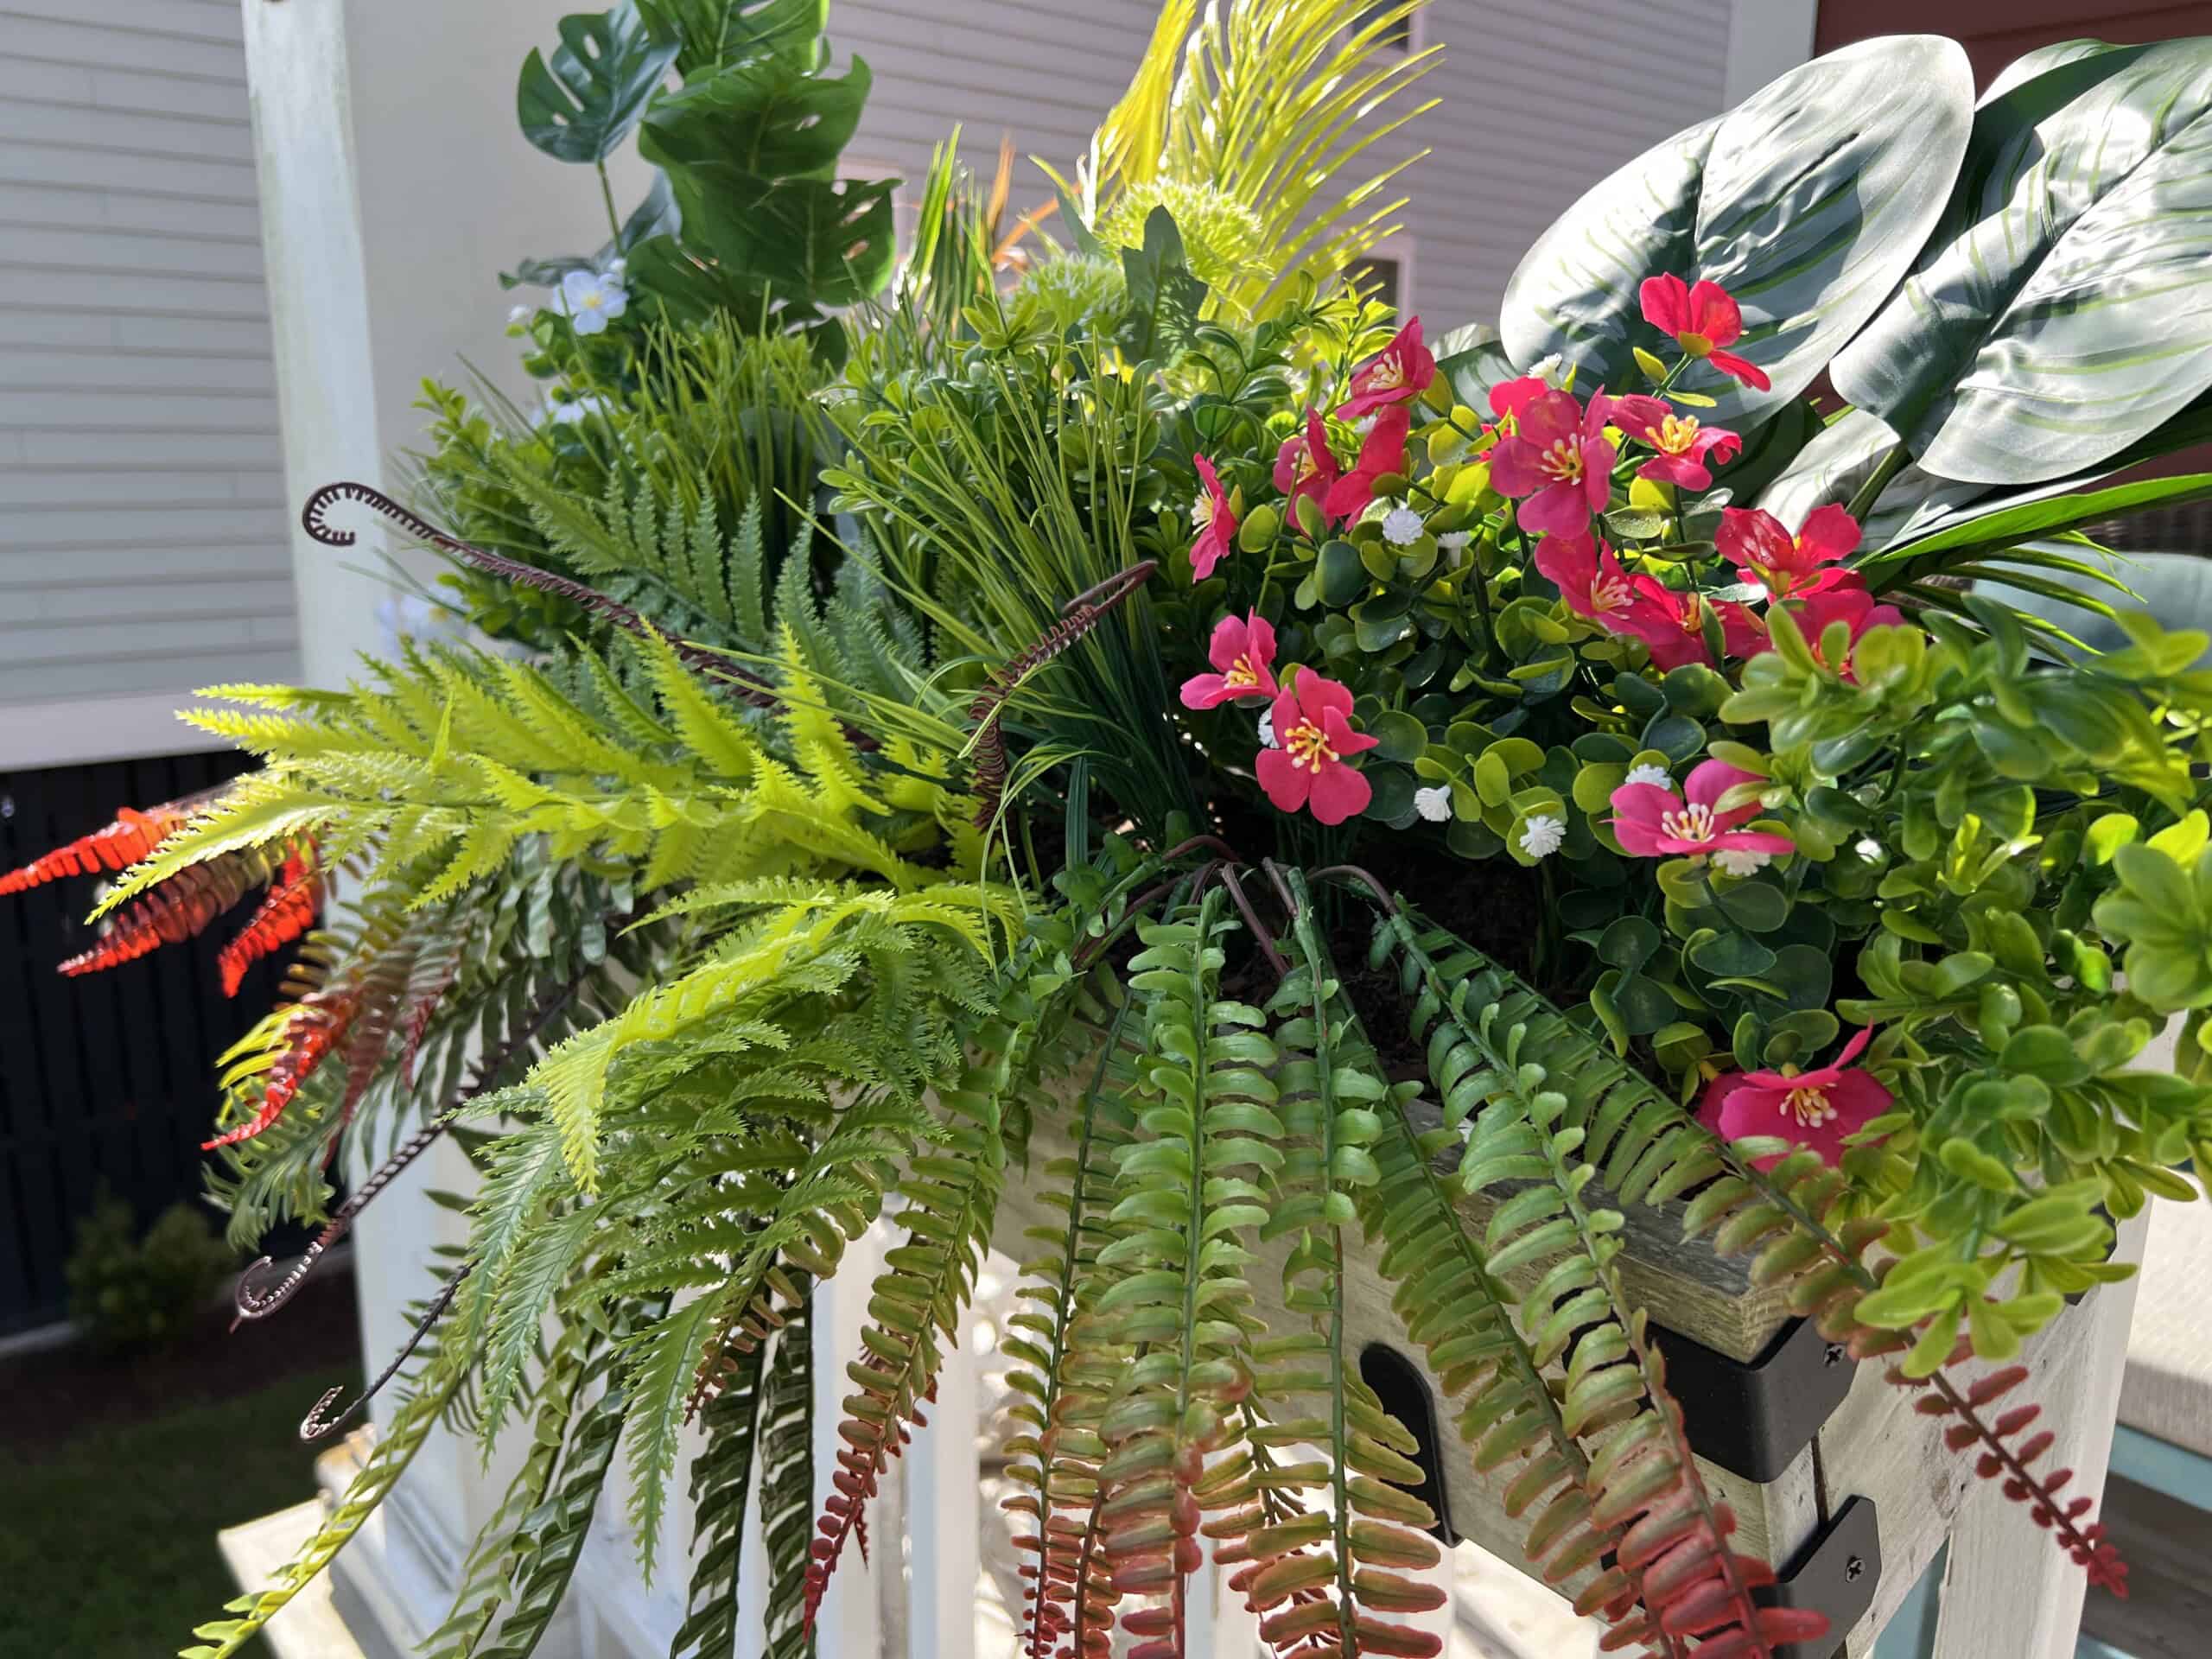
I am calling it a summertime win and am excited to enjoy this planter all season long!

Looking for something?
We've been doing this since 2012 so we have a LOT of blog posts!
Search stuff like: Ceiling Projects | DIY Plant Stands | Thrift Flips

Hello, I'm Morgan, half of the creative force behind CharlestonCrafted.com! With a passion for DIY that dates back to 2012, I've transformed three homes and now I'm dedicated to helping others craft their dream spaces. Let's turn your house into a home together!