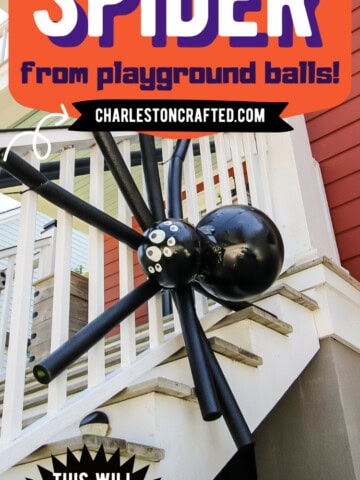
Want to add a dramatic touch to your Halloween decor? Here's a step by step on how to make a DIY giant spider for your spooky yard!
I absolutely love decorating for Halloween. And, while I do buy a lot of decorations, my favorite decorations are the ones that we have made.
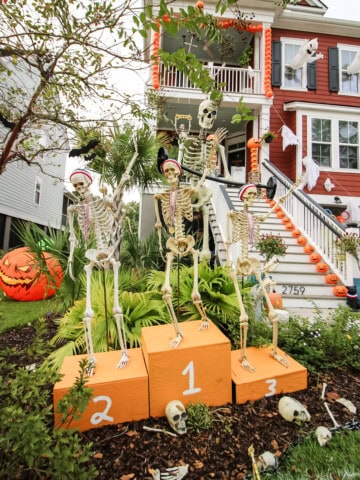
We already have a lot of ghosts and pumpkins and skeletons, but one thing that I felt that our Halloween yard decor was really missing was spiders.
So, this year I decided to make a couple of extra large spiders for Halloween decor.
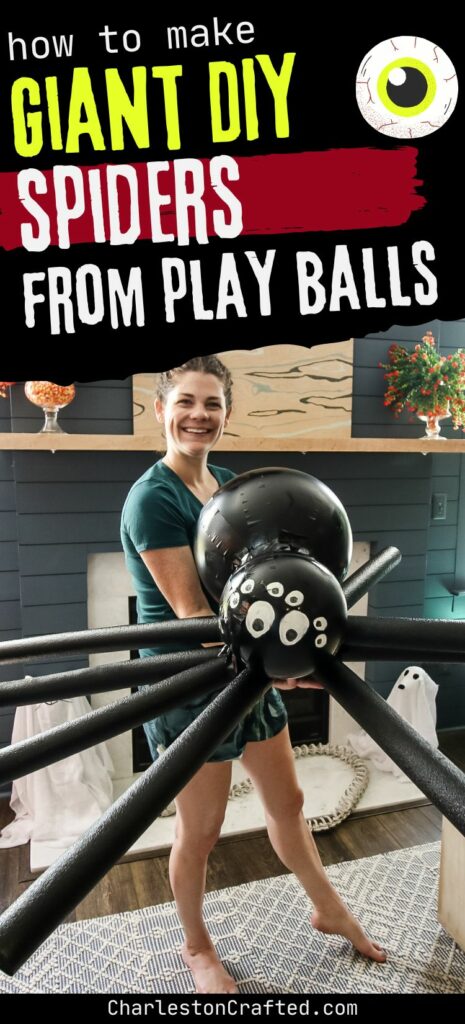
There are a few different ways you could do this, but for this one, I decided to make it from playground balls.
I actually got these balls at Walmart from one of those giant net bins in the toy section. They are very inexpensive if you buy them that way. I will link them from Amazon below, as well, just know they are slightly pricier to order online and you'll have to inflate them.
Anyways, let's get into how we made this super cute giant spider.
How to make a DIY giant spider from balls
Here's what you need to know about making these fun Halloween decorations!
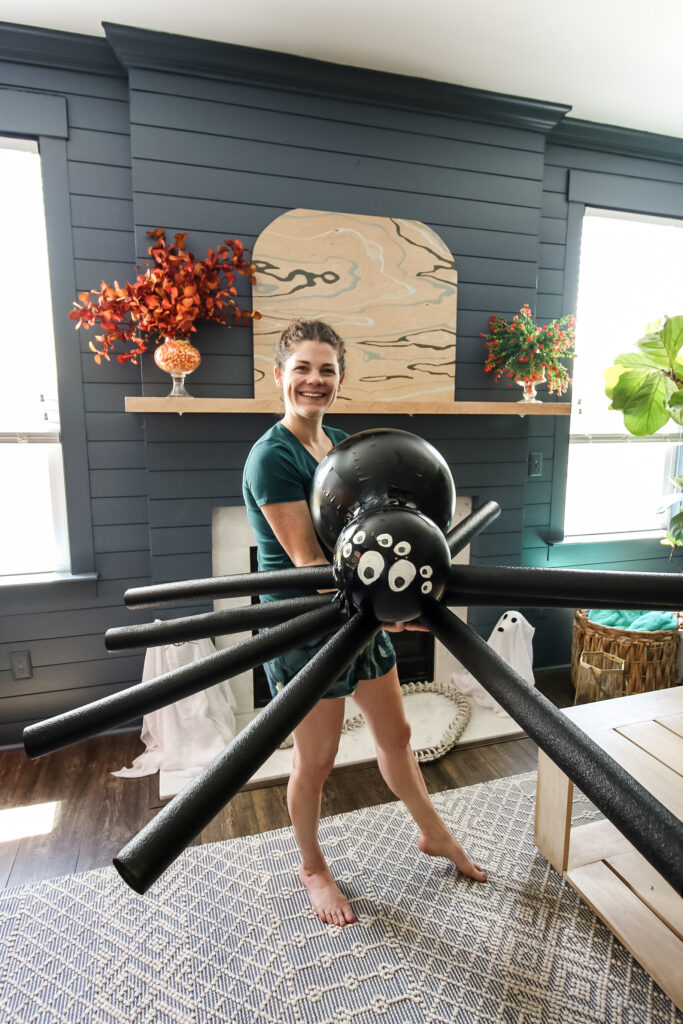
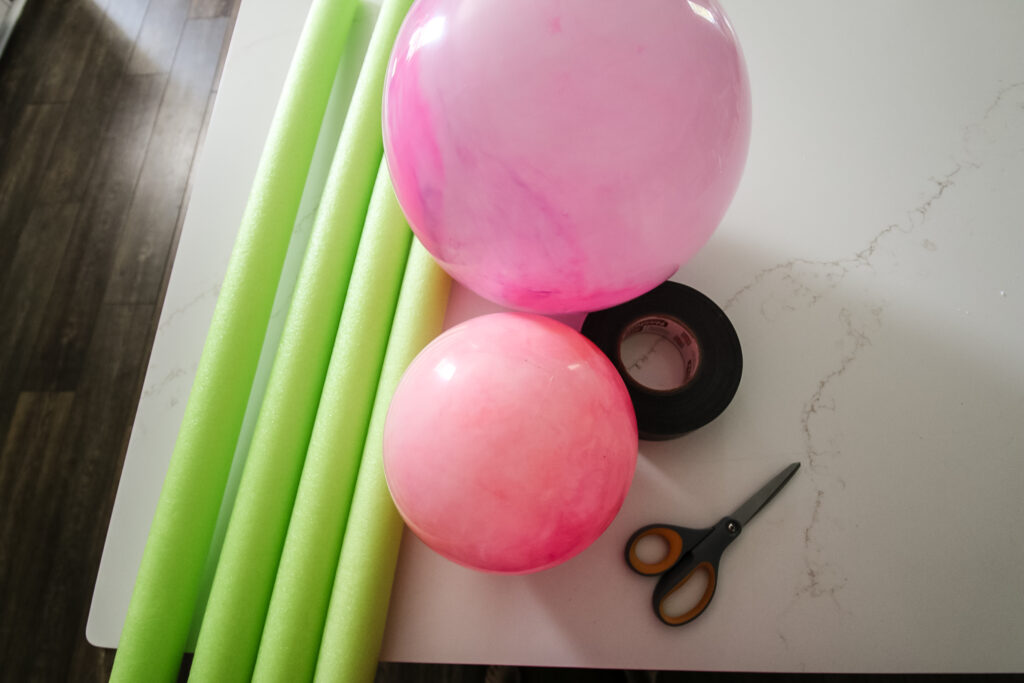
Supplies needed:
- 2 playground balls - I used this one 9" and one 12"
- 4 pool noodles
- hot glue
- black duct tape
- black spray paint
- white craft paint
- glow in the dark craft paint
- black craft paint
- small paint brush
- zip ties - to hang
Steps to make:
Here's how to make this giant spider!
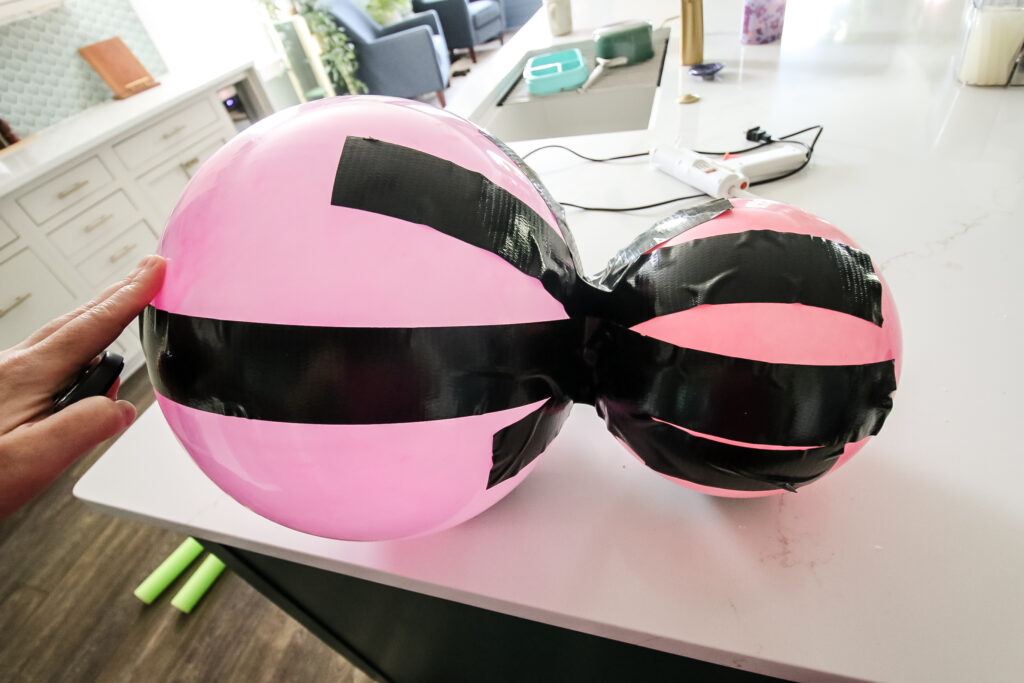
STEP 1: Connect the balls
Use hot glue to connect the 2 balls together. Hold together firmly until the glue dries.
Then, cut strips of tape around 12" long and lay them across the 2 balls to connect them, pushing the tape down into the gap. Repeat around the balls until they are firmly together.
Finally, cut pieces of tape 12-18" long and wrap a few of them around that connection between the two balls to hold the tape together and stabilize the two balls.
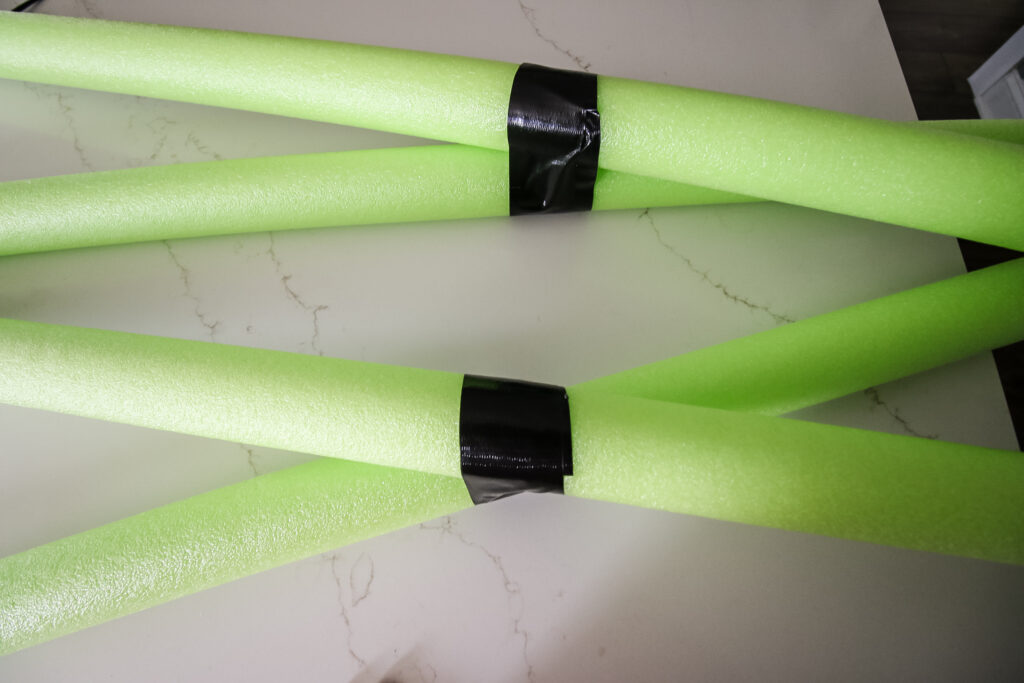
STEP 2: Make the legs
Take 2 pool noodles and make an X shape. Wrap duct tape around the center of the X to hold in place while keeping the noodles in the X shape.
Next, cut the other two noodles in half and lay the four pieces into the gaps of the X. Use strips of duct tape from the X to the new pieces on both sides. Add a few more pieces to attach them all together.
Make sure all the legs are secure with duct tape and now you should have 8 spider legs!
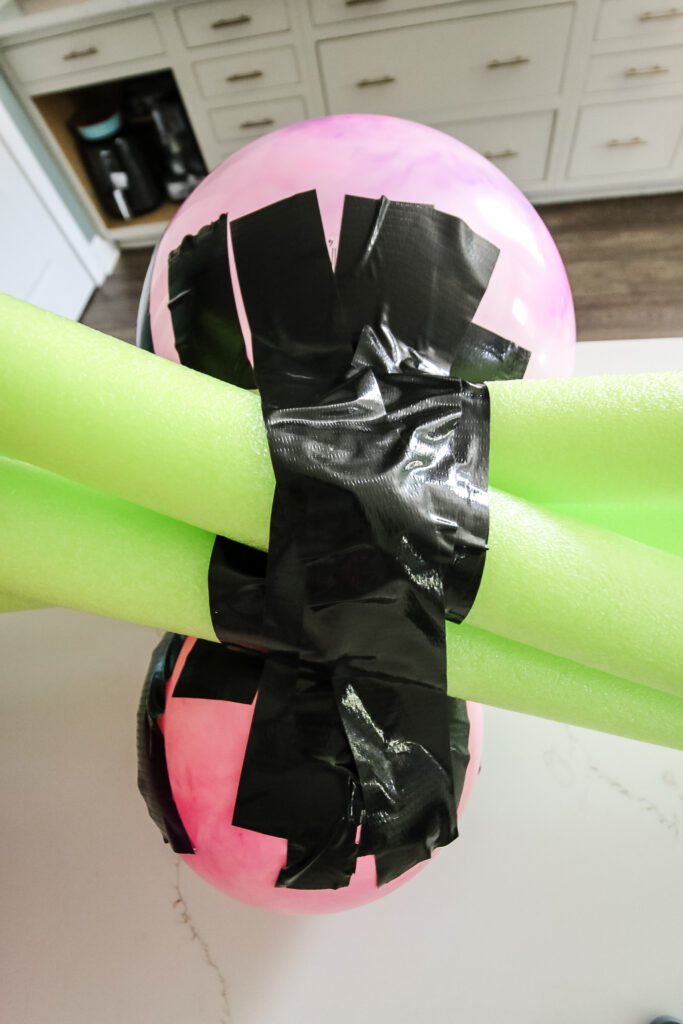
STEP 3: Connect the body + legs together
Place the legs on top of the ball body and line it up so that the double stacked connection of the X is in the gap between the two balls.
Use more tape to wrap them together! Take time to press all the tape firmly so it's well connected and not loose. It's best to wrap the tape around the gap between the balls and down around the legs.
You could add hot glue here before taping, but I did not!
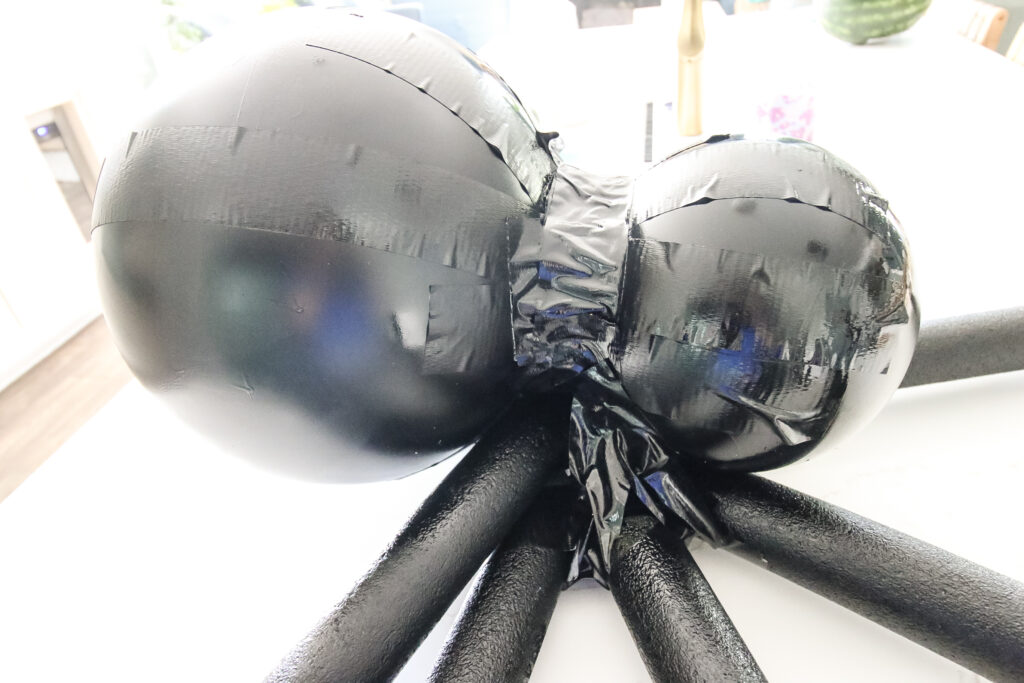
STEP 4: Spray paint
Paint the entire thing black. I laid out a drop cloth and spray painted two coats, then flipped and did two more coats on the bottom side.
Take your time and pay attention - there are a lot of nooks and crannies to get painted!
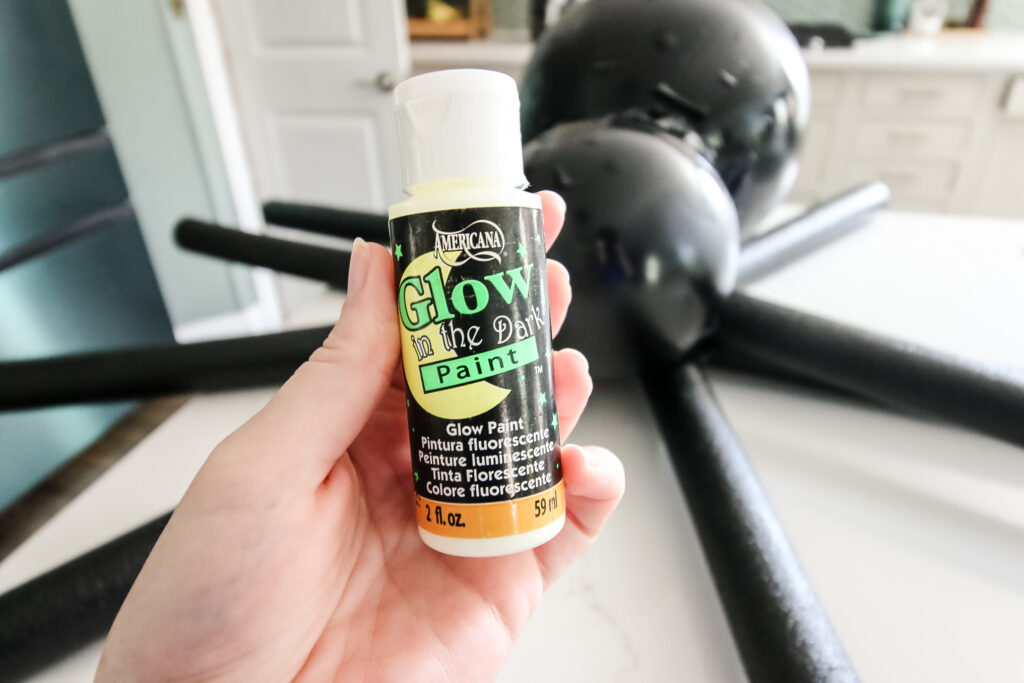
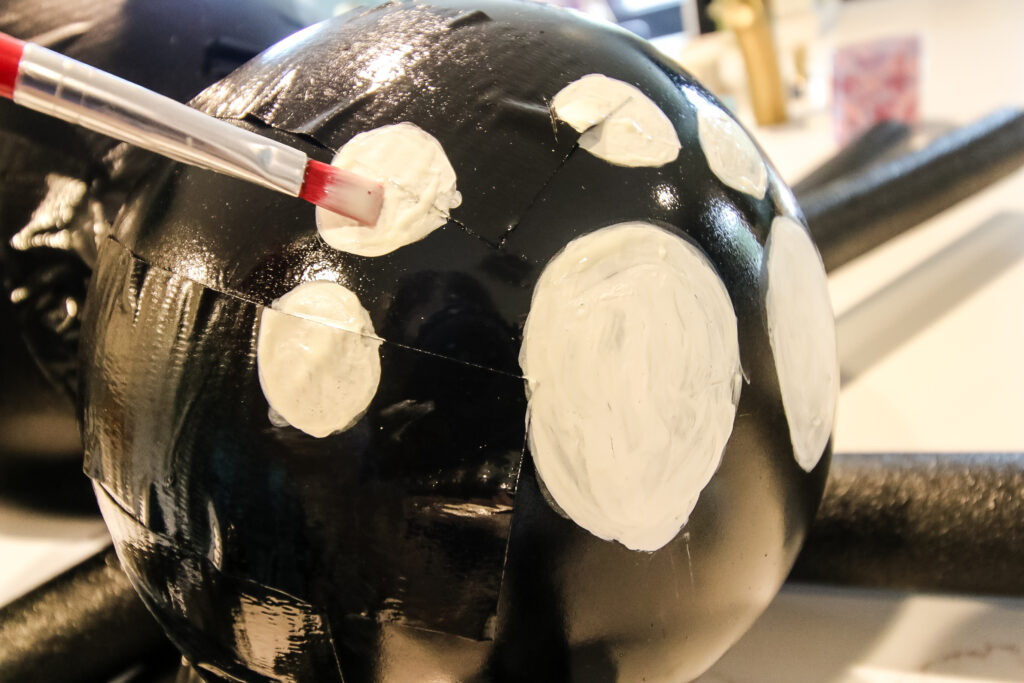
STEP 5: Paint the eyes
Use craft paint to add eyes. I decided to add 8 eyes - 2 big ones and 6 small ones - since my kids love the fact that spiders have 8 eyes!
I wanted to use glow in the dark paint, but found it to be quite transparent. So, I did 2 coats of white paint first and then put the glow in the dark paint on top of that.
I definitely found that painting wet paint over wet paint pulled the paint off, so let it dry entirely between coats!
I then used 2 coats of black paint to add pupils!
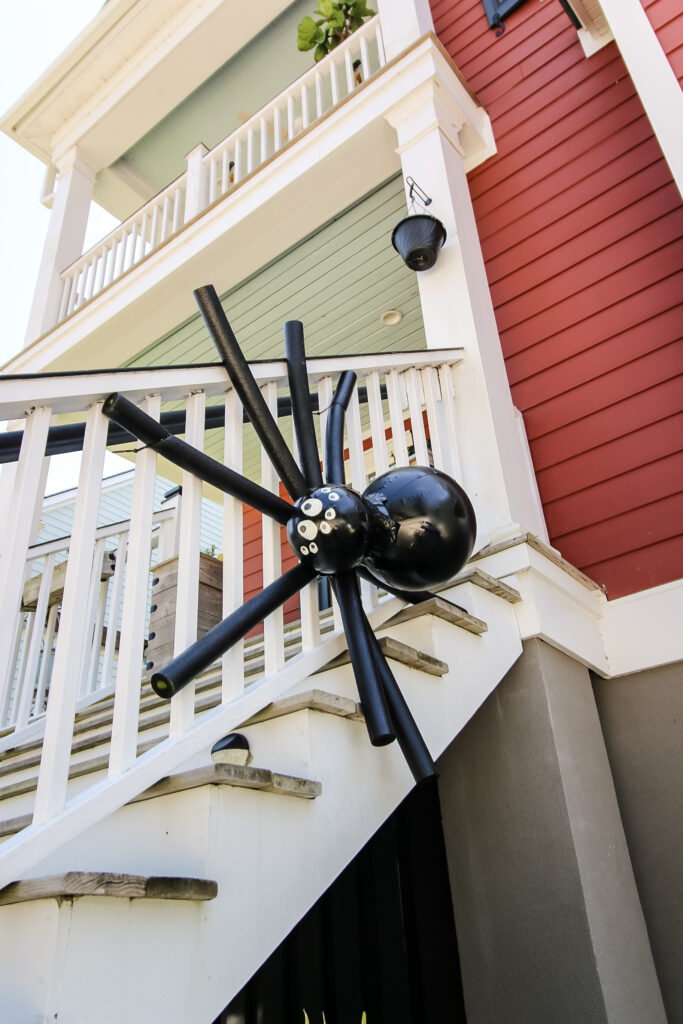
STEP 6: Hang and enjoy!
We hung our spider on the side of our railing using zip ties wrapped around the spider legs and the stair baluster. You could also add a zip tie around 2 legs and tie string or wire to the zip ties and hang that way.
Enjoy and have a spooky Halloween!
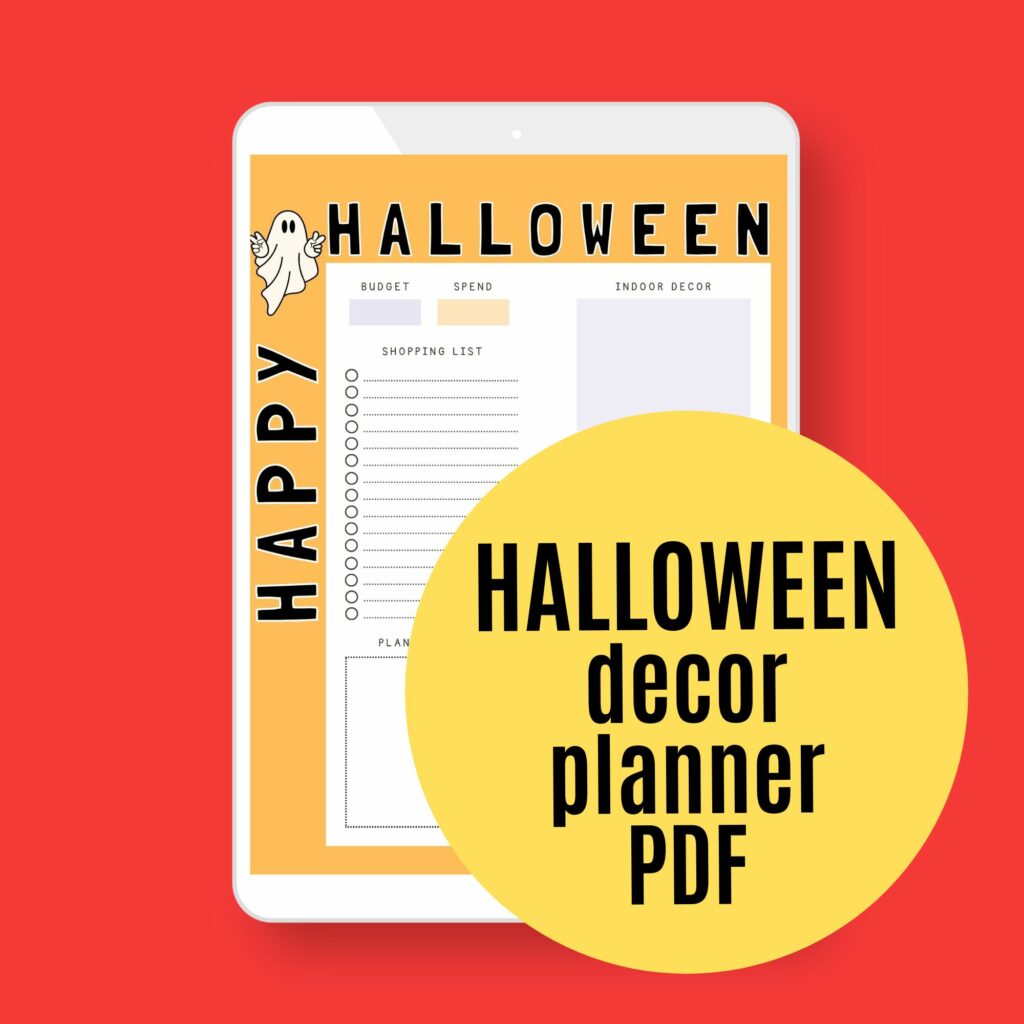
Planning a big Halloween?
Be sure to grab our FREE Halloween Decor Planner to get all of your plans organized!


Looking for something?
We've been doing this since 2012 so we have a LOT of blog posts!
Search stuff like: Ceiling Projects | DIY Plant Stands | Thrift Flips

Hello, I'm Morgan, half of the creative force behind CharlestonCrafted.com! With a passion for DIY that dates back to 2012, I've transformed three homes and now I'm dedicated to helping others craft their dream spaces. Let's turn your house into a home together!