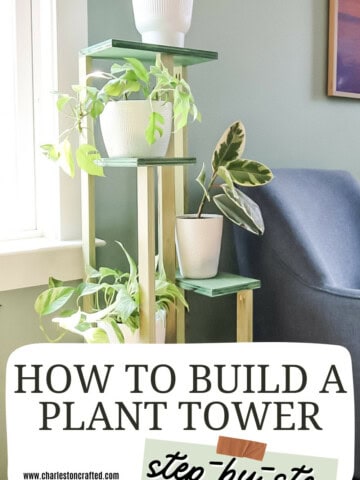
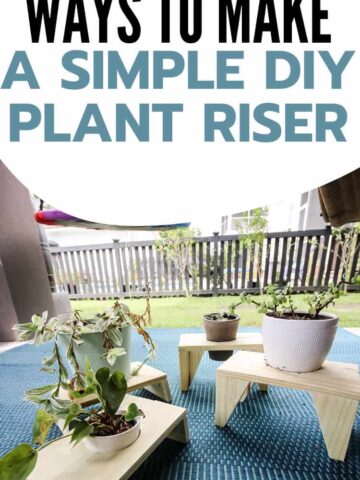
Has your climbing plant outgrown the trellis it came with in the pot? Here's how to make a simple DIY indoor plant trellis that fits right in your pots!
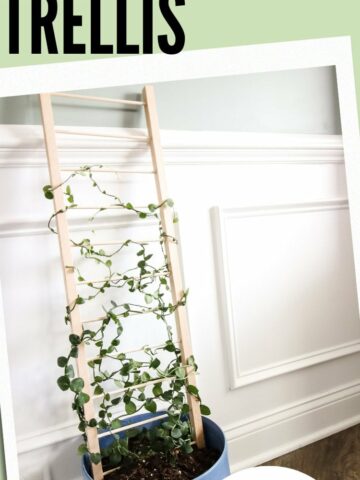
We have an entire jungle in our house. Pots and pots and pots full of different kinds of plants.
We've shared dozens of plant stands before (like this angled tabletop plant stand and this slatted plant stand made from scrap wood). But today we didn't need a plant stand, we needed something to go inside of a pot.
Our shingle plant came in a tiny pot with three bamboo stakes tied together at the top to form a trellis for the vines to grow up. But over the last year, it has outgrown those stakes and needed somewhere better to grow.
Here's how to propagate a shingle plant to make more!
So we created a simple DIY indoor plant trellis that looks like a ladder and works in any pot! This design is easily adjustable for your size pot and can go as high as you want it!
Scroll on to see how we built our pot trellis, what we used, and get the free woodworking plans to make one for yourself!
How do you make a trellis for a potted plant
Making a trellis for a potted plant is super easy. All you have to do is decide the width of the trellis, which is based on the width of the pot, and how high you want it to go.
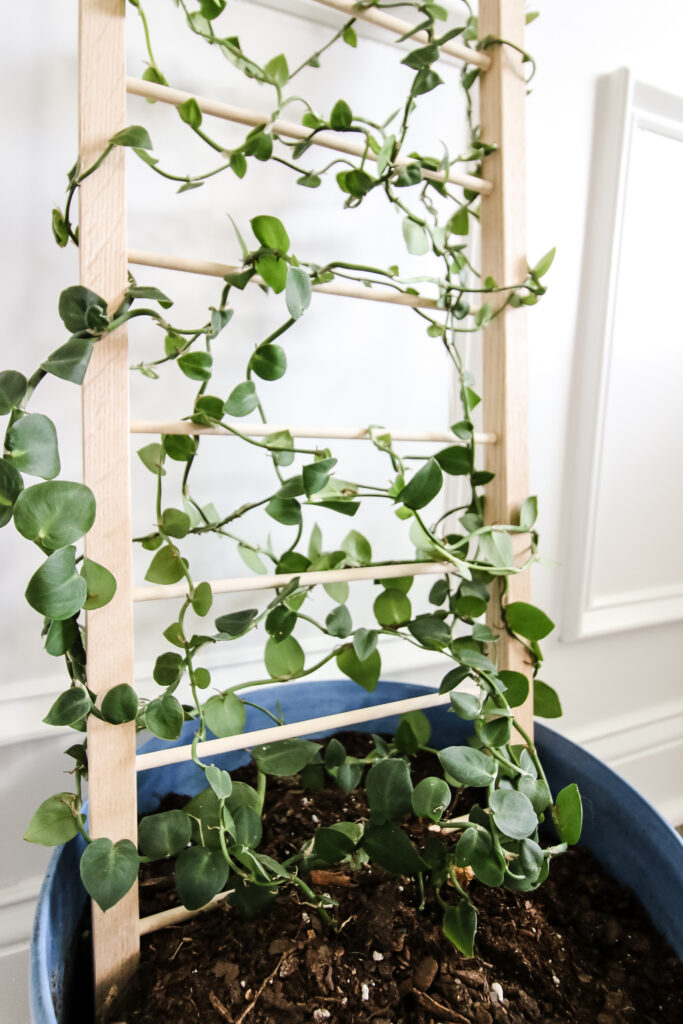
You can make all sorts of plant trellises, but we made this ladder style trellis with some materials we had laying around. The legs were old cutoffs from our DIY media console with hidden storage and the dowels were leftover cutoffs from our buffet table where we put dowels on the drawers and doors!
If you want to see a full ladder style plant stand, click here!
What is a plant trellis for?
A plant trellis is for supporting climbing houseplants that would naturally grow up. A small trellis or plant ladder helps a potted plant to actually do better than if you let it hang down.
In nature, there are a lot of plants that like to grow up a supporting tree instead of having a trunk or something to support themselves. These types of plants actually thrive when climbing instead of hanging down.
Some of the common plants that love to climb are golden pothos, swiss cheese plants, shingle plants and more. These vining plants actually end up growing bigger green leaves than when they are left to hang.
You can see how that worked with our DIY pothos moss pole!
Basic woodworking information for every project
Here are some of our most popular woodworking articles!
Shopping for wood:
Woodworking project ideas
- 100+ of the best woodworking project ideas!
- 62 easy beginning woodworking projects
- Woodworking project ideas to make and sell
See all our printable PDF woodworking plans!
Our favorite tools + supplies
- See all our favorite tool reviews
- How to use a Kreg jig
- The ultimate wood stain guide
- The best wood fillers for your project
Remember to also always use safety equipment while woodworking and using tools. Make sure you have proper eye protection, ear protection and a good mask to keep yourself safe.
How to build an indoor plant trellis ladder
This is a super simple DIY trellis for potted plants and I know you can make it quickly. It's a great small trellis for any houseplant that likes to climb!
Remember that all plants need different amounts of watering, vining, and direct or indirect sunlight when they are grown indoors, so you should make sure you know what your plant needs. But this trellis can be scaled to fit your needs and be placed wherever you need it!
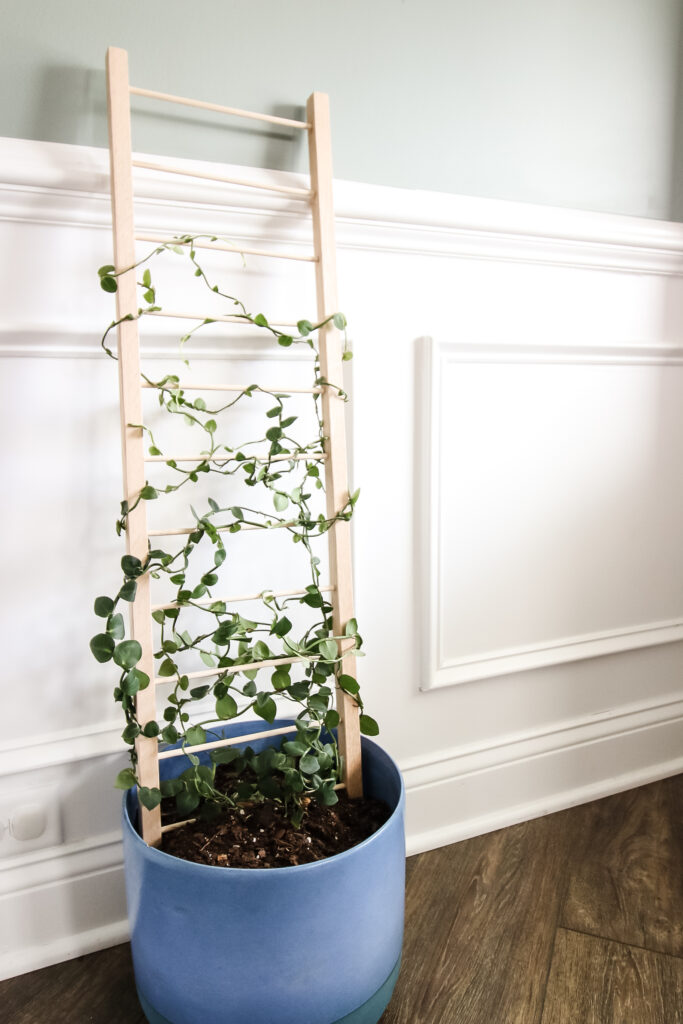
Our DIY plant trellis for pots is specifically made for an 11" diameter pot and is 36" tall, but you can make yours wider or narrower by changing the length of the dowels and you can make it taller or shorter by changing the length of the legs.
Materials needed:
- (1) 36" x 2" x ¾" board
- (11) ¼" dowels cut to 8 ½"
If you want to hang a trailing plant, try this simple hanger from a cutoff and rope!
Step one: cut boards and dowels to length
Start by cutting down your boards. We used all scrap wood for this project, but if you need to buy wood, you won't need much.
Grab some ¾" thick wood and cut two pieces to 1" wide and 36" long. If you don't have a table saw or something that can do this, you can really use any width wood you have access to.
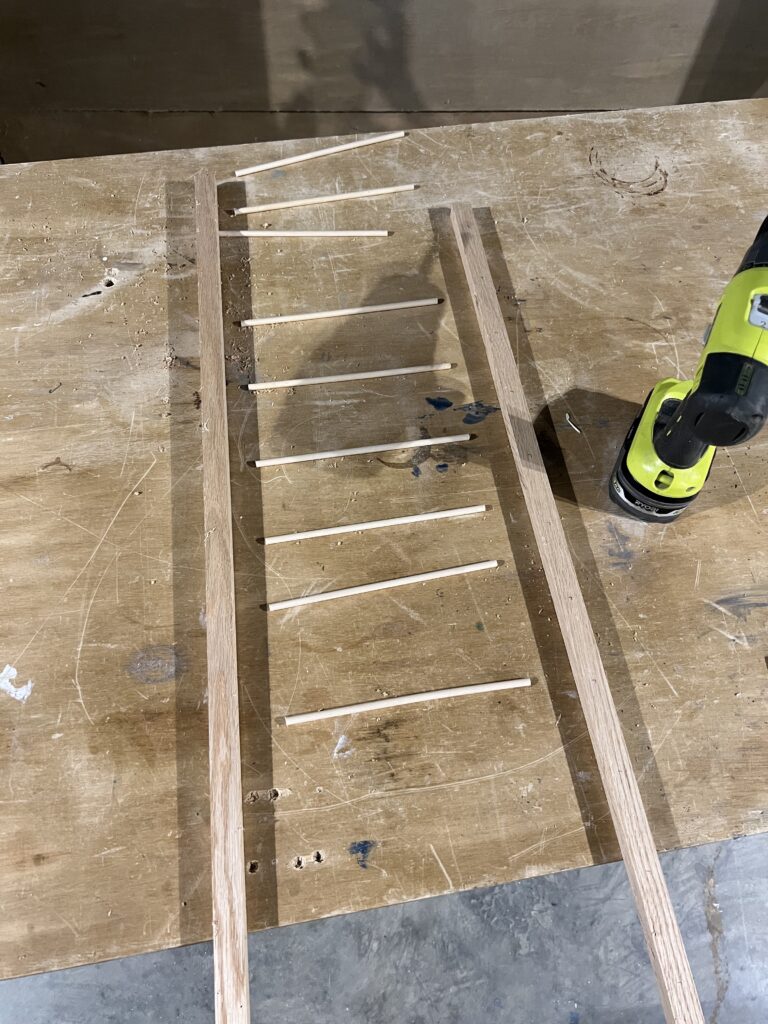
Then, cut your dowels down to 8 ½" long. Again, this is a place you can adjust if you have a bigger or smaller pot. You can cut this all down from long dowels or use scraps.
Then give everything a light sanding and pat yourself on the back.
Step two: drill pilot holes for dowels
Now it's time to mark your pilot holes for the dowels to go into. Grab a ¼" drill bit and a ruler or something like the Kreg Multi-Mark, which is seriously one of my favorite handy little tools.
On one of the leg boards, mark a point in the middle of the board on the 1" thick side 3" up from the bottom. Then, continue up every 3" until you can't go any higher. Repeat on the other board.
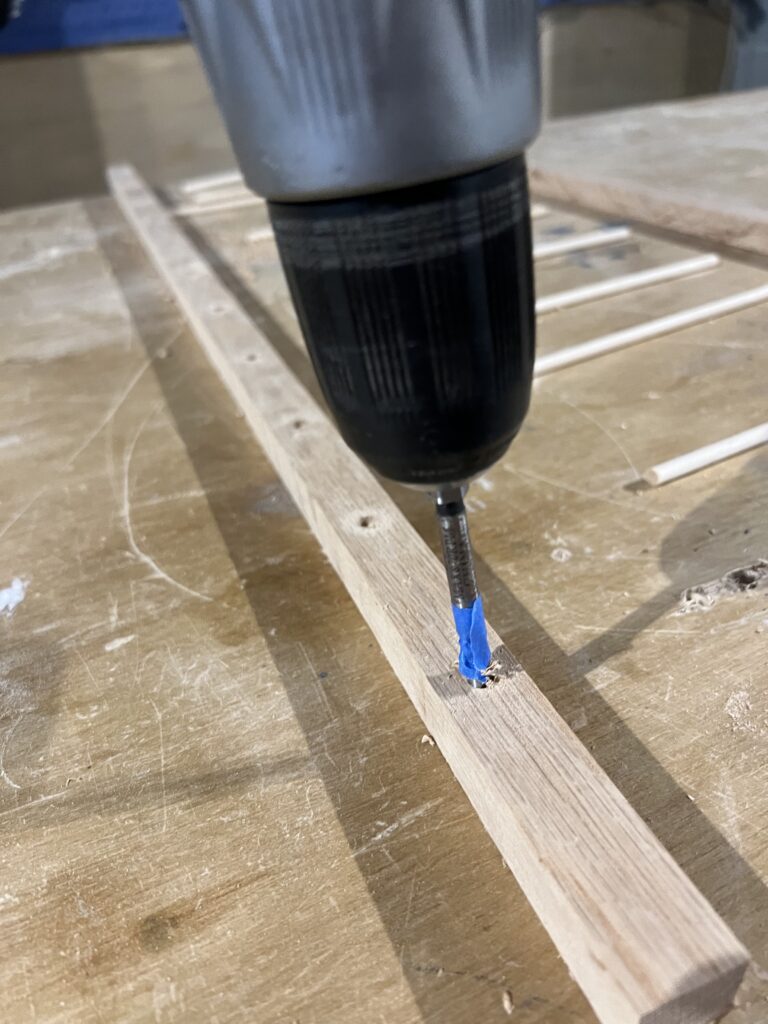
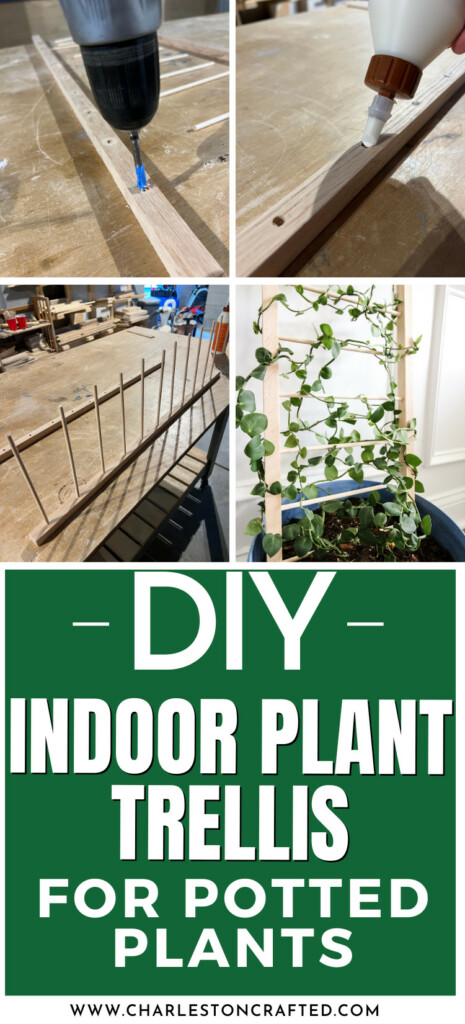
Then, drill a shallow pilot hole on each of those marks for the dowels to go into. I'd recommend wrapping a small piece of painter's tape around the drill bit about ¼" up from the tip. This will help you not drill too far down.
Drill all the holes equally so that the dowel can sit flush inside on both sides. Touch up with a little sanding if you need to and move on to step three.
Step three: insert dowels on one side
Time to insert the dowels. On one of the legs, put a small little drop of wood glue into each hole.
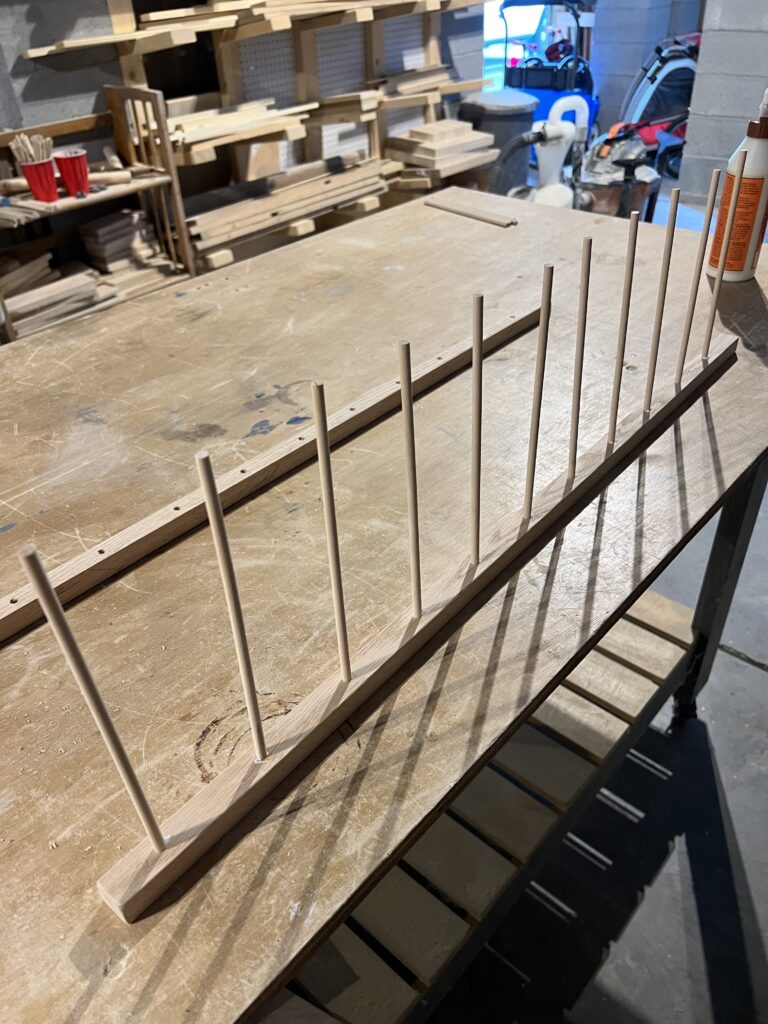
Then, insert a dowel into each end, keeping it as straight as possible. Make sure it's tight in the hole and everything looks pretty even across.
Step four: insert dowels on other side
Now do the same thing on the other side, putting glue into the holes and then aligning the holes on that leg with the dowels.
This step can be a little tricky because it can be tough to get all the dowels in at once perfectly lined up.
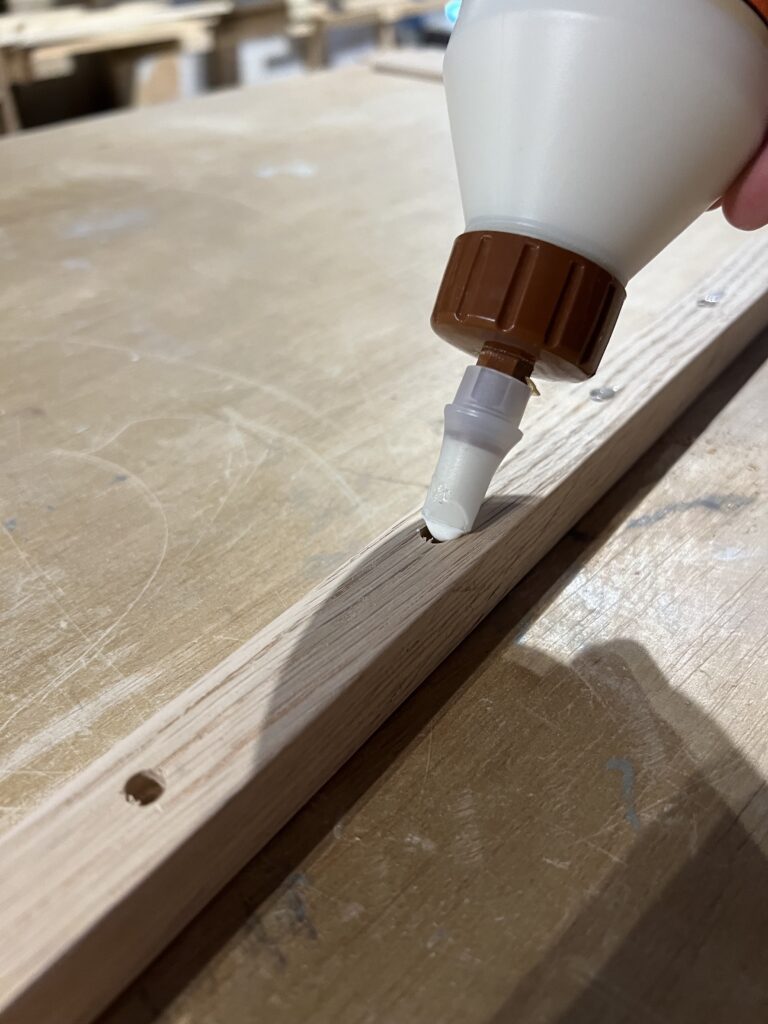
It's best to start on one end and kind of try to lay the leg down on the dowels to get each hole lined up.
Once all the dowels are in the holes, lay the trellis on its side and use a mallet or hammer to give a light tap on the legs at each dowel and get them securely flush.
Wipe off any excess glue and then let dry.
Step five: place trellis in pot
With the trellis done, simply slide the lower ends of the legs into the dirt in your pot and lean it against a wall.
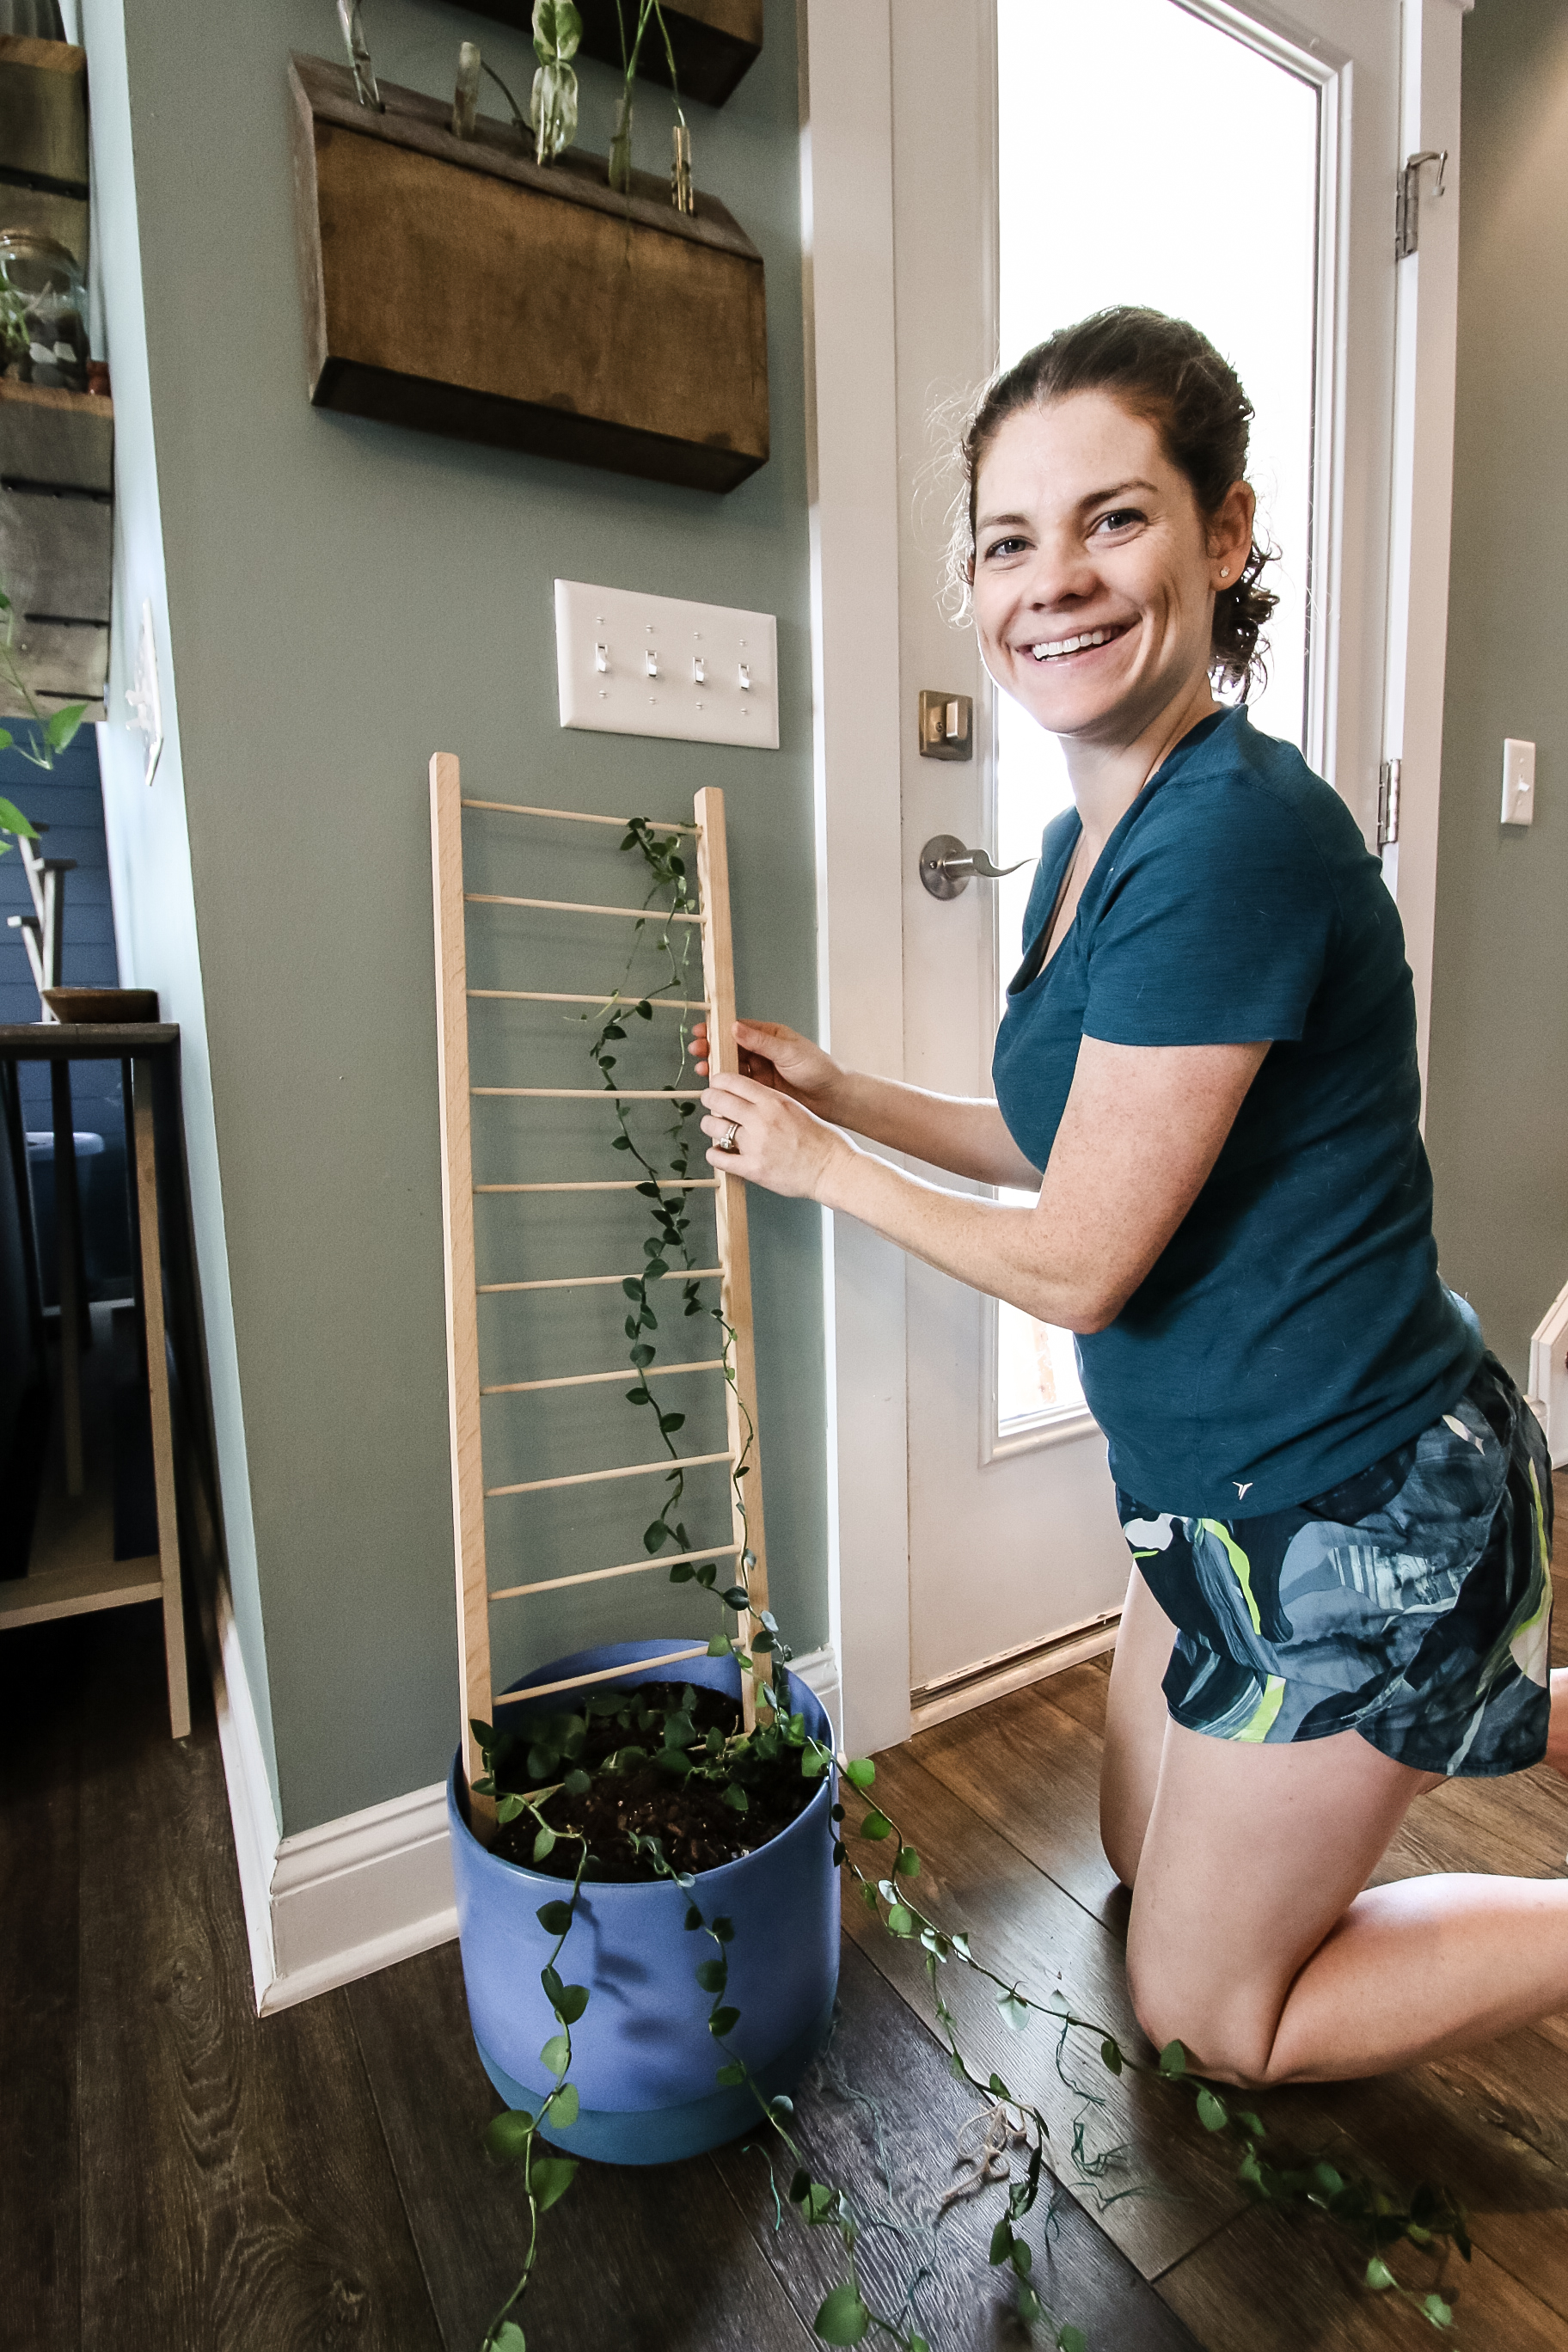
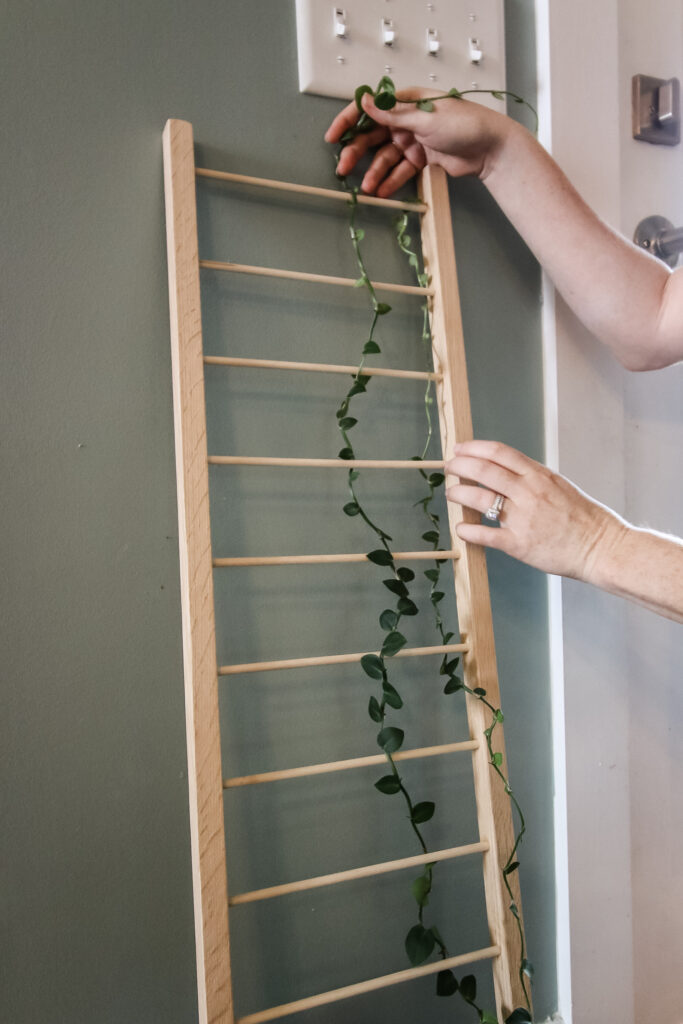
Now you can wrap the vines of your plant around the rungs and legs of the indoor plant ladder until it all looks great!
Now your plant can climb happily and grow the way it is naturally supposed to do!
How do you trellis an indoor plant?
As with any indoor plant trellis idea, it's important to know how you actually trellis the plant. With vining plants, you're going to have lots of tendrils and if it's been awhile, they are probably all mixed up together.
If you need to repot your plant, do that first, making sure you are using a few pebbles in the bottom and well-draining soil that will nourish the plant.
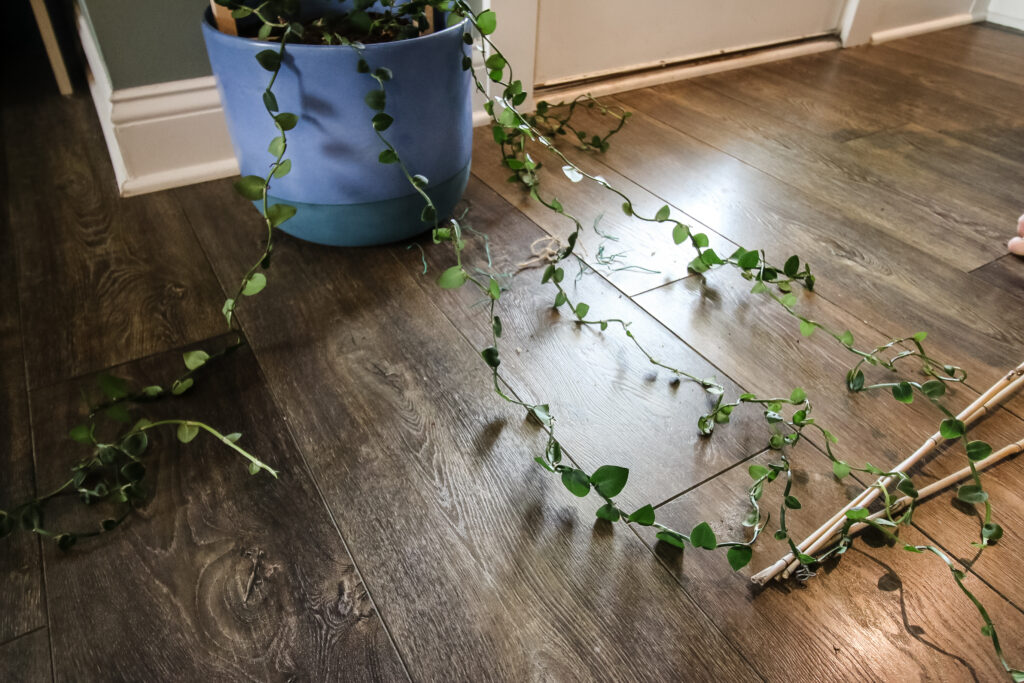
Start by carefully pulling out each of the vines of the plant and unwrap the vines as best you can to get them into individual strands.
Once you've done that, guide the plant up and around the rungs and legs so that they go back and forth, but always up. Your plant will want to climb up, so make sure it's moving in that direction.
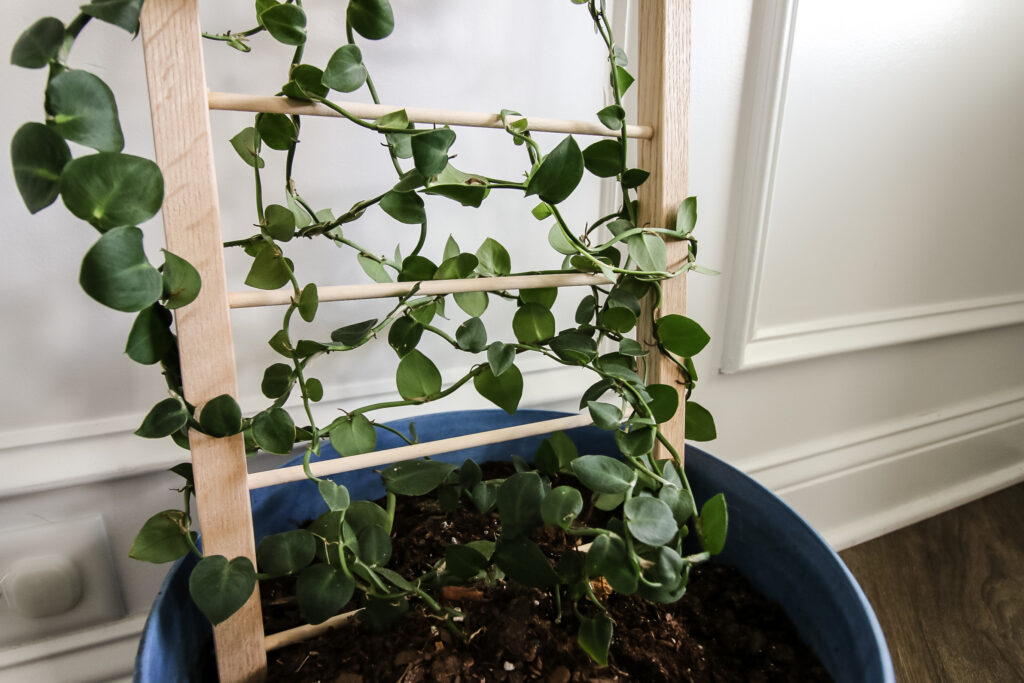
Work each vine back and forth making it more full toward the bottom as it will continue to grow up. This will help the plant grow bigger leaves in your flower pots!
Free indoor potted plant trellis woodworking plans
Do you love what you see here? Well we've got FREE woodworking plans to help you make one yourself!
Our plans include a material list, cut list and step-by-step instructions to build the same houseplant trellis we made. However, it's fully customizable if you want to make it taller, wider, or narrower.
Grab the free plans to help you out with your build!
Looking for something?
We've been doing this since 2012 so we have a LOT of blog posts!
Search stuff like: Ceiling Projects | DIY Plant Stands | Thrift Flips


Hey there, I'm Sean, the woodworking enthusiast and builder behind CharlestonCrafted.com! Since 2012, I've been sharing the magic of turning raw materials into beautiful creations. I love teaching others the art and satisfaction of woodworking and DIY. I try to inspire fellow crafters to make something extraordinary out of nothing at all.


