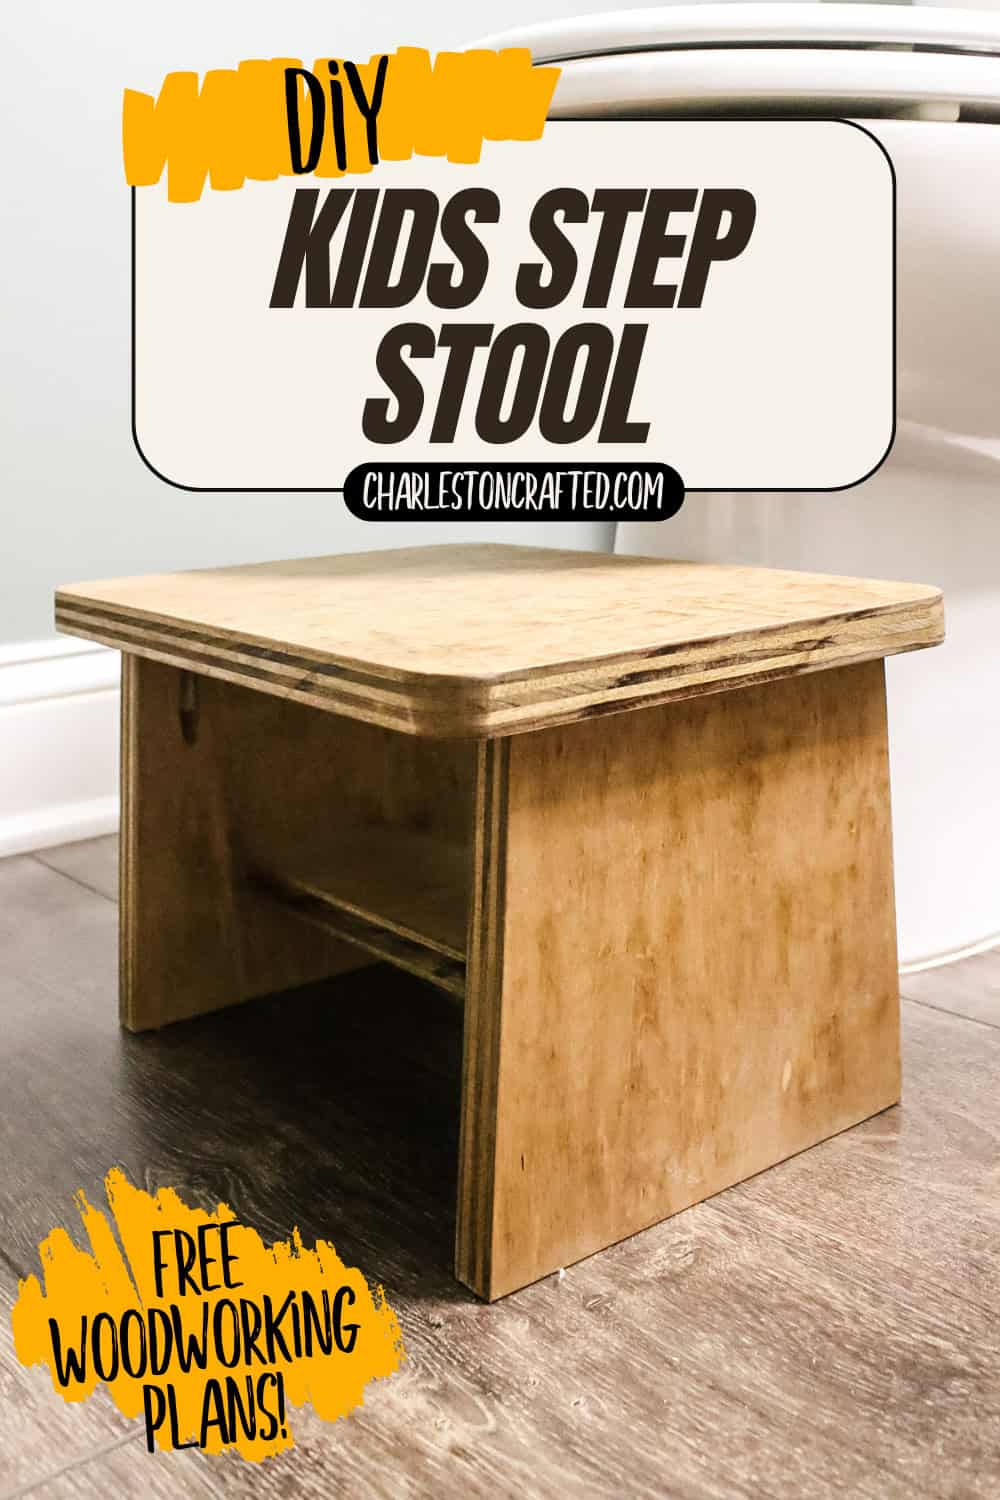
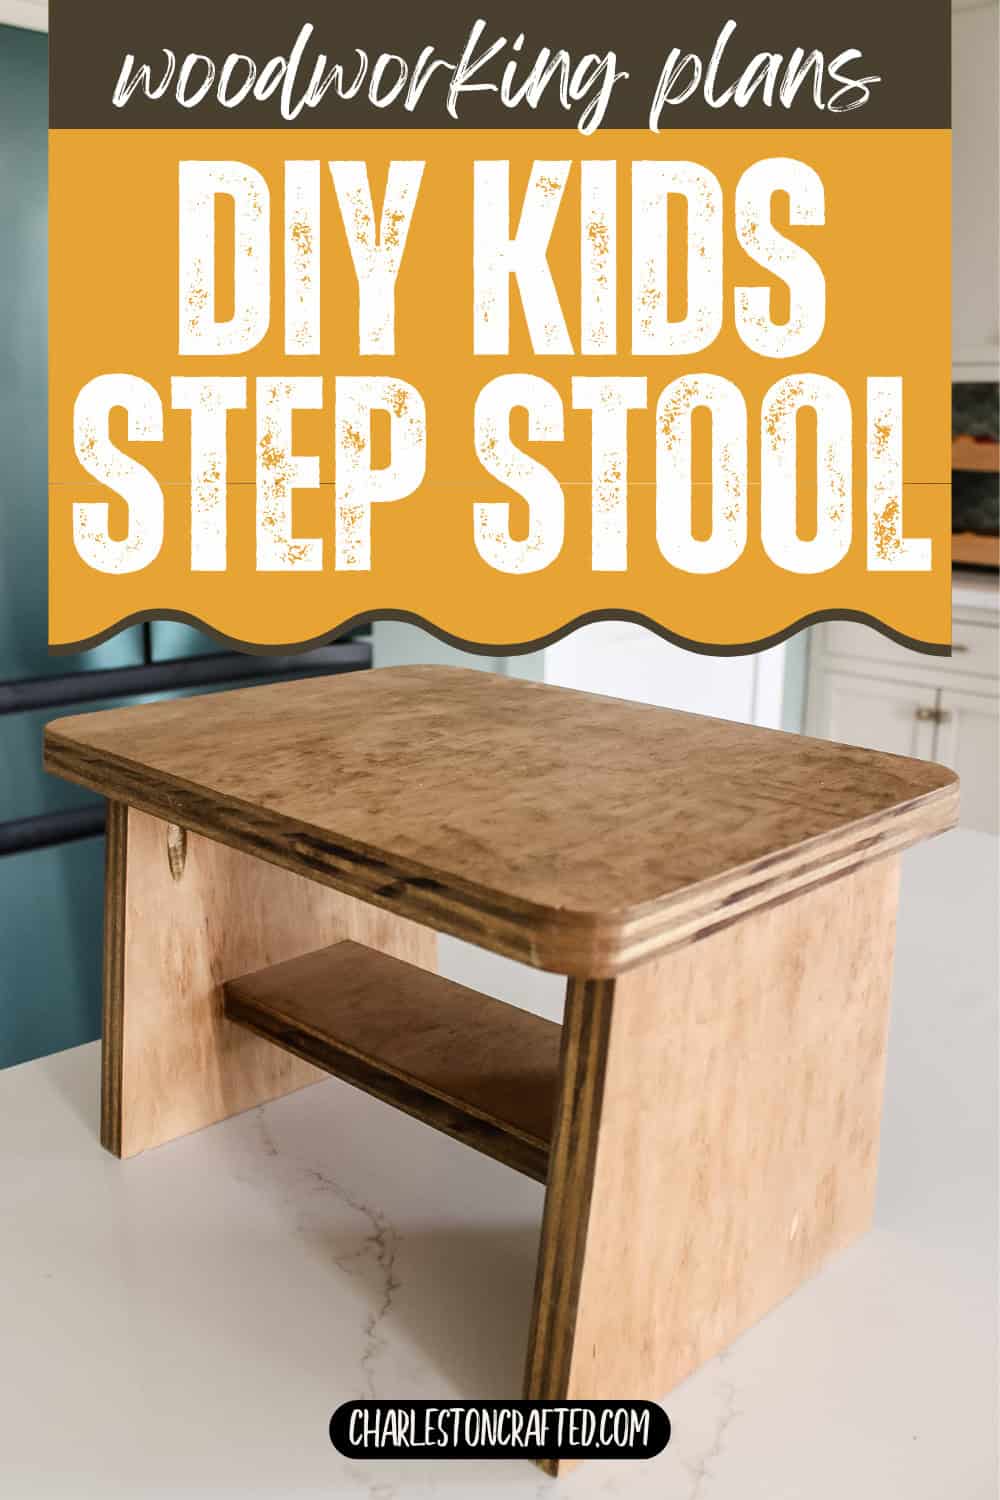
Here's an easy build guide to create a safe and sturdy step stool for your little ones with this simple DIY tutorial!
As my kids have gotten older, they've been able to take on more tasks for things like going to the bathroom on their own. Problem is my daughter is still a little short for climbing onto the toilet.
I've previously built them a pull-out step stool vanity for one of our bathrooms, but she still needed help getting up to the potty.
So, I whipped up a quick and easy kid's step stool that is enough of a boost to get her up there without assistance.
How to build a kids step stool
If your kids need a little bit of help getting up to the toilet or sink, this DIY step stool is a really quick and simple project that can be made with some scrap wood.
Remember that anything that kids are putting weight on can result in a problem, so always make sure you are careful and have shown them how to use it.
Here's how to build a kids step stool!
Check out some of my other great projects for kids here!
Materials and tools needed to build a kids step stool
Here's what you need to build this DIY step stool for your kids!
- ¾" plywood
- Saw (you can use a table saw, miter saw or circular saw)
- Pocket hole jig
- Wood glue
- 1 ¼" pocket hole screws
Step one: make cuts and drill pocket holes
Start out by making the quick cuts for the four pieces of the stool. All of the exact dimensions are in the free woodworking plans for this project!
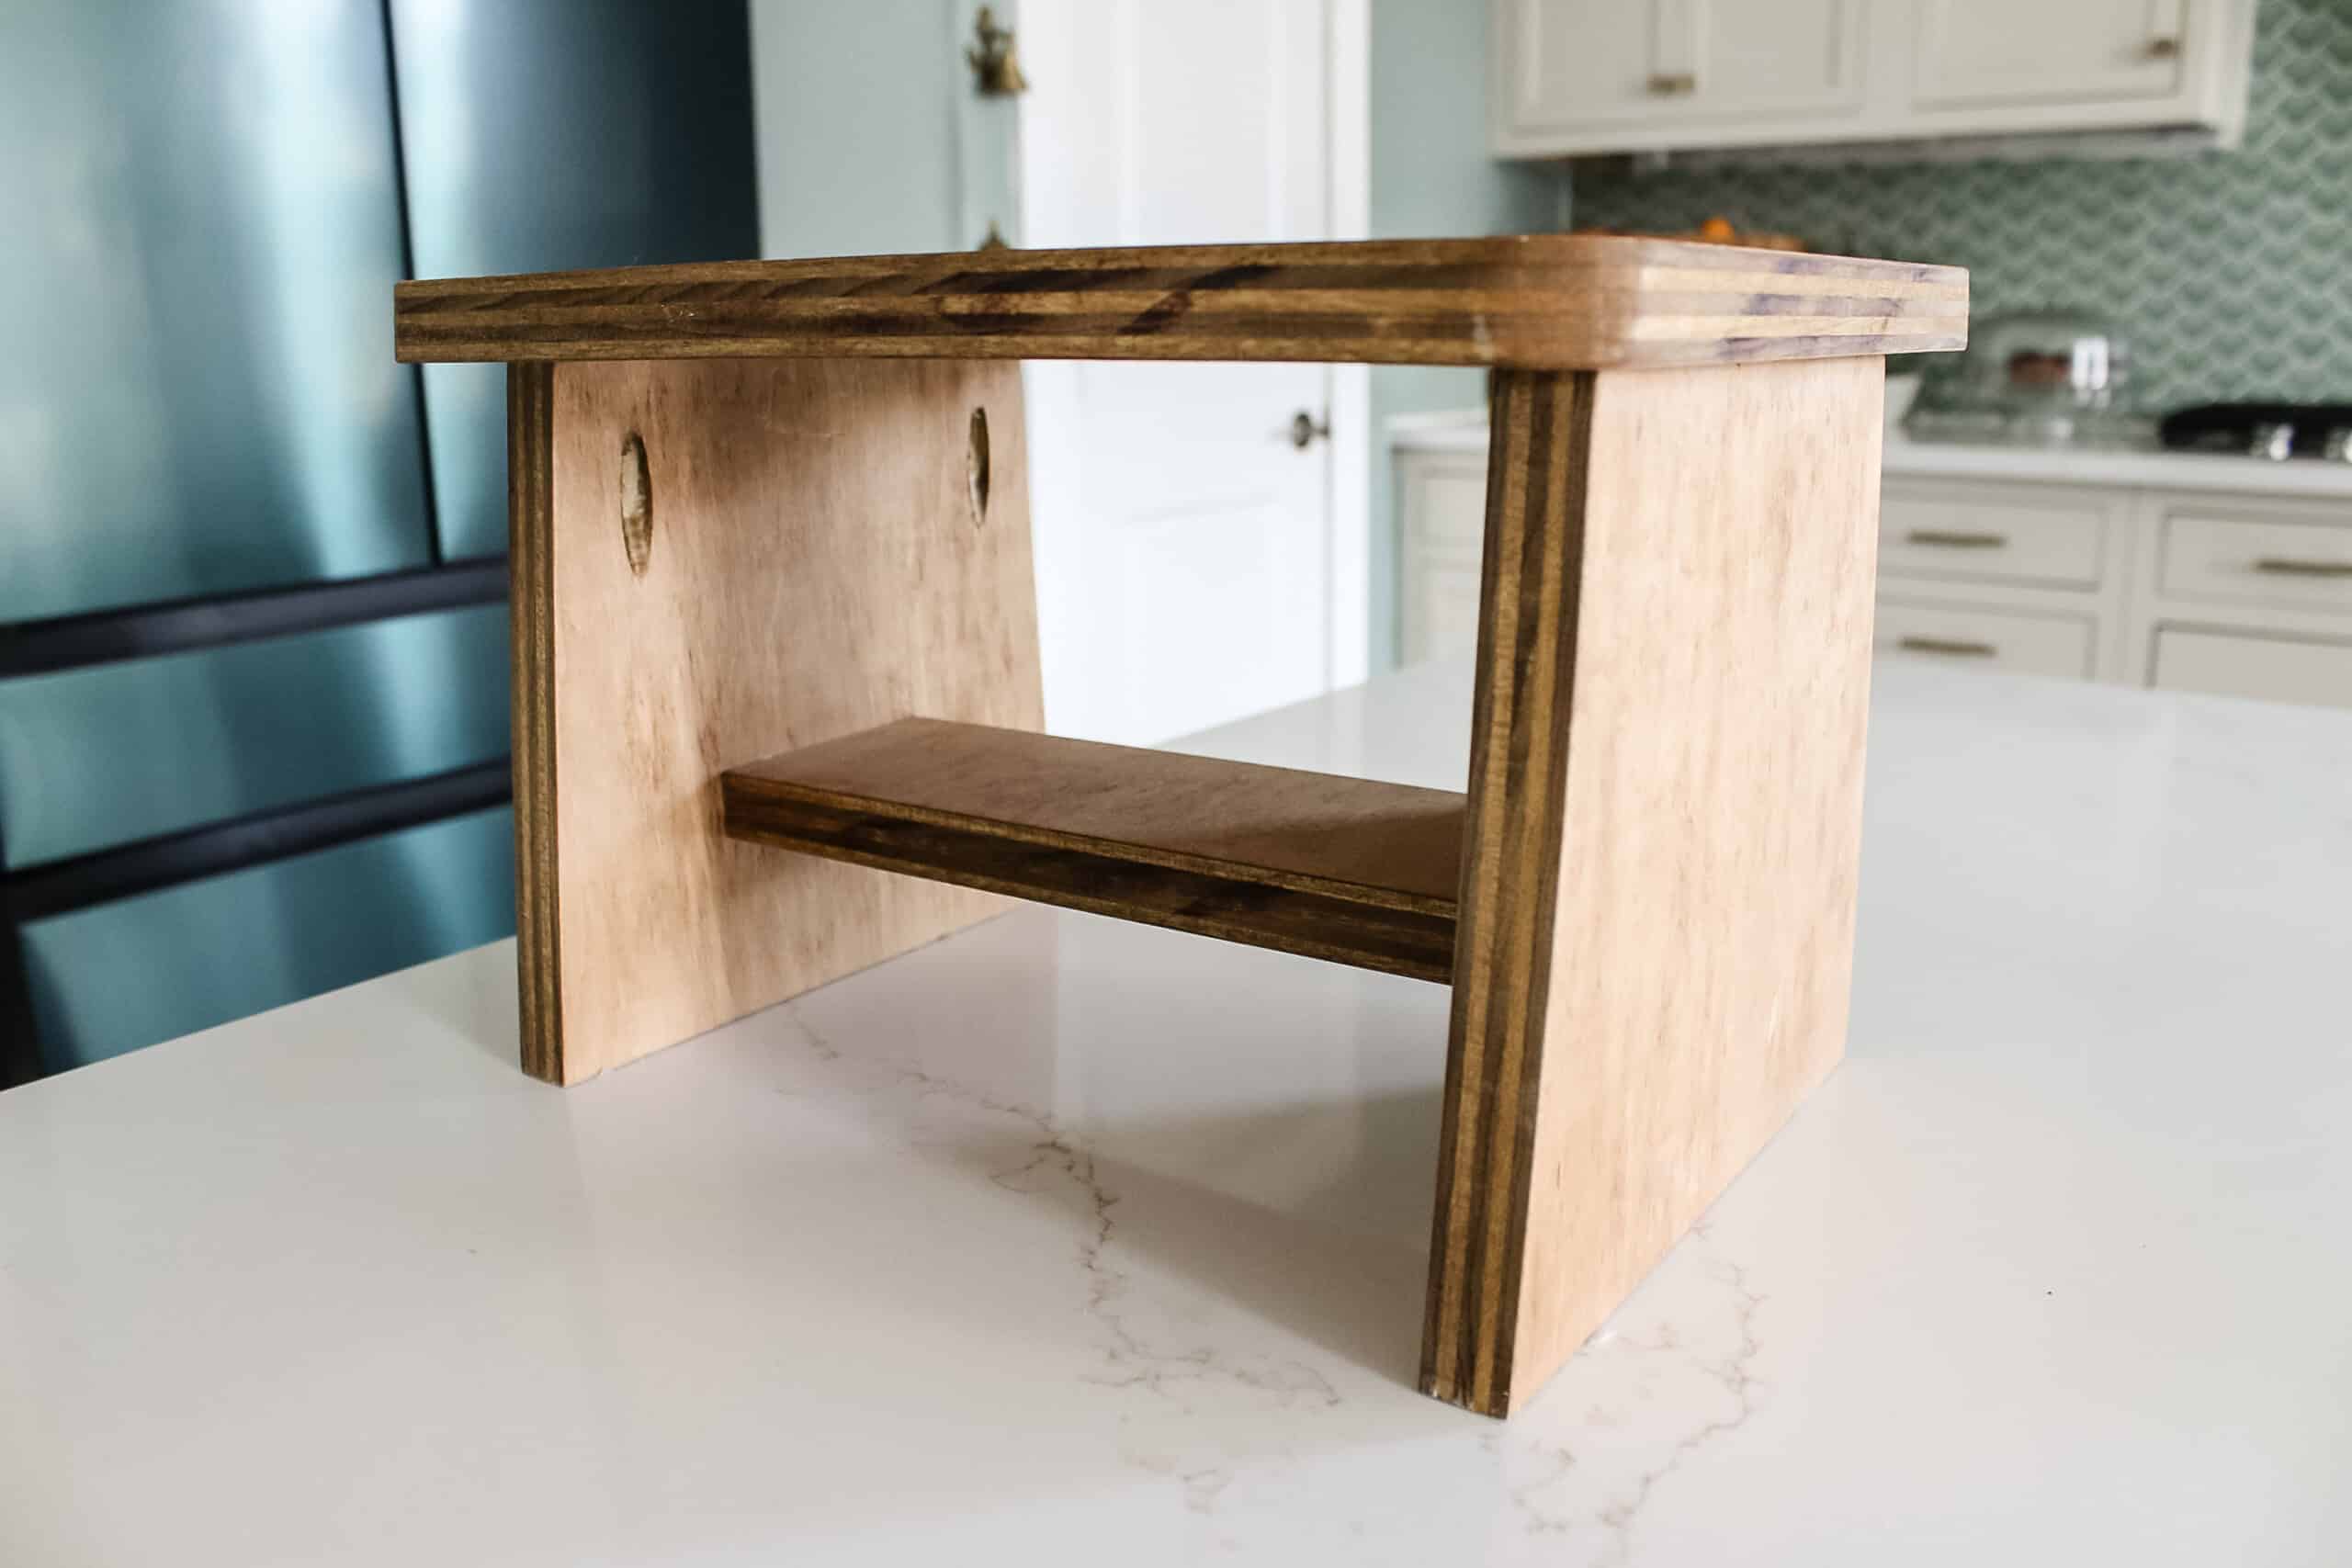
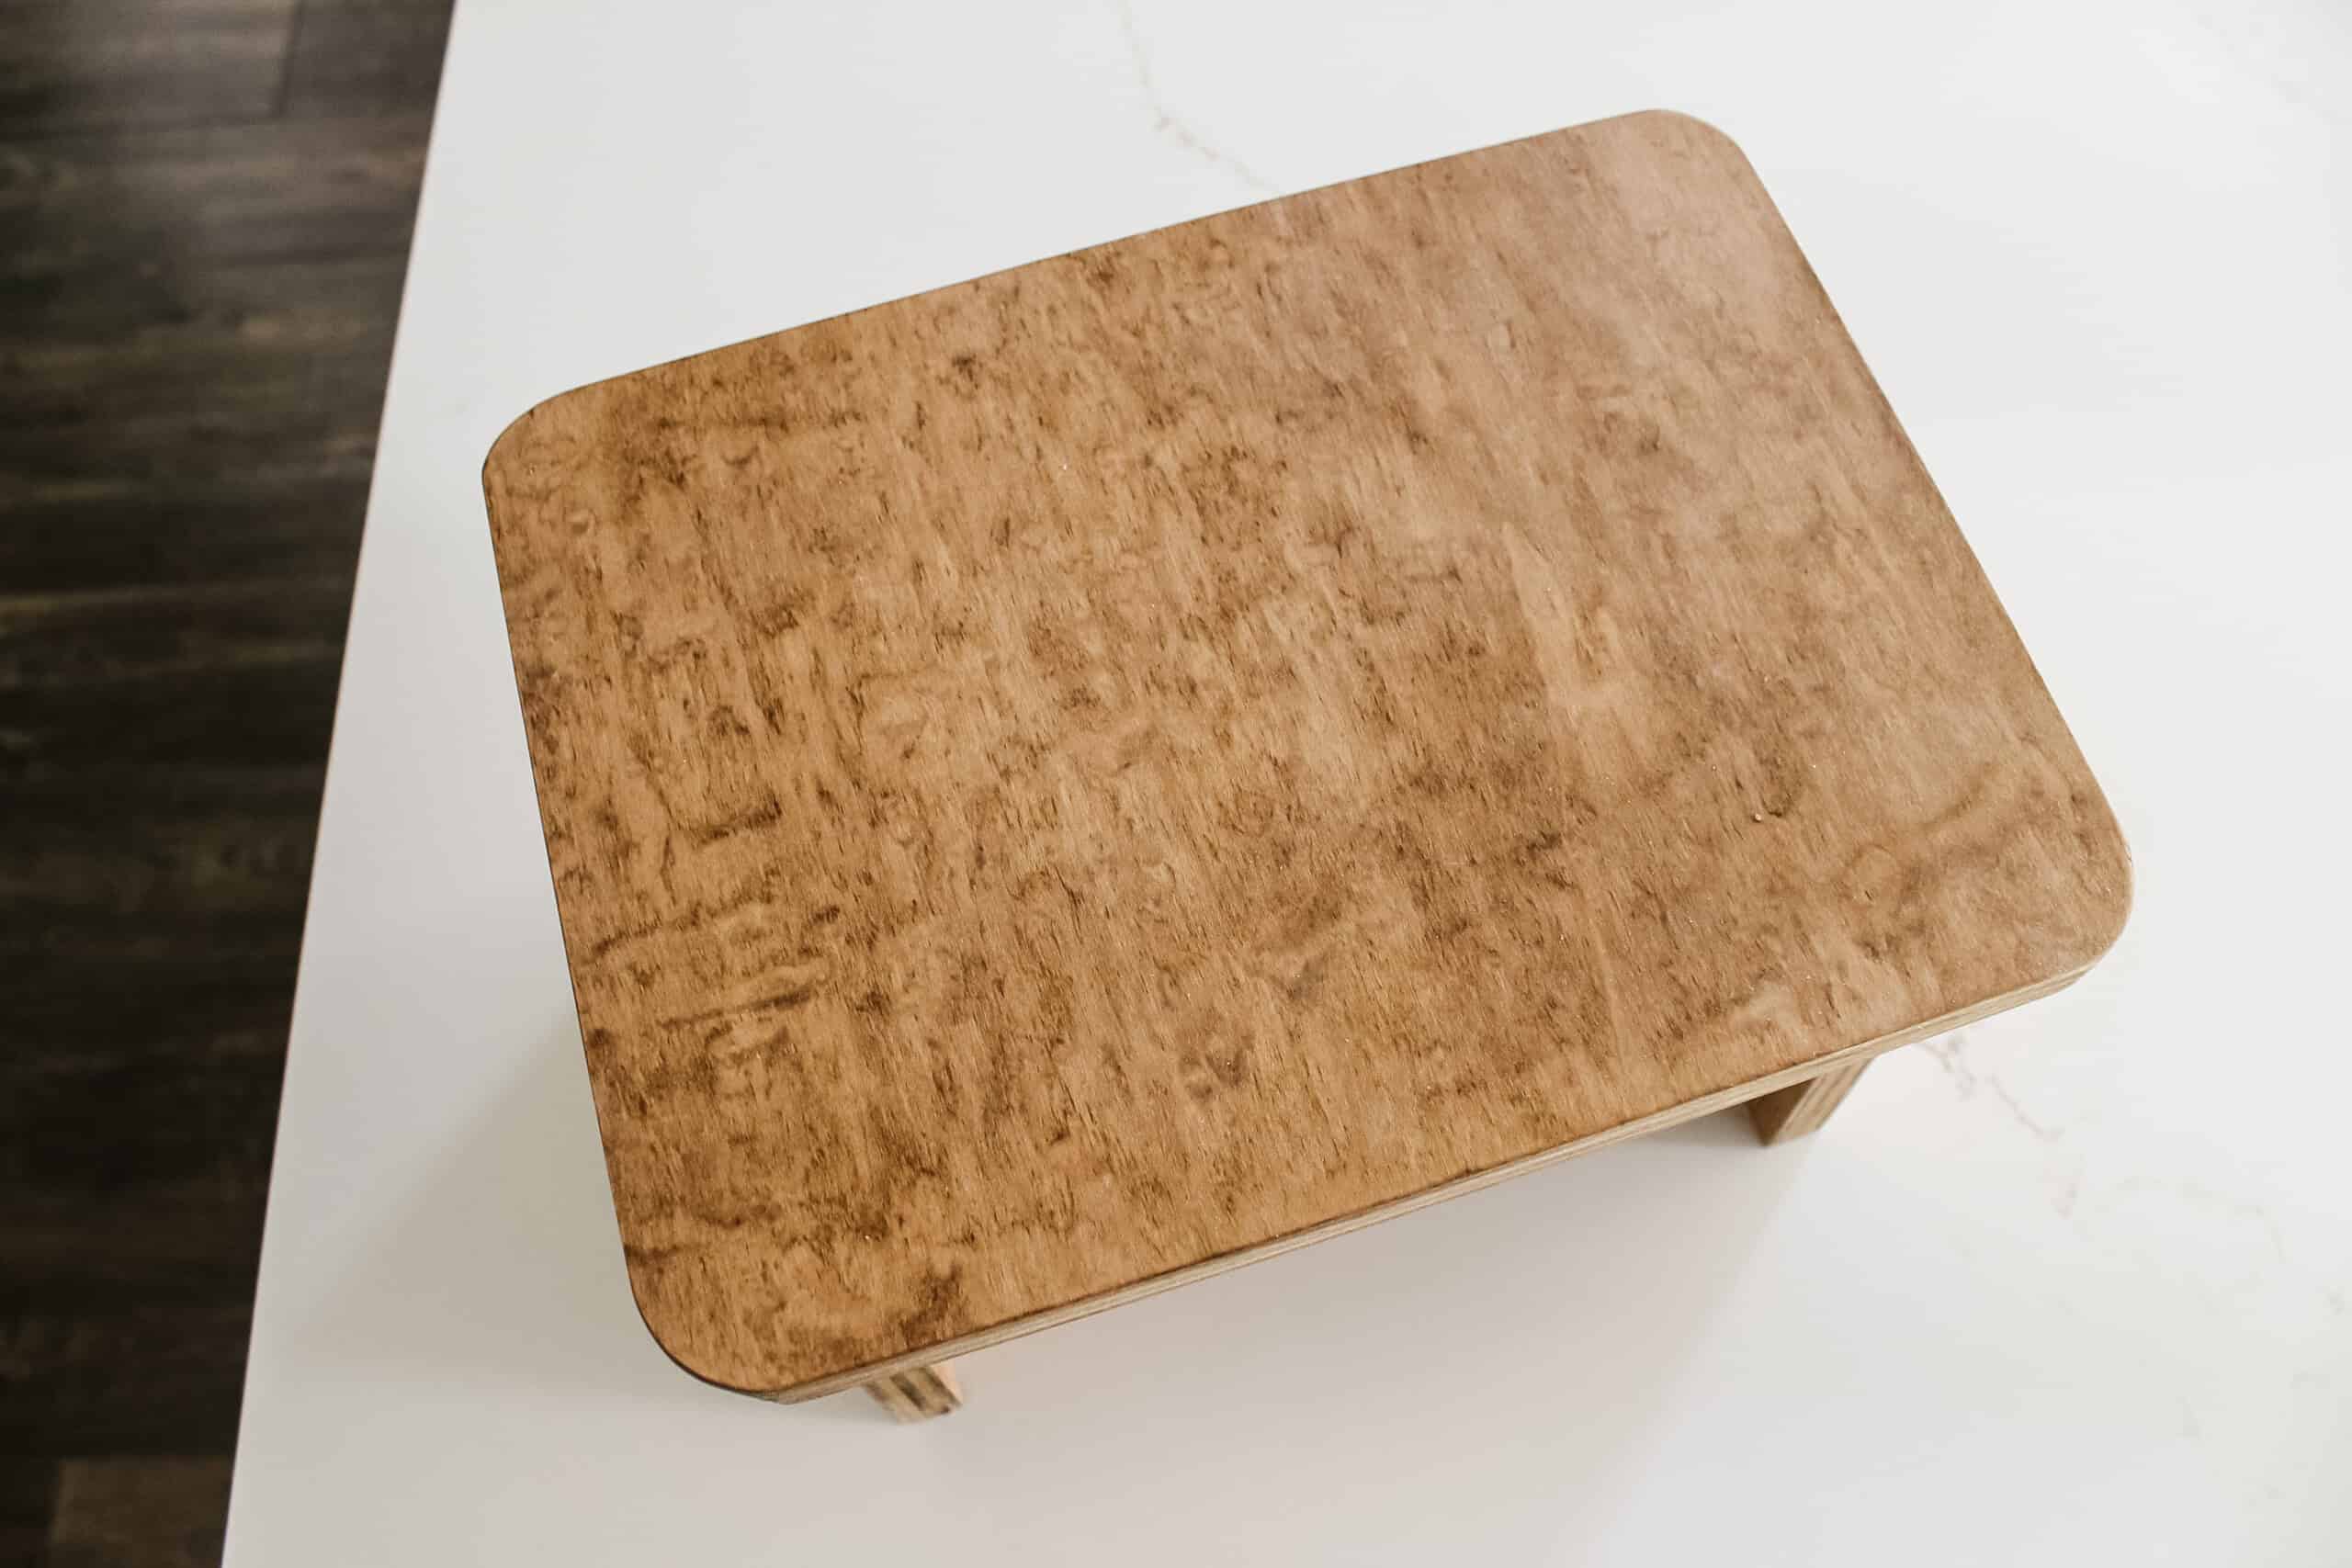
The two side pieces have angles on the sides, but technically that's not necessary if you don't want to make them. The top also has curved corners, but again, not totally necessary. That's mostly for safety of bumping little shins.
Next, drill pocket holes into the support beam and the sides, making sure that the holes on the sides are way out near the edge for later. Sand everything down at the end.
Step two: connect legs
I connected the legs with the support beam using wood glue and pocket hole screws. You don't want this all the way on the bottom, nor all the way to the top. I have my exact measurement up in the woodworking plans.

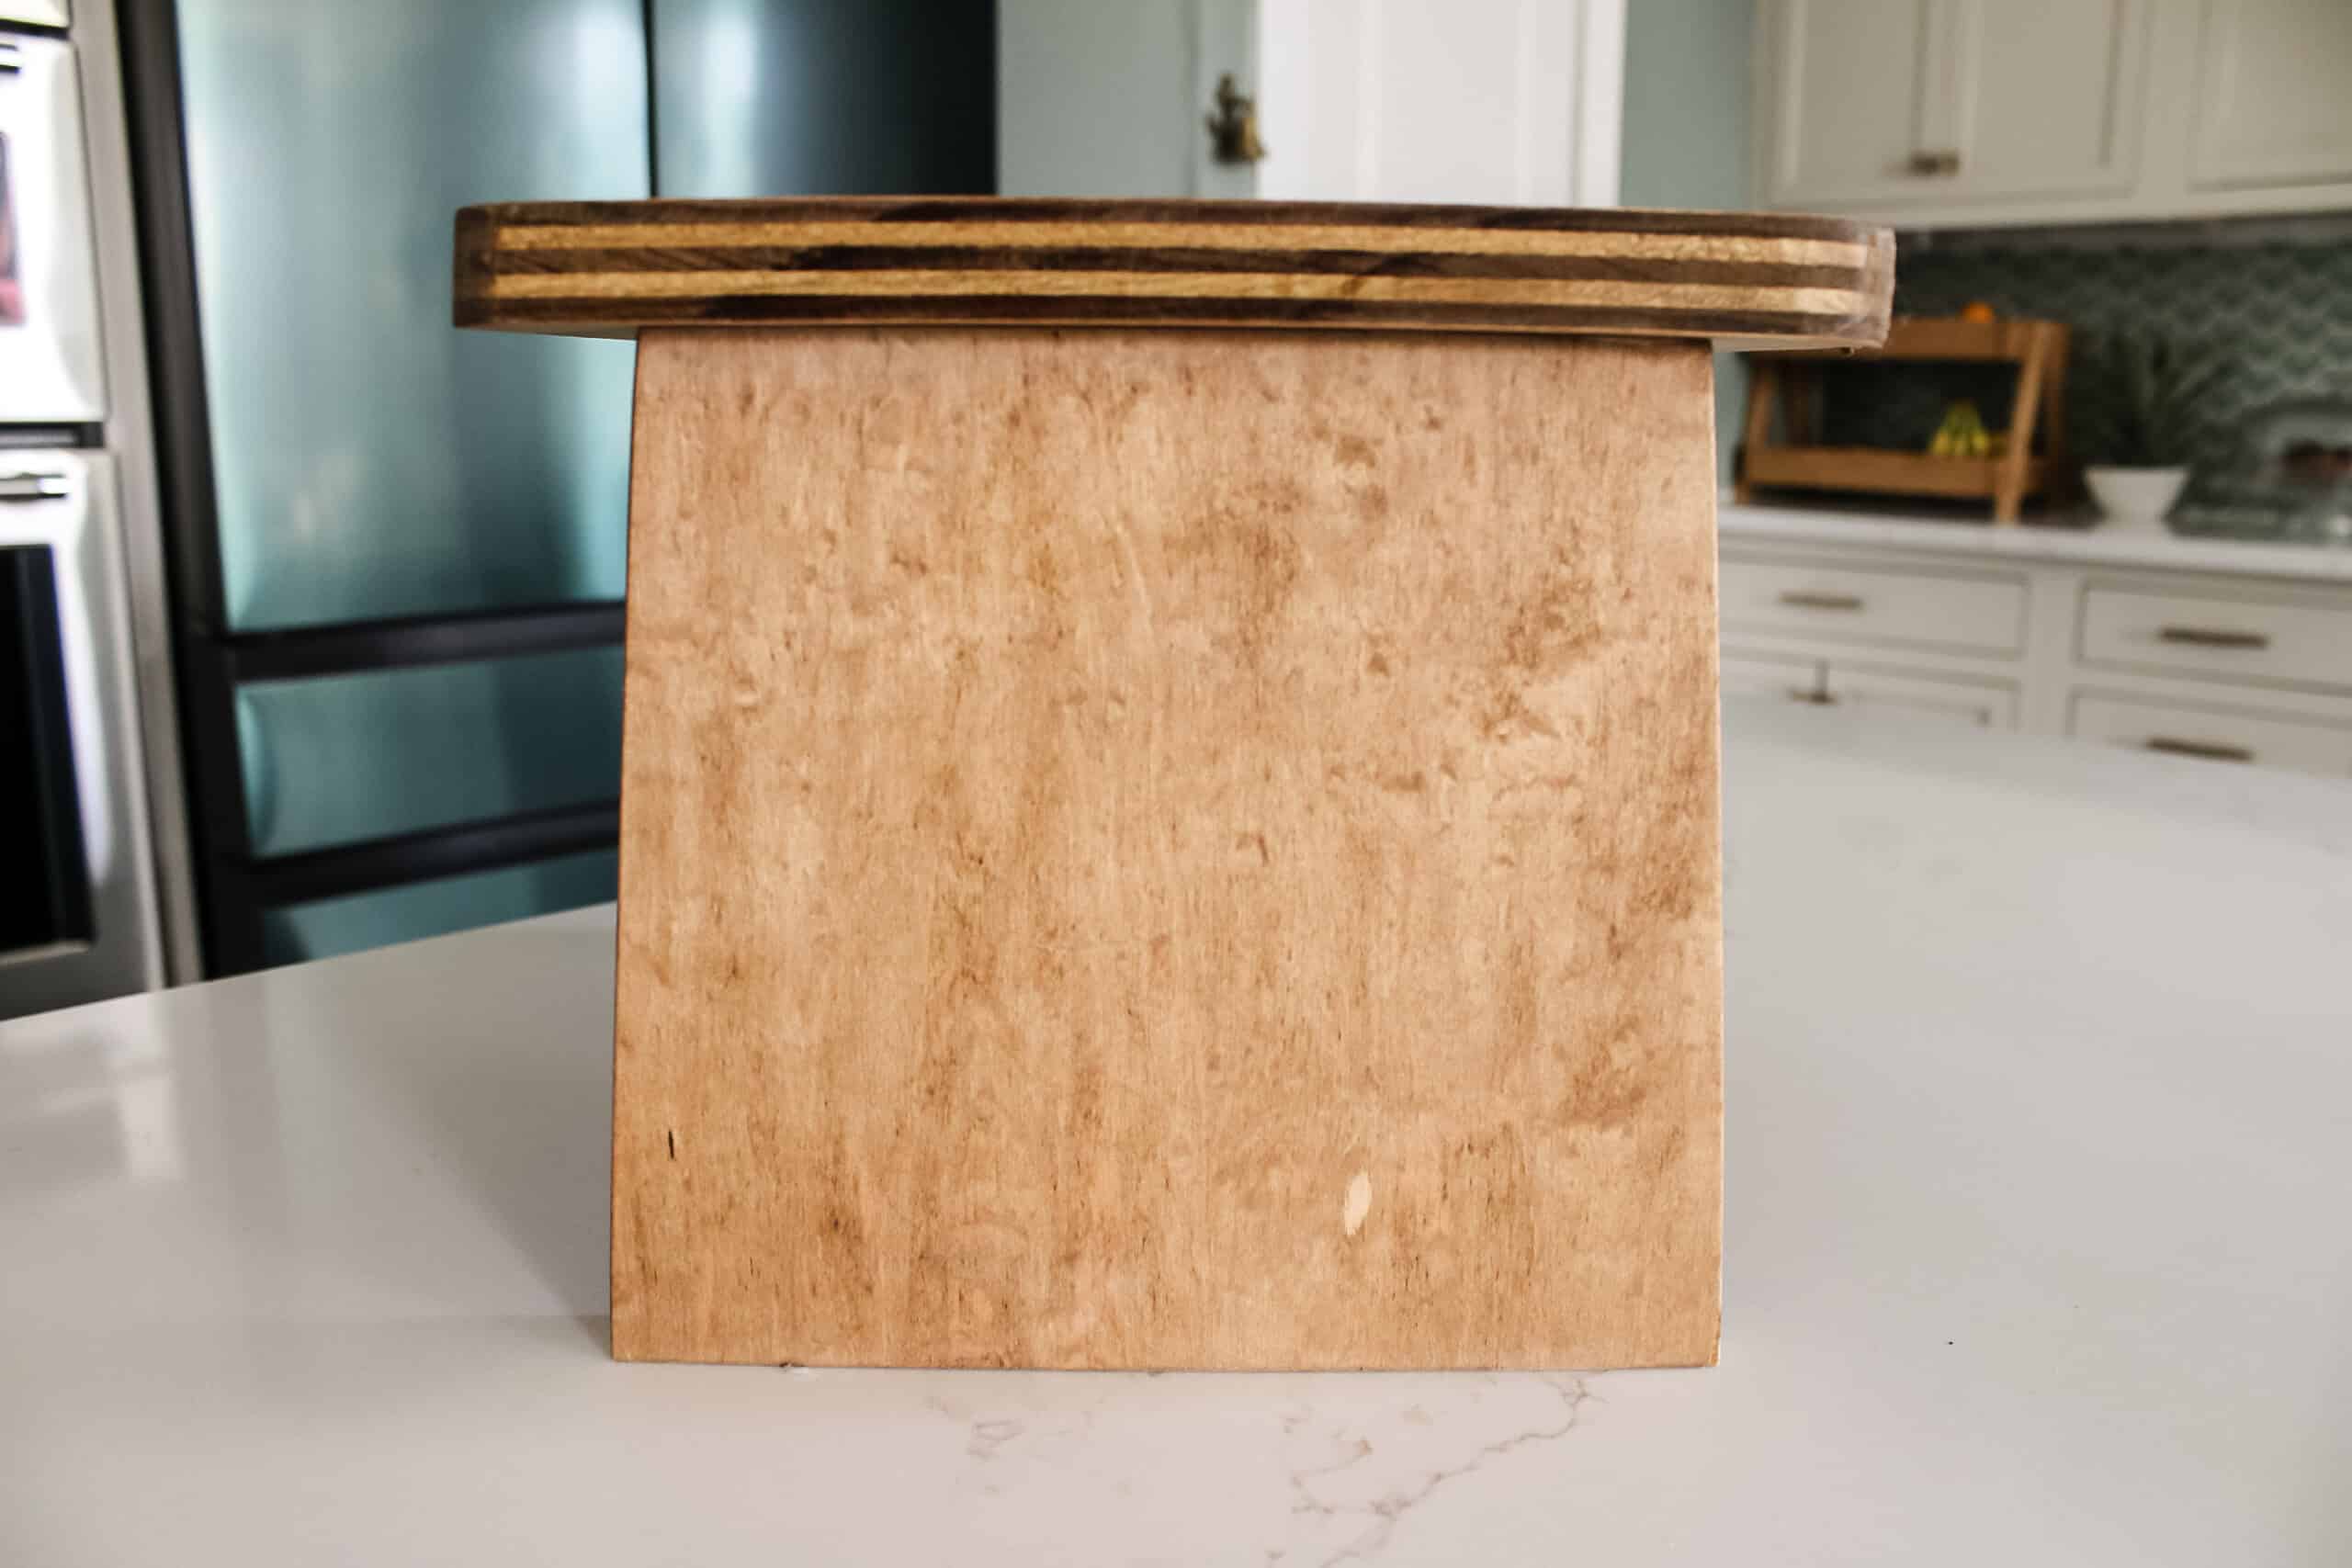
Step three: attach top
Next, attach the top to the sides with wood glue and pocket hole screws as well. This is why you need the pocket holes out near the side so you can still attach the sides to the top with the support beam already in place.
Step four: stain and poly
Once it's built, stain the stool if you'd like, but definitely add a coat of polyurethane to it since it will likely get water dribbled on it at the sink.
Make sure you completely let it dry and let the glue get totally solidified for at least 24 hours before you let you kids put their weight on it.

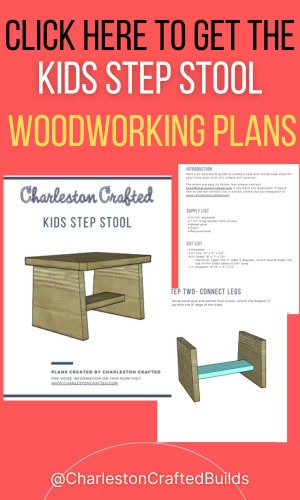
DIY kid's step stool woodworking plans
This is a really simple project that anyone can do. But if you want to get my specific measurements with some images to guide you along the way, you can grab my free woodworking plans for this DIY kids step stool.
My woodworking plans come with a full cut list, material list and step-by-step instructions with computer model imagery. You can use these to help you build this great stool for your kids!

Looking for something?
We've been doing this since 2012 so we have a LOT of blog posts!
Search stuff like: Ceiling Projects | DIY Plant Stands | Thrift Flips

Hello, I'm Morgan, half of the creative force behind CharlestonCrafted.com! With a passion for DIY that dates back to 2012, I've transformed three homes and now I'm dedicated to helping others craft their dream spaces. Let's turn your house into a home together!