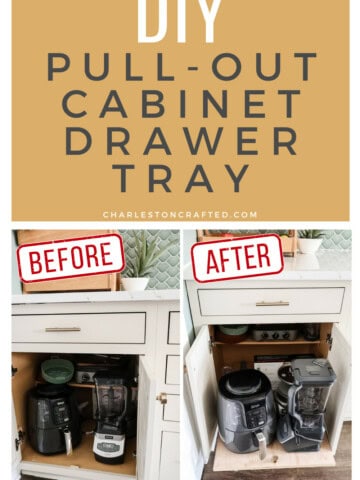
Get some organization in your life by making custom DIY kitchen utensil drawer organizers and get each of your kitchen drawers in great shape! Use this post to show you how to build a kitchen drawer organizer that can be customized to your space!
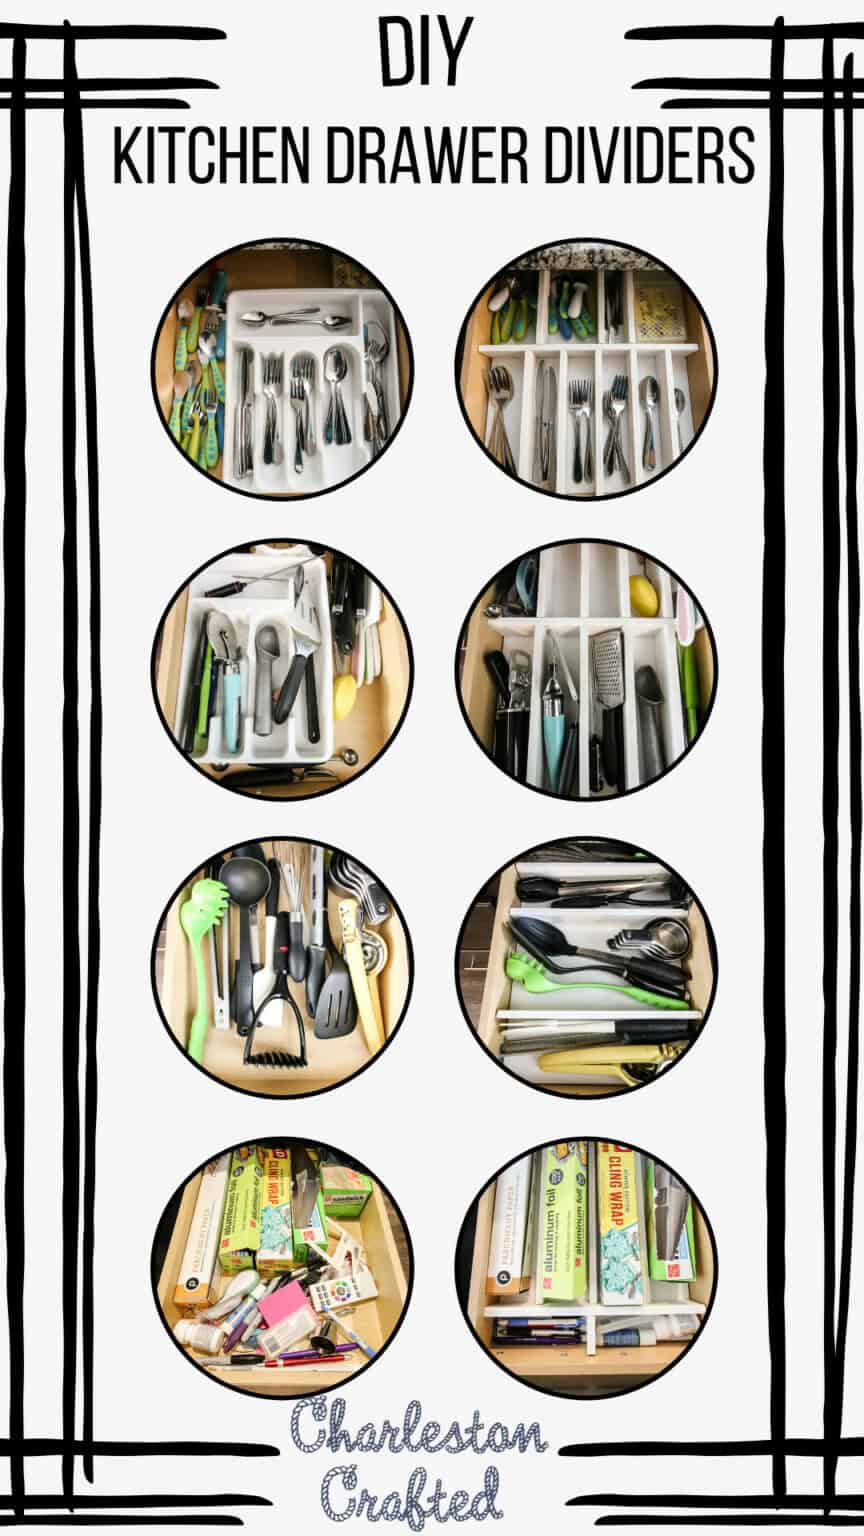
We are very organized people (for the most part), but one space that has never been organized well in this house was our kitchen drawers.
When we moved in, we dumped things into drawers where they worked together and have been going off of that ever since. Not the best system, but it worked.
Everything was a carry-over from our old house, but it didn't all fit in the new drawers the same way because they were a different size.
We finally got around to building a DIY spice drawer organizer before the holidays last year, and it has been a game changer! The tiered system and clear jars made everything easy to find and use.
Another 8 months later and it was finally time to organize the rest of our utensil drawers to maximize our space.
Keep scrolling to see how we made DIY wood drawer dividers for our kitchen drawers and changed the functionality of our kitchen!
DIY kitchen drawer organizers
DIY kitchen dividers are really easy to make because it most comes down to figuring out what you actually use, how you use it, and when you use it, and then creating something that works best.
Actually knowing how to build kitchen drawer dividers is as simple as creating a custom space for the things you have, so no two drawer dividers will be the same... even in your own home!
These would have looked great in our old DIY coastal kitchen!
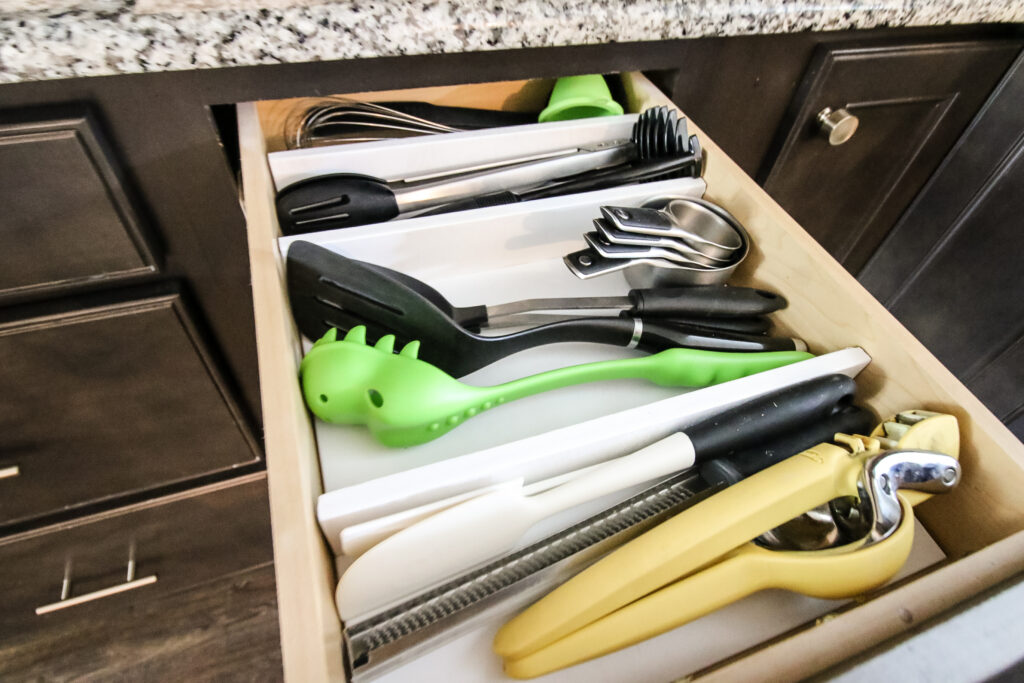
Building custom drawer inserts for kitchen drawers is easy, but you do have to create specific layouts for each drawer, depending on what you need in that drawer.
We'll show you the backs for how to make wooden drawer dividers that will make your life a lot easier!
How do you make a removable drawer divider
Making a removable drawer divider is easy to do with ½" plywood. It would be better in reality if you could do this with ¼" plywood, but building the organizer is hard with ¼" wood.
The best way to make a removable drawer divider is to gather your basic supplies, lay out what you need in the drawer, then build to those specifics.
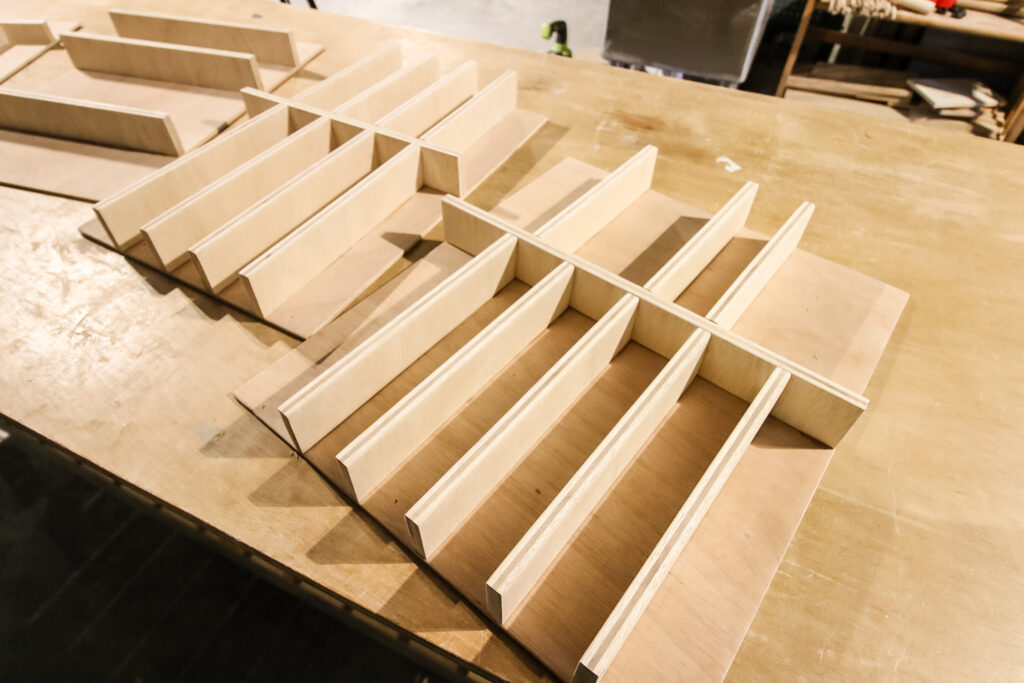
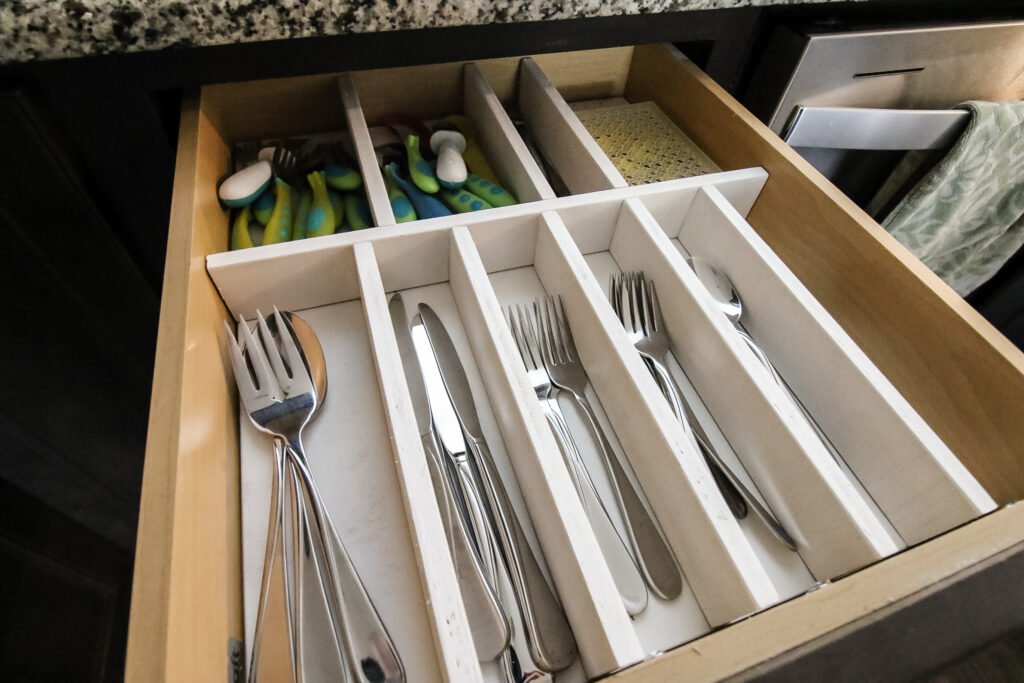
For us, we used a piece of ¼" plywood on the bottom that was cut to the size of the drawer and then made the dividers from ½" plywood. These make great kitchen organizers and everything is kept in place in each drawer.
Types of drawer to organize with custom DIY drawer organizers
The easiest, most straight-forward drawer to organize is your silverware. Chances are, you might still be rocking the plastic utensil tray you've had since college and it doesn't fit your drawer. Build something that will fit the actual utensils you have now.
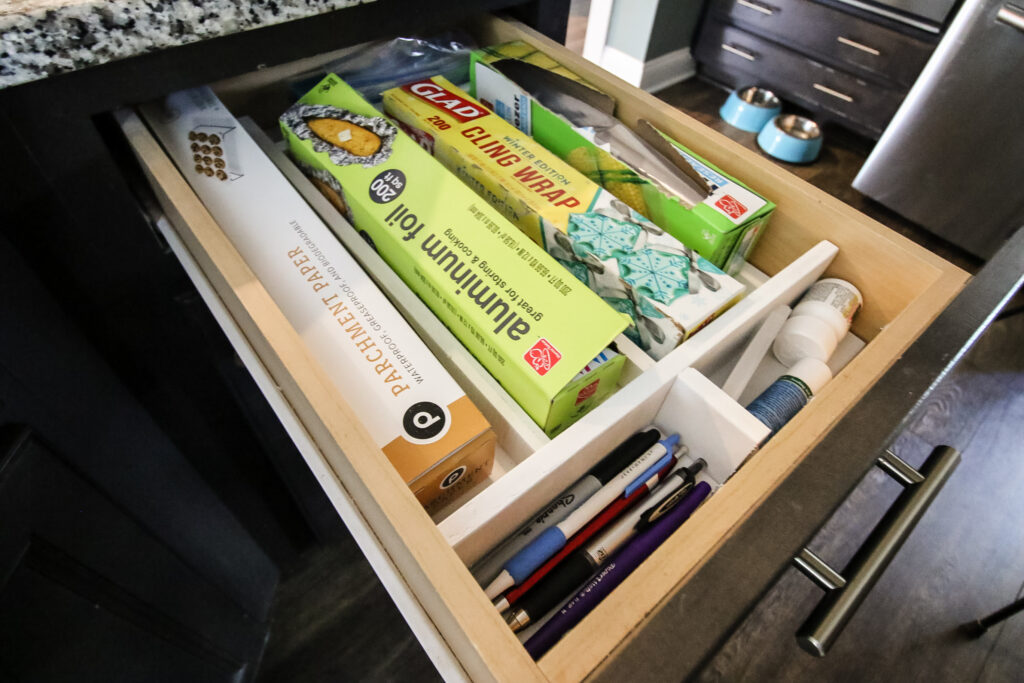
You should also organize your kitchen tools, such as mixing spoons, graters, juicers or any other kitchen tools you have in the drawer. These need a place, organized from most-used to least-used.
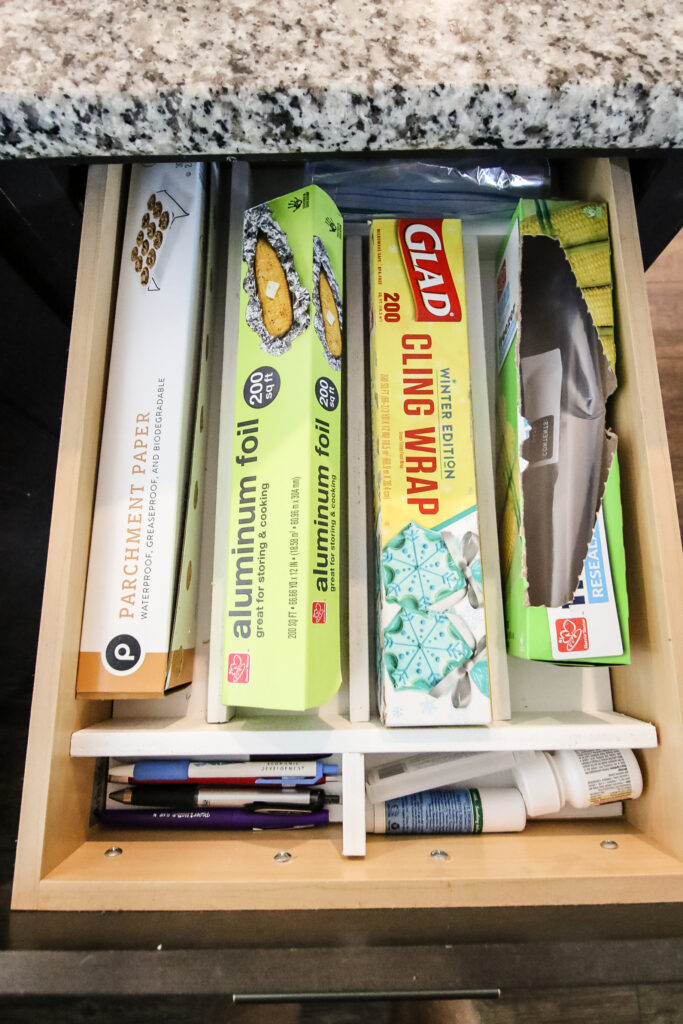
Also, organize that junk drawer. Yes, we know you have a junk drawer, literally everyone has a kitchen junk drawer. You need to go through it and purge, then organize it with a custom divider.
It's harder to organize kitchen cabinets filled with pots and pans or tupperware, but we'll create something for that some day. For now, organize the best you can with the space you have, but a custom insert is going to be harder for those spaces.
Materials needed to make custom kitchen drawer dividers
You don't need many materials to make custom kitchen drawer dividers to your specifications. You'll need:
How to make kitchen drawer dividers
Here's our step-by-step instructs for how to make DIY kitchen drawer dividers and get you organized!
Step one: assess and purge your drawer
Ok, so first things first- you can't organize a bunch of stuff you don't need, it defeats the purpose. So, the first step is to take everything out of each drawer you want to organize and purge what you don't actually use.
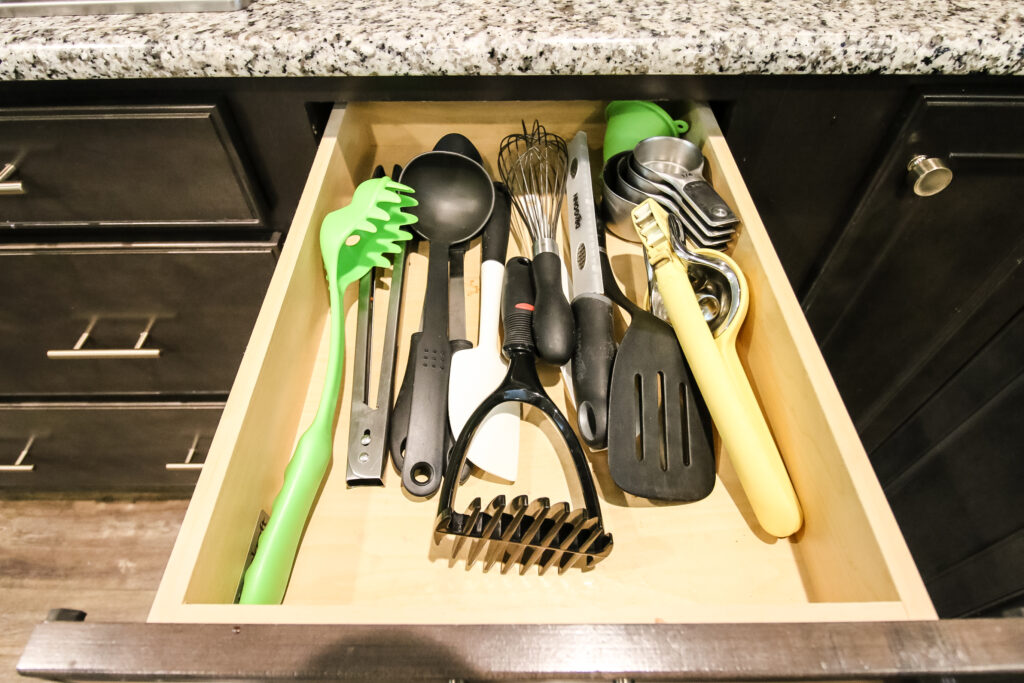
Over the years, you've probably accumulated a bunch of things that you don't actually use, especially when it comes to kitchen utensils. In general, people stick to the same items over and over and don't need most of the stuff in their drawers.
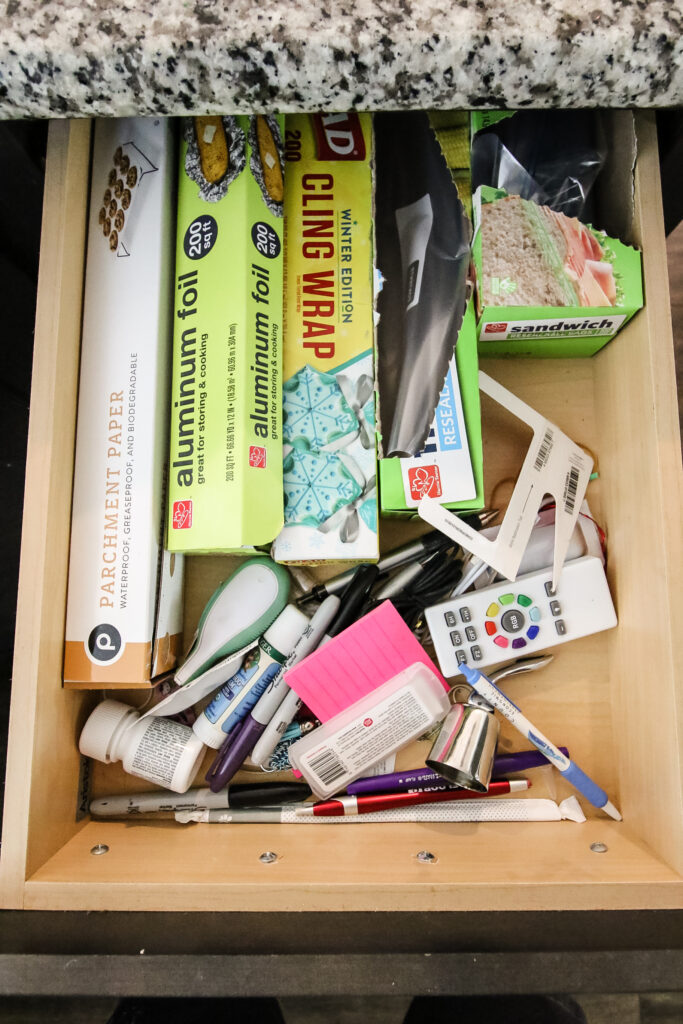
Also, if an item is only used once a year, you can probably get away with something else instead. So purge what you don't need and you'll see you have a lot less stuff.
Remember to check out our tips on how to organize a bathroom drawer too!
Step two: measure and layout
Next, measure the inside dimensions of your drawer. This will be the size of your divider base. I'd recommend subtracting about ⅛" on each dimension so that you have a little wiggle room sliding the drawer in and out as needed.
Then, lay out everything from that drawer on the counter into that size space. Group like items together and figure out what needs to be stored together and what needs to be in the front of the drawer and what can be toward the back.
Measure out the spacing for what you need and write it all down. Do this for any other drawers you're planning to do so you can do batch work.
Step three: assemble dividers
Now that you know what space you need and what the dividers will look like, it's time to build them.
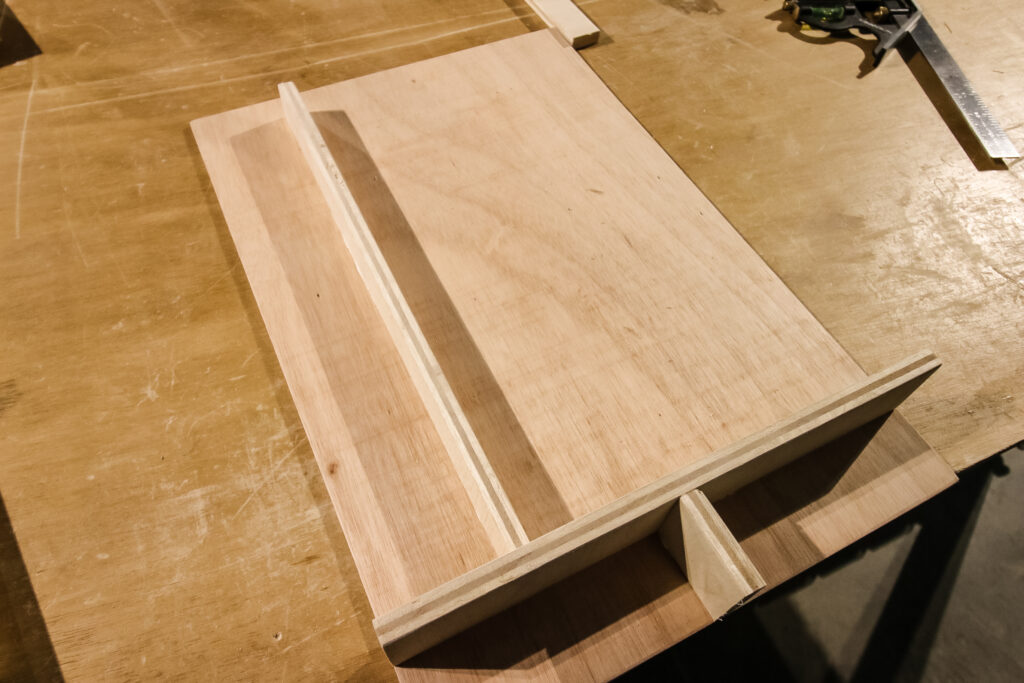
As we said, our dividers are made with a ¼" thick piece of plywood on the base and ½" plywood as the dividers. Based on the depth of a standard drawer, we cut the ½" thick plywood to 2" tall pieces to fit in the drawers nicely and still be able to access everything.
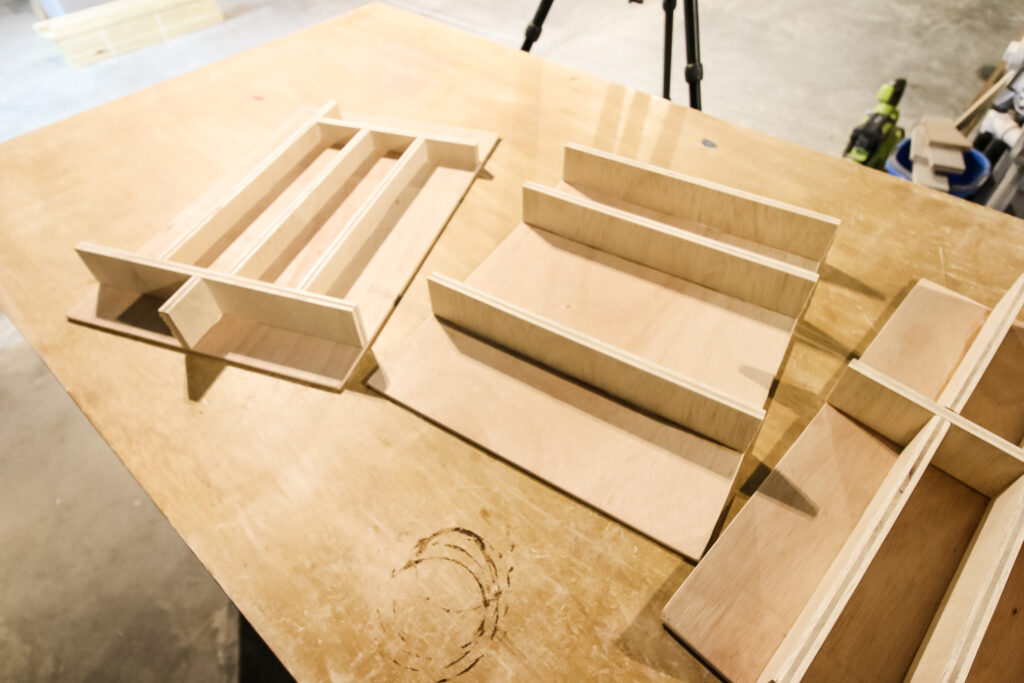
After cutting each piece for each divider, we attached them to the ¼" plywood with wood glue and brad nails through the base. This holds everything in place really well.
Step four: paint/stain and seal
After all the glue was dry, we laid out the dividers on a tarp and spray painted them white. We wanted a white color so they would pop inside the drawer.
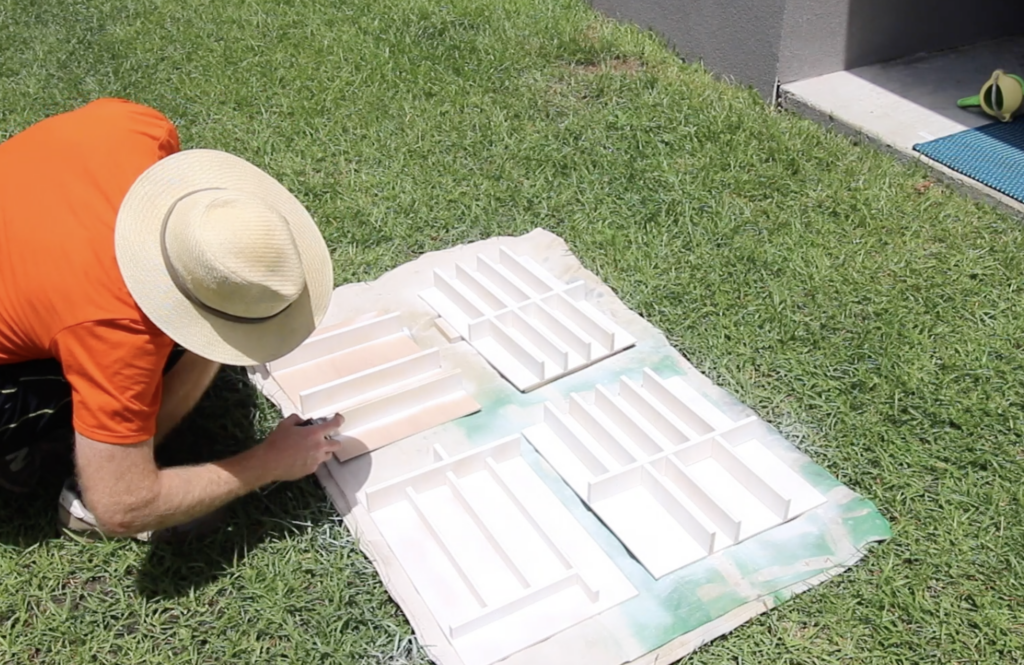
You could leave the dividers natural, but we didn't want the plywood edge to show.
After the dividers were painted, we added a spray sealant to them to keep them protected when utensils were banging in or if any food fell in the drawer.
Step five: insert into drawer
Once the drawer dividers are finished, remove everything from the drawer and clean it out if there are any crumbs or debris.
Then, simply slide in the divider into the drawer. It should fit pretty close to snug!
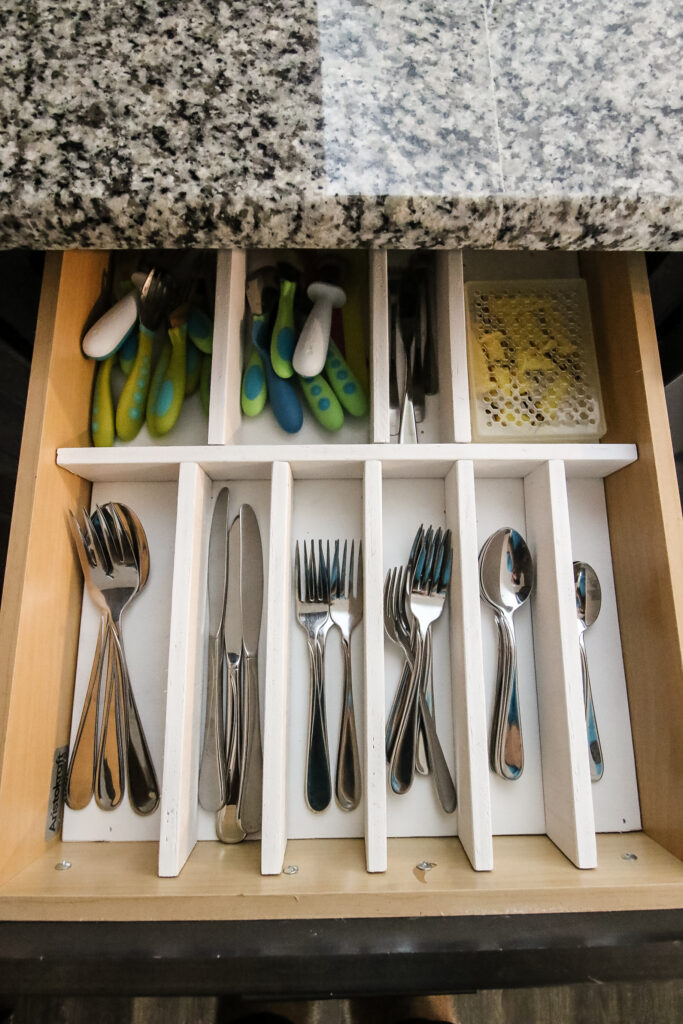
Once it is in place, put each of your kitchen utensils into their new home and enjoy!
These DIY kitchen drawer dividers make it just that much easier when you're in the middle of cooking and need to find that pesky spoon or grater!
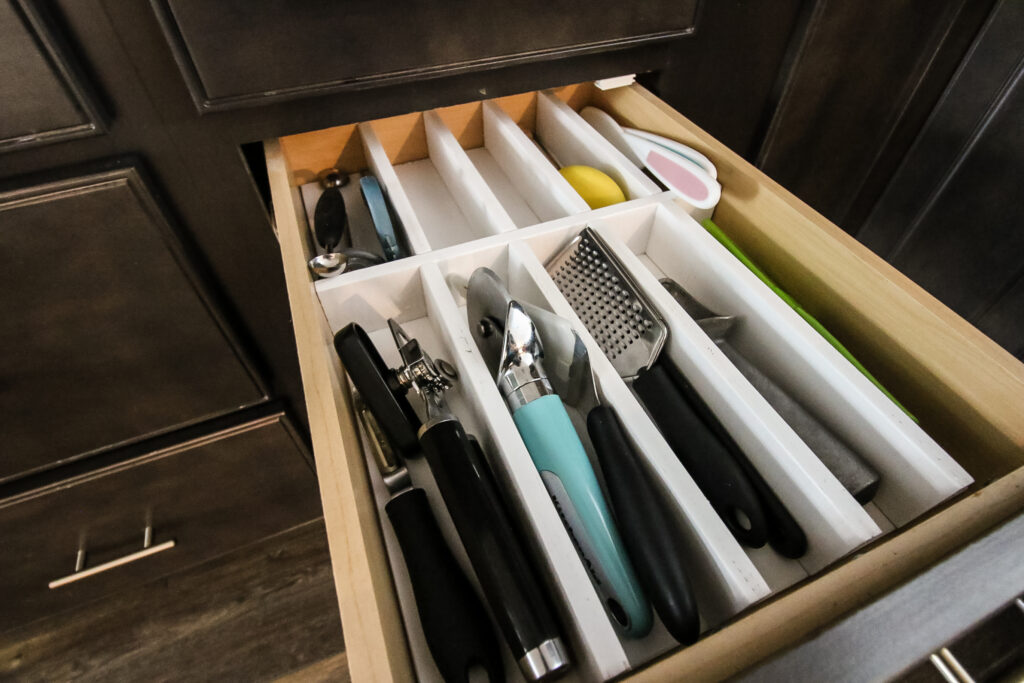
The other great thing is if you do have a spill or problem, you can always pull out the divider, clean the spill, then drop it back in!
What can I use as drawer dividers?
If you're not a woodworker or don't have equipment to make your own DIY wooden kitchen drawer dividers, there are other things you can use as drawer dividers!
The first is to simply purchase a wooden kitchen drawer organizer online. Amazon has some great adjustable drawer organizers that can change your life quickly.
You can also buy a set of plastic divider trays that you can customize for your space.
But if you want to use what you have and don't have tons of tools, you can also use glue or sticky putty to stick down any small divider you can make in the drawer. Personally, I used cut apart food boxes to organize my bathroom drawers for years.
Video tutorial to make your own DIY kitchen drawer dividers
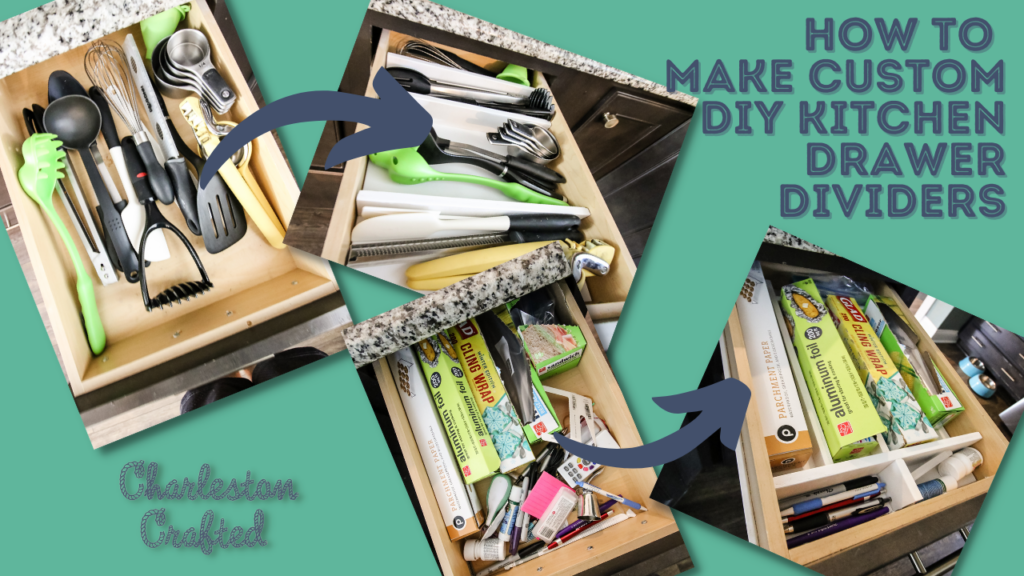
Here's our full video tutorial of how we made our DIY drawer dividers for our kitchen drawers! The video shows how we created dividers for utensils, kitchen tools and that pesky junk drawer!
Looking for something?
We've been doing this since 2012 so we have a LOT of blog posts!
Search stuff like: Ceiling Projects | DIY Plant Stands | Thrift Flips


Hey there, I'm Sean, the woodworking enthusiast and builder behind CharlestonCrafted.com! Since 2012, I've been sharing the magic of turning raw materials into beautiful creations. I love teaching others the art and satisfaction of woodworking and DIY. I try to inspire fellow crafters to make something extraordinary out of nothing at all.


