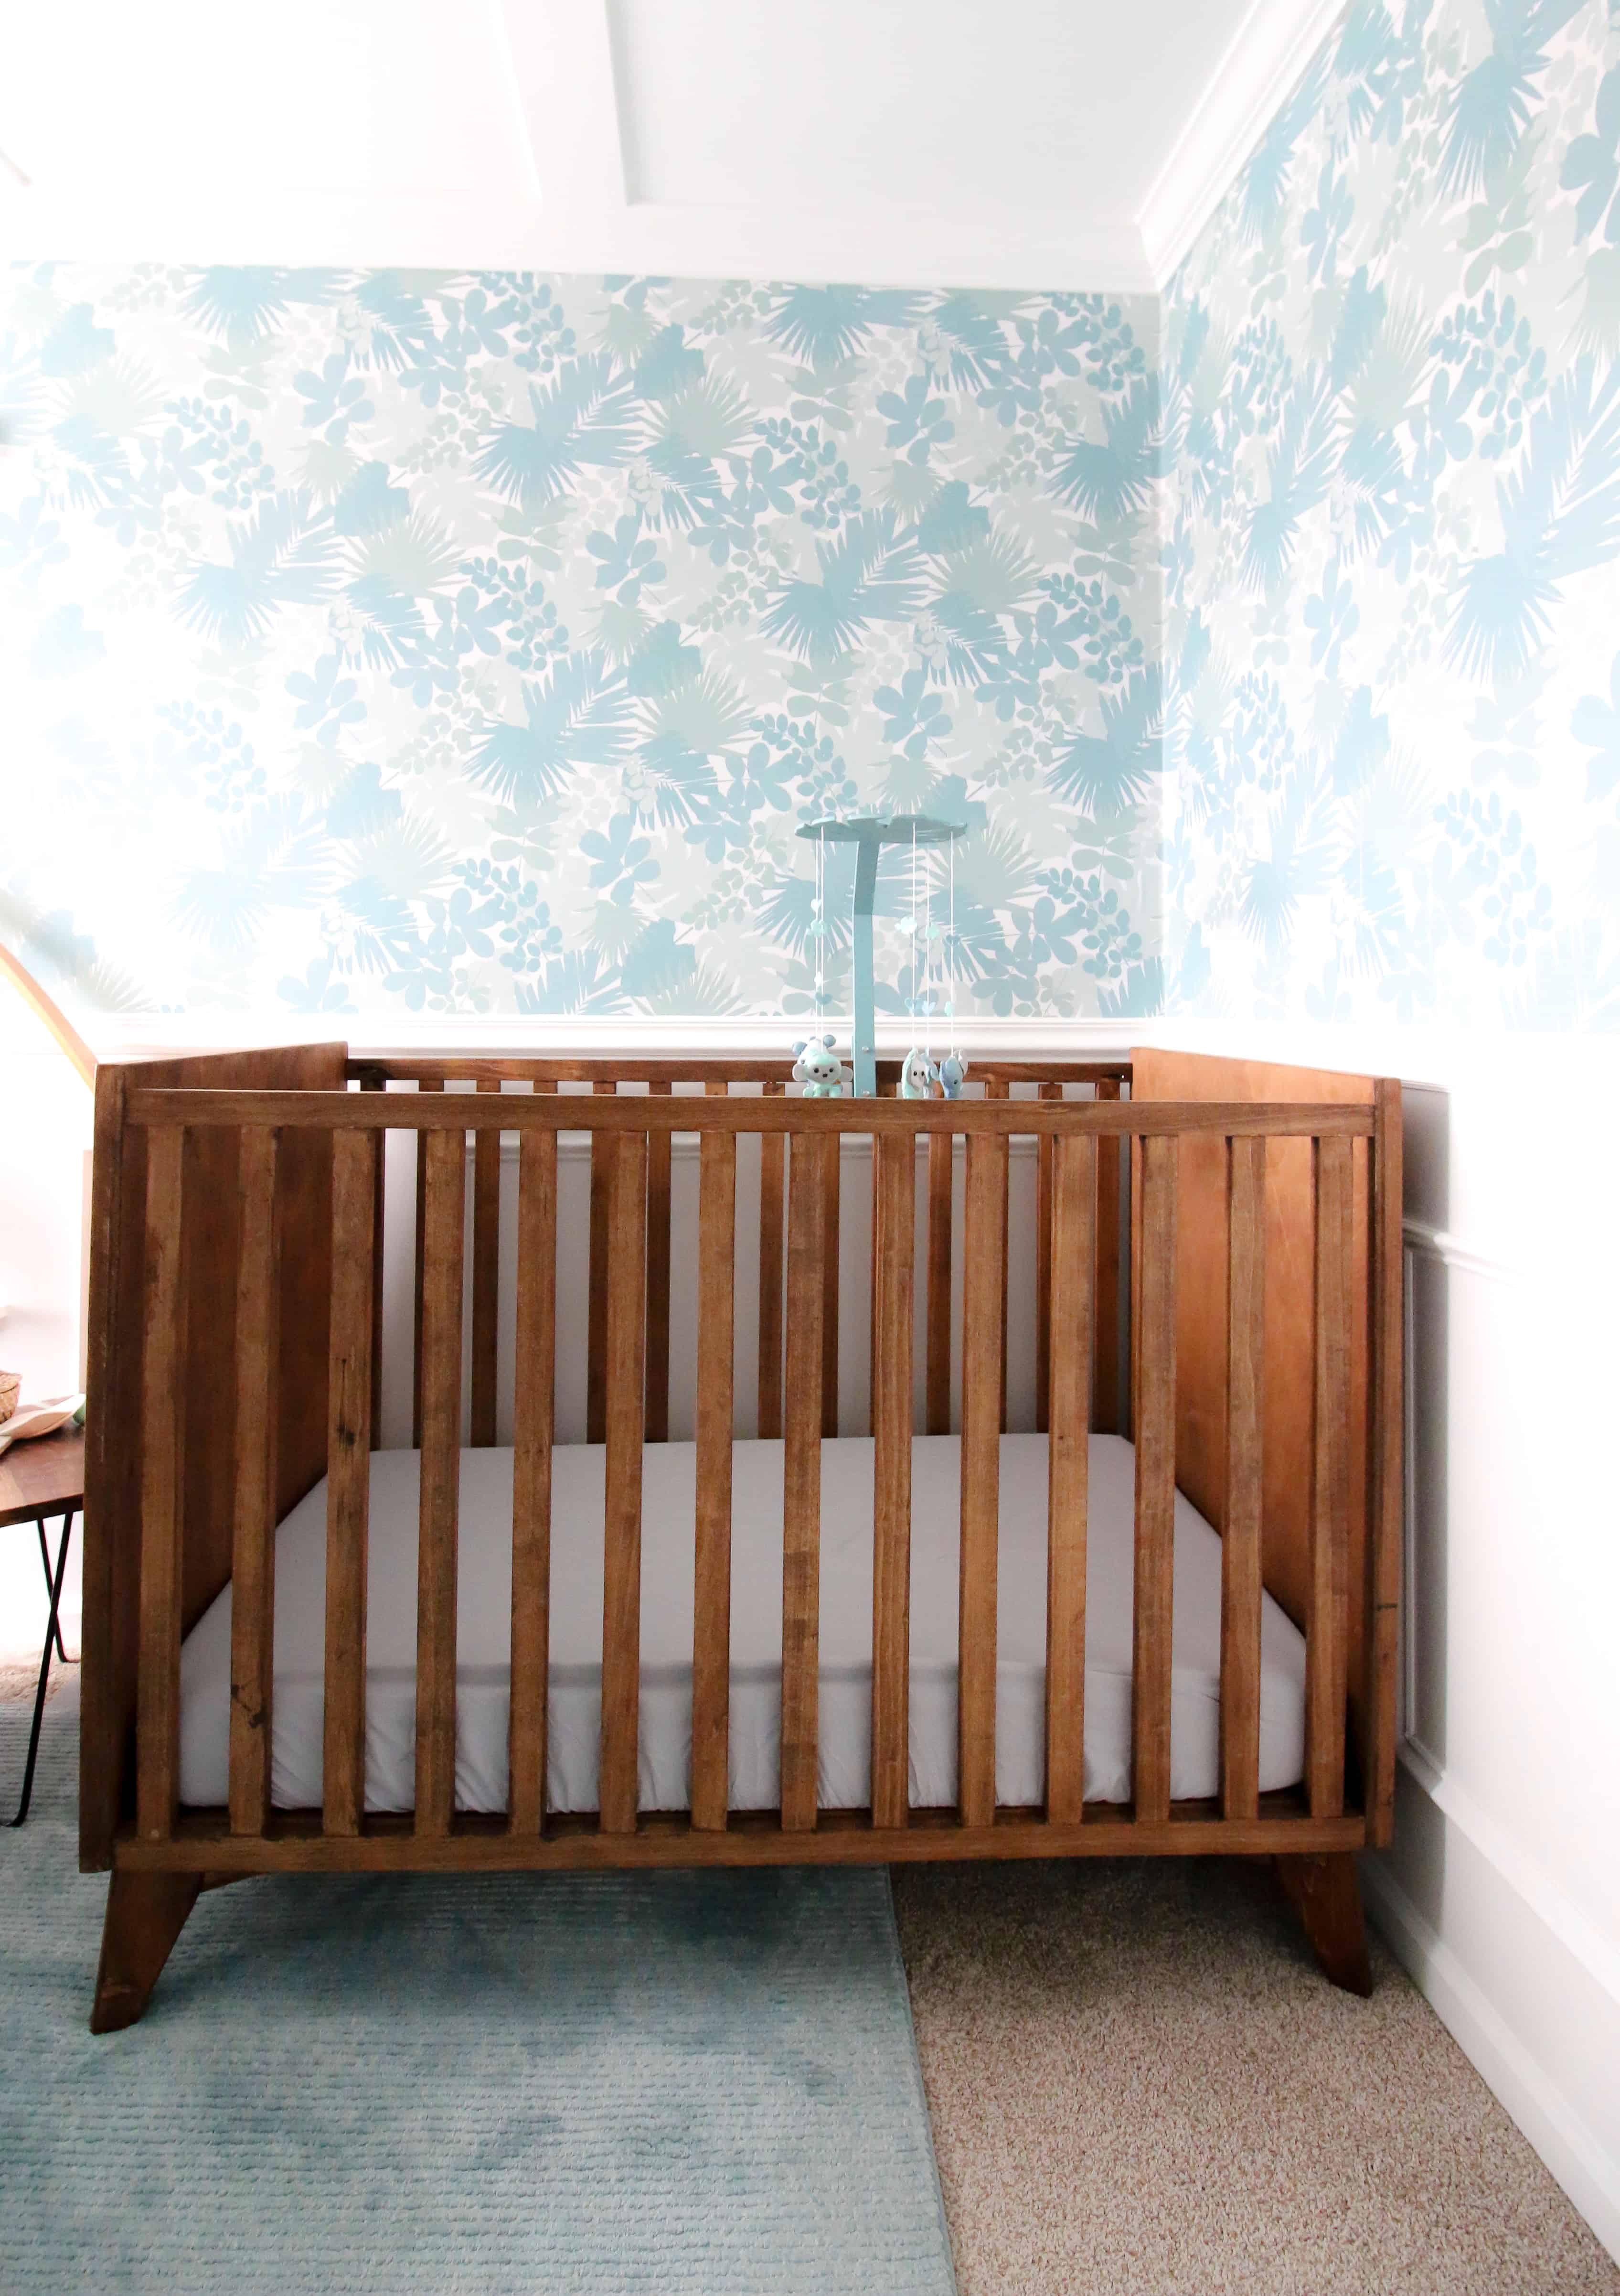
If you're looking to build a crib for your soon-to-be child or grandchild, this midcentury style crib is a great DIY project that your child will look great in!
If you're a DIY-loving, eager beaver, soon-to-be parent that has the crazy idea that you want to build your child's crib, you've come to the right place.
We created a DIY mid-century crib with our own two hands. If you think you can do this, I know you can.
We thought building our son's crib would be very special, so we tried to do it ourselves. While it wasn't quick, it wasn't that hard either.
This was one of our first big builds, so we weren't experts at the time and I bet our plans can get you through this and help you make a special memory too.
This post will show you how we built our DIY mid-century modern crib and you can also grab our woodworking plans to make it yourself!
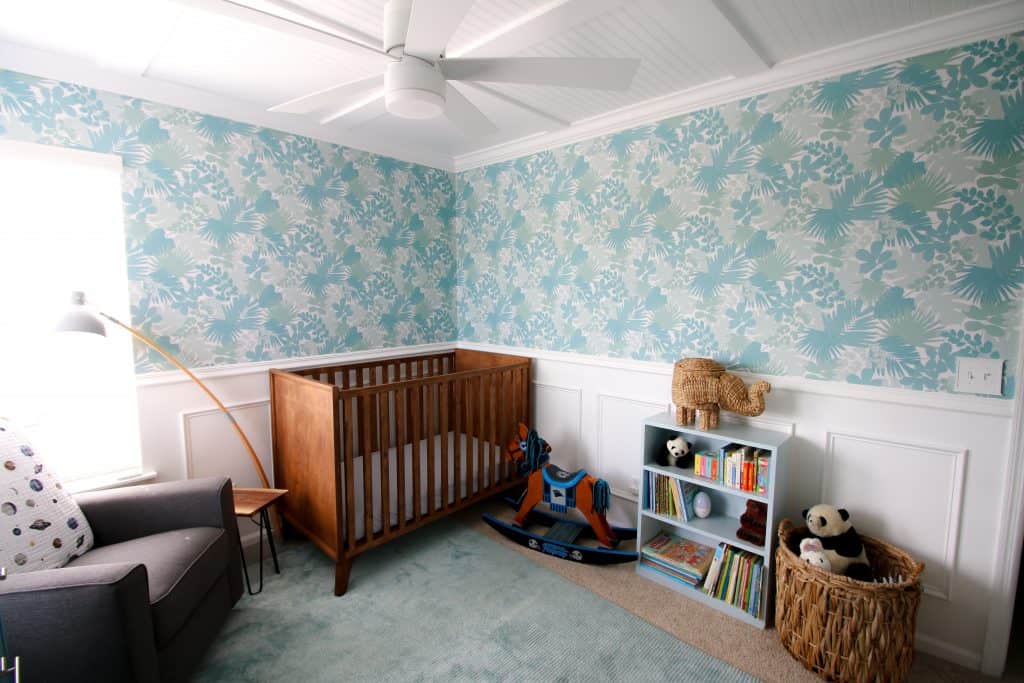
Be sure to click over and check out our Jungle Theme Nursery Reveal!
Click here to pin this project to your Pinterest board!
DIY Mid-Century Crib
This DIY mid-century crib meets the appropriate regulations that we found for what a crib has to be, however, make sure you check the regulations for your state.
If you want a more traditional looking crib, check out our plans for a DIY traditional style crib!
The big things were to make sure that the space between the slats is no more than 2 ⅜", that there's no gap between the mattress and the sides, and that the railing height is at least 26 inches.
In creating our plans for our crib, we used inspiration from this West Elm mid-century crib and the blog post written by DIYstinctly Made. These were a good jumping off point for us.
We also used the same legs that we built for our IKEA Hemnes dresser hack.
Modern Crib Plans
Here's all the supplies and the general steps for how to make our DIY midcentury modern crib.
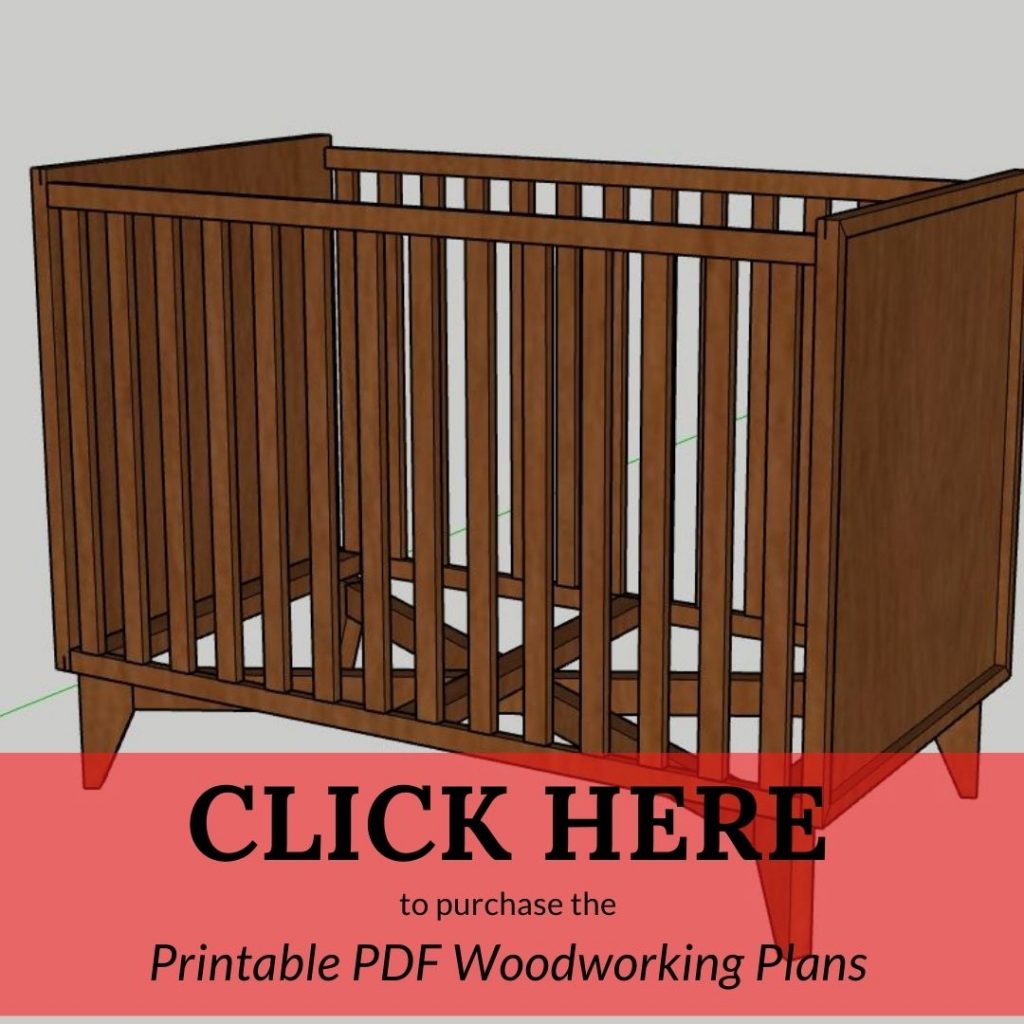
You can get the full cut list, material list and step-by-step instructions in our downloadable PDF woodworking plans!
Supply List
- 110' of your choice of hardwood. I purchased approximately 24 feet of poplar 1x12s and used a table saw to trim down all the slats and lengths needed
- One 8'x8' sheet of plywood
- 16' of 2x4s
- Lots of pocket screws
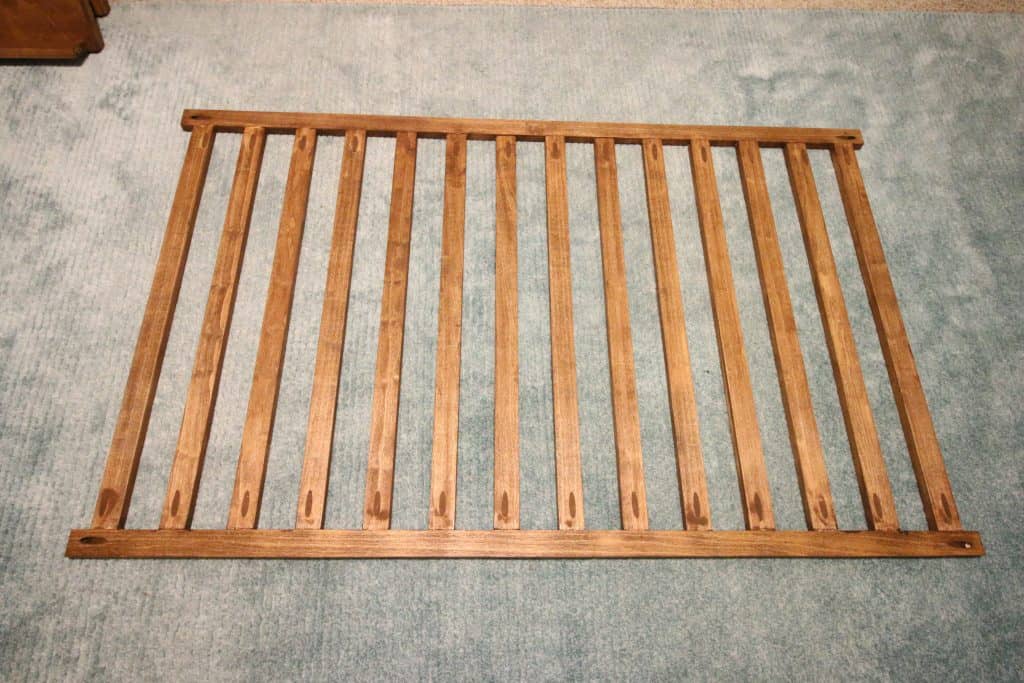
Step one: Build the Open Sides
I started out by setting my table saw to 1 ½" and created 28 slats that were 29" long. Then I cut four slats at 52 ¼" long.
I drilled one pocket hole on each end of each slat and sanded everything down. Each side needs 14 short slats and two long slats.
I started with the first short slat 1" in from the ends of the long slats and used wood glue and a pocket screw to attach them.
Repeat 13 more times with 2 ¼" of space in between each and finish with another 1" gap on the other end. Repeat for the other side.
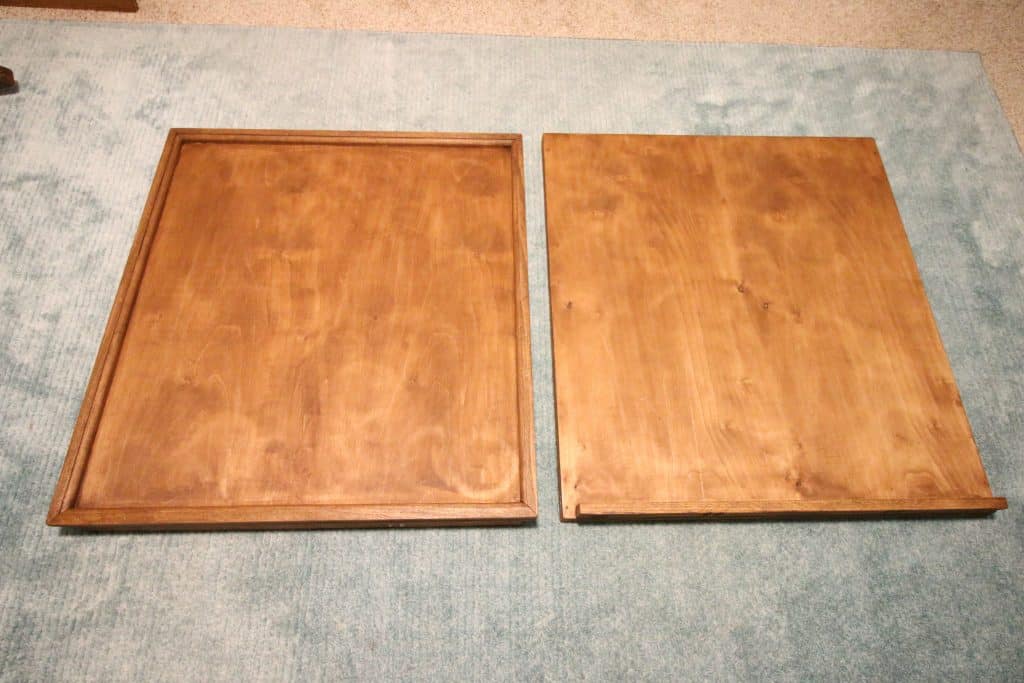
Step two: Build the Solid Sides
For each of the two sides, I cut a square of plywood 32 ⅞" tall by 30 ¼" wide.
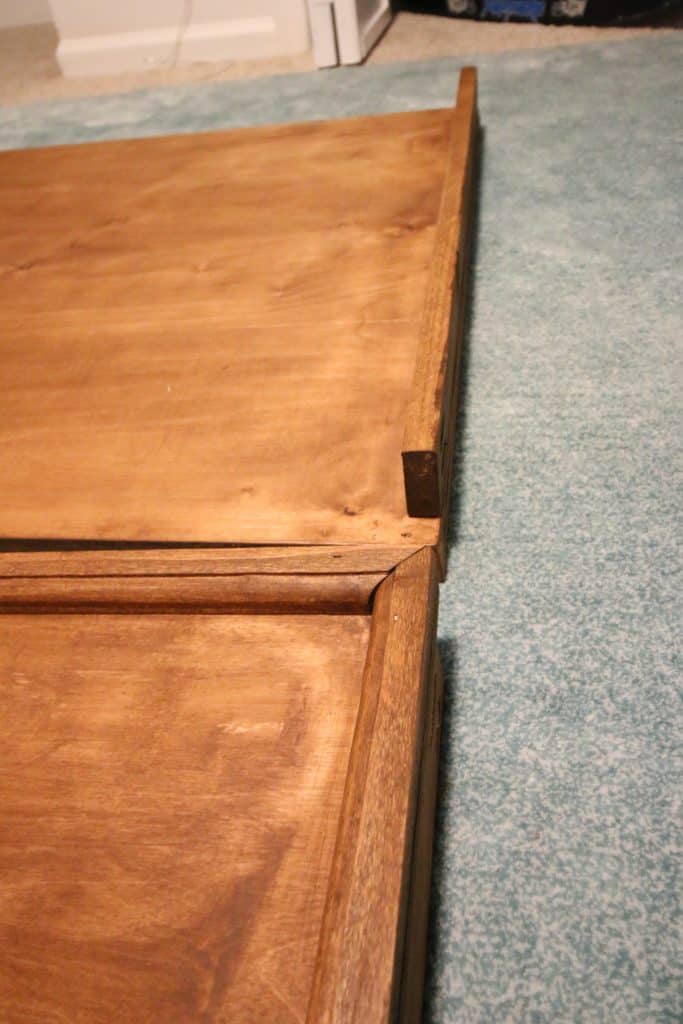
I then used a router to make a fancy edge on strips of poplar that were 1" wide with mitered edges and the same dimensions as the plywood sheets.
I used wood glue and a nail gun to attach the strips around the outer face of the plywood.
Then attach a 28 ½" long by 2 ½" wide board to the inside base of each side where your moveable base will sit on.
Step three: Build the Moveable Base
I cut two long boards 52 ¼" by 2 ½" and seven shorter boards at 24 ⅝" by 2 ½".
These I just used pocket holes to join together evenly spaced apart. This base will be used as an adjustable base for the mattress that can be started higher in the crib and then lower to base level.
One note is that we ended up not even needing to use the mobile base because by the time we moved our son out of the bassinet, we were able to get him in and out of the crib easily. However, you still need this base as the base of the crib even if you don't move it.

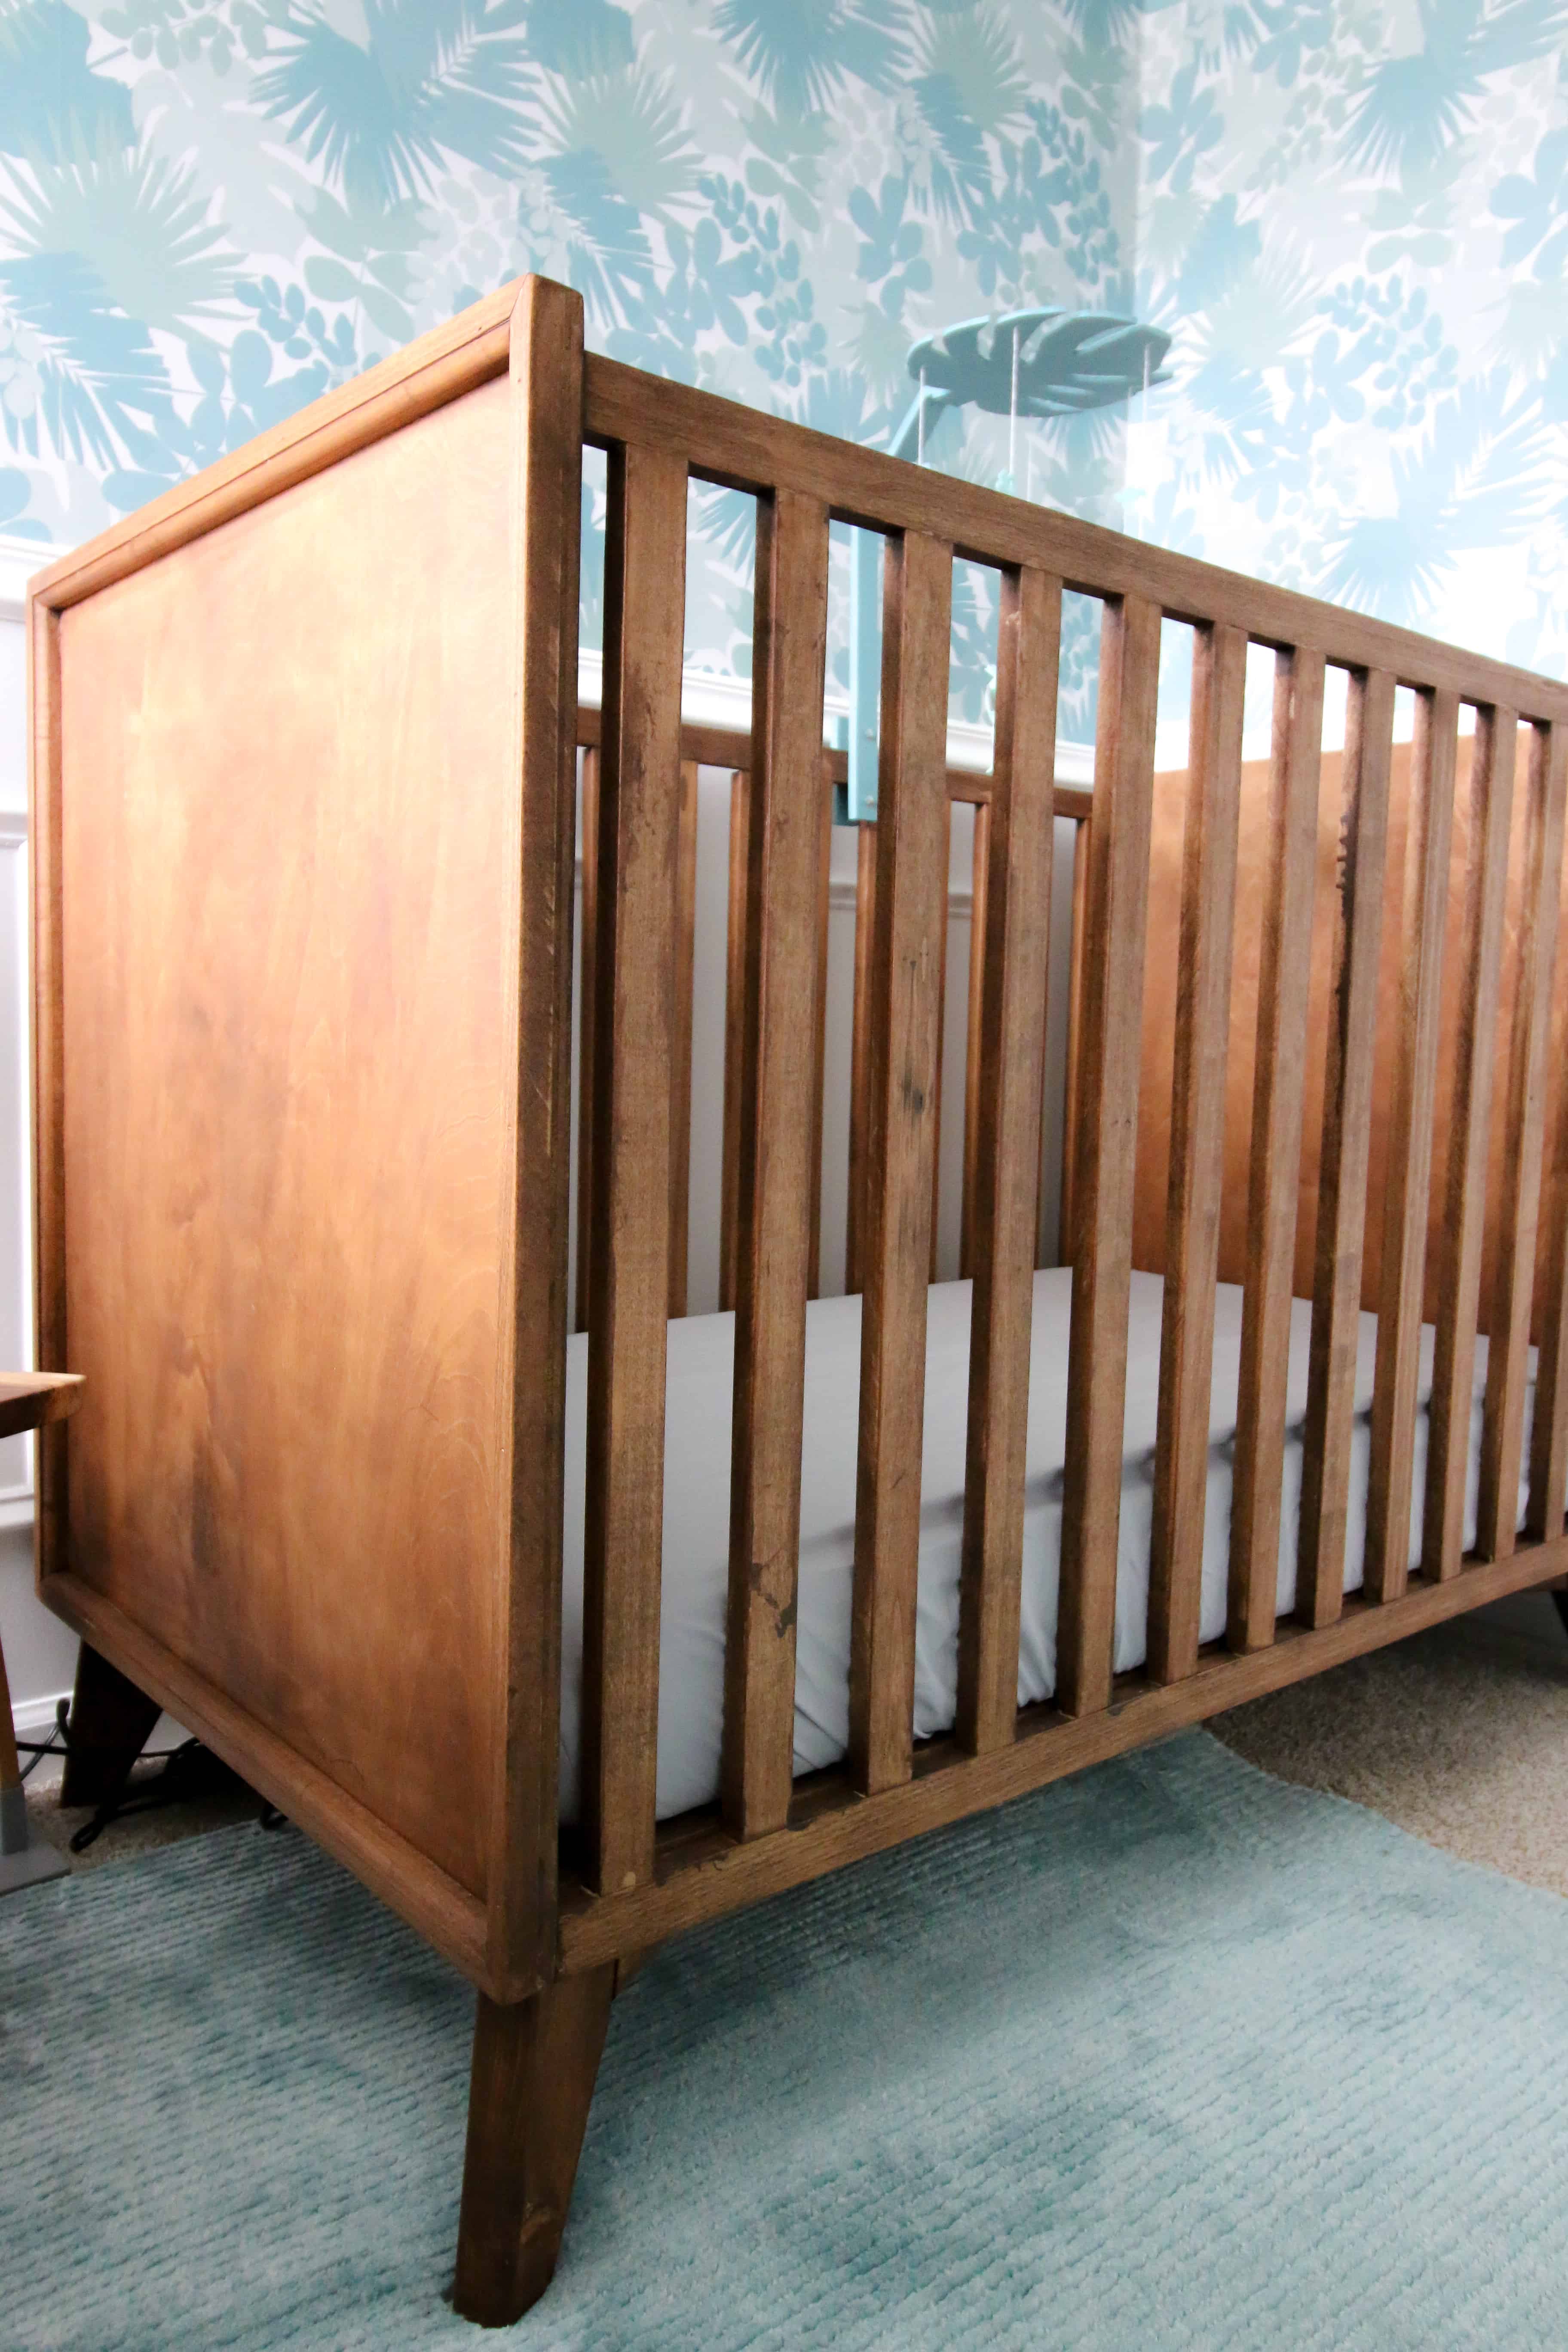
Step four: Construct the Crib Body
Use pocket screws to attach the open sides to the inside of the solid sides. Add another 28"x2 ½" board to solidify the to open sides to each other in the middle at the bottom of the crib.
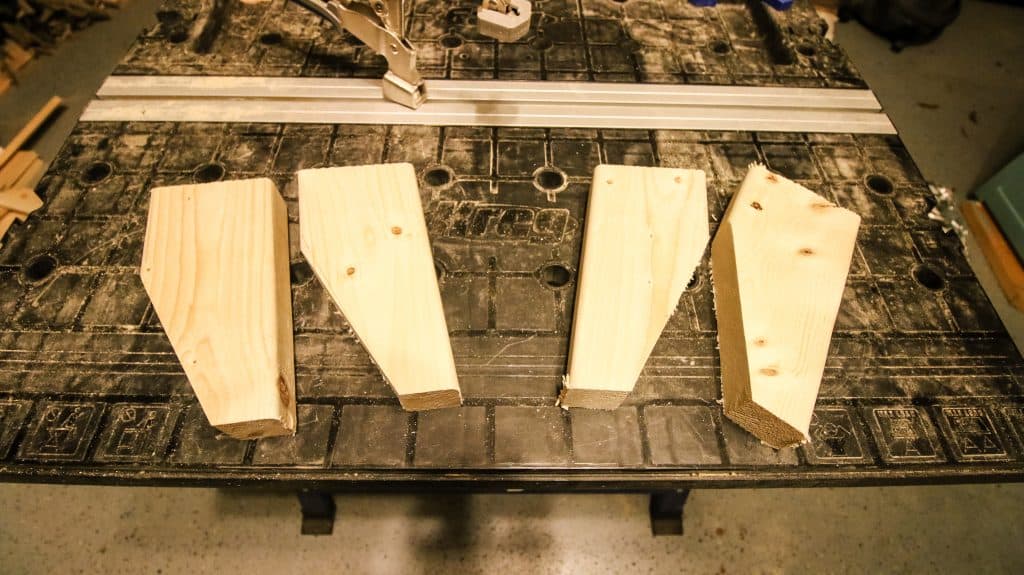
Step five: Build the Legs
I did this same leg system for our IKEA Hemnes Dresser Makeover.
Start out by cutting four legs out of 2x4s. These should be 8" long with a 7 degree parallel miter on the two short ends.
Next mark a spot 2 ½" down from the top on one side and a spot 1" in from the bottom on the other side. Draw a straight line between those points and cut that triangle out.
Next cut your beams. You're going to want to cut your 2x4 down to 2 ½" wide to match up with the part of the leg you just cut off.
Then, cut two pieces the length of the diagonal from your corners. Use pocket holes and wood glue to connect a beam to two legs.
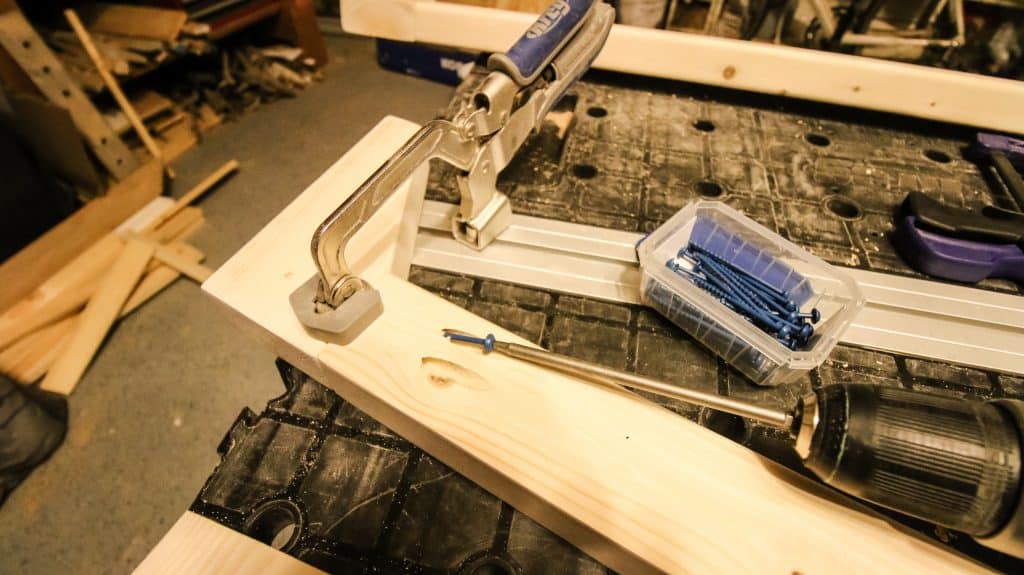
Now comes the tricky part. Lay one of the diagonal beams where you want it on the base.
Then, lay another one in an X pattern and mark where you need to cut out a gap. Then attach your two shorter pieces to the longer piece using wood glue and pocket screws.
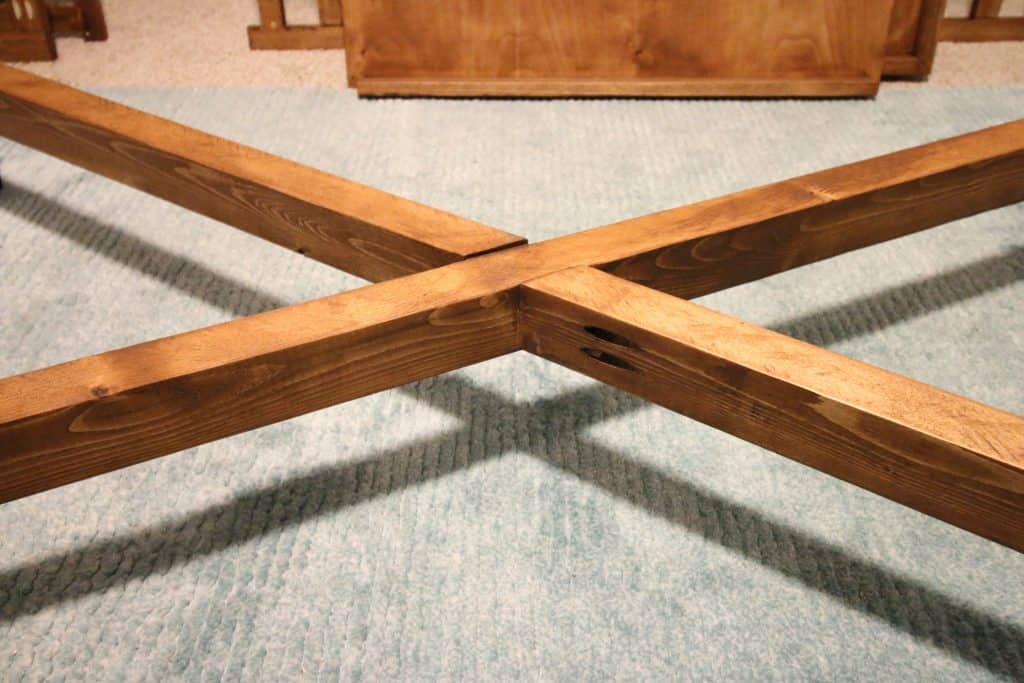
Attach the whole leg system to the base of your crib in the corners and in the middle.
Step six: Finishing Touches
Fill in all your holes with wood filler and sand smooth. Choose a stain or paint color that matches your decor.
We chose Rust-Oleum Varathane in Early American to match the other wood pieces in our home.
Read our full review of Early American wood stain by Varathane!
DIY midcentury modern crib
How incredibly awesome does this DIY mid-century crib look? And I built it with my own two hands!
I can't wait for our child to start sleeping in this homemade crib and then pass it down to our future children or someone who needs a crib.
Click here to pin this project to your Pinterest board!
Midcentury modern crib woodworking plans
Love the look of this project and want to make one for yourself, make sure you grab our woodworking plans!
Our woodworking plans come with a full material list, cut list, and step-by-step instructions with computer model imagery to help you along.
Our plans will offer more in depth information and you can reach out with any questions!
Before you go...
After you've built the crib, here's a couple other kids woodworking projects you should take next!

Looking for something?
We've been doing this since 2012 so we have a LOT of blog posts!
Search stuff like: Ceiling Projects | DIY Plant Stands | Thrift Flips

Hey there, I'm Sean, the woodworking enthusiast and builder behind CharlestonCrafted.com! Since 2012, I've been sharing the magic of turning raw materials into beautiful creations. I love teaching others the art and satisfaction of woodworking and DIY. I try to inspire fellow crafters to make something extraordinary out of nothing at all.

Ben says
What do you have in place to allow for the base to move? It seems by the plans that the board on the bottom of the crib sides just allows for the base to be at the bottom. Will you put in different levels later?
Sean says
Hey Ben, so in order to put it at a different level, the plan was just to use L-shaped brackets higher up on the crib. However, I actually haven't gotten that far because we haven't moved him into the crib yet. Since I'm able to reach to the bottom of the crib though, I might not even add them. But yeah, the actual plans don't have the brackets because I figured people could adjust as needed. The moveable base is the main thing as it allows for that flexibility.
Brittany says
How is the moveable base attached to the crib frame?
Sean says
It rests on the bottom. To set it in a different position, we planned to use brackets that we would attach into the solid sides. We’ve ended up not needing to move it up though.
Jessica says
Do you have an actual printout plan? With diagram/pictures?
Sean says
Hey Jessica! I'm actually in the process of putting these together right now. I'm hoping to have them available soon. As you probably saw in the beginning of the post, I was doing this project at the last minute and hurt my hand while doing it, so I was really in crunch mode before the baby. After he was born, everything happened so fast that I never got around to it. I will certainly let you know when I have them available! Do you have a baby due soon?
Ashley says
Hello! So cute!! About how much did it cost to make?
Sean says
Hey Ashley! I really can't remember how much we paid, but I think it was around $100 in wood. It will vary greatly depending on what species of wood you use and if you have the ability to cut down wider pieces of wood versus buying slats already in that thickness.
Henry Hillmann says
Can you post a picture of the bottom of the crib without the mattress? Want to see how it all connects together. Beautiful crib!
Kelsie says
What type of stain did you use? Love this crib! Excellent job!
Morgan says
Hey Kelsie, we used Varathane's Early American- https://amzn.to/2PyaqKf
janeen says
Hi! I love it! Did you use any sealant for the crib? Is the stain 'babyproof'?
Sean says
Hey Janeen, we did use a standard polyurethane sealant over the stain. That cured for about a month before he was born and then six more months before we moved him into it from the bassinet.
janeen says
Thank you so much!
Kait Parkinson says
What would you estimate the cost to build this at?
Sean says
Depends on if you have the right tools and stains on hand. But aside from the tools, I'd say the materials cost is about $125.
Tom says
How do you adjust the movable base?
Sean says
You install corner brackets midway up the crib and rest the moveable base on there instead of at the bottom of the crib.
JOSELYN says
What did you use for the corner brackets? Thnx
Sean says
They sell L-brackets at the store that are nice and sturdy.
Ashley says
Do the sides break down for storage?
Sean says
Yep, the whole thing breaks down. It breaks into the two sides, two ends, base, and leg section.
Catherine S says
Hi! Sorry meant to post my question on the crib, not the platform bed!! What size mattress does this hold? Thanks!
Morgan says
It's a standard crib size mattress!
Michala Barnes says
Hi! I love this I am definitely going to try to make this base for my ikea dresser! What size pocket screws did you use? And do you think I could make it sturdy without pocket holes? Trying to avoid buying a jig if I can.
Sean says
If you were going to do without pocket screws, you need to use some other form of sturdy joinery. Wood glue by itself won't be enough. These were the 2 1/2" pocket screws since we were working with 1 1/2" thick wood.
Andy says
How did you attach the base lip to the inside of the solid base boards with pocket screws? Seems like an awkward orientation to get them on. And those lips are centered at the bottom of them as well correct?
Sean says
Hey Andy - I'm not sure exactly what you are referring to. The lips on the solid sides? They are screwed straight in. I'm not sure what awkward orientation you mean, I'd be glad to discuss if you can show me more what you are referring to.
Taylor says
Do the plans go more in depth than the blog post does? Just wondering if I need to buy the plans since the plan is pretty much laid out on the post...
Morgan says
Hey Taylor - our plans have a bullet list shopping list & cut list as well as step by step directions with computer-drawn diagrams for each step. We aim to make it so you can make our builds completely off the blog post. The plans for sale are what we considered a content upgrade and have the benefit of being PDF (printable or easy to reference on your phone or wherever), advertisement-free, and laid out as I said with the shopping list, cut list, and then a diagram and text for each step. Hope that helps!
Amber says
Thanks for sharing, I'm going to have my father-in-law build for us!! What size mattress did you use in here? I want to go ahead and register for the mattress/sheets/etc.
Sean says
Great to hear! It fits a standard crib mattress! If I remember right, that's about 52"x28".
Travis Neil says
Just checking in some measurements. The end boards that hold the movable base are listed at 28 1/2”, the center board you have written as 28” and the width of the movable base itself ends up being 29 5/8”. That doesn’t seem to add up to me. Please help.
Sean says
Hey Travis, could you email me at Sean@CharlestonCrafted.com and I can help with your questions. Thanks!