This DIY Montessori toy shelf is a perfect way to display your child's books and toys for them to see!
We built this toy shelf to go along with our matching DIY Montessori forward facing bookshelf that our son loves to use to pick out his books!
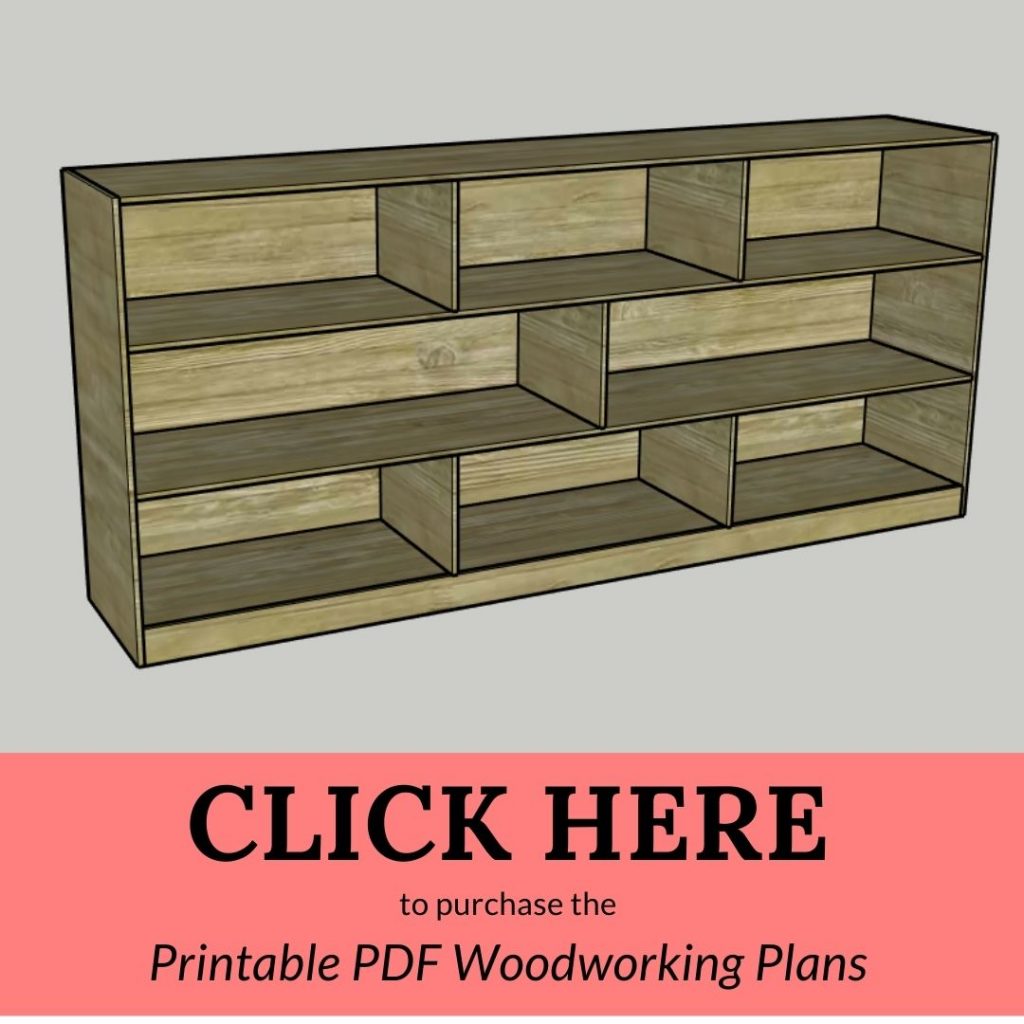
See how we built this DIY Montessori toy shelf below and get the printable PDF plans to make one for yourself!
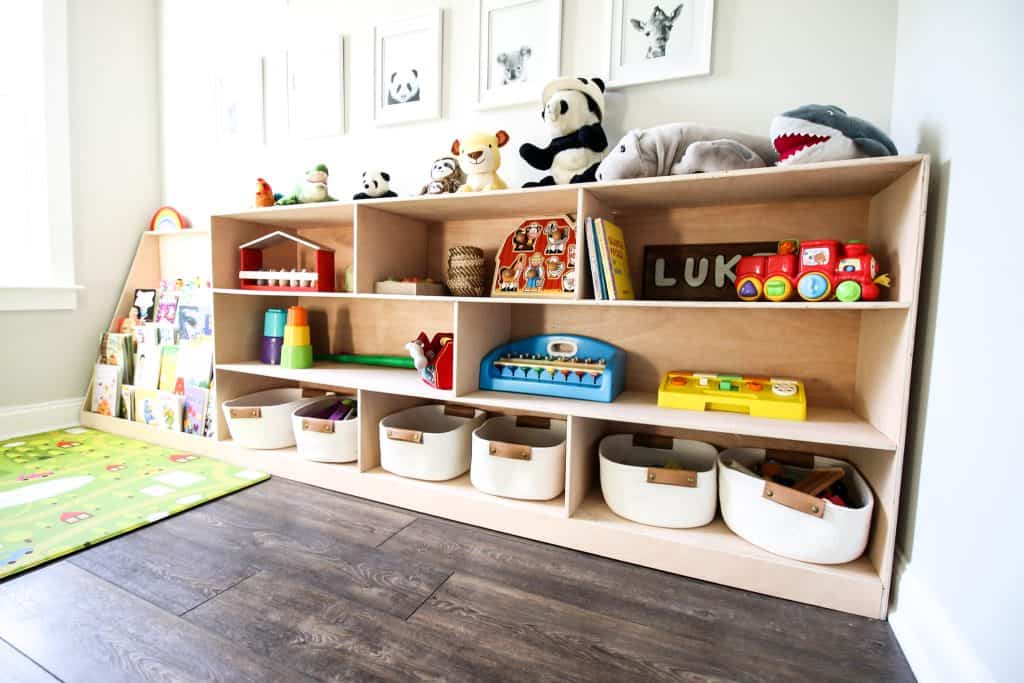
When you're done building the toy shelf, try building our Montessori name puzzle or wooden animal barn to put on the shelves!
What is a Montessori playroom?
A Montessori playroom is a play space that is set up to work best with the Montessori method of child education.
It should be a simple, clean space with a minimal number of carefully selected toys.
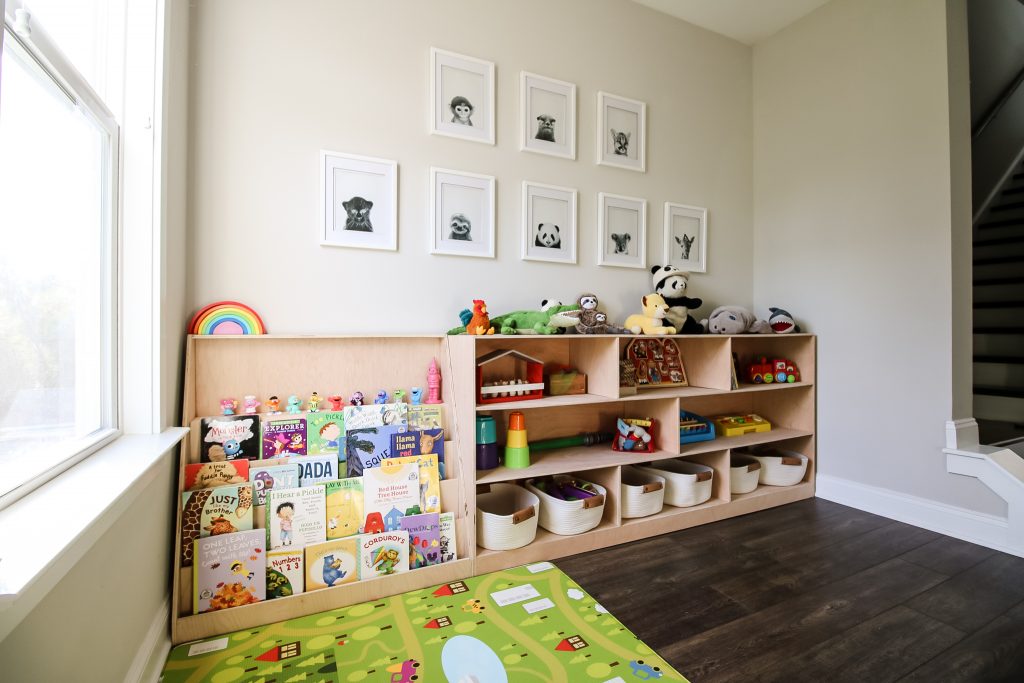
I want to be clear that we do NOT claim to have a Montessori playroom! It is something that I admire, and we would love to ditch some of these tiny plastic toys, but it is not where we are right now.
However, we were inspired by the popular Montessori shelves. They are open, large wooden shelves with lots of room for storage and imaginative play.
This project pairs really well with our DIY kids art display!
How to build a Montessori toy shelf
This DIY Montessori toy shelf is perfectly customizable for any space. We built this to fit a long wall in our flex room, but could be shortened for any space.
The concept for this toy shelf was to have big cube shelves that allow for our son to see all his toys and take them on and off himself.
The entire thing is made from ½" plywood. We are also keeping the shelf the natural plywood color for now, but might stain or paint it whenever we get to making over this room.
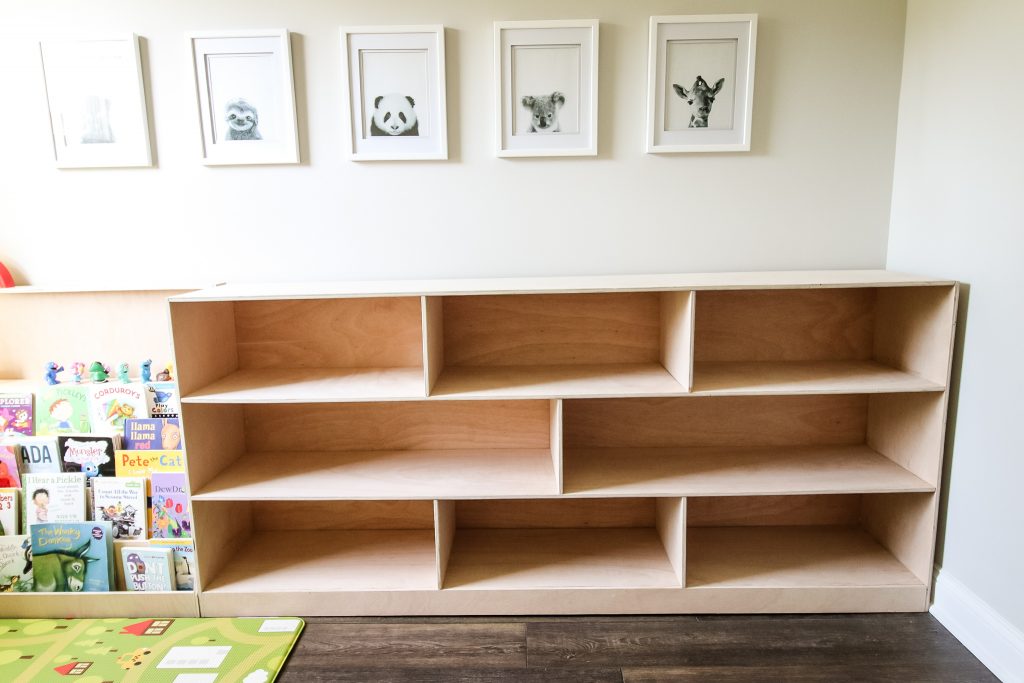
The Montessori toy shelf is built using pocket holes and nails. Let's get into it.
Building the shelf
To build this DIY Montessori toy shelf, we started by making all the cuts on a table saw. It can be tough to push a full sheet of plywood through a table saw, so make the first length cut with a circular saw and guide.
Once it's all ready, we added pocket holes where necessary and sanded.
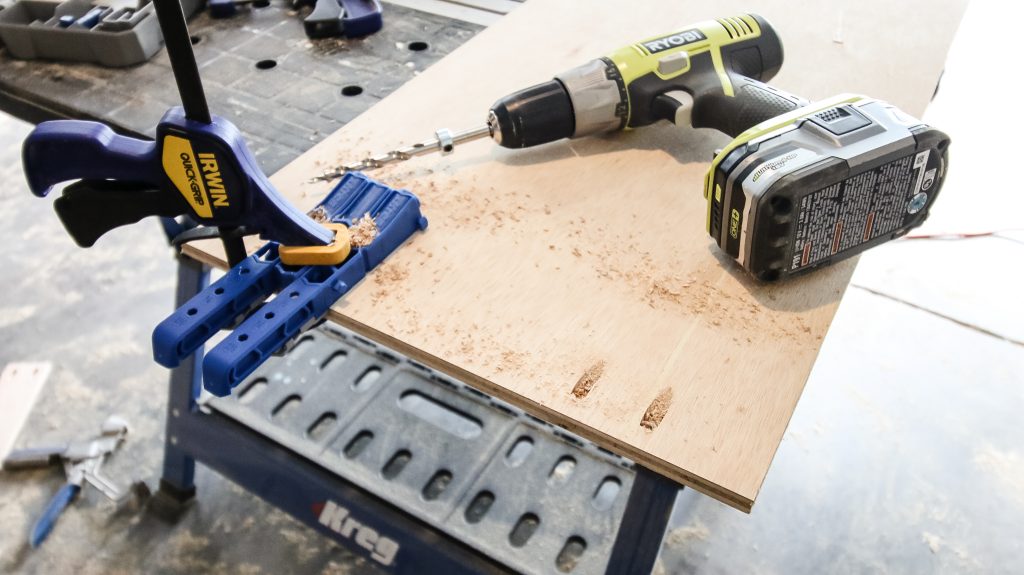
Then, we built the frame and added the face plate to the bottom.
Next came the shelves, which were attached at very precise increments to fit the shelf dividers.
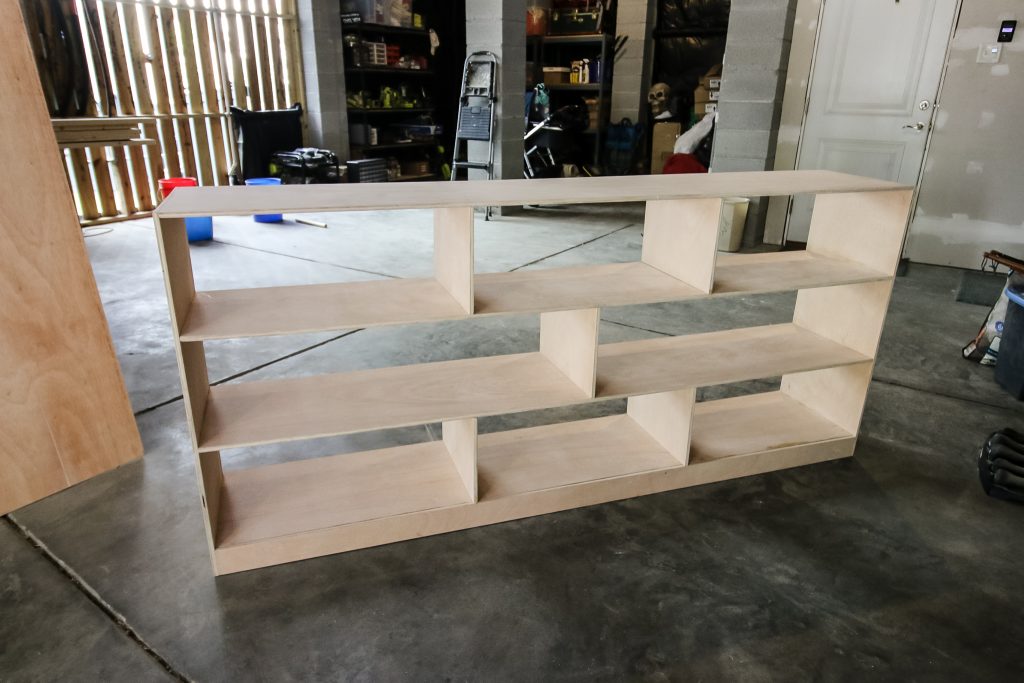
The shelf dividers were nailed in from the top and bottom so that there wouldn't be visible pocket holes.
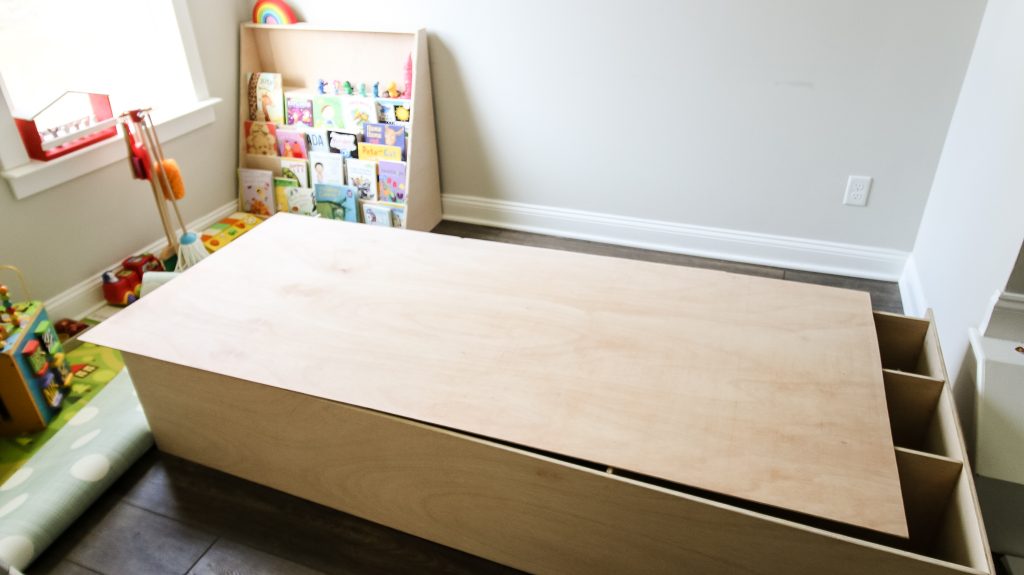
The last step was to add a sheet of ¼" plywood as a backer to the whole piece. It is nailed in from behind along the outer edges.
How to style a Montessori toy shelf
The overall concept of a Montessori toy shelf is to enable your child to see all of their toys and be able to get them down and put them back by themselves. This teaches them a sense of responsibility.

When styling a Montessori toy shelf, you can put things in specific bins and baskets that have small toys grouped together based on themes.
You can also style a Montessori toy shelf by setting up the cubes as different scenes for your child to play on.
If you have small figurine toys, you could paint or style one of the cubes as a play set for the figurines to interact in.
Check out our tutorial + woodworking plans for how to build a kids learning tower!
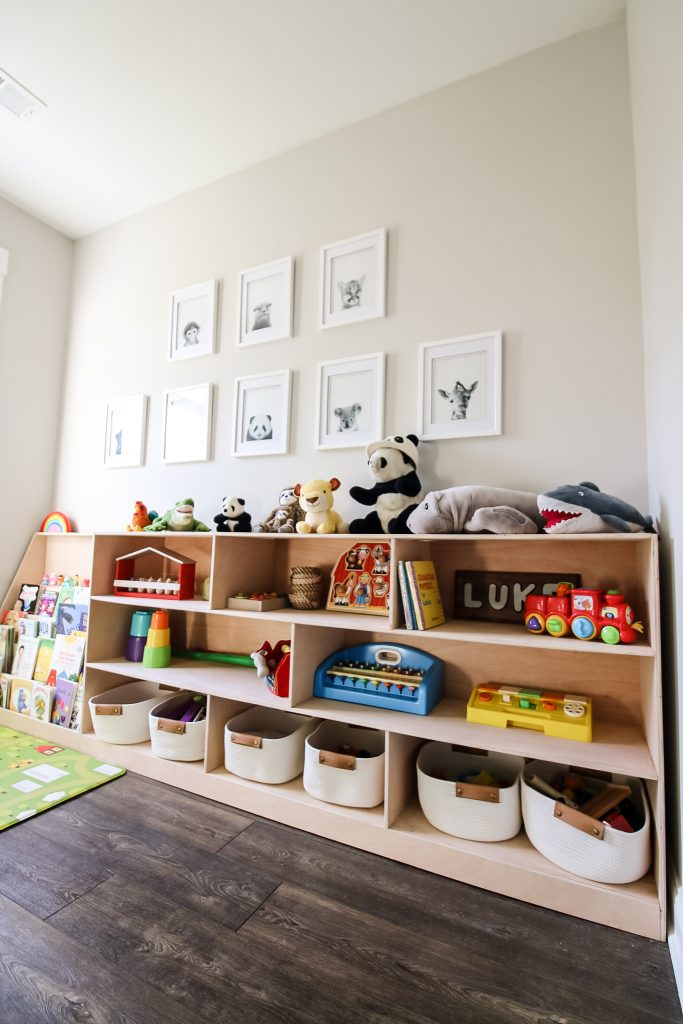
Remember that the goal is to allow independence, free play and responsibility.
Montessori Kid's woodworking plans bundle
Love building for your kids? Click here to get our bundle of Montessori inspired woodworking plans for:
Get the bundle (valued at $55 individually) for only $44.99 together! That's a FREE plan!
Hope you enjoy these DIY Montessori toy shelf plans and that your kids enjoy using what you build!
Looking for something?
We've been doing this since 2012 so we have a LOT of blog posts!
Search stuff like: Ceiling Projects | DIY Plant Stands | Thrift Flips


Hello, I'm Morgan, half of the creative force behind CharlestonCrafted.com! With a passion for DIY that dates back to 2012, I've transformed three homes and now I'm dedicated to helping others craft their dream spaces. Let's turn your house into a home together!


Vivian says
What type of pocket hole size did you use and at what length
Sean says
It's 1/2" plywood, so it uses 1" pocket screws.