I don't know when I got to be obsessed with Narwhals - I've always been into unicorns (duh) and manatees (obviously) so the narwhal was probably love at first sight. Plus, there's this video:
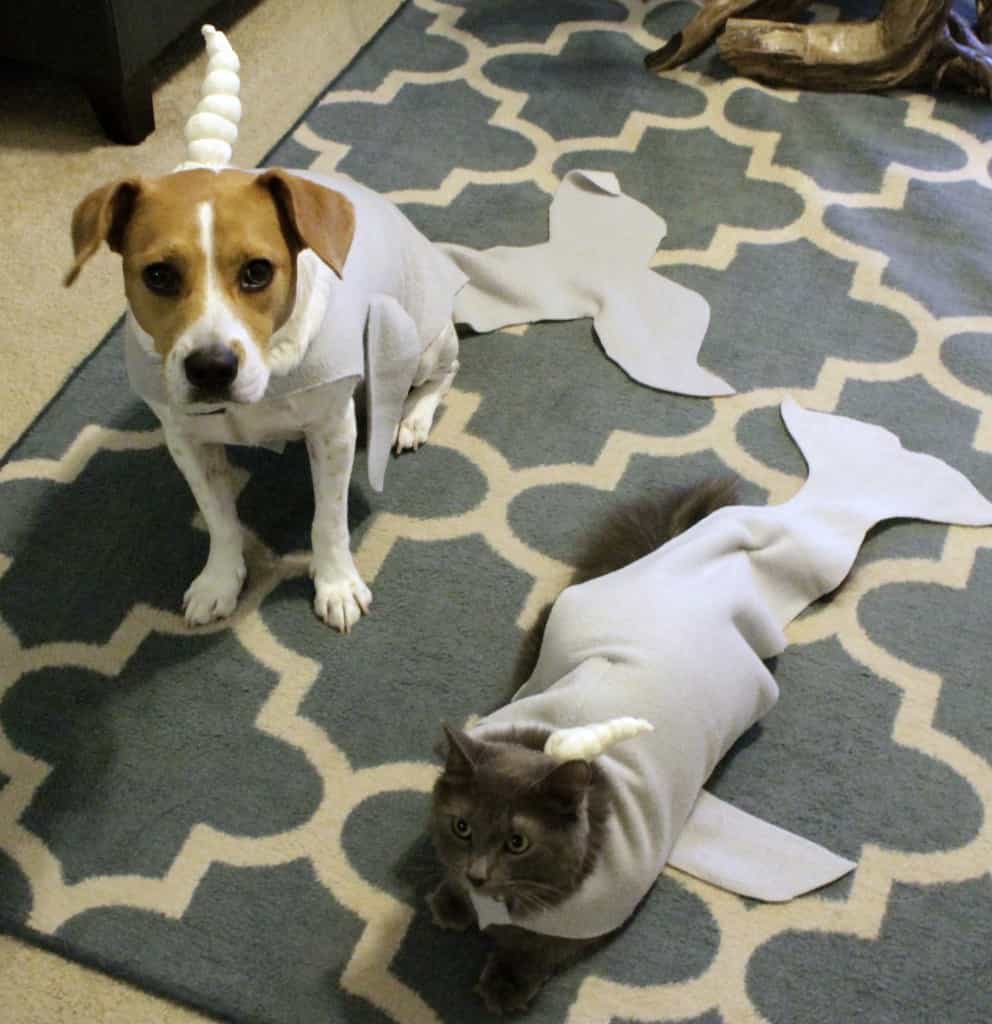
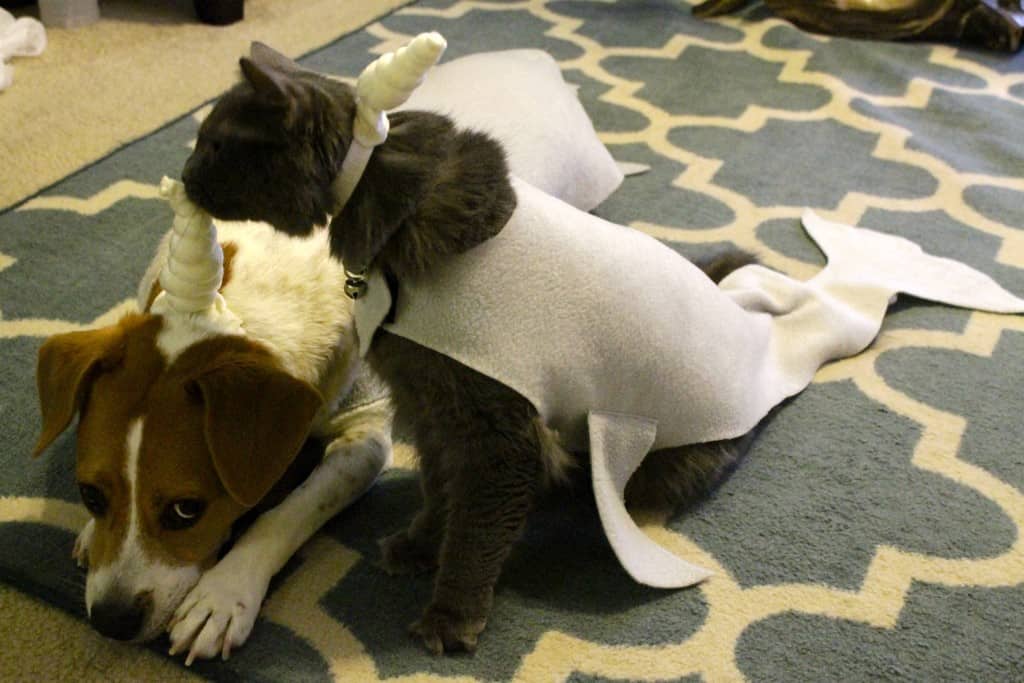
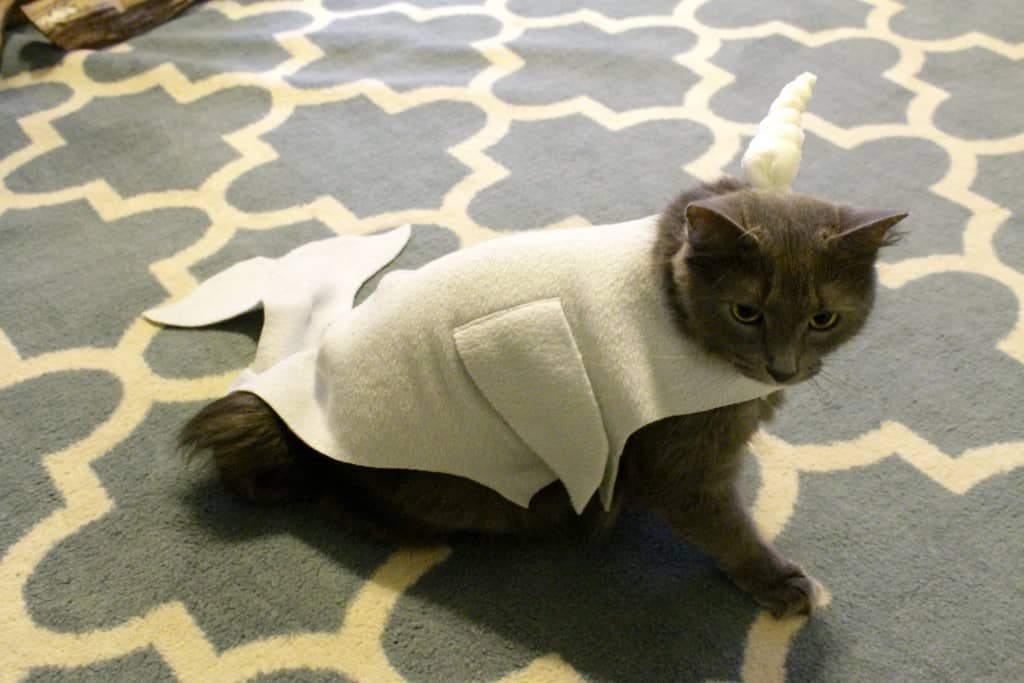
And so, this year I decided that I wanted pet narwhals. Since the transportation and keeping of said narwhals might get a bit tricky (if only I had the resources of Taylor Swift) I decided to just transform my current pets - cat Bear and dog CiCi - into narwhals for Halloween.
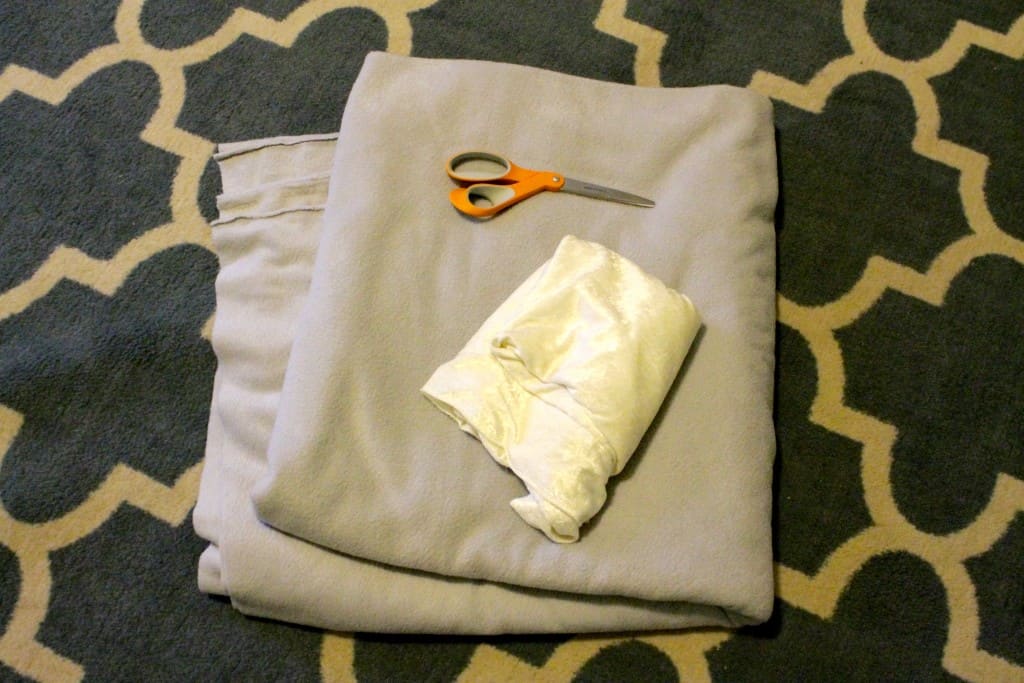
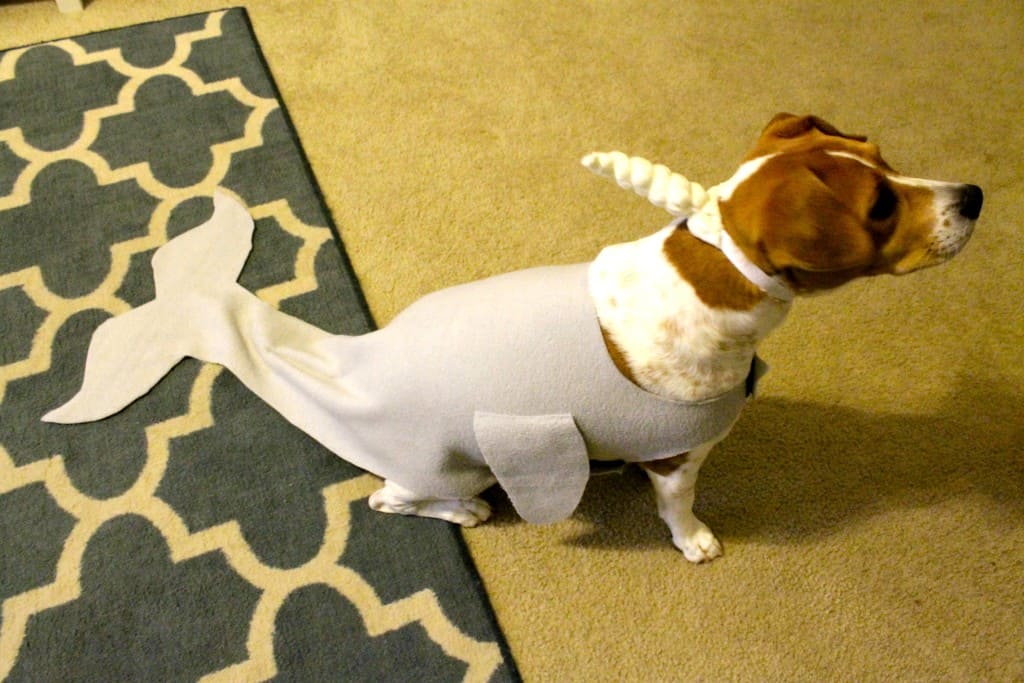
And it turned out beautifully. And they love it. And I made it with one yard of fleece, scraps of white fabric, some elastic, and about an hour each. Winning!
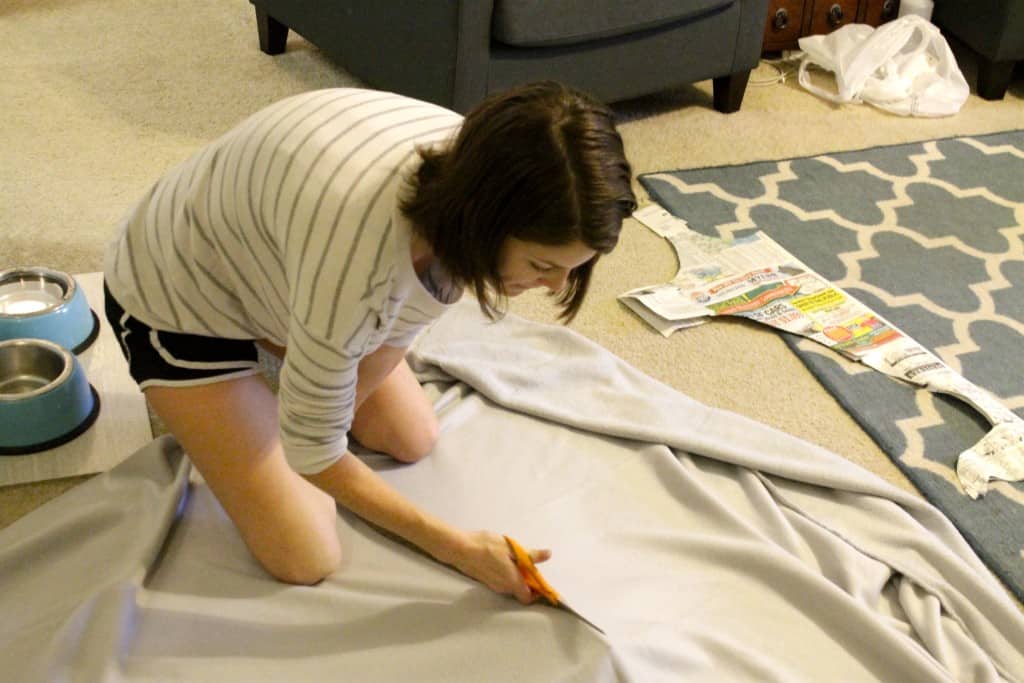
You too can become the owner of a narwhal. Or two. It's shockingly easier than it looks. The key is using fleece, which doesn't unravel and therefore won't need to be hemmed. I picked up two yards of this grey color (though like I said - I only ended up using 1 yard total) and a scrap piece of some velvety white for the horns. Shout out to JoAnns fabric for always having a coupon out.
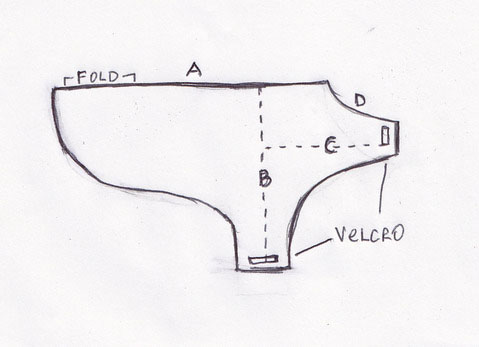
I knew, from pet costuming experience, that both of our animals do better with shirts that velcro under their bodies than thinks that have to slip over their heads. After a bit of research, I found this pattern for a dog coat, which had the perfect double-velcro that I was looking for - one on either side of the front legs.
Image via Designs by Sick
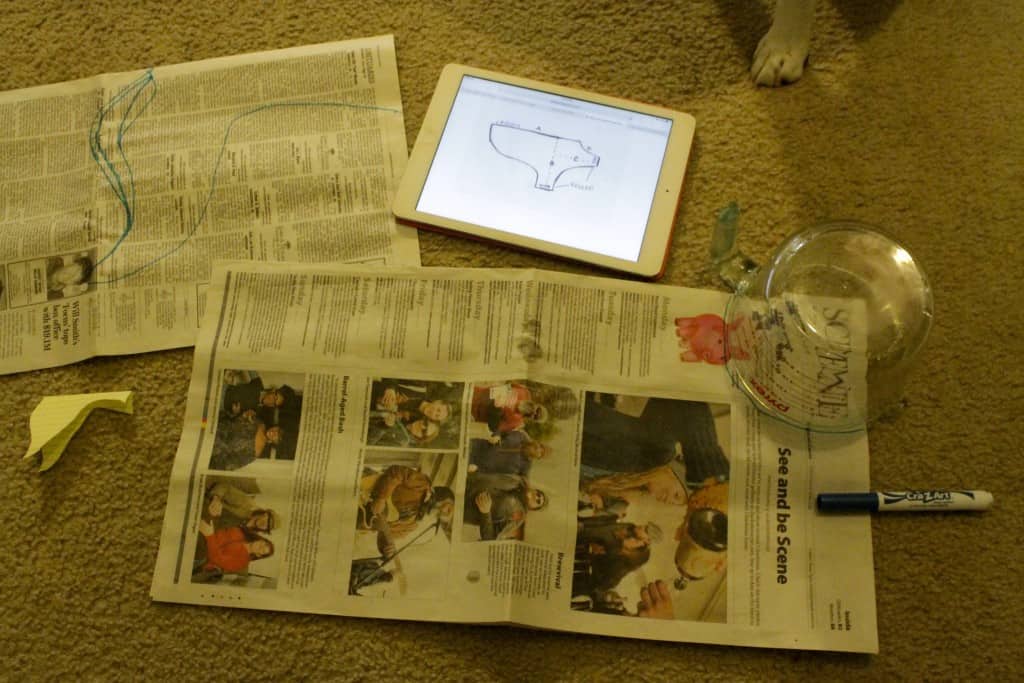
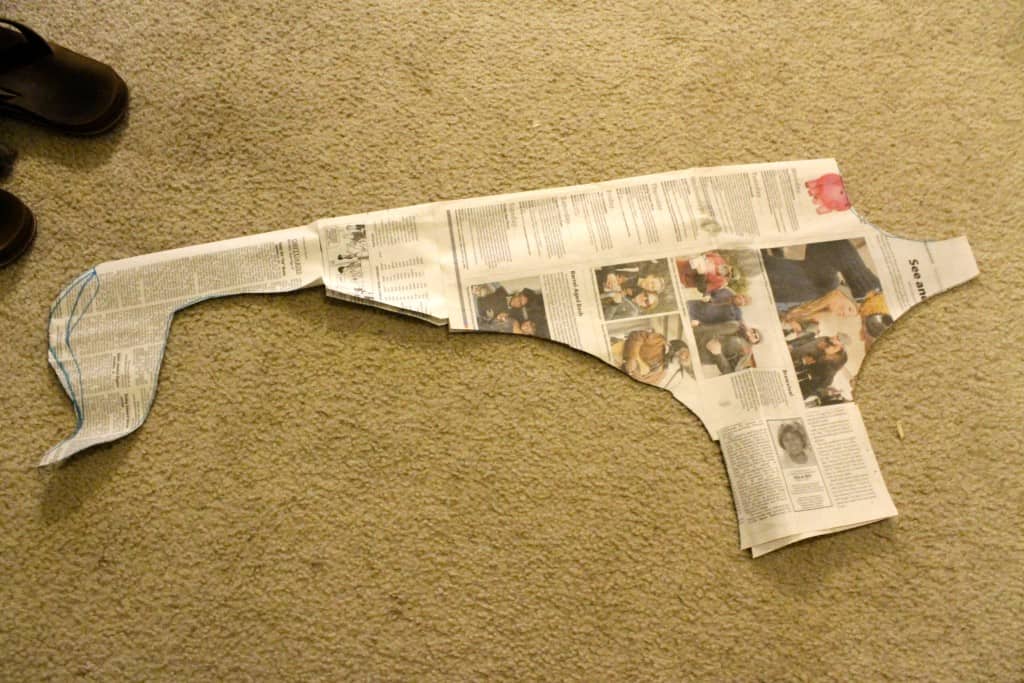
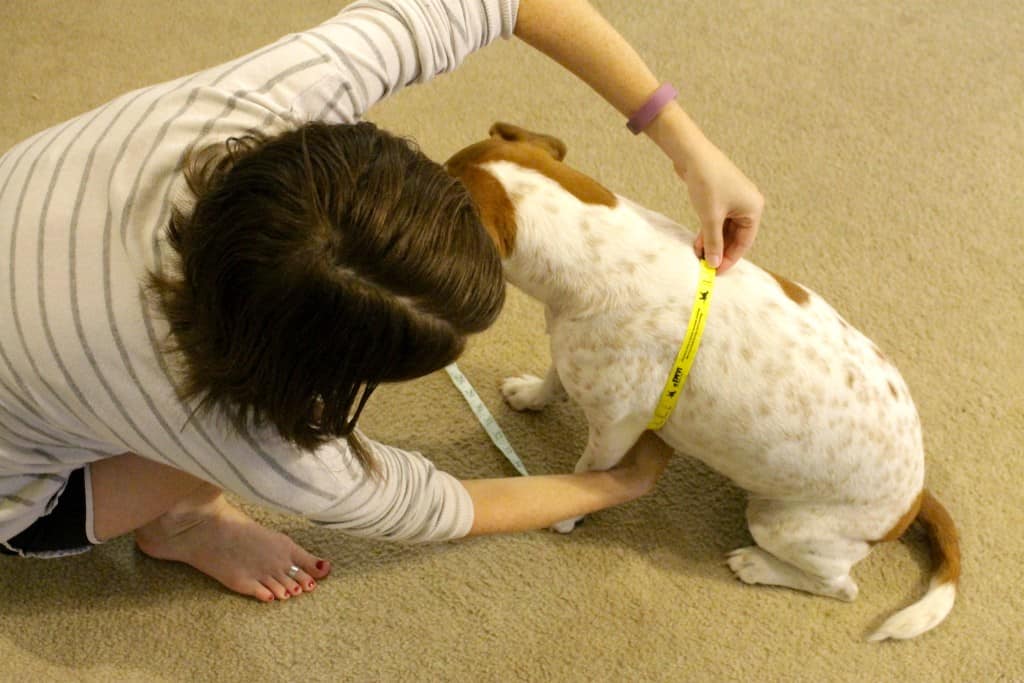
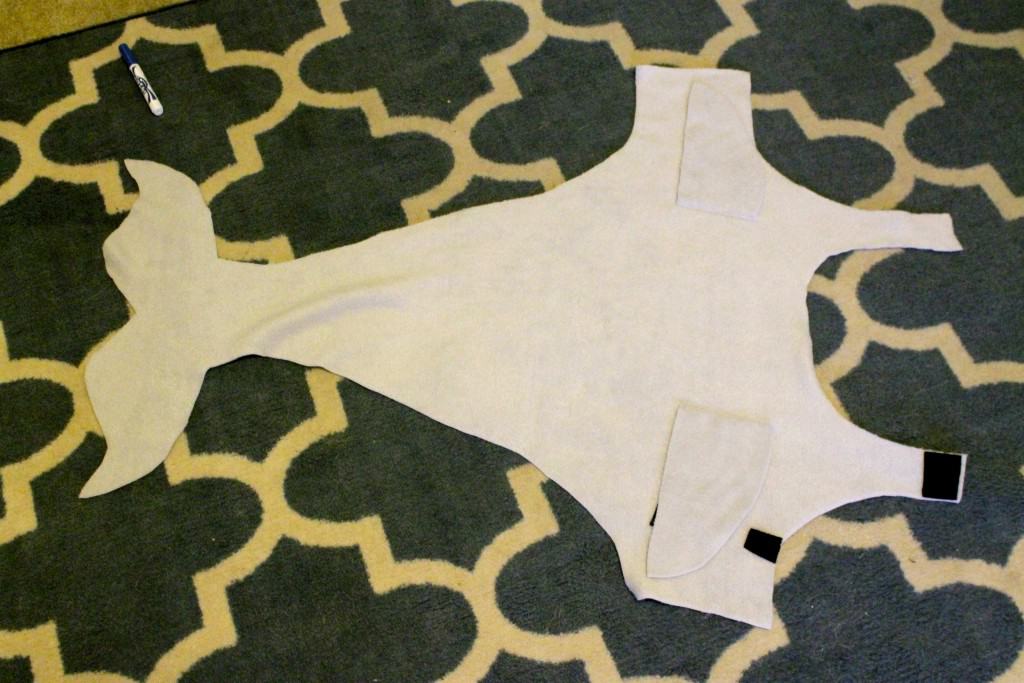
I measured each of the pets in a few directions - neck to tail, tail length, around the chest, around the neck - and then free-handed the above pattern onto pieces of newspaper following that design and my measurements. You can see that, for my design, I added a tail.
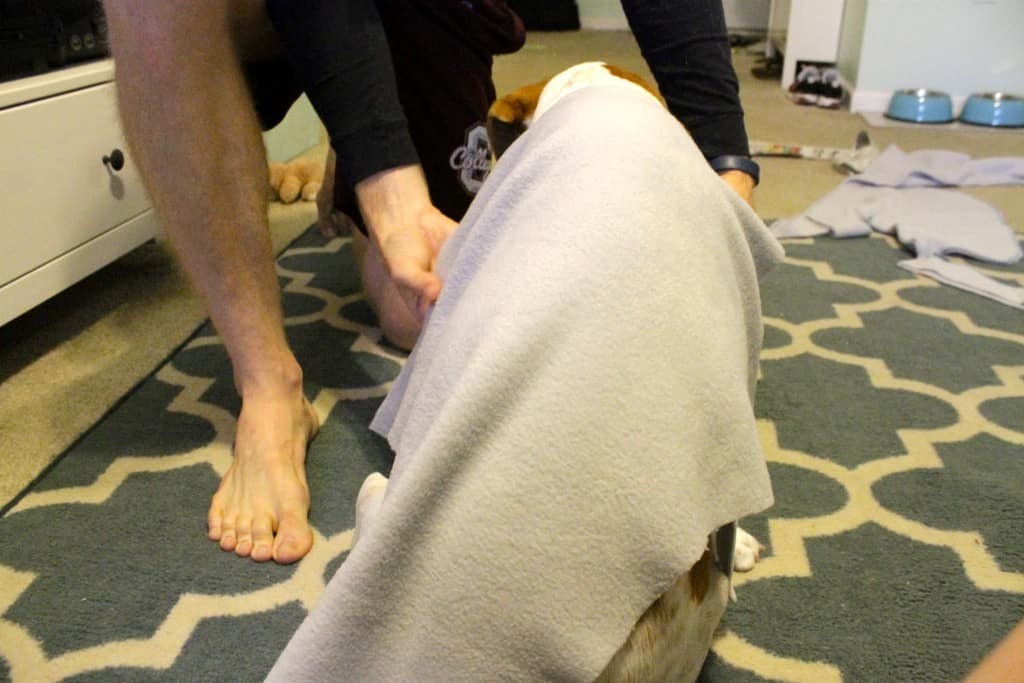
This whole design was done on the crease of newspaper so that it would be symmetrical. I held a fitting (with CiCi first - she is better behaved at fittings) and made a few adjustments to my template.
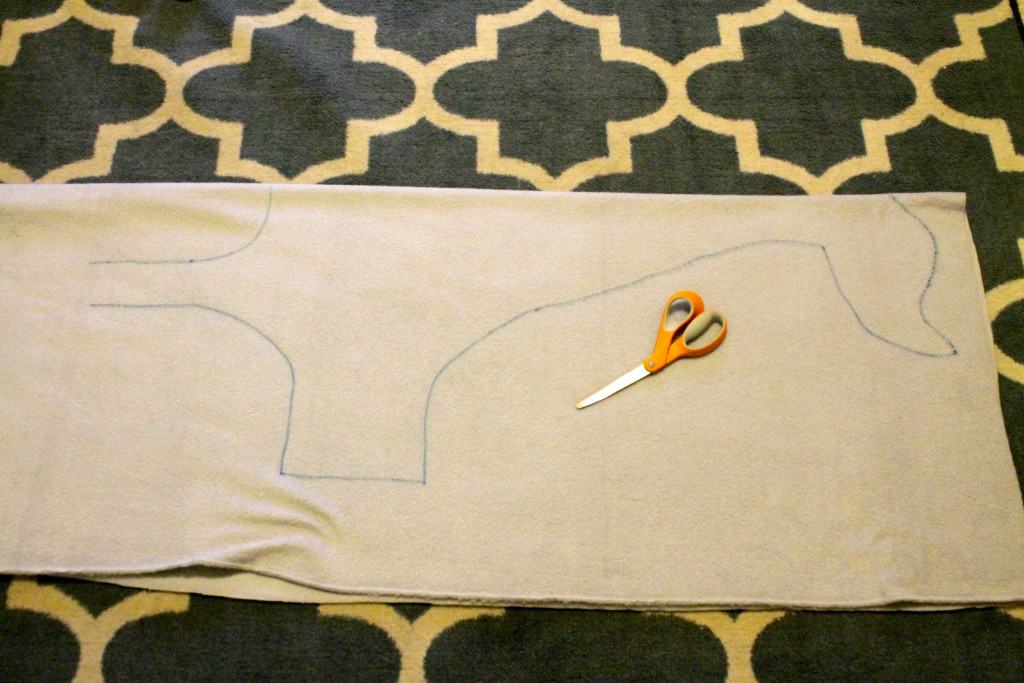
Then I traced the whole thing onto my fabric, folded in half to maintain that symmetry.
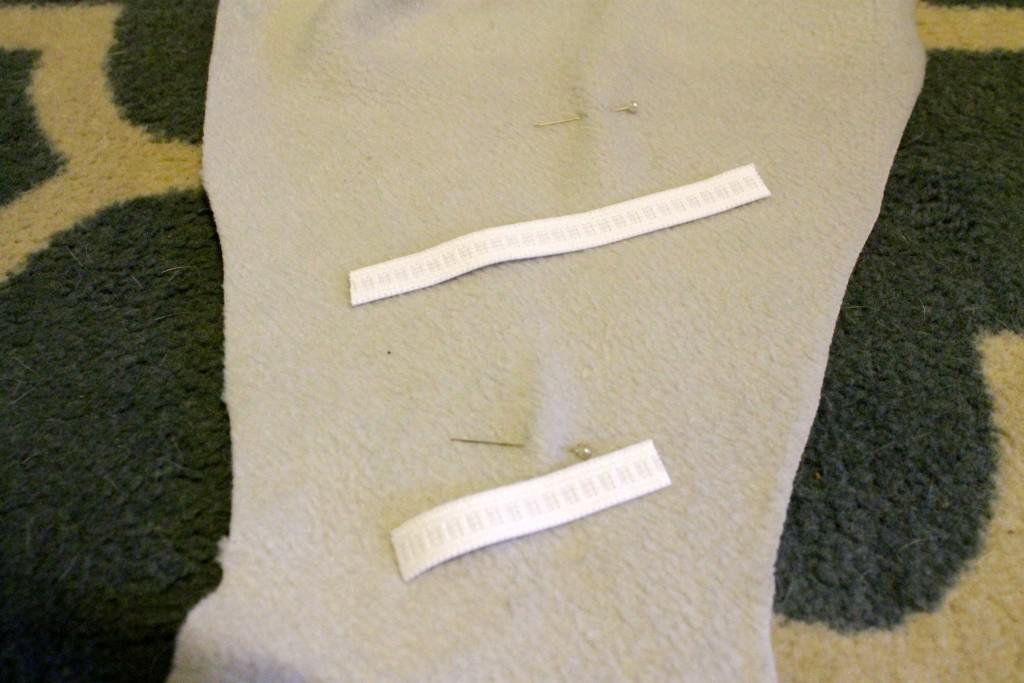
I left the velcro straps long and then trimmed them to fit her exactly. I used sticky velcro and actually attached it while it was on her body to ensure the perfect fit. My doggie's got custom clothes, y'all.
Next came my only 2 (very small) sewing tasks. These are both non-essential and could probably have been glued if you don't sew.
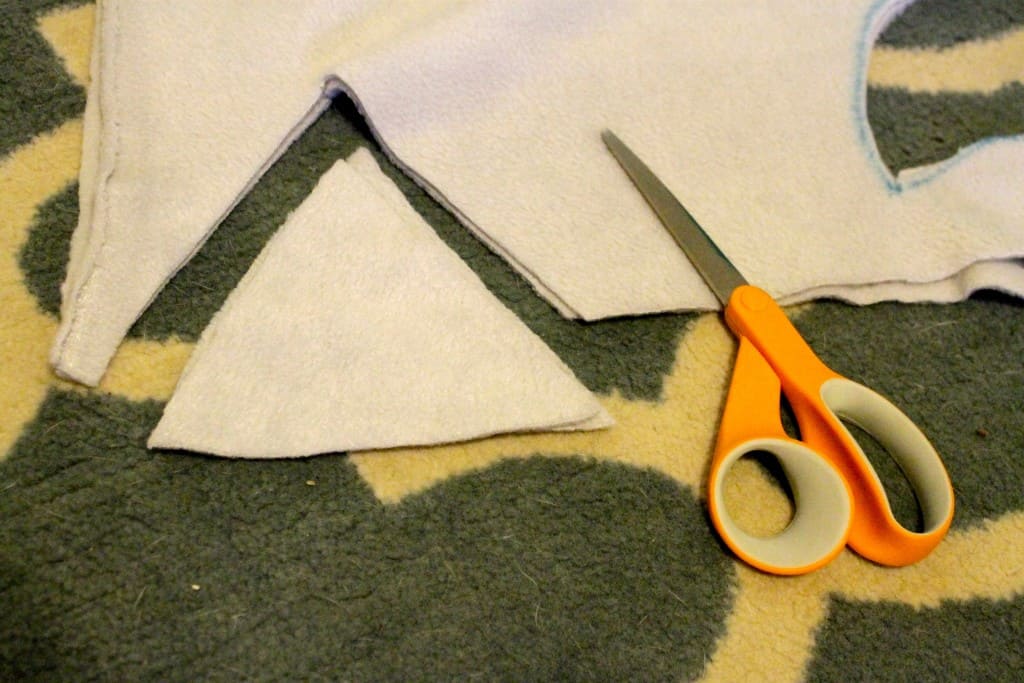
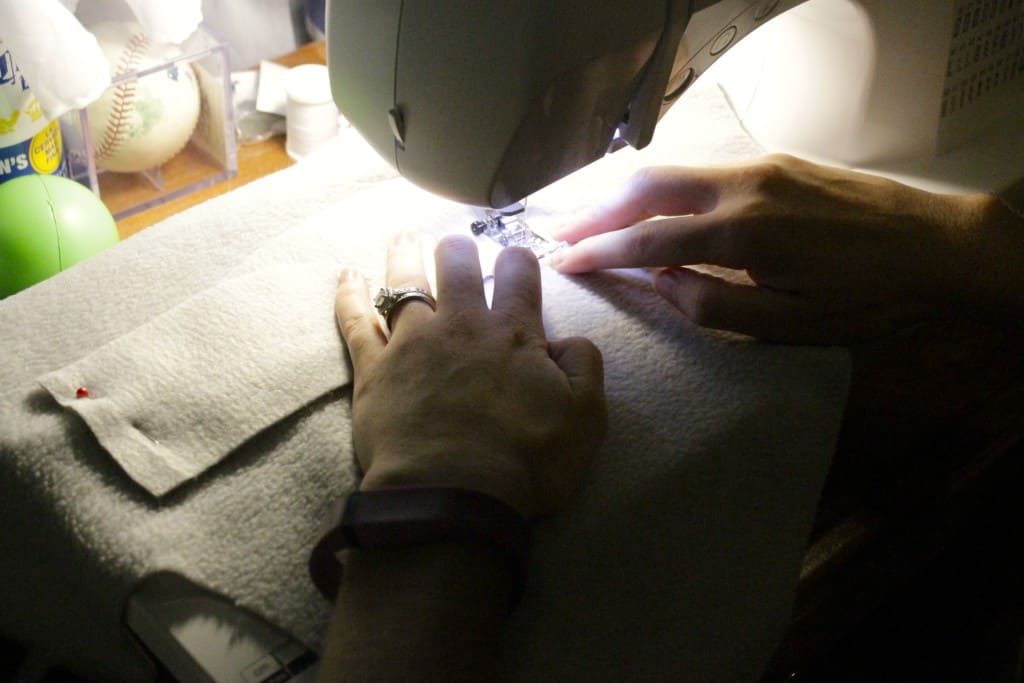
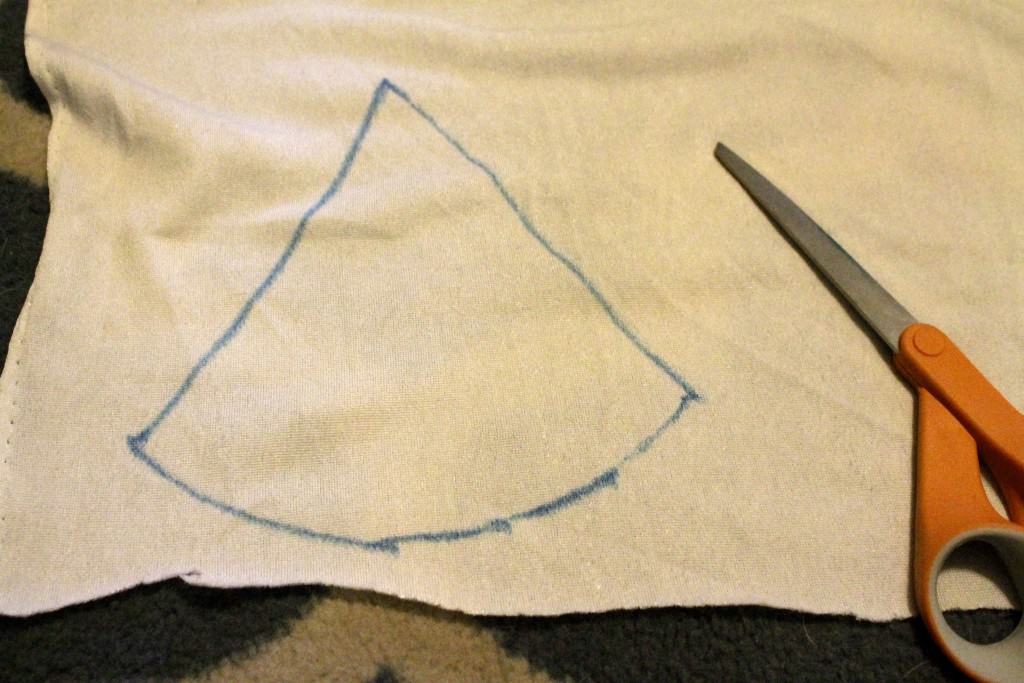
First, I made fins. I cut symmetrical triangular fins and attached them just over each arm strap.
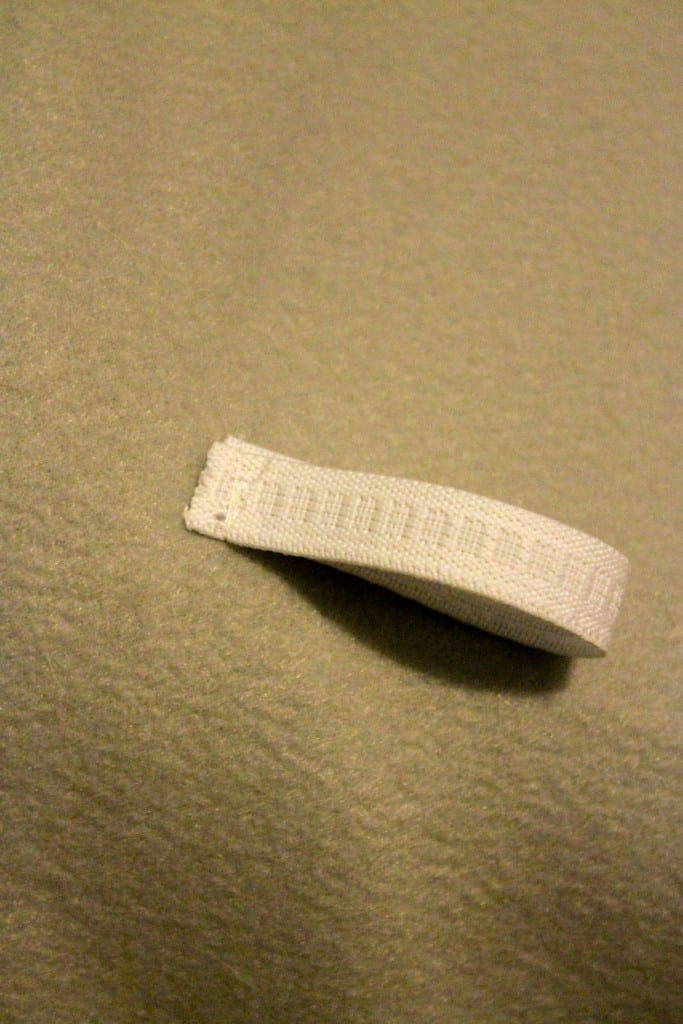
I also sewed two small elastic loops to the tail. I measured them around her tail, sewed the loop closed, then sewed the loop seam directly onto the bottom of the tail. This holds it in place and is so cute when it wags with her!
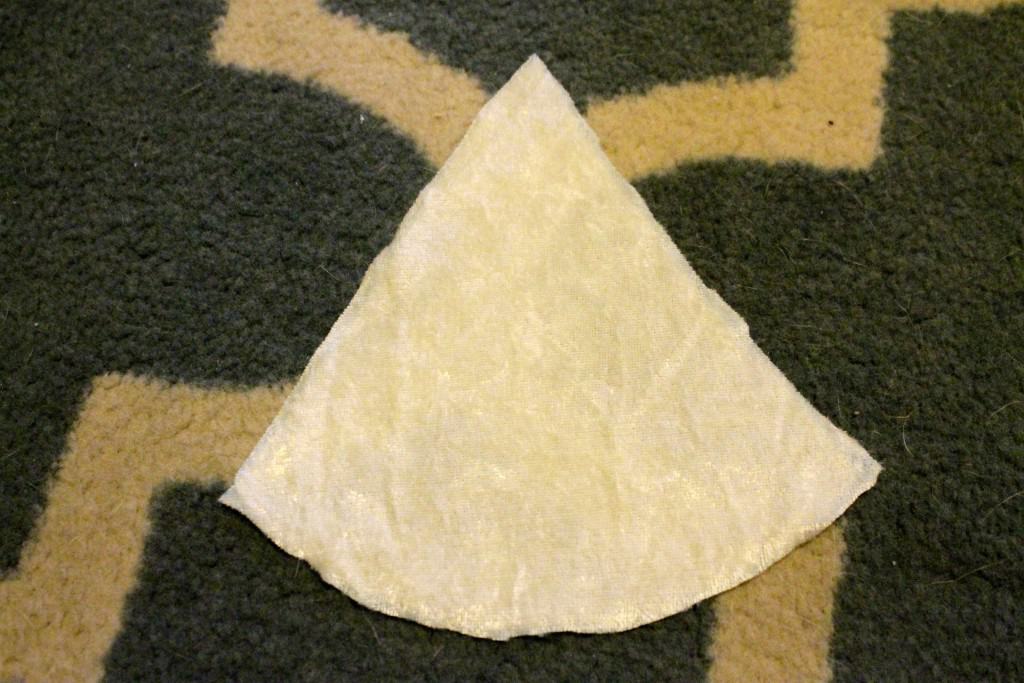
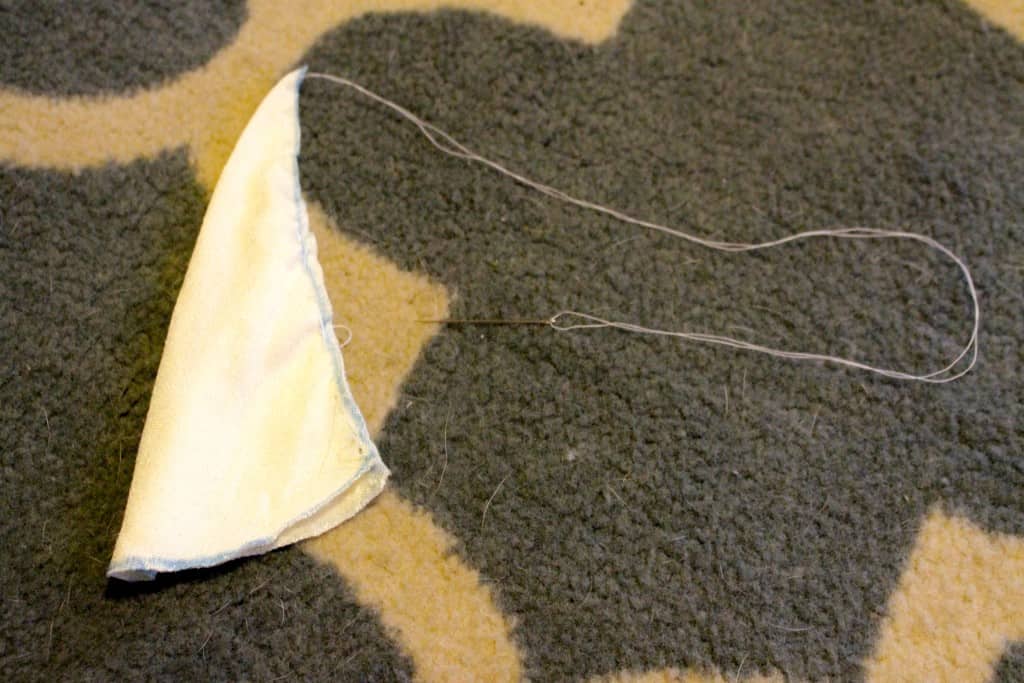
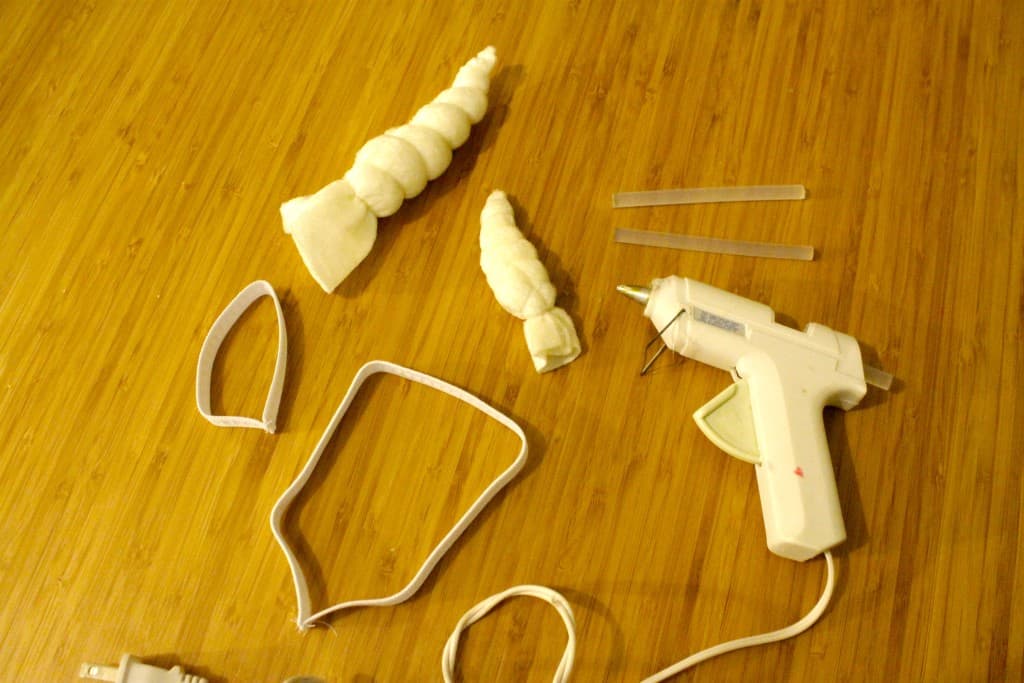
I followed this tutorial to hand sew the horns. My big suggestion here is to cut waaaay more thread than you think you need - if it's too short, you have to start over.
I couldn't figure out how to sew them to the elastic, so I used hot glue to attach them. I measured it out around their heads, sewed it closed, then glued the horn in place.
The whole process took less than an hour, and I repeated it (smaller) for Bear's costume.
Now my babies can spend halloween causing a commotion, cause they are so awesome! And I am the proud owner of two narwhals. I hope that this was clear - please leave any questions in the comments below!
 |
|||
 |
 |
 |
 |

Hello, I'm Morgan, half of the creative force behind CharlestonCrafted.com! With a passion for DIY that dates back to 2012, I've transformed three homes and now I'm dedicated to helping others craft their dream spaces. Let's turn your house into a home together!

