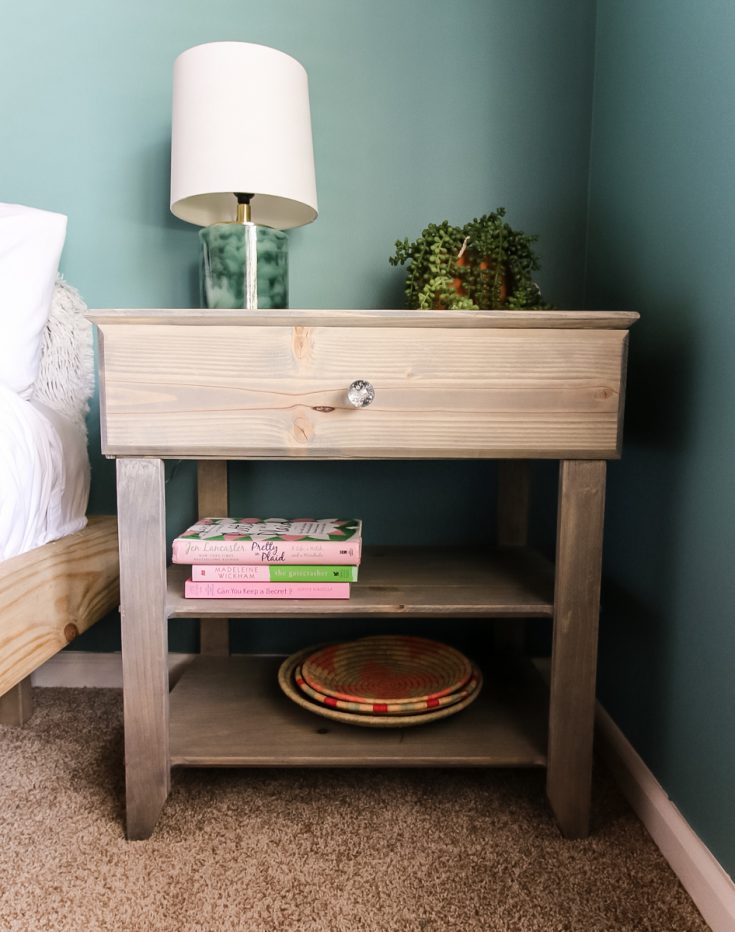
Here's how to build a simple and traditional bedside nightstand with a drawer and shelf, perfect for any decor style!
We're all about modern, minimalist furniture here at Charleston Crafted, as evidenced by things like our modern side tables, console table and coffee table. But, that doesn't mean we don't recognize the importance of traditional furniture.
A couple years ago, we did a makeover of my mom's bathroom in a single weekend. It really made a huge impact and made her want to update her bedroom and other parts of her home.
However, she still used her big, bulky furniture and needed something more functional and open. That's where this DIY nightstand with a drawer comes in play.
If you want to build a side table from plywood and simple lumber, check out this tutorial!
Short on space? Check out our tutorial for how to build slim, floating nightstands!
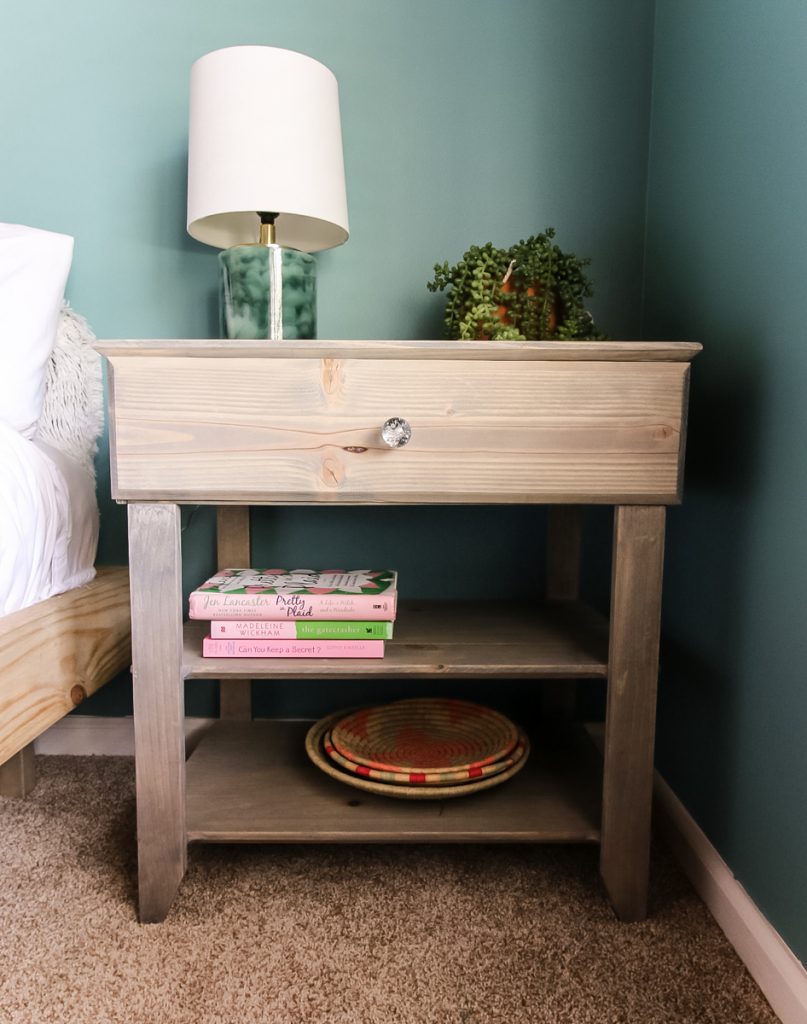
DIY Nightstand with Drawer and Shelves
Fun fact- Well, this is the first project we've ever done with drawer slides.
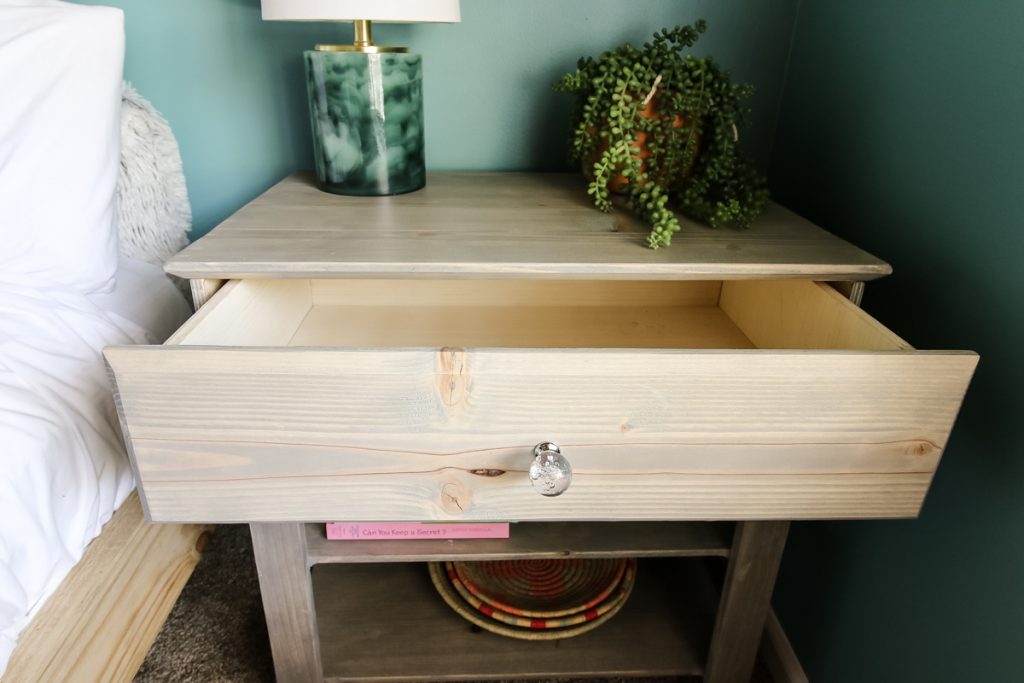
They were actually super easy to install, but to add a sliding drawer requires you to build a drawer as well as the table and connect them.
I'm going to go over the basic steps for how to build this bedside table, but if you'd like the full set of plans, simply download them here!
How to Build a Nightstand with a Drawer
This bedside table was built in three broad steps: build the base, build the drawer, and connect them.
Click here to get the full plans with material list, cut list and step-by-step instructions with computer model imagery for this nightstand with drawer!
Step one: build main base
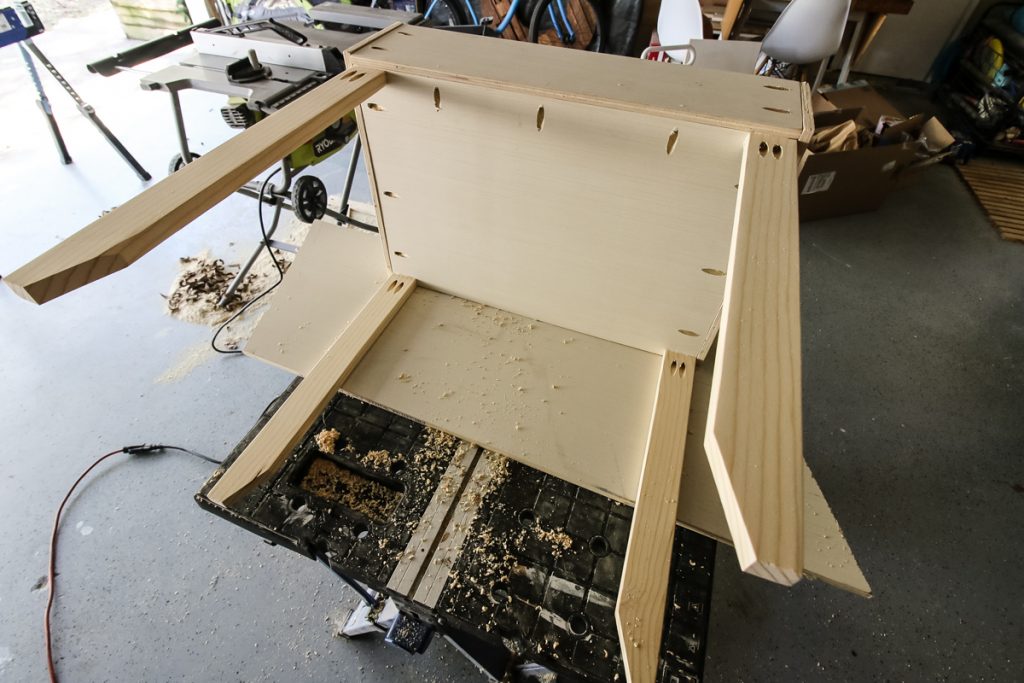
First, we built the box of the nightstand with ½" plywood. The box, however, doesn't have a front or a top. Those get added in future steps.
The box was attached to the legs with pocket holes.
Step two: Add lower shelves
Next, we cut the wood for the two shelves.
The shelves were each four 1x4s joined together with pocket holes. We also used a router to make a nice edge around each shelf.
We joined the box to the legs first then the shelves inside the legs with pocket holes as well to create a stable base.
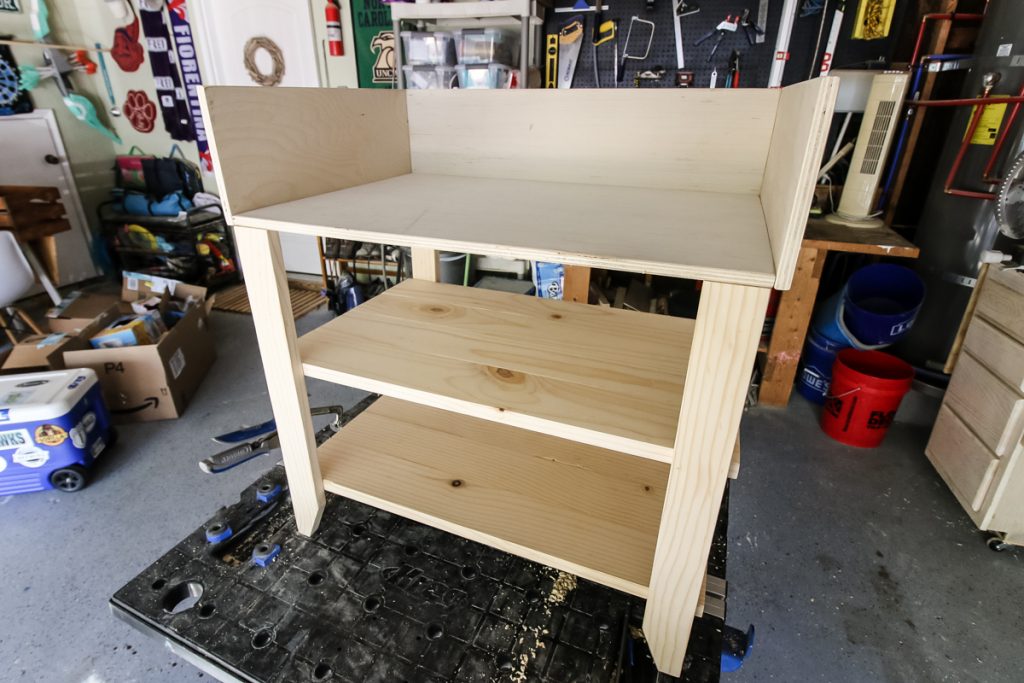
Step three: Building the Drawer
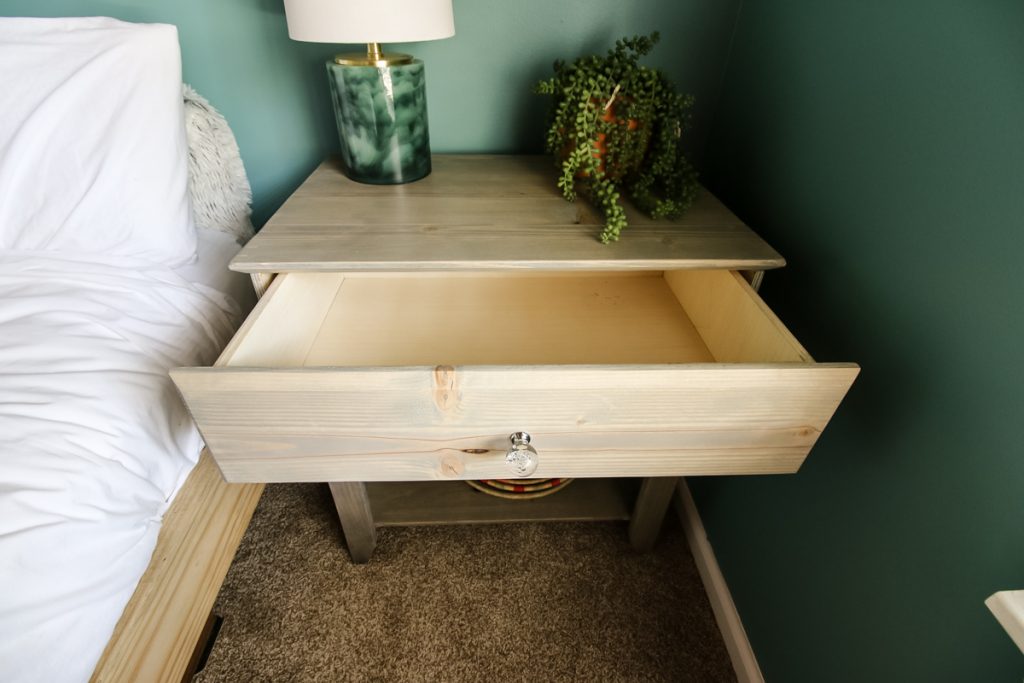
This nightstand has a fully functional drawer on drawer slides. This drawer adds valuable storage where you need it on a bedside table!
The drawer was made to be 1" less wide than the table box and ½" shorter. This way there would be room for the drawer slides.
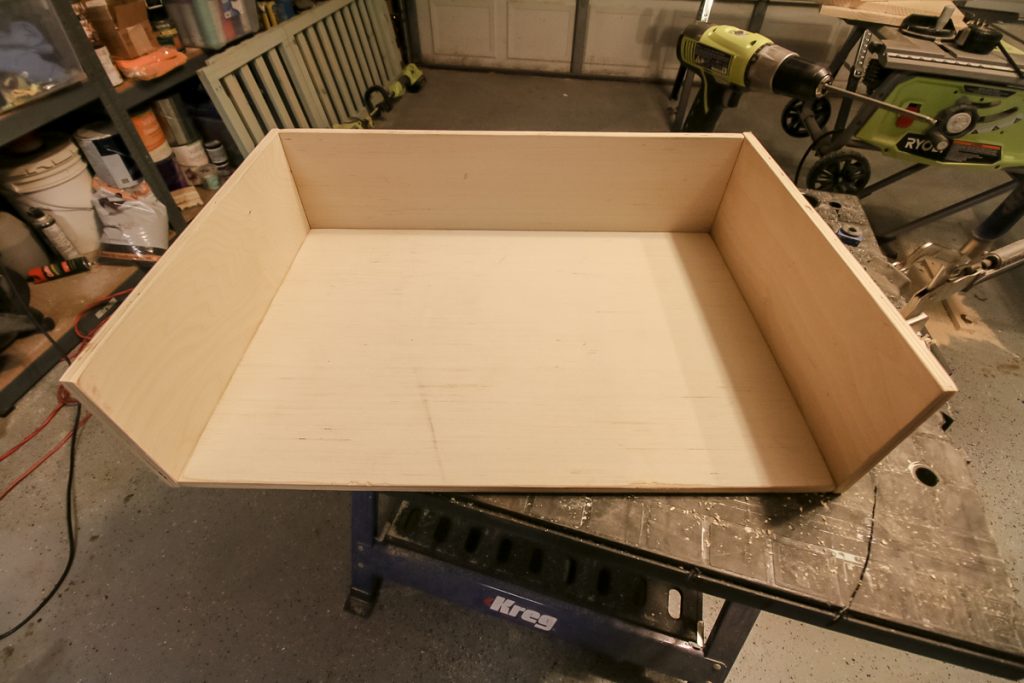
The drawer itself is a simple box, with four sides and a bottom. The important thing to remember when building a drawer is to put your pocket holes on the BACK of the back piece and on the FRONT of the front piece. This way, they will be completely hidden in the end.
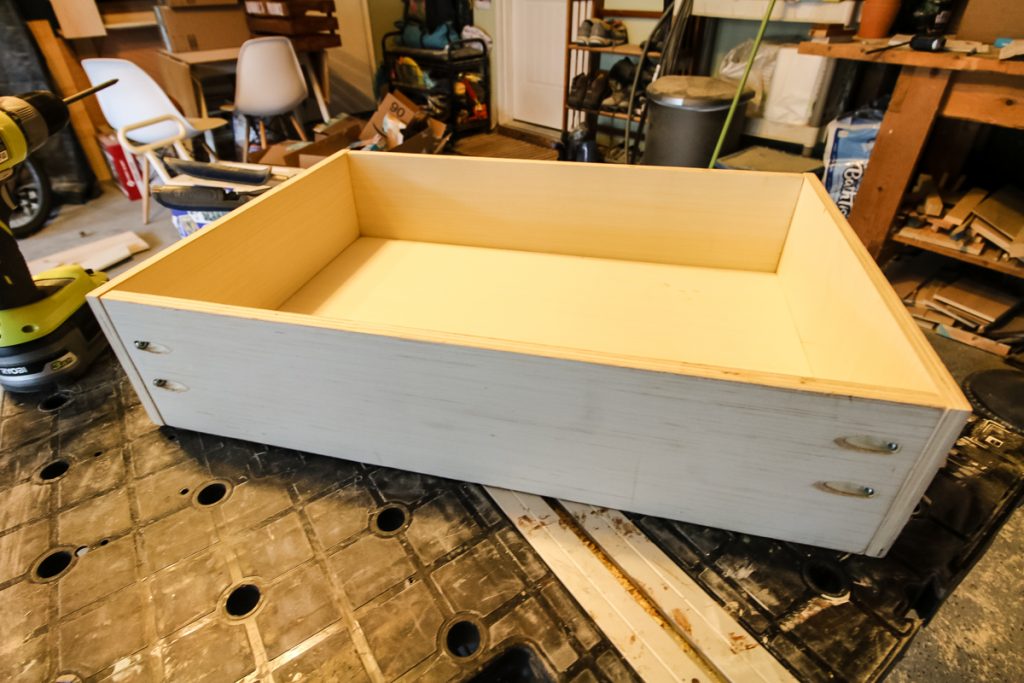
Step four: How to Install Drawer Slides
We bought a pair of 14" drawer slides that were super easy to install. There are all sorts of stories about how you can mess up drawer slides, but let me tell you the easiest possible way.
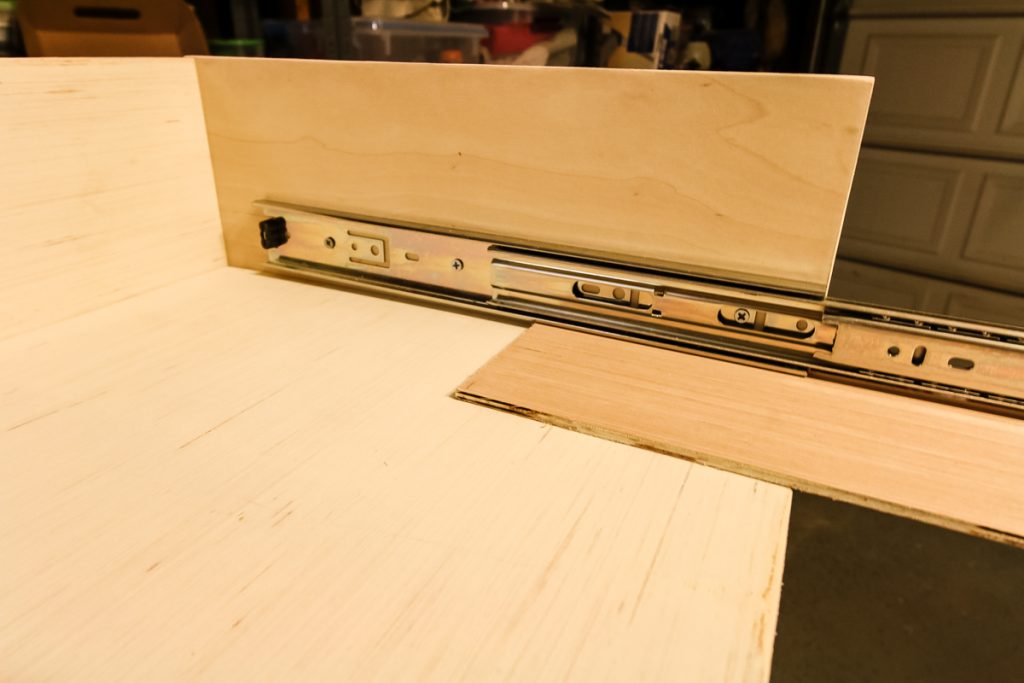
The easiest way to install drawer slides in a nightstand is to place a piece of long ¼" plywood inside the box on each side, then put the drawer slides on top of the plywood.
Line the slides up with the front of the box and then extend them to their full length. Simply drill the slides into place with the plywood under them.
Now, put your drawer on top of the plywood and line up the drawer slides and screw them into place.
Read my full guide to installing drawer slides without a jig!
Finally, pull the ¼" plywood out. Boom, now your drawer has a ¼" clearance on the bottom of the drawer box.
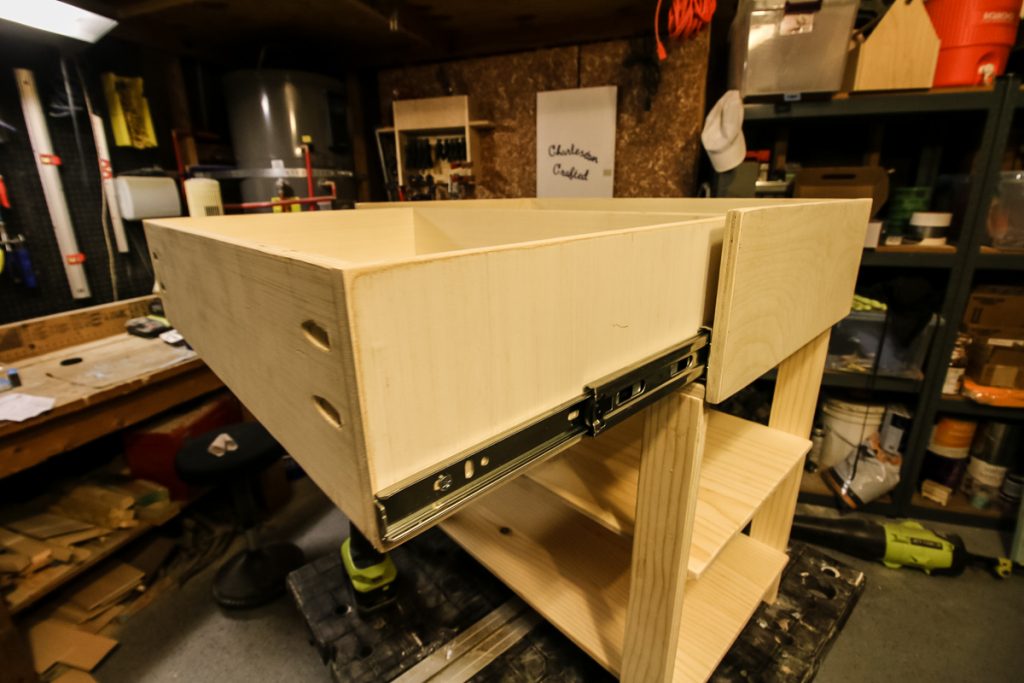
Step five: Adding the Top and Drawer Face
The last steps were to add the top and drawer face. For this, we cut a drawer face and glued it onto the drawer front.
The top of this end table was made with four boards connected with pocket holes and glued onto the box.
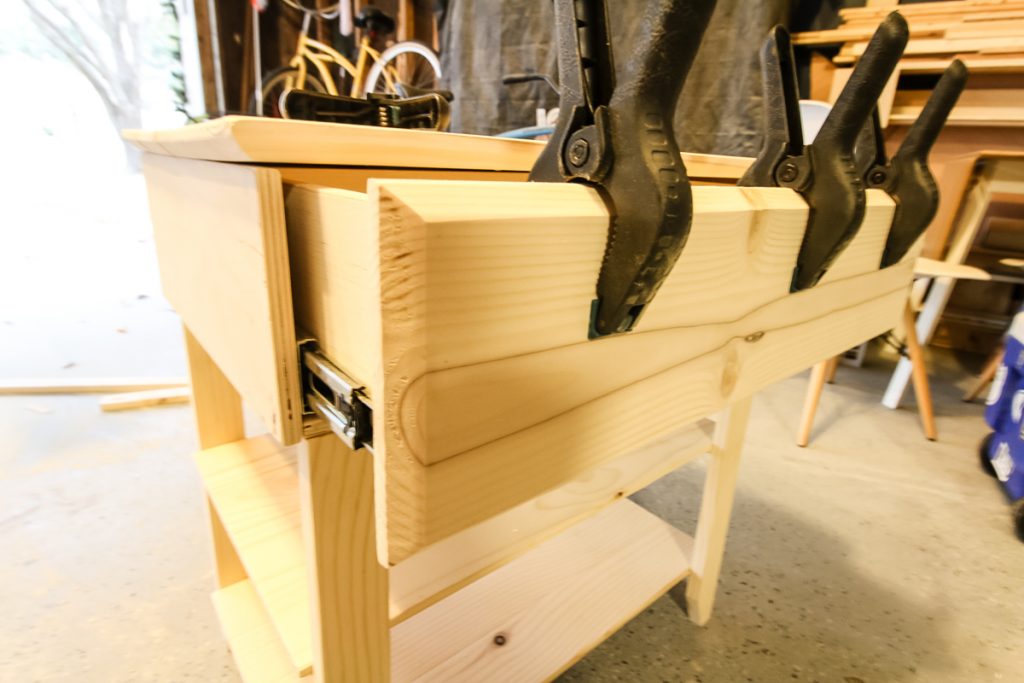
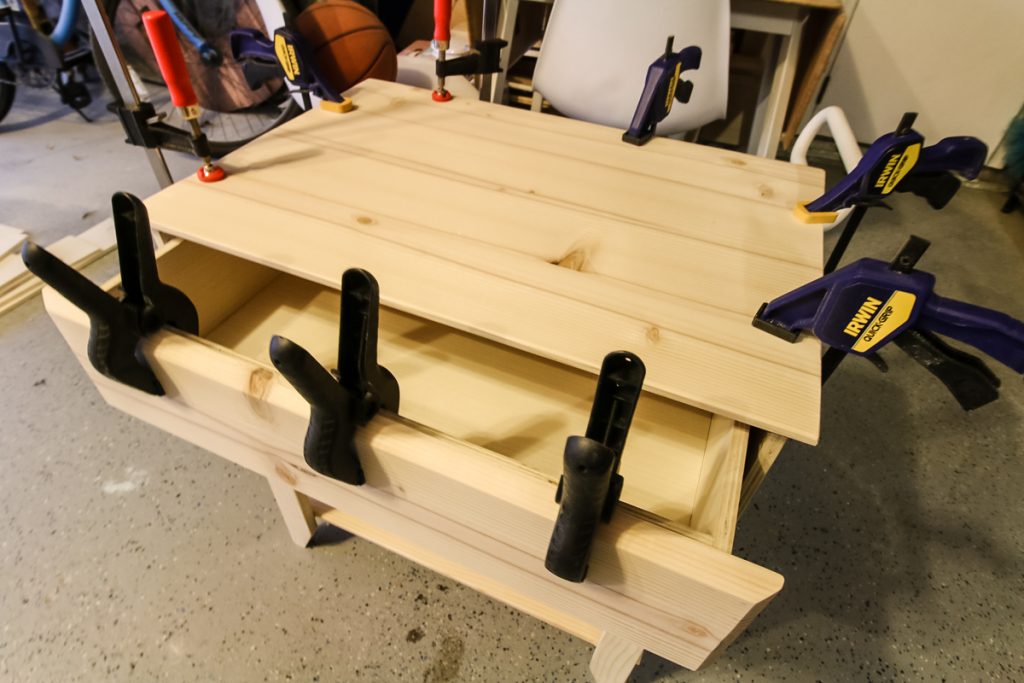
Step six: stain and hardware
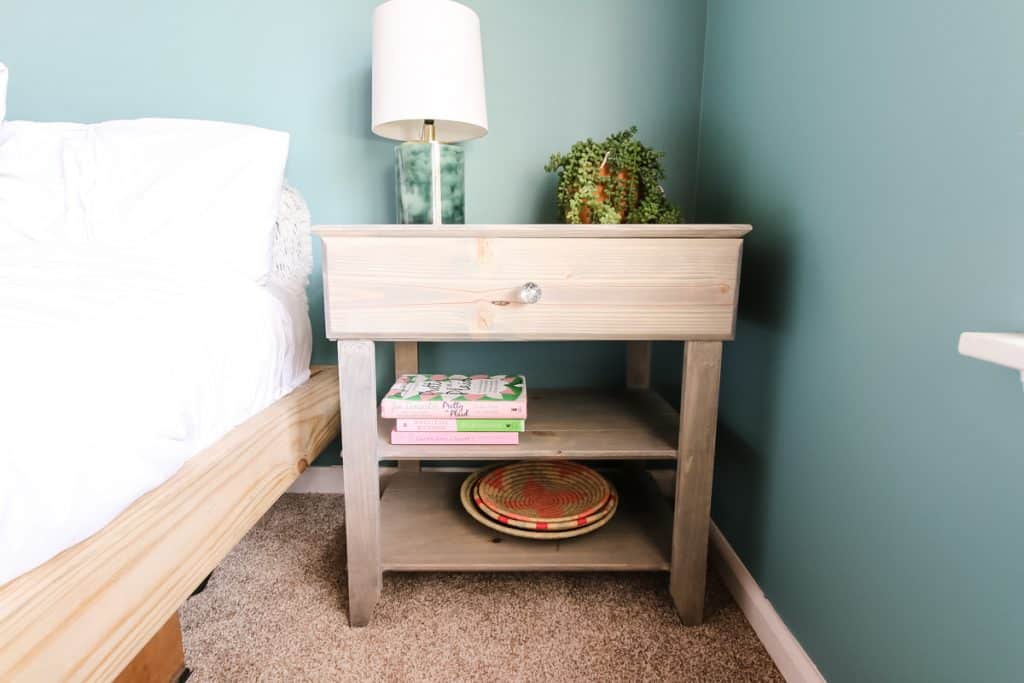
We finalized the build with stain, poly and a glam knob.
This DIY nightstand with a drawer is the perfect option for anyone going with a more traditional style. Having this piece as a bedside table allows for hidden storage and to have things on display.
How to Build a Nightstand with Drawer
This beautiful nightstand with a drawer and two shelves is a doable DIY project that will allow you to make a custom furniture piece for your bedroom. It can also be used as a side table or end table in another part of your home.
Materials
- 1 sheet of ½" plywood
- ¾" boards of your choice
Tools
- Table Saw
- Drill
- Pocket Hole Jig
- Router
Instructions
- Build the box top
- Connect the box top to the legs in the corners
- Build shelves and attach inside of legs
- Build drawer with pocket holes on outside
- Attach drawer to inside of box with drawer slides
- Attach drawer front to drawer with wood glue
- Attach table top to top of box with wood glue
- Stain, poly and add a knob.
- For full cuts and details, download our FREE PDF plans in post
Recommended Products
As an Amazon Associate and member of other affiliate programs, I earn from qualifying purchases.
Looking for something?
We've been doing this since 2012 so we have a LOT of blog posts!
Search stuff like: Ceiling Projects | DIY Plant Stands | Thrift Flips


Hey there, I'm Sean, the woodworking enthusiast and builder behind CharlestonCrafted.com! Since 2012, I've been sharing the magic of turning raw materials into beautiful creations. I love teaching others the art and satisfaction of woodworking and DIY. I try to inspire fellow crafters to make something extraordinary out of nothing at all.



Enrique Giménez says
Wow you make it look simple, great job.
Sean says
Thanks Enrique! We try to share projects that are doable for our readers and show them the easiest way to do it!
Frances says
It turned out great and completely changed the look of my bedroom.
Ivory says
This project is amazing. I’ve always been to afraid to try such diy, but your wonderful step by step tutorial makes it look easy. Thanks for sharing