Want to make your own Easter wreath this year. Here is how to make a DIY Oversized Easter Egg Wreath!
I have been having so much fun lately decorating our home for all of the holidays!
It's not something that I have really done before - but man my kids love it and right now I am trying to soak up every drop of childhood magic that I can.
One area that I love to decorate seasonally is our fireplace. And one of the easiest ways to make a statement there is with a wreath.
But a regular sized wreath won't do in this spot. It just looks... dinky.
And oversized wreaths are $$$$. So you know I had to make my own!
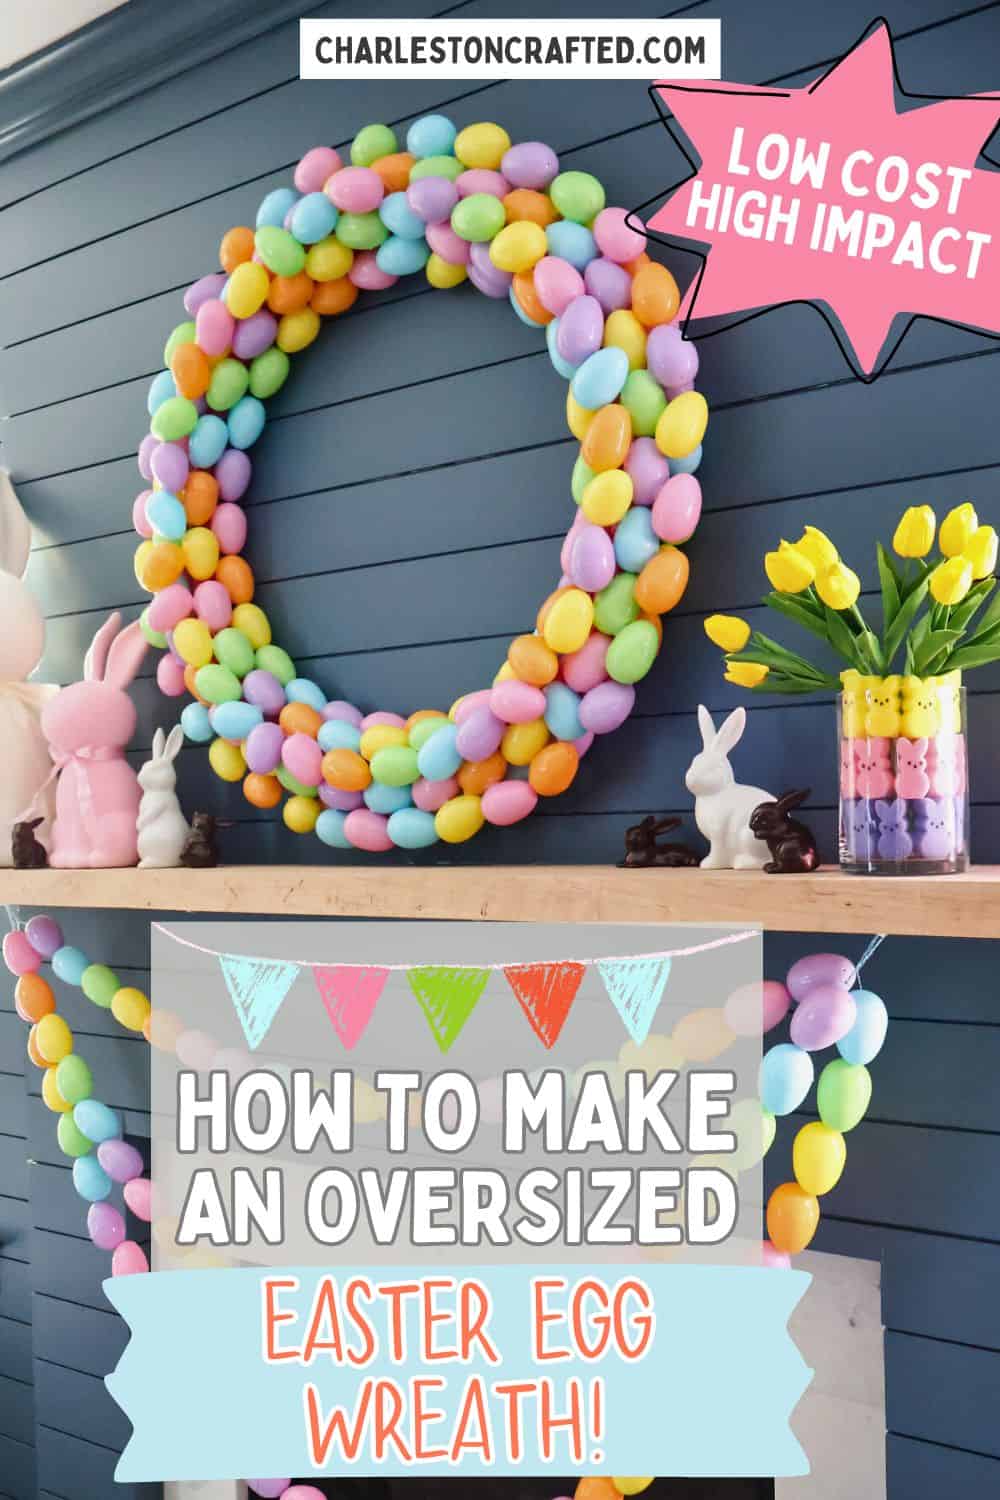
How to make an Oversized Easter Egg Wreath
Here's how easy it is to make this huge wreath!
Supplies needed:
- Hula Hoop
- 2 Pool Noodles
- Knife - utility knife or other sharp knife
- Hot glue (lots)
- About 200 plastic Easter eggs
- 2 zip ties - or other strong loop to hang with
Note: Walmart is BY FAR the cheapest place to get pool noodles - under $1 each. They are only available seasonally, though!

Steps to make:
STEP 1: Prep the hoop
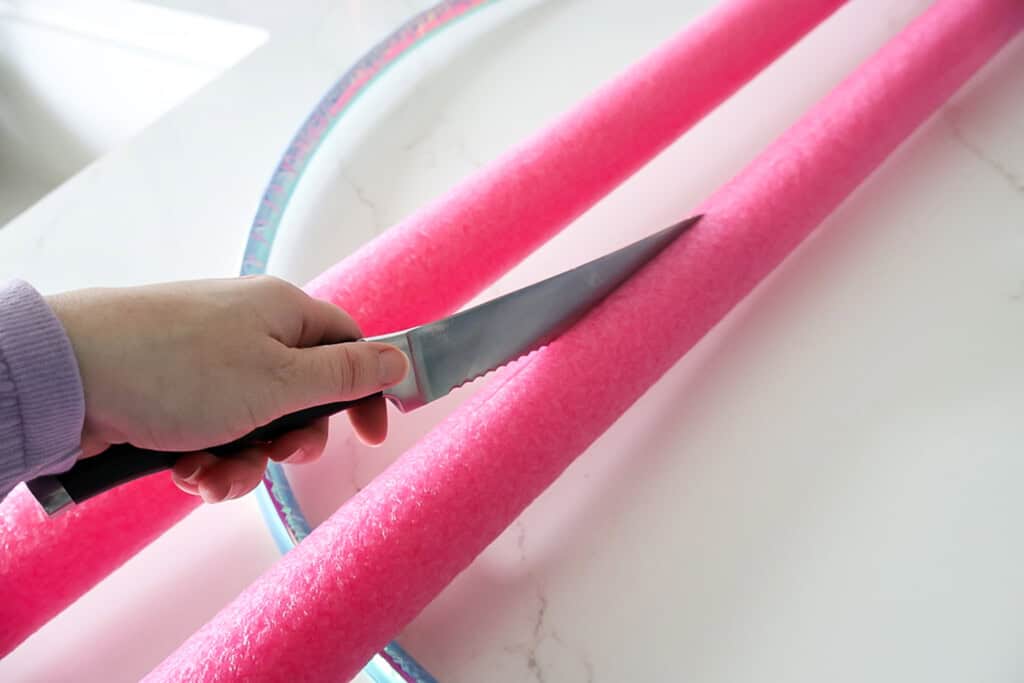
The base of this wreath is a hula hoop, but the hoop itself is too thin to glue eggs to. So, you are going to wrap it with pool noodles.
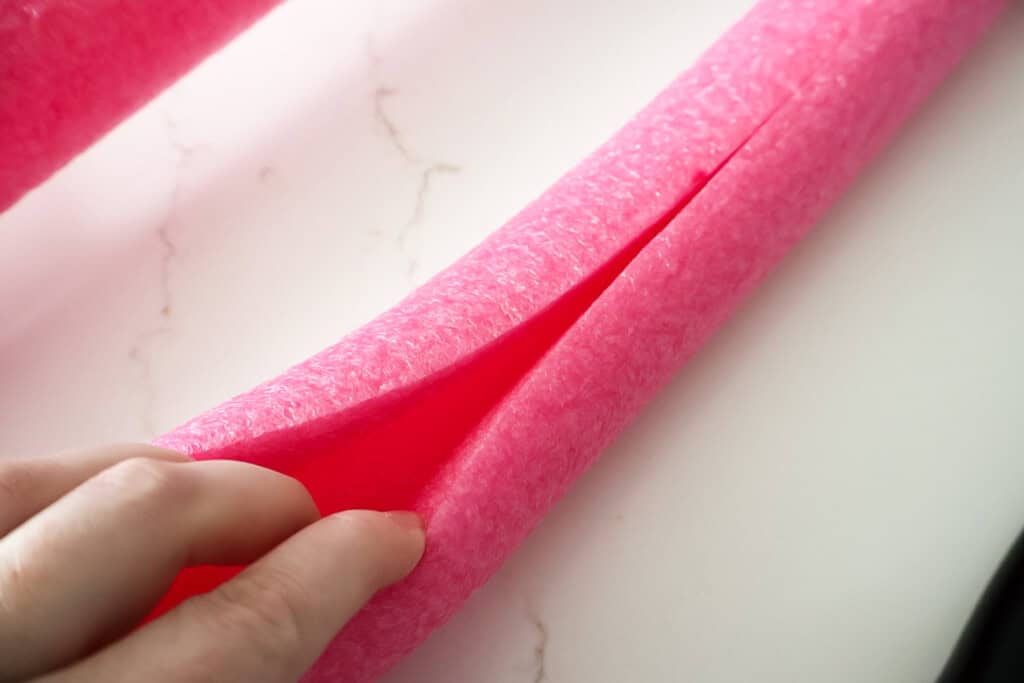
Pool noodles have a hollow center sizzed perfectly for a hula hoop!
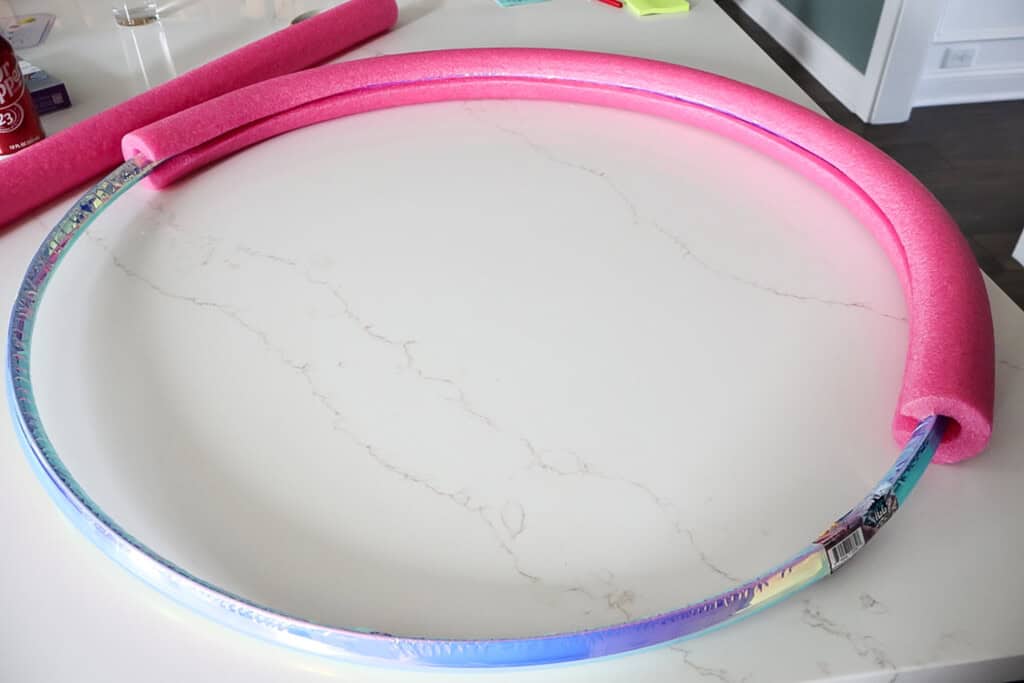
To get in there, you will need to cut a slit lengthwise along one pool noodle. Then, slide it right onto the hoop.
Repeat with the second noodle. Note: it will be too long and you will need to trim some length. I cut off about 9 inches of noodle!
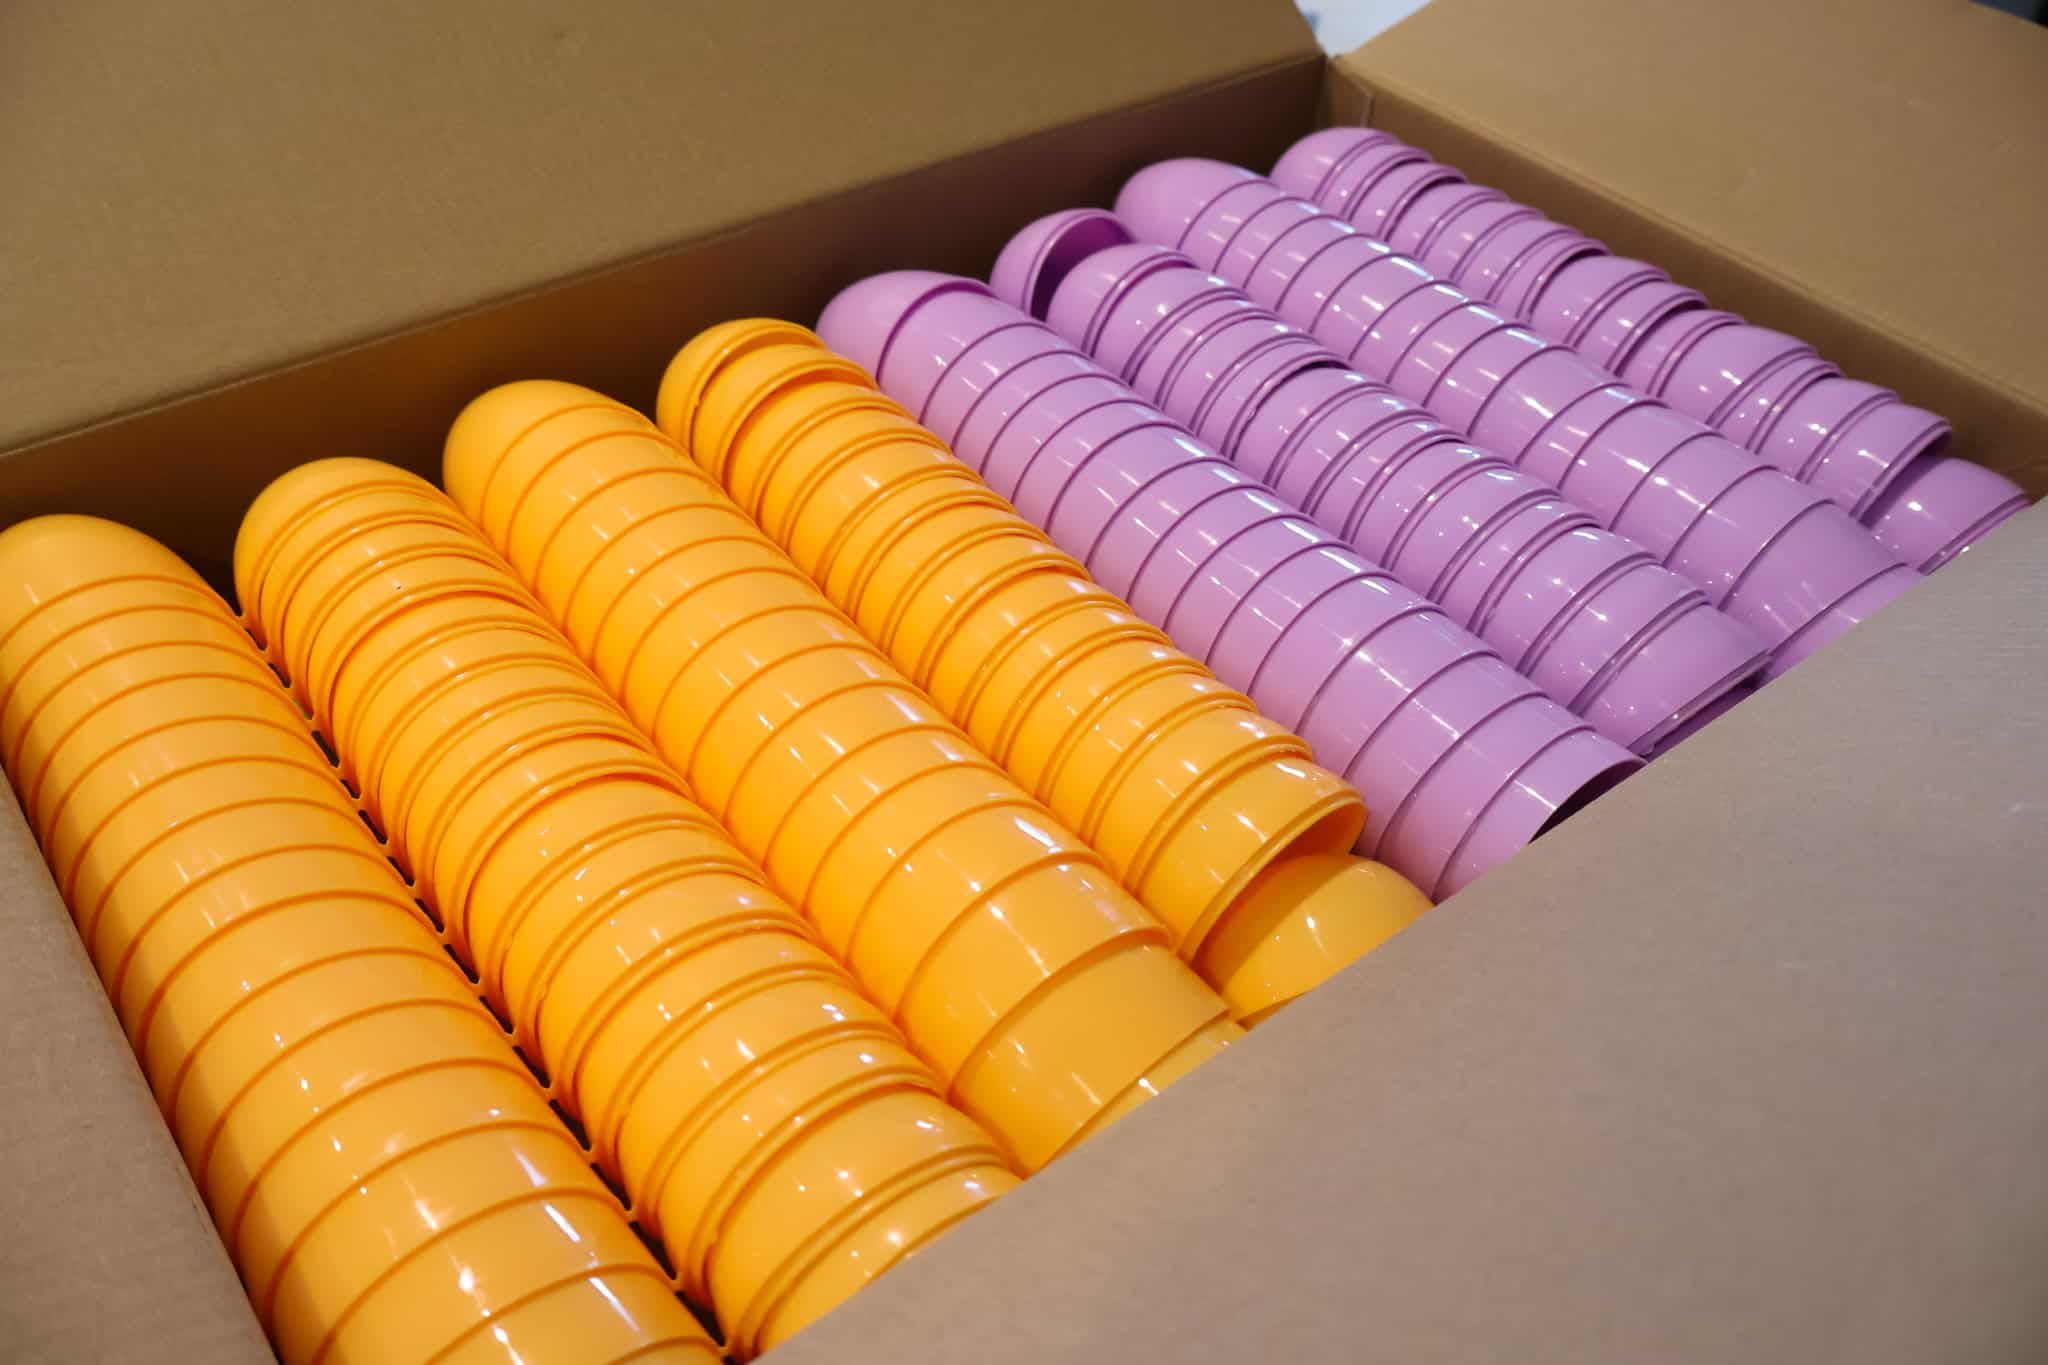
STEP 2: Prep the eggs
Prep your plastic eggs by assembling them if needed.
Also take a minute to decide if you want a color pattern or just to do random.
I tried to do a rainbow ombre, but quickly realized that the inside circle and the outer circle of the hoop had different circumferences, and because of this, my pattern was getting off.
So, I decided to just go for a random look.
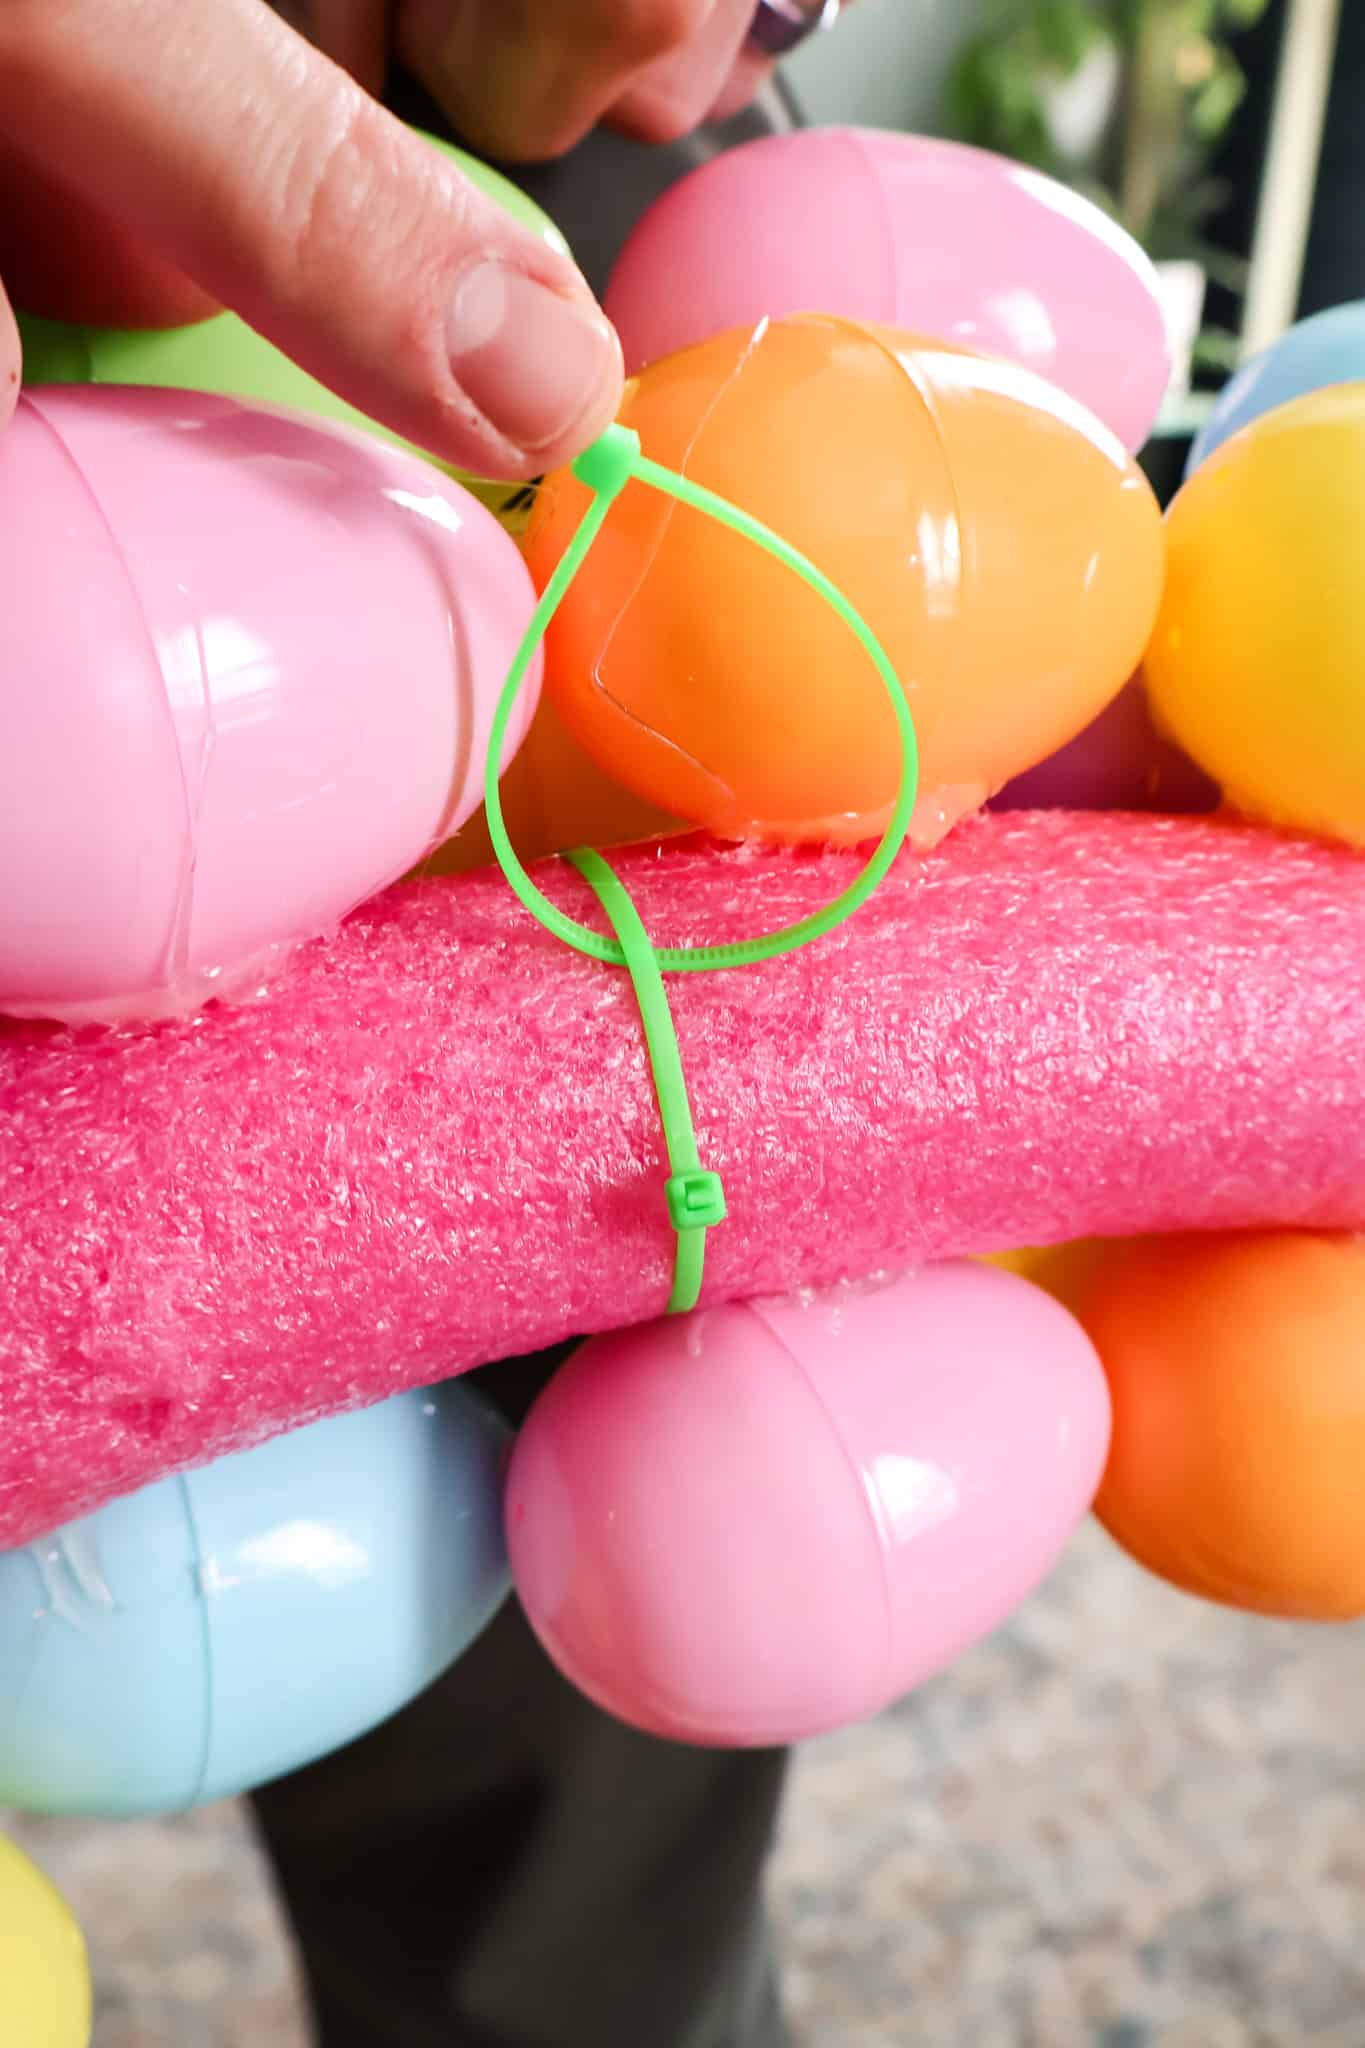
STEP 3: Add the Hanger
Now, I did this last but retrospectively, it should have been done first - it was very hard to get on around the eggs!
Add a hanger to your hoop. I added a zip tie fully around the noodle and then added a second zip tie making a loop hanging off of that zip tie. Trim excess.
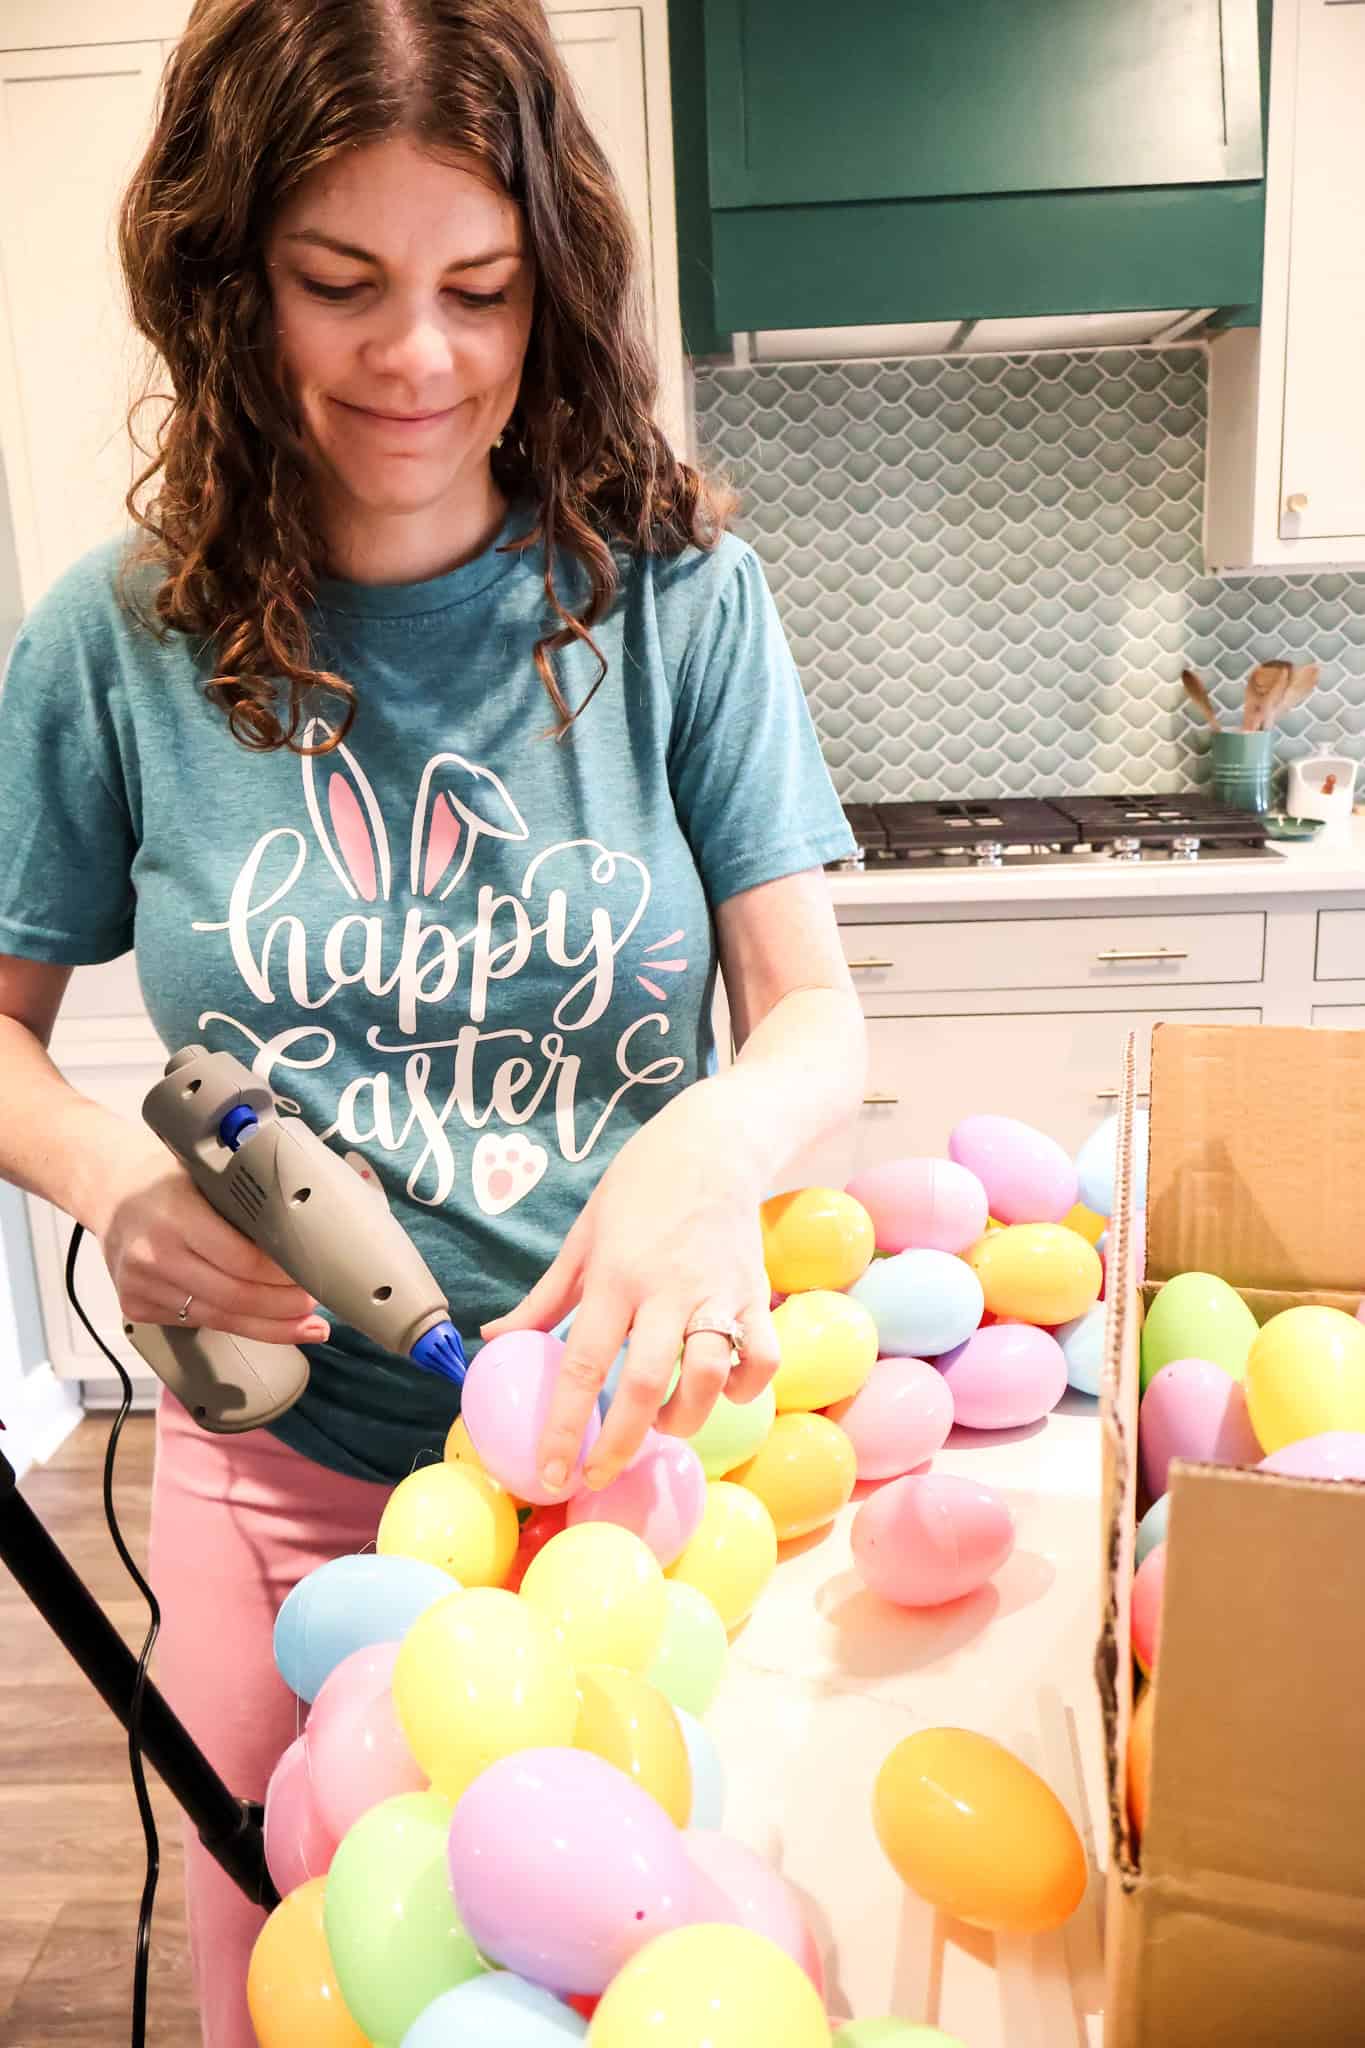
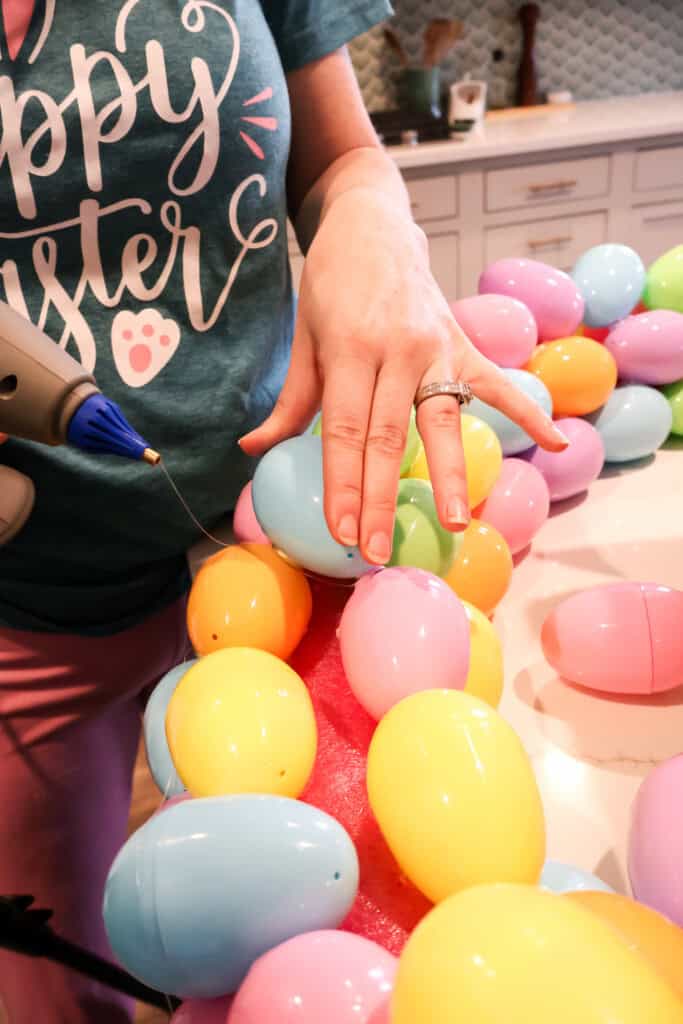
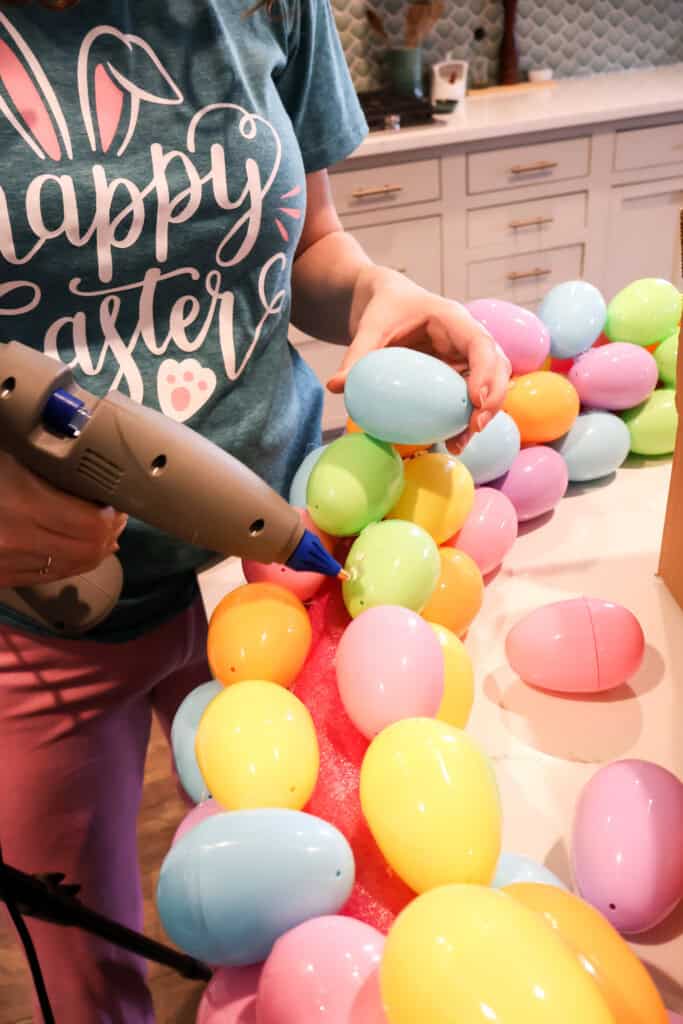
STEP 4: Add the eggs
Now is time to add your eggs! You are going to attach them to the pool noodle using hot glue.
Note - don't touch your hot glue tip to the noodle or it will melt the foam. Yikes!
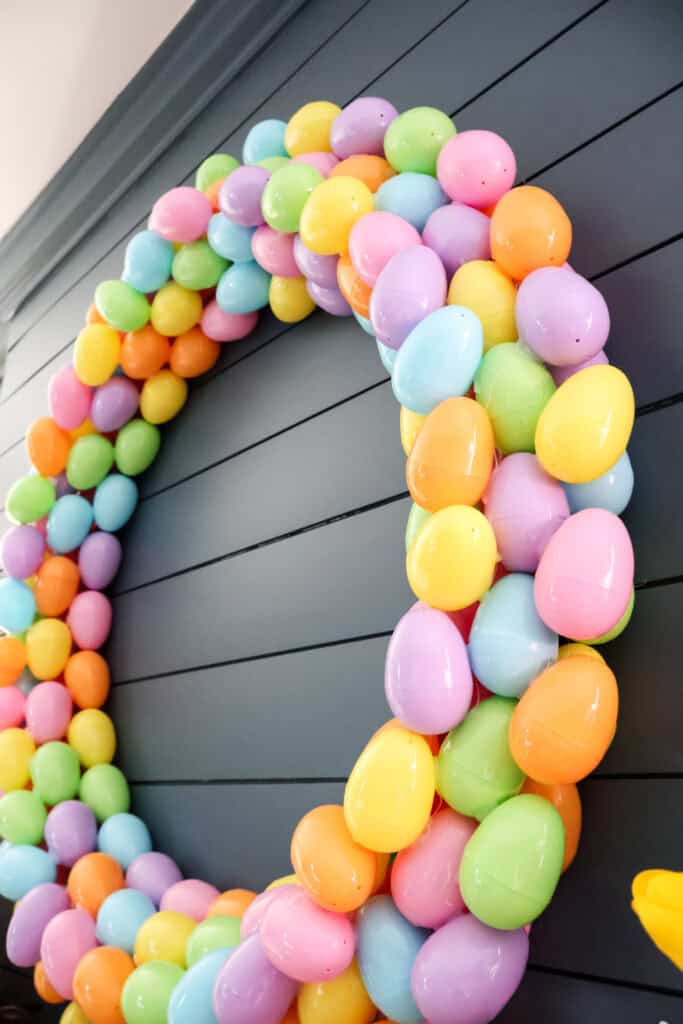
I started by doing a loop of eggs on the inner and outer sides of the hoop.
Then, fill in. I did 2 rows on top of the hoop, then finished with 1 final loop over those 2 rows.
This made it very full and so you don't see much if any noodle through the gaps in the eggs.
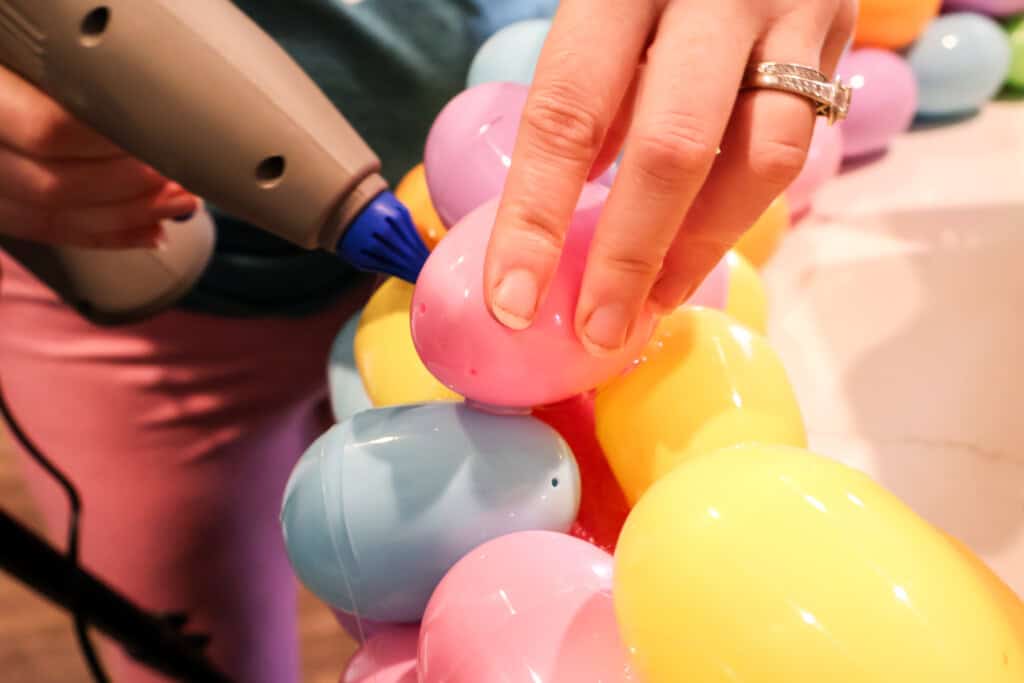
I highly recommend that you make sure all of the eggs are pointed the same direction. This gives a much more uniform look.
Let dry flat on a table for at least one hour so the glue is very dry and the eggs are very secure.

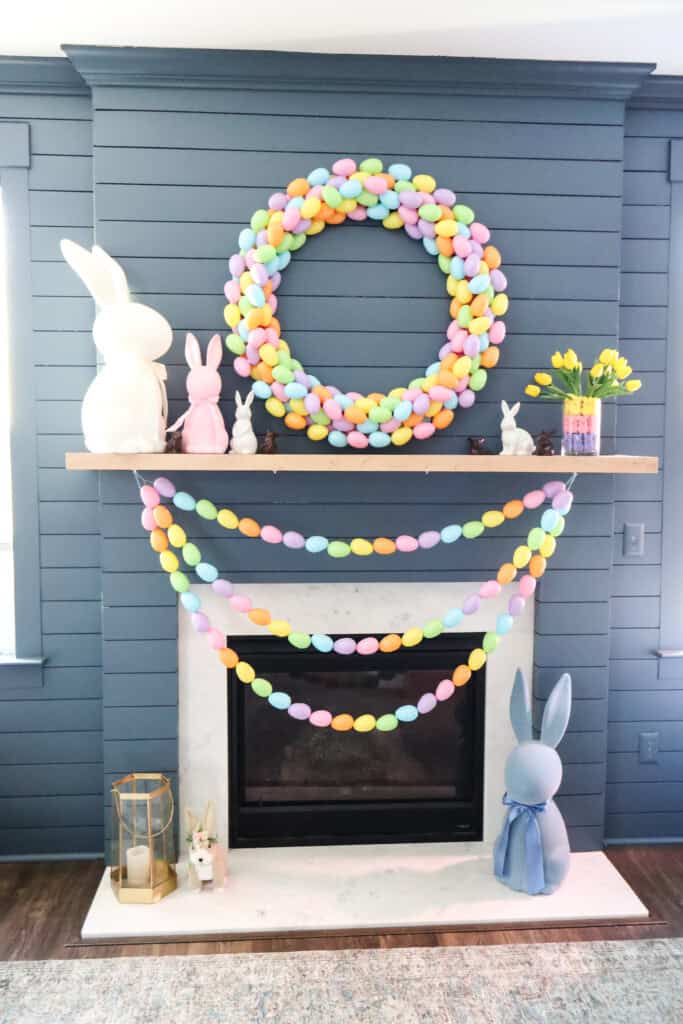
STEP 5: Hang and enjoy!
Hang from your hanger on a nail or hook. Enjoy!
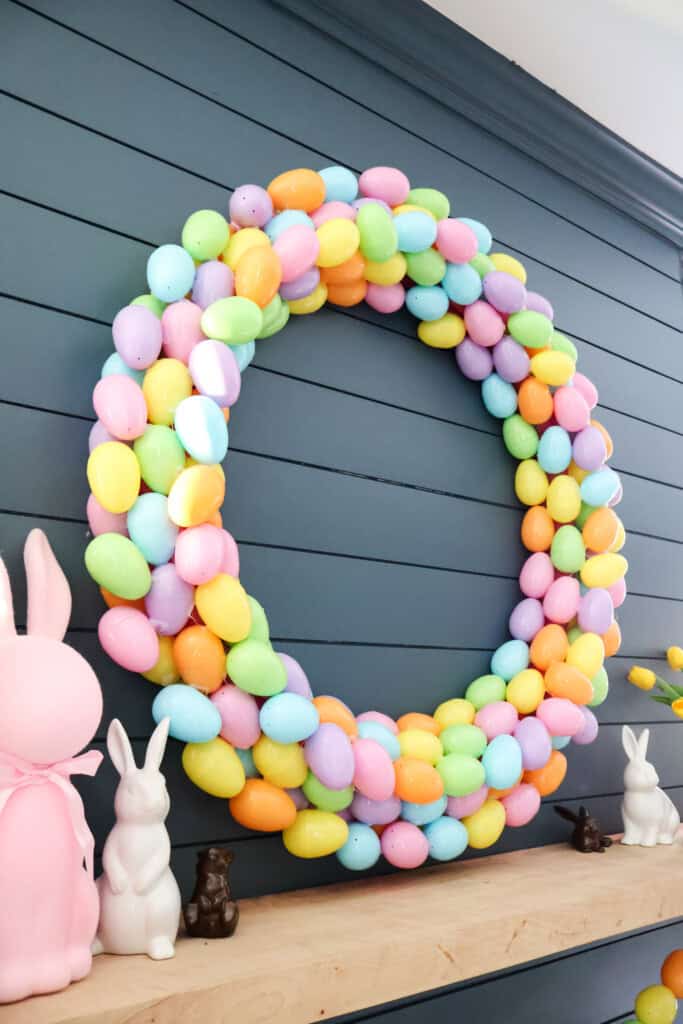
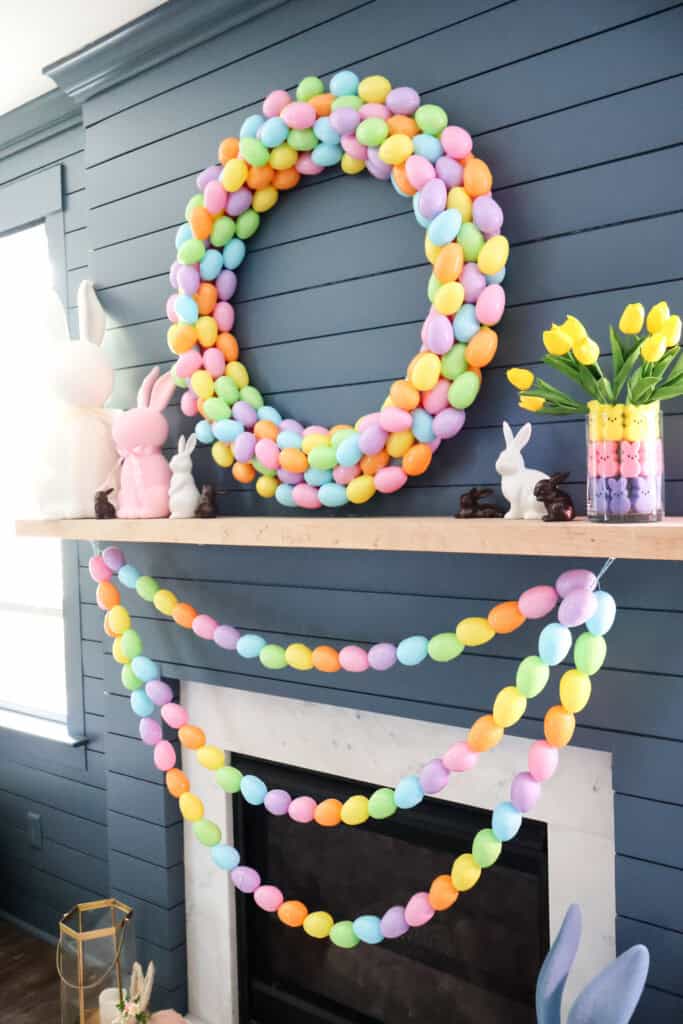
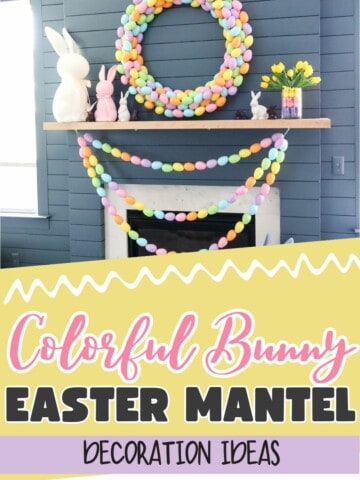
I hung ours over the fireplace - I am so glad I got over my fear of putting a nail in this fireplace last year, hahaha. It's so much easier to hang things now!
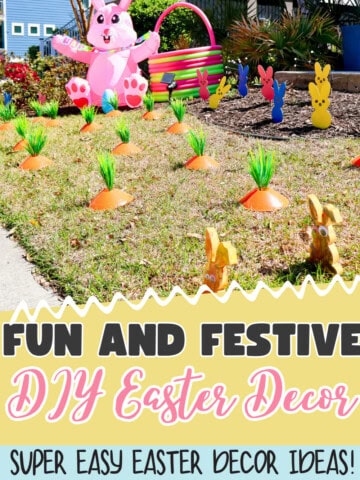
I love how it pairs with my Easter egg garland and bunnies! So fun and festive for Easter!
What are you crafting this Easter?

Looking for something?
We've been doing this since 2012 so we have a LOT of blog posts!
Search stuff like: Ceiling Projects | DIY Plant Stands | Thrift Flips

Hello, I'm Morgan, half of the creative force behind CharlestonCrafted.com! With a passion for DIY that dates back to 2012, I've transformed three homes and now I'm dedicated to helping others craft their dream spaces. Let's turn your house into a home together!