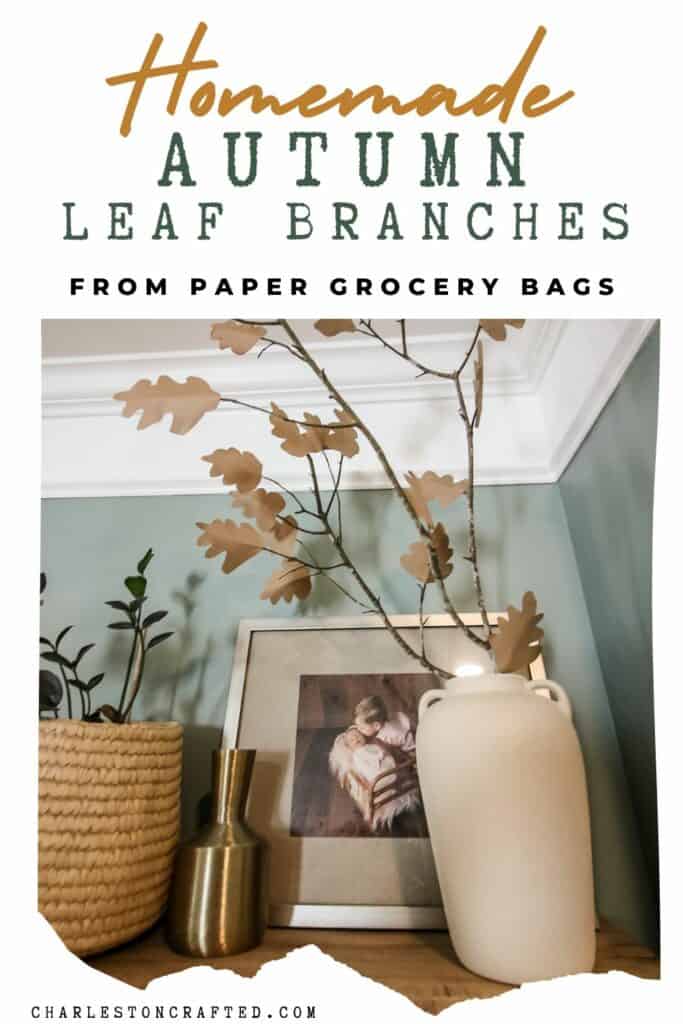
Create a beautiful autumn centerpiece with DIY paper bag fall leaf branches using just a few household items. This simple and eco-friendly craft brings the warm colors and textures of fall into your home without spending a dime.
I love decorating for the seasons, and fall is a very fun one to decorate for. One thing I love about decorating for autumn is incorporating natural elements.
By that I mean branches, leaves, acorns, pine cones, and more!
Unfortunately, here in Charleston, we don't get great fall foliage. I would love to bring in branches of red and gold leaves but that's just not happening here.
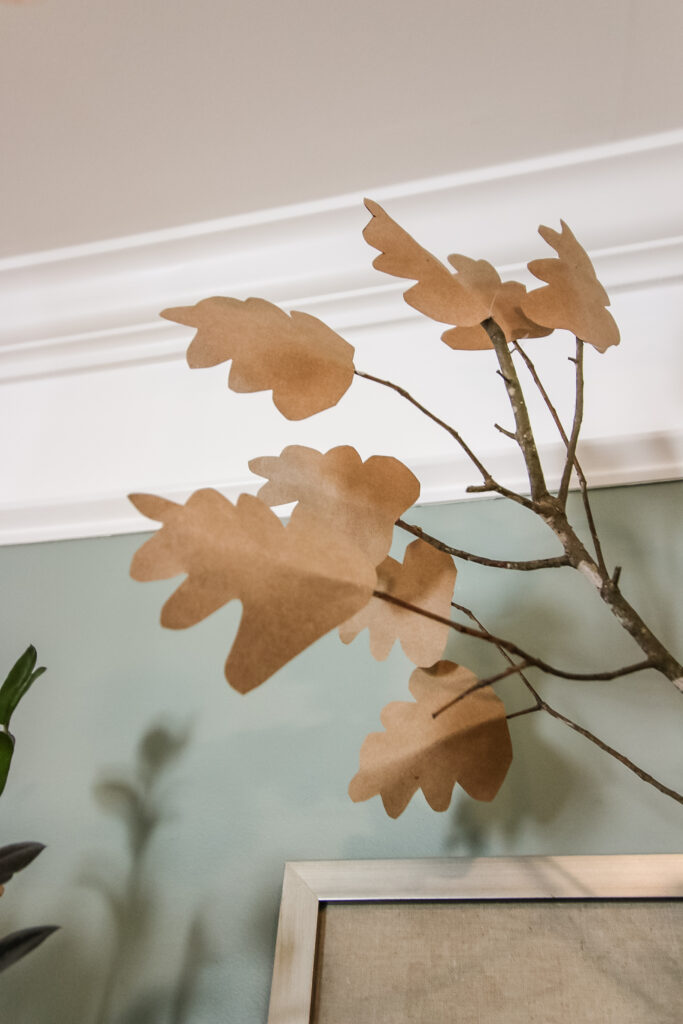
So, I decided to make my own fall leaf branch to add to the live edge shelves in our dining area.
Since I don't have fall leaves, I made my own.
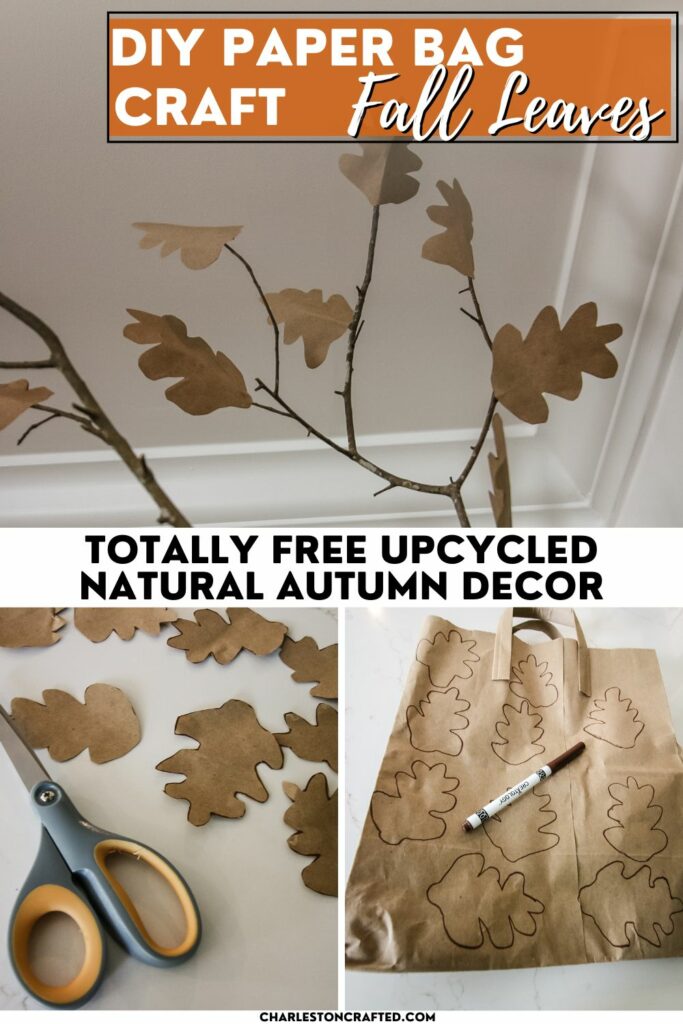
You could use bright colors here, but I kept it simple with brown craft paper - actually, cut up brown grocery bags!
By using a branch from the yard, recycled grocery bags, and hot glue I already had on hand, this was a 100% free zero cost craft project. It took only 30 minutes, and is a great way to add fall vibes and textures to my space.
Here's how to do it yourself!
DIY Paper Bag Fall Leaf Branches
Here's how easy it is to make fall leaves from paper bags.
Supplies needed:
- 1 paper grocery bag
- marker or pen
- scissors
- hot glue gun + glue sticks
- clean dry branch or branches
Steps to make:
Here's how easy it is to make this recycled craft!
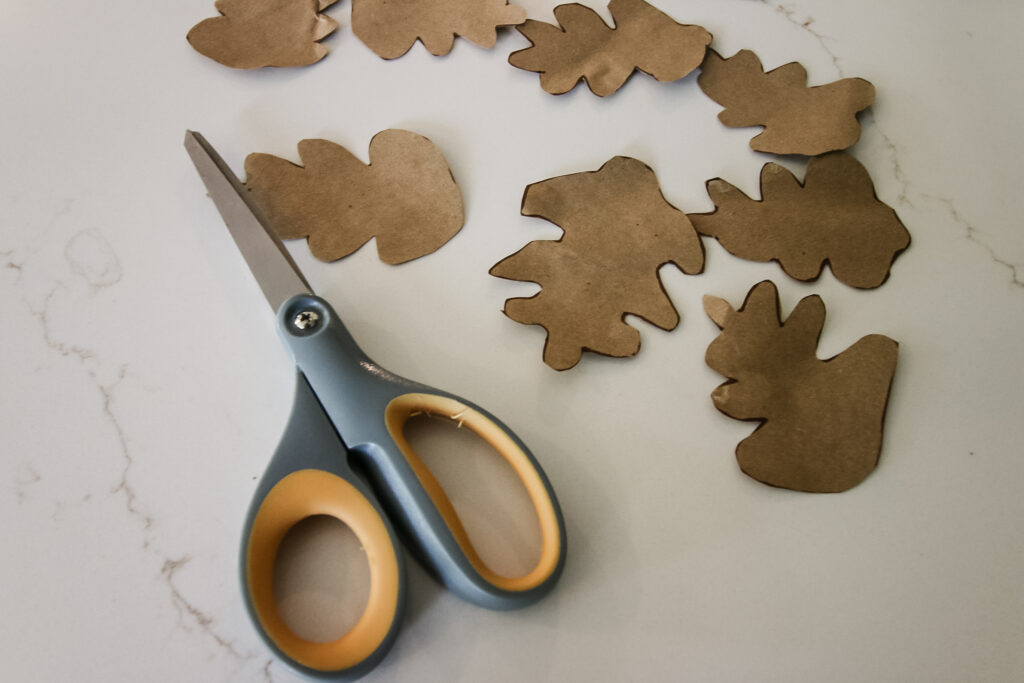
STEP 1: Trace
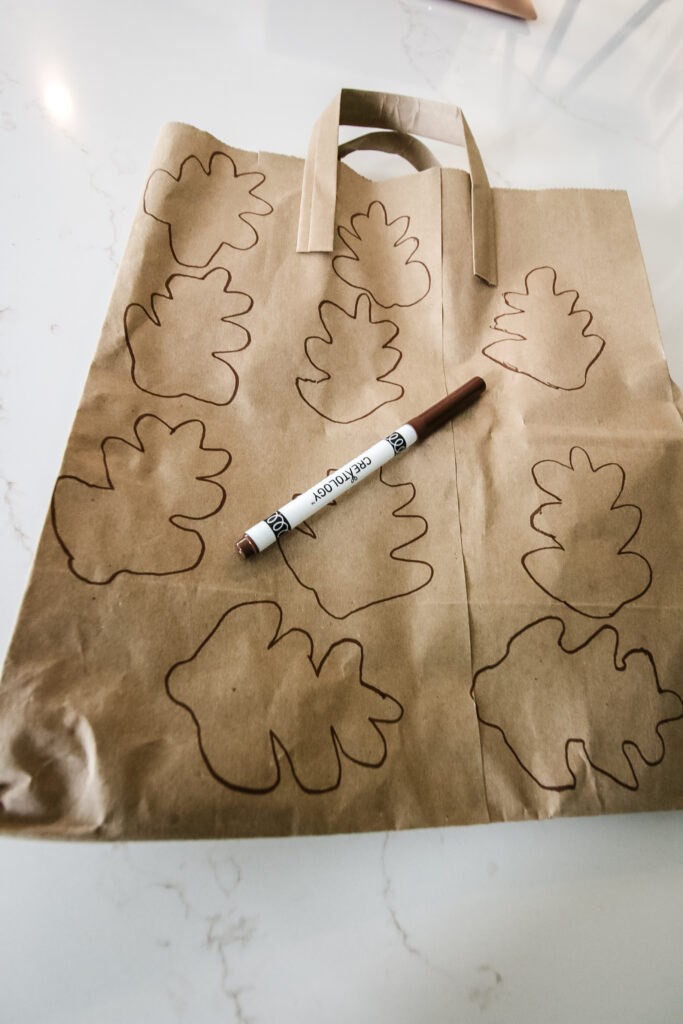
Use a pen or marker to draw out the shape of leaves onto your brown paper bag. Choose parts of the bag with no printing on them.
I google image searched "oak leaf" and freehand mimicked the shape. They do NOT have to be perfect - they should in fact all be slightly different!
I was able to get 24 leaves on the front and back of my bag - I could have gotten more if I had used the narrow side strips, but this was enough for me.
STEP 2: Cut
Cut out on your lines. You could use a cricut or similar for this - I just free handed it!
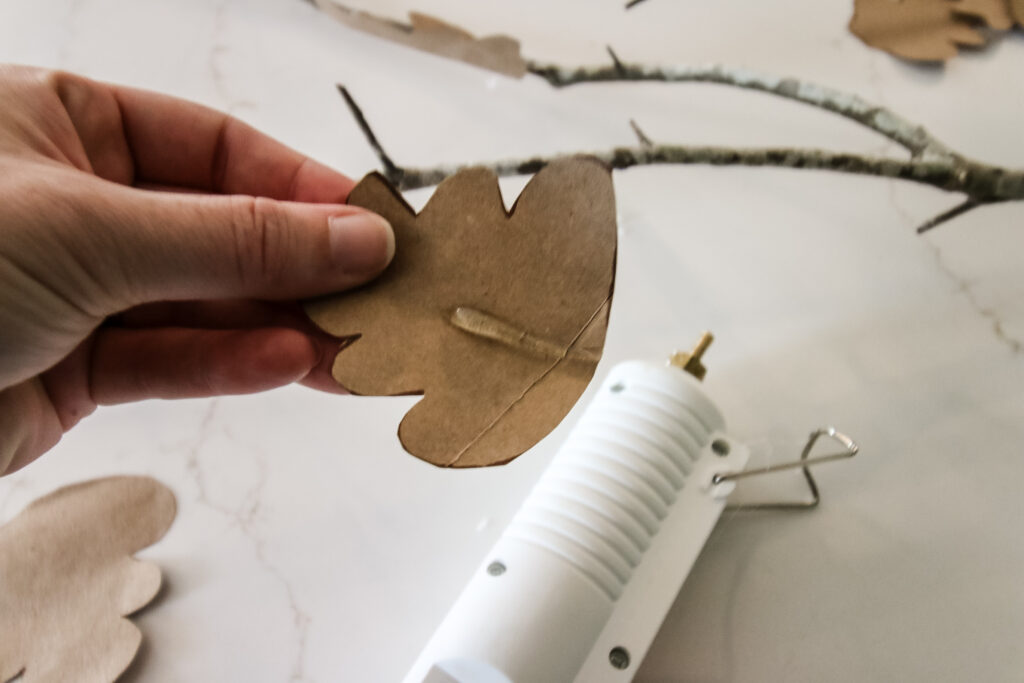
STEP 3: Glue
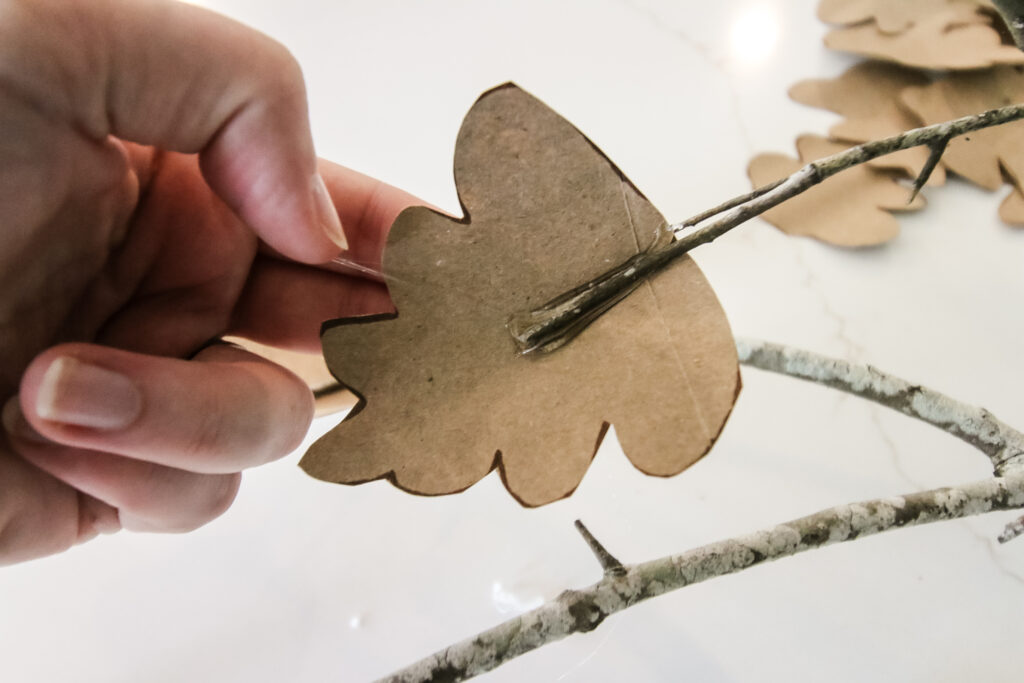
Slightly fold the leaf in half hotdog style and apply a strip of hot glue in the middle. Press onto the tip of each branch.
Repeat for all the leaves.
I will note - there's a bit of hot glue stringy mess involved here. You can use a hair dryer to blast them all, or just pick them off with your fingers!
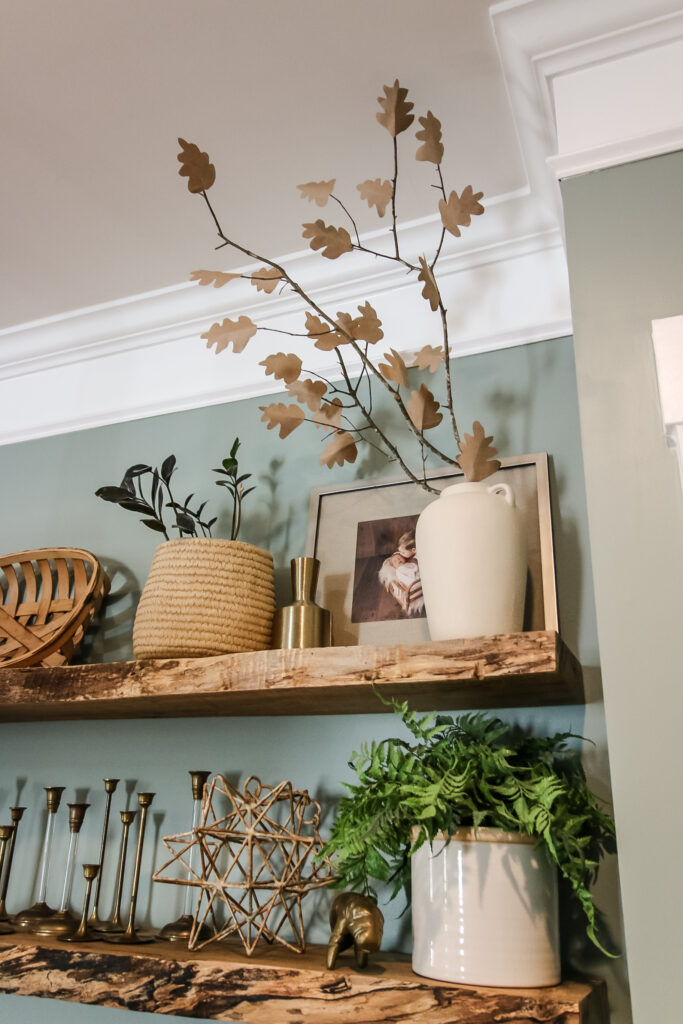
STEP 4: Enjoy!
Add your branches to a vase or jar and enjoy the fall foliage!
Unfortunately, I don't think these would store very well in the attic in the off season - anything with sticks tends to get broken for us. But, they are fun for one year!

Any questions about this project?!
Planning a big Halloween?
Be sure to grab our FREE Halloween Decor Planner to get all of your plans organized!


Looking for something?
We've been doing this since 2012 so we have a LOT of blog posts!
Search stuff like: Ceiling Projects | DIY Plant Stands | Thrift Flips

Hey there, I'm Sean, the woodworking enthusiast and builder behind CharlestonCrafted.com! Since 2012, I've been sharing the magic of turning raw materials into beautiful creations. I love teaching others the art and satisfaction of woodworking and DIY. I try to inspire fellow crafters to make something extraordinary out of nothing at all.