Check out how we built a DIY raised cumber garden trellis for our raised bed garden. This is a quick and simple DIY that doesn't require many tools or skills!
It's springtime and I am so, so ready to get our vegetable garden in the ground. We are planting this weekend (!) but have been prepping for what feels like a month now.
We enjoyed our raised garden bed so much last year that this year we decided to build a second one.
When I was planning our garden, I decided that I wanted to try planting cucumbers again.
I had a lot of trouble with them sprawling and taking over other plants as well as the actual cucumbers sitting on the ground and getting mushy last year, so some research led me to the idea of a wooden cucumber trellis. It was a simple build and I cannot wait to watch the veggies fill it in this season.
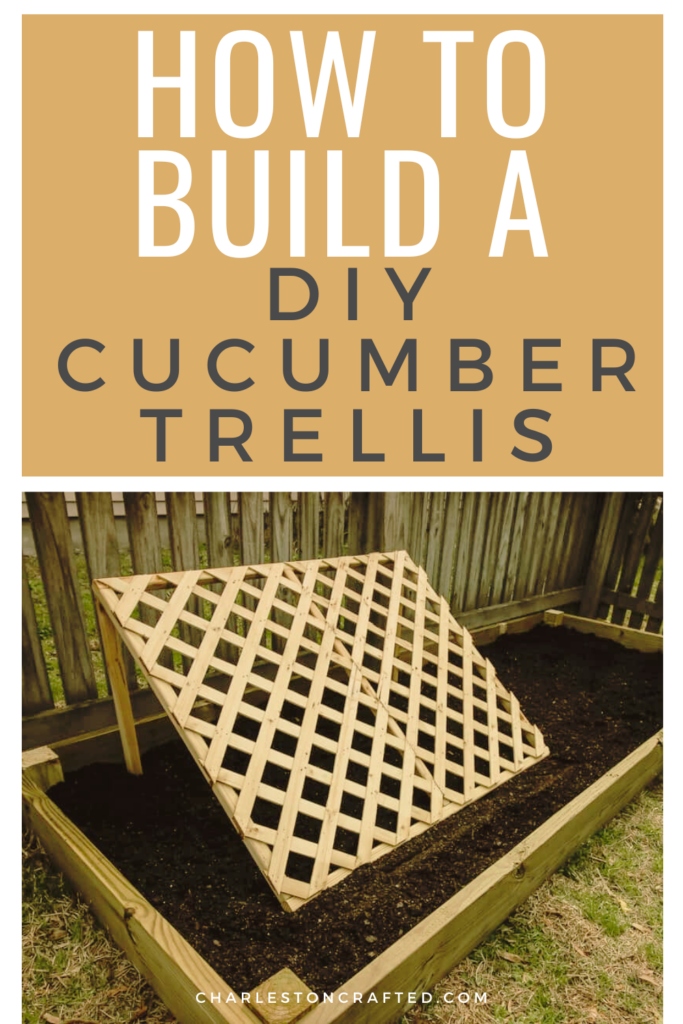
How to build a cucumber trellis
This is a very simple project to build that really doesn't require too many tools, materials or skills!
We used this cucumber trellis at our old house and we weren't great on taking pictures back then, so we have the pictures of the building process, but not when it was COVERED in cucumbers. But trust me, this thing works soooooo well.
Want to build a berry trellis too? Here's how to build a wood and wire trellis that can attach to the side of your house!
What do I need to make a cucumber trellis?
Glad you asked. Here's the materials you need for this DIY cucumber trellis.
- (3) 2x2x8′ boards
- (1) 2’x8′ lattice
- Brad nailer
- Wood glue
- 1″ brad nails
- 2" brad nails
- Circular saw
Step one: build frame
Start by building the back rectangular frame out of the 2x2s. Make these cuts from your 2x2s first.
- (2) 4' pieces for the top and bottom
- (3) 3' pieces for the sides and middle
Use wood glue and 2" nails to create a rectangular frame by attaching two side pieces in between the top and bottom pieces and adding the middle piece centered on the boards.
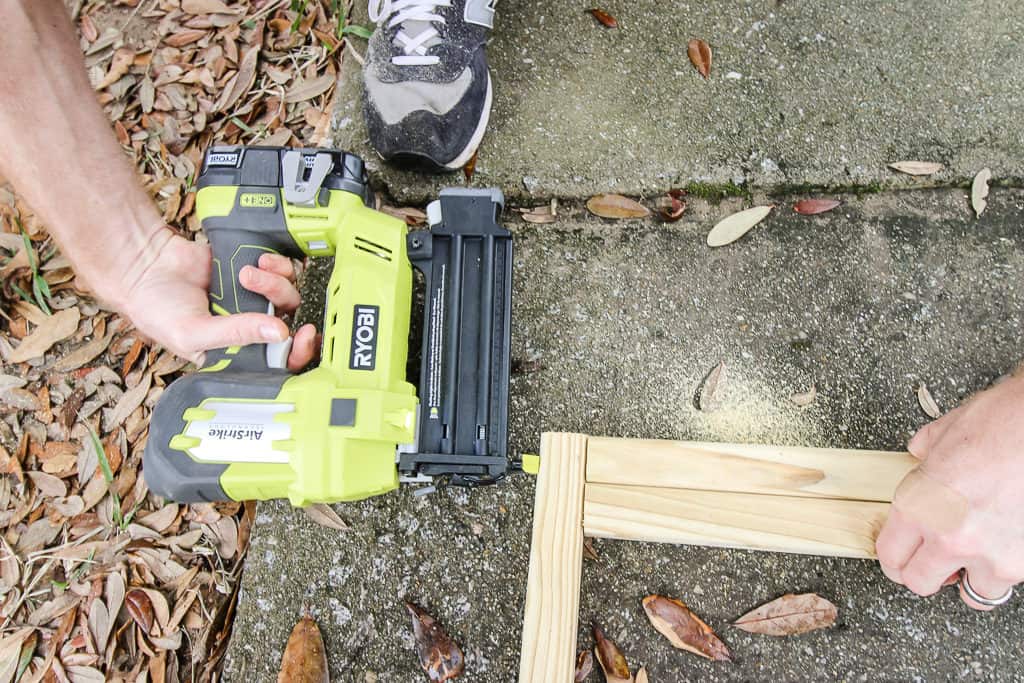
Step two: attach lattice
Next, cut your lattice down to two pieces that are 2' wide and 3'3" long. Lay those out on the frame meeting in the middle, then nail them into the frame with 1" nails.
Make sure you nail all the way around so that you get a good sturdy construction on the lattice.
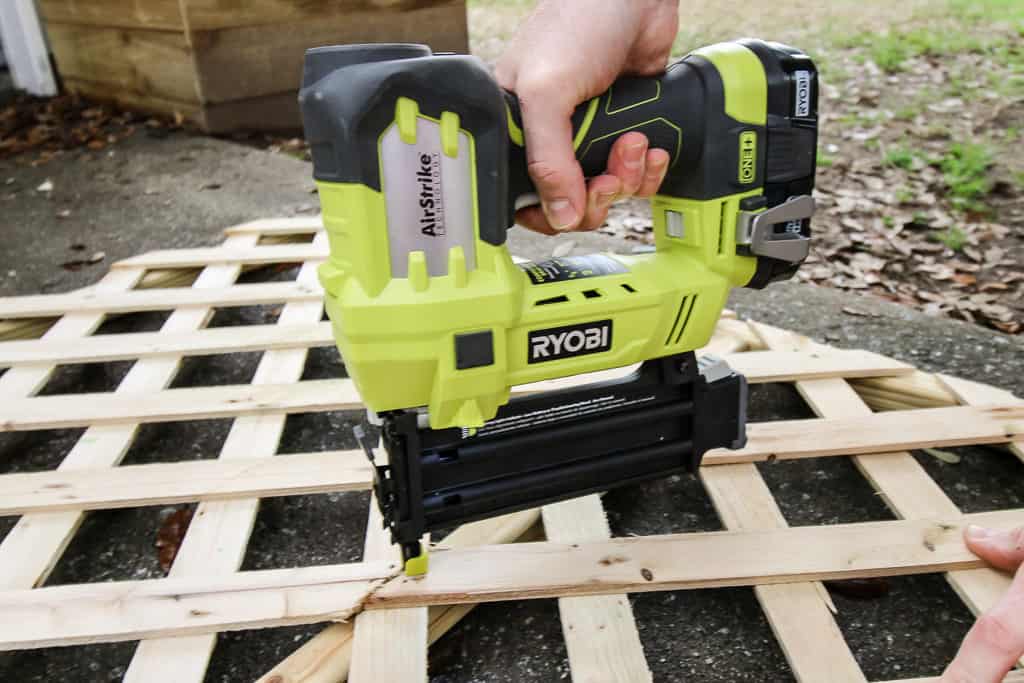
Step three: attach legs
Finally, cut two 2' long pieces of 2x2 with the remaining piece and cut one end straight and one end with a 45 degree miter.
Angle the frame so it is at a 45 degree angle, then align the angled cut on the legs with the frame. Using wood glue and 2" nails, nail through the back of the legs into the frame.
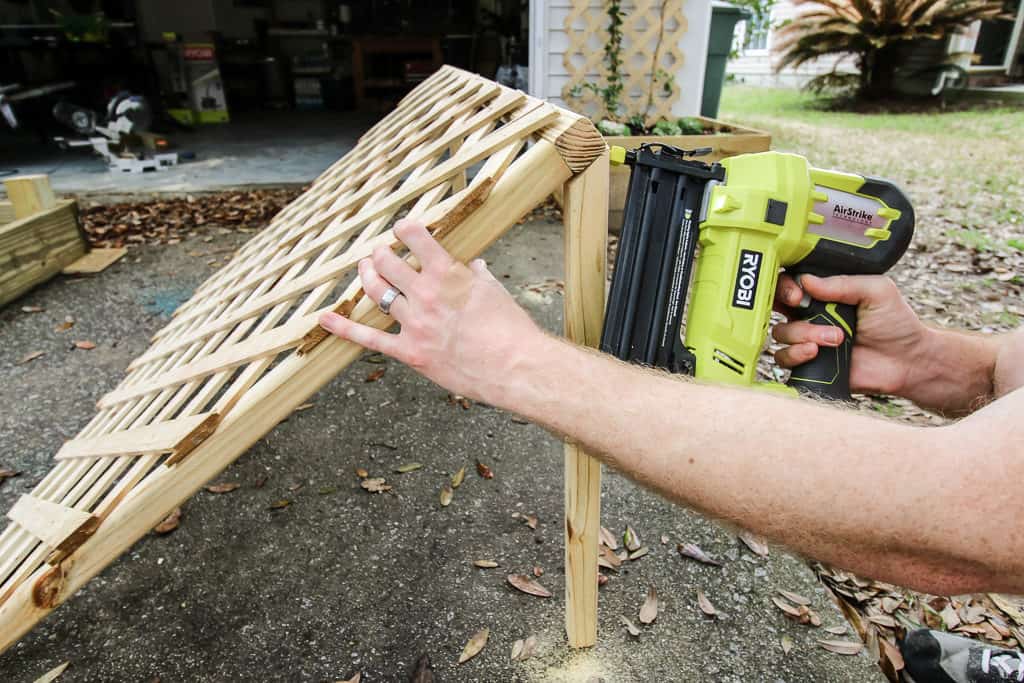
Step four: insert in garden
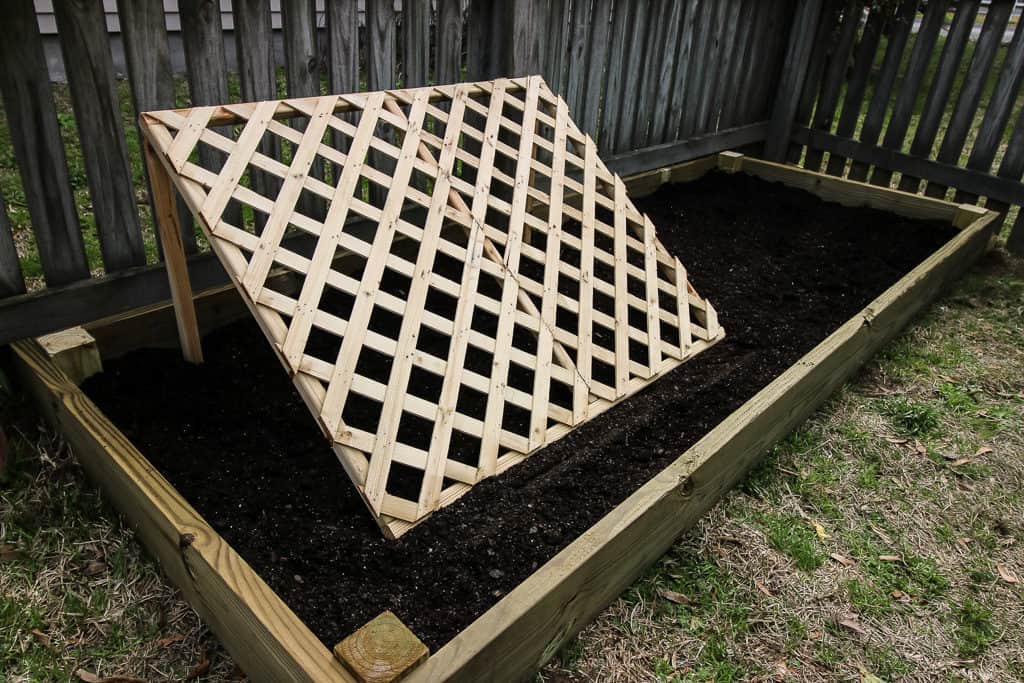
Take your cucumber trellis and set it inside your raised bed garden so that the legs are in the back and there is room to plant the cucumbers in the front. Plant the cucumbers in front of the angled end of the lattice so that the vines can grow up.
Add some of these simple DIY tomato cages to your garden too to grow all your veggies!
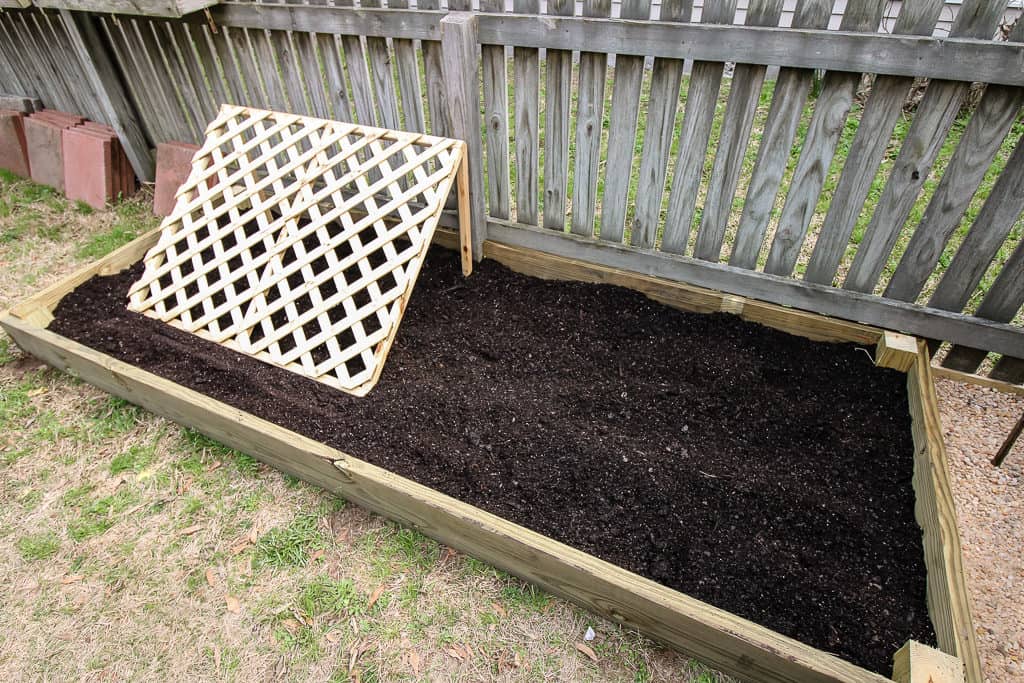
Simple cucumber garden trellis build
This is a really easy project that has great results. We saw so many cucumbers growing on this and it was great for keeping them off the ground.
The cucumbers hung down from the vines that were supported by the trellis and it worked great! Build one today and get excited!
Looking for something?
We've been doing this since 2012 so we have a LOT of blog posts!
Search stuff like: Ceiling Projects | DIY Plant Stands | Thrift Flips


Hello, I'm Morgan, half of the creative force behind CharlestonCrafted.com! With a passion for DIY that dates back to 2012, I've transformed three homes and now I'm dedicated to helping others craft their dream spaces. Let's turn your house into a home together!


