Want to add a coastal touch to your Christmas decor? Here's how to make DIY Sea Glass Christmas Trees!
When you think of Christmas, you might think of winter. Snowflakes, snowmen, little wool hats.
Personally, I'd rather be at the beach.
I've never been a cold weather girlie and that's a big part of why I ended up in Charleston in the first place.
So, I love decorating with beach or coastal style Christmas decor.
One of my favorite elements of coastal decor is sea glass (yes, we even had recycled glass countertops in our last kitchen!)
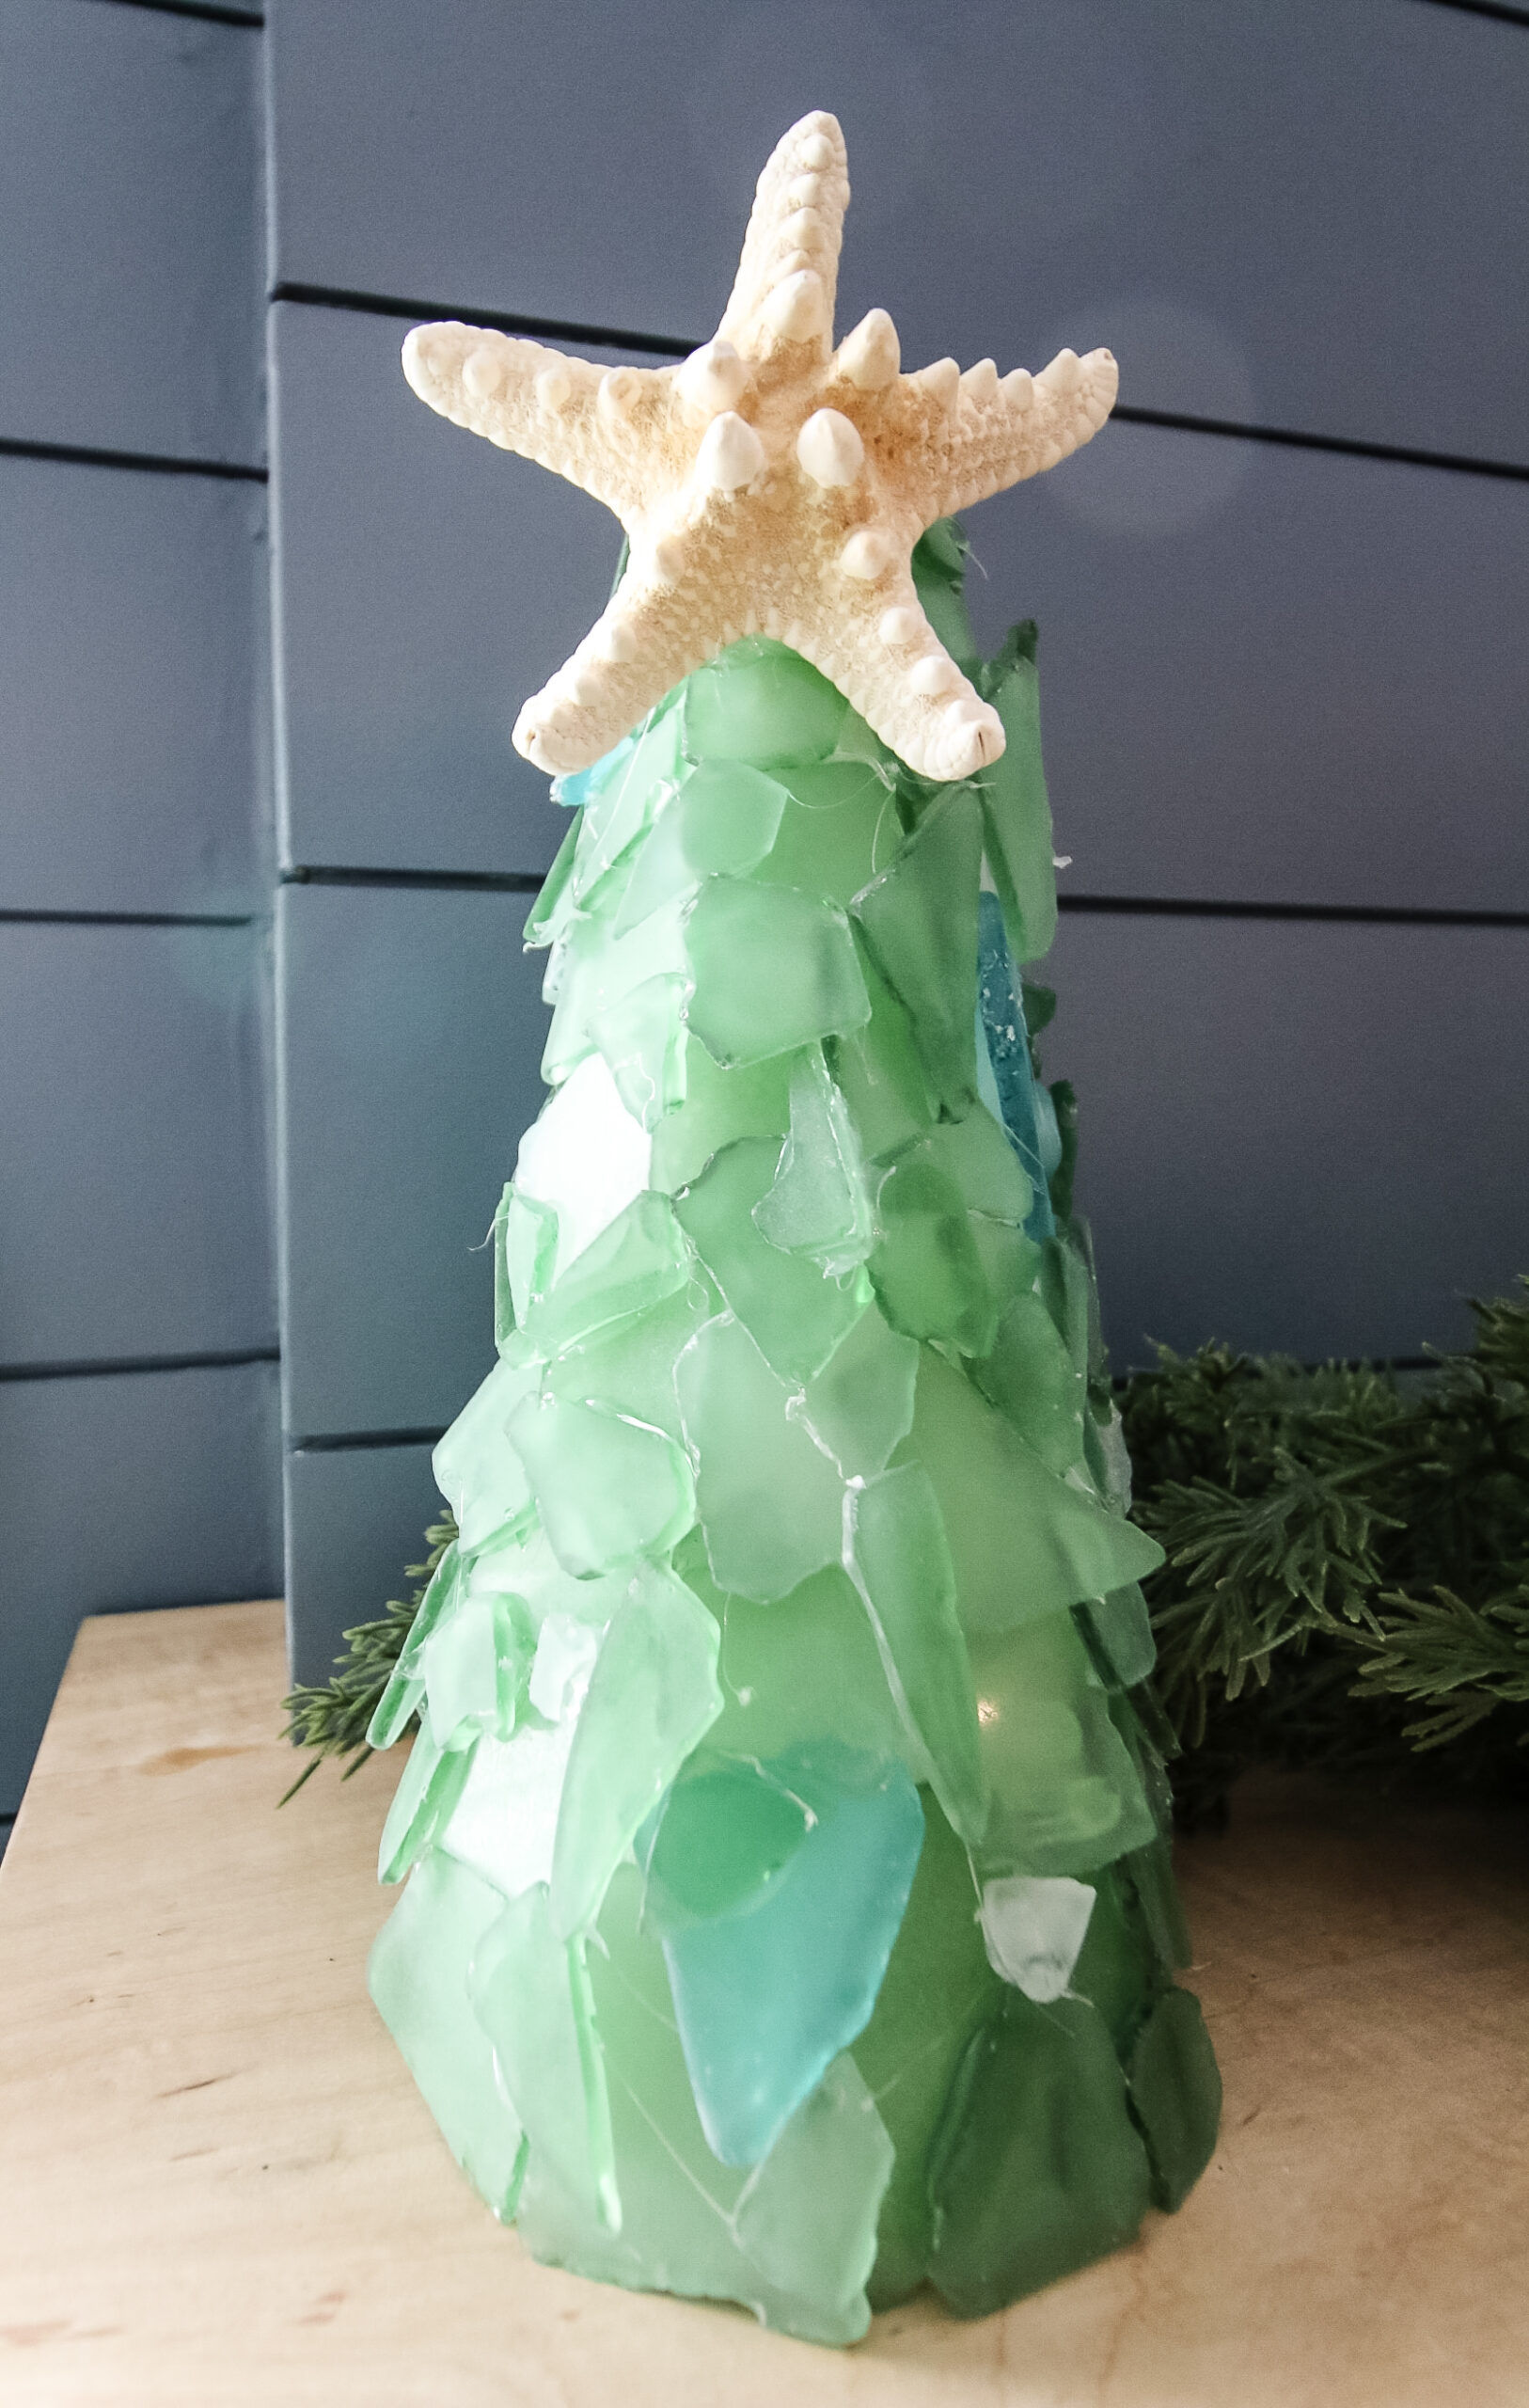
So, this year I decided to make a little sea glass Christmas tree. I actually intended to make a whole forest of these trees, but they took way more glass than anticipated. So, this one tree will have a shining spot on our mantel!
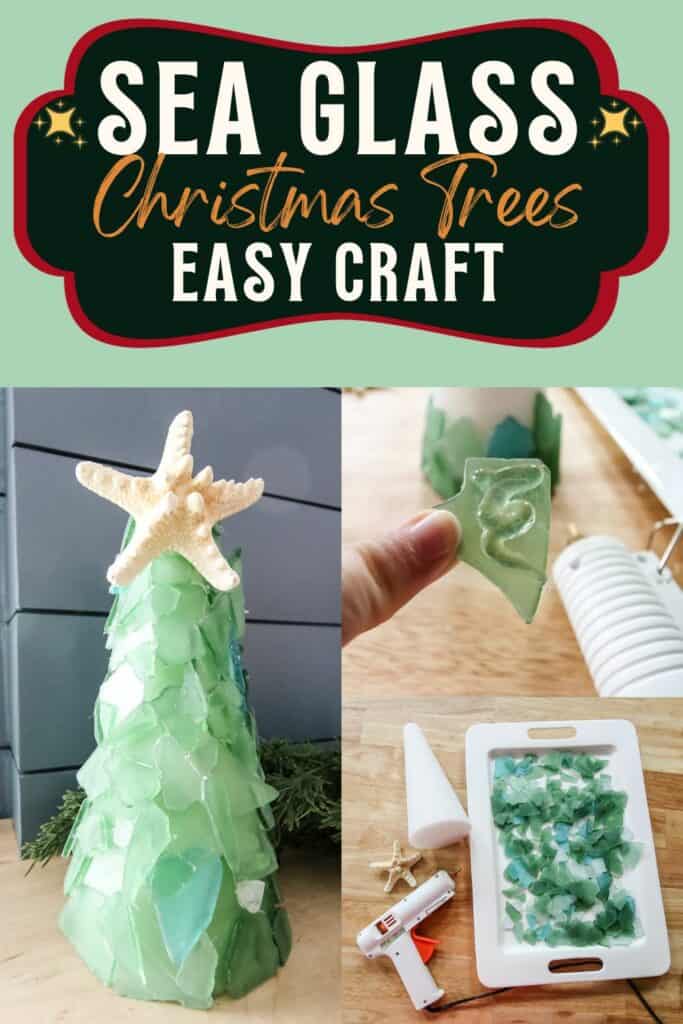
How to make a DIY Sea Glass Christmas Tree
It's super easy to make your own sea glass tabletop Christmas tree. Here's how to do it!
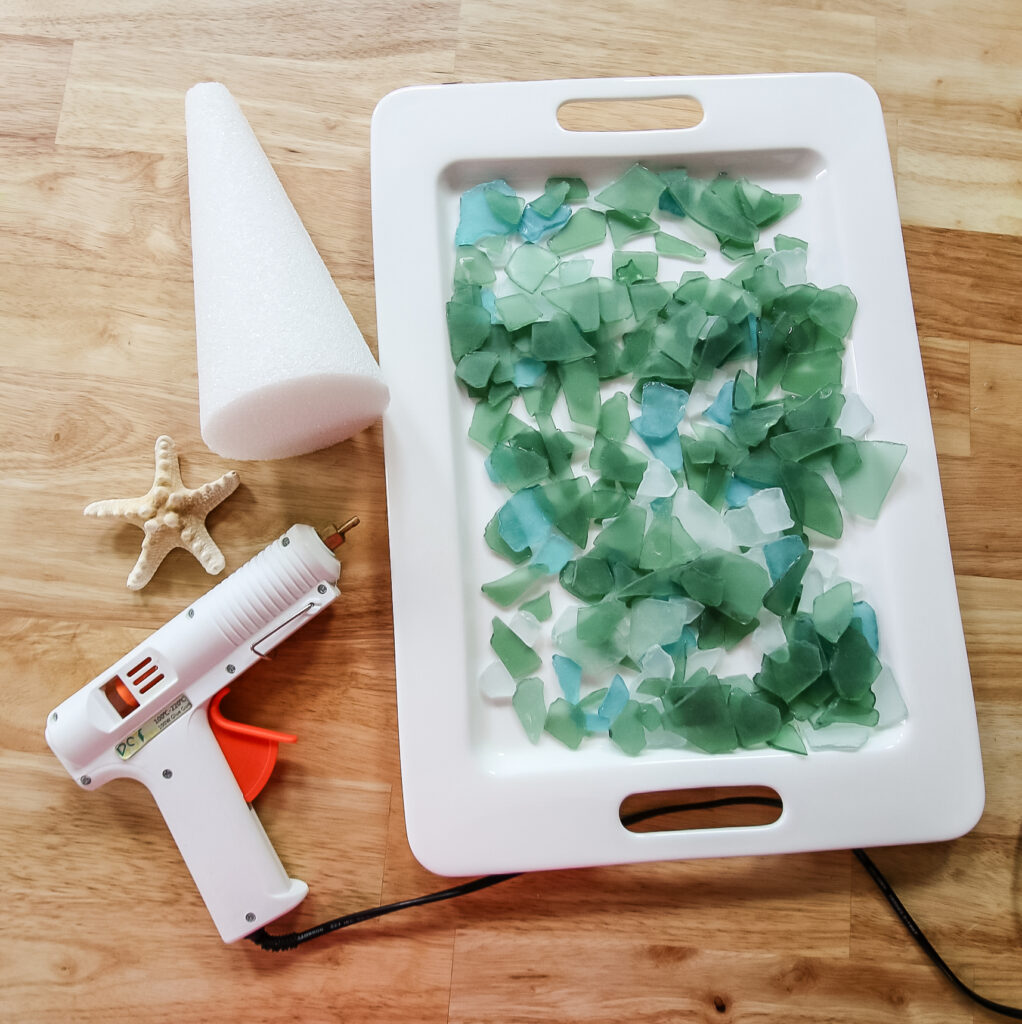
Supplies needed:
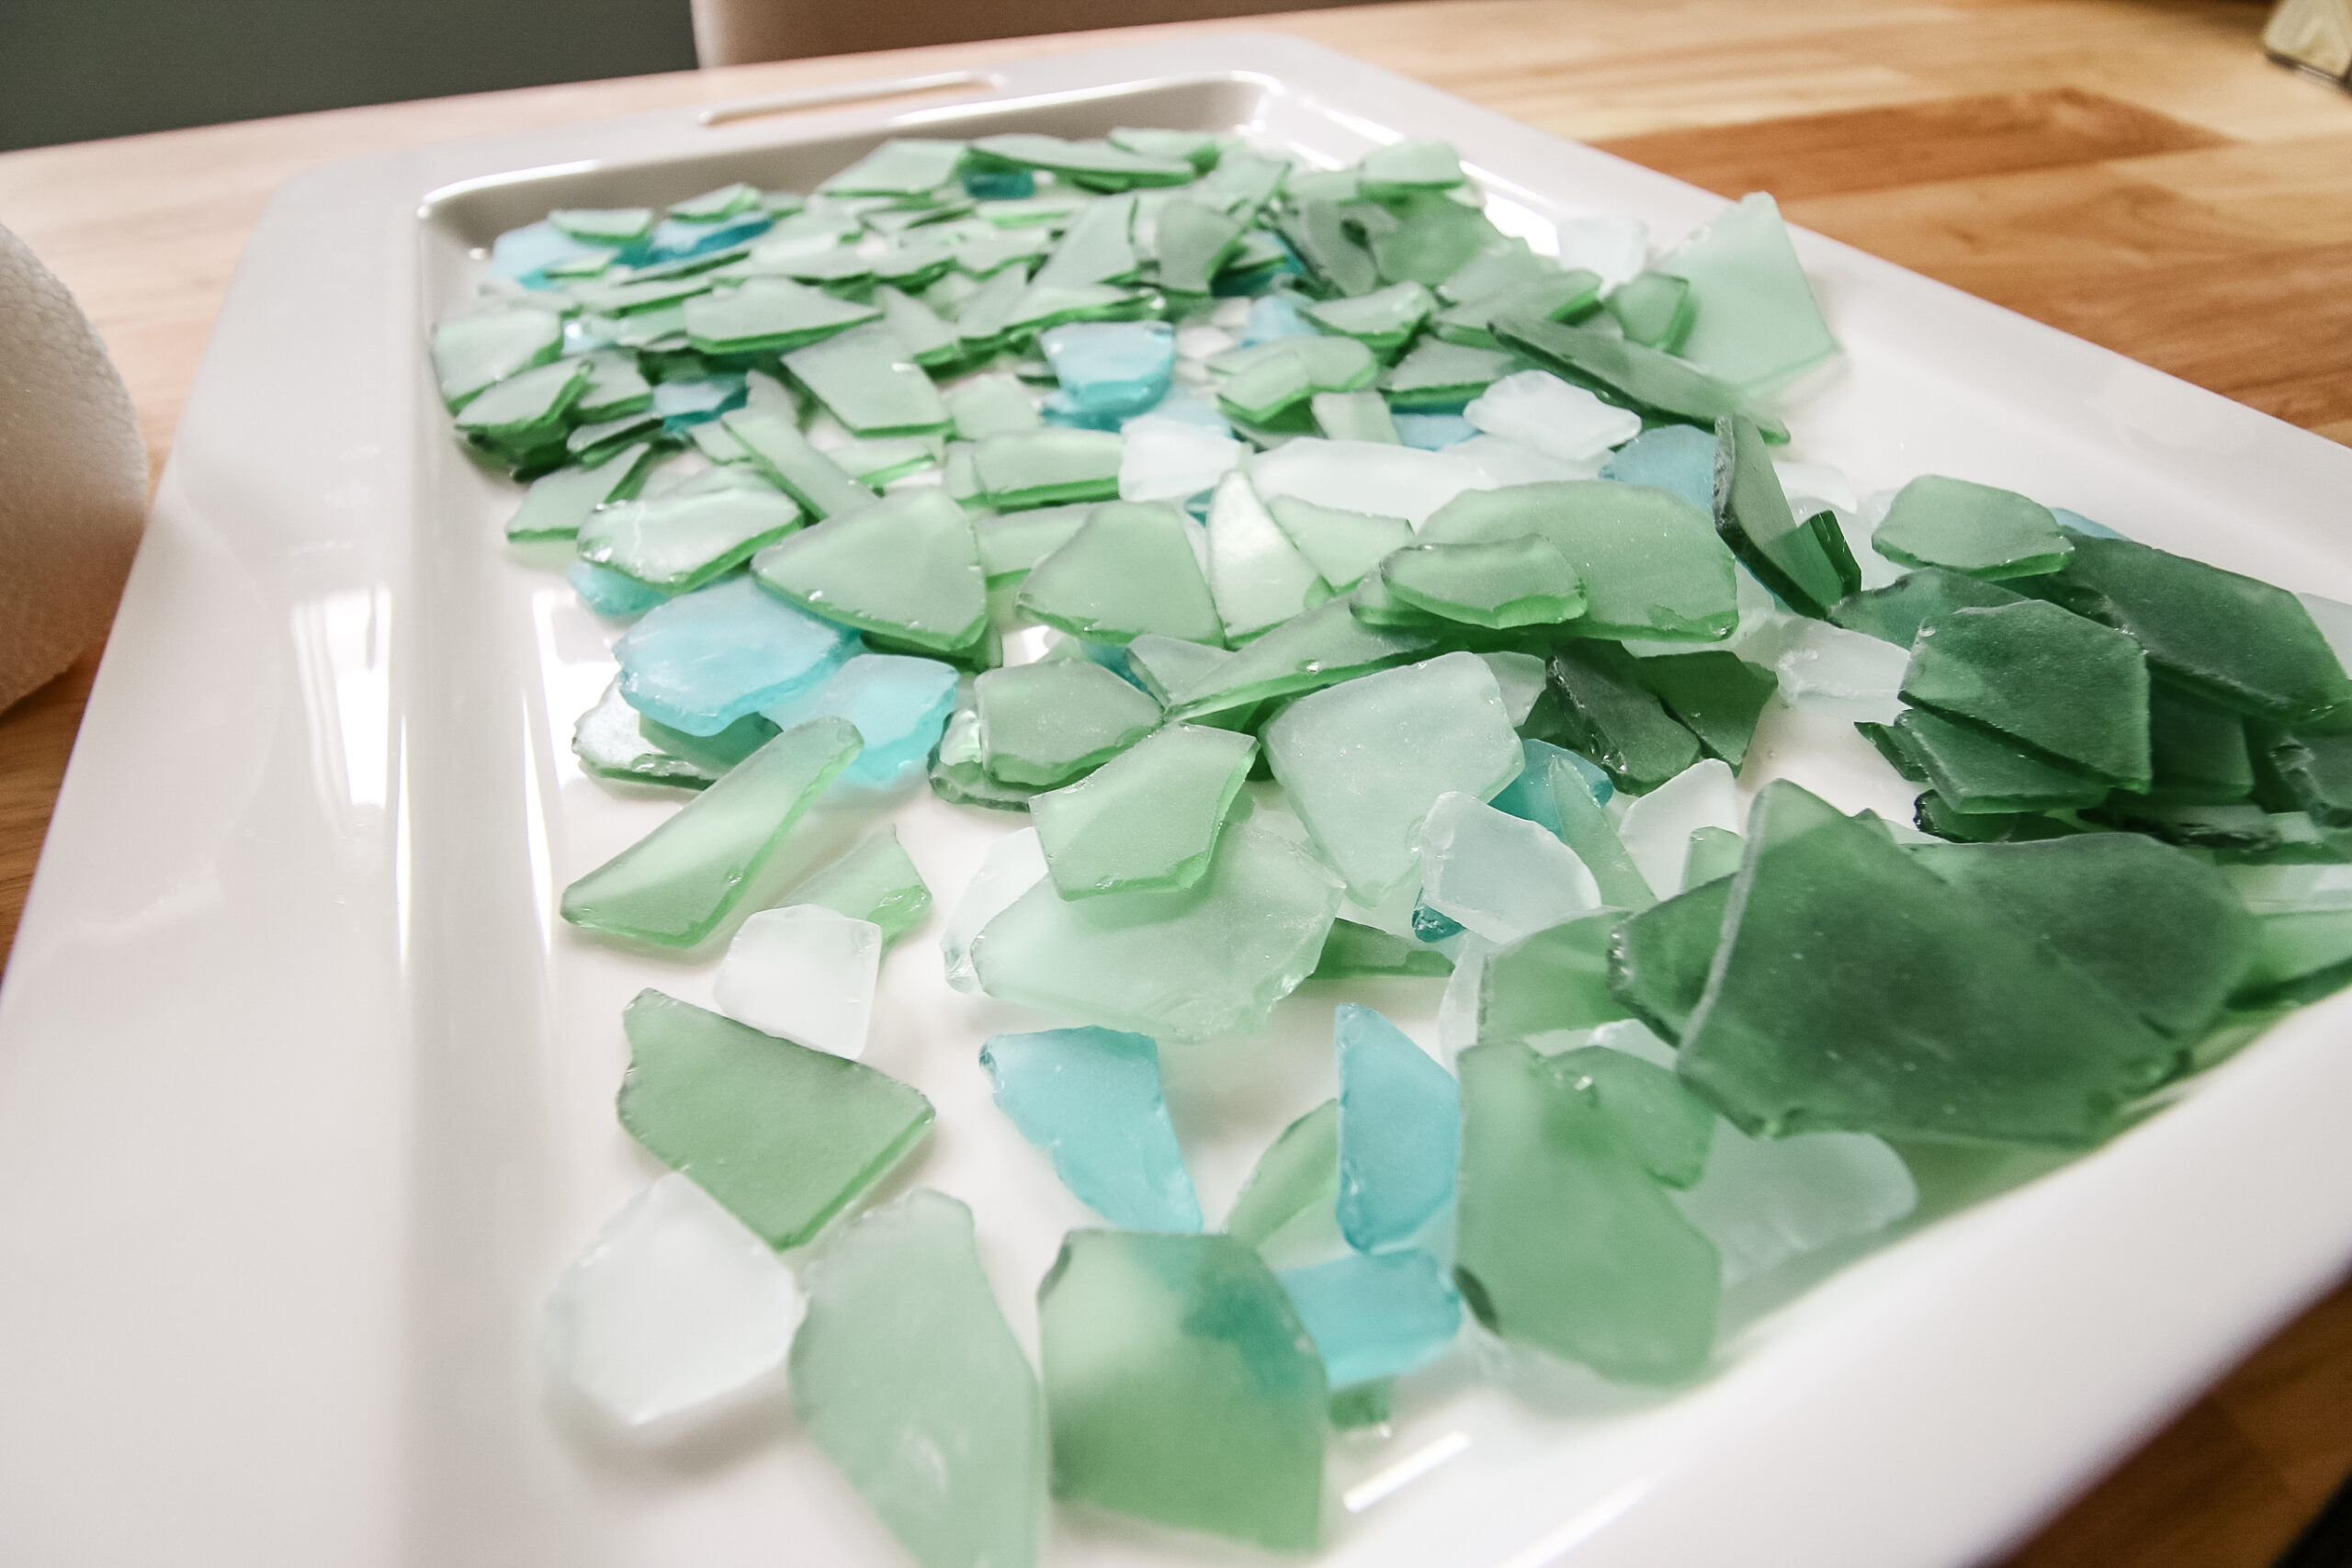
- assorted sea glass - I used about ⅔ of 2 of these packs to make one 9" tree
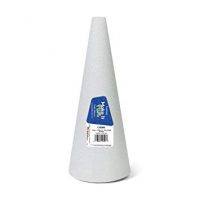
- foam or cardboard cones
- Optional: paint + paint brush
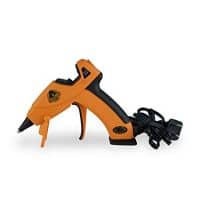
- hot glue + glue gun
- starfish for topper
What is the best glue to use with sea glass?
Hot glue is a great option to use when gluing glass to a vertical surface. Hot glue dries quickly, while other slower drying glues will make it more likely that glass slides down the surface before the glue dries.
If you are not gluing glass onto a vertical surface, super glue is a great option - just be sure it is a clear-drying variety!
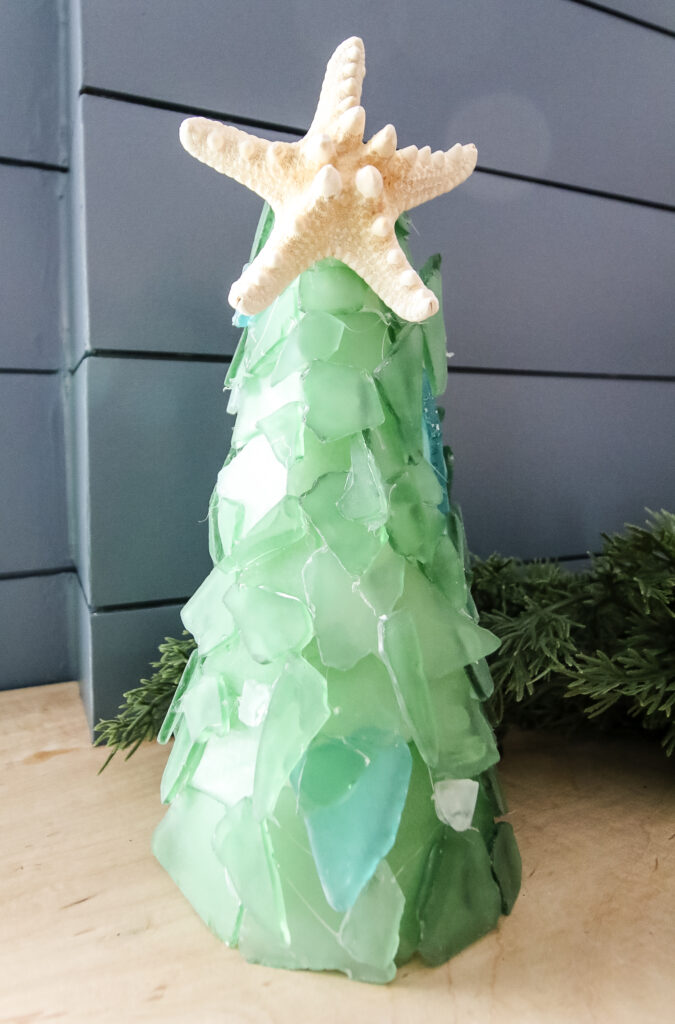
Steps to make a sea glass tabletop tree
Here's how easy it is to make your own sea glass tree.
Step 1: Prepare your cone
Remove any wrapping or sticker from cone. At this point, you might want to choose to paint your cone. You could paint it a green to blend in with the glass or white if it is a dark color.
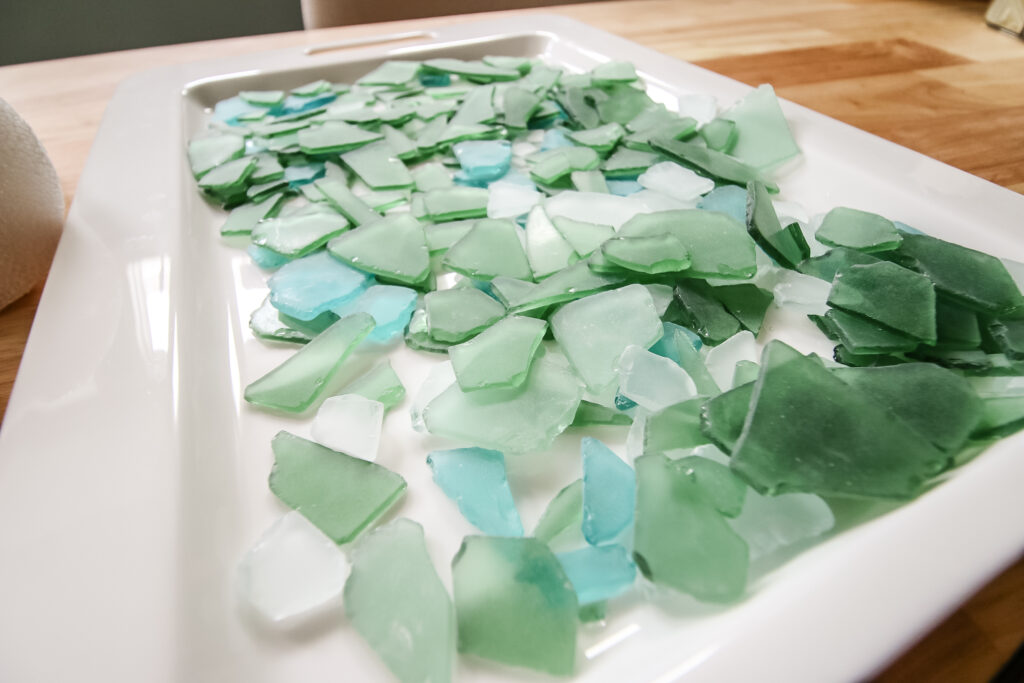
Step 2: Sort your glass
Sort your sea glass by size, roughly. You will generally want to use larger pieces at the bottom of the tree and smaller as you move up. Very small pieces can be used in step 4 to fill in gaps.
Step 3: Start at the bottom
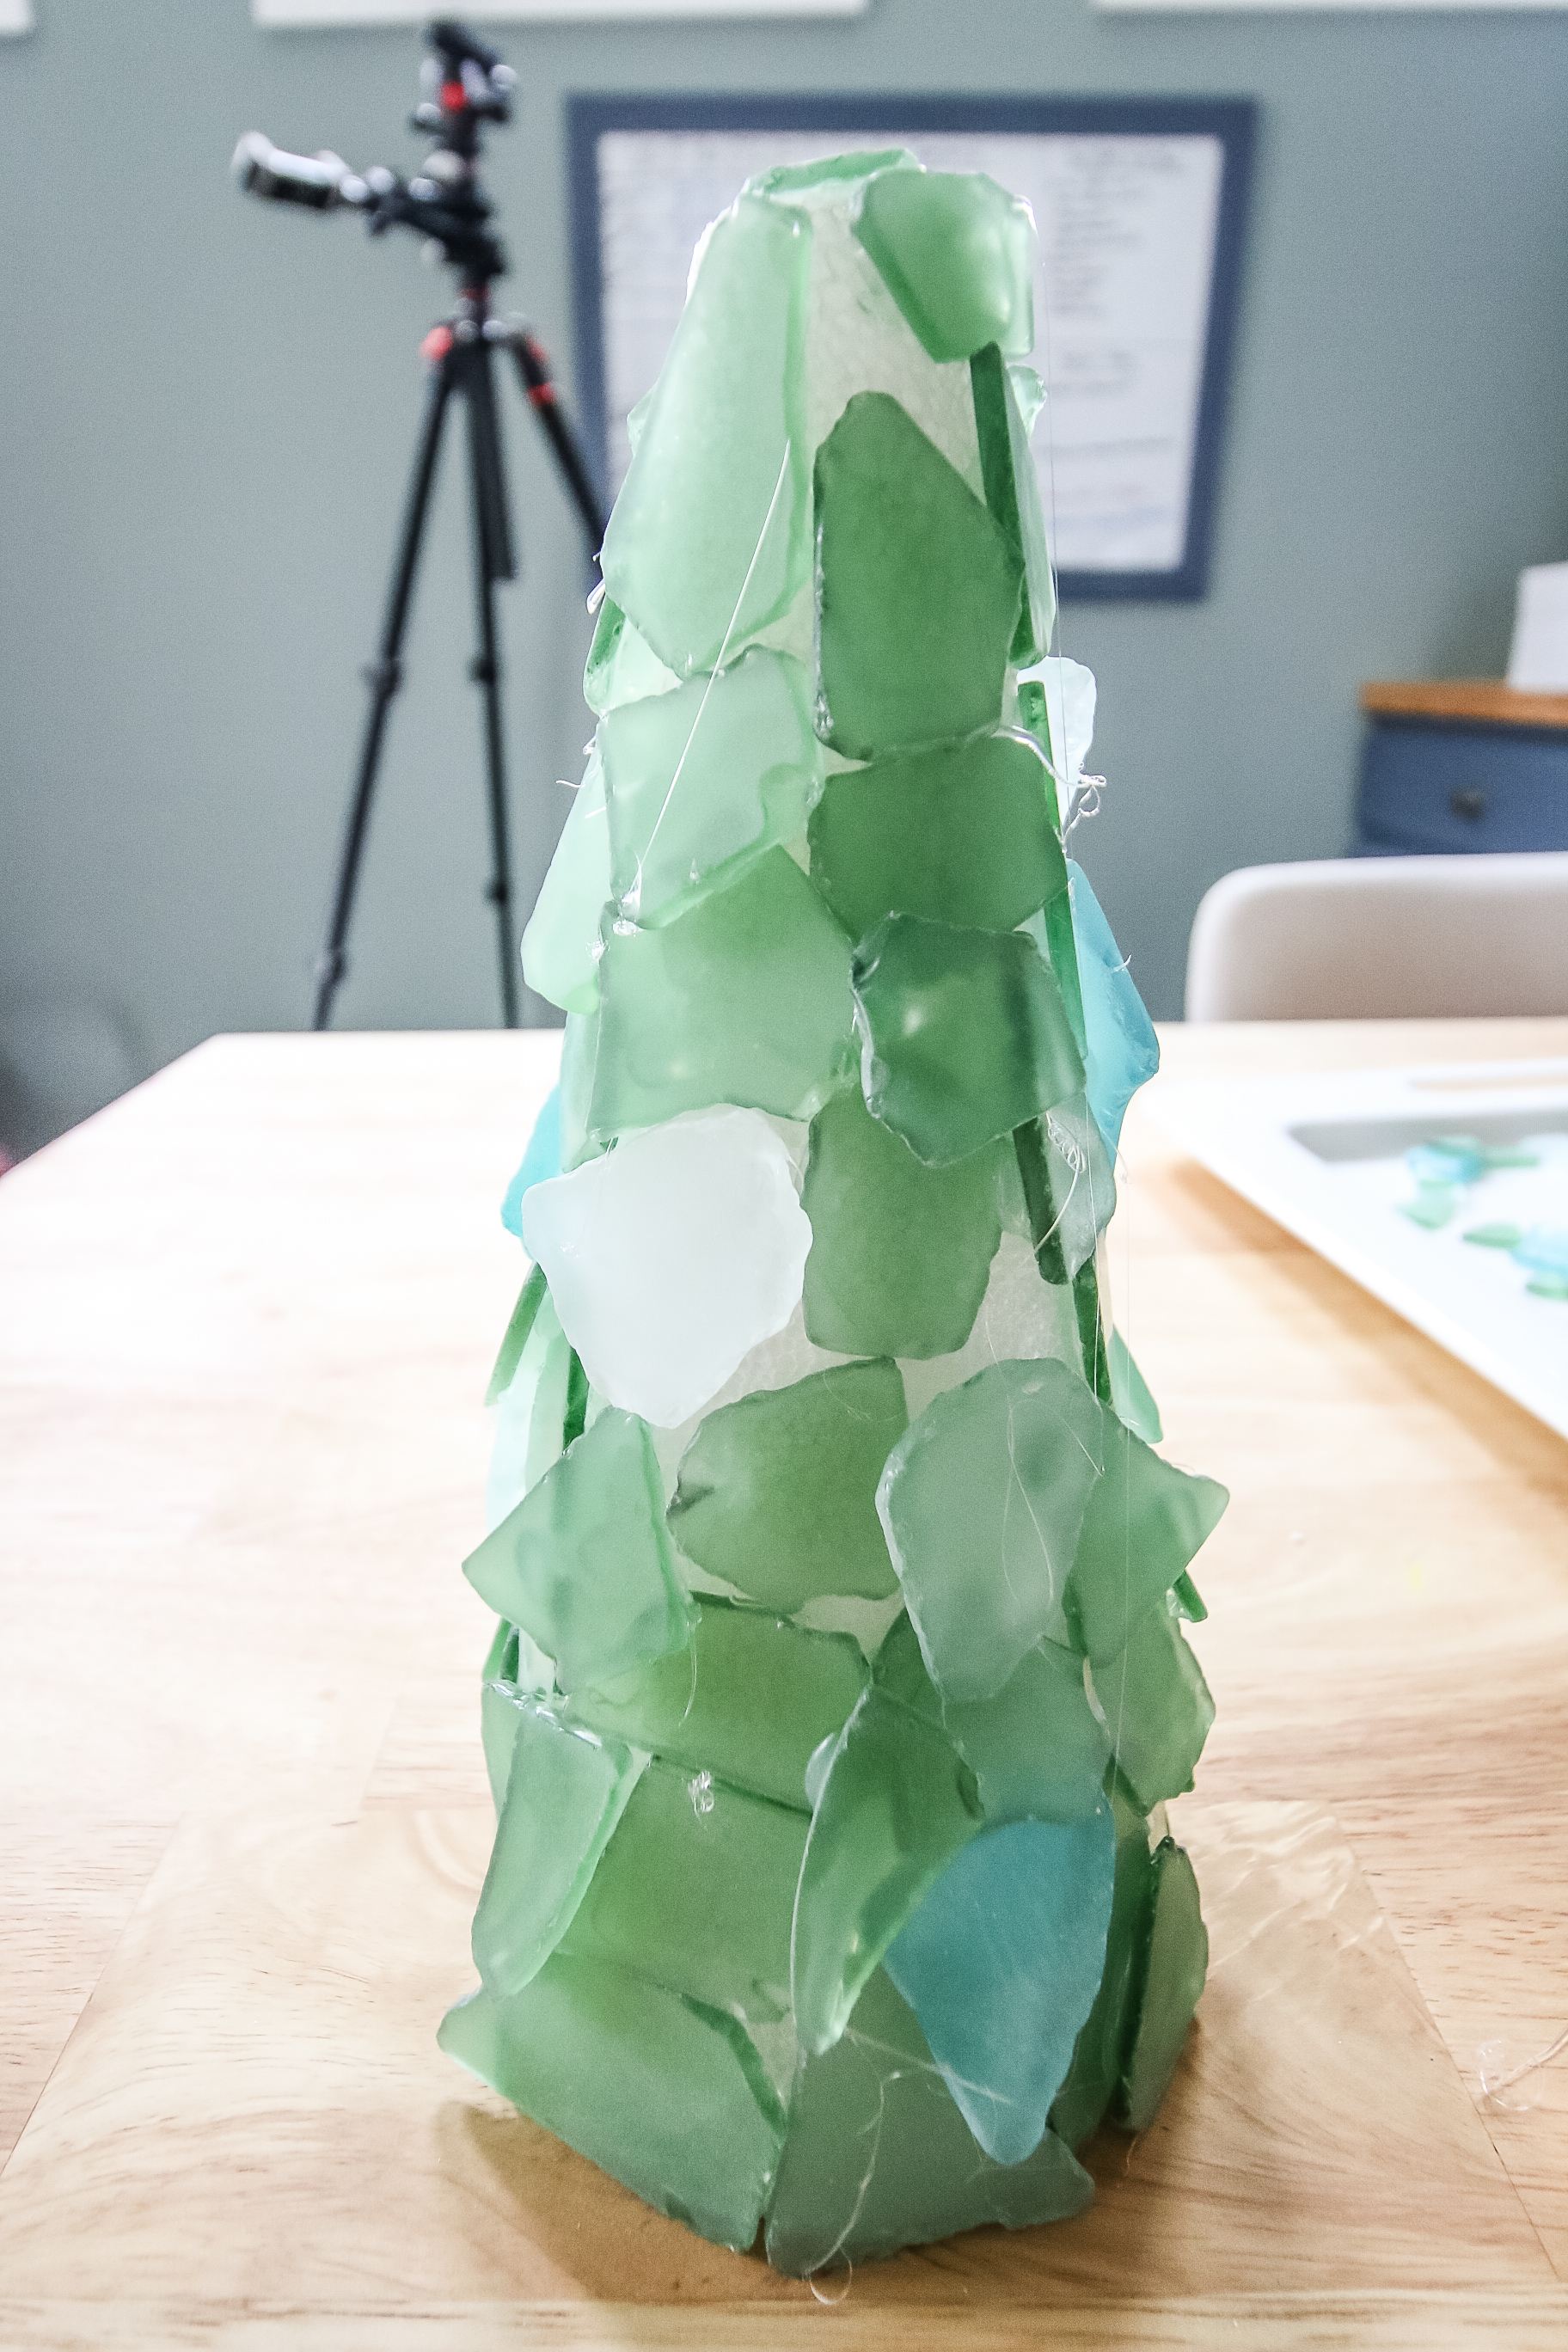
Start at the bottom of your cone, closest to where it sits on the tabletop. Apply hot glue to the back of each piece of glass and press it into place.
It's a bit of a puzzle to work your way around and fill in as best you can.
Spiral your way upwards until you have covered the whole cone.

Step 4: Fill in the gaps
Now, go back with smaller pieces of glass and hot glue them in place to cover any cracks or gaps.
Step 5: Add your topper
Use hot glue to attach a starfish to the upper front surface of the tree. Hold in place firmly until the glue is dry.
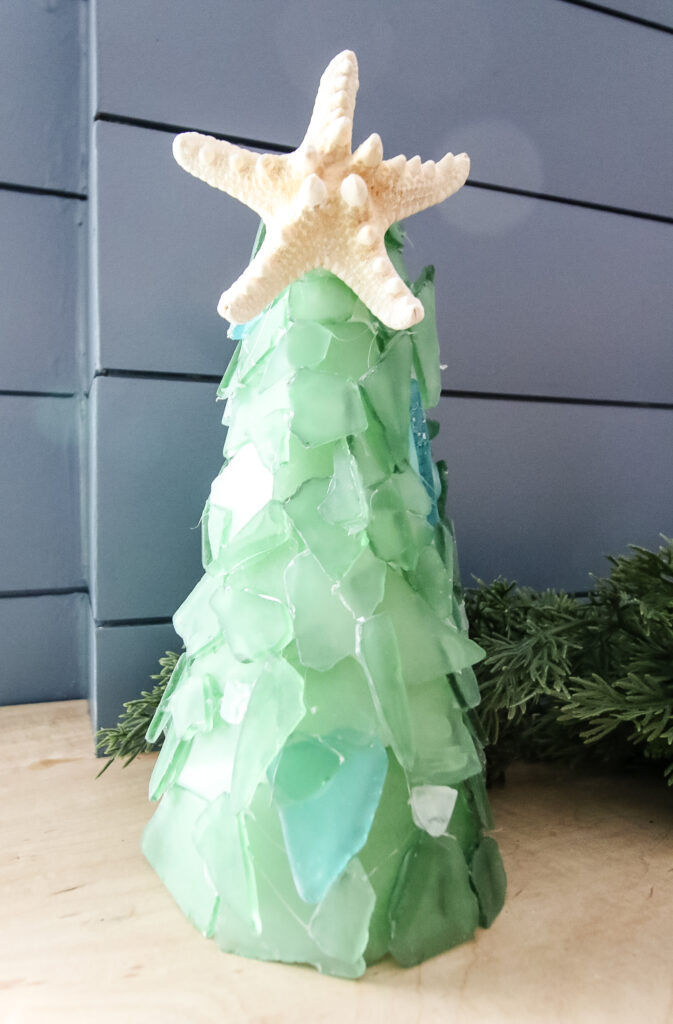
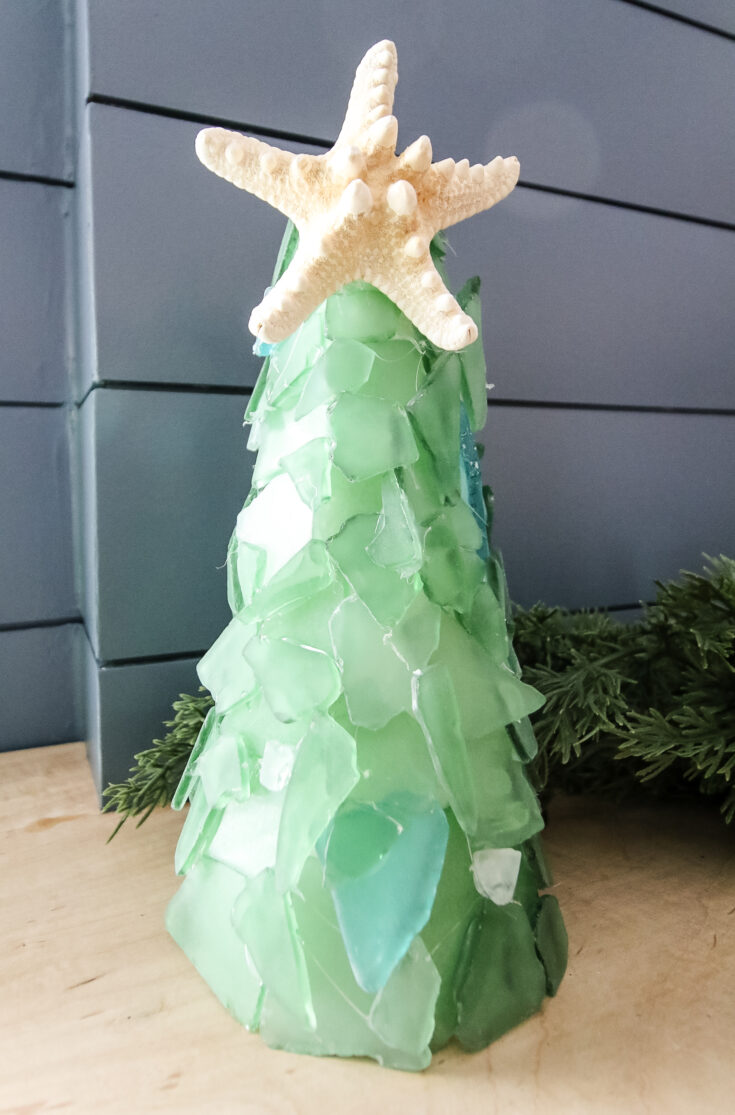
I love how these trees turned out! I am loving the beachy look and it's such a fun Christmas craft to do, too!
How to make a DIY sea glass Christmas tree
Here's how easy it is to make a sea glass tabletop Christmas tree!
Materials
- Sea glass
- Foam or cardboard cone
- Starfish
Tools
- Hot glue
Instructions
- Paint your cone white or green to match your glass.
- Sort your glass into smaller and larger pieces.
- Start at the bottom of the cone. Apply hot glue to the back of each piece of glass and press into place. Start with larger pieces and move to smaller pieces as you move up the cone.
- Work your way up the cone and cover the whole tree.
- Go back with smaller pieces and hot glue them in place to cover cracks or gaps.
- Apply glue to the back of the starfish and press it into the front upper side of the cone. Hold in place until dry.
Recommended Products
As an Amazon Associate and member of other affiliate programs, I earn from qualifying purchases.
Other DIY Christmas tree shaped decor ideas
Don't miss some of our other tree-shaped DIY Christmas decor ideas to keep you busy this holiday season!
- DIY wooden tabletop Christmas trees
- DIY outdoor slatted Christmas tree
- DIY dowel Christmas tree
- Boho wall hanging Christmas tree
- DIY Christmas tree poinsettia stand
- DIY Christmas tree shaped card holder
Looking for something?
We've been doing this since 2012 so we have a LOT of blog posts!
Search stuff like: Ceiling Projects | DIY Plant Stands | Thrift Flips


Hello, I'm Morgan, half of the creative force behind CharlestonCrafted.com! With a passion for DIY that dates back to 2012, I've transformed three homes and now I'm dedicated to helping others craft their dream spaces. Let's turn your house into a home together!


