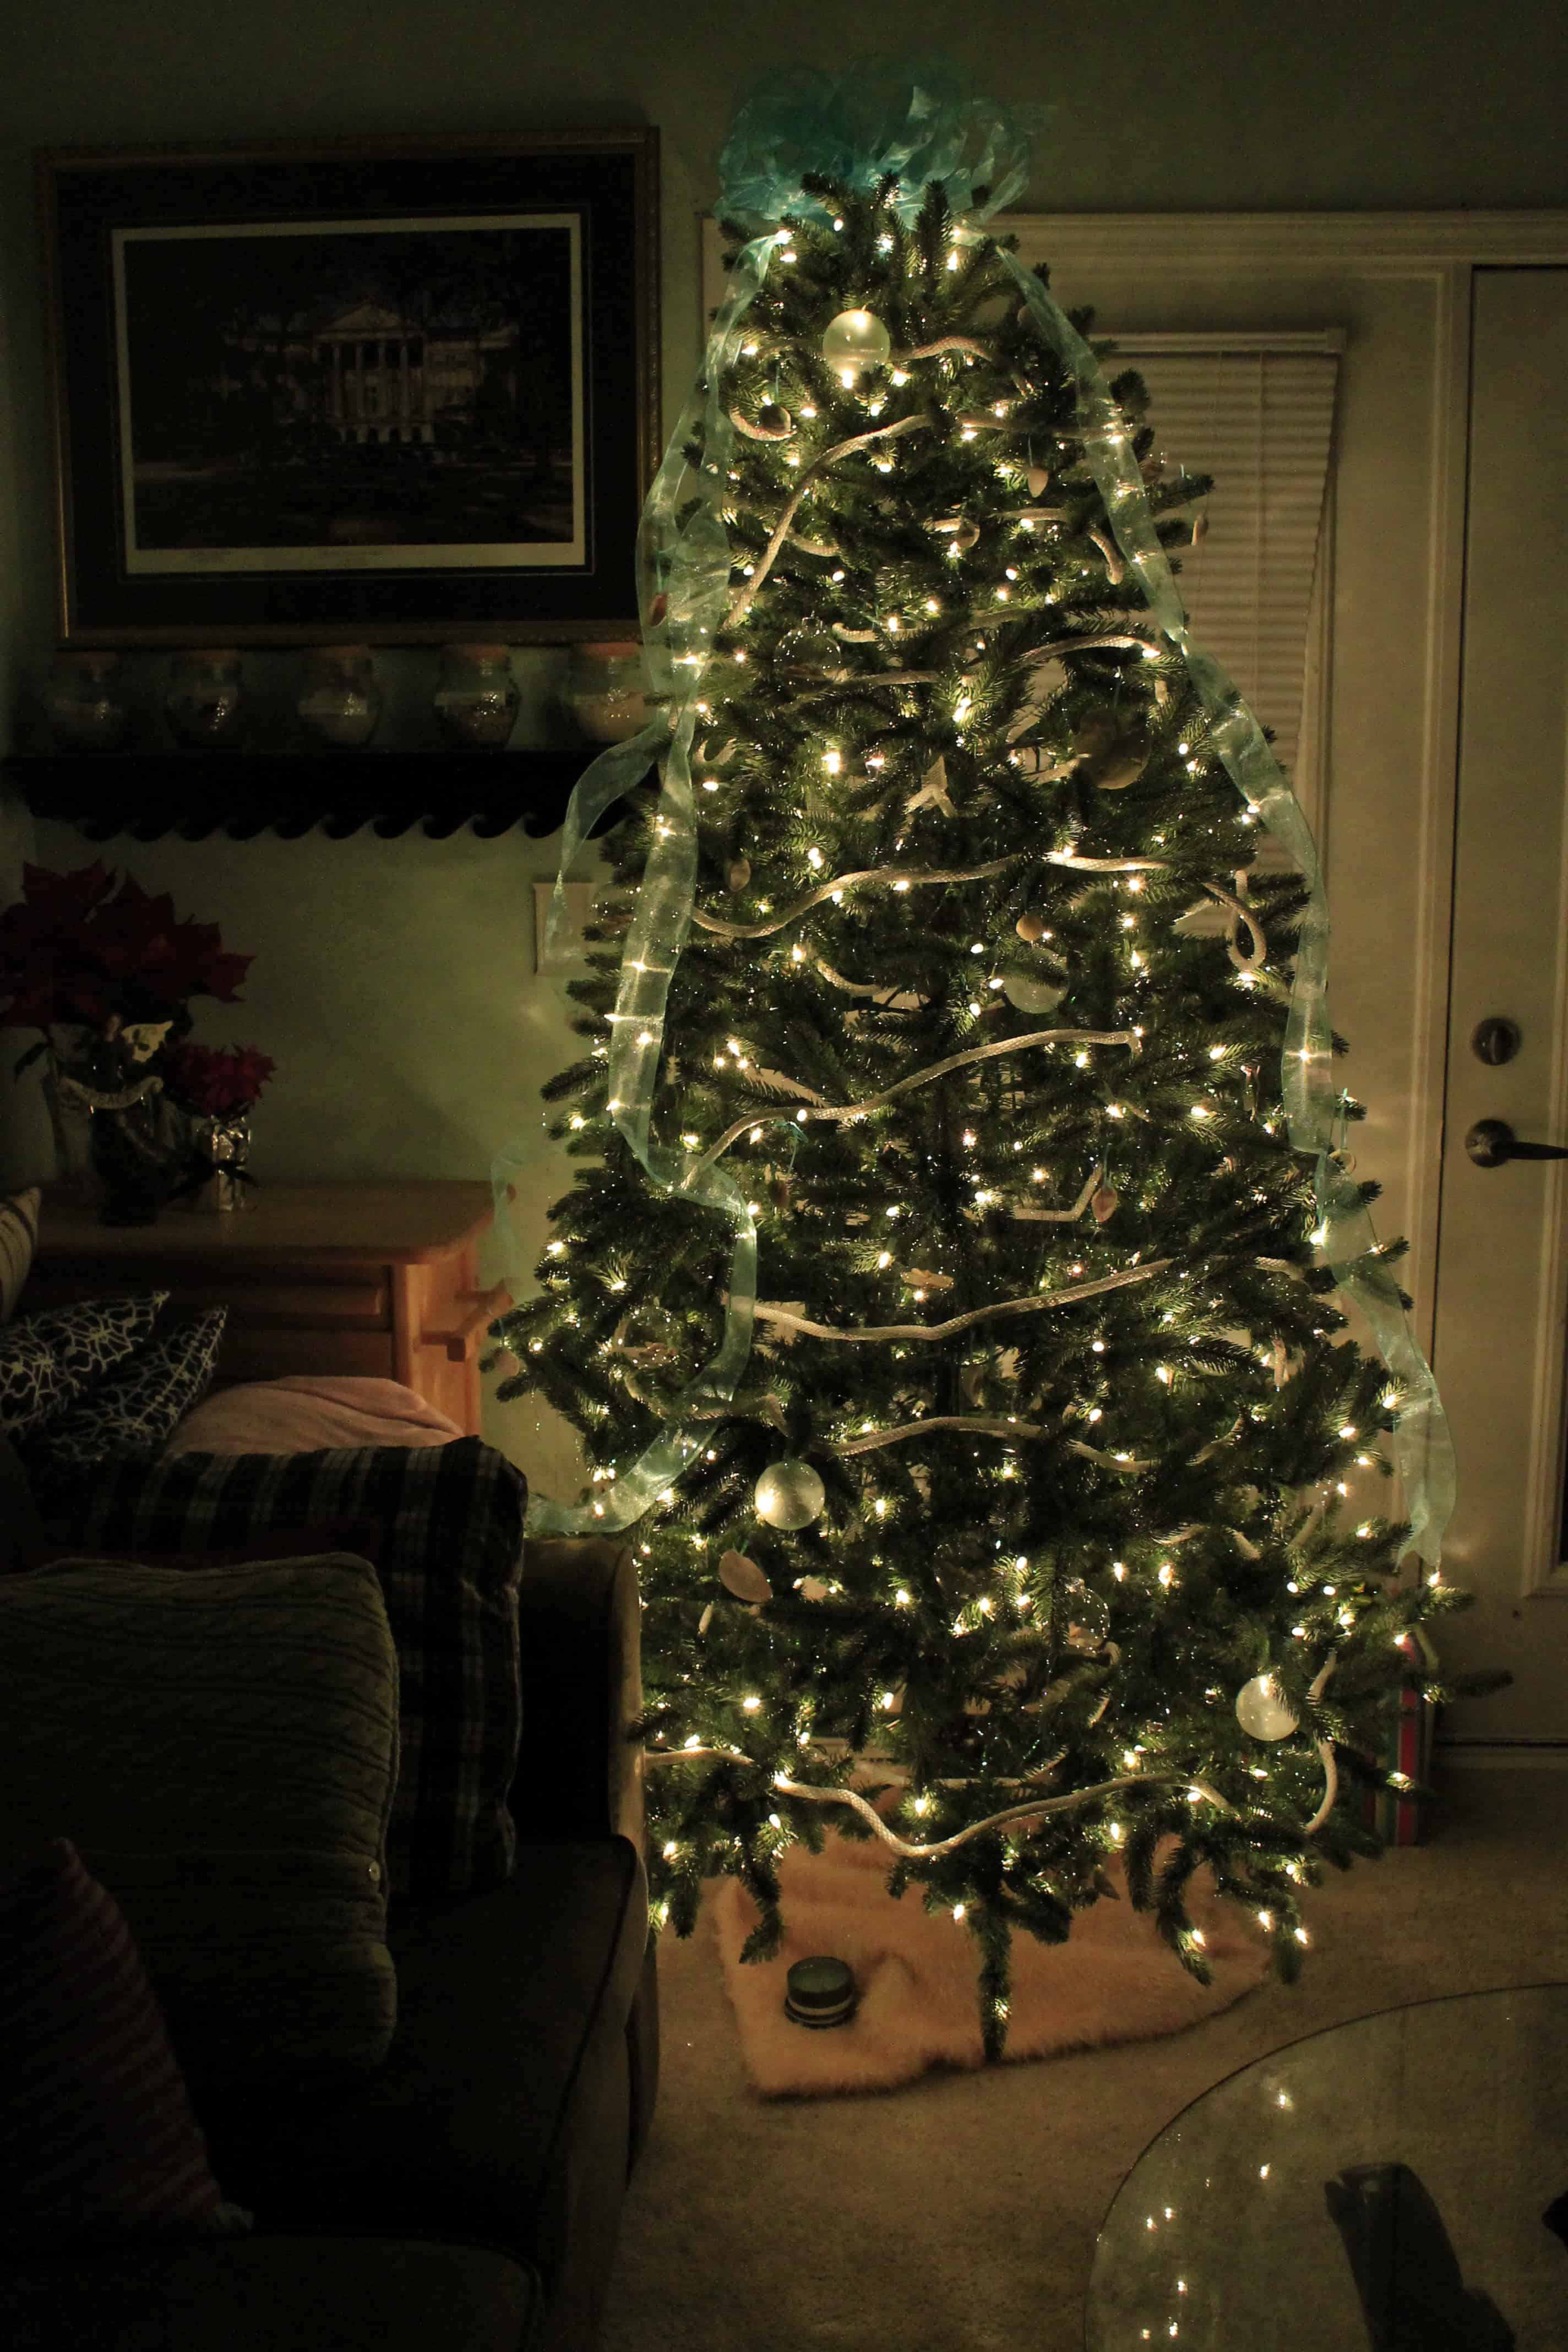
I love a coastal Christmas themed tree, and it is truly made by these DIY sea glass ornaments.
We first introduced you to these ornaments when we originally made them for our 2013 Christmas tree.
However, I recently realized that we never shared a tutorial for how to make them.
So, today I am here sharing that tutorial with you.
Here are a TON of ideas for DIY ornaments you can make and sell!
Looking for other coastal Christmas decor ideas? We have years and years worth!
We often pair these faux sea glass ornaments with a rope garland, sea shell ornaments, and sand ball ornaments.
Pretty much everything on our tree is a DIY because I just love crafting!
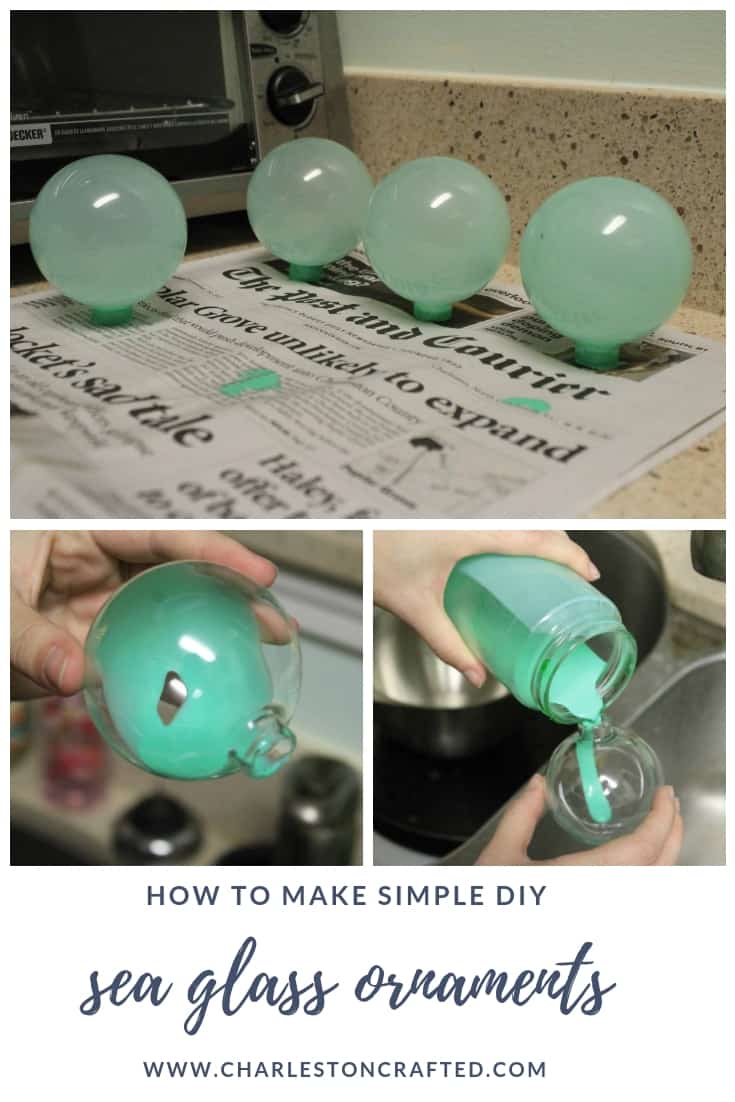
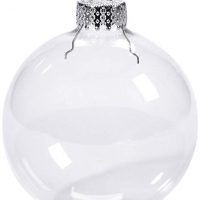
These sea glass ornaments are a really simple craft. The base is a clear fillable ornament ball.
You can get these in glass or plastic in any craft store around the holidays.
I recommend buying them in bulk because if you are making one of these ornaments, you might as well make a dozen!
The color on these ornaments is actually painted on the inside of the ornaments balls which keeps the paint from chipping or scratching over the years.
Ours are 5 years old and still look as good as new.
You could add any color dye to the ornaments. I went with a blue-green color to look like sea glass.
The more dye that you use, the darker that the color will come out.
You can alternatively also use acrylic paint in lieu of dye for a more pigmented look.
That will look less like colored sea glass and more like opaque painted glass.
Enjoy this simple tutorial and let me know if you try it yourself!
How to make DIY Sea Glass Ornaments
What you need to make sea glass ornaments:
- Clear ball ornaments
- A jar that you don't mind ruining (for mixing the dye) I used an old jelly jar
- Water
- Craft glue
- Food coloring or paint of choice
How to make DIY sea glass Christmas ornaments:
- Mix your dye first. In the jar, mix glue and water until you get the consistency of maple syrup. Add dye or paint until you achieve the desired color.
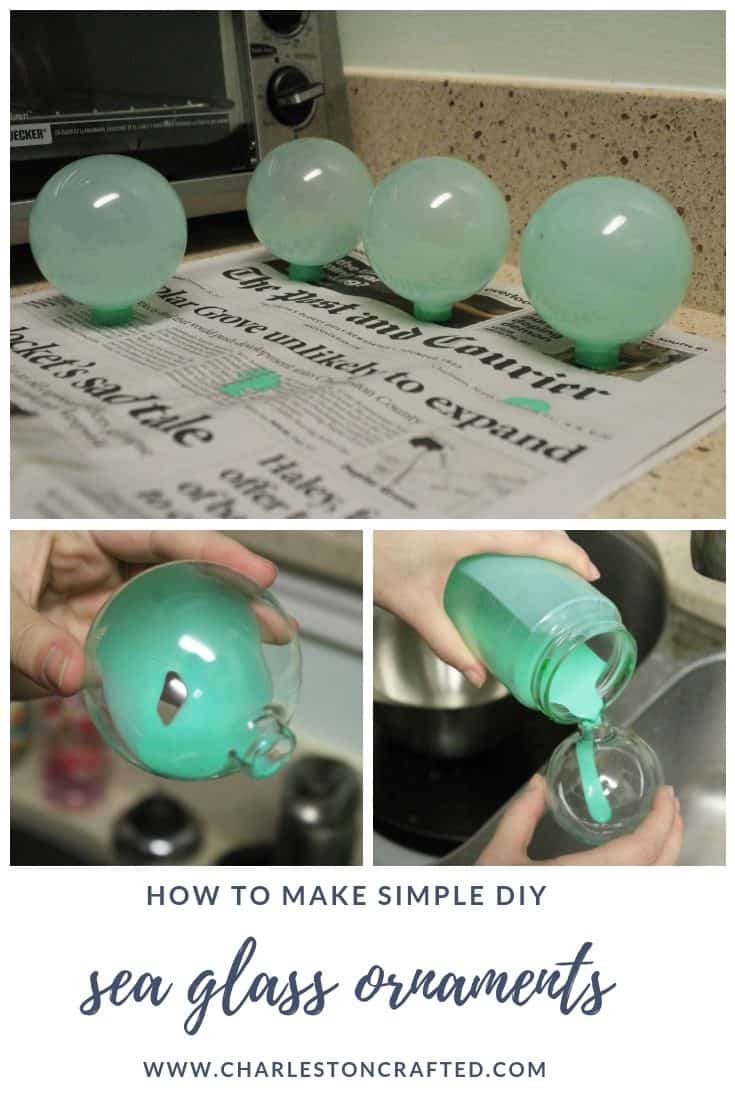
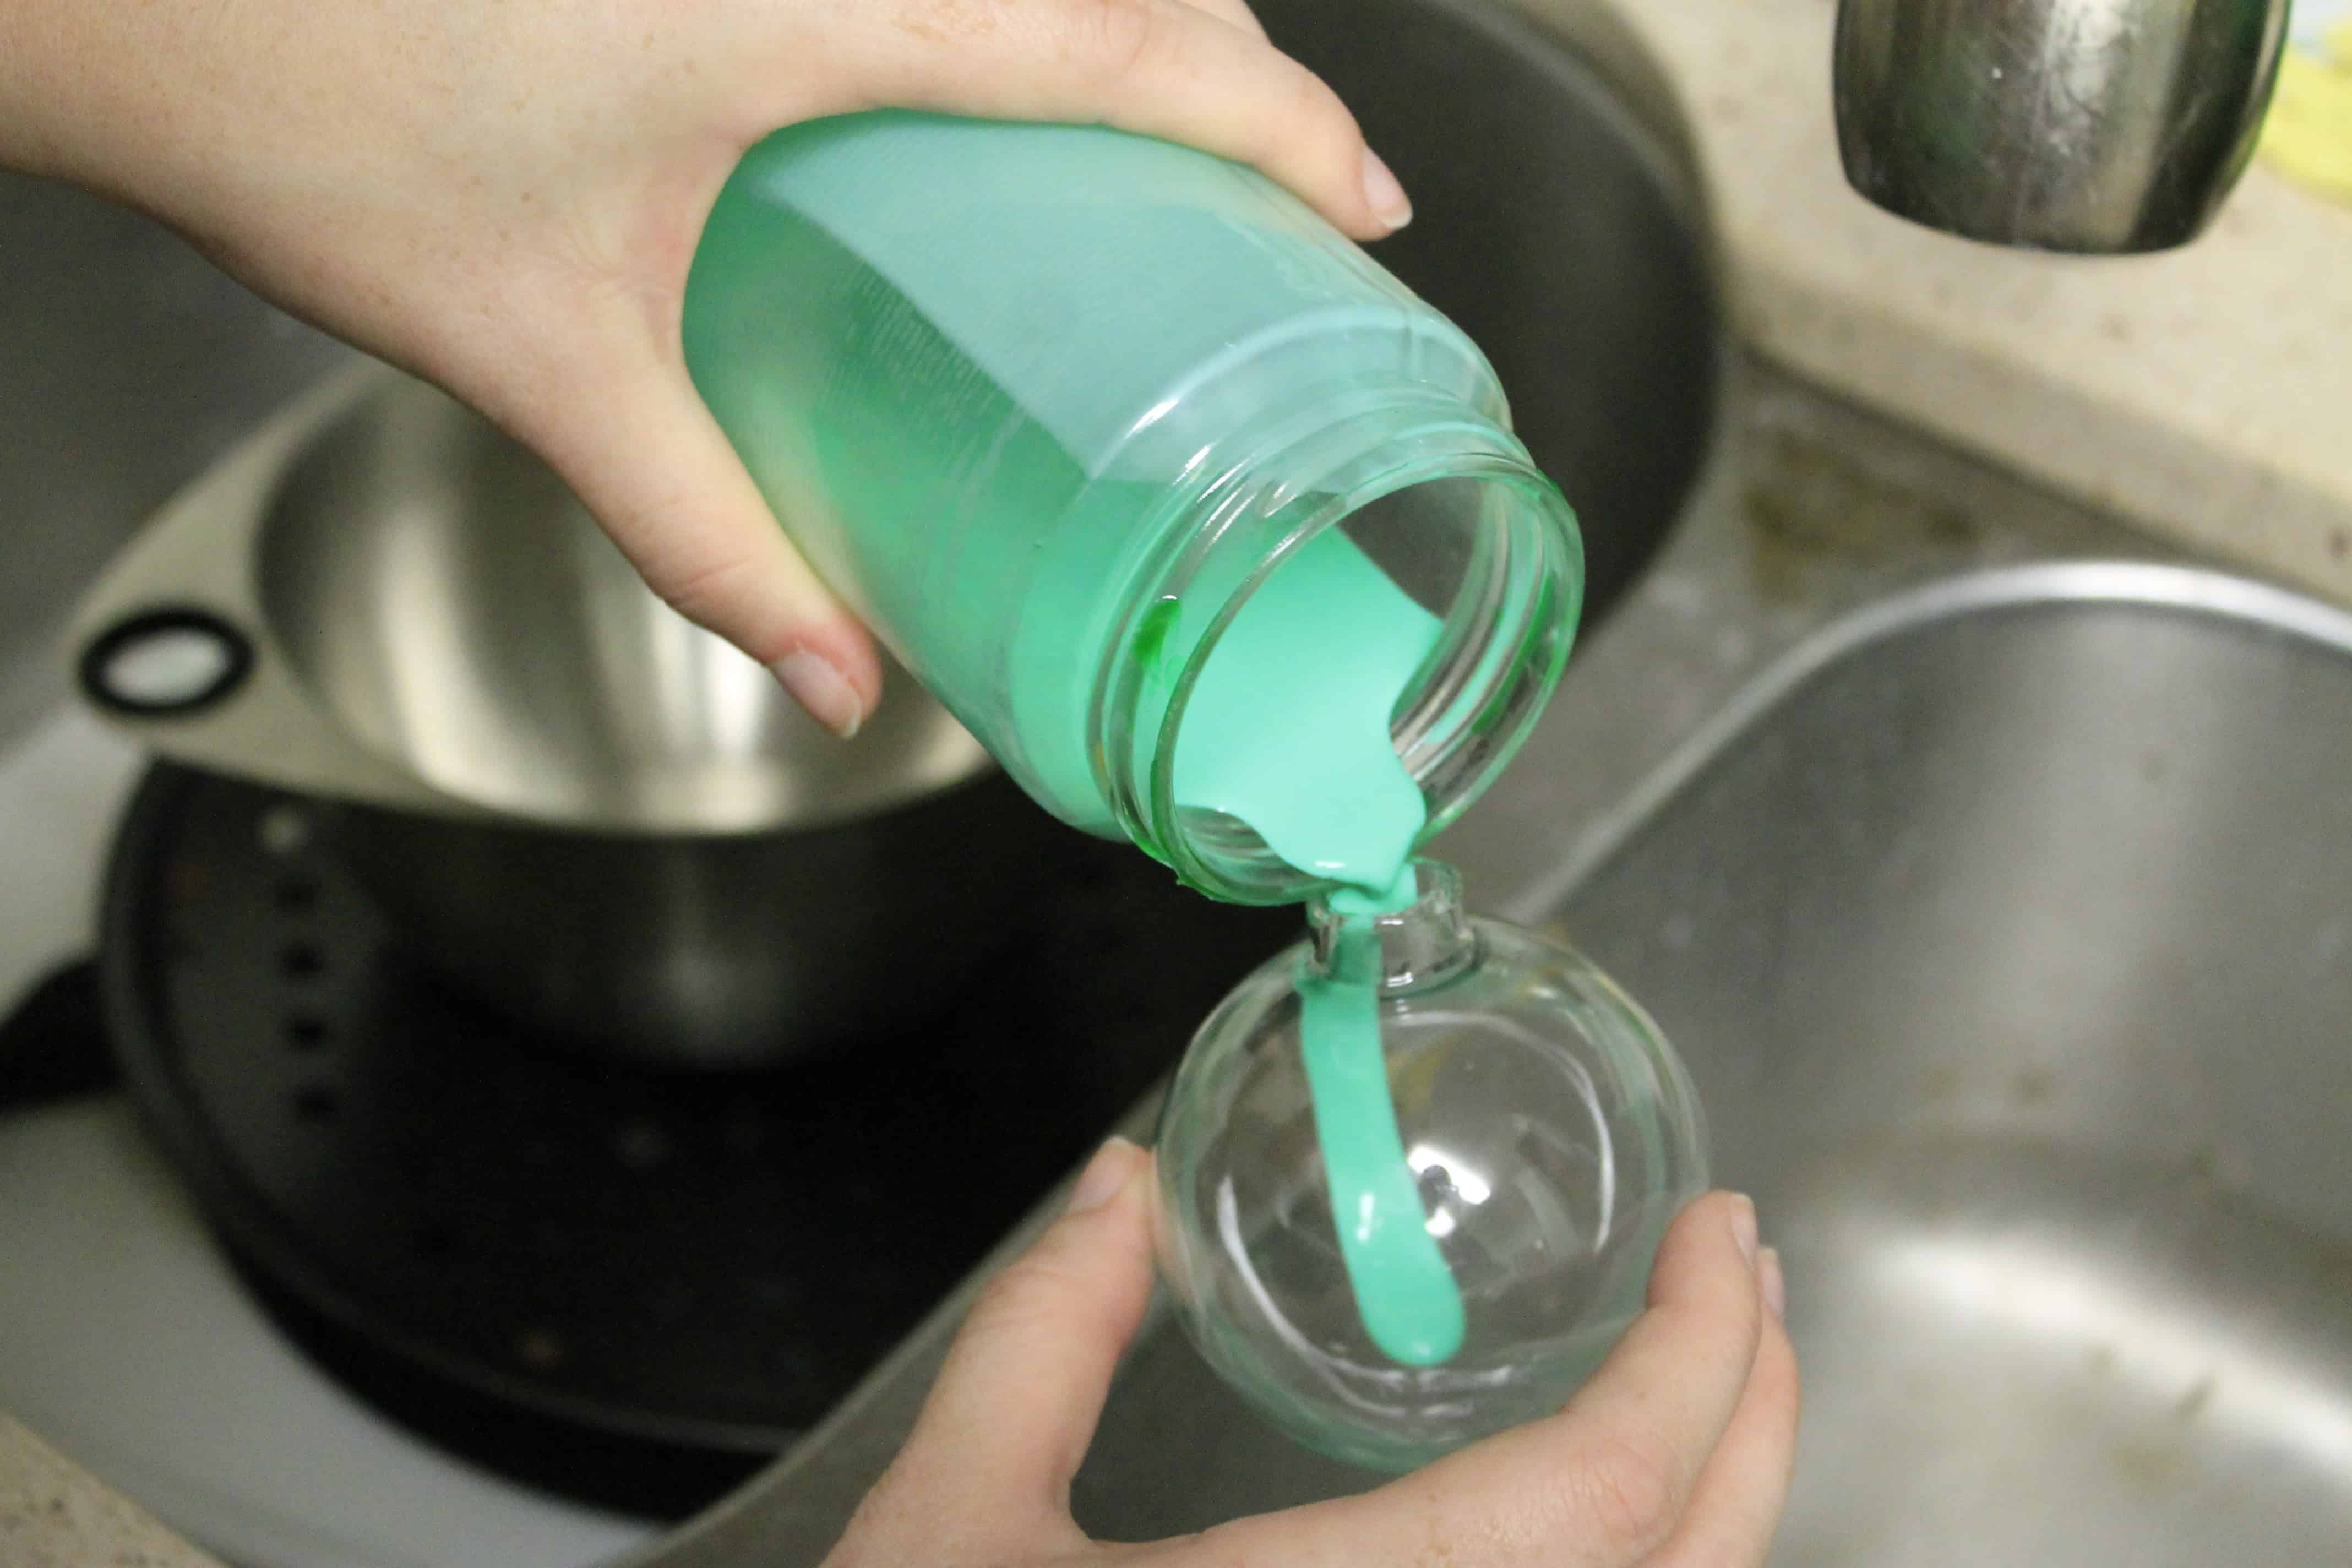
- Pour the dye mixture into the glass ornament. Pour more than you think that you need.
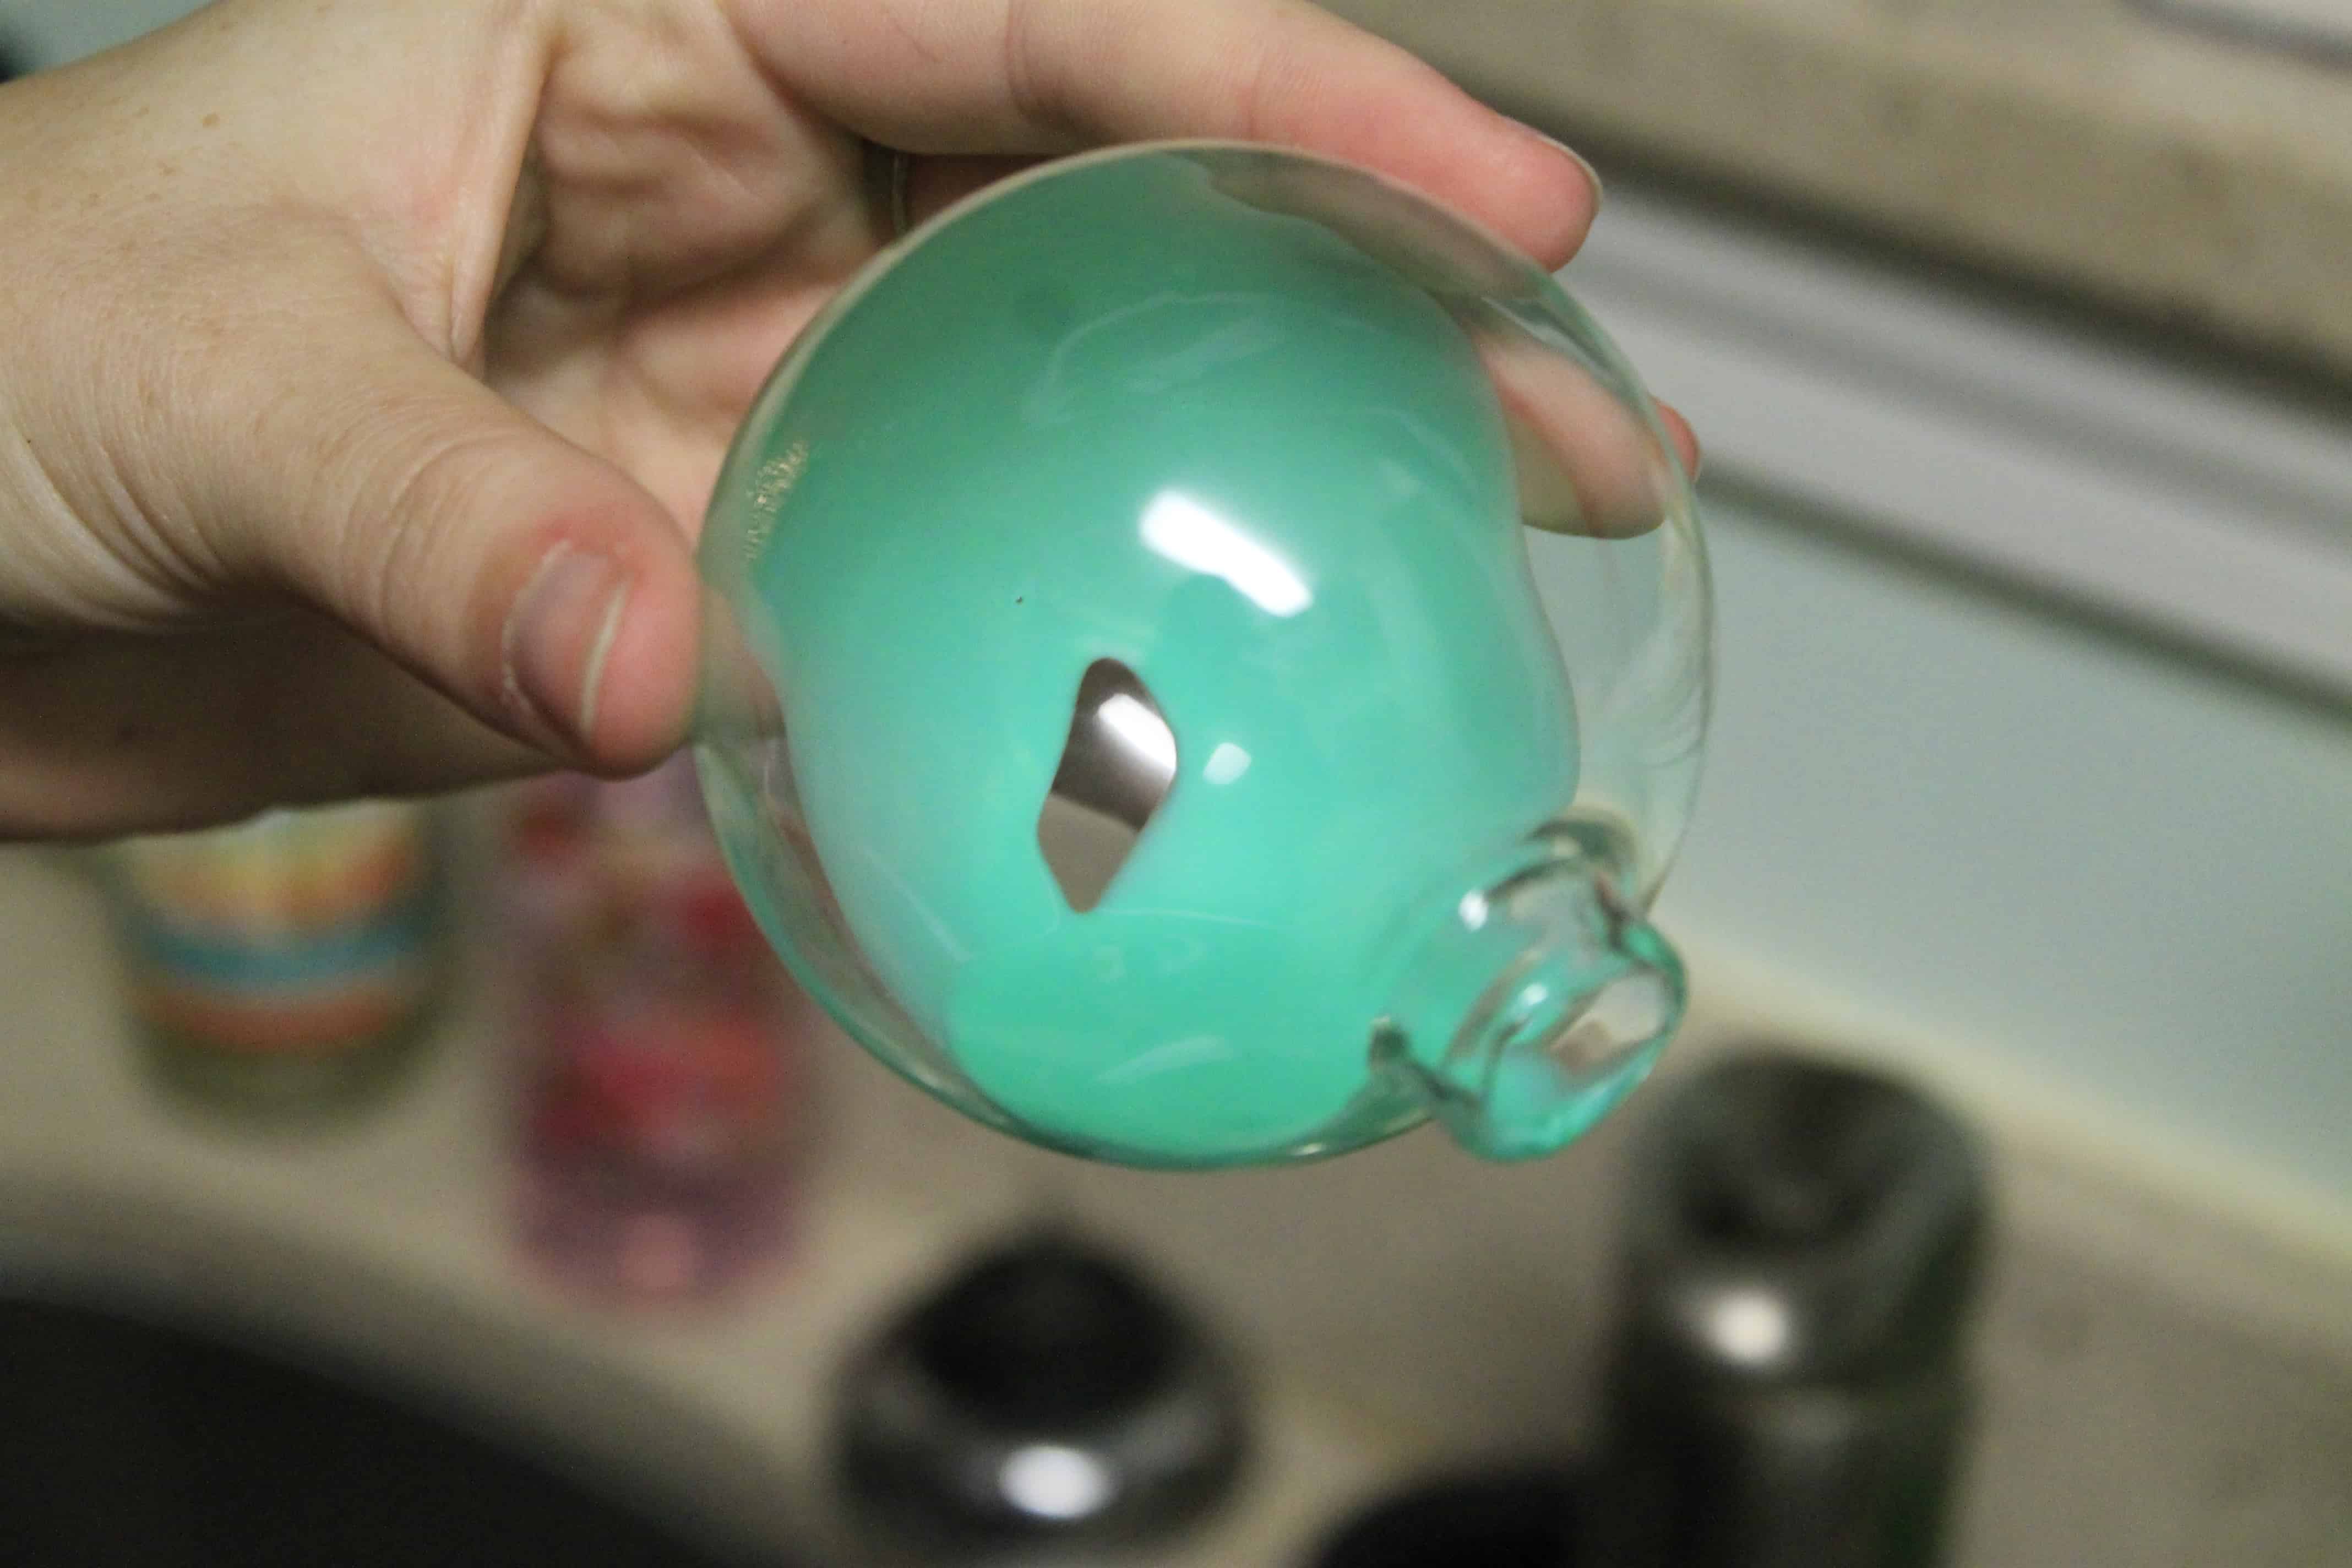
- Swirl the dye around until you get full coverage on the inside of the ornament.
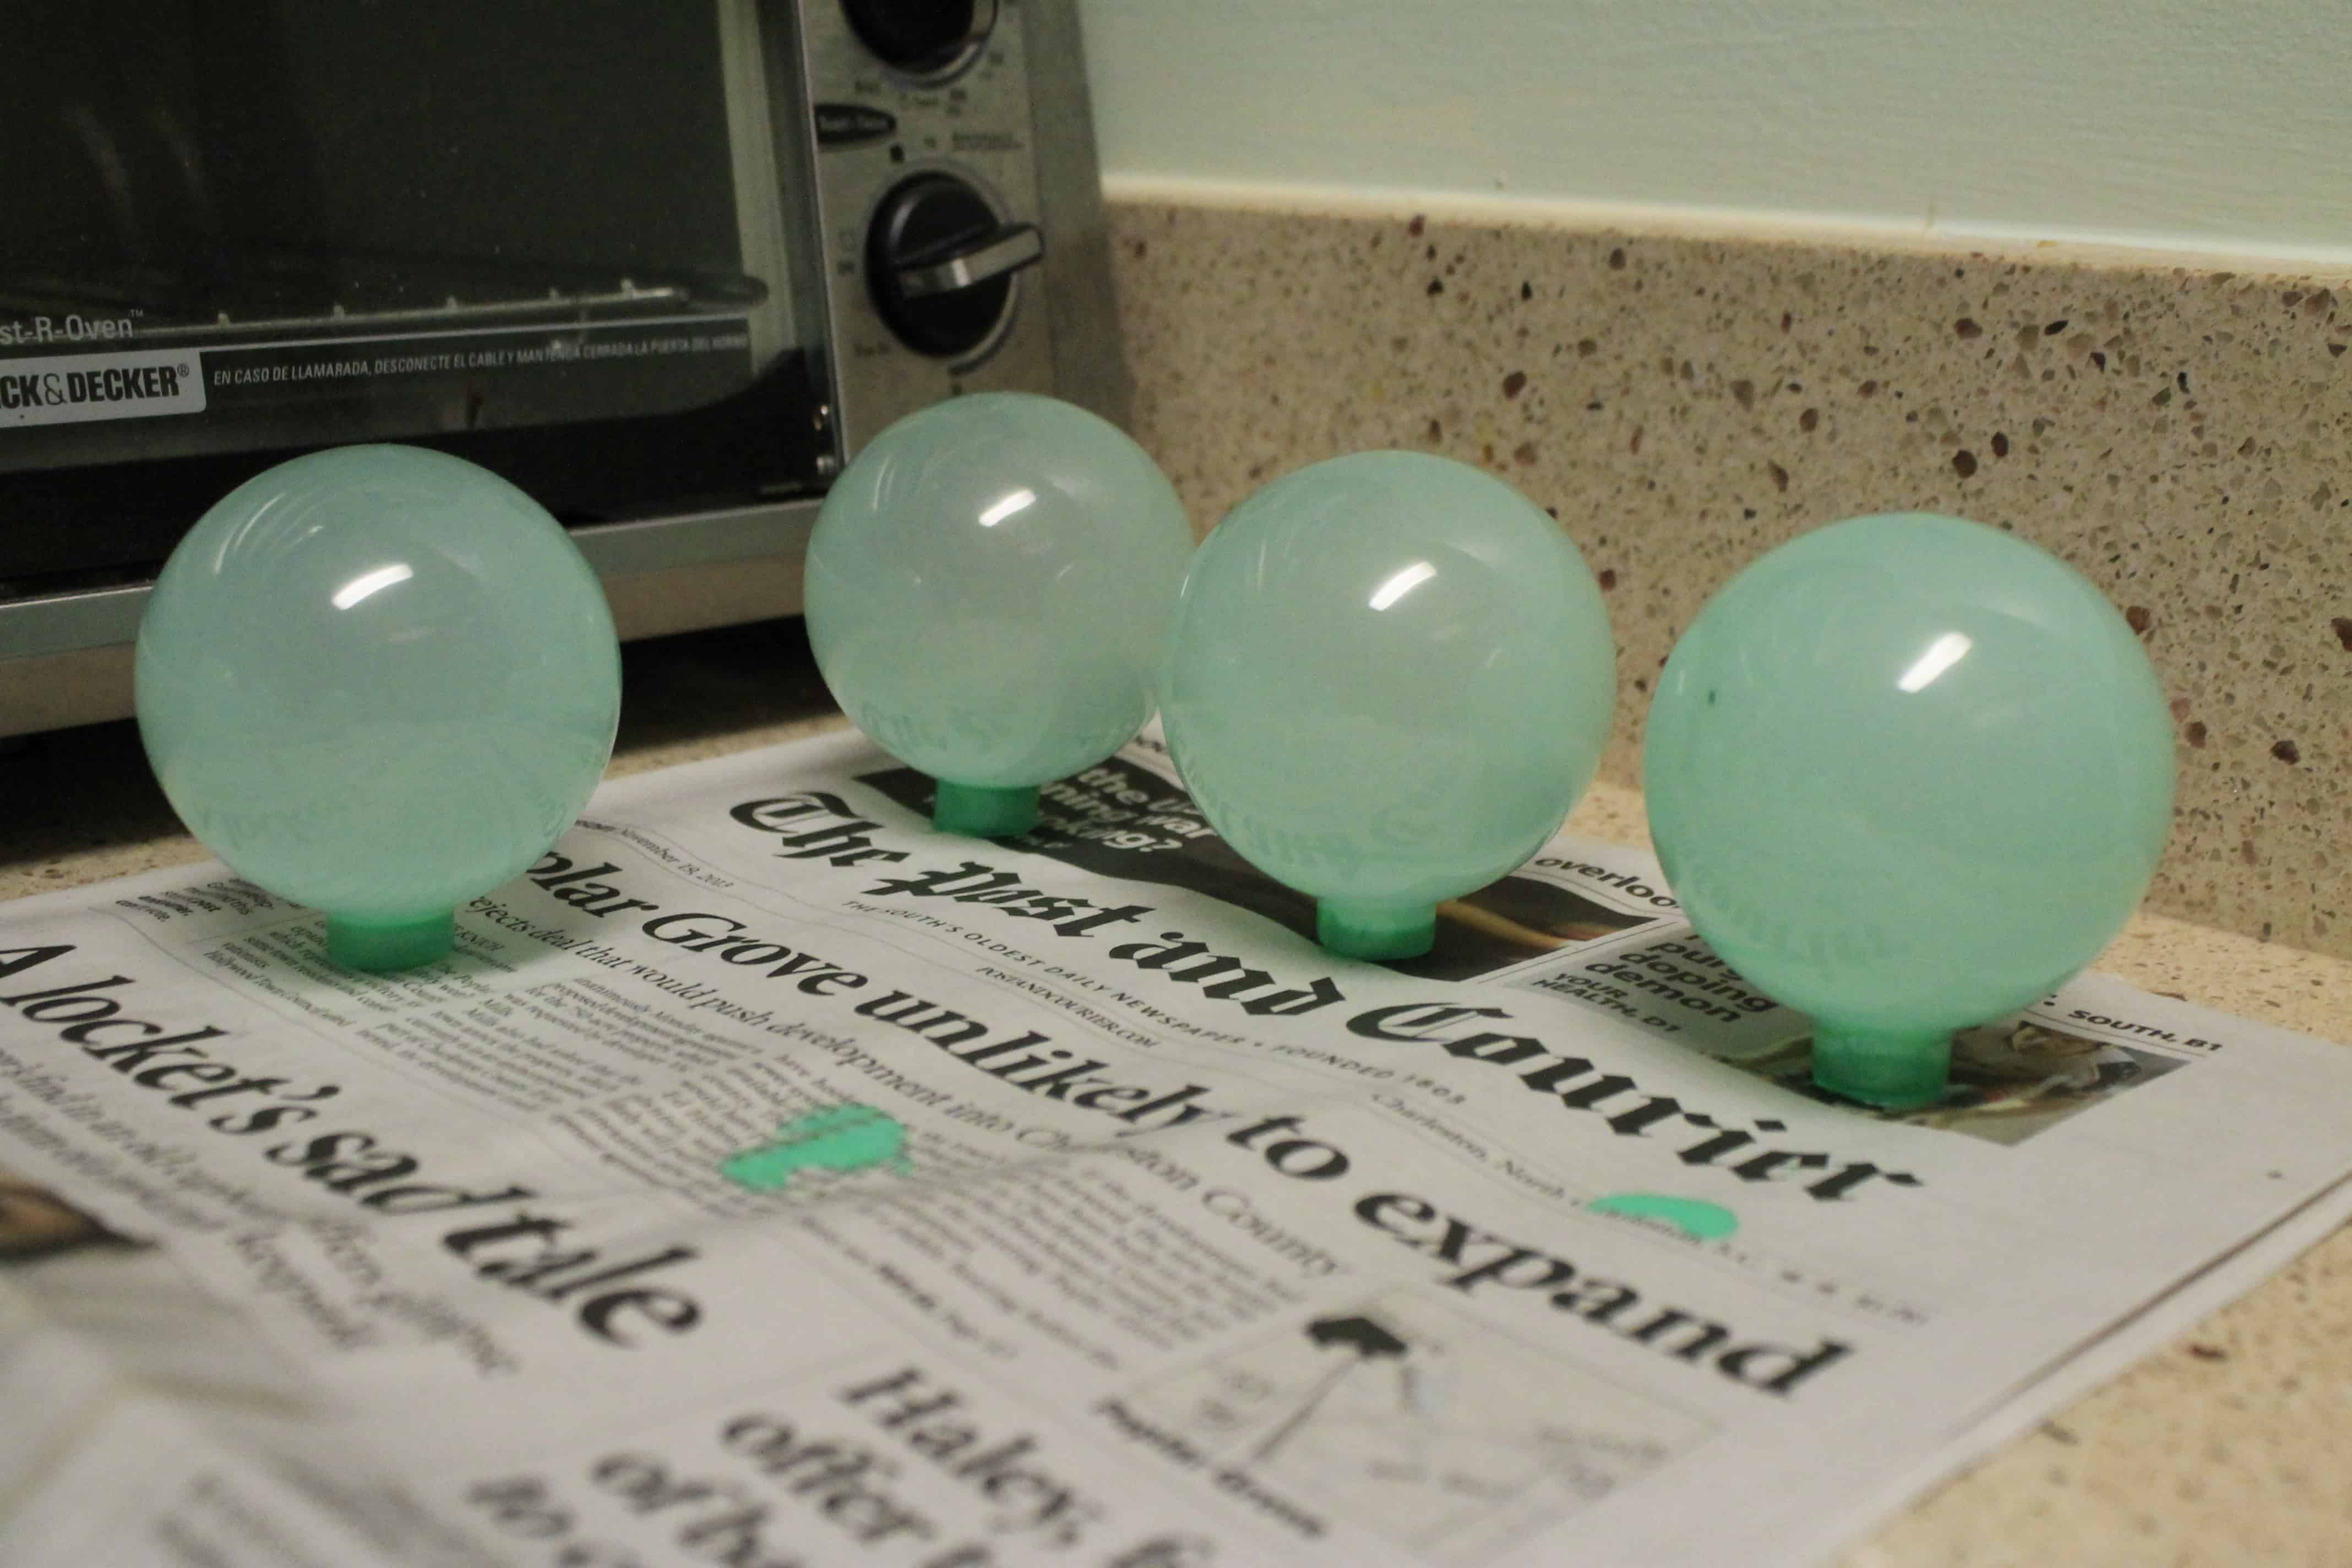
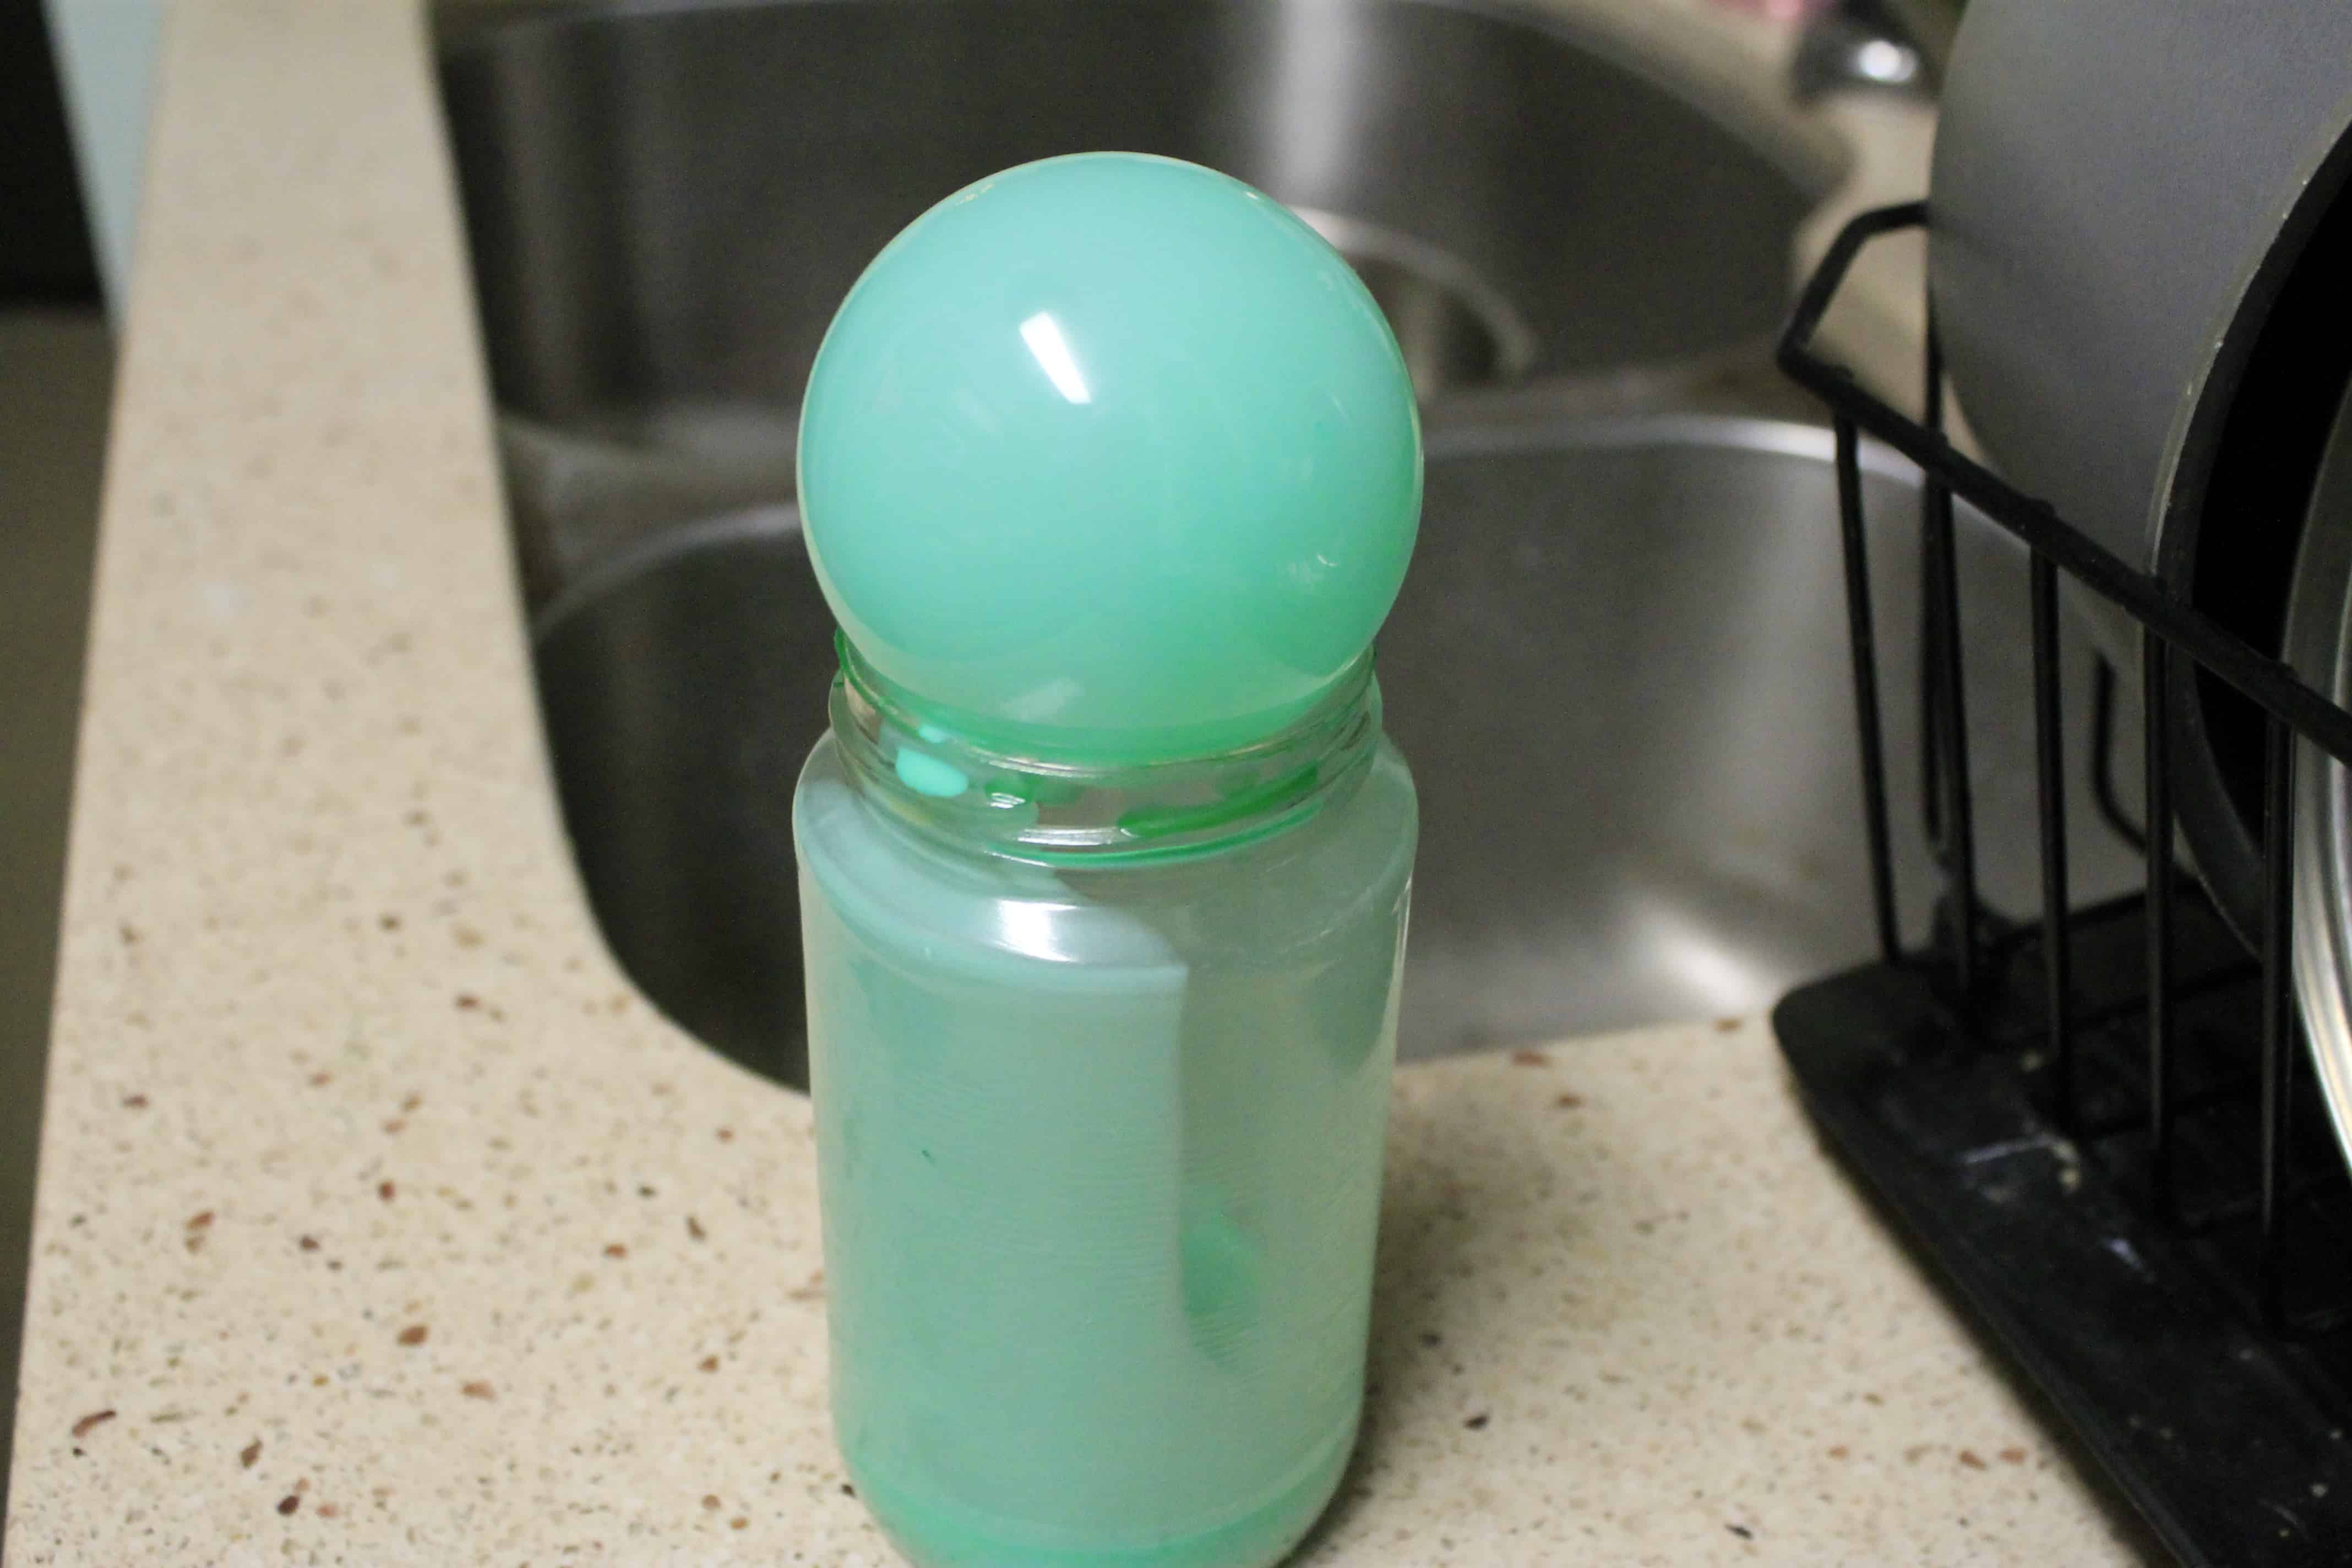
- Place the ornament upside down on the jar to allow the excess dye to drip out.
- Allow the ornament to dry upside down. Replace the hook when dry and hang from a ribbon or ornament hook. Enjoy!
Want the same effect with glitter?
You can mix glitter with clear polycrylic and pour that the same way for glitter ornaments.
Want a darker painted ornament?
You can mix acrylic paint with a pouring medium to get a more solid painted finish inside your ornament.
What's your favorite DIY ornament?
How to make sea glass ornaments
Follow my easy tutorial for how to make DIY sea glass Christmas tree ornaments!
Materials
- Clear ball ornaments
- A jar that you don’t mind ruining (for mixing the dye)
- Water
- Craft glue
- Food coloring or paint of choice
Tools
- Your hands
Instructions
- In jar, mix glue and water. Shake. You should get the consistency of maple syrup.
- Add dye or paint to mixture until you get desired color. NOTE - this is like water colors, it dries very transparent. The color will be much more faint than it looks in a large quantity in the jar. If you want to really see the color, add lots of dye or paint.
- Remove the metal lid/hook for a glass ball ornament.
- Pour dyed water into the ornament.
- Swirl around until you get full coverage.
- Place ornament upside down on your jar and allow excess to pour out.
- Allow to dry upside down on wax paper, where more paint will drip out.
- When dry, replace the hook and hang.
Recommended Products
As an Amazon Associate and member of other affiliate programs, I earn from qualifying purchases.
See all of our handmade ornament ideas:
- How to make photo ornament balls
- DIY sea glass ornaments
- Sand ball ornaments
- How to make beach ornaments
- DIY pier post nautical ornaments
- Fur ball pom pom ornaments
- DIY snowball ornaments
- Citrus felt ornaments
- Mink snowman ornament
- Deviled egg felt ornament
- Metallic dipped textured ornaments
- Paper ball 3D ornaments
- Toilet paper roll starburst ornaments
- Bottle brush tree terrarium ornaments
Simplify your crafting journey and eliminate guesswork with our free ornament crafting cheat sheet – your essential guide to selecting the right materials and tools with ease! Click here or the image below for the free download!
Looking for something?
We've been doing this since 2012 so we have a LOT of blog posts!
Search stuff like: Ceiling Projects | DIY Plant Stands | Thrift Flips


Hello, I'm Morgan, half of the creative force behind CharlestonCrafted.com! With a passion for DIY that dates back to 2012, I've transformed three homes and now I'm dedicated to helping others craft their dream spaces. Let's turn your house into a home together!





Lisa says
I'm not crafty but might try these. How long does it take each ornament to dry? Thx.
Morgan says
Hi Lisa! It will depend on how thick you do your paint/coloring but place them upside down for at least 1 hour!
Lisa H says
Thanks! An hour to dry upside down means that if I only have 1 jar and want to make 24 of these then it will take 24 hours? Ouch, lol. I may still try this but I feel a Pinterest fail coming on... 🙂 🙂 🙂
Sean says
Haha sounds crazy right? I let them drop back into the jar for a minute or two then put them hole side down on tin foil or a similar surface. Let them dry there!
I have also used a cardboard box soda cans come in. Poke holes for each ornament in the top and stick the lip in the hole - they drip into the inside of the box.
They def don’t need to drop into the bottle that long! Sorry for the confusion.
Lexi says
For multiple ornaments, try drying in an egg carton.
Destiny says
@Lexi, OMG! Great idea ty!
Destiny says
Do you remember how much dye you used and what brand? I want this exact look! Thank you
Gail Blackwood says
RE: sea glass clear ornaments
I know this is an older post, but I just fount it. 2 questions:
- will plastic ornaments work?
- will Elmer’s school glue (white) work?
Morgan says
Yes and yes!
Shantel says
What color dye/paint did you use, please?
Sean says
Green food coloring!