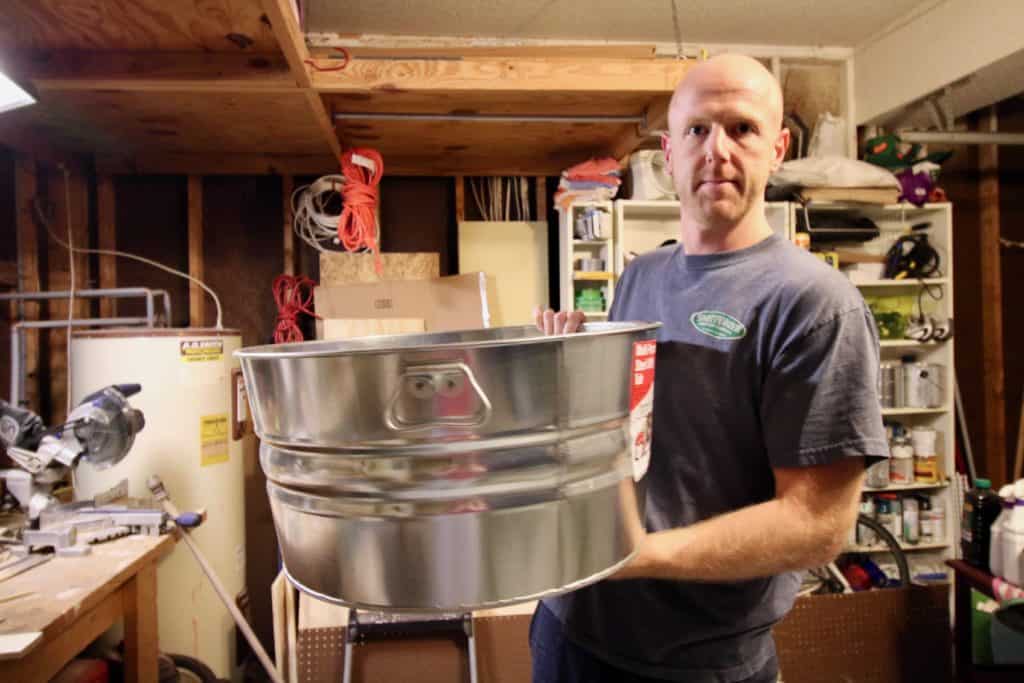
Want to mix up your Christmas tree skirt this year? Here's how to use a galvanized tub for a Christmas tree collar!
I was recently introduced to the concept of a tree collar via the Hearth & Hand collection at Target. While I love their silver version and it is pretty reasonably priced, I really wanted to try to DIY my own version.
Making things is so fun for me, and since we try to re-use the same holiday decor year after year, I really look forward to a couple of new decor DIYs each season!
Click here for all of our Christmas DIYs!
I was surprised at how simple this was to do - obviously, you have to order the bucket, but the actual cutting took us less than five minutes. It was such an easy project and I love the crisp final effect.
So, without further ado, here is how to DIY a silver bucket tree collar from a galvanized steel tub!
Check out lots of other homemade tree collar ideas!
DIY Silver Bucket Tree Collar from a Galvanized Steel Tub
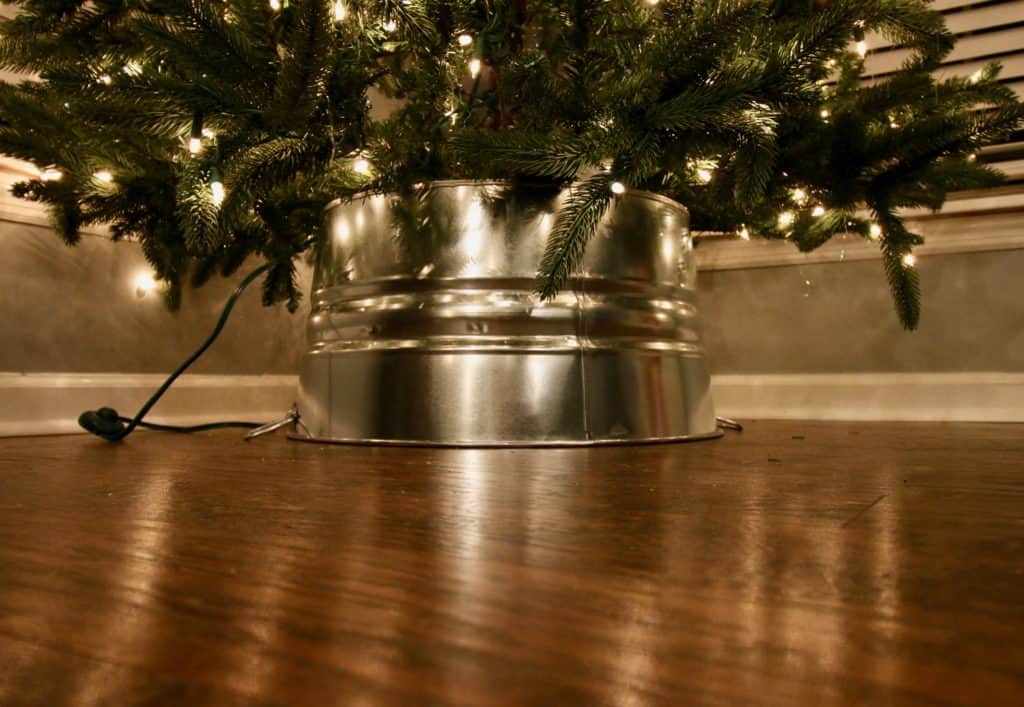
We've done a variety of DIY tree collars over the years, but this steel tub has a very specific look.
If you're going for a look that has a rustic traditional Christmas feel, this could be a great option for you. Plus, you don't need to do that much work to make it happen!
Click here to check out our wood slat tree collar!
What you need to make a DIY galvanized tree collar:
- Bucket sized to fit over your Christmas tree stand
- Drill with variety of drill bits
- Jigsaw
- Duct tape
What you do:
Follow these steps to make a DIY Christmas tree collar from a galvanized bucket!
STEP 1 - measure
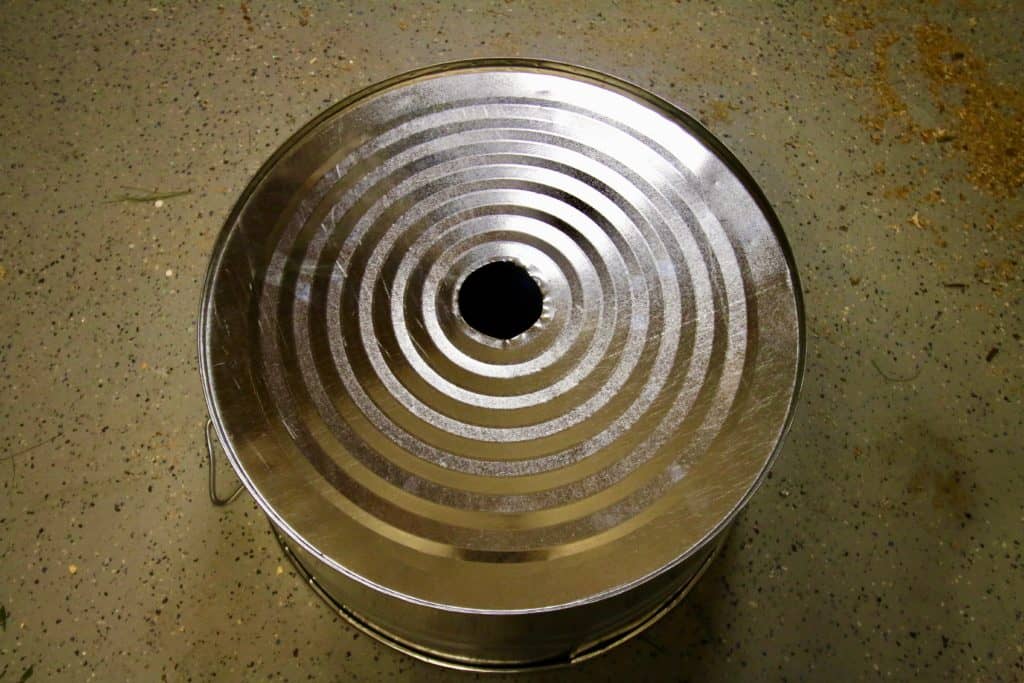
First, figure out how big of a hole that you need in your bucket. Since we used this for our faux tree, we needed the hole to be about 3" across for the base to slip through.
You could also remove the entire bottom of the galvanized bucket if you would rather it be more open or need to be able to easily water a live tree.
STEP 2 - drilling holes in a galvanized tub
Wondering how to cut a hole in a galvanized steel tub? It's actually pretty straight forward.
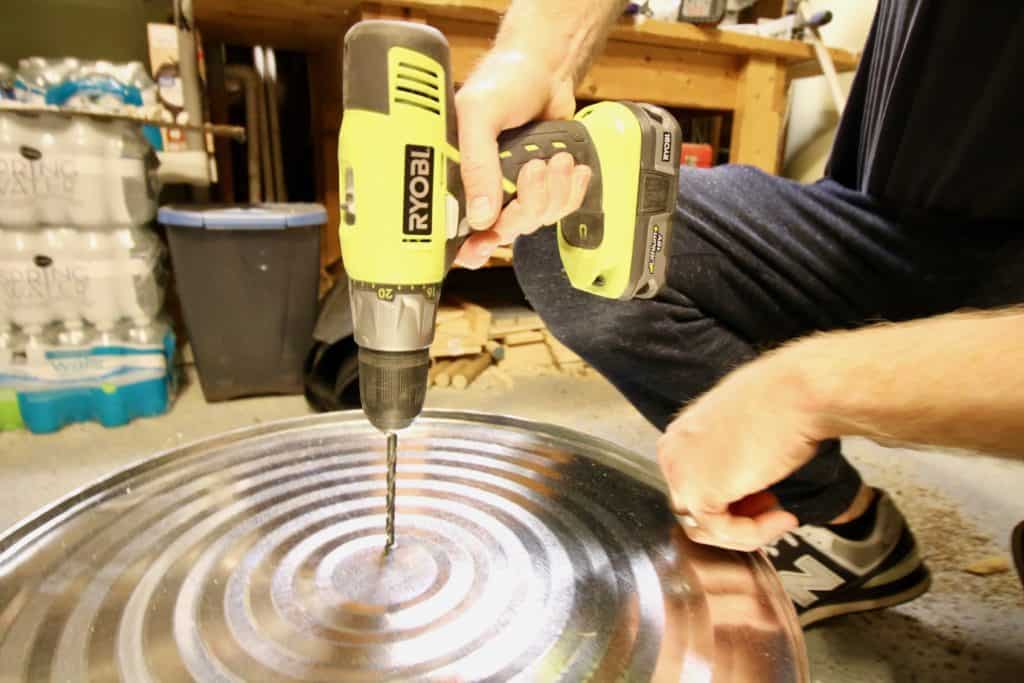
Use your drill to drill a pilot hole in the center of the bottom of the bucket.
We started with a small bit and then made the hole bigger using gradually larger bits. This reduces the chances of cracking!
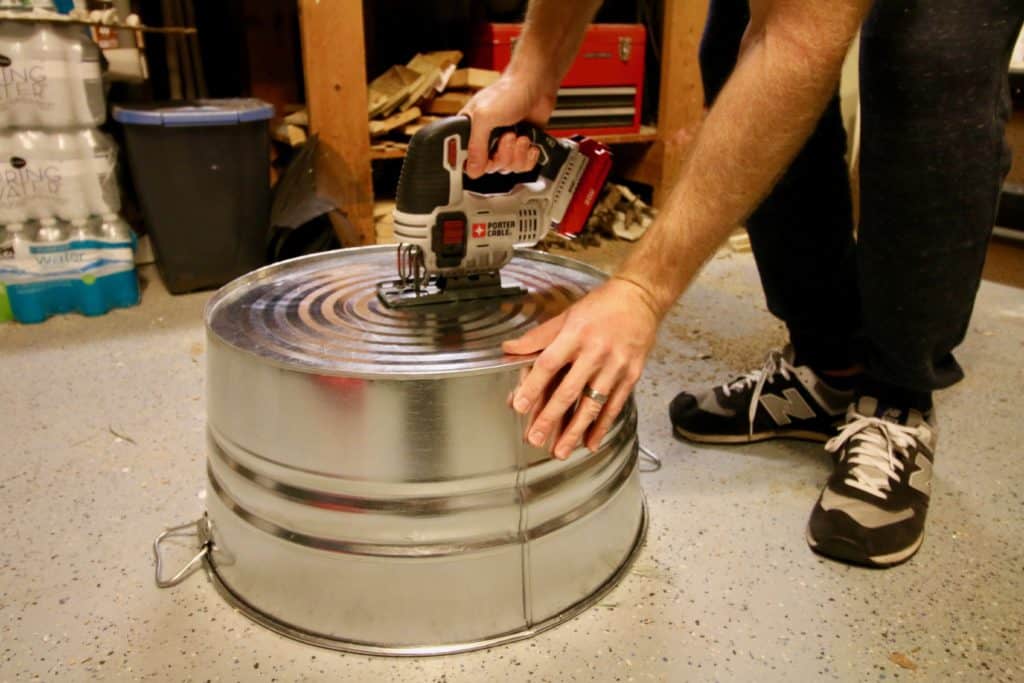
Insert your jigsaw into the drill hole and cut out a hole to fit your tree base. As I said, our hole is about 3" across and fits just the "trunk" of our faux tree.
If you want to put a live Christmas tree in a metal bucket, you'll need a larger hole. That's why measuring is so important!
STEP 3 - cover the cut edges
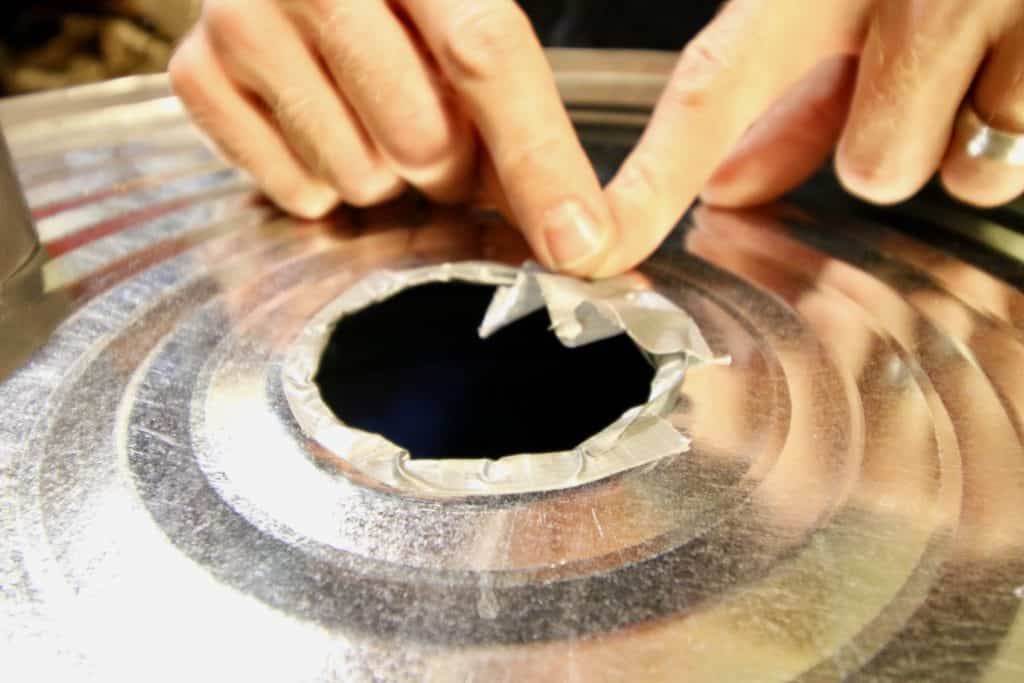
We used small strips of silver duct tape to help protect us from the sharp edges of the metal. This is optional but advised, and not at all visible since the tree covers it when in place.
STEP 4 - place the galvanized tub tree stand
Place your base under the bucket and insert the tree into the base through the hole that you cut. You might need to place something under the base to raise it if it is lower than the height of the bucket.
Click here to pin this project to your Pinterest board!
I love the crisp look of this Christmas tree galvanized bucket collar! Since we don't put presents around this tree, it gives it a really polished look!
How do you handle the base of your tree? Tree collar? Tree skirt? Something else?!
Before you go...
Like this project? Here's some other Christmas projects you might also like:
- DIY Christmas Village Mantel Display
- DIY Beach Christmas Ornaments
- How to make a Driftwood Christmas Tree
- Wooden Mountains Christmas Card Holder

How to make a DIY tree collar
Check out our tutorial for how to make a DIY Christmas tree collar from a galvanized steel bucket.
Materials
- Bucket sized to fit your tree stand
- Duct tape
Tools
- Jigsaw
- Drill with variety of drill bits
Instructions
- Figure out how big of a hole that you need in your bucket. Since we used this for our faux tree, we needed the hole to be about 3″ across for the base to slip through. You could also remove the entire bottom if you would rather it be more open.
- Use your drill to drill a starter hole in the center of the bottom of the bucket.
- Move up to bigger drill bits bigger and bigger. This reduced the chance of cracking.
- Insert your jigsaw and cut out the size needed for your tree trunk to fit in. Optional - add duct tape over the sharp edges.
- Place the tree stand on the ground and the collar over top. Stick the tree through the hole and into the base. Enjoy!
Notes
If you have a REALY tree and not a faux tree, use your jigsaw to remove the entire bottom of the bucket so you can access the stand and screw the tree in.
Recommended Products
As an Amazon Associate and member of other affiliate programs, I earn from qualifying purchases.
Looking for something?
We've been doing this since 2012 so we have a LOT of blog posts!
Search stuff like: Ceiling Projects | DIY Plant Stands | Thrift Flips


Hello, I'm Morgan, half of the creative force behind CharlestonCrafted.com! With a passion for DIY that dates back to 2012, I've transformed three homes and now I'm dedicated to helping others craft their dream spaces. Let's turn your house into a home together!

