If you're looking to enjoy the summer weather outside while you enjoy a meal, this DIY square outdoor dining table is perfect for you! Check out how we built it and grab the woodworking plans!
I don't know about you, but we LOVE eating dinner on our screened porch! It's so nice to be able to sit outside when the weather is nice and enjoy a meal.
Now, around here in Charleston, that's not possible a lot of the year because of the heat, but our screened porch is in the shade most of the day, so we get a lot of use out of the space.
Historically, we have only ever had a metal table and chairs that's been in Morgan's family for a long time. But recently, we designed and built our DIY modern outdoor sofa and have been lounging on it a lot.
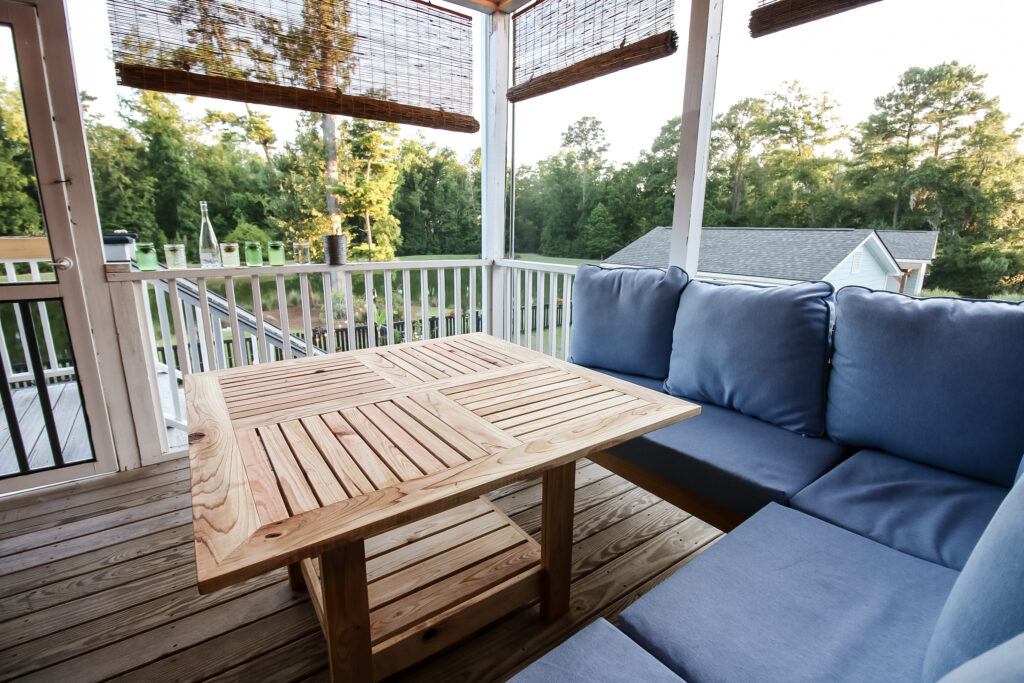
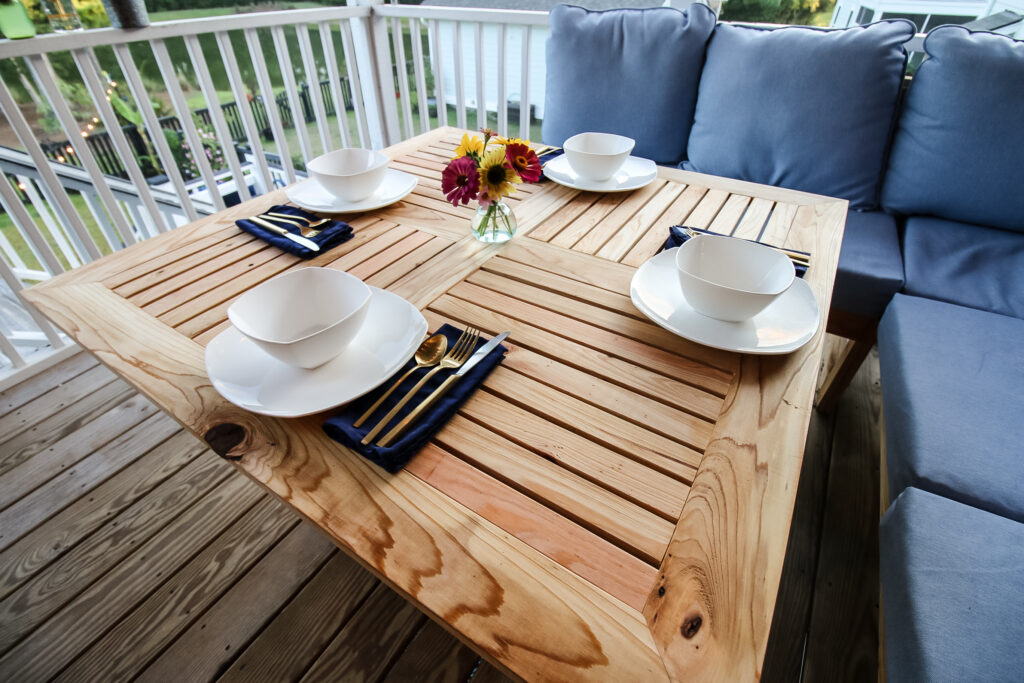
But an L-shaped couch doesn't work with a round table, so we needed to build a new one. So, we designed this DIY square patio table that is perfect for us to eat meals on!
Check out our screened porch makeover reveal!
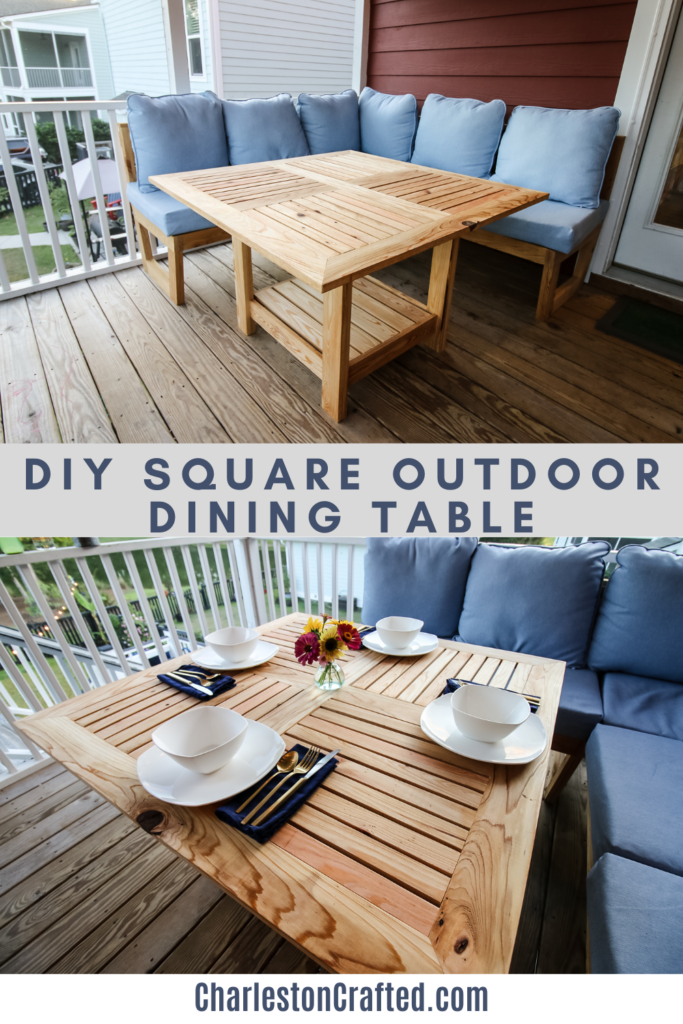
DIY outdoor dining table
We thought about making a convertible coffee table/dining table, but decided that this can easily be scooted out a bit if people are lounging on the couch without a meal.
Basically, a dining table can be used as a coffee table, but you can't really eat a meal at a coffee table.
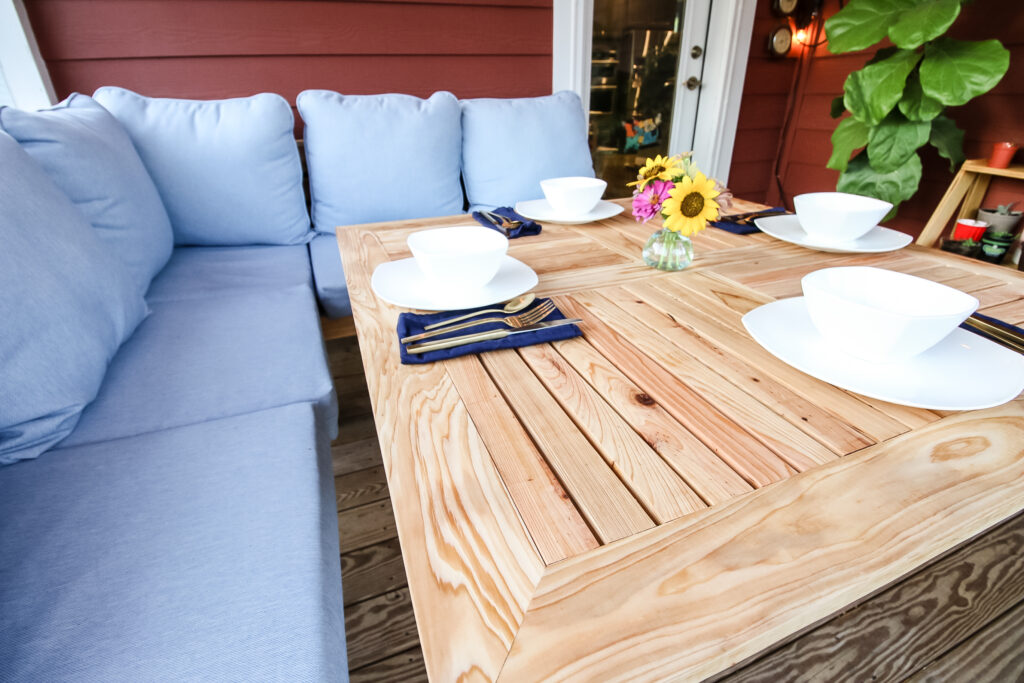
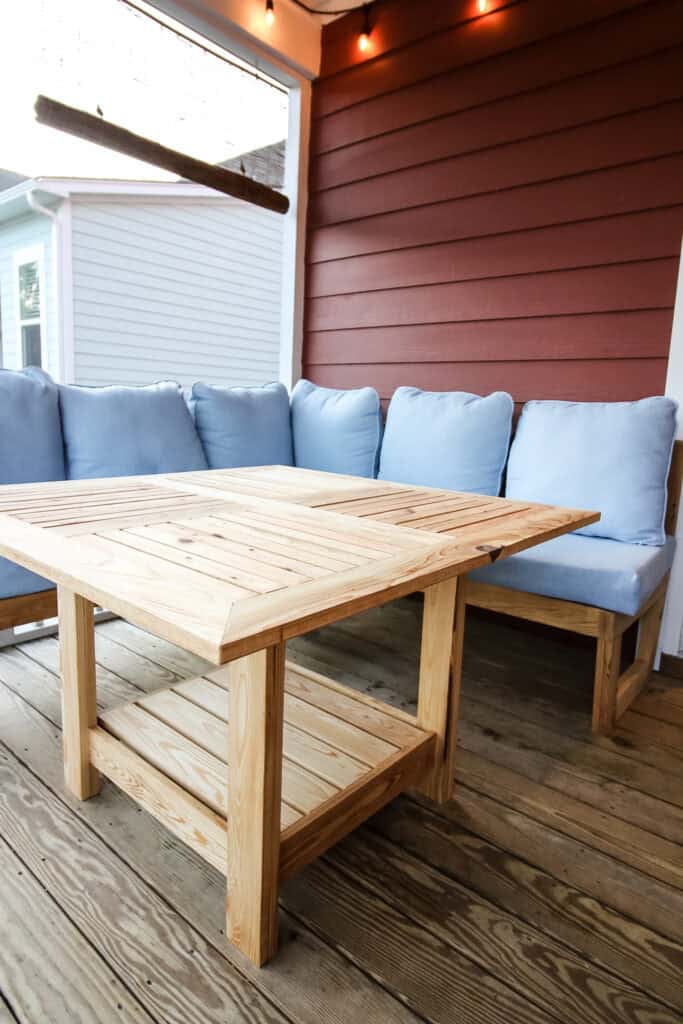
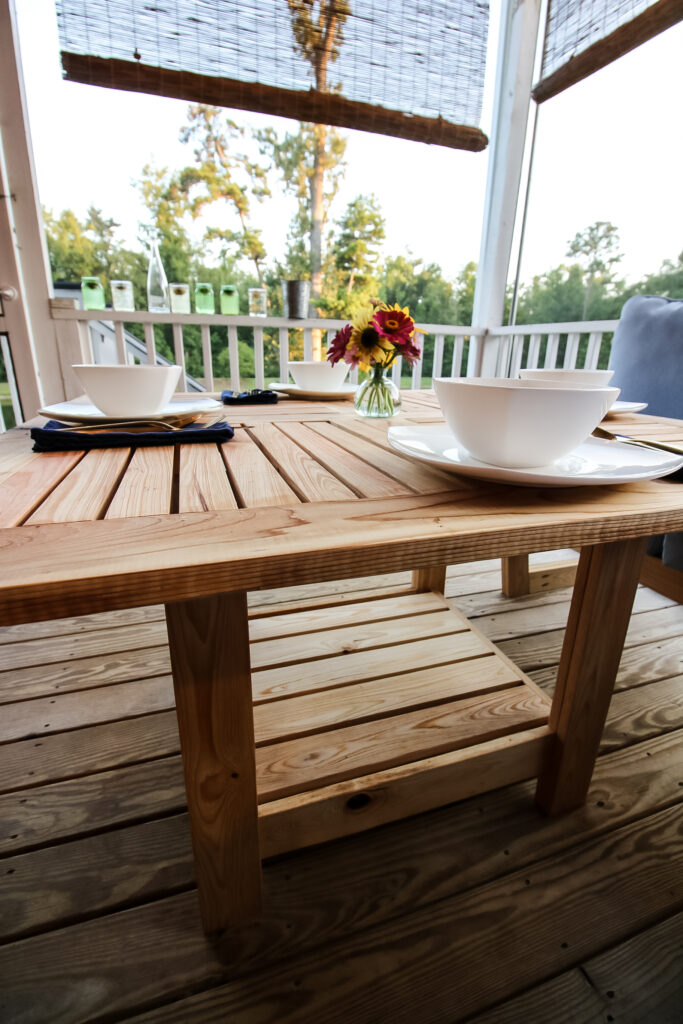
We really like this design for a simple square dining table, but added the more intricate slats on top to give it an interesting look. Plus, it has a great surface underneath to rest your feet or set a bowl of drinks out of the way.
Let's get into how we made it!
What you need to build an outdoor square dining table
Here are the materials and tools you will need to build this outdoor dining table!
- Cypress or cedar boards
- 1 ¼" Kreg pocket hole screws
- Wood glue
- Outdoor sealant
- Miter saw
- Table saw
- Sander
- Drill
- Kreg 720 Pocket Hole Jig (check out our full Kreg jig 720 review!)
How to make an outdoor dining table
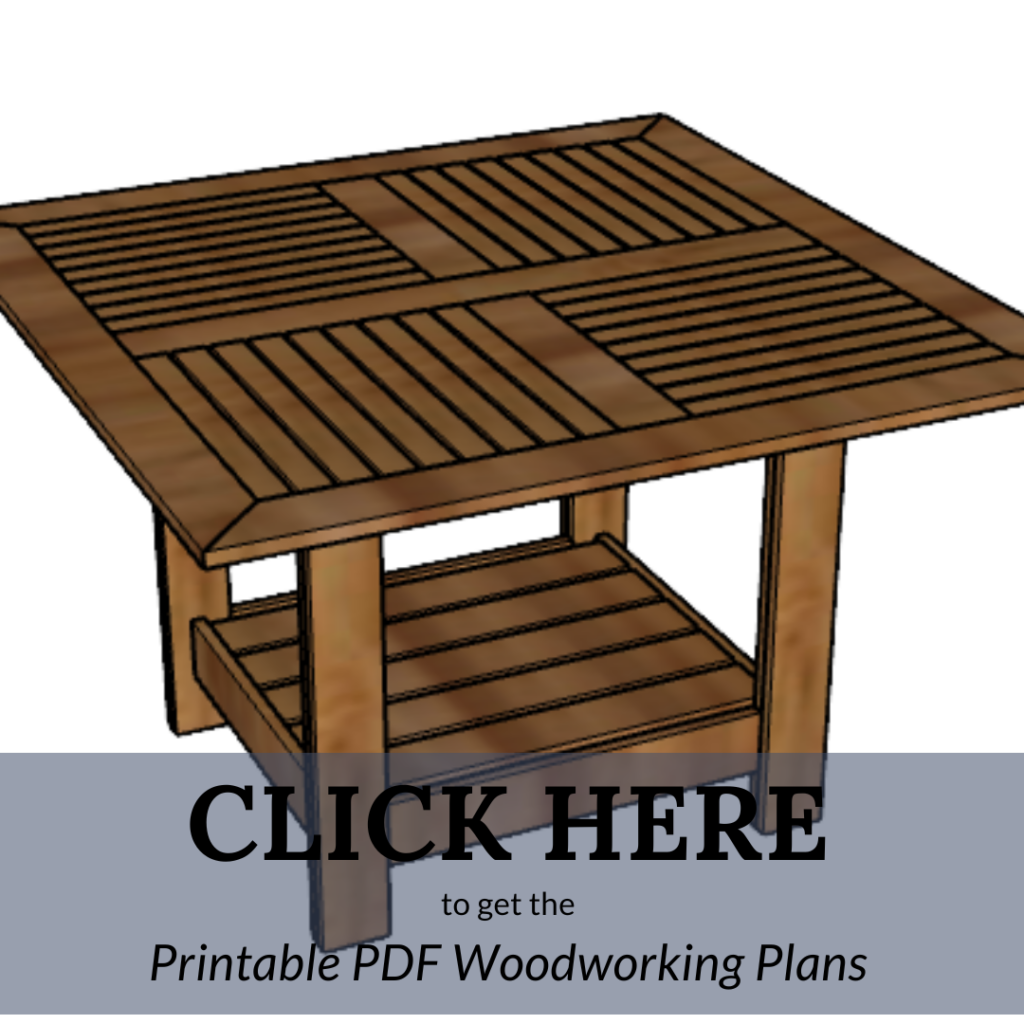
Here are the overall steps for how to make a DIY outdoor table! Remember, you can get the full details, including cut list, material list and step-by-step instructions with computer model imagery in our simple woodworking plans!
Step one: Build legs
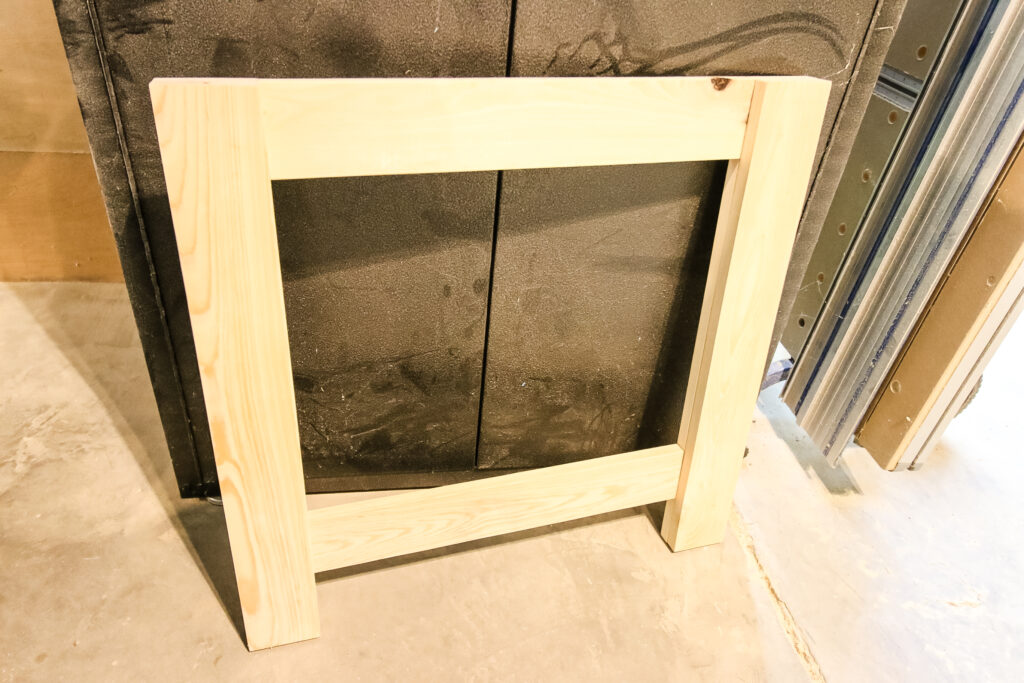
Start by assembling the two leg structures. To make sure the base is solid, we made the legs double thick by gluing two boards together for each one.
Then, we attach a single stretcher across the top and across the bottom.
Make two of these and we are ready to move on to step two!
Step two: Assemble foot rest
One thing I really like about relaxing is being able to put your feet up. Since we are using this table as a combo coffee table and dining table, I wanted to be able to put my feet up when just lounging on the couch.
So, we built a slatted structure to attach between the two leg sets that would be the right height for putting up your legs!
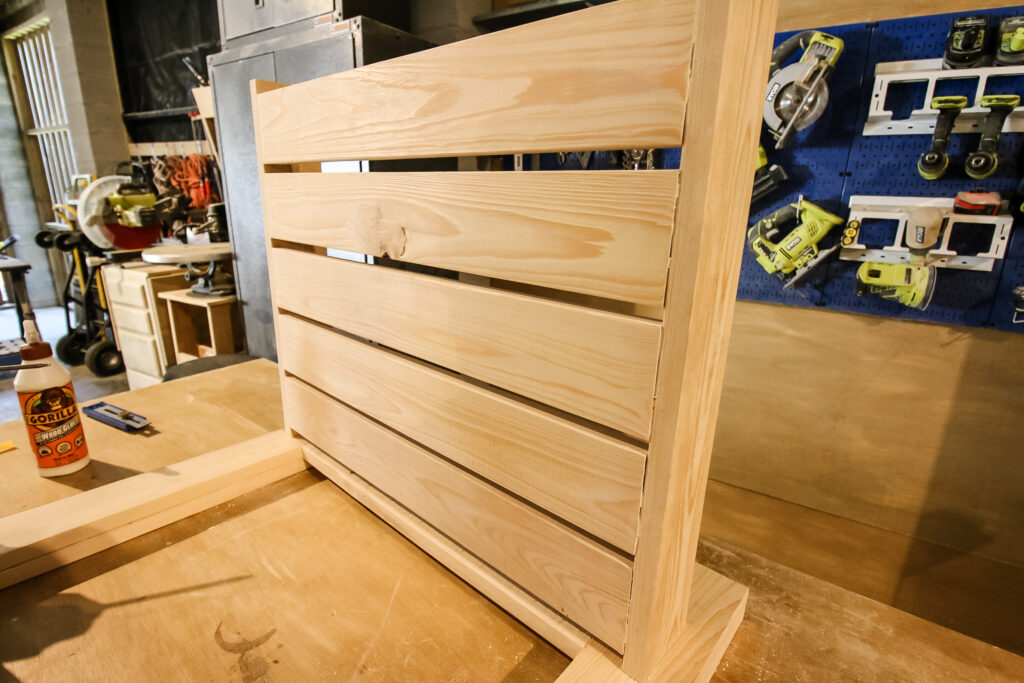
Step three: Assemble base
Assembling the base is a fairly easy step (especially compared to the next couple...) and requires connecting the two sets of legs together with the slatted foot rest.
The foot rest structure connects even height with the lower boards on the two leg sets.
Then, we just added two more stretchers at the top to make the perfect box!
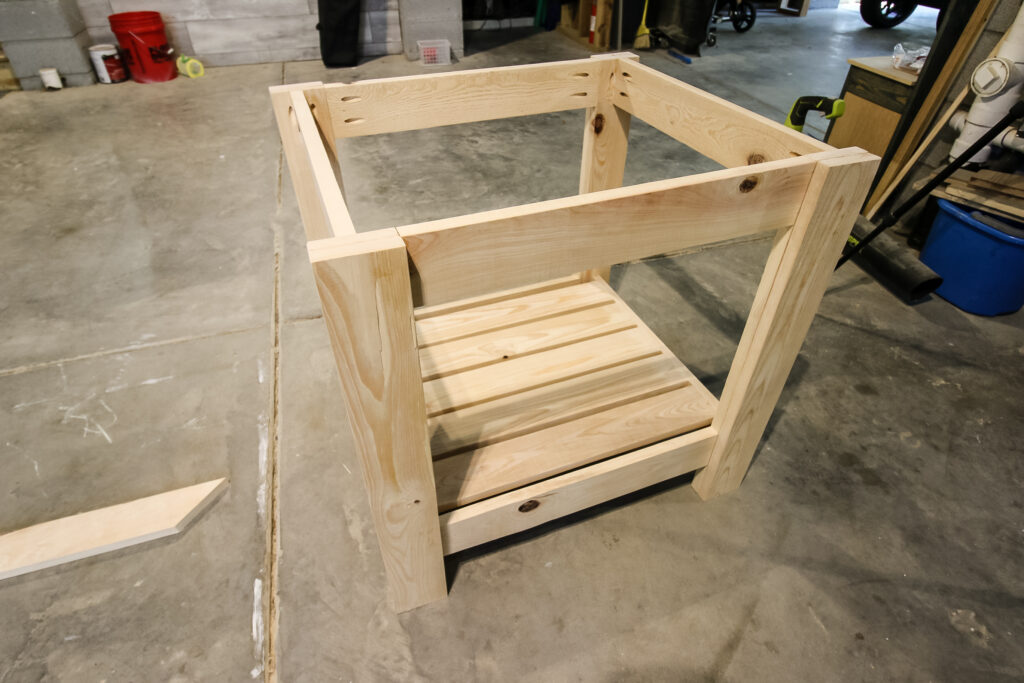
Step four: Create top grid
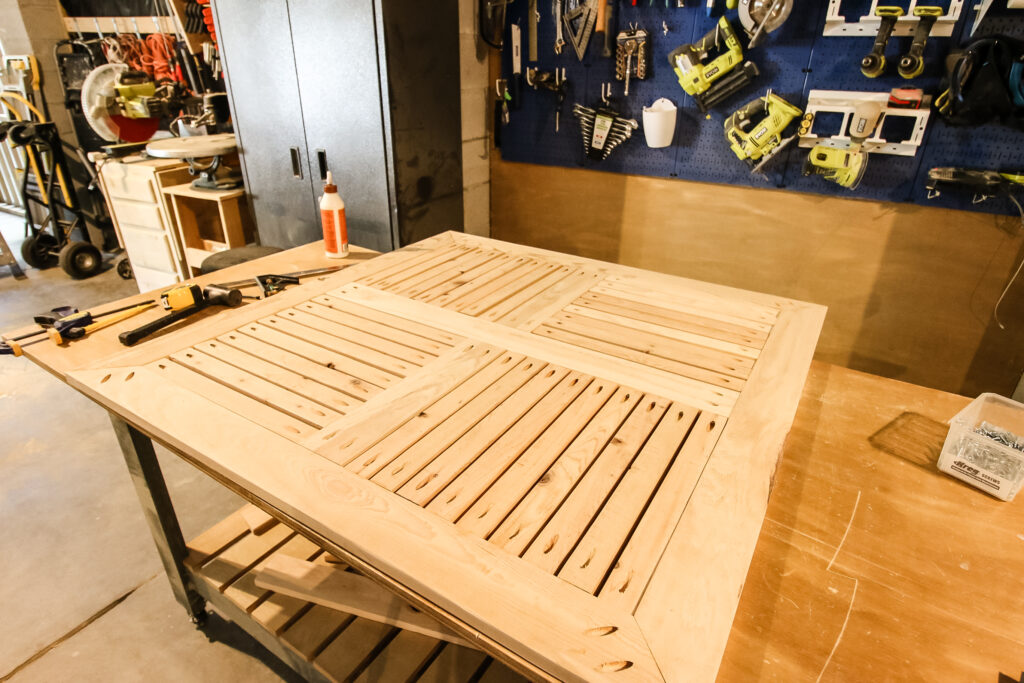
Base is done, time to build the top! We started by assembling the outside frame of the top using four boards connected at mitered corners.
The outside frame is held firm using a long stretcher down the middle and two shorter stretchers between the middle one and the remaining two sides.
Everything (as in all the other steps) is held together with pocket hole screws and wood glue. Did you know you can use pocket holes on mitered corners?
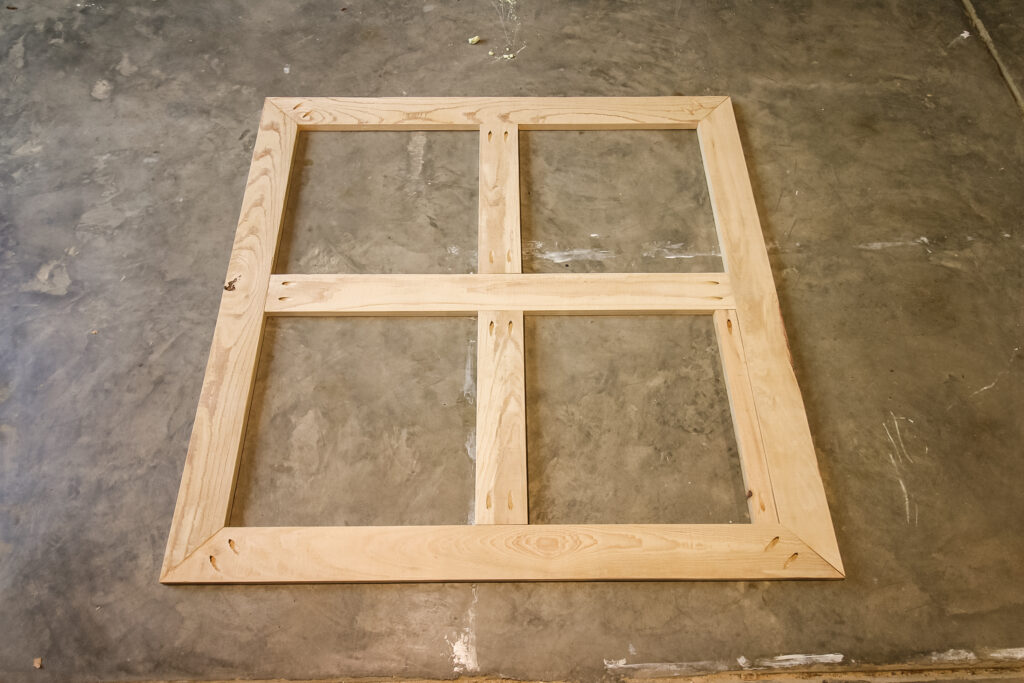
Step five: Add grid slats
Ok, here's where things got tricky. Honestly, less tricky and more just tedious.
There are nine slats in each of our sections of the grid, which makes for a lot of pocket holes and wood glue. Luckily, we have our Kreg 720 Pro pocket hole jig that made everything a lot easier on the drilling part.
These slats were a little tricky because there was a small space between them but we wanted to make sure everything was level on top as well. Cypress is a beautiful wood, but it doesn't always come in equal thicknesses off the shelf because it is cut rough. If you don't have a jointer and/or planter, it can be hard to get it even.
So, when we assembled, the underside isn't always level across each slat, but it is on the top.
We did each grid in an opposing direction from the one next to it and just kept working around until they were all in place.
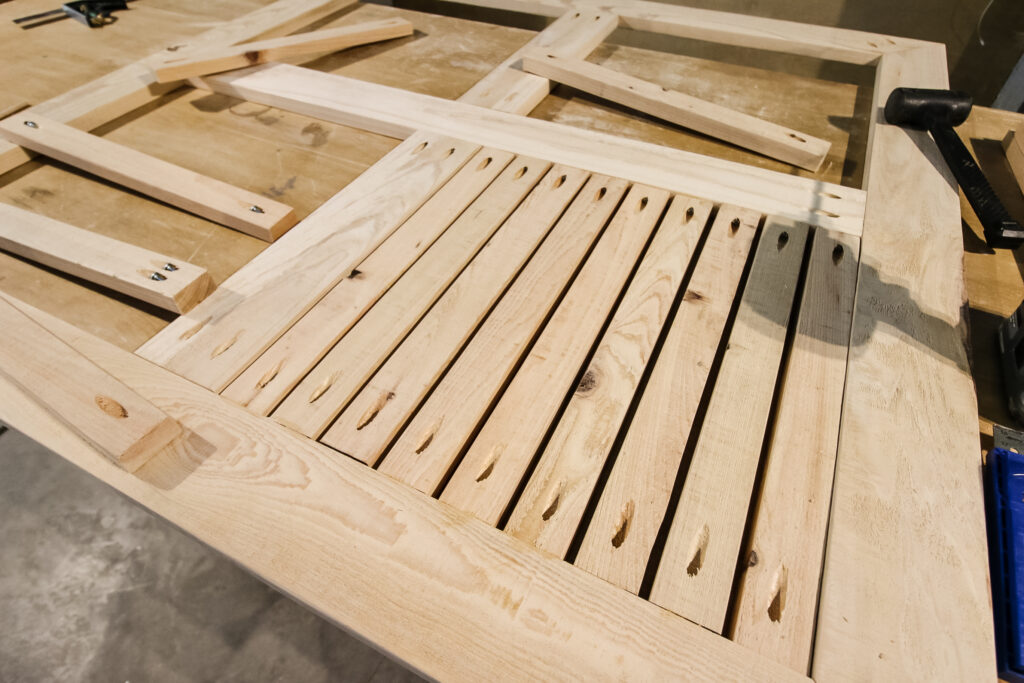
Step six: Stain and seal
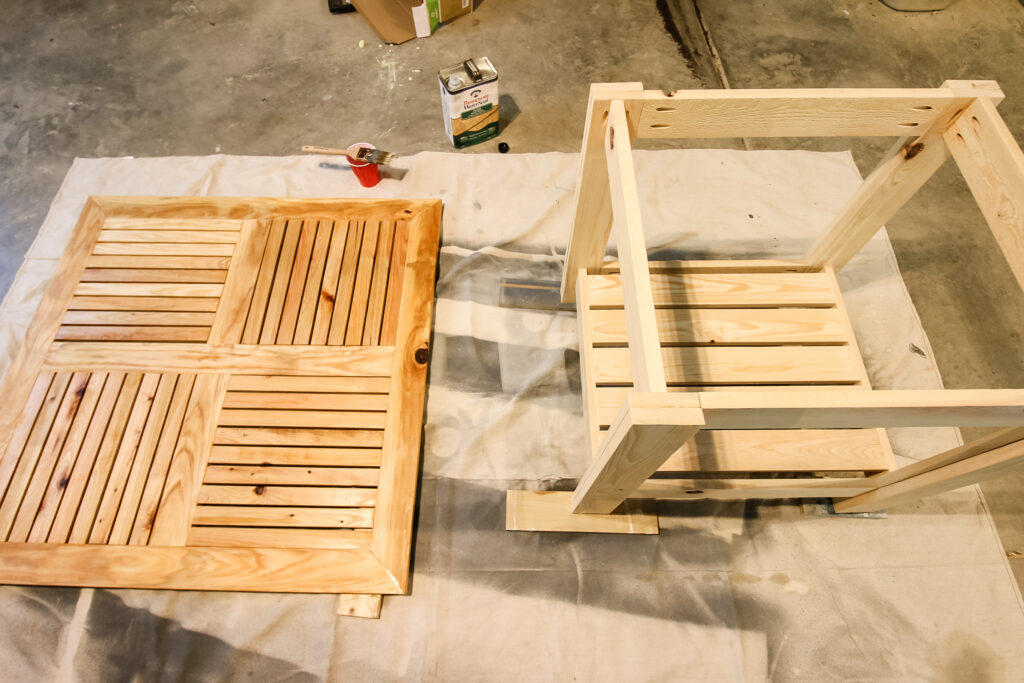
Even though cypress is good outdoors, this table is going to be used by toddlers, so there will be lots of spills that we want to protect it from.
We added the same Thompson's Water Seal clear coat to the table that we did to the couch right next to it. It makes the color richer and just brings out a nice pop! See, check out the different with the sealed top and the none sealed base.
Step seven: Connect top to base
We moved the dining table into place on the porch and attached the base to the top using pocket hole screws.
This was a little annoying because we originally drilled the holes in the legs. Well, the very first two screws we attempted to attach to the table went right between two of the slats.
So, we grabbed the ultra-portable Kreg 520 jig, clamped it on to the base and drilled a few holes in the upper stretchers that we marked would come in contact with the table top.
Step eight: Enjoy outdoor dining!
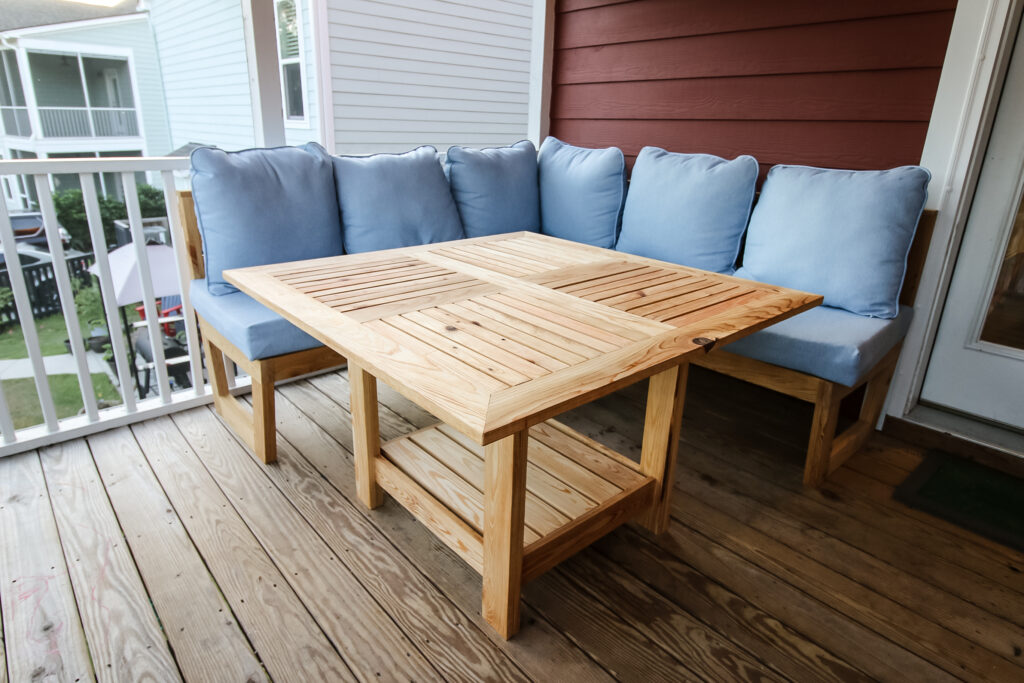
Now it's time to enjoy! We love eating outside as much as we can. In spring and fall, that's three meals a day.
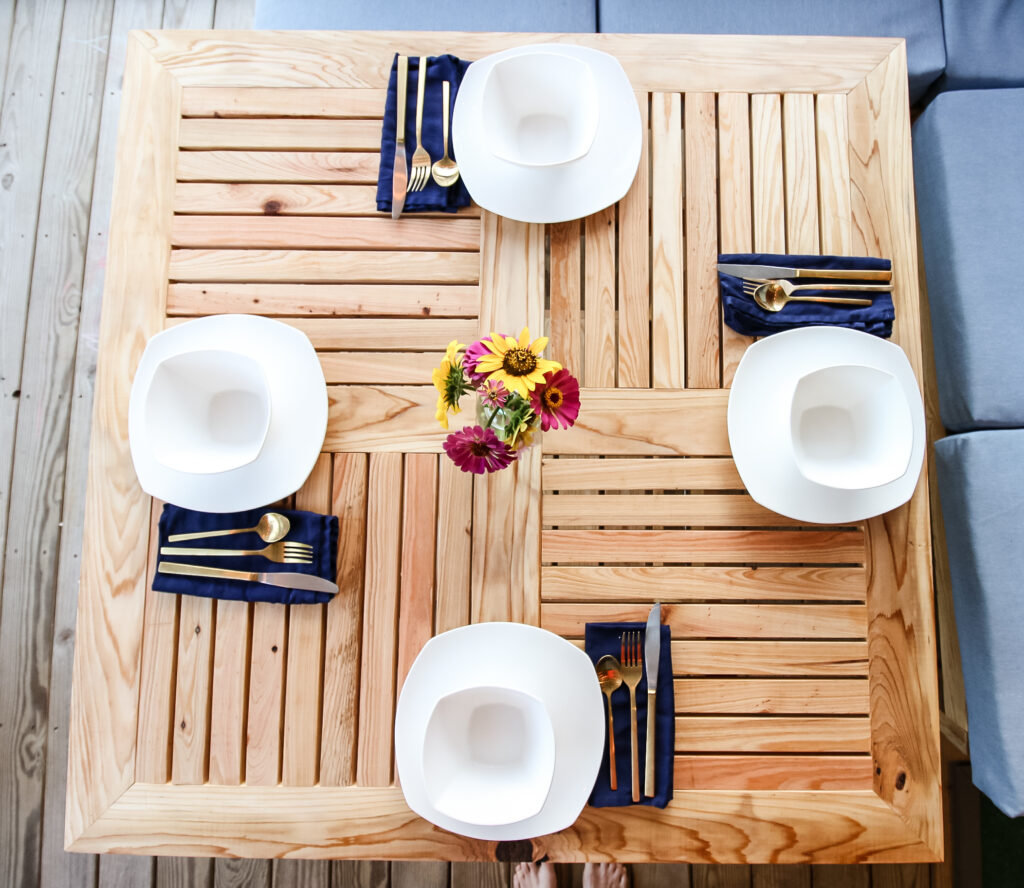
This new table is perfect for dining while sitting on the couch, and we can pull up a few chairs or high chairs on the open sides.
I mean, doesn't this just look like a wonderful place to enjoy an evening meal overlooking the pond!
We absolutely love how our DIY square outdoor dining table turned out!
DIY outdoor dining table woodworking plans
Love this project? You can make one for yourself using our DIY square dining table plans!
Our woodworking plans include the exact material list you need to buy, the exact cuts you need to make on the boards, and a step-by-step guide on how to assemble your DIY square outdoor dining table.
This plans for this square table will help you bring the inside out this summer and enjoy the weather while enjoying meals with your friends and family!
You can also grab our bundle of plans that includes the sectional outdoor couch we made to go with it. Save yourself some money!
What type of wood is best for outdoor furniture?
The best type of wood for outdoor furniture is one that is rot and water resistant. Those woods commonly include cypress and cedar.
We used cypress for this build because it is about half the cost of cedar and looks very simple. Cypress will withstand the elements for a longer period of time.
You can also use other kinds of wood, but be sure to coat it extra good with outdoor stains and sealants, like we did when we used pine to build this potting bench with storage for under our stairs.
Basic woodworking information for every project
Here are some of our most popular woodworking articles!
Shopping for wood:
Woodworking project ideas
- 100+ of the best woodworking project ideas!
- 62 easy beginning woodworking projects
- Woodworking project ideas to make and sell
See all our printable PDF woodworking plans!
Our favorite tools + supplies
- See all our favorite tool reviews
- How to use a Kreg jig
- The ultimate wood stain guide
- The best wood fillers for your project
Remember to also always use safety equipment while woodworking and using tools. Make sure you have proper eye protection, ear protection and a good mask to keep yourself safe.
Looking for something?
We've been doing this since 2012 so we have a LOT of blog posts!
Search stuff like: Ceiling Projects | DIY Plant Stands | Thrift Flips


Hey there, I'm Sean, the woodworking enthusiast and builder behind CharlestonCrafted.com! Since 2012, I've been sharing the magic of turning raw materials into beautiful creations. I love teaching others the art and satisfaction of woodworking and DIY. I try to inspire fellow crafters to make something extraordinary out of nothing at all.

