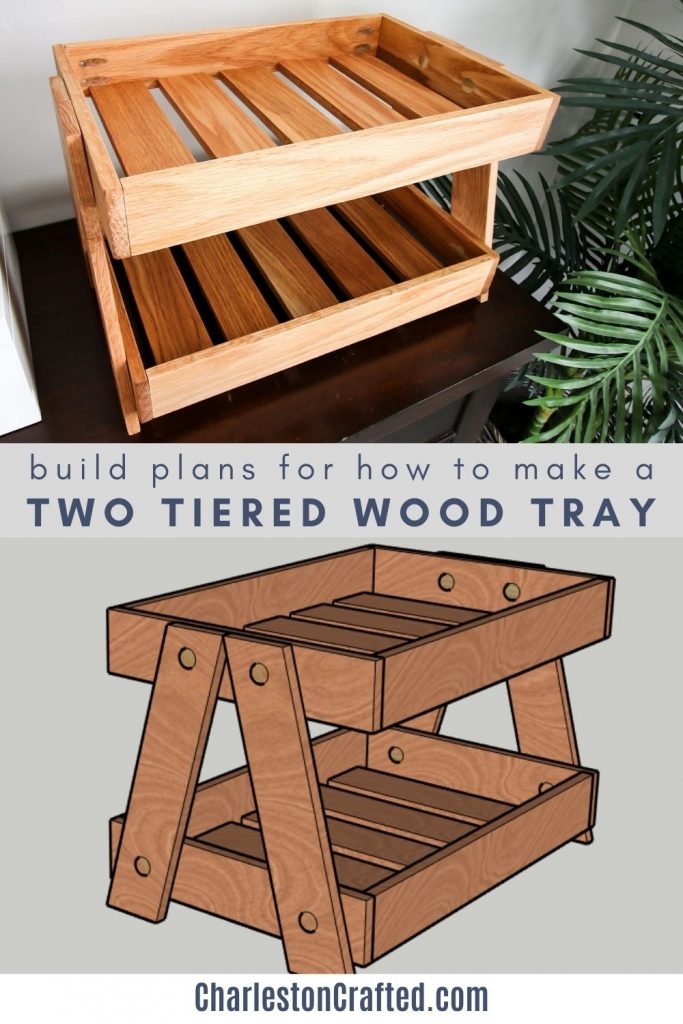
With the holidays upcoming, these DIY two tiered serving tray plans are going to have you build something to impress your guests and keep them fed at the same time!
We used to have an old bowl that we kept our fruits and veggies in that was tucked away on the counter. In our new house, that bowl was in plain sight and we didn't like it.
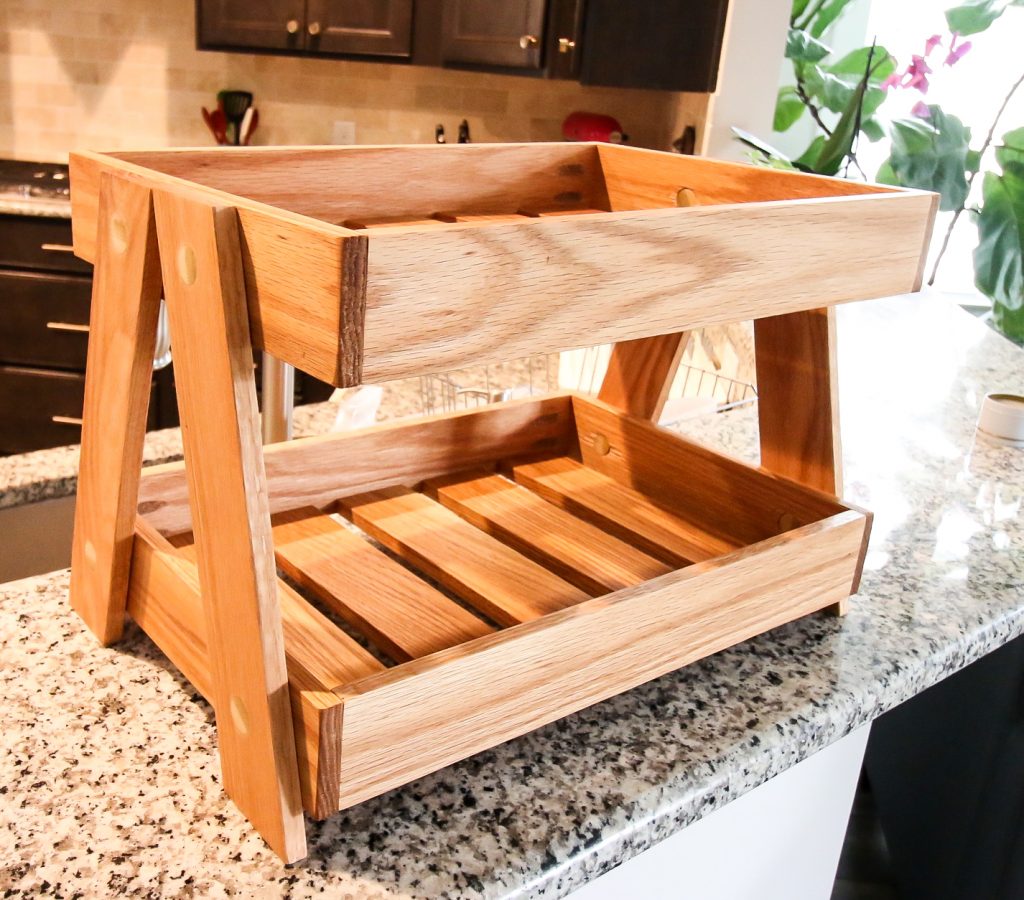
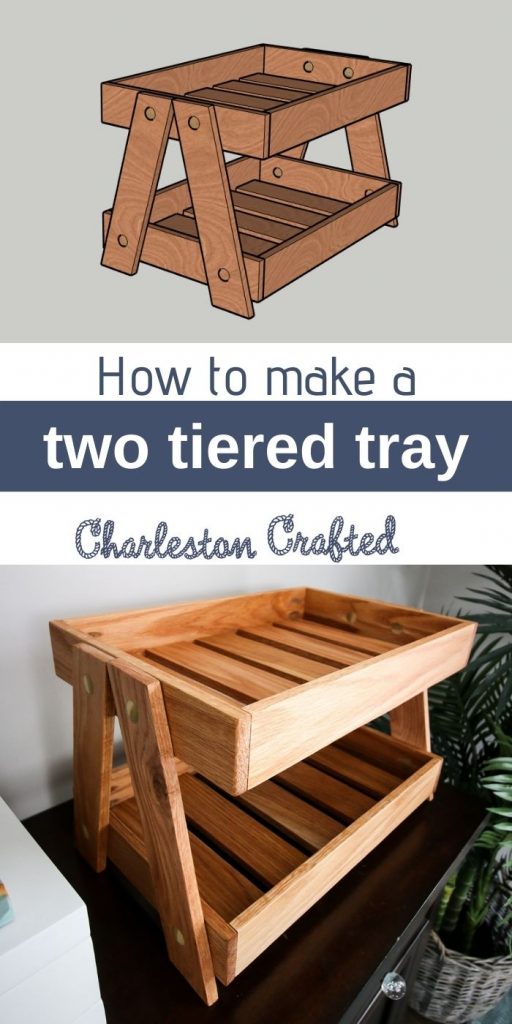
We created this two tiered serving tray as a way to display fruits and veggies year round or serve guests with snacks and desserts this holiday season. Make yours today with the free plans below!
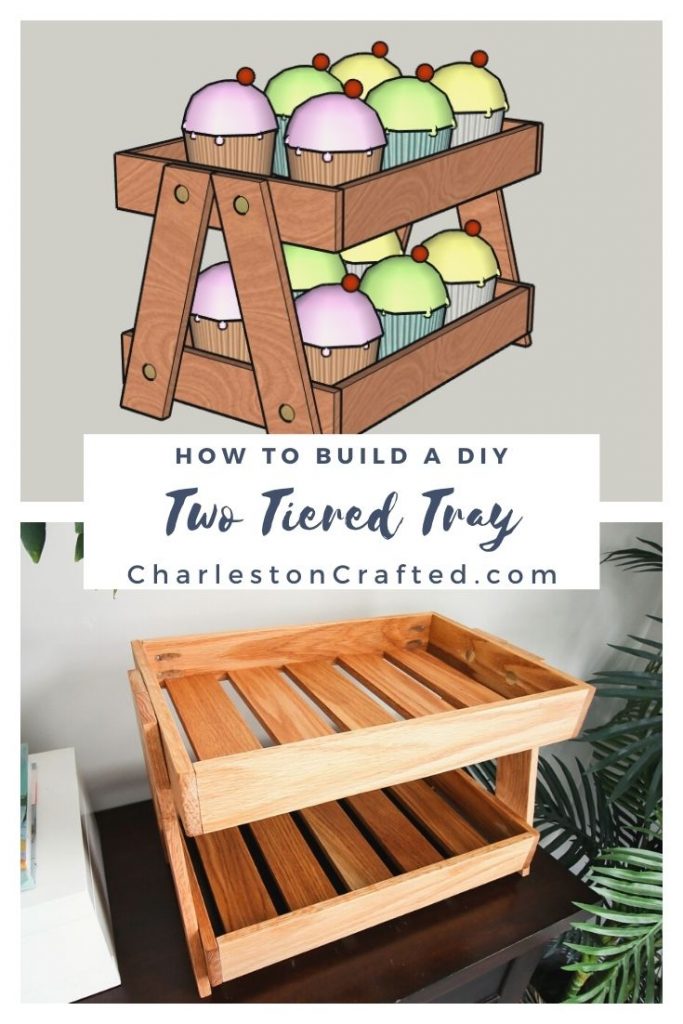
How to build a wooden two tiered serving tray
This DIY wooden serving tray is simple to build and easy to replicate for your home. You won't believe how easy it is to build and customize for your space. Plus it looks great!
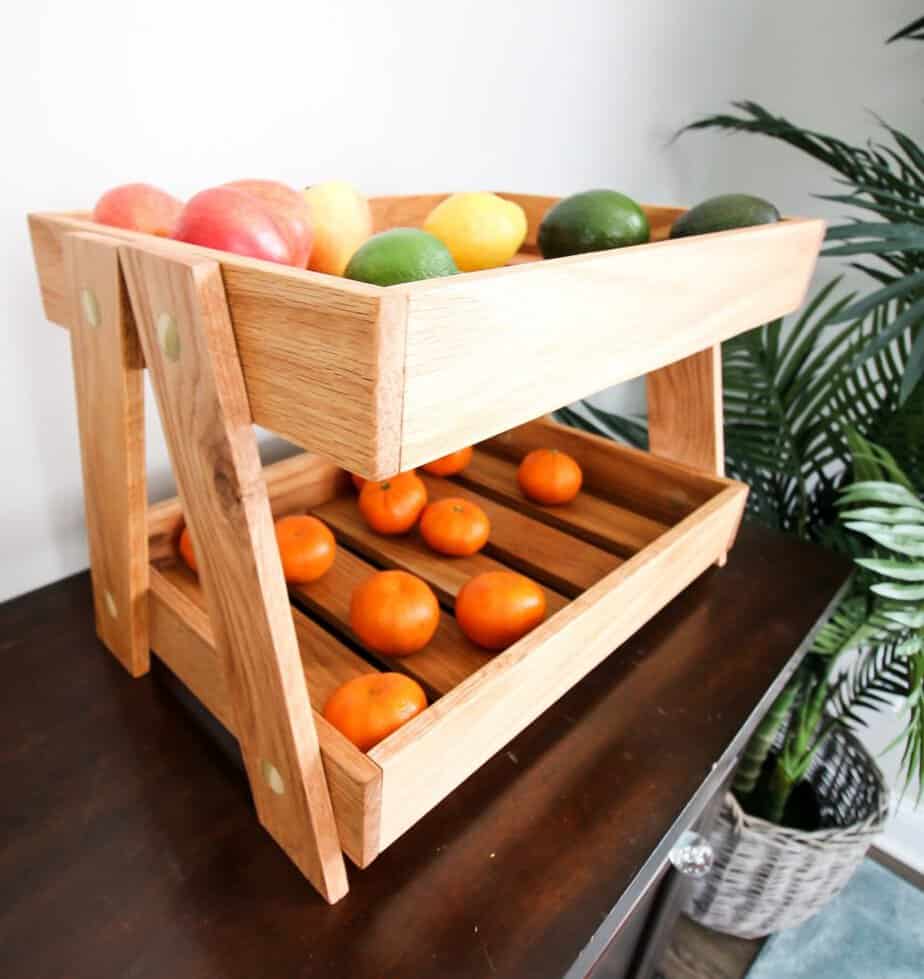
To build this tray, you only need four tools: a miter saw, a Kreg pocket hole jig, a drill, and a sander.
The entire project is constructed with ½" thick lumber that you can buy directly at the hardware store, giving it a low barrier to entry. No fancy tools required!
We built this tray using our Kreg jig because we didn't want to have unsightly nail holes through the outside of the edges that would have to be patched.
We love using our Kreg Jig products because they are user friendly and ensure stability in your wood projects.
Interested in the Kreg Jig? Click here to read our full Kreg Jig review and to see all of our Kreg Jig projects.
New to the Kreg Jig? Here is a step by step guide on how to use a Kreg Jig!
OR grab our FREE Kreg Jig Cheat Sheet here! Download the cheat sheet!
Wood serving tray construction
As mentioned, we created the plans for this wooden two tiered serving tray to be easy to replicate.
The first step was to build the trays. Each tray is four pieces of wood joined at 90 degree angles in the corners using pocket holes.
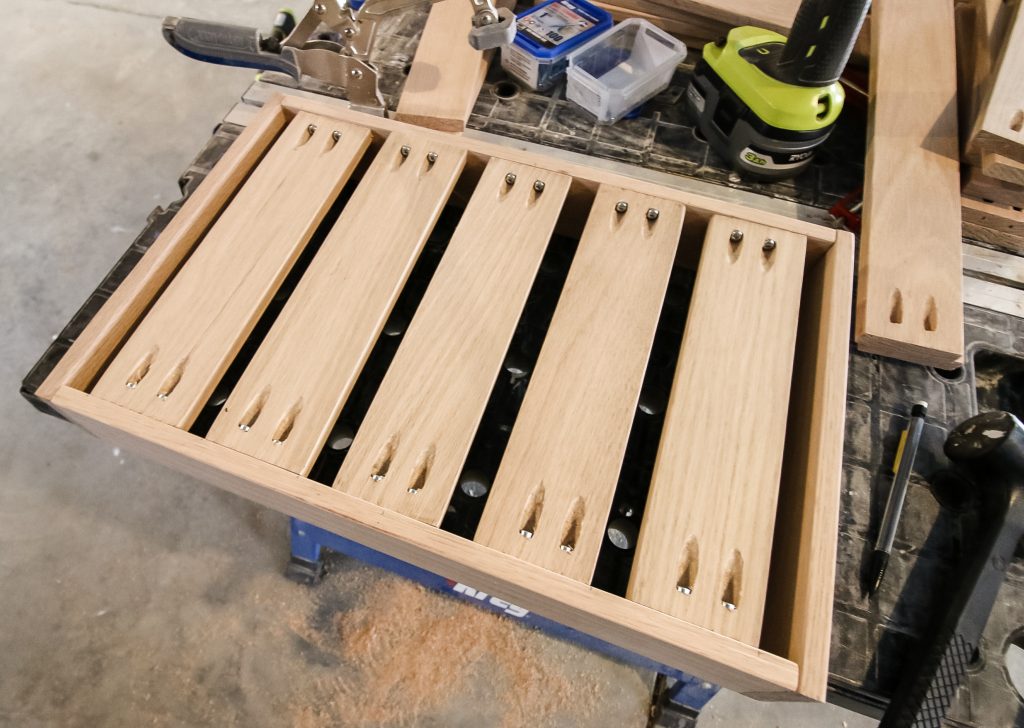
Then, each tray got five slats across the bottom secured into the side with pocket holes.
For each tray, all the pocket holes on the slats are hidden, but they are visible in the corners. Kreg makes great pocket hole plugs for gluing into the hole to disguise them.
However, for holes in ½" thick wood, these plugs don't work because they can't go deep enough into the hole. To conceal these as best we could, we made a mixture of wood glue and sawdust from the wood we were using and filled and sanded the holes.
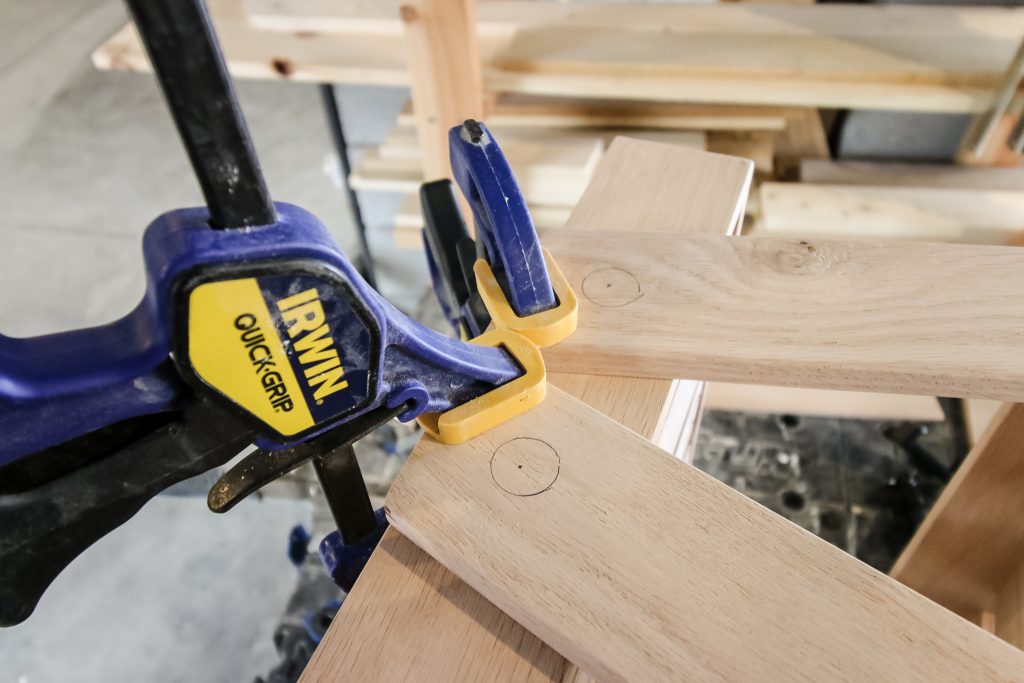
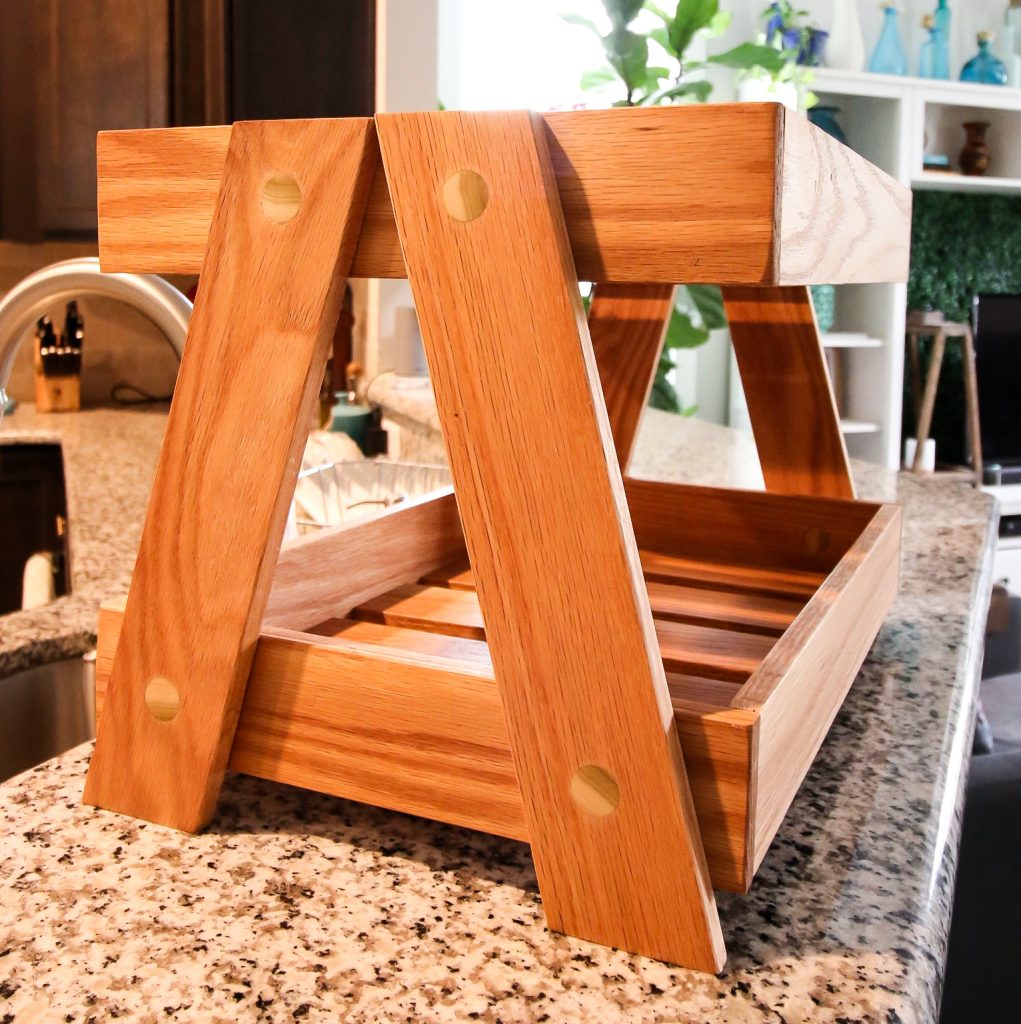
Once we had made both trays, we connected them with angled legs. The best way to do this was to use dowel joinery to connect the trays and legs.
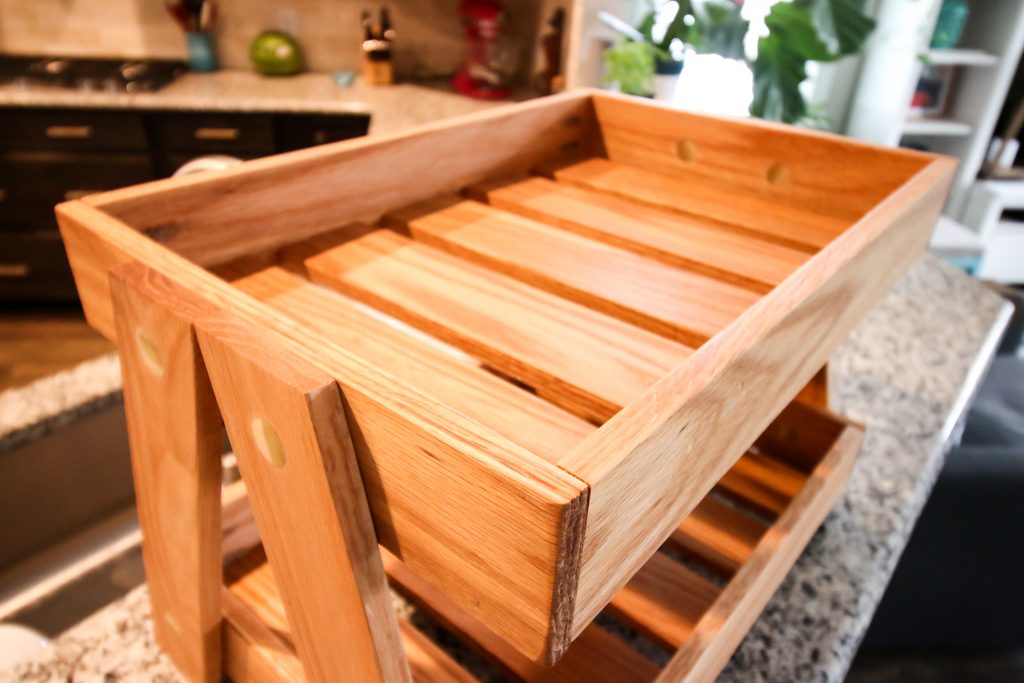
To use dowel joinery, simply drill a hole through both pieces of wood, then hammer a cut piece of dowel through the holes to secure them and cut/sand off any excess sticking out from the sides.
We oiled the whole thing down with Walrus Oil cutting board oil because we wanted it to have a food-safe finish since we'd be serving food on there.
Two tiered serving tray plans
We partnered with our friends at Kreg to bring you our DIY two tiered serving tray plans for your holiday hosting FOR FREE!
All you have to do is head over to BuildSomething.com to get the free plans for this project!
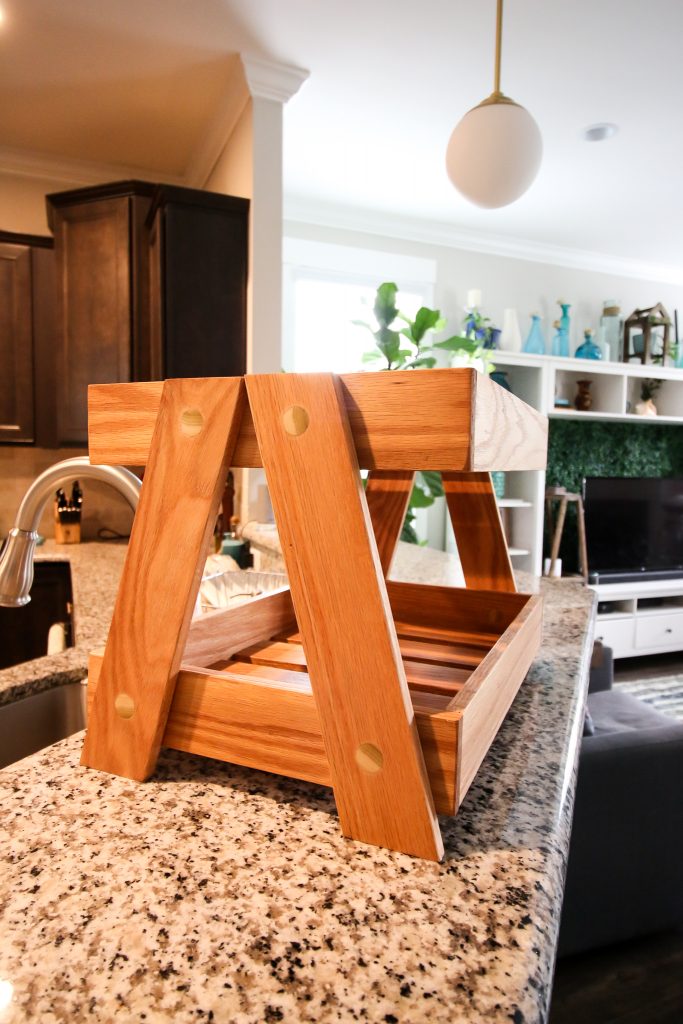
Our plans have the full material and cut list, plus the step-by-step instructions.
When you're on BuildSomething.com getting the free DIY two tiered serving tray plans, make sure you also grab our free plans for a waterfall edge cheeseboard that will wow your guests, plans for a new angled base dining table to build to fit all your family for the holidays, and this under bed rolling storage that you can store all your wrapping paper in.
We hope you're ready to spend the holidays safely hosting friends and family!
This post is sponsored by Kreg Tool. All opinions are our own and our opinion is that we love Kreg Tool. Thank you for supporting the brands that make Charleston Crafted possible!
Basic woodworking information for every project
Here are some of our most popular woodworking articles!
Shopping for wood:
Woodworking project ideas
- 100+ of the best woodworking project ideas!
- 62 easy beginning woodworking projects
- Woodworking project ideas to make and sell
See all our printable PDF woodworking plans!
Our favorite tools + supplies
- See all our favorite tool reviews
- How to use a Kreg jig
- The ultimate wood stain guide
- The best wood fillers for your project
Remember to also always use safety equipment while woodworking and using tools. Make sure you have proper eye protection, ear protection and a good mask to keep yourself safe.
Looking for something?
We've been doing this since 2012 so we have a LOT of blog posts!
Search stuff like: Ceiling Projects | DIY Plant Stands | Thrift Flips


Hey there, I'm Sean, the woodworking enthusiast and builder behind CharlestonCrafted.com! Since 2012, I've been sharing the magic of turning raw materials into beautiful creations. I love teaching others the art and satisfaction of woodworking and DIY. I try to inspire fellow crafters to make something extraordinary out of nothing at all.


