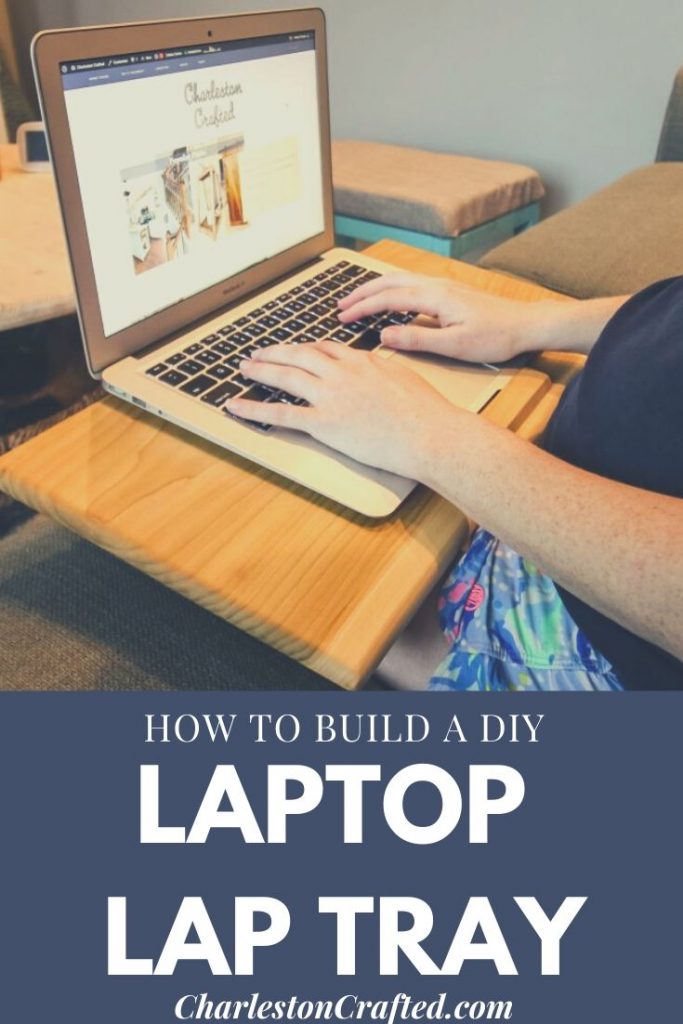
I recently made this DIY wooden laptop tray as our "wood anniversary" gift for Morgan. She spends so much time on the couch working on the laptop and always uses a pillow to prop up the laptop and I wanted to give her something better.
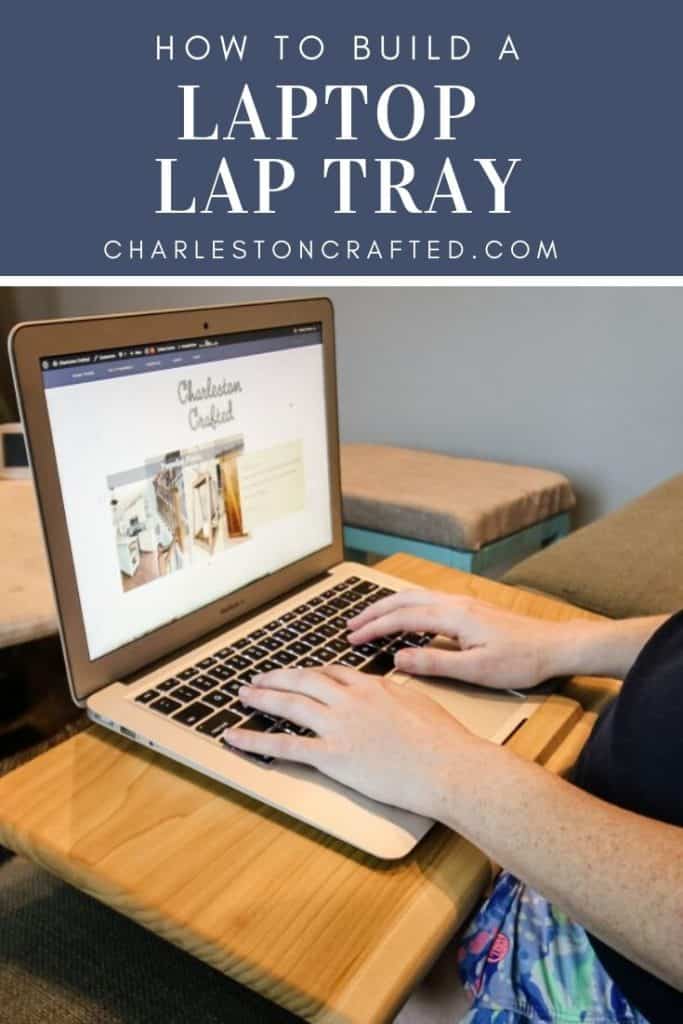
This simple tutorial will show you how to take a slab of wood and turn it into a beautiful laptop tray that works great in your lap or propped on a coffee table.
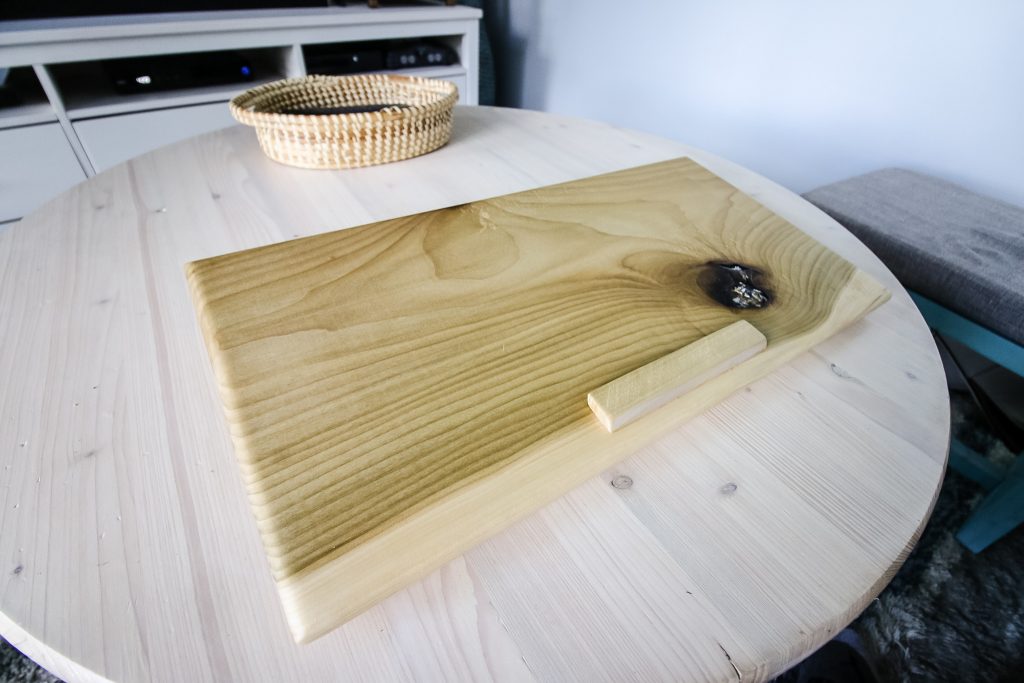
How to make a wooden laptop tray
This laptop tray works perfectly for our MacBook Air, which is about 8 ½" x 12". If you have a different laptop, you might want to measure and adjust to make sure that your laptop fits on top of this tray.
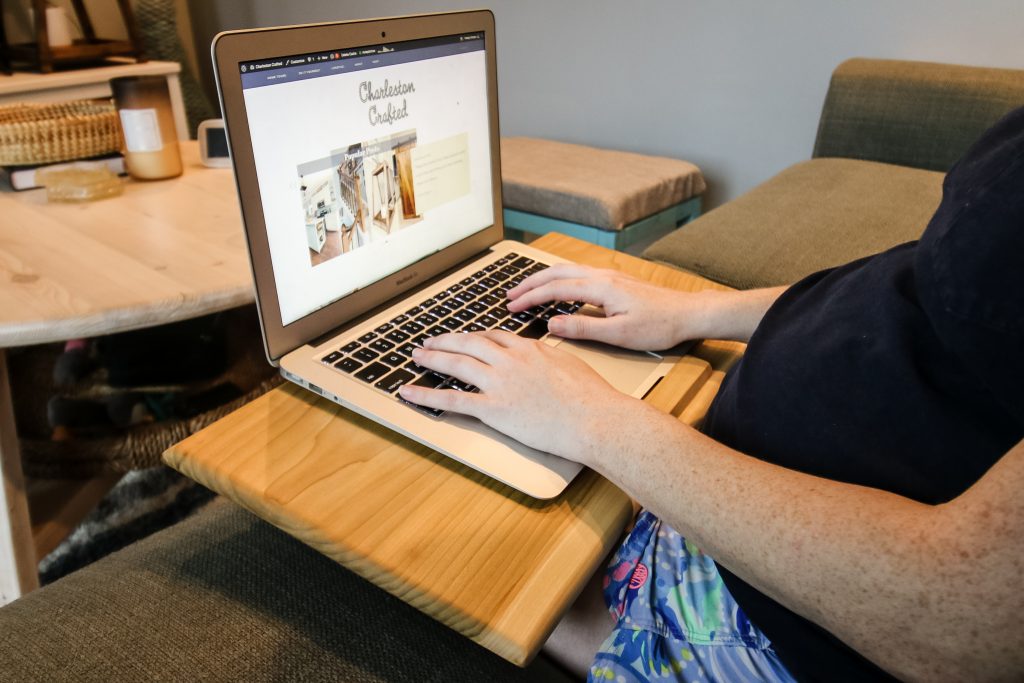
I used a slab of poplar that I got from a cabinet shop that was moving locations last year. However, you can easily do this with a store-bought piece of 1"x12" lumber.
The entire tray is just a few pieces of wood put together with glue. I didn't use any screws or nails because I wanted the whole thing to be sleek and smooth.
The main tray is a rectangle cut into 11"x20". Underneath, there is a "stand" that is 16" long, 1" tall, and 2" wide (tapered into an angle). Finally, there is a small 6" sliver glued onto the top at the base for the laptop to rest on and not slide.
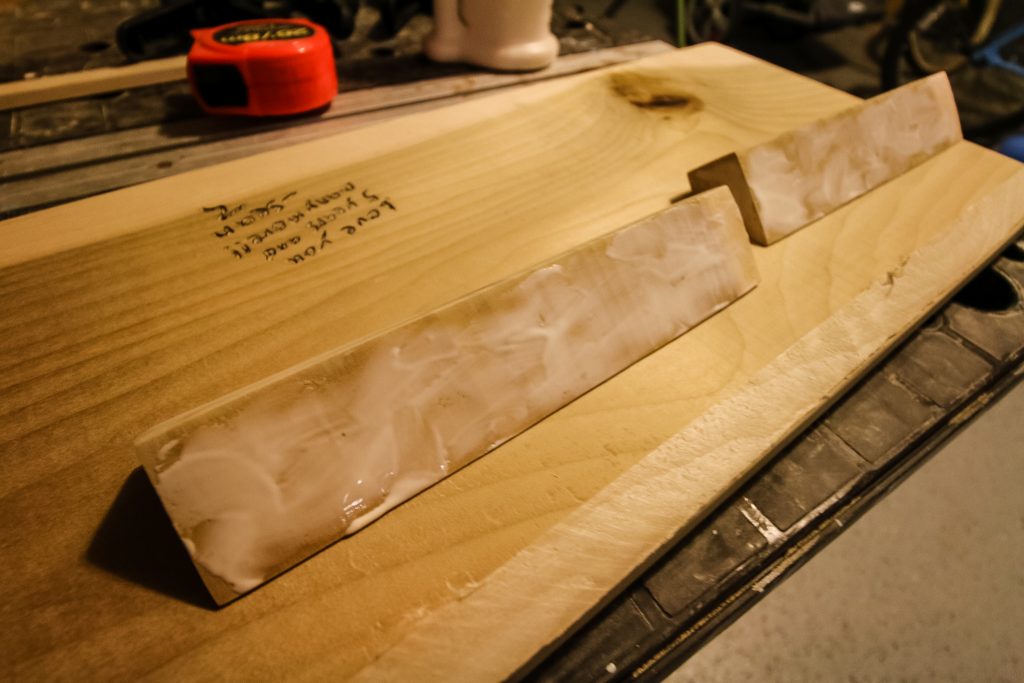
After cutting each piece, it was important to sand it really well, since this would be on Morgan's lap and her hands and wrists would be rubbing on it all the time. I used a series of sandpaper to get it really smooth. I also used a palm router to round off the edges of the tray to make it as smooth as can be.
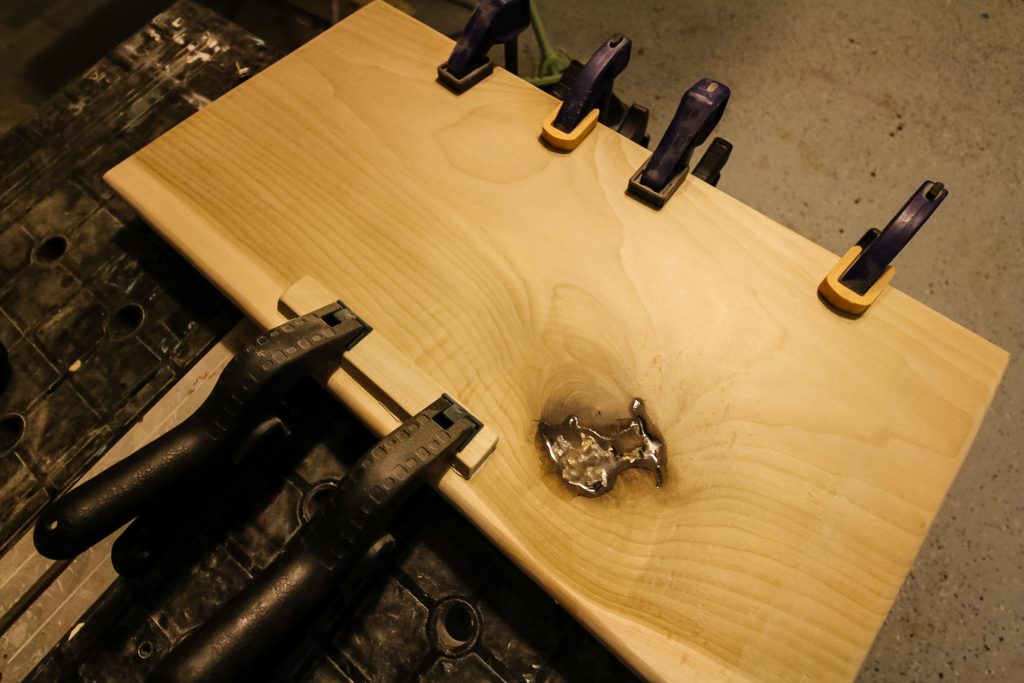
Once the pieces were smooth, I used wood glue and squeeze clamps to attach the stand and the top rest.
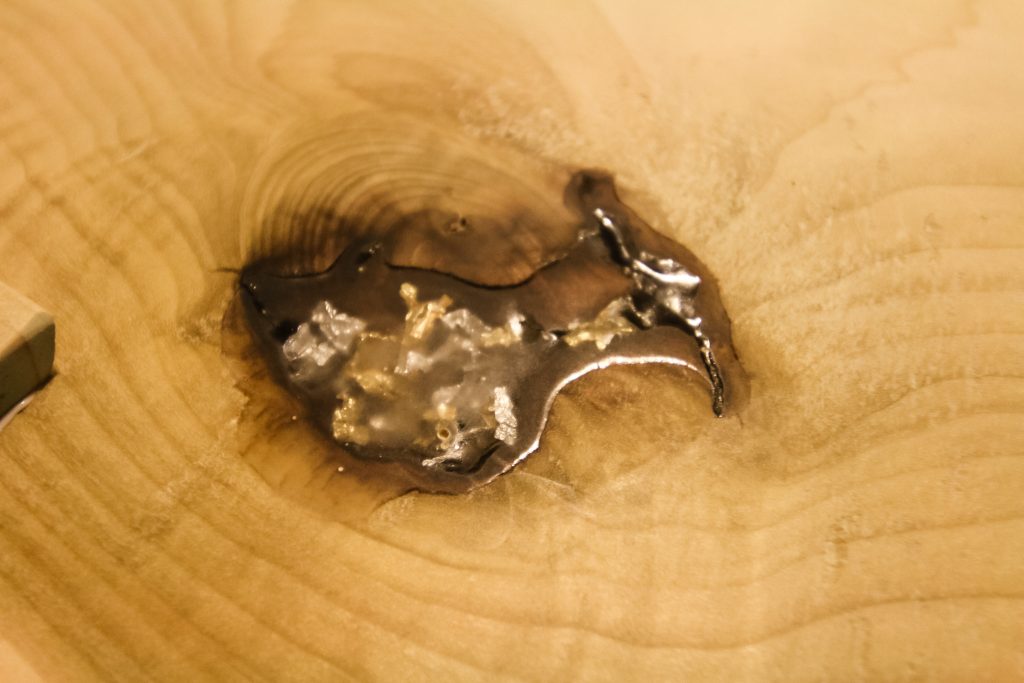
My piece of poplar also had a knot hole in it that I filled with leftover epoxy mixed with gold leaf flecks from the coasters I was making at the same time. This filled the hole and left a smooth finish.
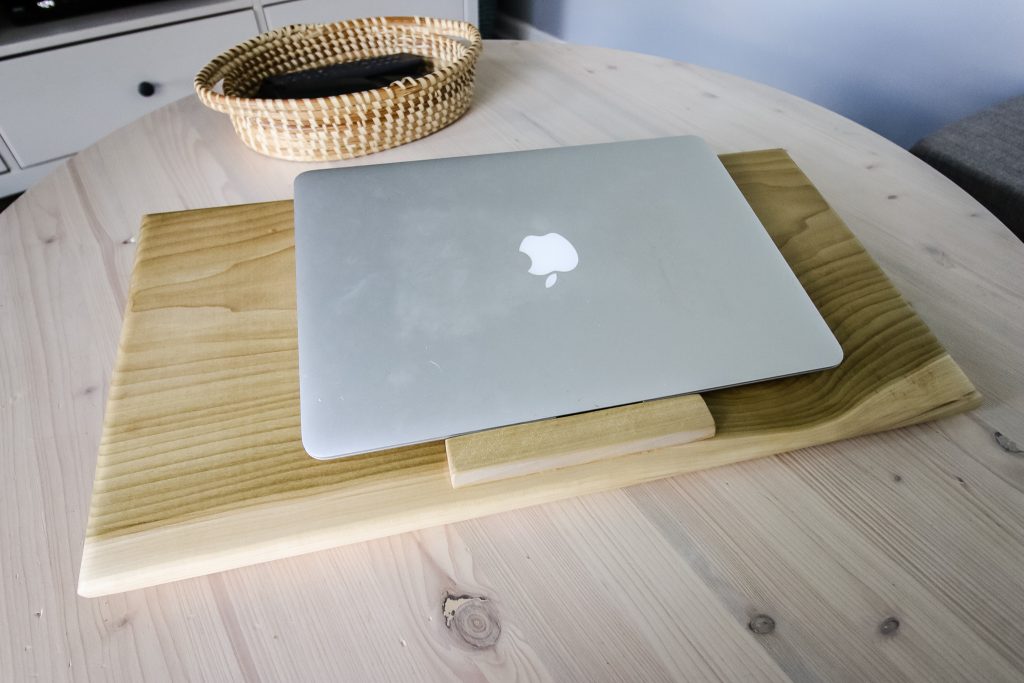
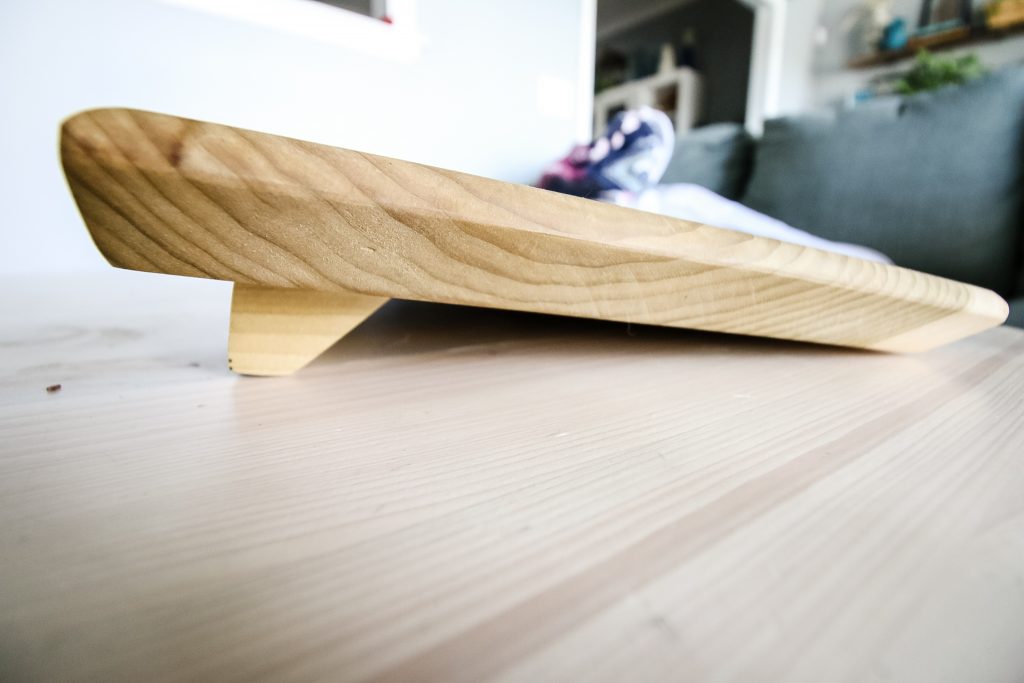
Finally, I wiped the whole thing down with Walrus Oil to give it a smooth, final feel and protection.

This DIY wooden laptop tray was a perfect gift idea for Morgan since she uses her laptop on the couch so much. It's a simple project to replicate and easy to make for someone in your life!
Looking for something?
We've been doing this since 2012 so we have a LOT of blog posts!
Search stuff like: Ceiling Projects | DIY Plant Stands | Thrift Flips


Hey there, I'm Sean, the woodworking enthusiast and builder behind CharlestonCrafted.com! Since 2012, I've been sharing the magic of turning raw materials into beautiful creations. I love teaching others the art and satisfaction of woodworking and DIY. I try to inspire fellow crafters to make something extraordinary out of nothing at all.


Ingo says
Walrus oel?????
Sean says
Yep, it's the best cutting board furniture finish brand on the market in my opinion. You can get it on Amazon- https://amzn.to/3esKQhG