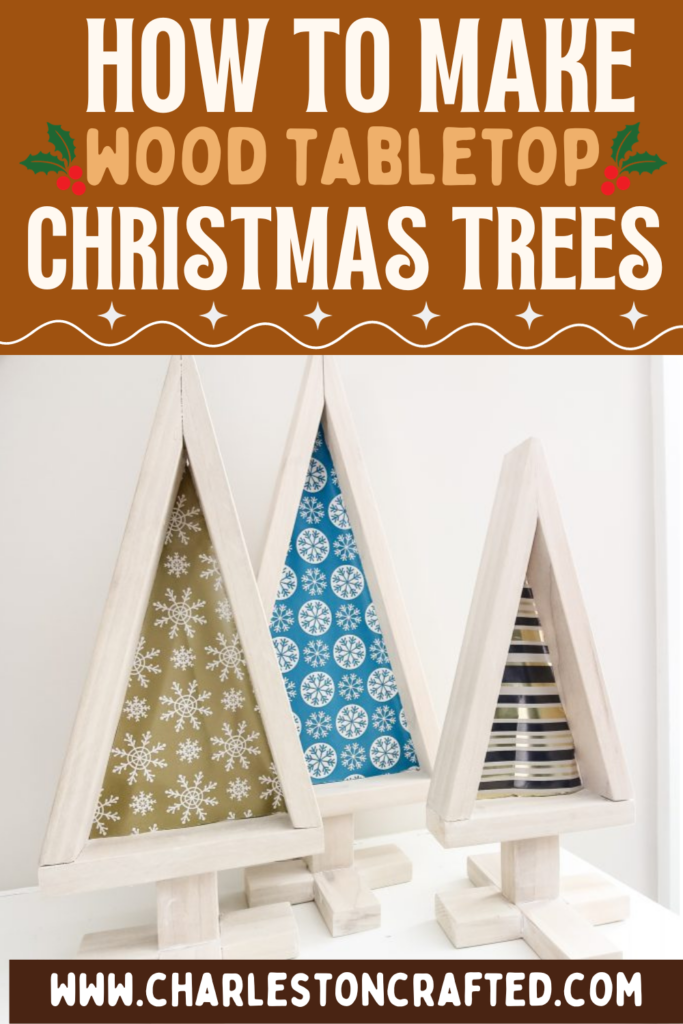
Add a little boho Christmas flair this year with these DIY wooden tabletop Christmas trees. They are great for a mantle, entry table or kitchen peninsula and are easy to make!
These DIY wooden tabletop Christmas trees are a great way to add a little bit of height and interest to your holiday decor.
The set of three sizes looks like a little forest!
These tabletop Christmas trees are easy to make and can coordinate with lots of Christmas decor.
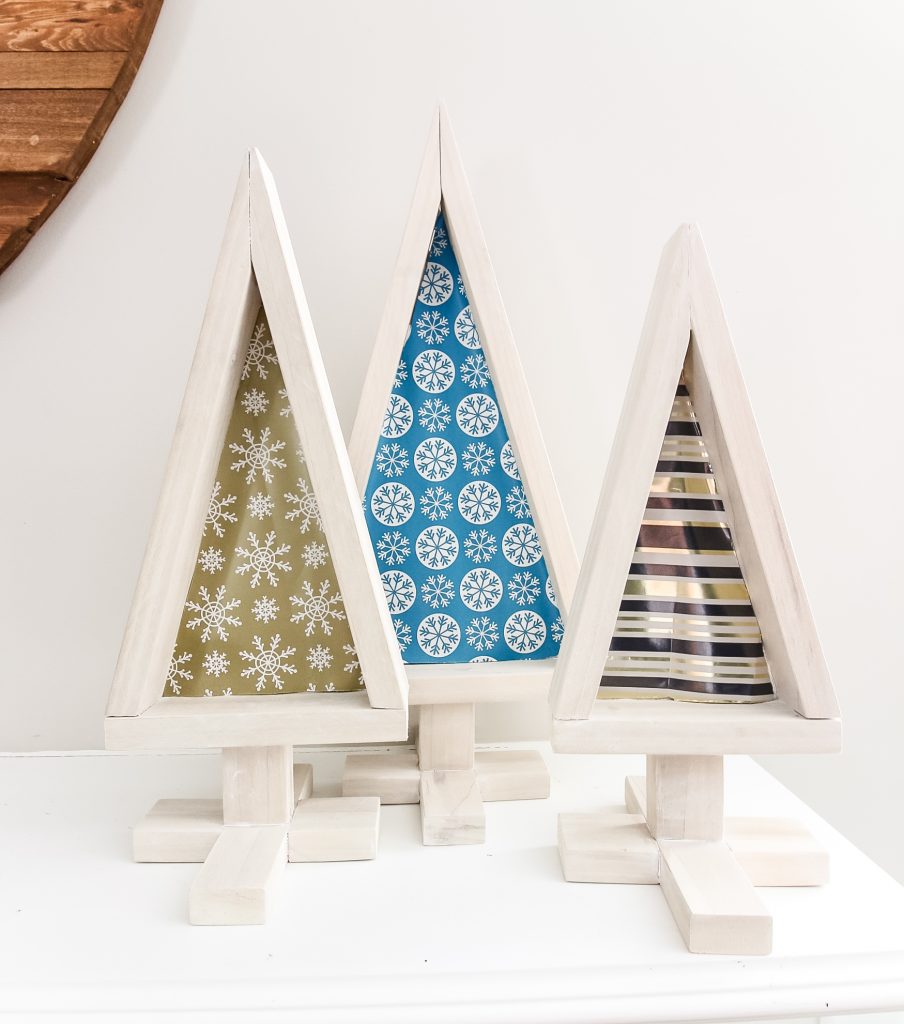
Adding your own wrapping paper lets you match any colorful style you want and you can swap it out each year!
These DIY wooden snowflakes are a great project too!
DIY wood tabletop Christmas trees
These DIY wooden tabletop Christmas trees are a really great project for the holidays. They look really cool and are totally customizable with your own wrapping paper!
This is a fairly simple woodworking project that doesn't require any fancy joinery.
Let's dive into what you need to do to make them for yourself!
How to make tabletop wooden Christmas trees
This post will show you how we made these, but make sure to scroll down and get the downloadable PDF woodworking plans to help you even more!
These come with a material list, cut list and step-by-step instructions with computer model imagery to make sure you have success!
To make these tabletop Christmas trees, we just used a miter saw, sander and wood glue.
The key to making these tabletop trees is to make them all different heights to be visually-appealing.
The entire tree is made from 1 ½" wide x ¾" thick wood. You may need a table saw to cut this down, or you can use whatever width wood you have on hand.
Step one: make tree bodies
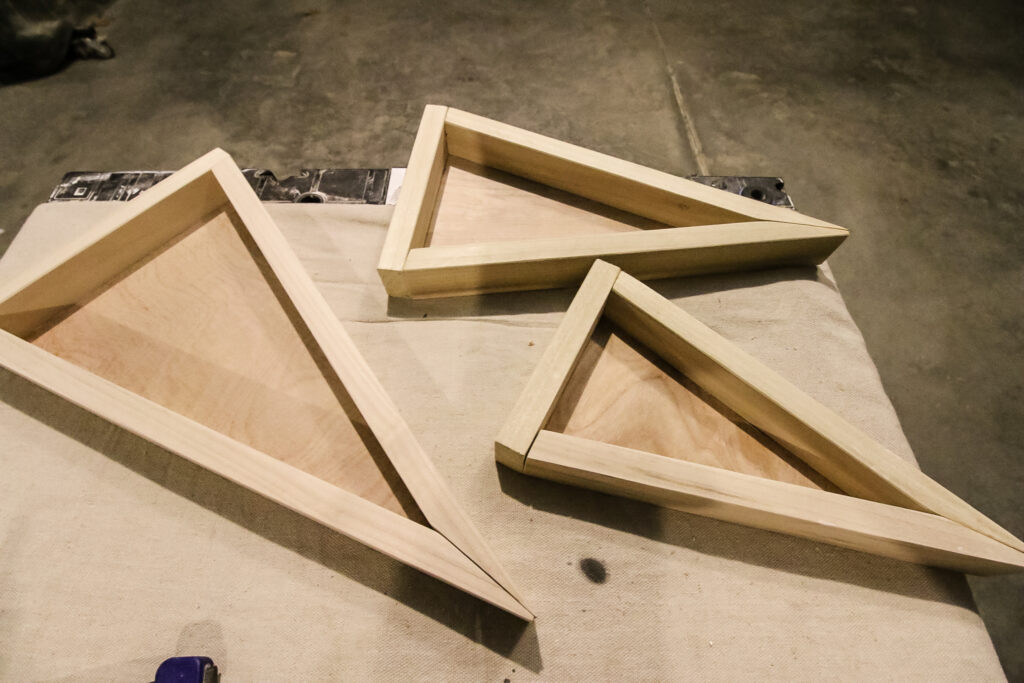
We started by making the tree bodies themselves.
To make these, we cut two equal length long sides and a short side to connect them.
The two long sides are cut with a very steep angle at the top point and cut straight across the bottom to attach to the short side.
You can also cut the sides more like our Christmas tree shaped card holder found here!
When cut, we added wood glue to each end and used painters tape to hold the ends together.
Once the tree bodies were dry, we traced the inner triangle onto a piece of ¼" plywood, cut that shape out, and glued it inside the body.
Step two: make tree base
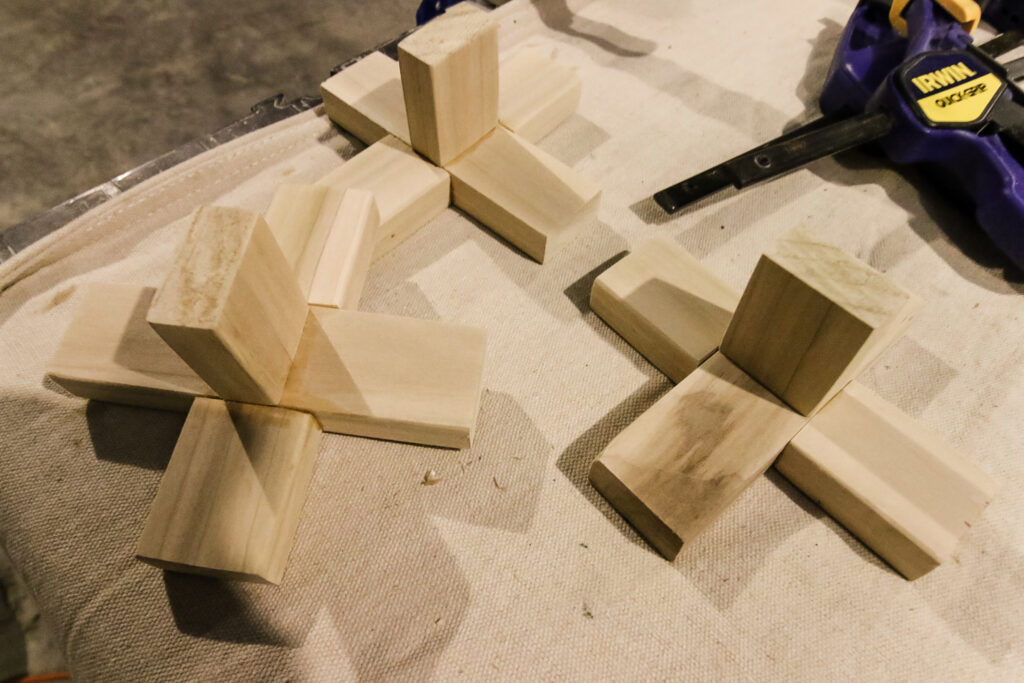
Next up was the base. For these, we glued two short cuts of wood to a slightly longer piece to form a plus sign.
Then we glued a trunk on top of that. As we said, there's no fancy joinery here, just wood glue and clamps.
Step three: attach base to body
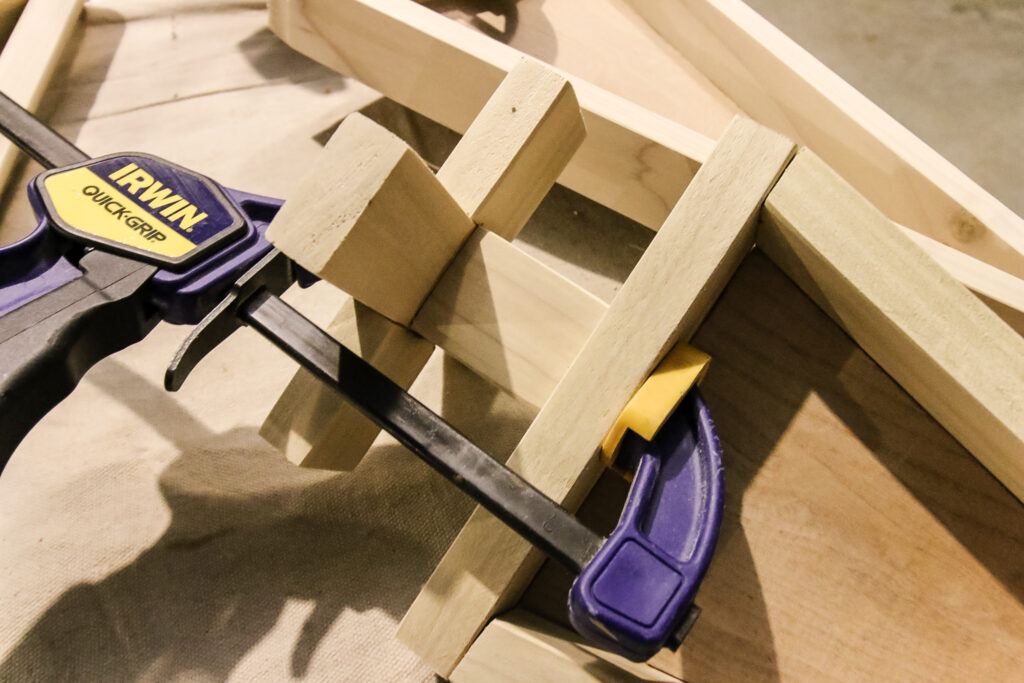
Finally, we attached the top to the base with wood glue.
Spread a little glue on top of the trunk piece and clamp it onto the base of the body and let sit until it's dry, about 24 hours.
Step four: Customizing the tabletop Christmas trees
These DIY wooden tabletop Christmas trees can be customized in a variety of ways.
The first is through stain or paint. We chose to use a whitewash stain to give the impression of snow.
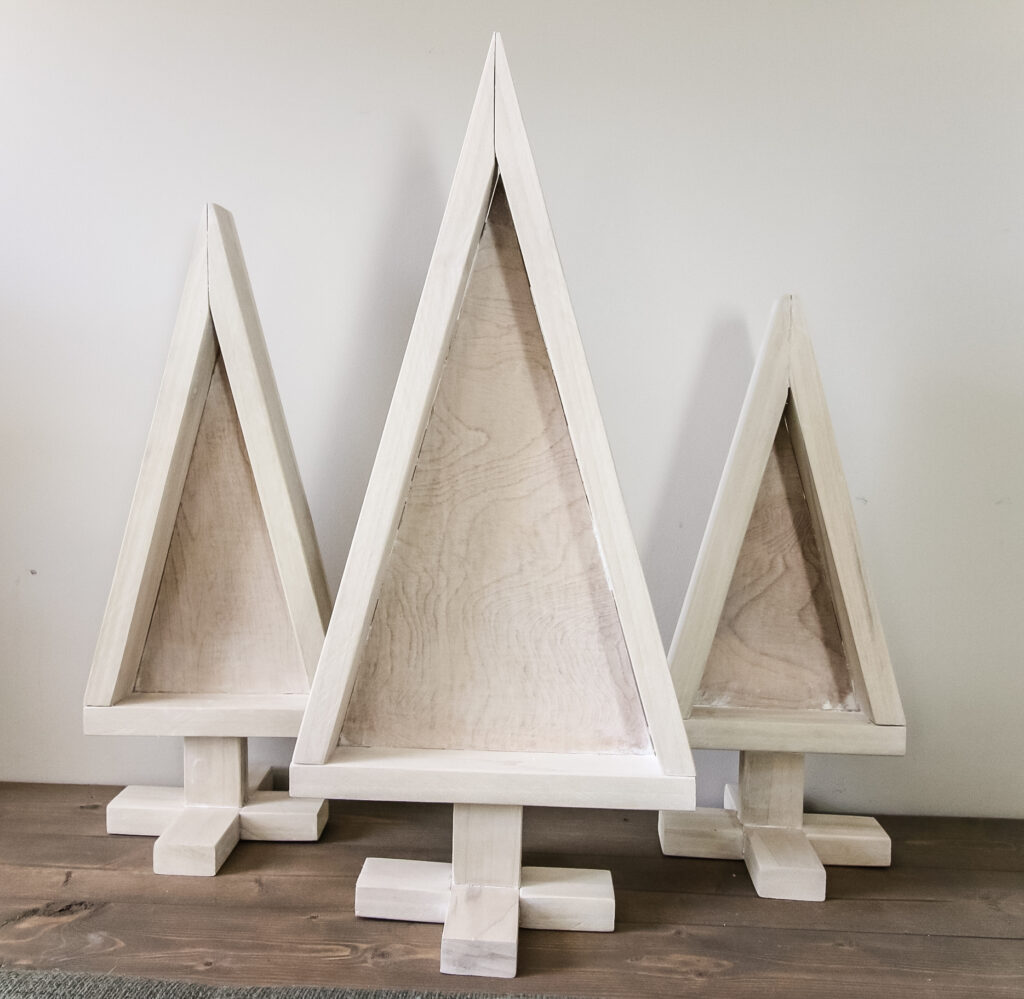
However, you could also choose to stain them brown to look more natural. Or you could paint them green and red for festive Christmas colors.
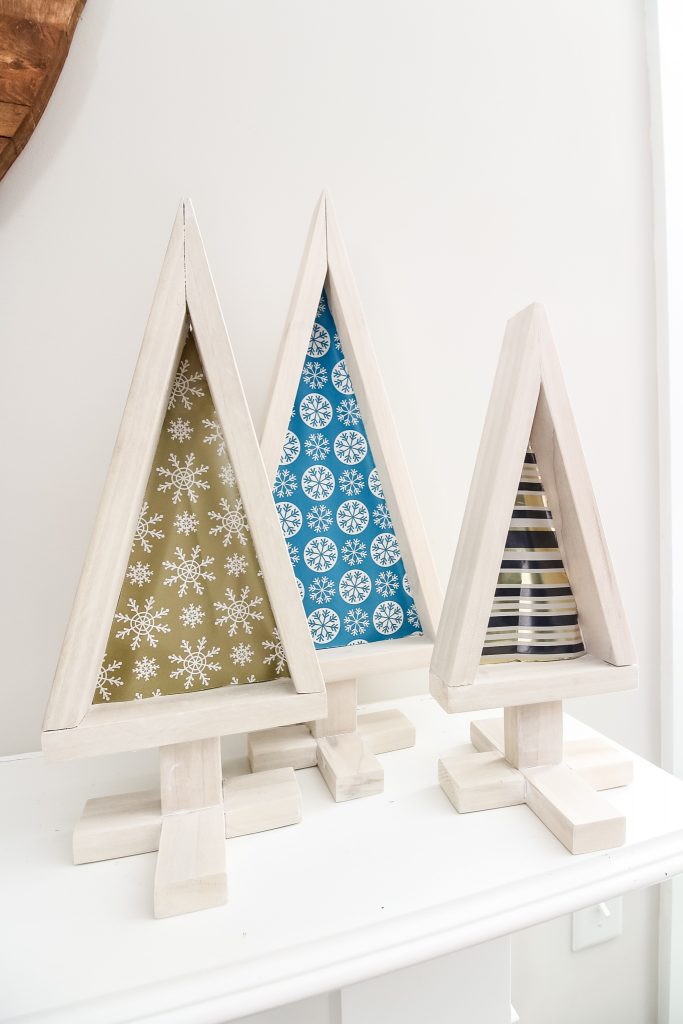
The other way to customize your trees is to cut triangles of wrapping paper and tape that to the inside of the tree.
The ¼" plywood serves as a great place to tape your wrapping paper. This can be changed each year!
Other DIY Christmas tree shaped decor ideas
Don't miss some of our other tree-shaped DIY Christmas decor ideas to keep you busy this holiday season!
- DIY wooden tabletop Christmas trees
- DIY outdoor slatted Christmas tree
- DIY dowel Christmas tree
- Boho wall hanging Christmas tree
- DIY Christmas tree poinsettia stand
- DIY Christmas tree shaped card holder
Wooden tabletop Christmas tree plans
If you'd like to make this Christmas decor beauty, we have plans for you!
Our plans will give you the full cut list and steps for how to make your trees and bring the holiday spirit!
Video tutorial
Here is a video of the process to make these wooden Christmas trees!
Where to display your tabletop Christmas decor
These trees look great almost anywhere. A good option would be on your mantle. You can build our wooden stocking hanger and set them right on top!
These trees would also look good on a console table or on your kitchen peninsula.
So bring some holiday cheer this year with our DIY wooden tabletop Christmas trees!
Looking for something?
We've been doing this since 2012 so we have a LOT of blog posts!
Search stuff like: Ceiling Projects | DIY Plant Stands | Thrift Flips


Hey there, I'm Sean, the woodworking enthusiast and builder behind CharlestonCrafted.com! Since 2012, I've been sharing the magic of turning raw materials into beautiful creations. I love teaching others the art and satisfaction of woodworking and DIY. I try to inspire fellow crafters to make something extraordinary out of nothing at all.


