Looking for the easiest way to paint shutters? It can actually be a really simple process. You don't need to buy new shutters to replace cracked or faded ones. A new coat of paint is the way to go.
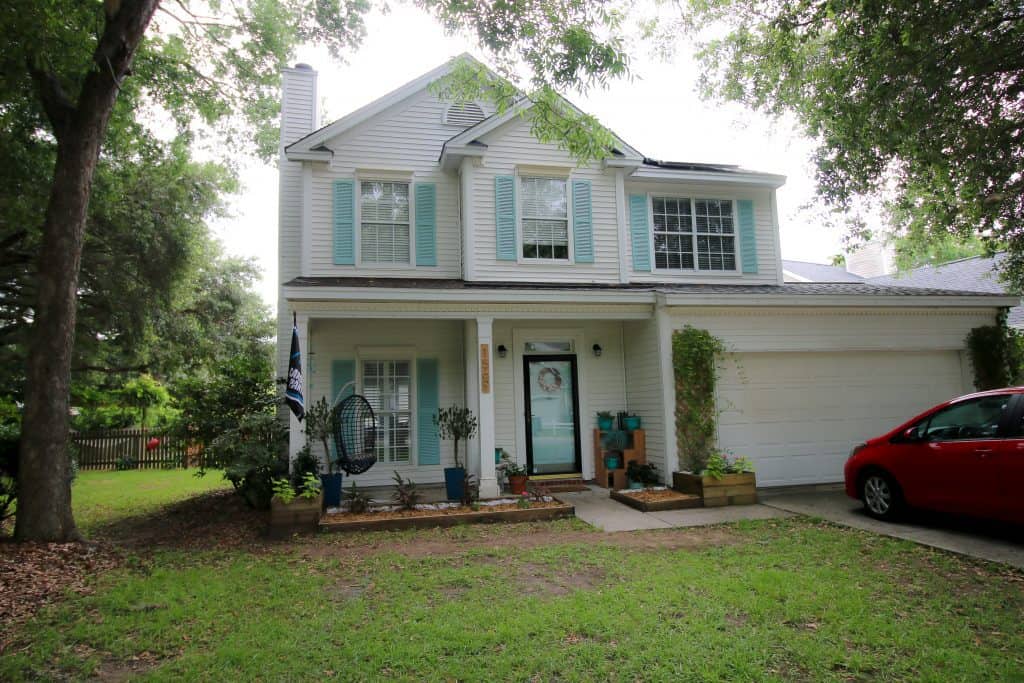
How to paint shutters
Click here to get this project tutorial in a FREE printable PDF!
Many homes, like ours, have shutters that are only for aesthetic appeal and don't actually function.
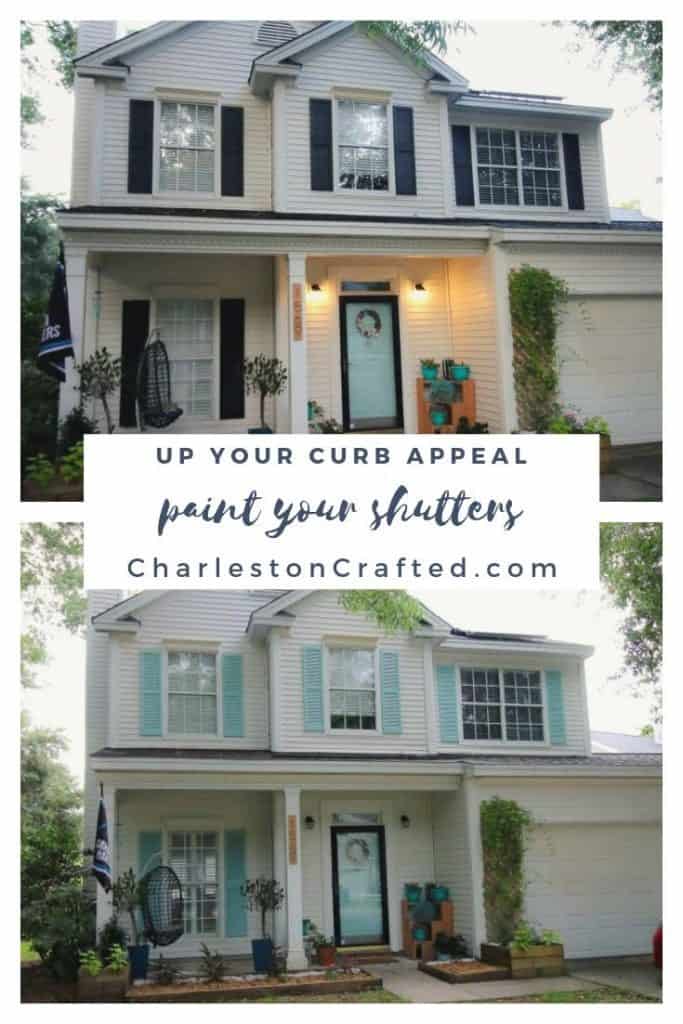
Our shutters were black and the lower ones were chipped and peeling.
We are much more of a bright colors family, so we wanted to brighten the front of our home by paint spraying our shutters!
We chose Sherwin Williams Aquaverde for the shutters, which is one shade darker than we had previously painted our front door.
Removing the shutters
The first step was to remove all of the shutters from the house. This was as simple as unscrewing six screws from each one.
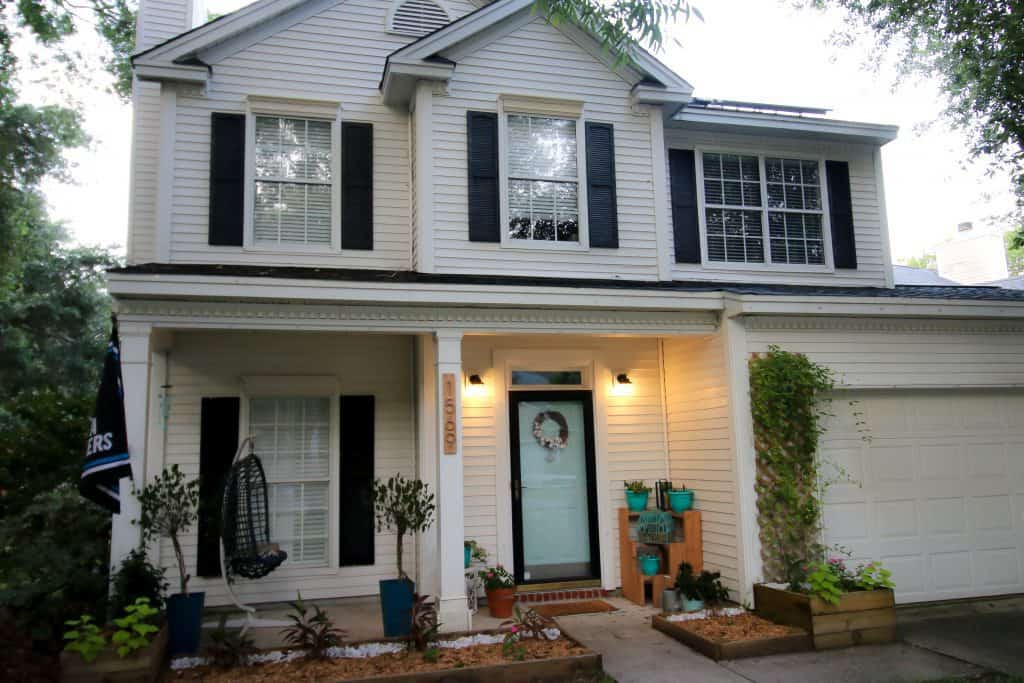
Turns out, our upper shutters were all black plastic. The lower shutters were previously white that had been painted black and were chipping.
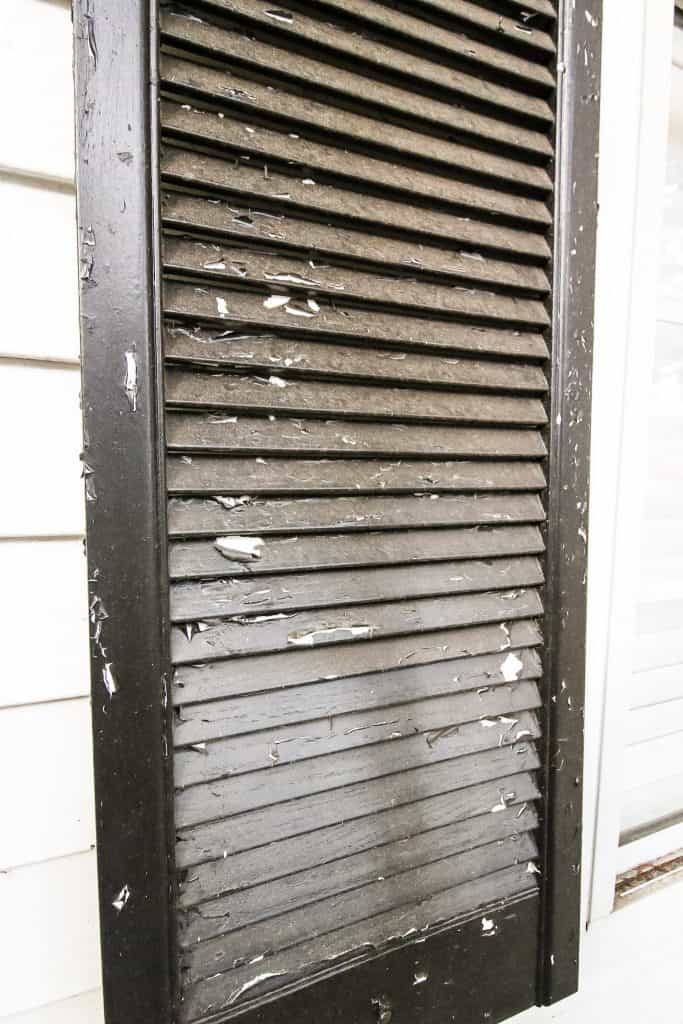
We cleaned them all off and scraped the paint from the lower shutters.
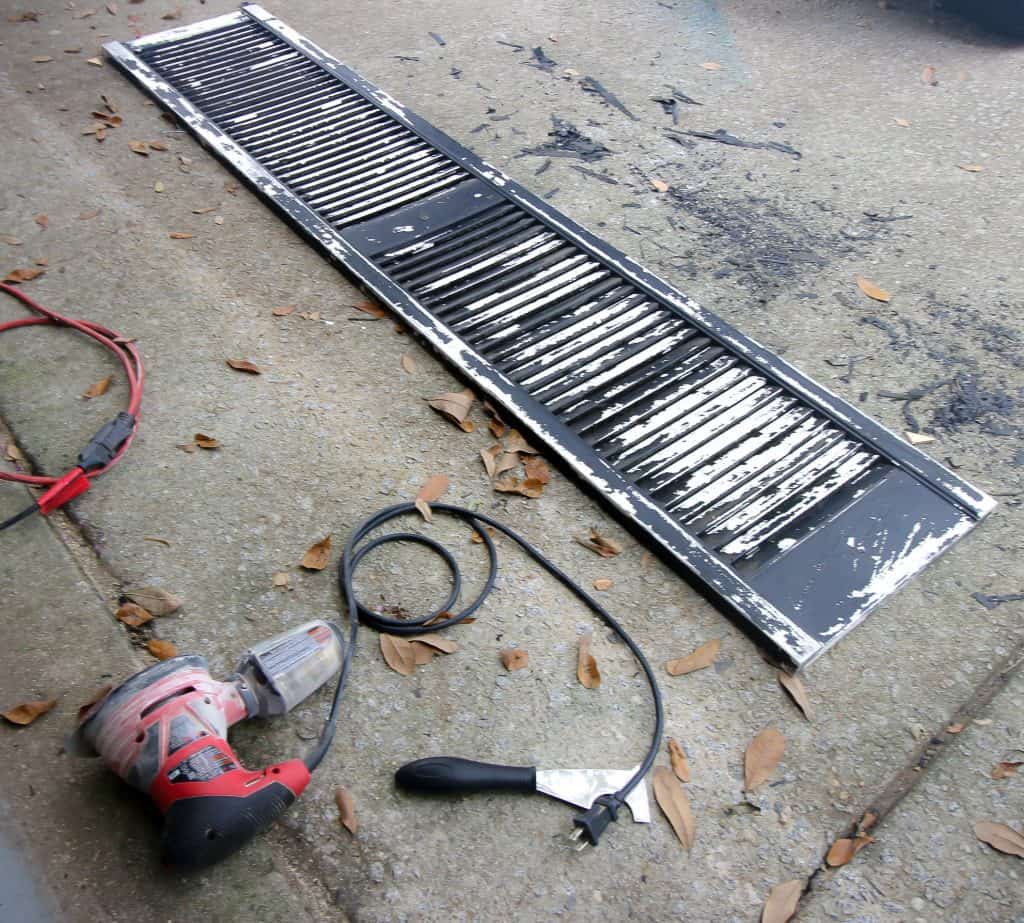
Easiest way to paint shutters
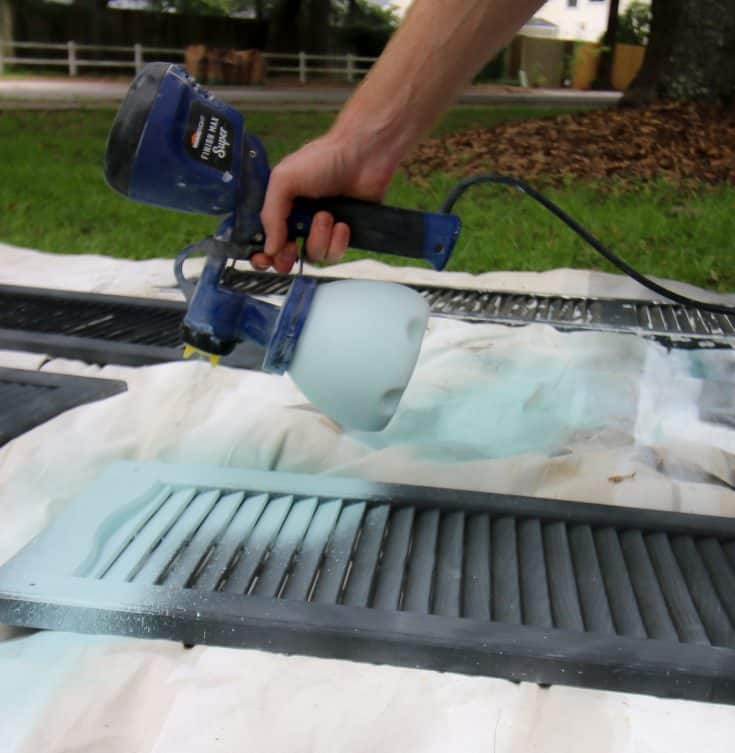
Our shutters consist of dozens of tiny slats, so the easiest way to paint shutters is with a sprayer.
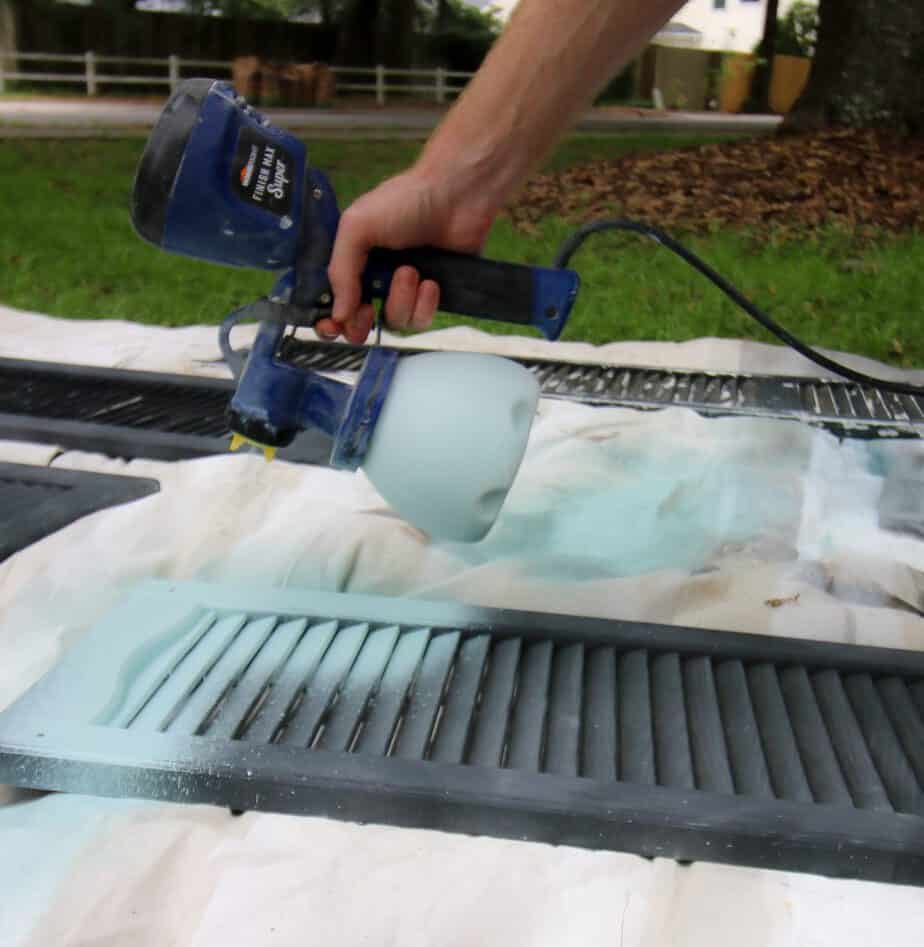
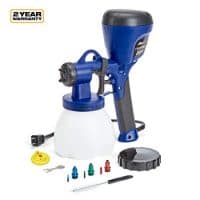
We used our HomeRight Super Finish Max paint sprayer to refresh all of our shutters with a new coat of paint!
We absolutely love the HomeRight Super Finish Max because of how light, compact and easy to use it is.
We've used our Super Finish Max on a few other projects, like the wainscoting and coffered ceiling in the nursery and our interior door makeover.
We seriously love this thing. The Super Finish Max sprays evenly and completely and gives great coverage.
Here is our best advice for how to open a paint can without making a mess.
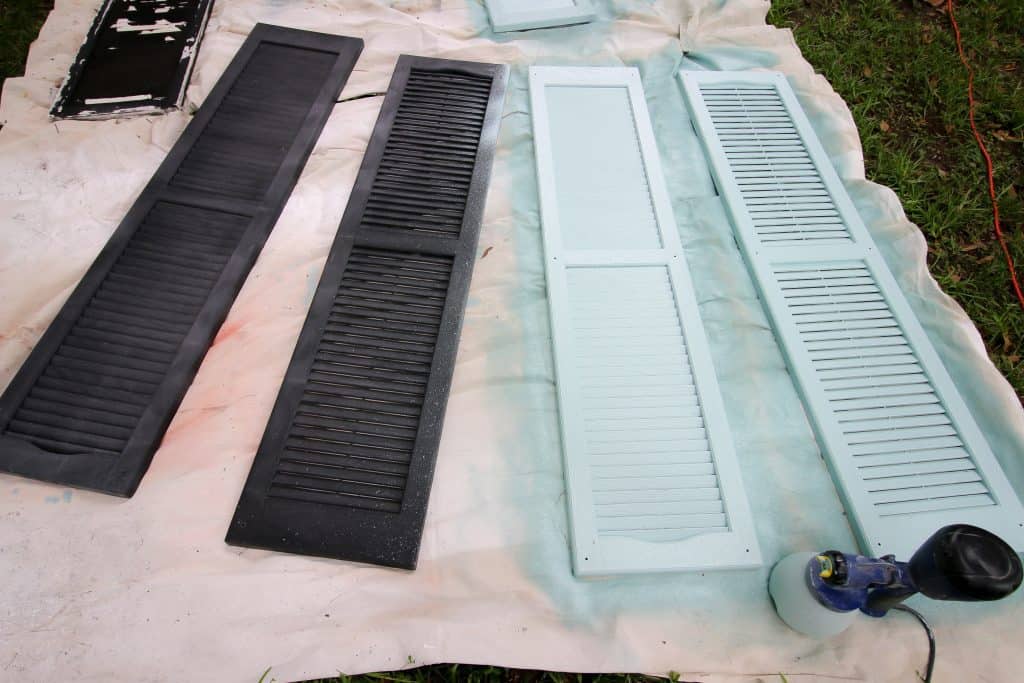
We laid all the shutters out on tarps in the yard and gave them a good coat.
When painting shutters, make sure to spray at an angle to get the undersides of the slats.
Rehanging the shutters
It's best to wait 24 hours to rehang shutters.
They will be dry to the touch before then, but since you have to carry them and they are outside, it's best to prop them up somewhere until the next day.
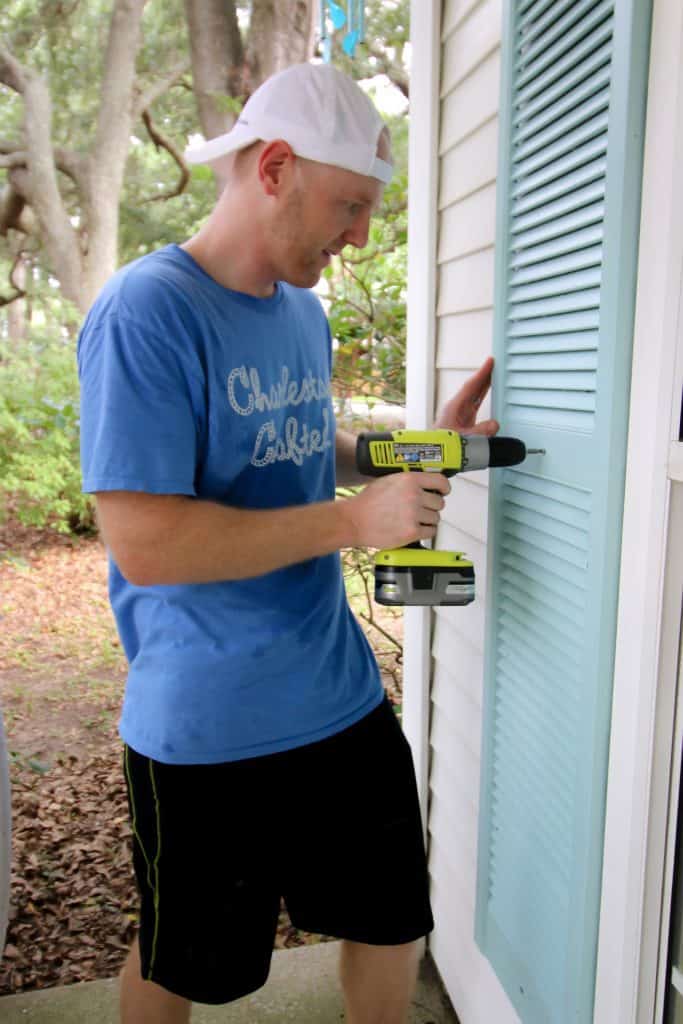
We used the exact same screws to hang the shutters back up in the same place.
Each one was marked on the back just in case so that they would go back up in the same place.
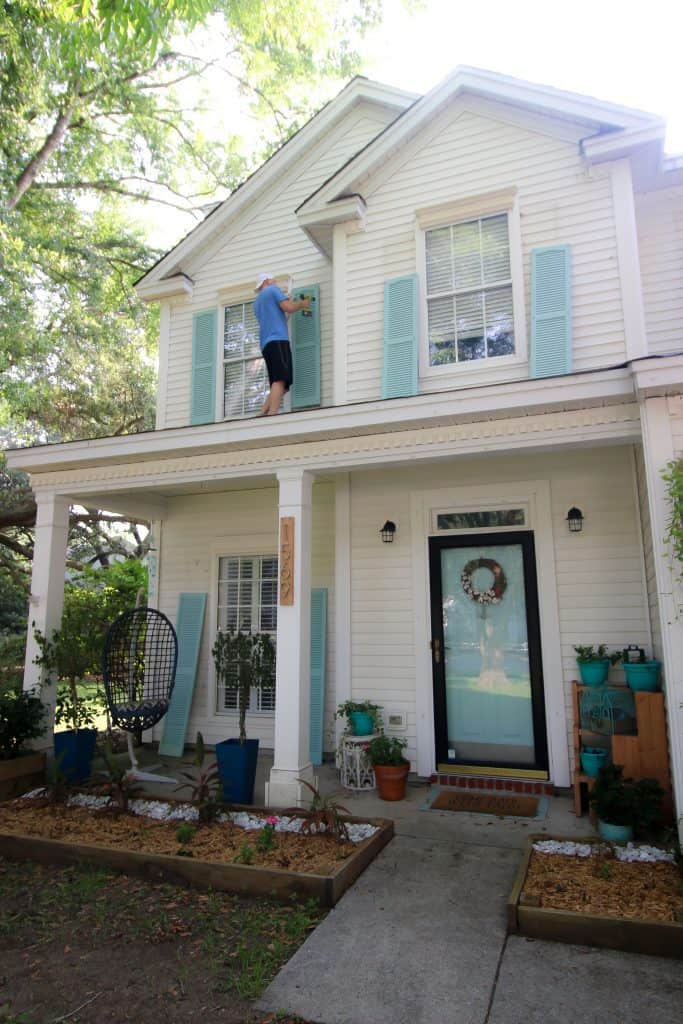
We are in love with how these turned out!
They make our house look super beachy, which is consistent with the inside of our house.
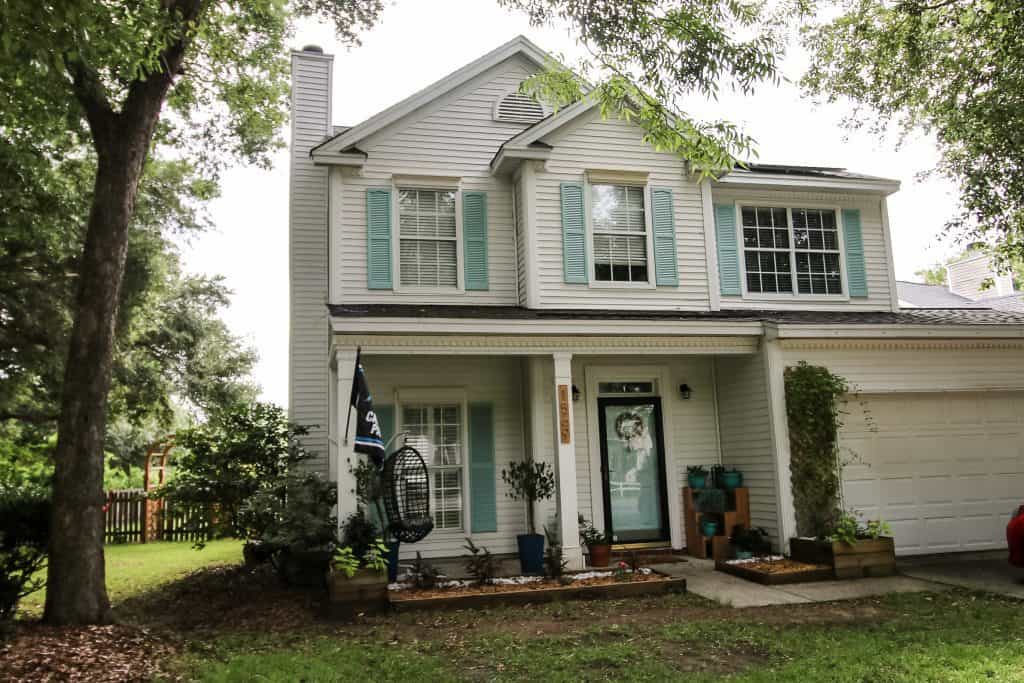
Using a paint sprayer is the easiest way to paint shutters, and that's made extra easy thanks to the HomeRight Super Finish Max paint sprayer.
We would recommend this sprayer to everyone for projects ranging from shutters to furniture to walls.
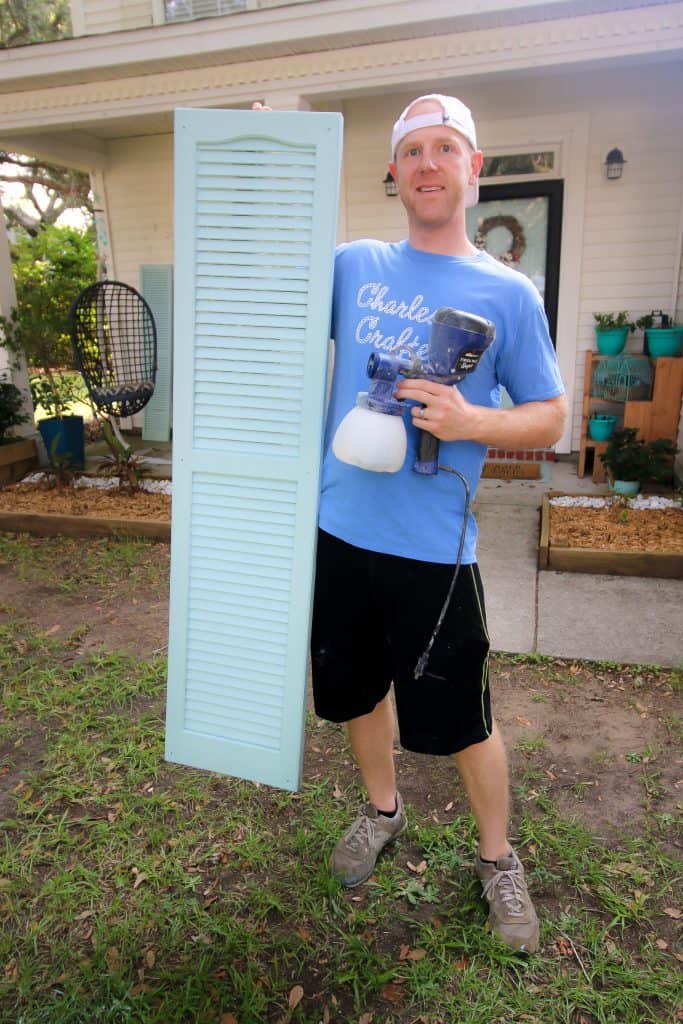
This post was sponsored by HomeRight. All opinions are our own and our opinion is that we love HomeRight products.
The post also contains affiliate links, which means if you click and purchase the Super Finish Max sprayer with our link, we will receive a small small amount at no extra cost to you.
Thank you for supporting the brands that make Charleston Crafted possible!
Easiest Way to Paint Shutters
Using a paint sprayer to paint your shutters is the easiest way to paint shutters. Using a great paint sprayer will help you cover your shutters evenly and quickly and will get into the nooks and crannies of your shutters.
Materials
- Exterior grade paint
Tools
- Paint Sprayer
Instructions
- Remove your shutters by unscrewing them from the house.
- Sand or scrape the shutters if they have peeling paint, then wipe them free of dust and dirt.
- Lay your shutters out on tarps.
- Use a paint sprayer to smoothly and evenly spray your shutters, making sure to get all the angles.
- Let dry for a couple of hours, then move to a covered area to fully cure overnight.
- Rehang the shutters on your home.
Recommended Products
As an Amazon Associate and member of other affiliate programs, I earn from qualifying purchases.
Looking for something?
We've been doing this since 2012 so we have a LOT of blog posts!
Search stuff like: Ceiling Projects | DIY Plant Stands | Thrift Flips


Hey there, I'm Sean, the woodworking enthusiast and builder behind CharlestonCrafted.com! Since 2012, I've been sharing the magic of turning raw materials into beautiful creations. I love teaching others the art and satisfaction of woodworking and DIY. I try to inspire fellow crafters to make something extraordinary out of nothing at all.



Laurene Shewan says
It looks great and I love the teal accents. Charleston is one of my favs as it's so easy to get around, even without a car.
Jan Riemer says
Fabulous update! Love the color. Looks so fresh and clean.
Morgan says
Thanks so much Jan!