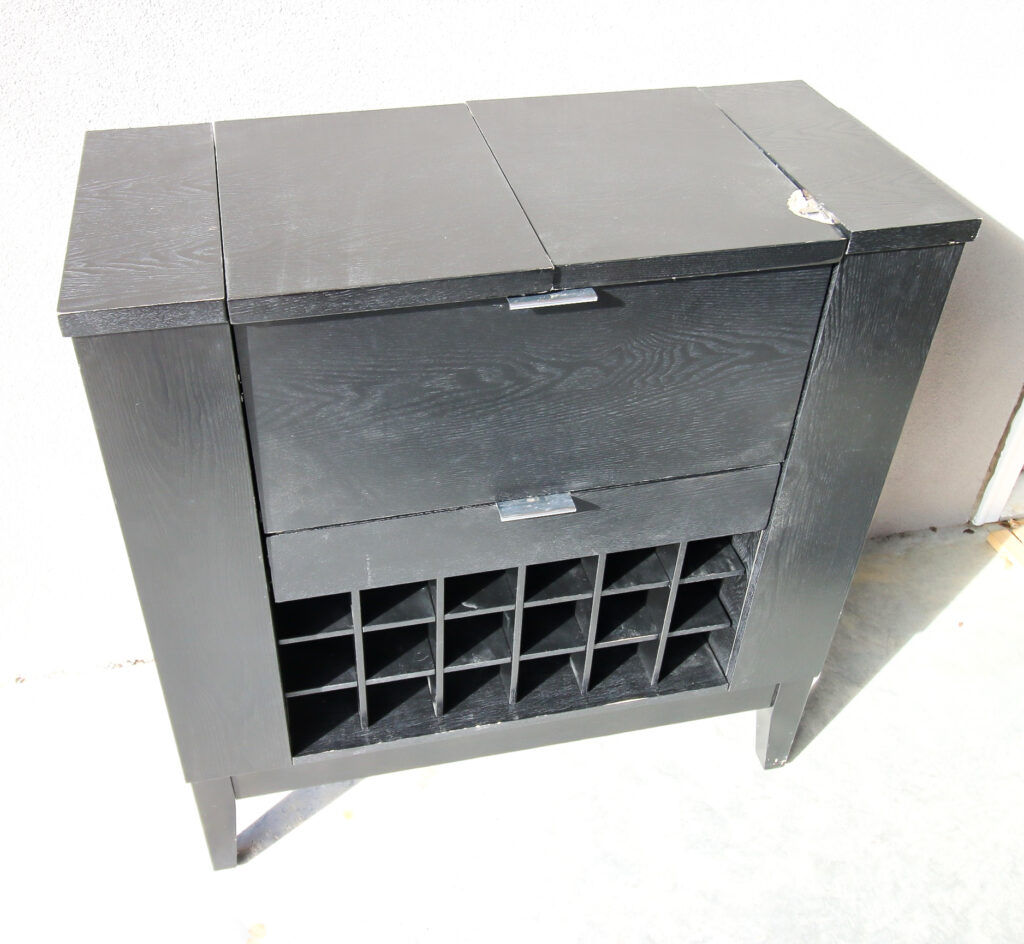
We found a cool flip top bar in bad shape at the thrift store for only $25. We gave it a little care and flipped it into a beautiful and functional piece!
This post was sponsored by Mohawk Finishing Products, which offers a wide range of products to help you fix wood, metal, and leather goods. Thank you for supporting the brands that make Charleston Crafted possible!
We have always loved to flipped thrifted furniture!
One of the very first projects we EVER did together was take an old side table that Sean found by the dumpster at our old apartment and made it brand new.
We've also completely redone coffee tables and benches and all sorts of furniture.
Flipping old, damaged furniture allows you to breathe new life into an old piece and save it from the landfill.
Flipping furniture can also enable you to try new, trendy techniques and styles that you might not usually try in your home.
So when Morgan found this busted flip top bar at the thrift store for only $25, she grabbed it and we got to work.
Scroll through to see the process and the final results!
How we flipped a flip top bar
So the flip top bar we got is really cool... but damaged and outdated.
It's a solid black piece with silver handles and finishings. Not up to date.
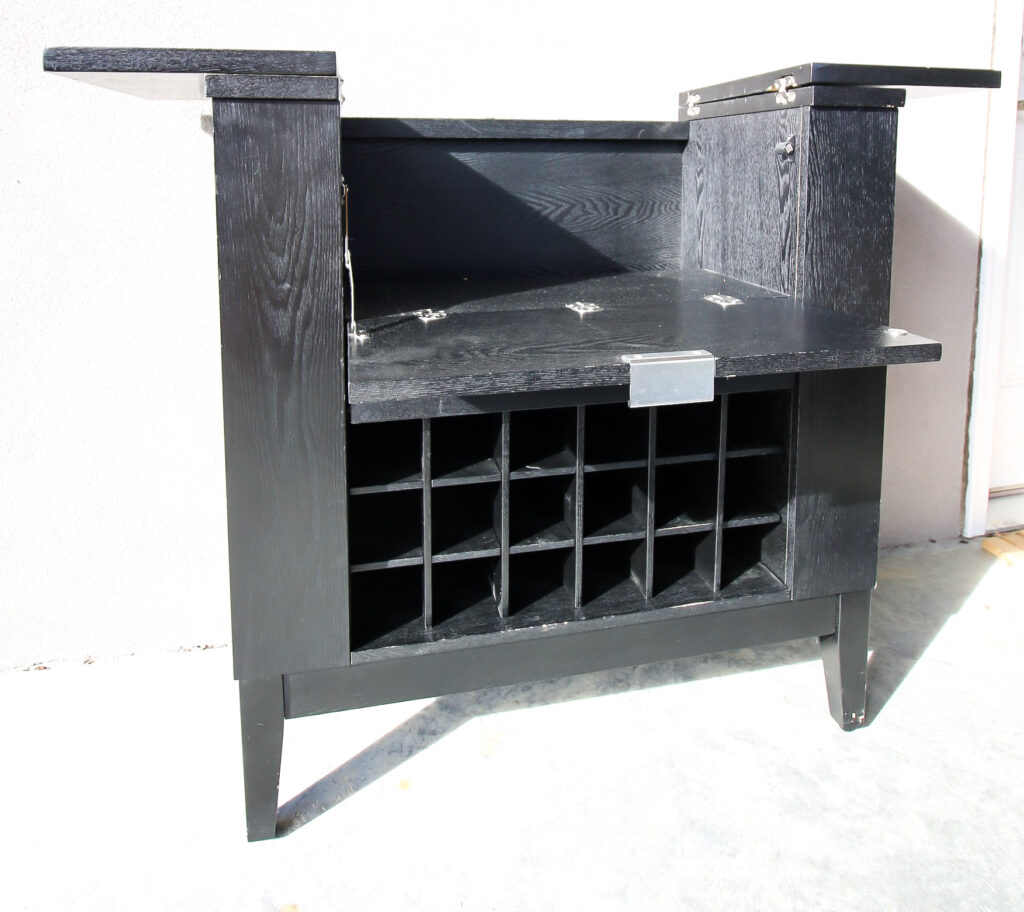
It also had a very large chunk missing around one of the hinges, therefore labeling it as "damaged" and making it only $25.
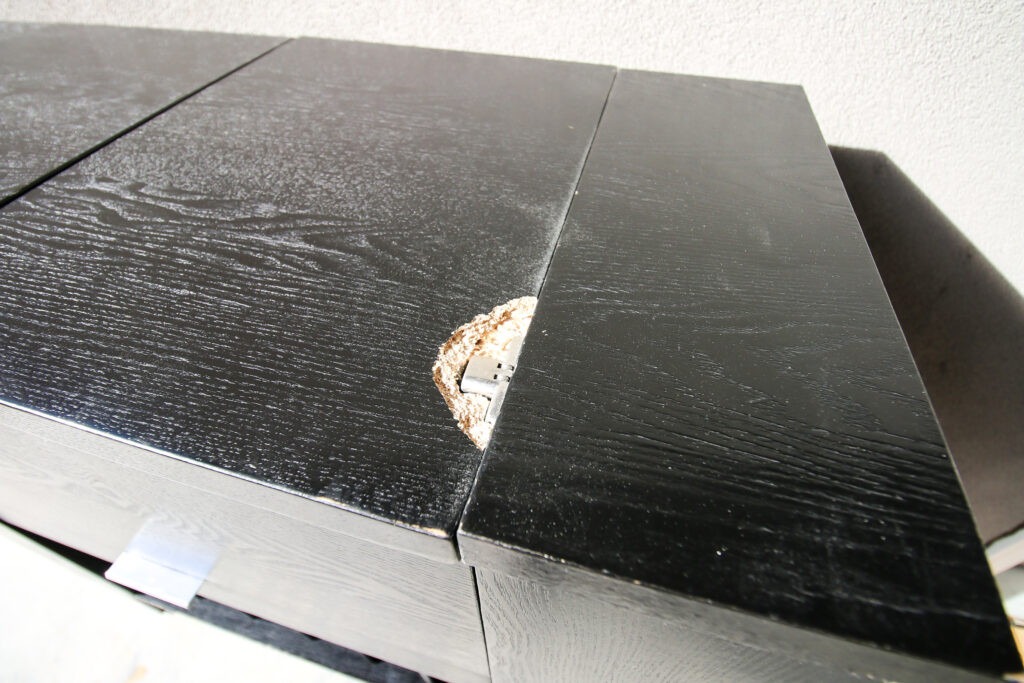
Our goal with this old bar was to fix the damage and then modernize the whole piece to be able to sell it for a profit.
One of the best options for furniture fixing products is our friends at Mohawk Finishing Products. They have all sorts of products that make fixing and finishing furniture a breeze.
We've told you about them when we flipped a scratched up wood side table and used their Buff and Polish Kit to bring it back to life and when we used their epoxy putty and Ultra Mark pen to fix a gouge in our bedside tables.
We love working with Mohawk Finishing Products because we know that we are going to be able to fix the issues in our furniture flips and turn them around better than new.
For this project, we used quite a few Mohawk products to get the job done:
- Instant Adhesive
- Fill-O-Wood Putty
- Sand paper
- Primer Sealer Spray
- High Performance Clear Acrylic Spray (matte)
Repairing the hinge
This bar has a cool flip out top, with each side having two hinges. One of the hinges had busted through the particle board.
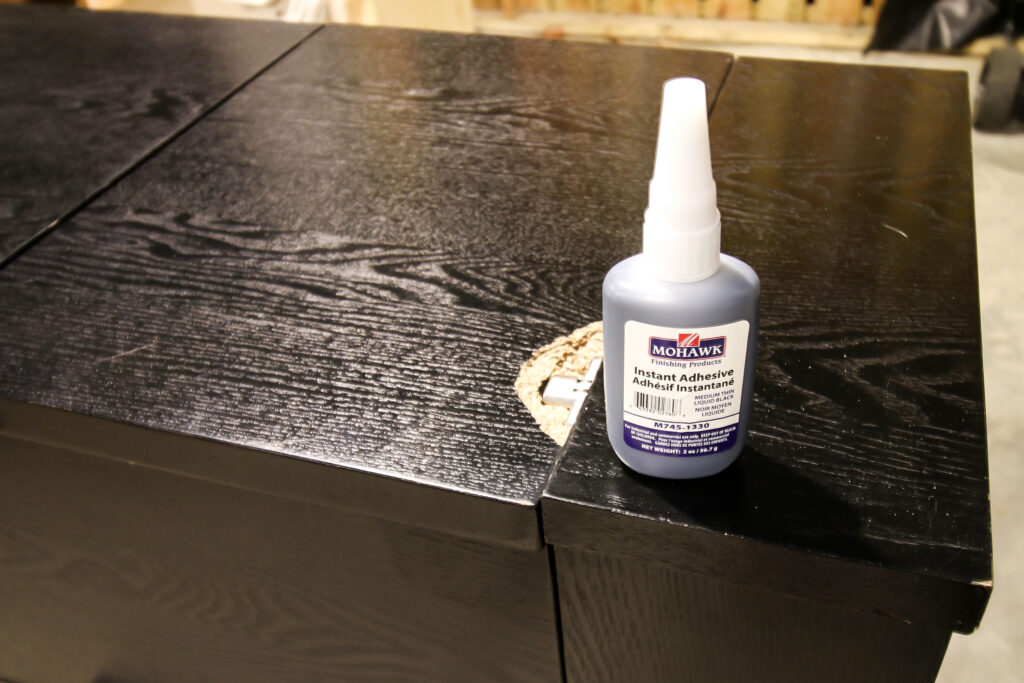
The first step to repairing this hinge was to glue it back in place.
We applied Instant Adhesive to the top of the hinge and clamped that to the flip top until it was dry.
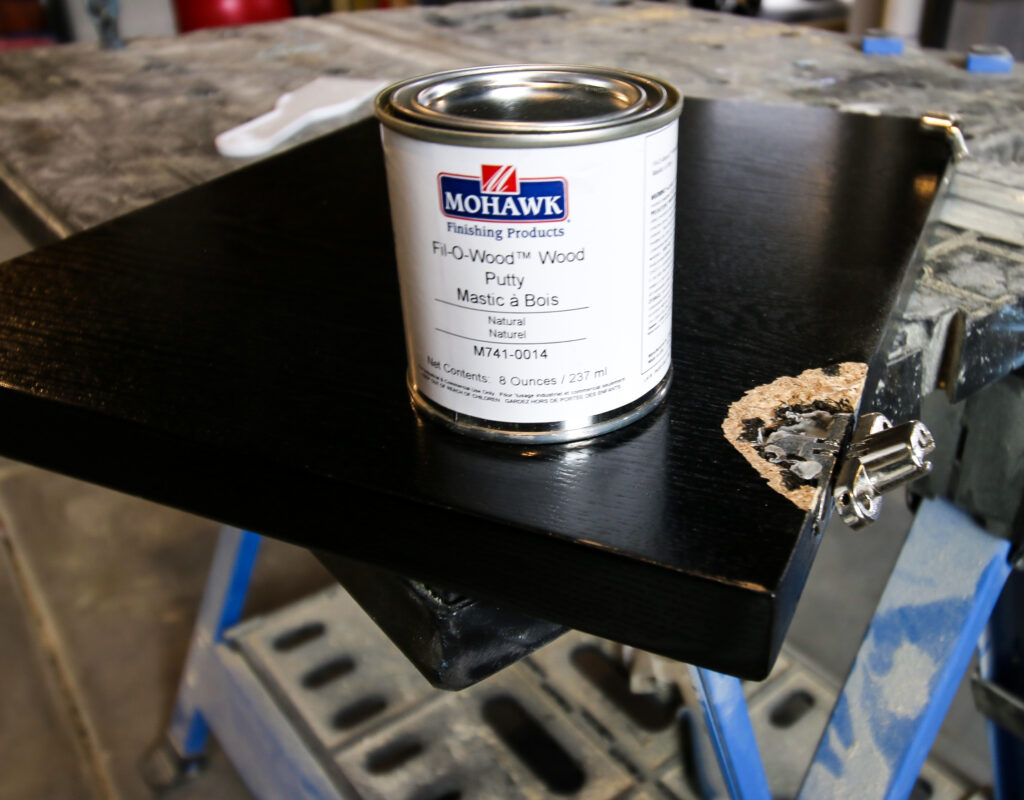
Then, it was time to fill the damaged particle board. We applied Fill-O-Wood Putty using a spackle knife. Rub it as smooth as possible.
Once dry, you can sand the putty completely smooth and add a second coat if it's not fully even.
Painting the bar
Once everything was repaired, we started to paint the bar.
We decided to go with a two-toned look with a light blue on the outside and keeping the black on the inside pieces. I love the color blocking!
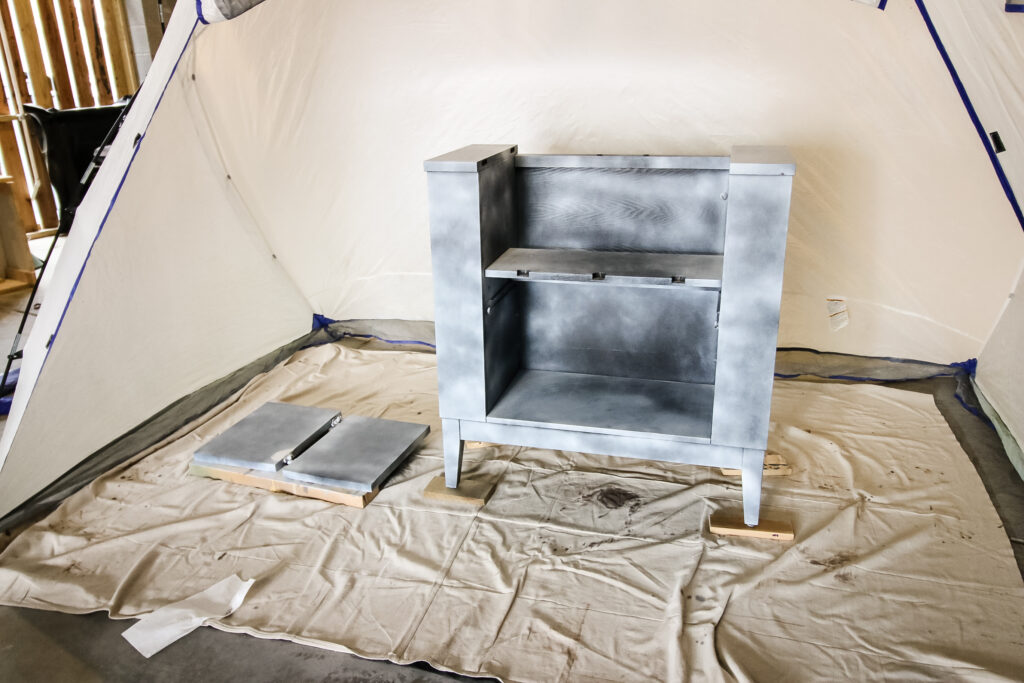
First, we removed the wine rack, drawer and pull down front. Then, since it was black in color, we primed the piece with Mohawk's Primer Sealer Spray. We sprayed each side, let it dry, flipped and sprayed the backside.
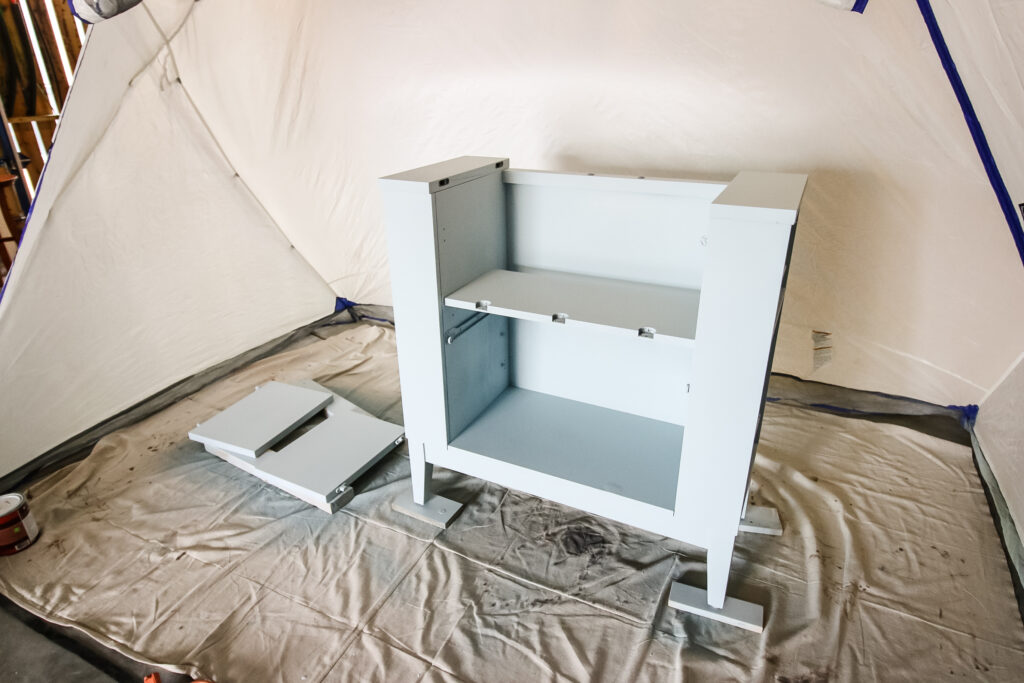
We then used our paint sprayer to paint the piece. The paint color is Behr's Dayflower. We knew this would give it the best, most even coverage.
Finally, we sealed the entire piece with High Performance Clear Acrylic Spray (matte) to protect the new paint!
Painting the hardware
We wanted to transform the hardware, too, so we gave it a quick coat of gold spray paint.
It was also sealed with High Performance Clear Acrylic Spray.
End results
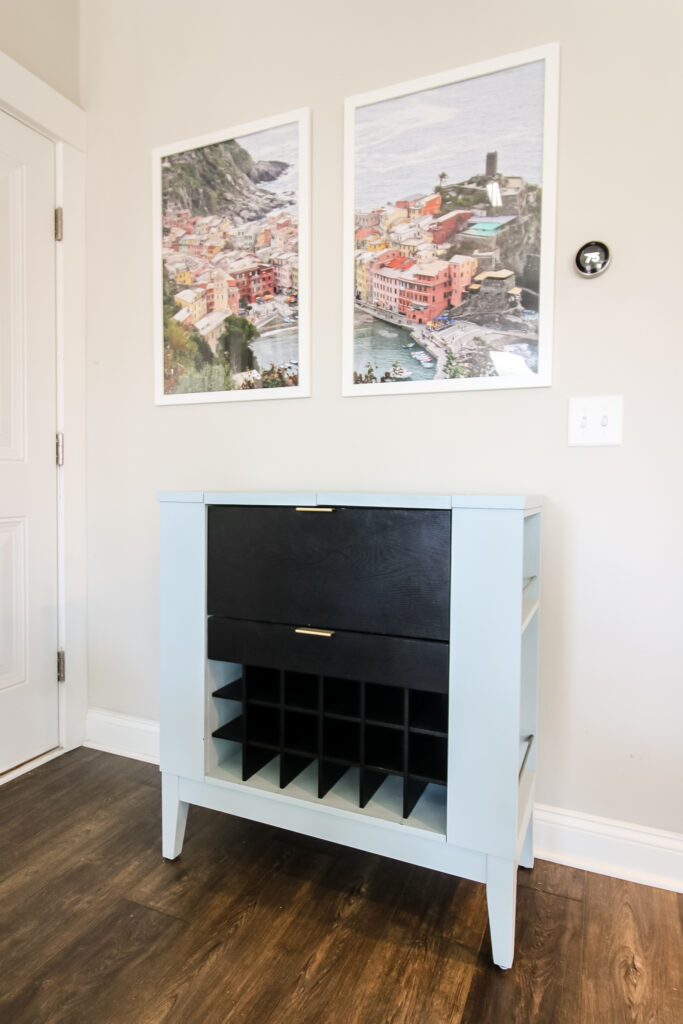
The result of our makeover is that this piece looks much more modern, but is also way more functional since we repaired to damage to the hinge.
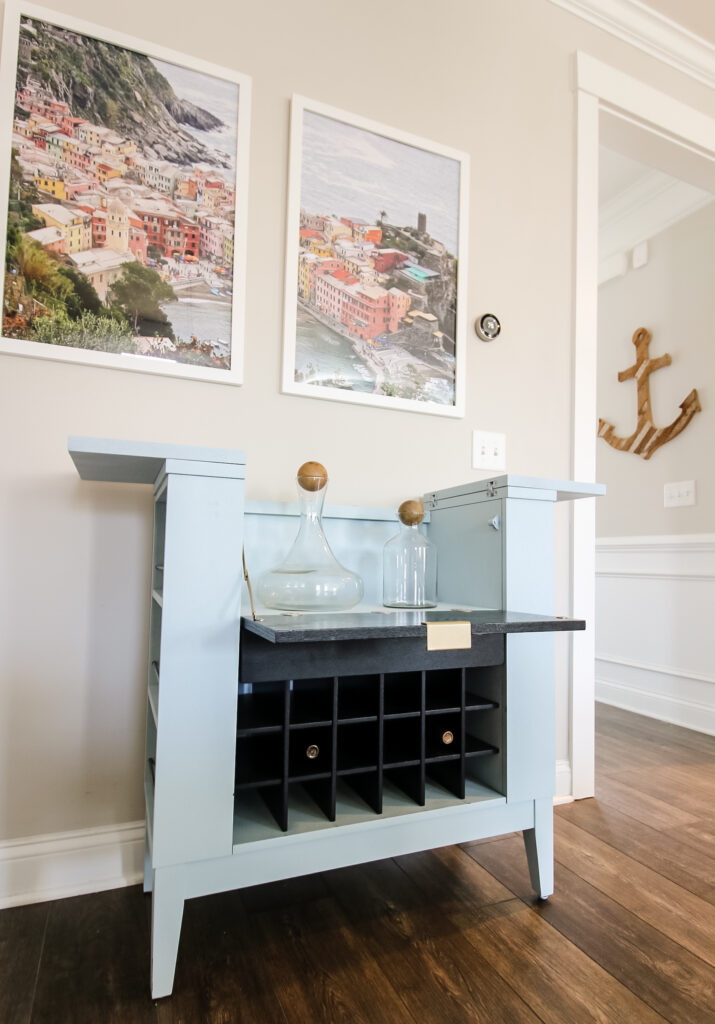
It really is incredible what a little effort and a fresh coat of paint can do to a piece of furniture.
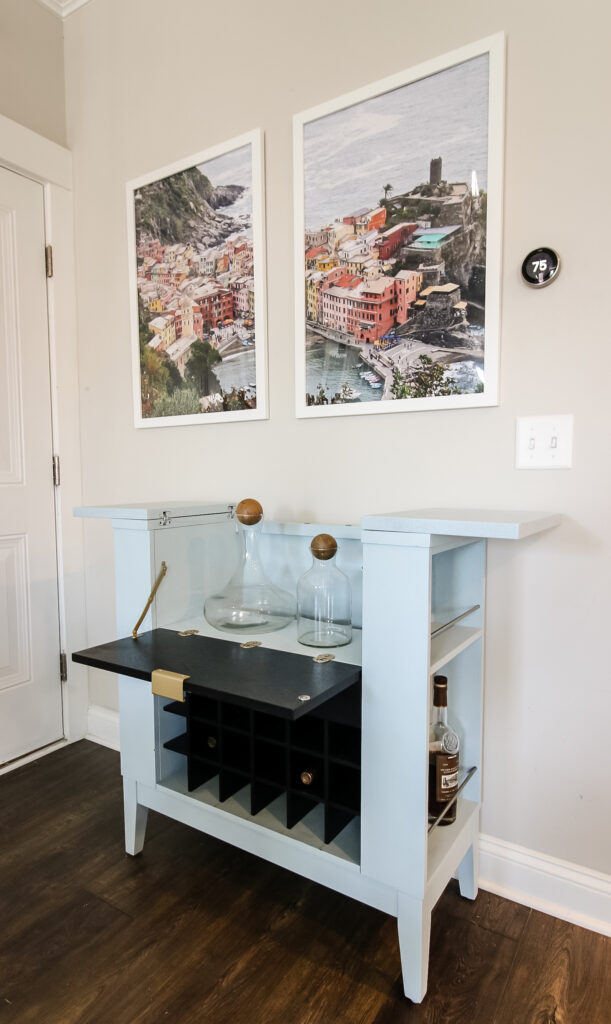
I hope its new owners love the new look!
Video demonstration
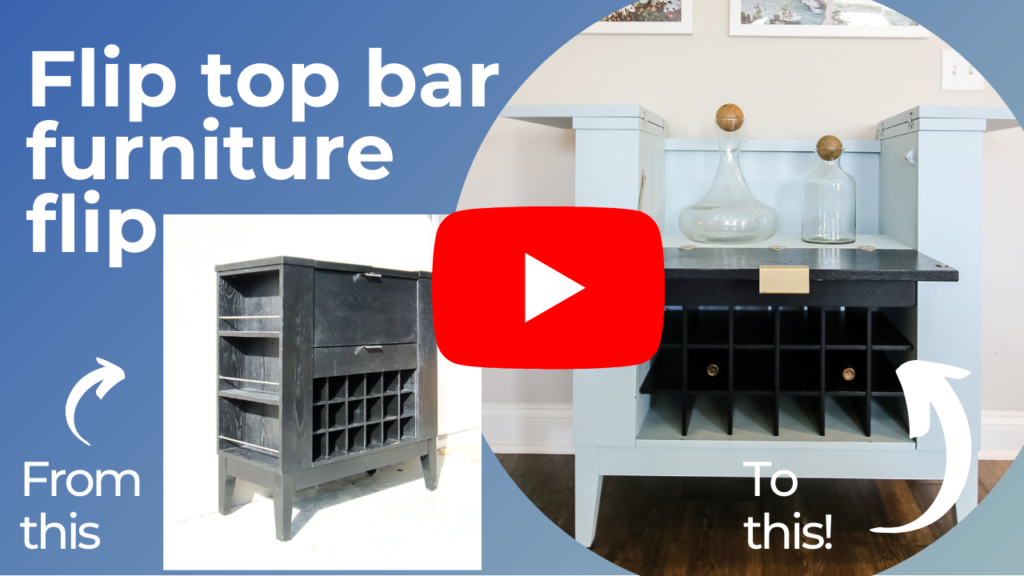
Check out this furniture flip in action!
Looking for something?
We've been doing this since 2012 so we have a LOT of blog posts!
Search stuff like: Ceiling Projects | DIY Plant Stands | Thrift Flips


Hey there, I'm Sean, the woodworking enthusiast and builder behind CharlestonCrafted.com! Since 2012, I've been sharing the magic of turning raw materials into beautiful creations. I love teaching others the art and satisfaction of woodworking and DIY. I try to inspire fellow crafters to make something extraordinary out of nothing at all.




Emma says
I enjoy reading your material. It encourages me to keep at it with my beginning wood work and refinishing.