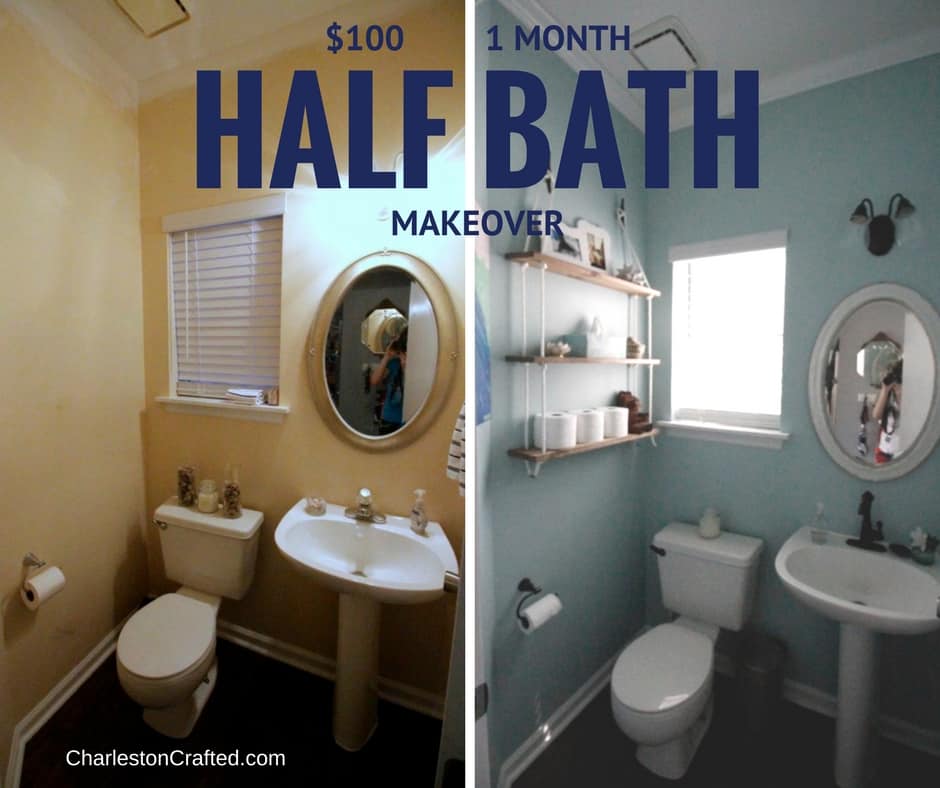
I am so excited to be sharing the final half bathroom reveal with you! As a reminder, we made over this space in one month for $100.
Week 2: Paint & Light fixture
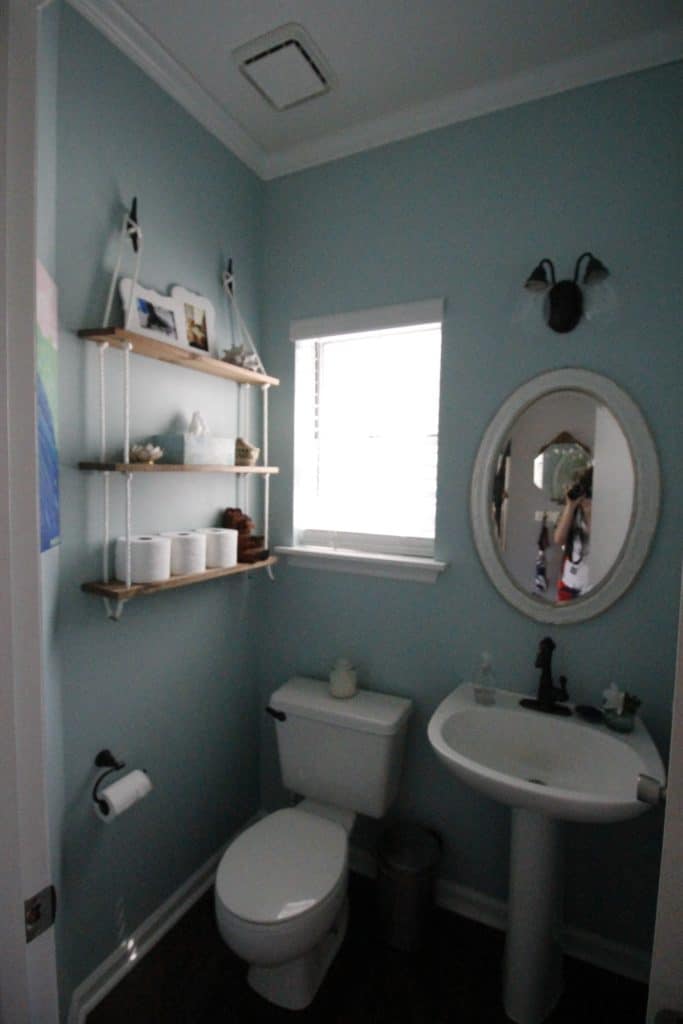
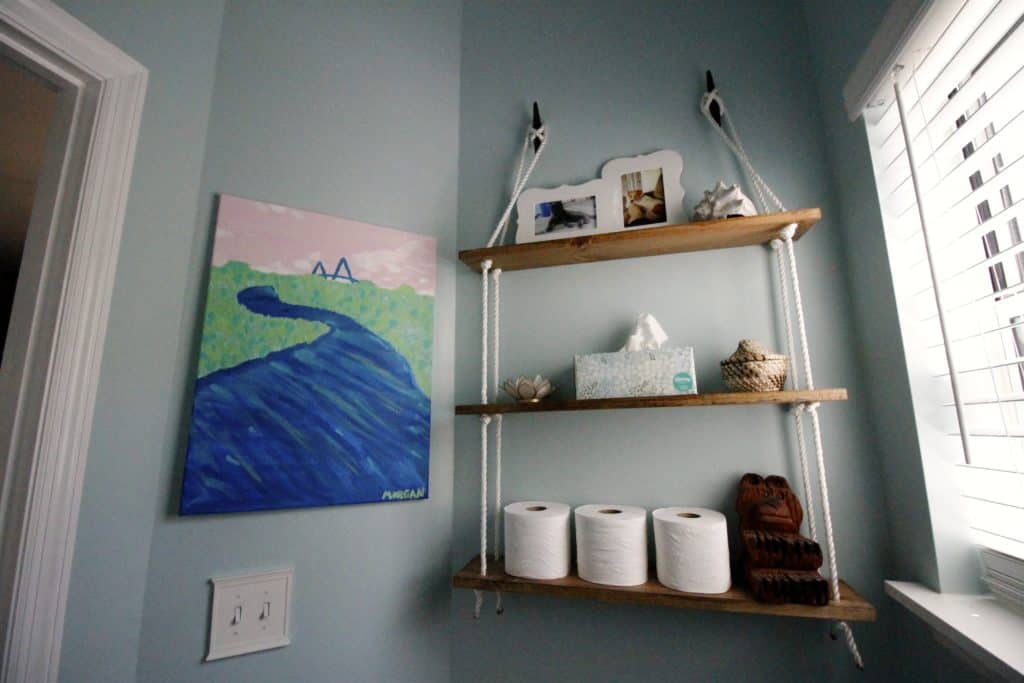
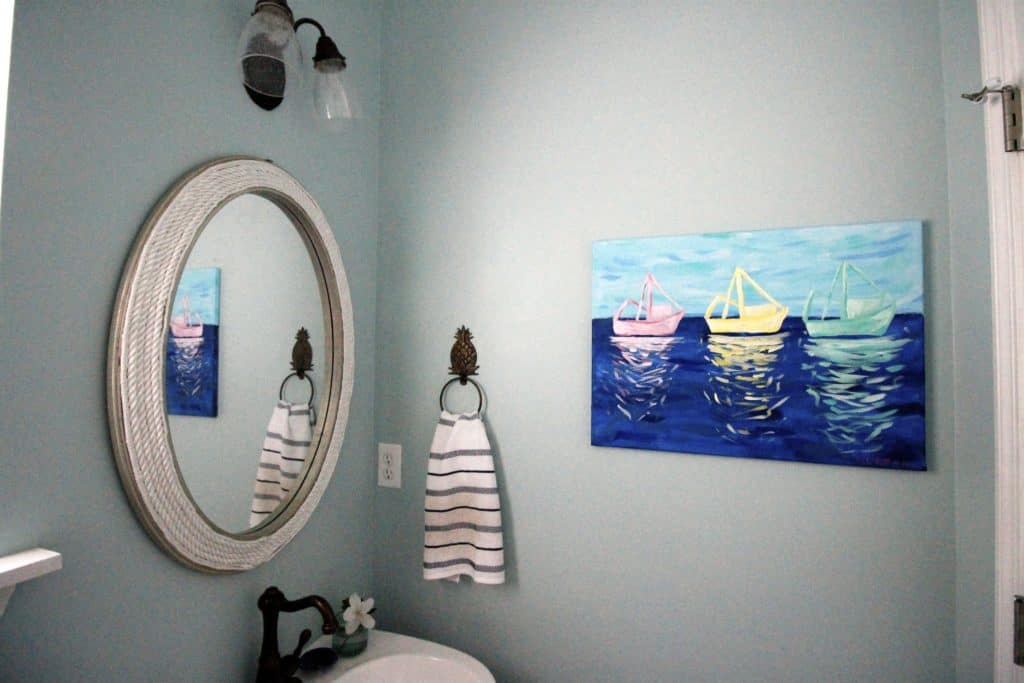
I am very happy with how this space turned out. We succeeded in adding storage with the shelving. We created a cohesive look with the kitchen with the wall color (which matches the island) and updating to ORB fixtures (like the kitchen knobs and lights). And we made it prettier!
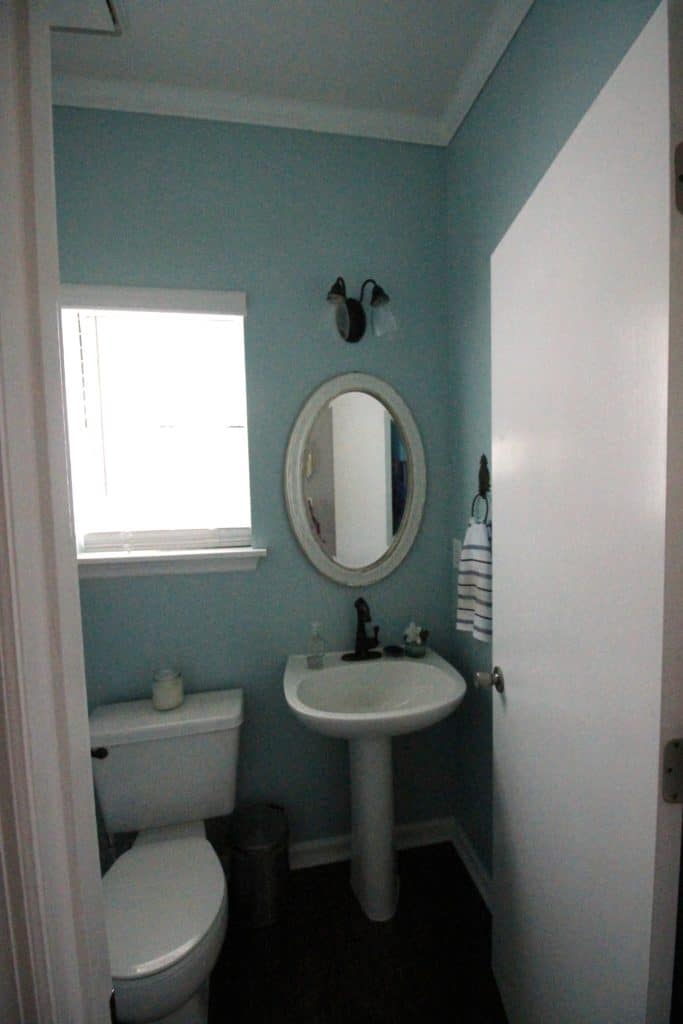
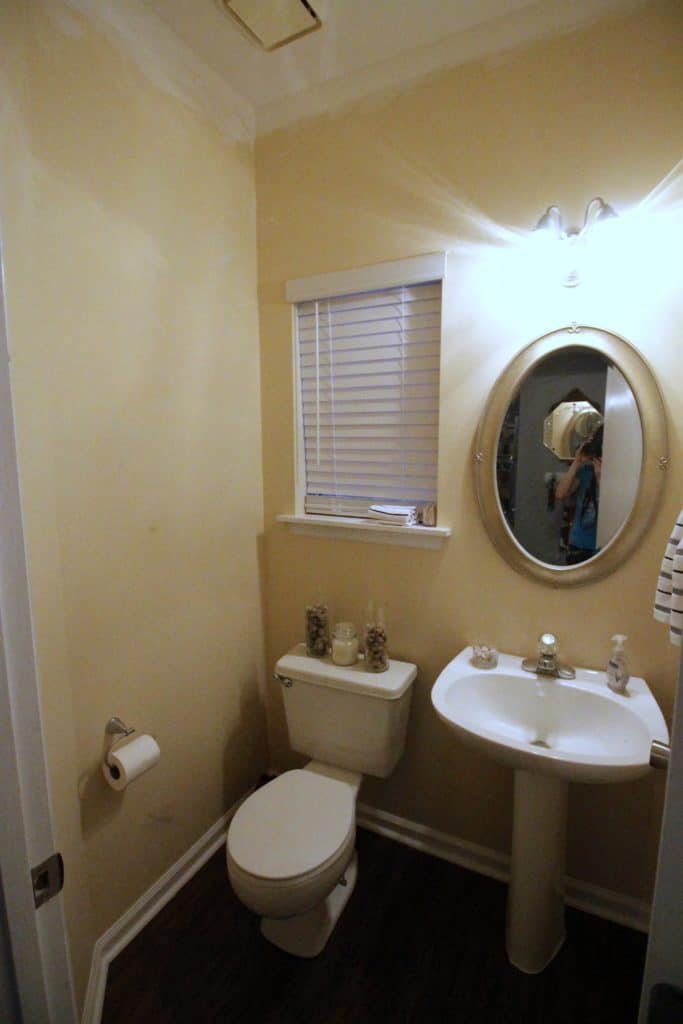
And, just for fun, here is a picture of how it looked before we had the flooring run in here (in February) and the ceilings re-drywalled (in October).
Here was my rough budget going into this project. It was based on rough estimates and guesses, knowing that the shelving would be the majority of my cash.
High Level Budget Breakdown:
- Wall paint: $20
- Shelving: $40
- Art: $10
- Mirror: $10
- Incidentals $10
Actual Spending Breakdown:
- Wall Paint (1qt) $12.18
- Painting supplies: had on hand
- Light fixture $9.96
- ORB spray paint: had on hand
- Glass light shades: $9.96 (total for 2)
- Hardware $0
- Towel ring: had on hand (3 more in my Etsy shop!)
- Toilet paper ring: used existing
- ORB spray paint: had on hand
- ORB faucet: left in garage by previous owners
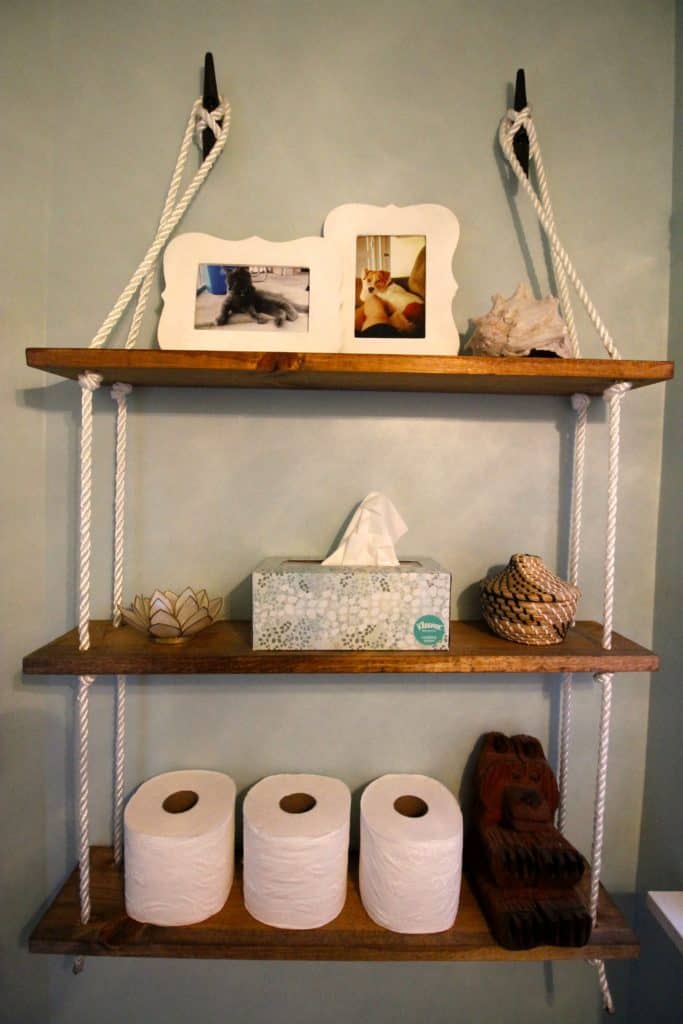
- Shelving materials $25.70
- Board: $12.50 (1x6" 6' board)
- Stain + staining supplies: had on hand
- Rope: $8 via Lowes (½" 50')
- Cleats: $2.60 each x2 total $5.20 via Lowes
- Mirror $8
- Mirror: had on hand
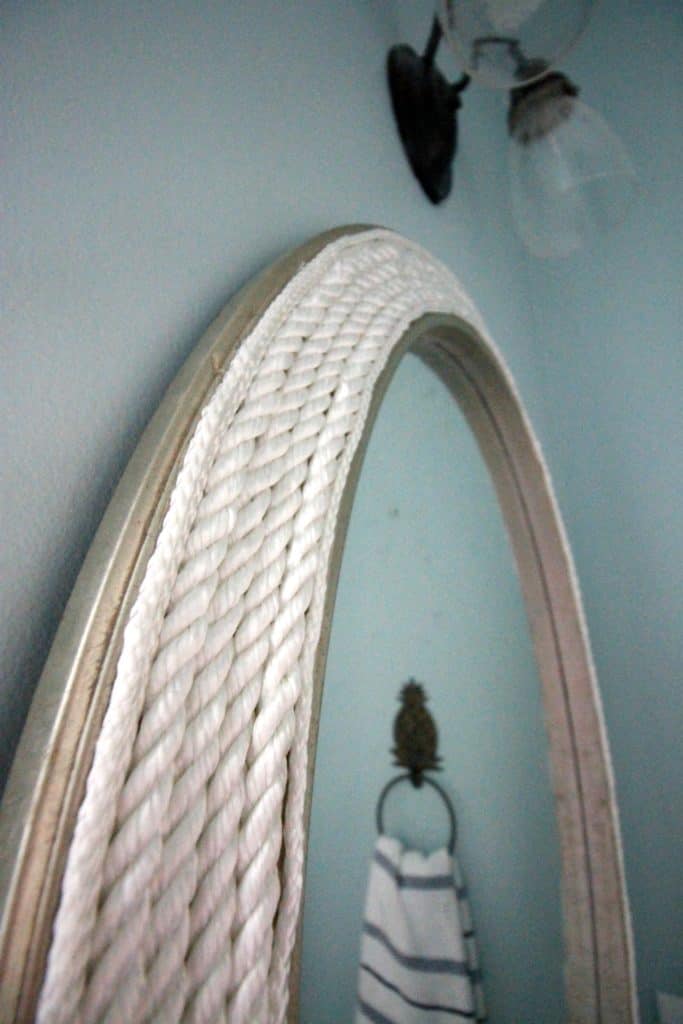
- Rope for mirror: $8 via Lowes (½" 50')
- Hot glue + gun: had on hand
- Art $6
- Canvases: 2/$6 via Michaels sale
- Paint + brushes: had on hand
- Crown Molding $24
- Crown: $96 for an 8 pack of 12' boards. Used 19' so 2 boards = $24
- Nails, caulk, paint: had on hand
- TOTAL $ 85.84
So I know that it looks like I used a lot of stuff that I already had, but I did come $14.16 under budget so that would help cover some of those costs.
Check out how we transformed our owner's bathroom in one weekend!
I really actually enjoyed being on a budget for this project. Of course, it made it more guilt-free to be doing another makeover knowing that it was on a small budget. However, it was also really fun. I normally probably would have bought new fixtures & a light, but the challenge encouraged me to use an old can of spray paint. It encouraged me to dig through my stash for accessories and I am so glad that I did.
Check out our other favorite bathroom makeovers here!
[inlinkz_linkup id=705858 mode=1]
 |
|||
 |
 |
 |
 |

Hello, I'm Morgan, half of the creative force behind CharlestonCrafted.com! With a passion for DIY that dates back to 2012, I've transformed three homes and now I'm dedicated to helping others craft their dream spaces. Let's turn your house into a home together!


Brittany Goldwyn says
The rope shelves turned out awesome!
sherry cole says
The mirror is so cool and I love the rope shelves, Your makeover is fabulous!
Sheri says
Looks great, especially love the shelves! Great job on the challenge, I know $100 wouldn't be easy to stick to!
bonbon says
Those shelves are so pretty. Great job on the makeover.
Nicki Parrish says
That shelf is awesome! You did a great job with the space! Kudos!
Sue Purdy says
That rope shelf is spectacular. I love the calming blue paint colour you chose as well. Wonderful job in just one month.
Natalie @nelidesign says
What a change! Good job you guys!
Betsy @ Happily Ever After, Etc. says
Those shelves are so cute! Great job!
cindy says
That blue paint really made all the difference in turning this into a beachy space! Love it!
Rachel says
What a beautiful change1 I love the blue paint and that mirror was so creative.
Tracy says
It turned out beautiful!! The wall paint made a big difference and all of the DIY touches are perfect!
Kati says
It turned out so great! those shelves and the rope detail around the mirror are my favorite.
Sarah says
Wow! The after is so amazing, and I can't believe you came in UNDER budget. Well done!
Amy @ mylifefromhome says
I love the rope shelves! You definitely updated the space!
Erin @ Lemons, Lavender, & Laundry says
This transformation is incredible! What a difference! I love that this challenge makes us think outside the box and use things we already have. I'm just like you. If I didn't have a tight budget, I'd just buy new stuff. Instead, we make it work with what we have. You did amazing with your bathroom... and under budget!
Nicole Q-Schmitz says
Don't feel guilty using things you already had to stay on budget... if I didn't do that - I'd go over budget each time haha 🙂 Great transformation!