Check out how you can create a hauntingly beautiful Halloween wreath using a laser cutter using my step-by-step guide and the digital file for this unique, handcrafted decoration!
I'm always down for a fun and creative Halloween DIY project and this is a new one for me! Earlier this year, I got an xTool P2 laser cutter, which is my first time having a tool like this.
The laser cutter gives me so many different options for practical uses for cutting things precise, or for more decorative things that I just couldn't do with a jigsaw. So I wanted to use it for Halloween!
I'm still not deep into the creative software for making more than a simple design, so I wasn't ready to create a Halloween wreath design myself, but I found some really great options on Etsy!
I bought this laser file template on Etsy for like $4 and it was very easy to use. This was my first time buying a digital file online and it came with the instructions I needed for downloading the right file.
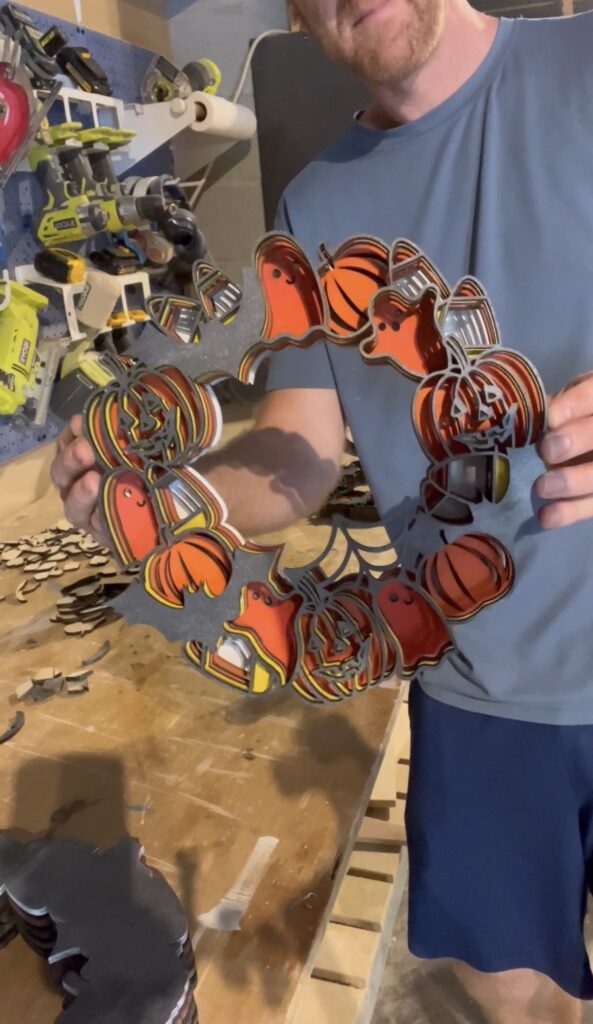
So I made it for myself and then made a bunch to sell! Here's the process.
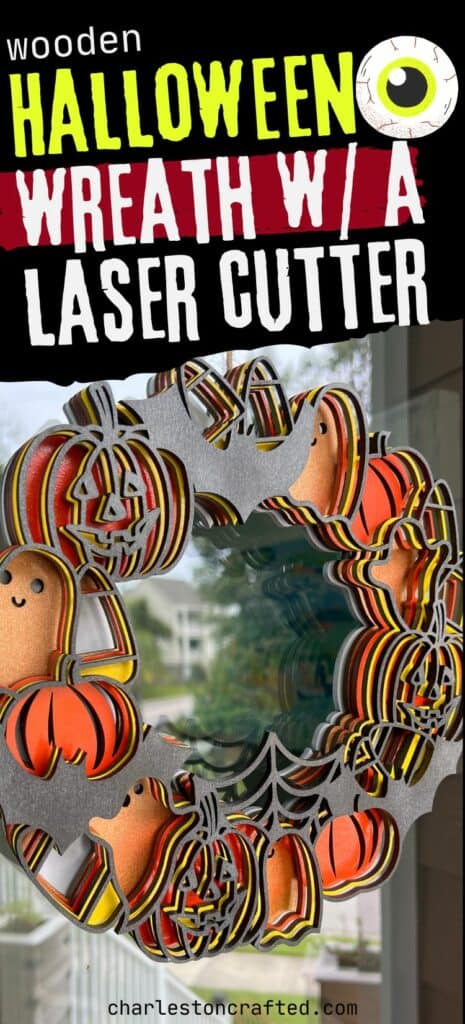
Halloween wreath with a laser cutter
This was a great project to learn about using a digital file online because it was simply something I wasn't going to create for myself. And the glory of the laser cutter is that I didn't have to do much of the legwork for this project.
Obviously I had to load the wood and do all the finishing touches, but the laser cutter did all the work for me. If you like the looks of this project, here's what you need to have and do to make it for yourself!
Check out this tic-tac-toe board file I designed for my laser cutter!
Materials and tools needed
Here's the tools and materials you need to make this project:
- Halloween wreath laser file
- ¼" plywood
- Wood glue
- Black, orange, yellow, white, light orange/gold spray paints
- String
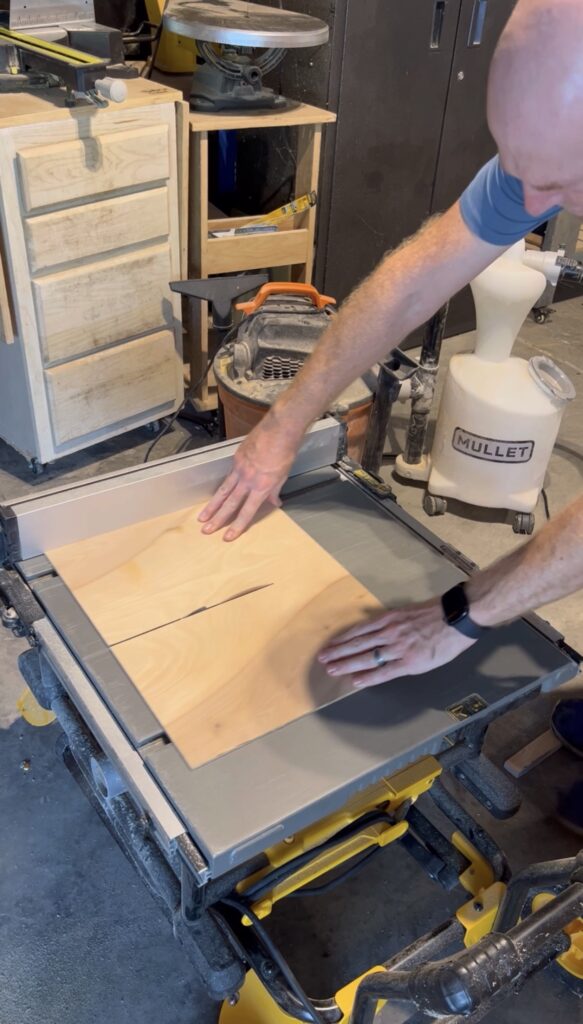
Step one: cut plywood
I started by ripping down a sheet of ¼" plywood. I originally made one of these for myself and then decided to sell these in my neighborhood. The file is just under 12" in diameter, so I was able to cut a full sheet into 32 12"x12" squares, which was enough to make six wreaths.
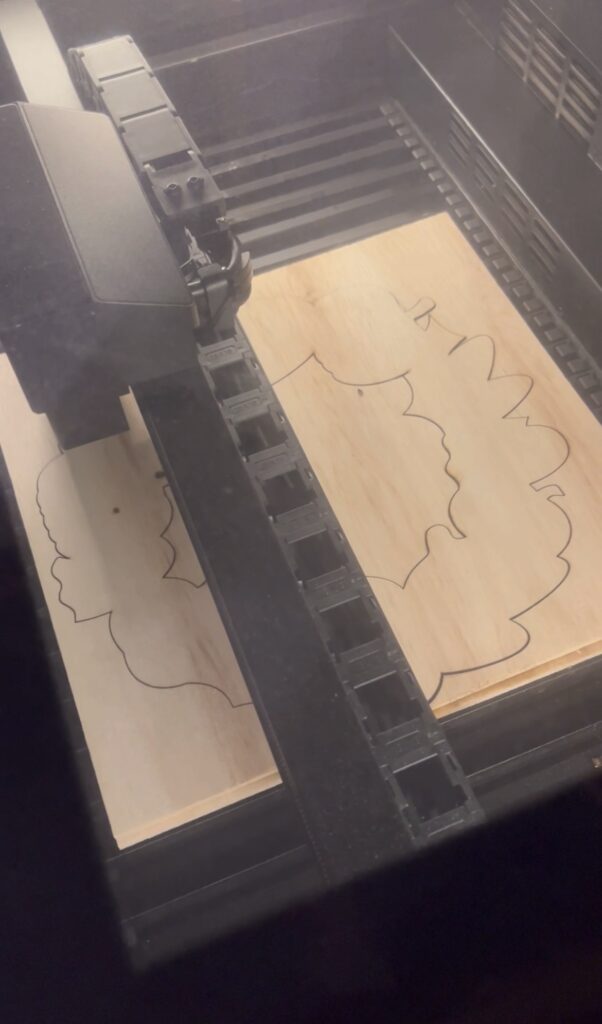
Step two: run cut files
Next, I started running the cut files. This is by far the most time-consuming part of this project, especially if you're making multiple.
The file breaks into five layers, so I created five canvases in the file to just have each on it's own canvas. For each layer, I loaded in a piece of ¼" plywood, centered the image on the wood, and hit process.
The five layers took about a little over 30 minutes to process total, so it's best to be doing something else and changing out the wood when needed. I ran each layer through and then punched out the excess bits as needed.
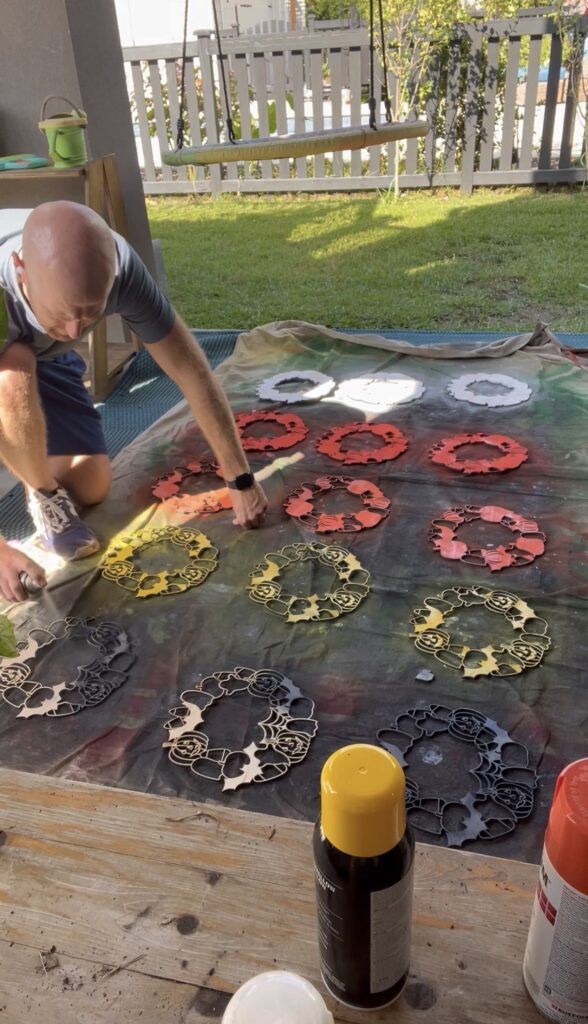
Step three: spray paint
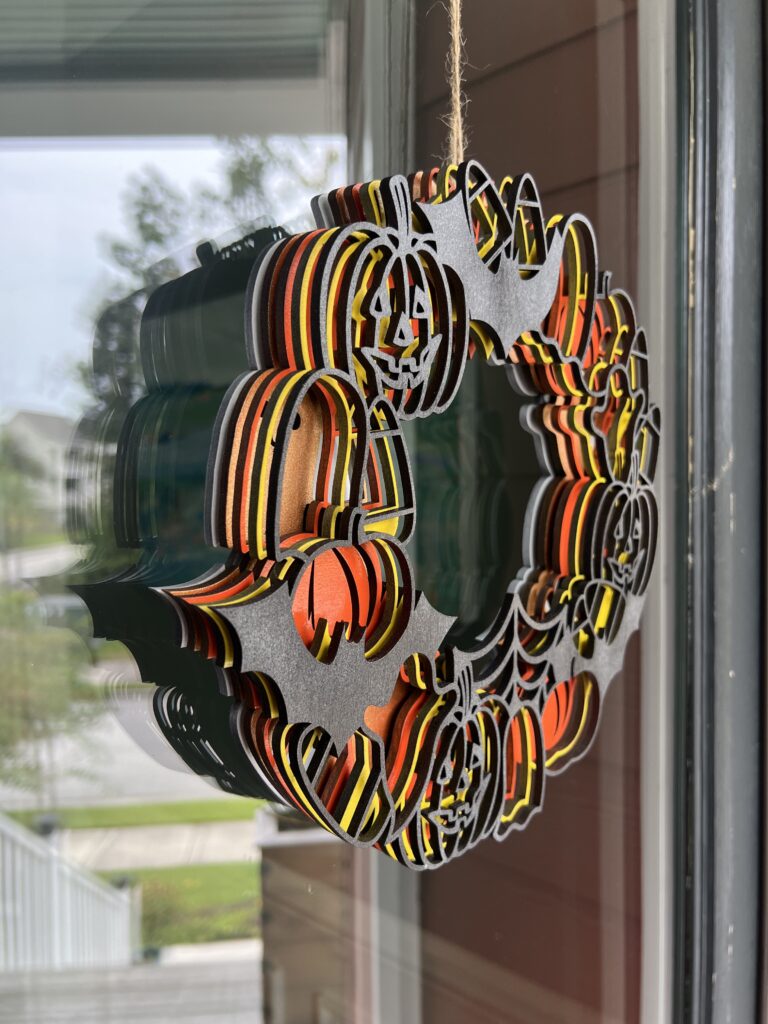
Once I had all the layers, it was time to spray paint. I did each layer with a different color so that they would pop off each other when spacers were added later.
My tip was to spray paint the back of each layer black, then flip them over and give each one its own unique color on the front.
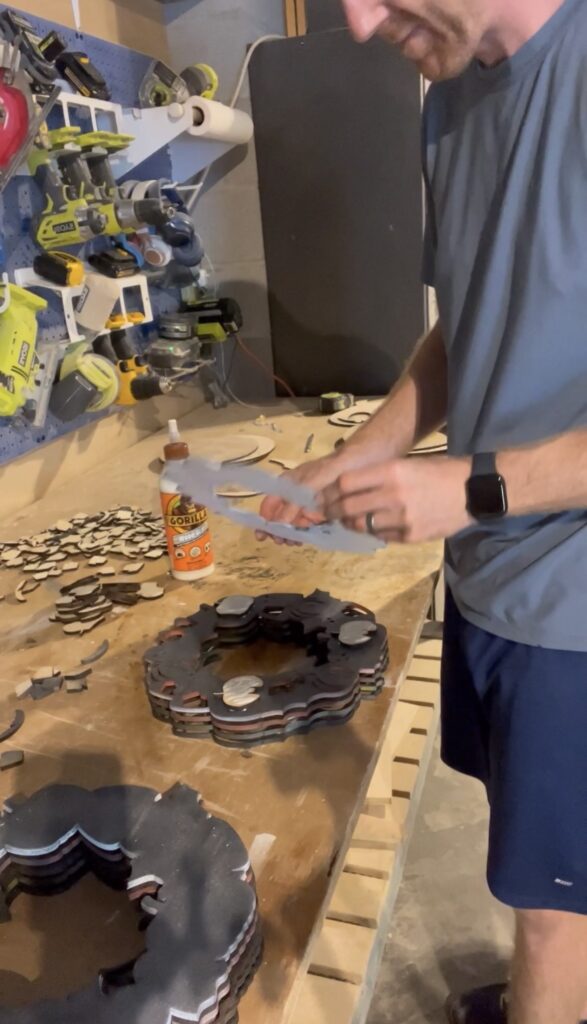
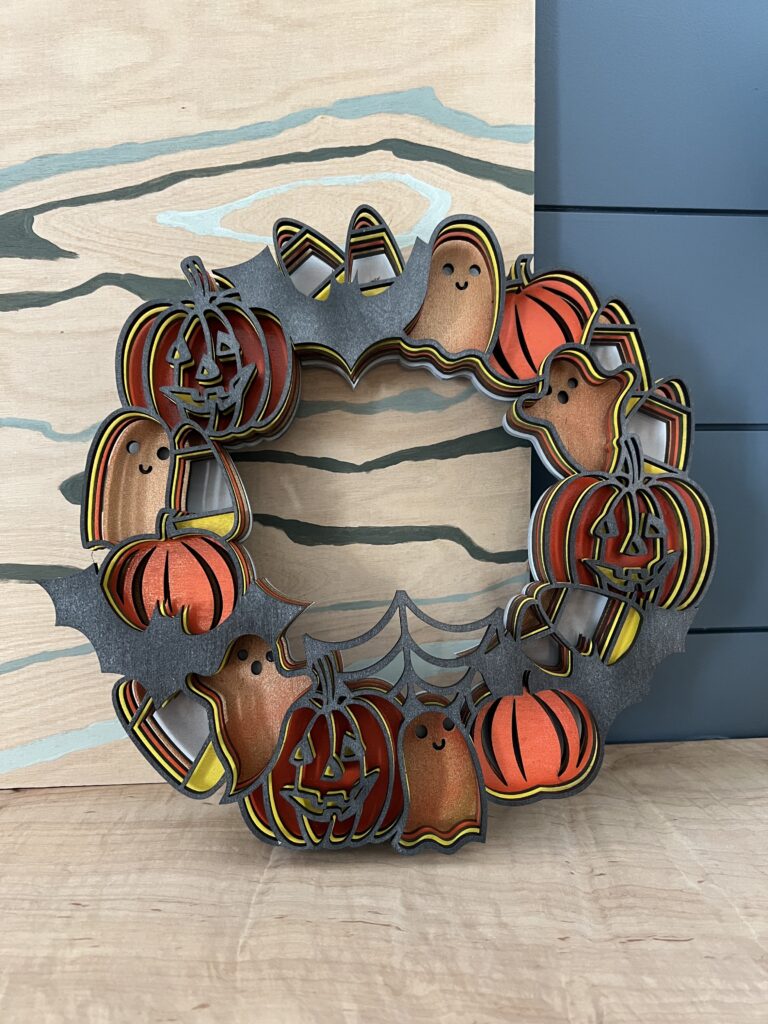
Step four: glue up
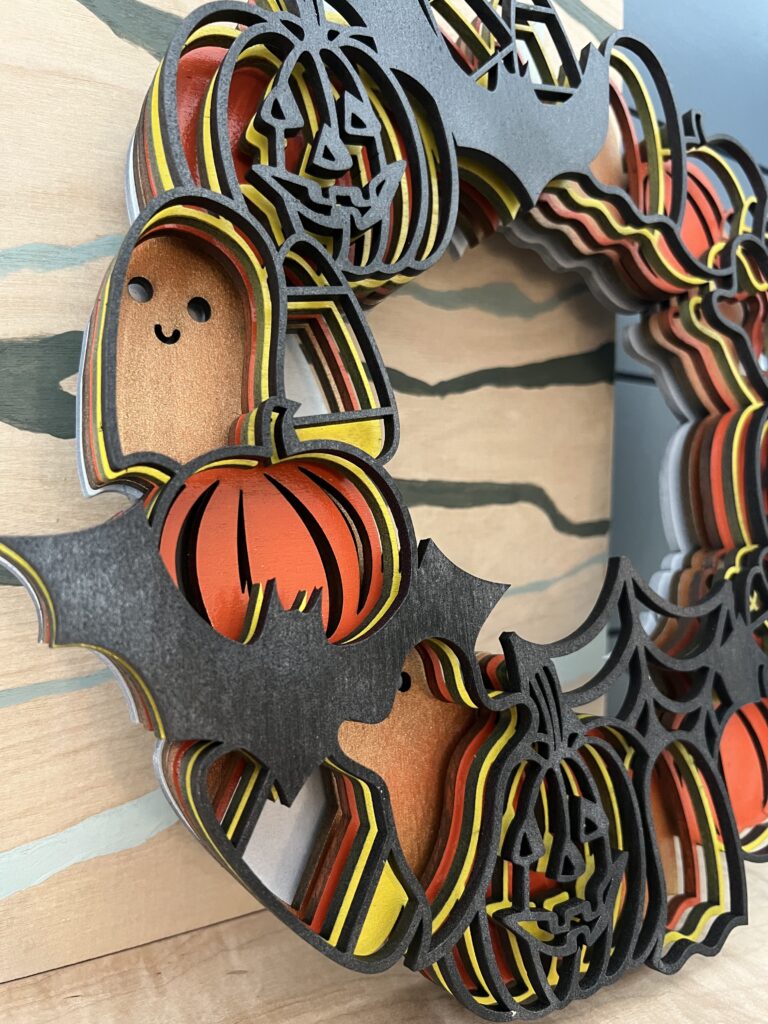
Once all the colors were dry, it was time to glue up. I picked a couple spots on the edges of the layers to use as my visual point for lining them up correctly. Since they aren't gluing directly onto each other, you need to keep them in line.
I actually used the bits cut out from the file as the spacers between the layers. I glued these in between the solid areas of the wreath, like the bats and pumpkins, to give a solid point of contact for the glue to hold.
When they were all glued up, I let them dry for 24 hours.
Step five: finishing touches
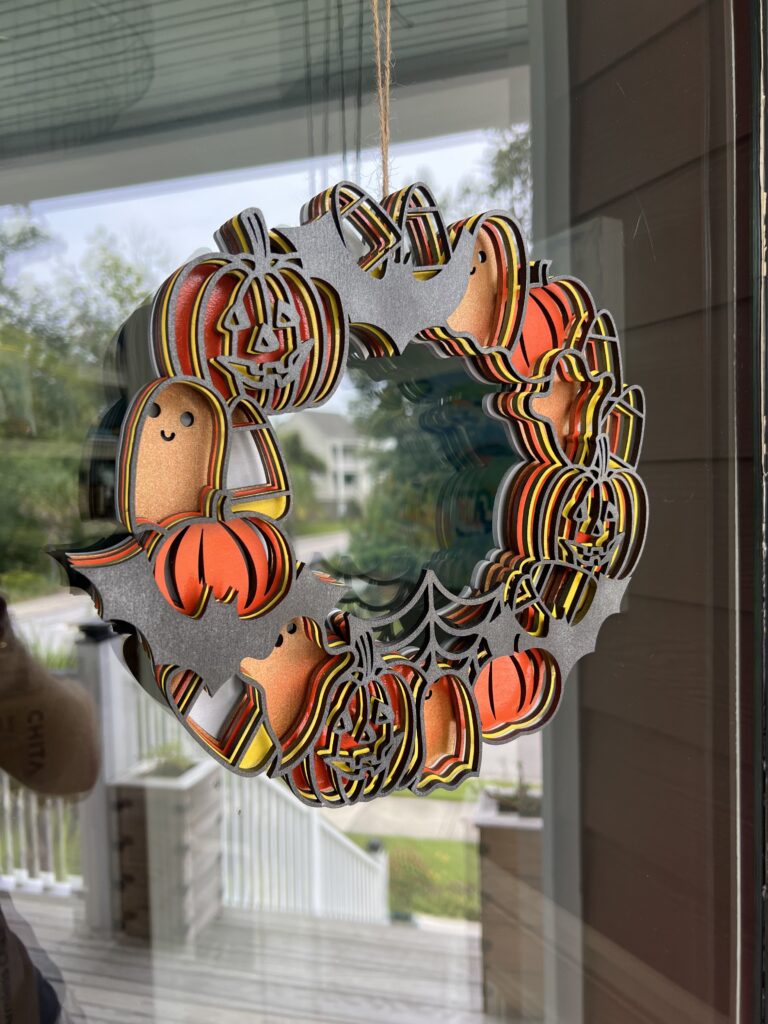
For the finishing touches, I drilled a hole through the candy corn cutout at the top and strung a string through it to use as a hanger. I also added four felt pads on the back so that it wouldn't bang against the window and clank around.
You can also use a spray polyurethane to help protect it as well!
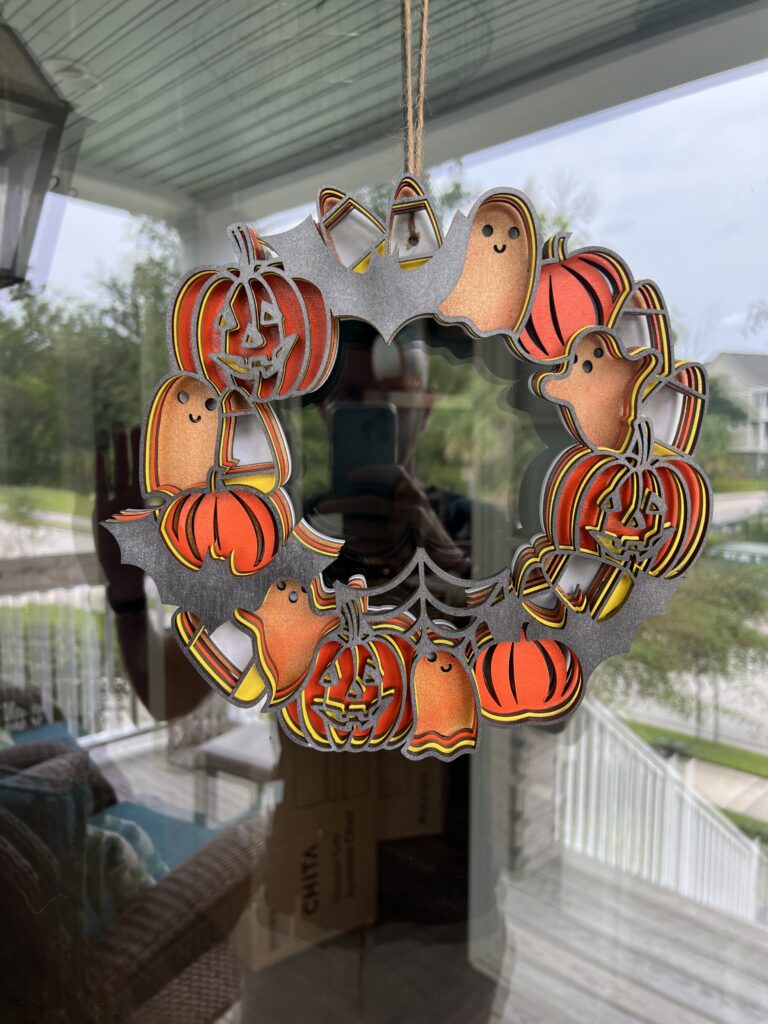
DIY wooden Halloween wreath
I absolutely love how this turned out and it was pretty simple to make. It looks great for our home and the people in my neighborhood I made them for loved them as well.
For the record, I sold these each for $30 apiece, which netted me about $100 profit after supplies. It wasn't great, but if you're looking to sell things for Halloween, this could be a start!


Looking for something?
We've been doing this since 2012 so we have a LOT of blog posts!
Search stuff like: Ceiling Projects | DIY Plant Stands | Thrift Flips

Hey there, I'm Sean, the woodworking enthusiast and builder behind CharlestonCrafted.com! Since 2012, I've been sharing the magic of turning raw materials into beautiful creations. I love teaching others the art and satisfaction of woodworking and DIY. I try to inspire fellow crafters to make something extraordinary out of nothing at all.