Want to give an aged or wood finish to a project that's already been painted? Here's how to apply wood stain over white paint!
When presented with finishing a wood project, you typically have three answer options: paint, stain, or just applying a topcoat.
Paint typically offers full coverage and changes the color of the wood and hides the wood grain itself.
Stain is usually more transparent and changes the color or tone of the word but still lets the grain shine through.
Just adding a topcoat will preserve the natural color of the wood, though it may darken it slightly.
This is all fine and good if you re starting with raw wood, but what if you have a piece of wood that has already been painted?

Can You Stain Over Painted Wood?
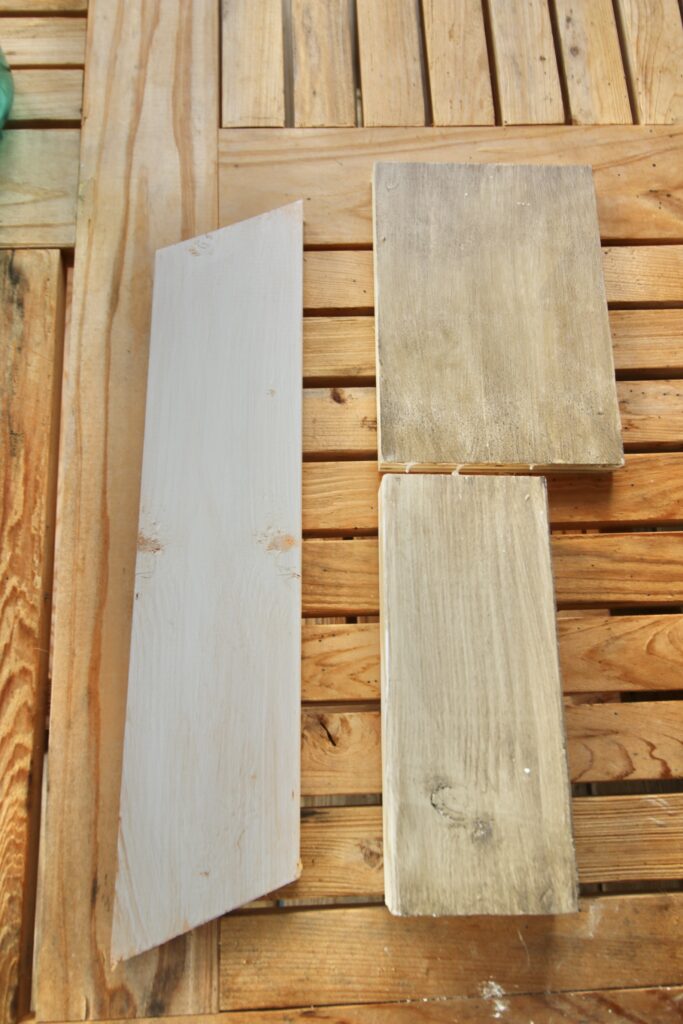
You can apply a stain over painted wood. However, it will not look like stained wood - it will look more like a colored glaze over the painted wood.
This is a technique sometimes used to give wood a weathered or antiqued effect.
It is important to understand that you are not going to get the look of natural, stained look. This is a totally different aesthetic.
If you want to transform painted wood to have a dark, natural looking stain, you will have to strip off all of the paint first. Sand it well, and if needed, apply a paint stripper and scrape clean. This is a lot of work, but can be worth it to "save" beautiful real wood.

What stain can you apply over painted wood?
Traditional wood stains absorb into the wood surface and change it's color. Paint will keep stain from absorbing, so this doesn't usually go well. Instead, try a gel stain.
Gel stains sit on the surface of the wood and build up color that way. They tend to do better on painted surfaces compared to traditional stains.
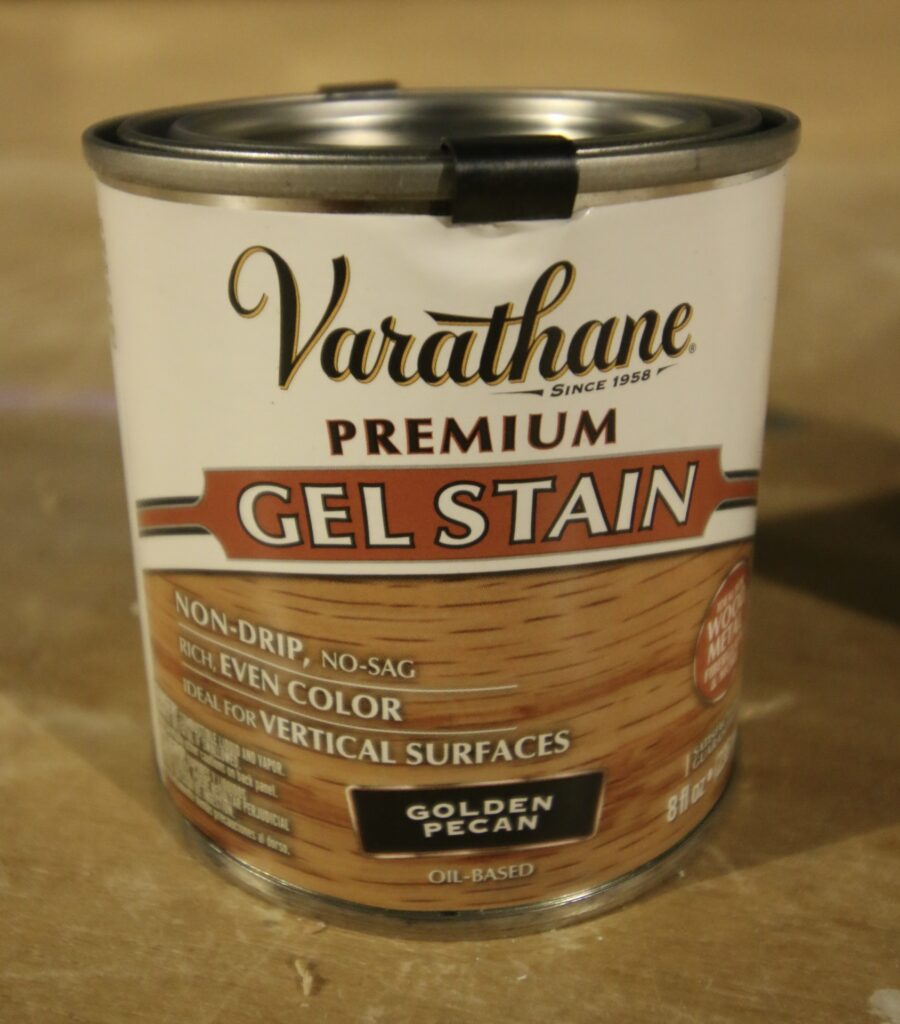
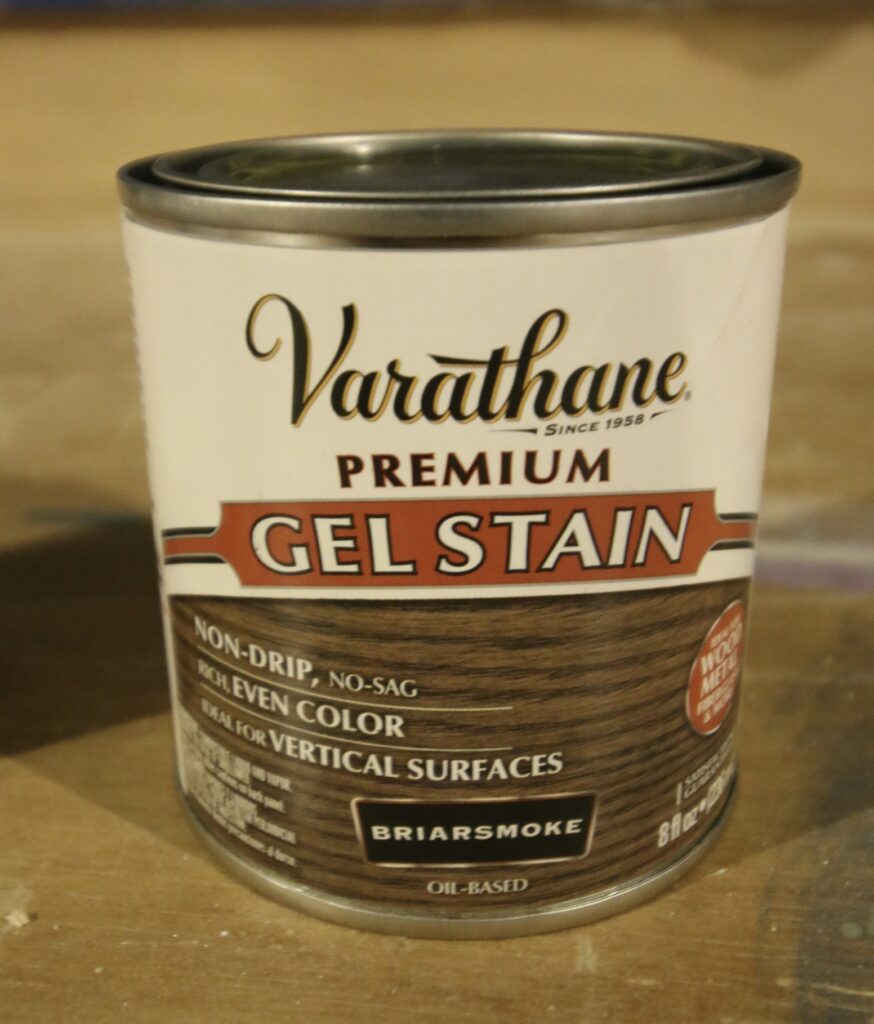
How to apply wood stain over white paint
Supplies needed:
- Painted wood
- Paint brush
- Gel Stain
Always test your stain + paint combo on a scrap piece or discrete spot to be sure you like the look before committing to the whole project.
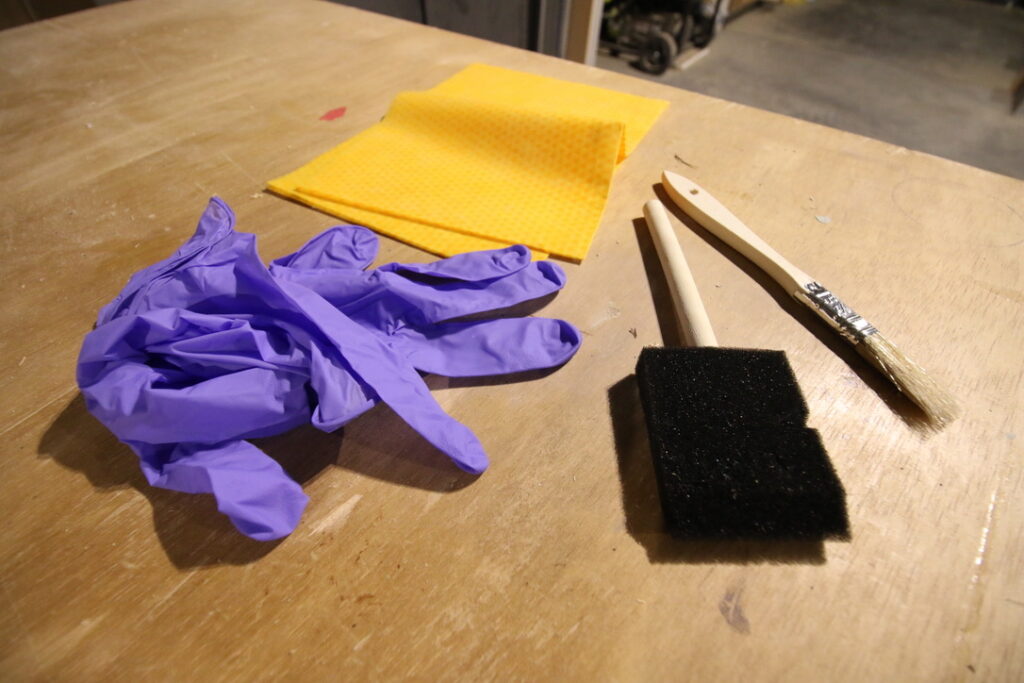
Steps to apply stain over painted wood:
STEP 1: Clean the wood
If your wood piece has not been freshly painted, odds are that it might be dusty or dirty. Wipe it down with a damp cloth and let dry completely.
STEP 2: Apply the stain
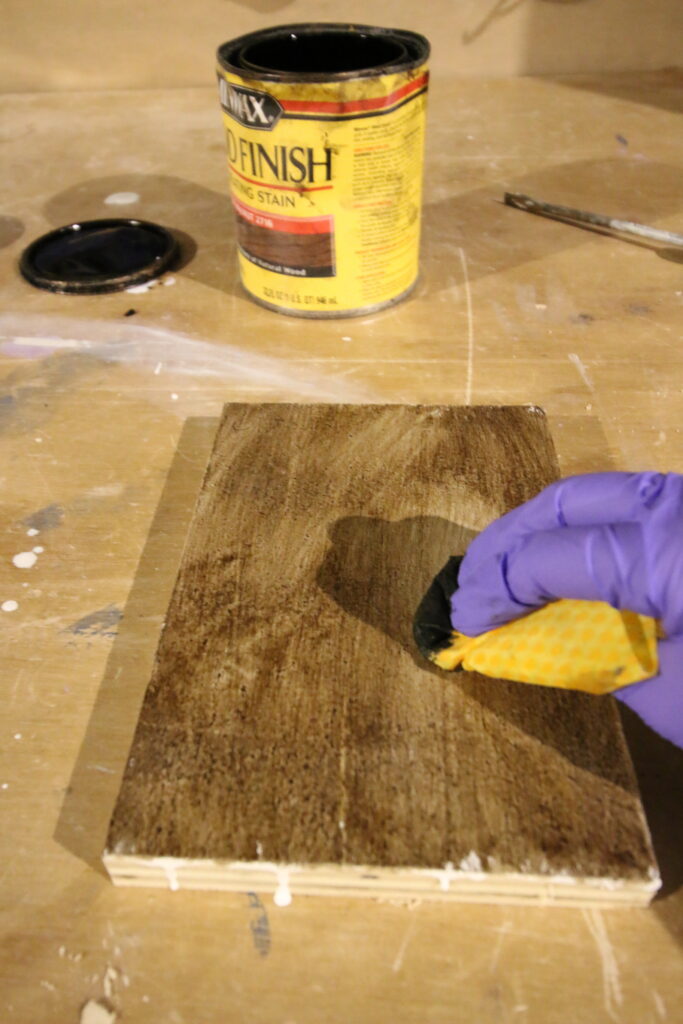
Apply your stain by dipping a brush into the can and brushing it onto the piece. Typically, you want to paint it on in the direction of the wood grain. If the grain is not visible through the paint, try to paint it on all in one direction at least.
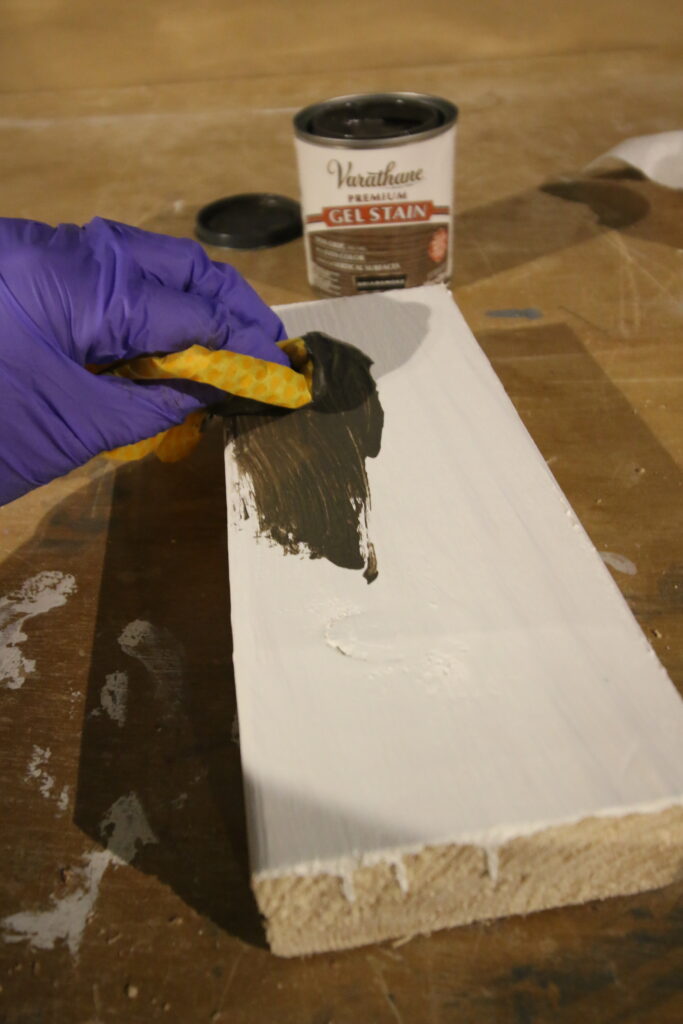
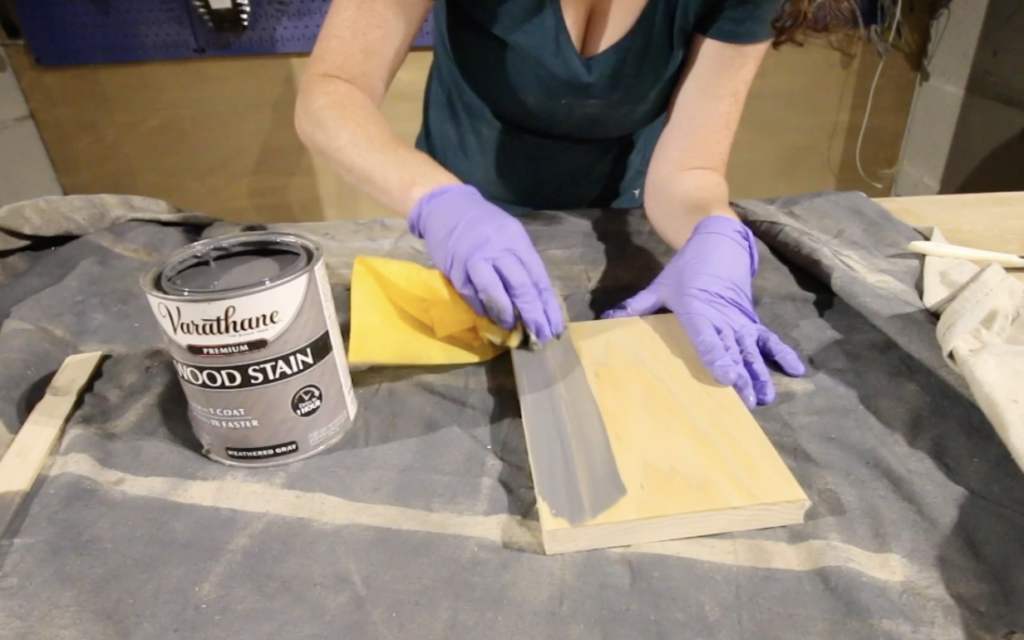
STEP 3: Wipe Excess
Apply your stain in sections and then take a clean cloth and wipe off excess. You don't want pooling or drips, which will lead to blotches.
Allow to dry.
STEP 4: Distress, if desired
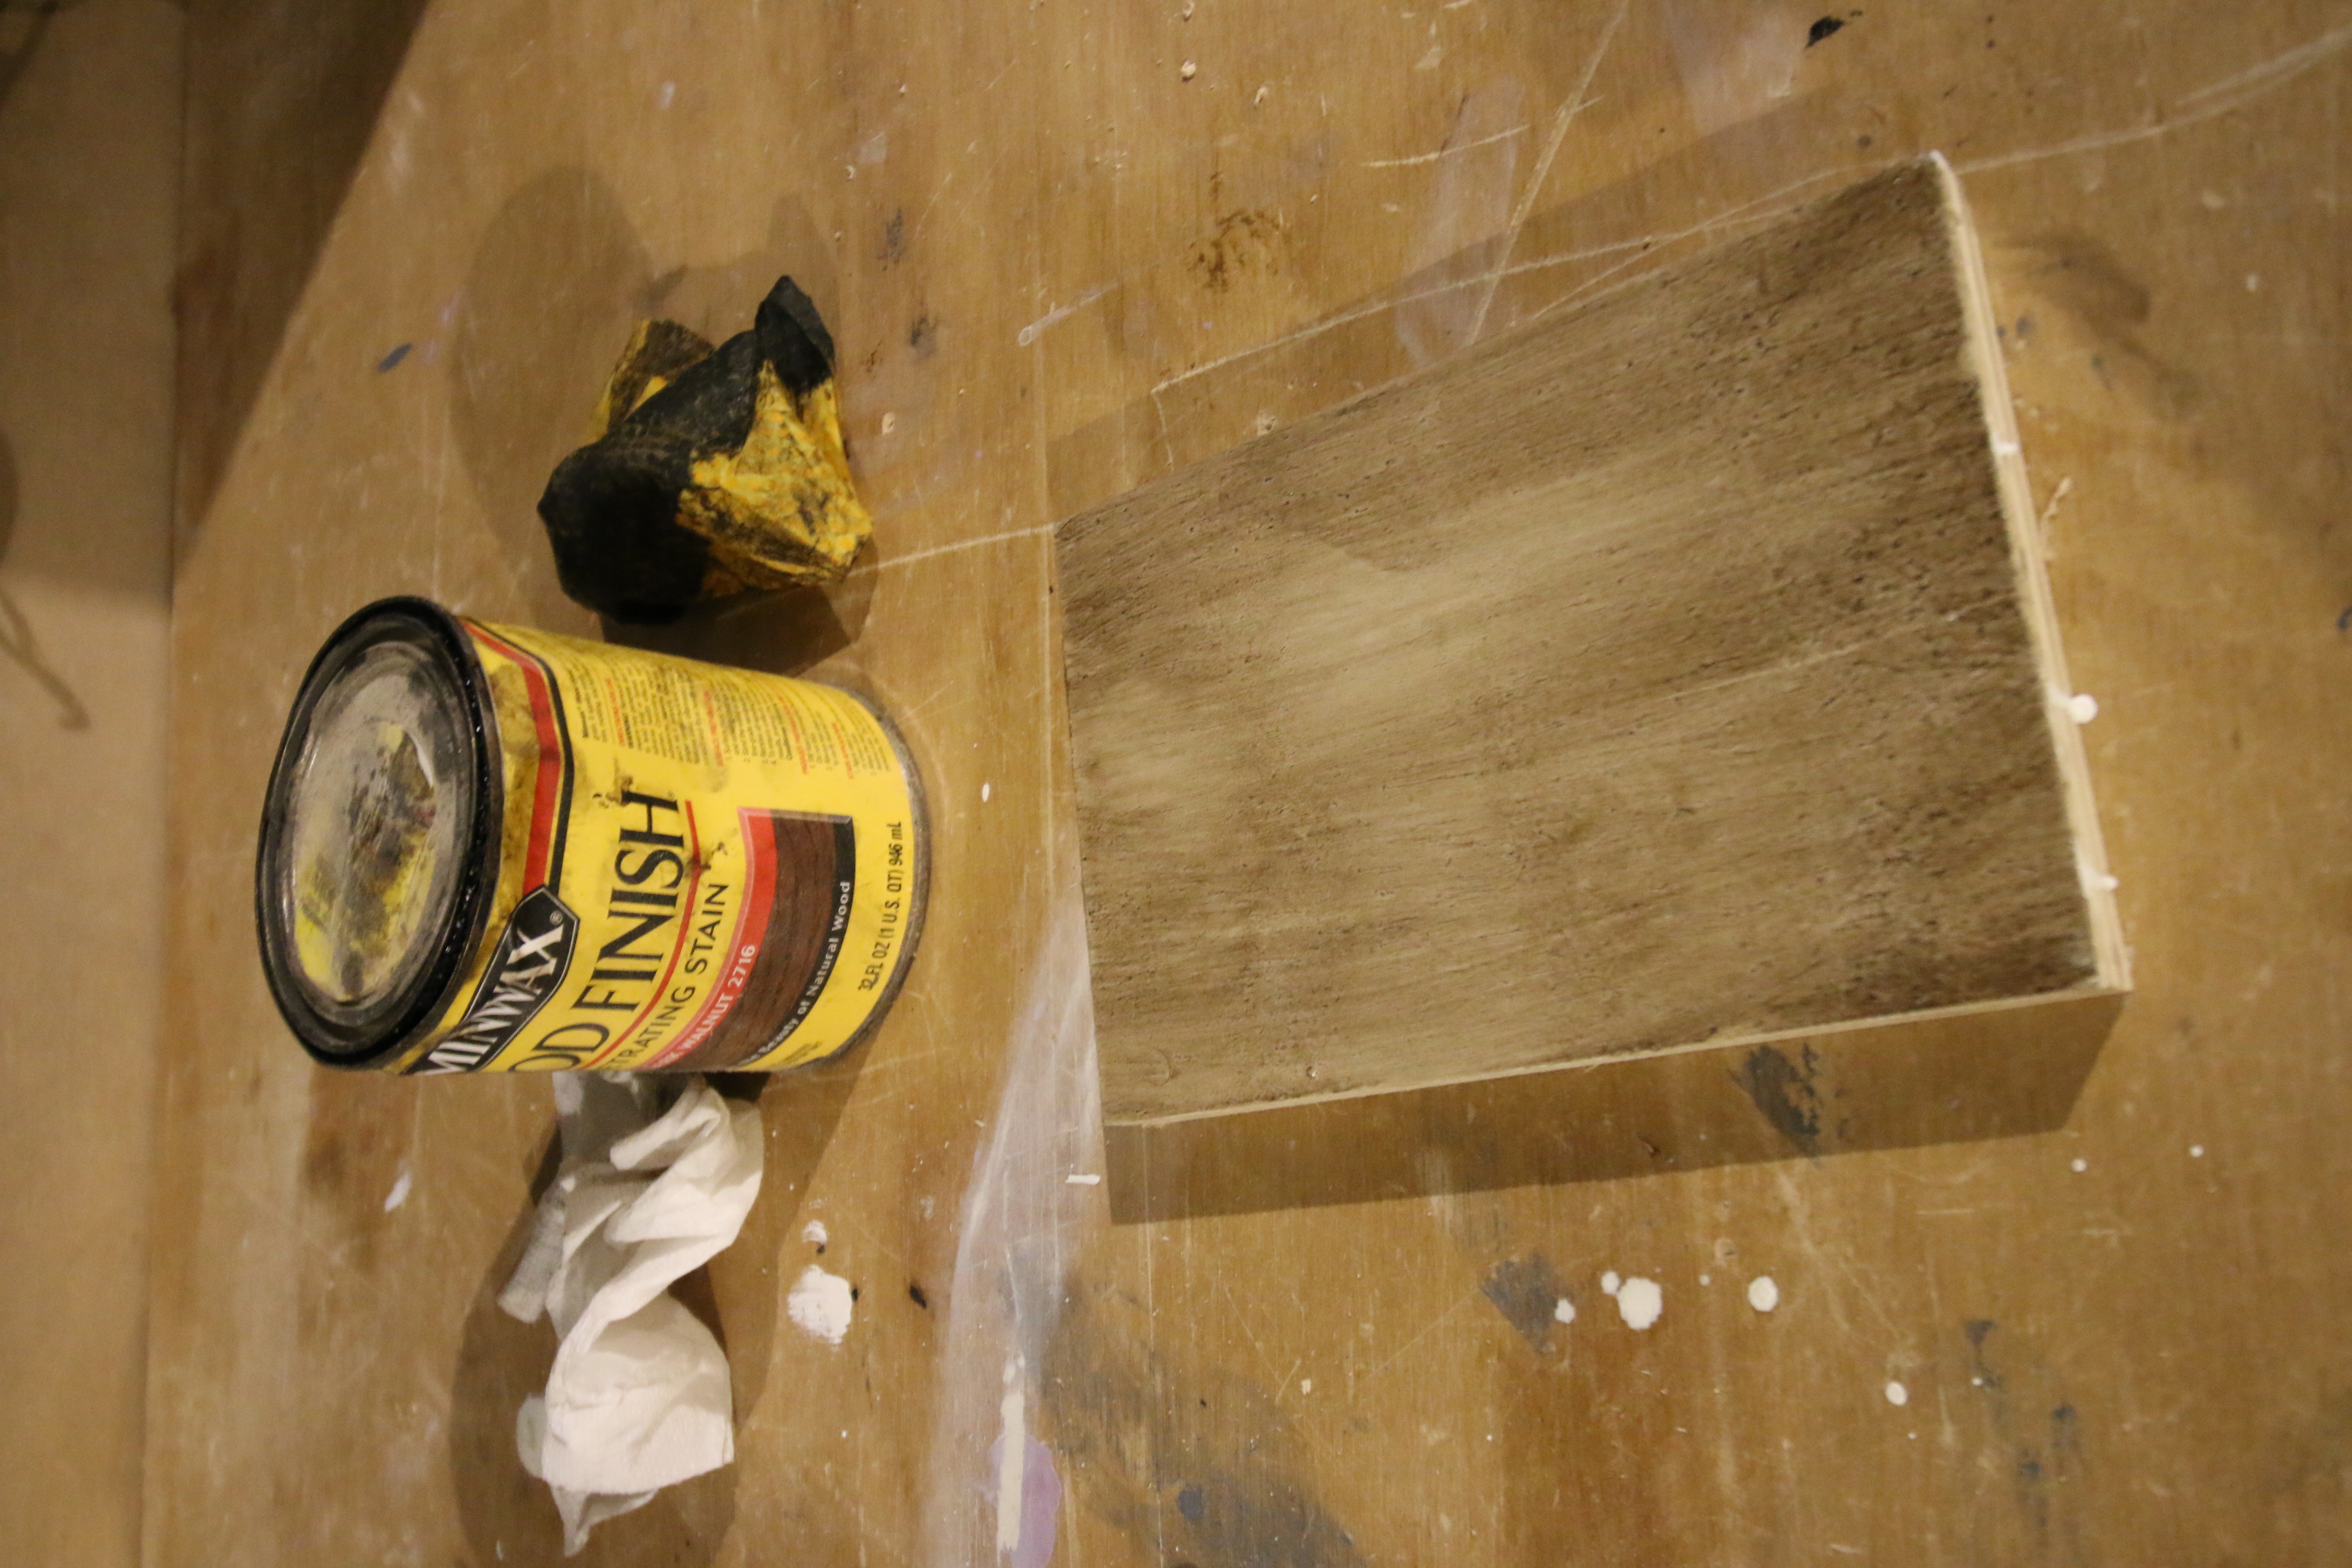
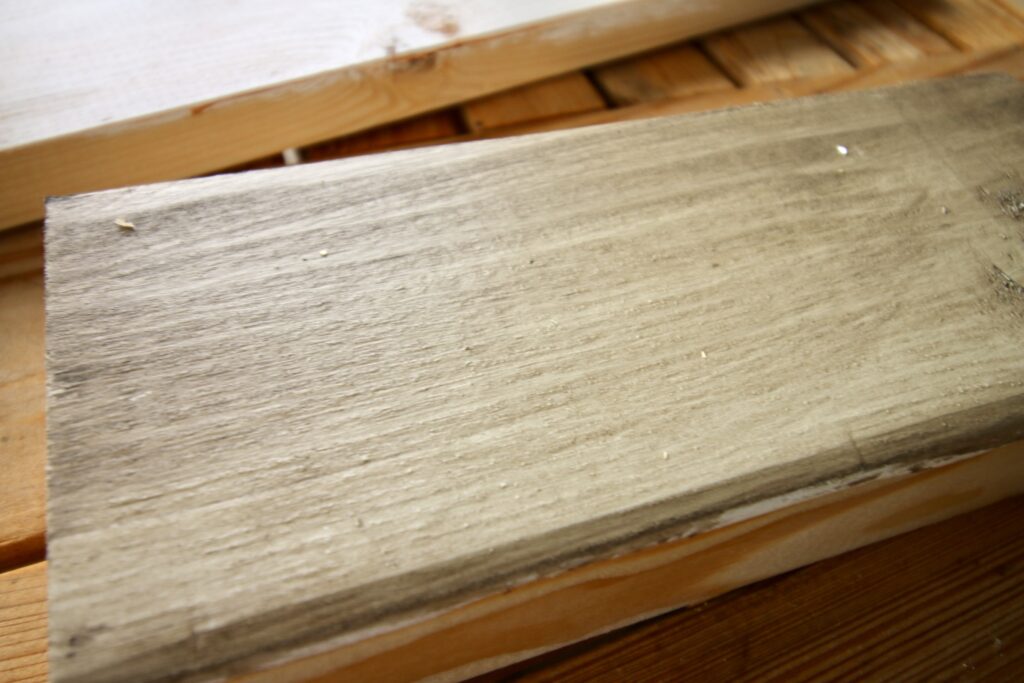
Once dry, decide if you like the look. If you want it more distressed, use a high grit sand paper (220+) to gently sand some of the stain/paint away.
Wipe thoroughly to remove any dust or debris.
STEP 4: Apply top coat
Apply a top coat, such as polycrylic, to protect and preserve your surface.
It's fun to play around with different wood finishes and layering them is a great way to get unexpected effects. Staining over wood is a fun technique to try out!
Wood staining essentials!
Looking for something?
We've been doing this since 2012 so we have a LOT of blog posts!
Search stuff like: Ceiling Projects | DIY Plant Stands | Thrift Flips


Hello, I'm Morgan, half of the creative force behind CharlestonCrafted.com! With a passion for DIY that dates back to 2012, I've transformed three homes and now I'm dedicated to helping others craft their dream spaces. Let's turn your house into a home together!


