These free, easy woodworking plans for how to build a crate will help you make something useful and beautiful! This crate is simple to build and very functional.
We've got for you some free and easy plans for how to build a crate for your home.
Crates are a great stylish storage option and are a great way to add a rustic or natural touch to your decor.
Whether you want a functional crate for carrying things around or you want a decorative crate for storage of blankets or toys, these plans will work for you.
By building a crate from scratch, you can save a lot of money and get something custom designed to fit your specific space and aesthetic.
The plans for this use standard lumber and can be built in about an hour.
Don't waste a bunch of money on buying one at the store that might not be perfect, just build it yourself! Here's how!
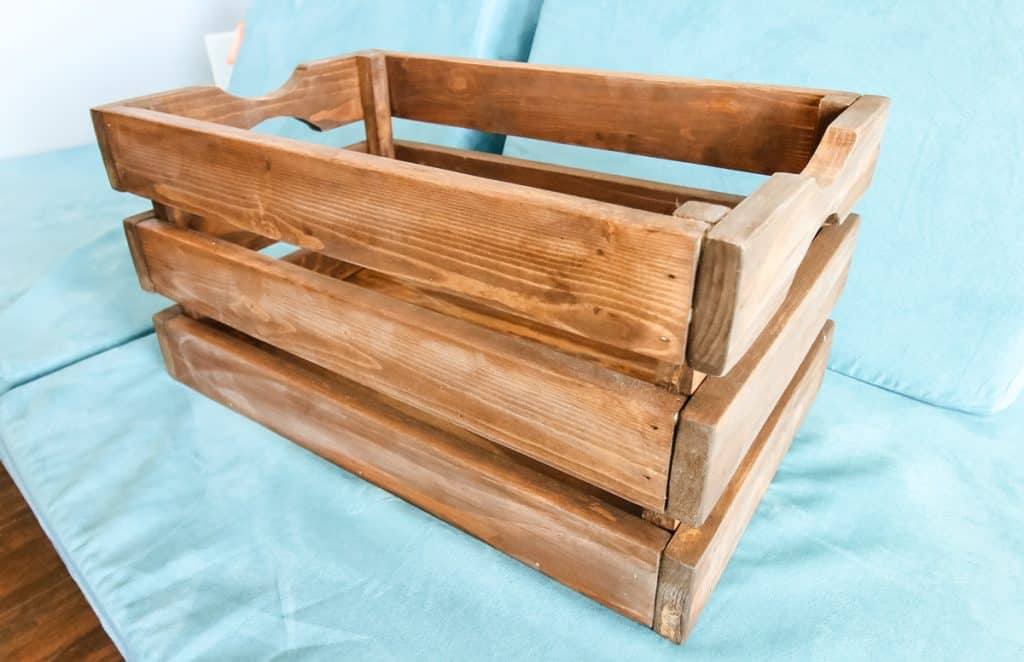
Simple Plans to Build a DIY Crate
Wooden crate construction is easier than you might think!
This crate could be used a number of ways. It's not as convenient for carrying things around as a toolbox is, but you can store miscellaneous items in the garage or your living room.
This crate is also a good option for holding your gardening supplies outside.
For an even more rustic look, you could build your crate out of reclaimed wood or pallet wood.
Safety first!
Remember to always follow safety procedures when working with power tools. That means wearing protective gear such as safety glasses, gloves, hearing protection, and dust mask and using appropriate tools to ensure safe construction.
How to make a homemade crate
The full instructions are in the how to card below, but here's the basic idea of how to make this simple crate design.
All you need is two 1"x3" boards and a short 1"x4" board to cut down and everything is straight cuts.
Supplies used:
- 2 1"x3" boards
- 1 1"x4" board
- Wood stain of choice + brush to apply
Tools used:
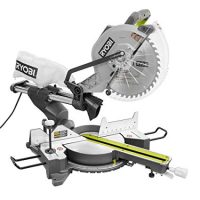
- Miter saw or circular saw
- Sander or sanding block
- Measuring tape
- Router - if you want to cut out the arched handles
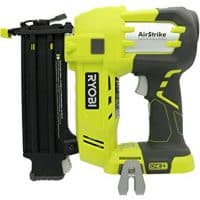
- Nail gun
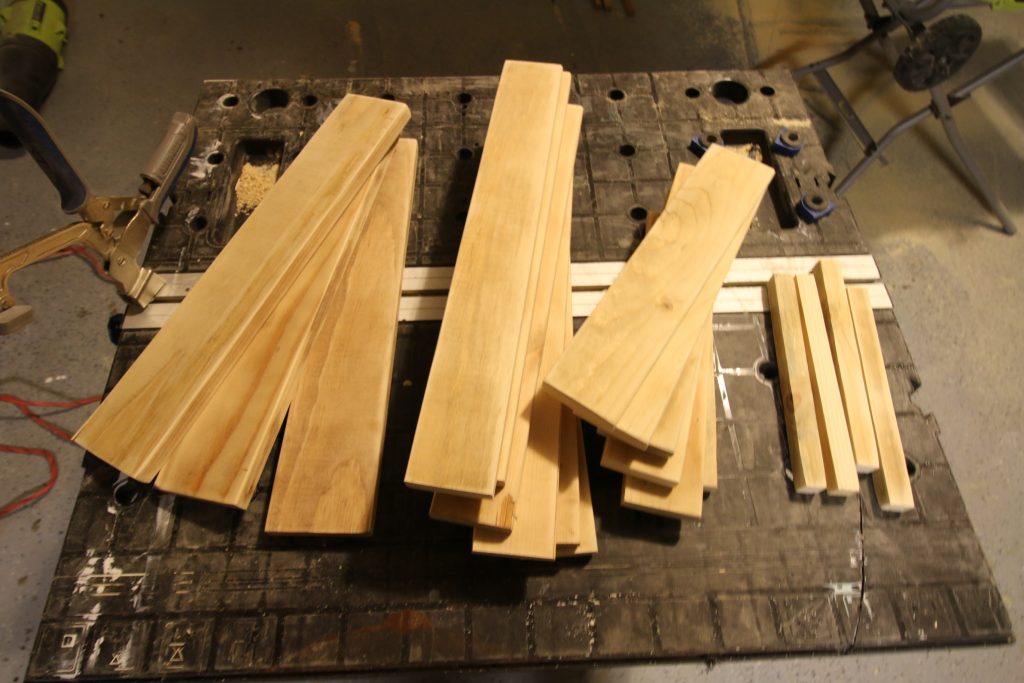
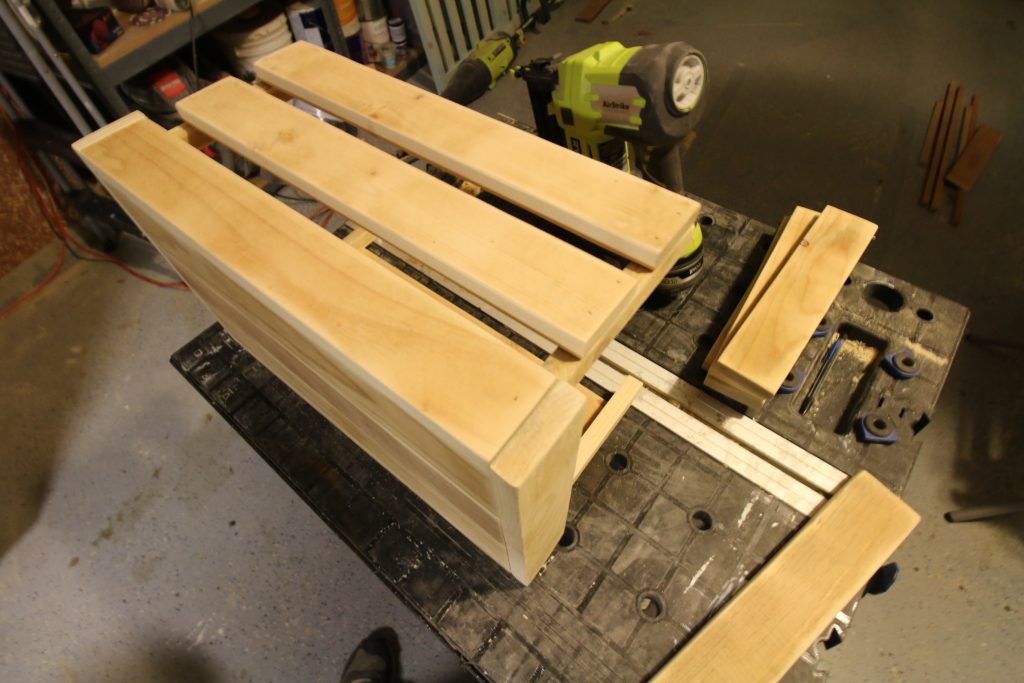
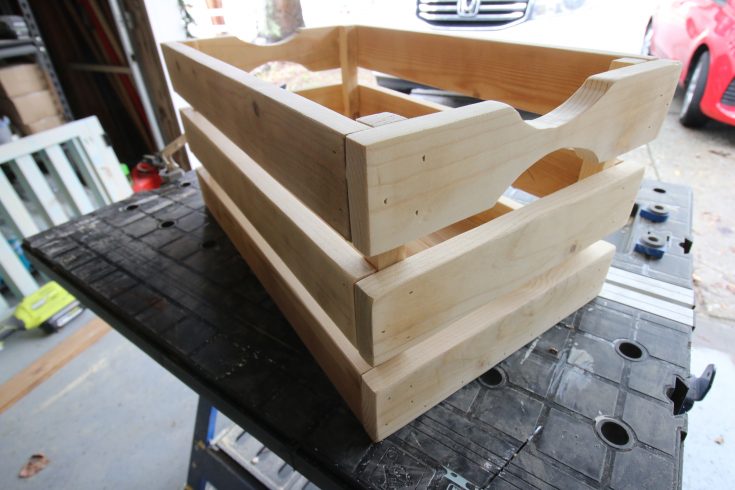
We started by cutting everything down, including six longer side pieces, six shorter side pieces, four supports and three bottom pieces. That's it.
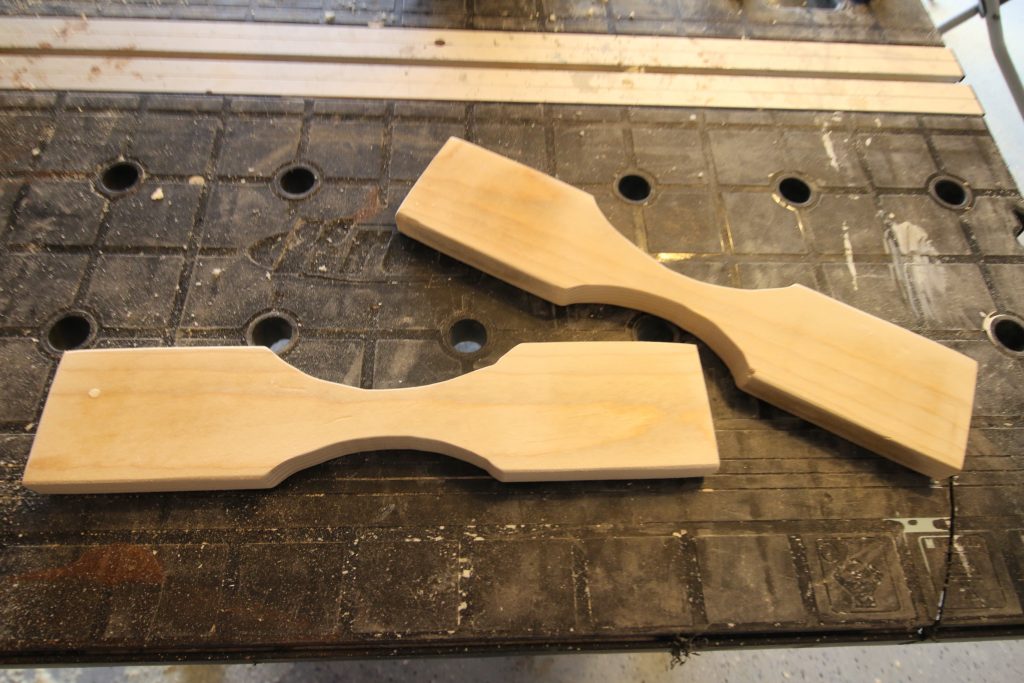
On two of the shorter side pieces, we used a router to cut out semi-circles for handles.
Once everything was cut, we used a nail gun to attach four side pieces all around the base pieces to create the bottom of the crate box.
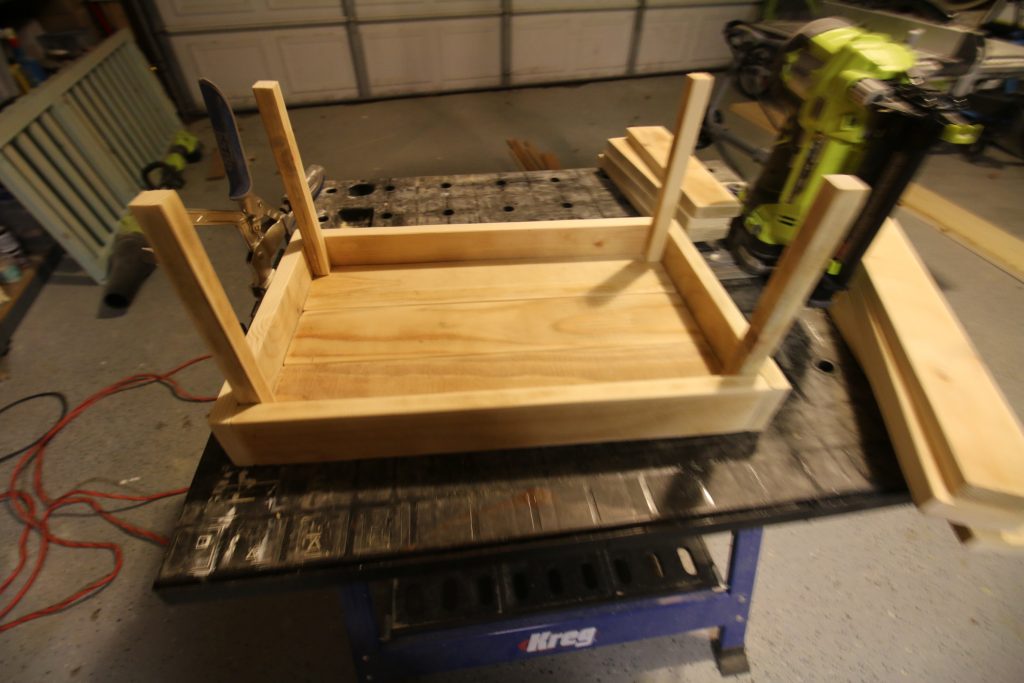
Then we nailed in the four supports in the corners of the box.
We moved up just a bit and added the middle slat sides and the top sides with the handles on top.
Finishing the Crate
Depending on the look you want, you could leave the crate natural, stain it or paint it.
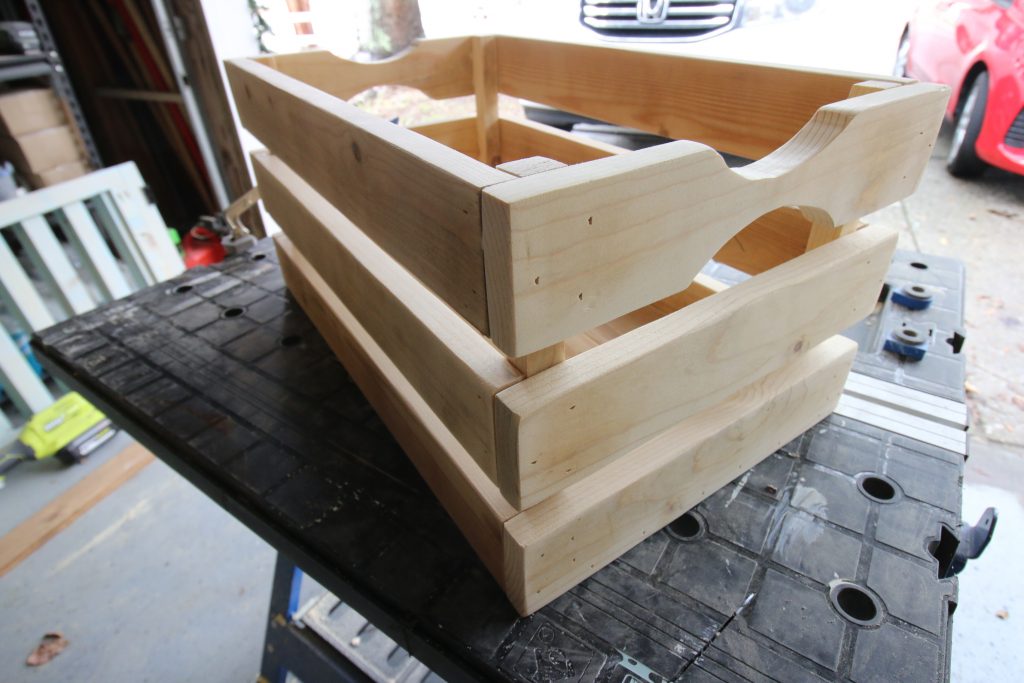
We opted to add a coat of Early American stain from Varathane for a more finished look.
Read our full review of Early American wood stain by Varathane!
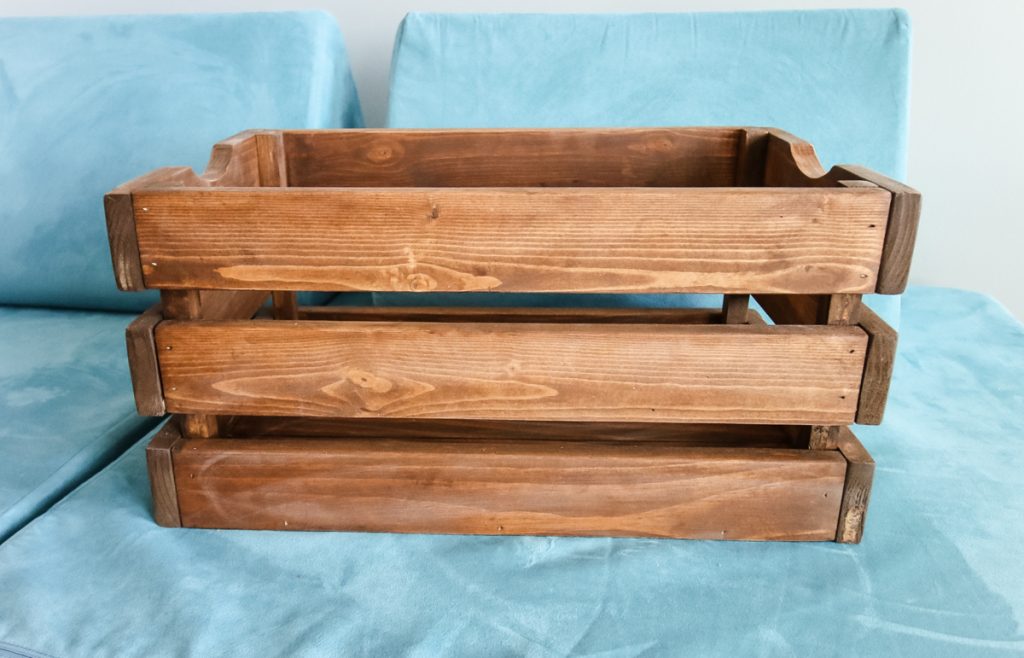
This is a simple build that can be replicated over and over.
Knowing how to build a crate is the first step and then you can build them over and over. Make several for a shelf to store hats and gloves or blankets.
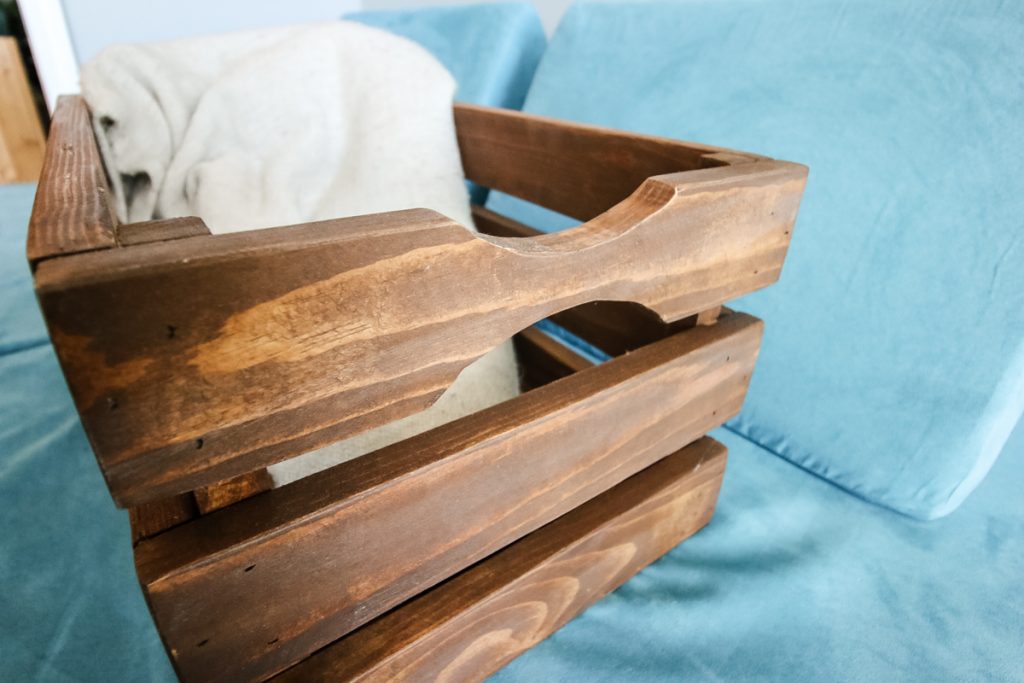
A crate looks good on display or tucked away. Either way, hope you enjoy yours!
How much does it cost to build a crate?
The cost of building a wood crate will depend on the price of lumber in your area at the time. We used 2 1"x3" boards and one 1"x4" board to build this crate. That was less than $15 worth of wood.
How do you reinforce a wooden crate?
The four support pieces that we added to the inside corners of our crate served to reinforce the sides and keep the corners square, even if they are tossed around.
How to Build a Crate
Build this awesome crate today to use for storage. It's great on display in the living room for blankets or in the garage for gardening supplies. Anything you need to store, a nice crate is perfect for it. Instead of buying an expensive one at the store, build one yourself!
Materials
- 18' of 1"x3" wood
- 4 ½' of 1"x4" wood
Tools
- Miter Saw
- Nail Gun
Instructions
- Make the following cuts from 1"x3" boards
(6) long sides- 18"
(6) short sides- 12"
(4) corner beams- 9" (can also trim this down to 1"x1") - Make the following cuts from 1"x4" board
(3) bases- 18" - Use a router to groove out semi circles in the middle of two of the short sides to serve as handles.
- Line up the three base pieces side by side and nail two long sides and two short sides around them.
- Nail in the four corner beams in the corners.
- Attach two long sides and two short sides flush with the top of the corner beams.
- Attach the remaining sides centered on the gap that's left.
- Stain or paint as desired.
Recommended Products
As an Amazon Associate and member of other affiliate programs, I earn from qualifying purchases.
Looking for something?
We've been doing this since 2012 so we have a LOT of blog posts!
Search stuff like: Ceiling Projects | DIY Plant Stands | Thrift Flips


Hey there, I'm Sean, the woodworking enthusiast and builder behind CharlestonCrafted.com! Since 2012, I've been sharing the magic of turning raw materials into beautiful creations. I love teaching others the art and satisfaction of woodworking and DIY. I try to inspire fellow crafters to make something extraordinary out of nothing at all.



[…] could also build simple crates to put in your closet for easy access! Click here for the FREE simple […]