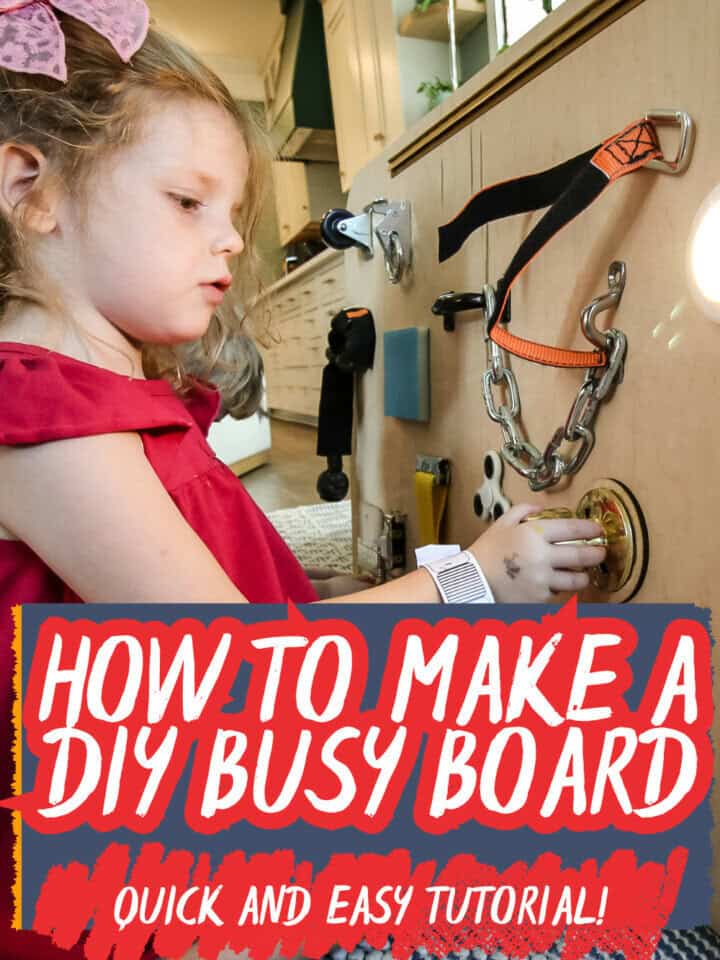
Create a custom busy board for your toddler with these simple steps! It's perfect for keeping little hands engaged and learning at home!
This post was sponsored by Flex Seal. All opinions are true and our own. Thanks to the brands that make Charleston Crafted possible!
A busy board is one of the staple Montessori toys for toddlers in today's society and it's also one of the easiest projects to make for yourself!
Busy boards are a great way to stimulate young child by giving them options to literally keep their hands and minds busy. Busy boards are covered in small items that they can interact with and feel to work on their sensory development and fine motor skills.
I never actually made one of these for my kids when they were young enough, but someone in my neighborhood wanted one so I finally got to try it (spoiler alert- my 4 and 6 year olds loved playing with it before I sold it anyways so maybe it's good for kids of all ages!).
Like I said, this is a very easy project to make yourself, so let's talk about what you need to make it and how to do it!
DIY busy board
Busy boards keep kids engaged and work on their hand-eye coordination while allowing them to figure out how things works. They work on their fine motor skills and sensory development as they are young and explore things they've never touched before.
Plus, they are extremely customizable, so you can make one with things you have laying around or you can go to the hardware store or you can make a musical theme. But either way, this is a great project for any young parent to try to make themselves!
Another great montessori toy is this DIY Pikler triangle with climbing ramp!
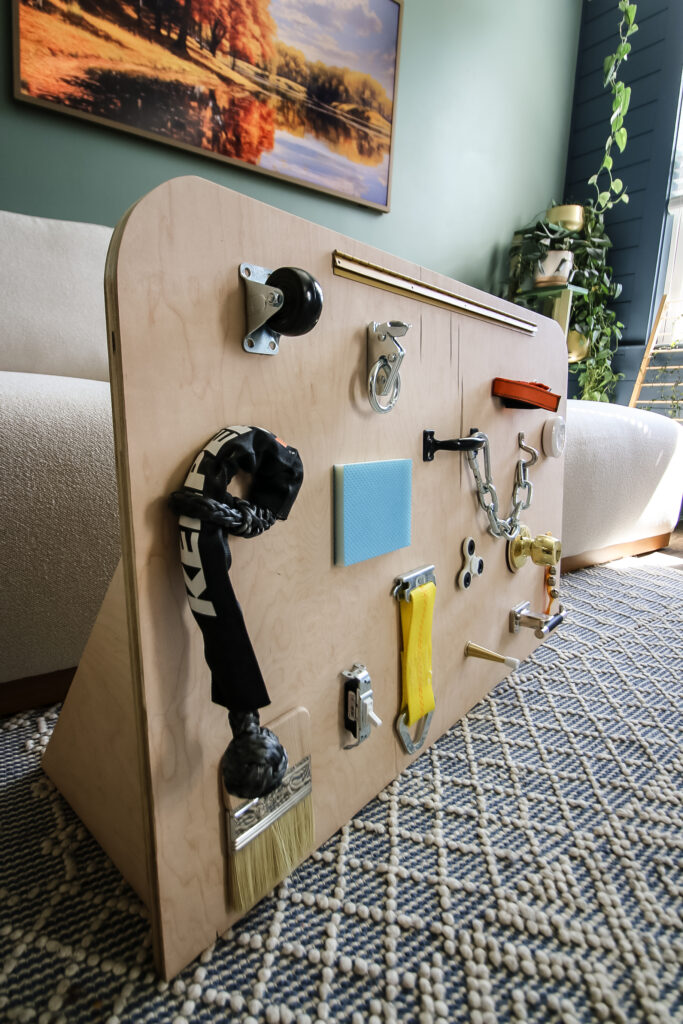
Best items for a DIY busy board
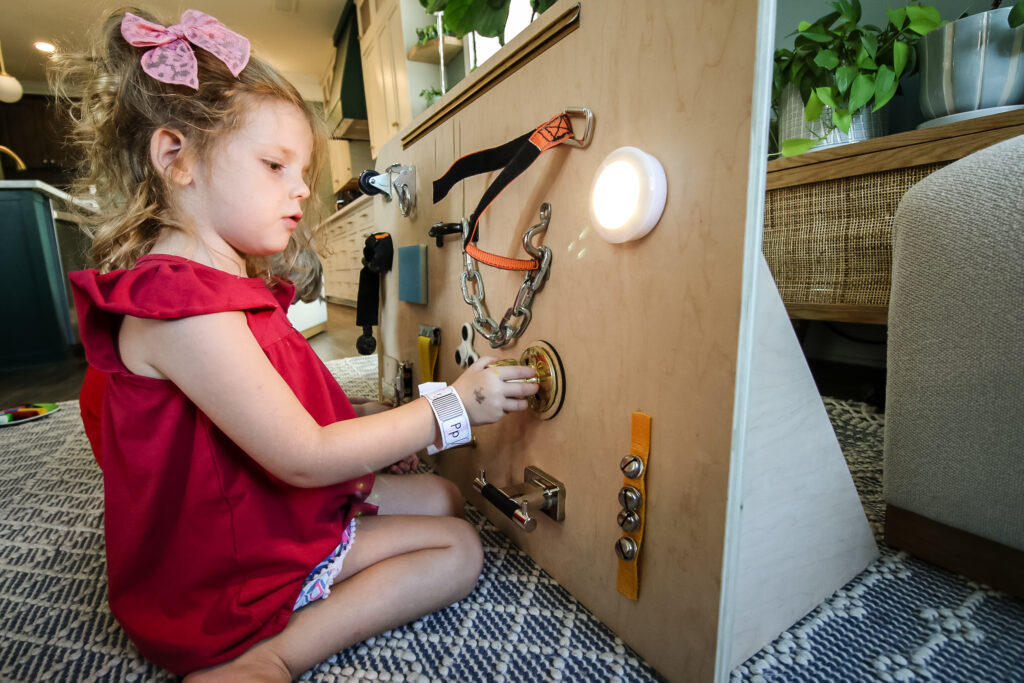
One of the best things about making your own DIY busy board is that you can probably use a lot of items you already have in your home. Anything that turns, twists, slides, makes noise or feels rough is a great option for a busy board.
There are two main categories of items that are best on a busy board- items that move and items that have texture. The purpose is to get your child to engage with things and feel how different they are to their tiny hands.
Here are some of the "staple" items you might want to include on your busy board:
- doorknob
- light switch
- hinge
- chain
- wheel
- velcro
- doorstop
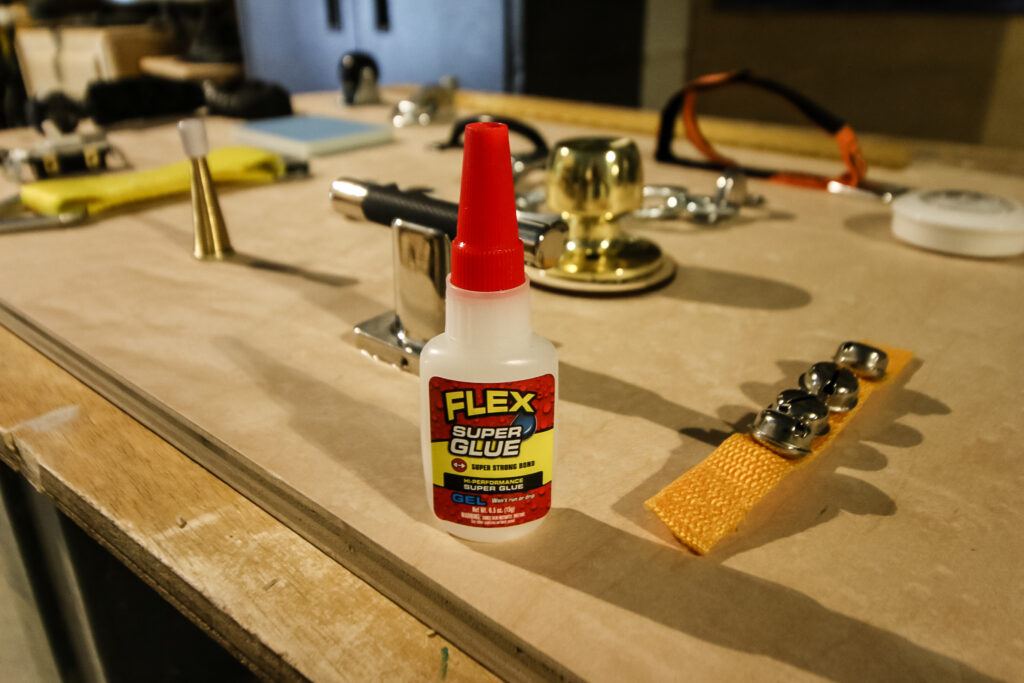
You'll also need ¾" wood for creating the board itself and a way to fasten the items to the board. For this project, I opted to use Flex Super Glue to attach all of my items!
A lot of the items you attach to a busy board don't really have a good way to screw or nail them to the board. They are misshapen or have a fabric texture or no flat base. So, these are perfect for gluing on.
I opted for Flex Super Glue so that I could attach everything and have it stick quickly and permanently and not have any issues with the adhesion. It also helps make this a one-day project if you want it to be!
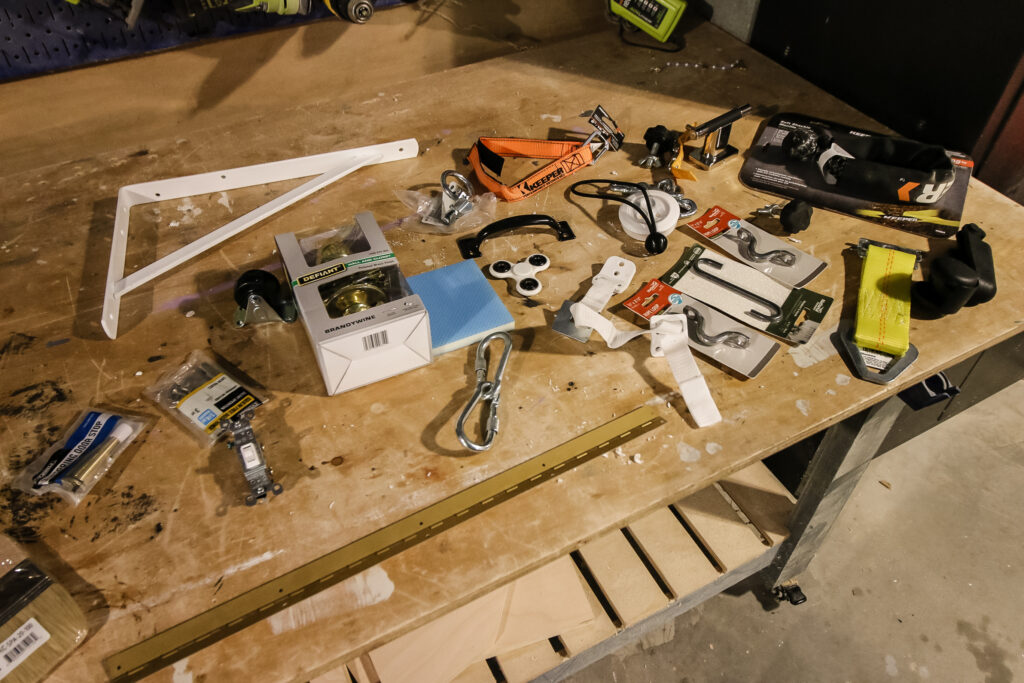
Step one: lay out your items
The first step is to gather all your materials and then lay them out on the floor or a table. Here, you're getting a general idea of what you have, where it will go and how much space you'll need.
You want to lay the items out so that they are relatively close to each other, but not so close that they impede on playing with any other item.
Once you have it all laid out, measure the space you need. A good recommendation is about 3' wide and 2' tall, which is what I did. You don't want the board to be too wide or tall because you have to envision a baby or toddler as the user.
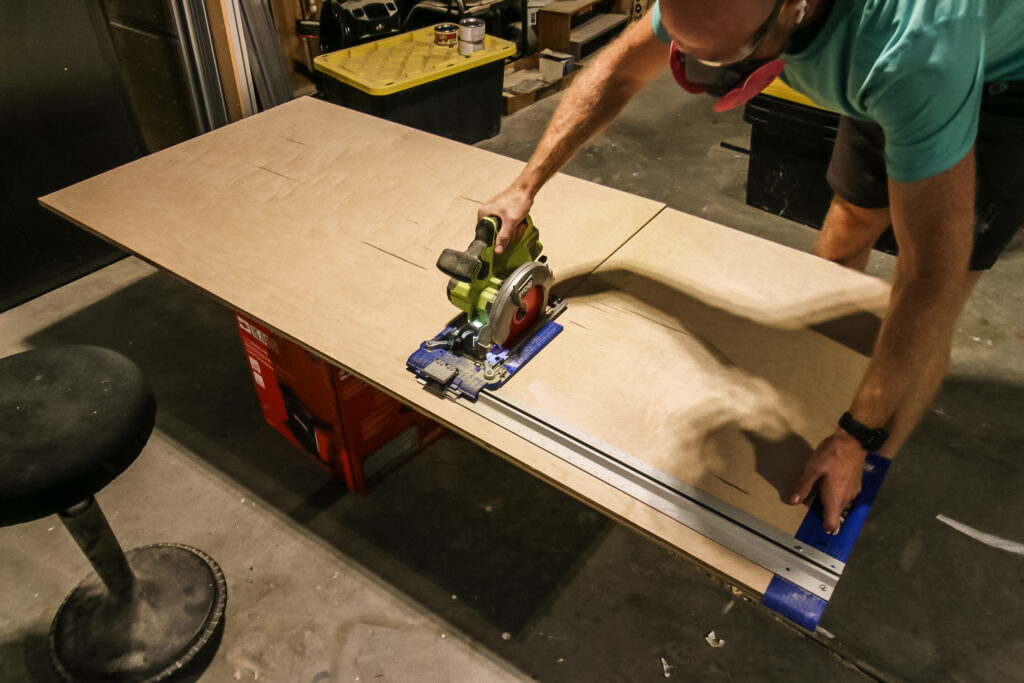
Step two: cut wood
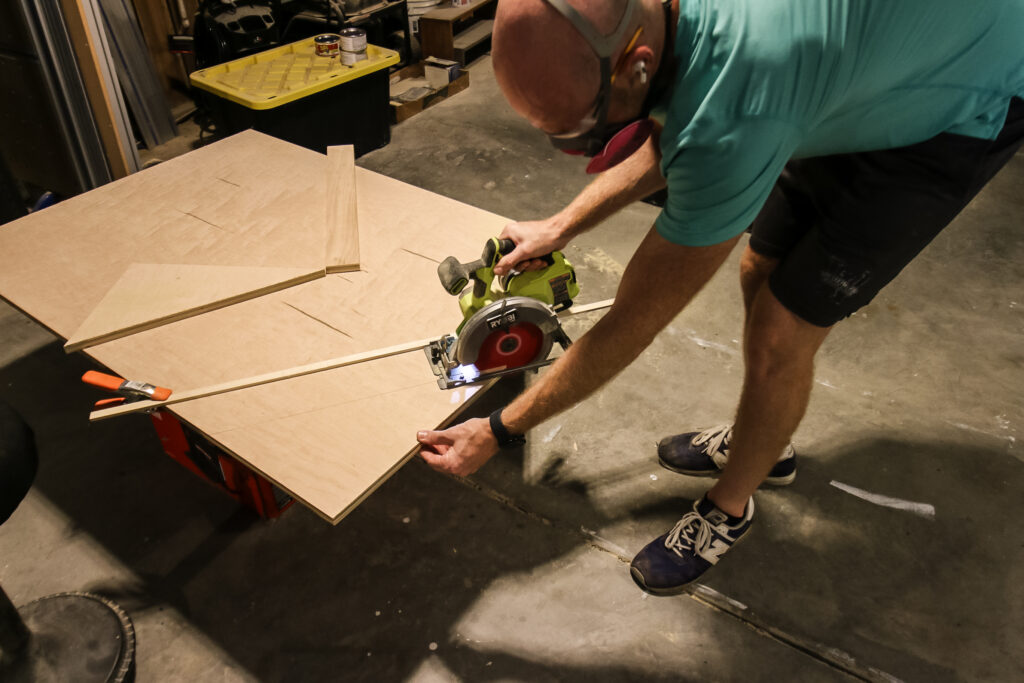
Now that you have the size, it's time to cut the board. For this project, you only need three pieces- a main board and two legs.
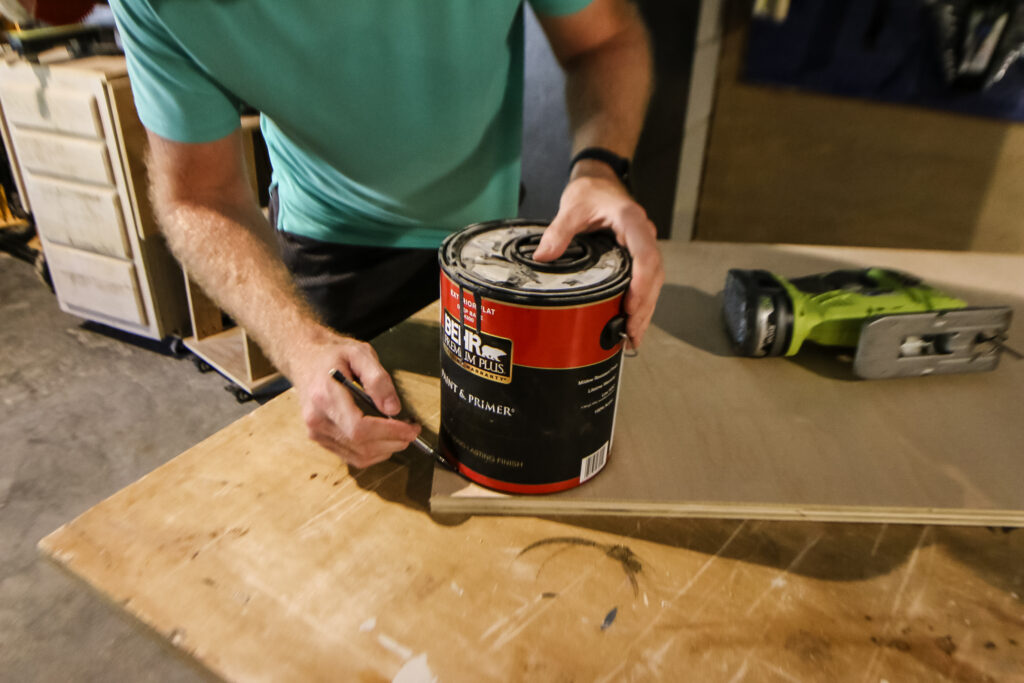
I cut out the 3'x2' rectangle then traced a rounded edge on the top two corners using a paint can and cut those off. Then for the legs, I cut two triangles 16" tall and 12" deep with a 5 degree miter on the 16" side. This is because you want the board to tilt slightly back so that it doesn't easily fall over (either way, you should still use a furniture anchor to secure this to the wall).
If you have extra wood, try building this DIY pikler climbing ramp/arch!
Step three: attach busy board items to board
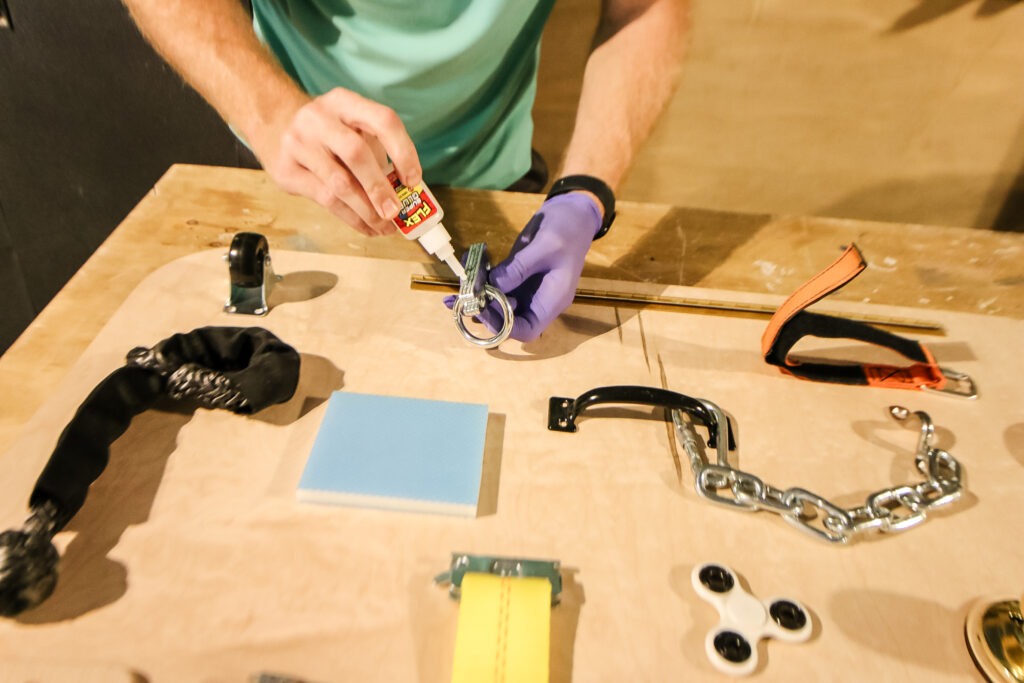
Once the board is cut out, it's time to attach the fun items! Start by transferring everything over from where you laid it out to the same position on the board.
Before you attach anything, make sure that you check everything so that there are no sharp edges, pokey things, or loose parts that could come off. For instance, if you buy a new light switch for the board, remove the screws from the sides that would secure the wires and fold back the top and bottom screw plates.
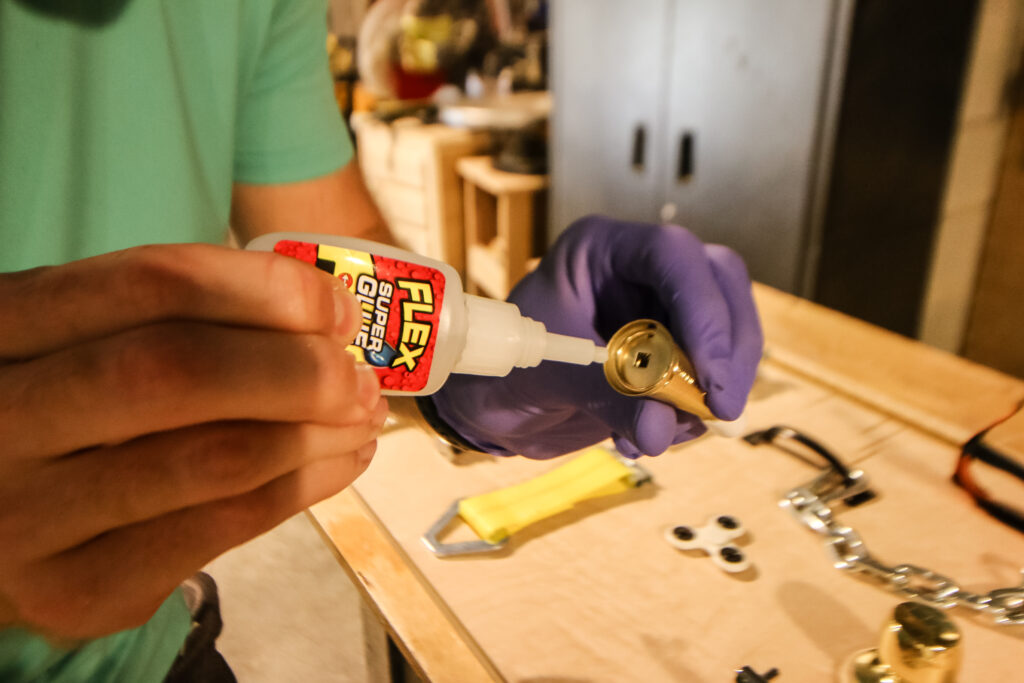
Then, work in one direction and pick up each item and attach it to the board. As I mentioned earlier, I used Flex Super Glue for this project because not everything had an easy way to attach with screws or had a flat base. The Flex Super Glue allowed each item to adhere quickly and strongly to the board.
Flex Super Glue dries very quickly, which is great for getting that instant hold on items like this, but I still recommend letting the glue dry for 24 hours before doing anything else to the board.
Step four: attach base legs
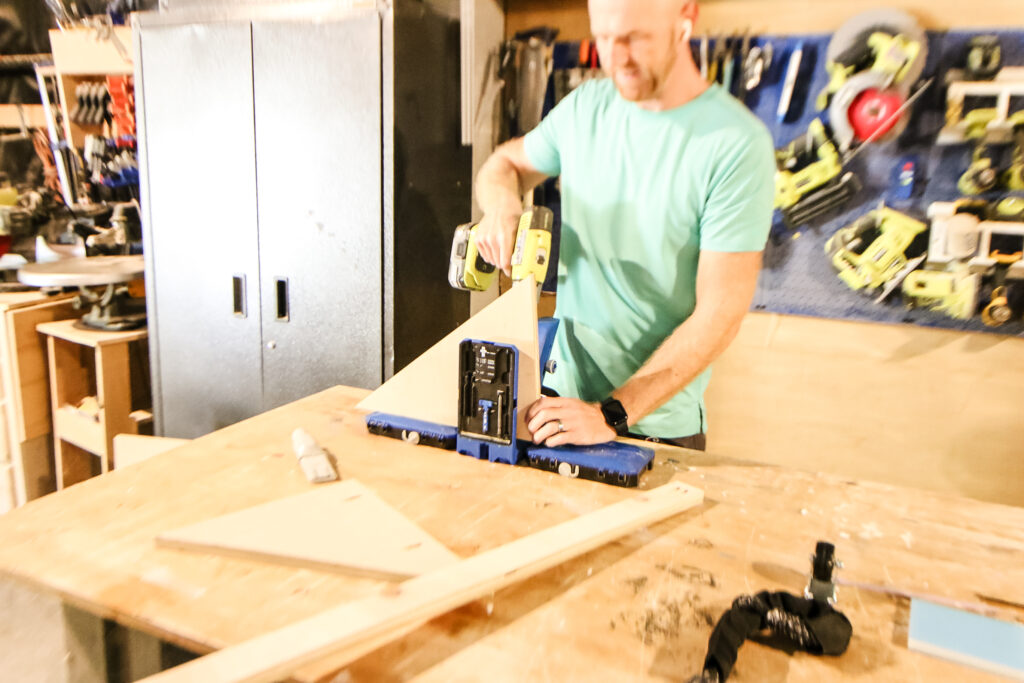
Next I drilled pocket holes in the 16" long side of the legs to use to attach the legs to the back of the board. I again used the Flex Super Glue here along the edge that would attach the boards to create that extra strong hold, then I screwed in the pocket holes to attach the legs.
Step five: enjoy!
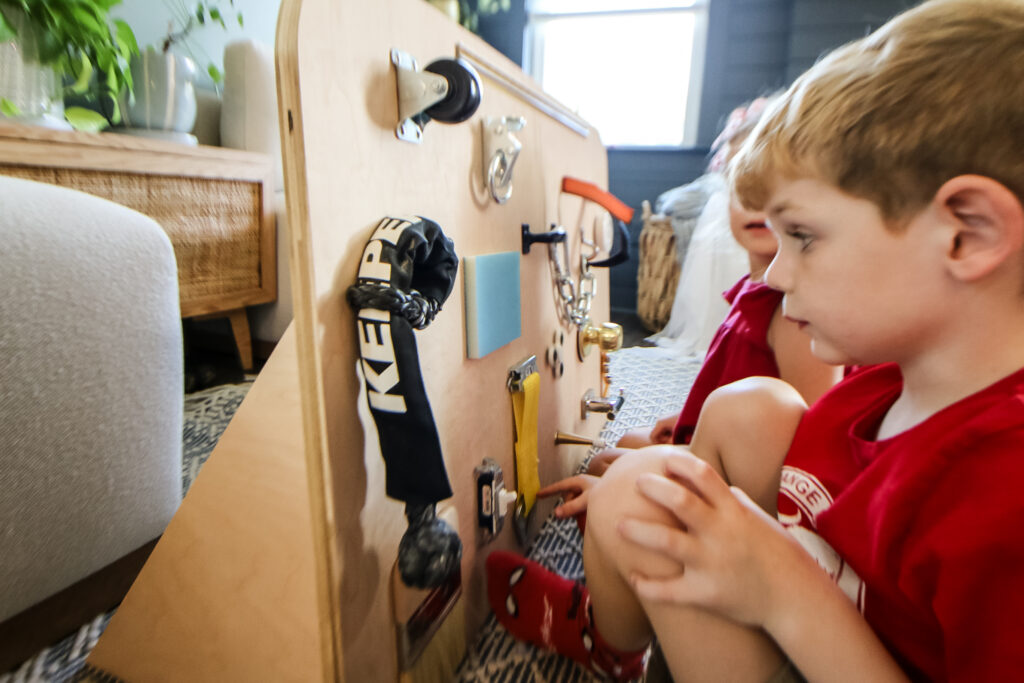
Now it's time for your kid to play with the busy board! My kids loved using it even though they are 4 and 6, but young toddlers will love it for a long time.
As mentioned, you should probably still anchor a busy board to the wall just in case and you should always monitor your child as they play with the items as they aren't technically child's toys.
DIY busy board for toddlers
This DIY busy board is a great build that your kids or grandkids will love and the fact that you made it will make it extra special! Before you go, make sure you check out some of these other montessori playroom items!
Looking for something?
We've been doing this since 2012 so we have a LOT of blog posts!
Search stuff like: Ceiling Projects | DIY Plant Stands | Thrift Flips


Hey there, I'm Sean, the woodworking enthusiast and builder behind CharlestonCrafted.com! Since 2012, I've been sharing the magic of turning raw materials into beautiful creations. I love teaching others the art and satisfaction of woodworking and DIY. I try to inspire fellow crafters to make something extraordinary out of nothing at all.


